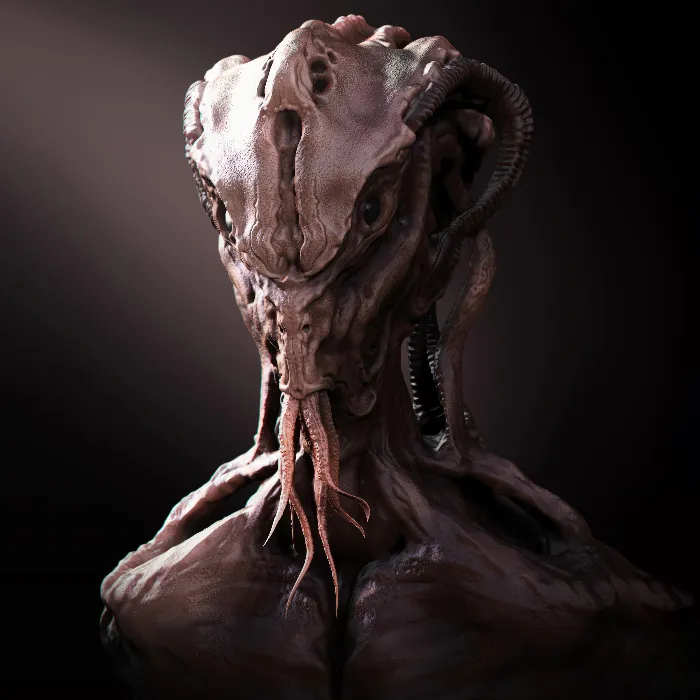
In 3D art, retopology can be one of the most challenging tasks, especially when working with detailed high-poly models. ZBrush offers a highly useful function with its ZRemesher tool, which allows you to reduce the polygon count of your models without losing many details. In this tutorial, you will learn how to use ZRemesher to create a new topology for your model, following all the necessary steps.
Key Takeaways
- ZRemesher is a powerful tool for creating a new topology from an existing model.
- You can retrieve the details of your model using the Projection function of ZRemesher.
- Proper preparation of your model is crucial for achieving optimal results.
- Use UV maps to enable better detail control and texturing.
Step-by-Step Guide
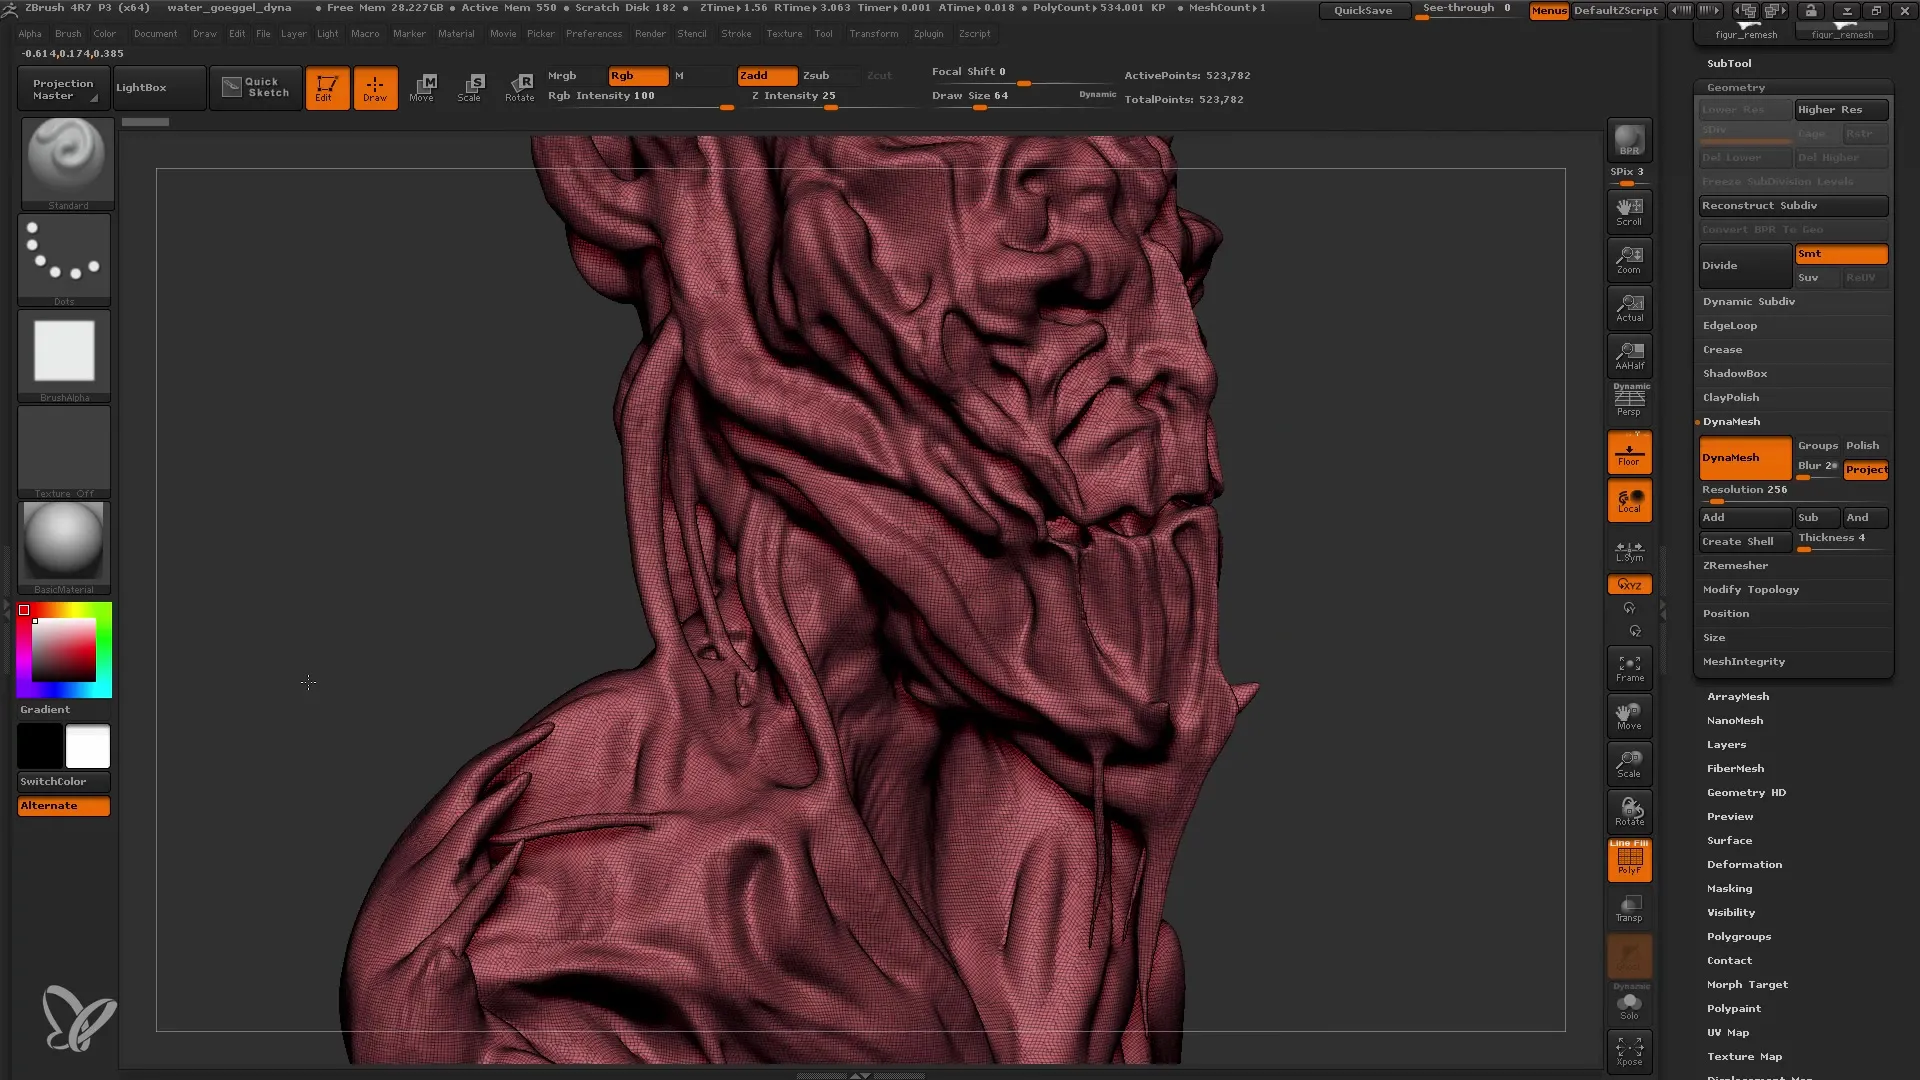
Start by loading your model in ZBrush. First, make sure your Dynamesh object is activated. You can check this by clicking on the "Edit" button. Go to your material and ensure you have the correct view. Check if your Dynamesh object is loaded with a resolution of 256 and look at the Polyframes to see the number of points.
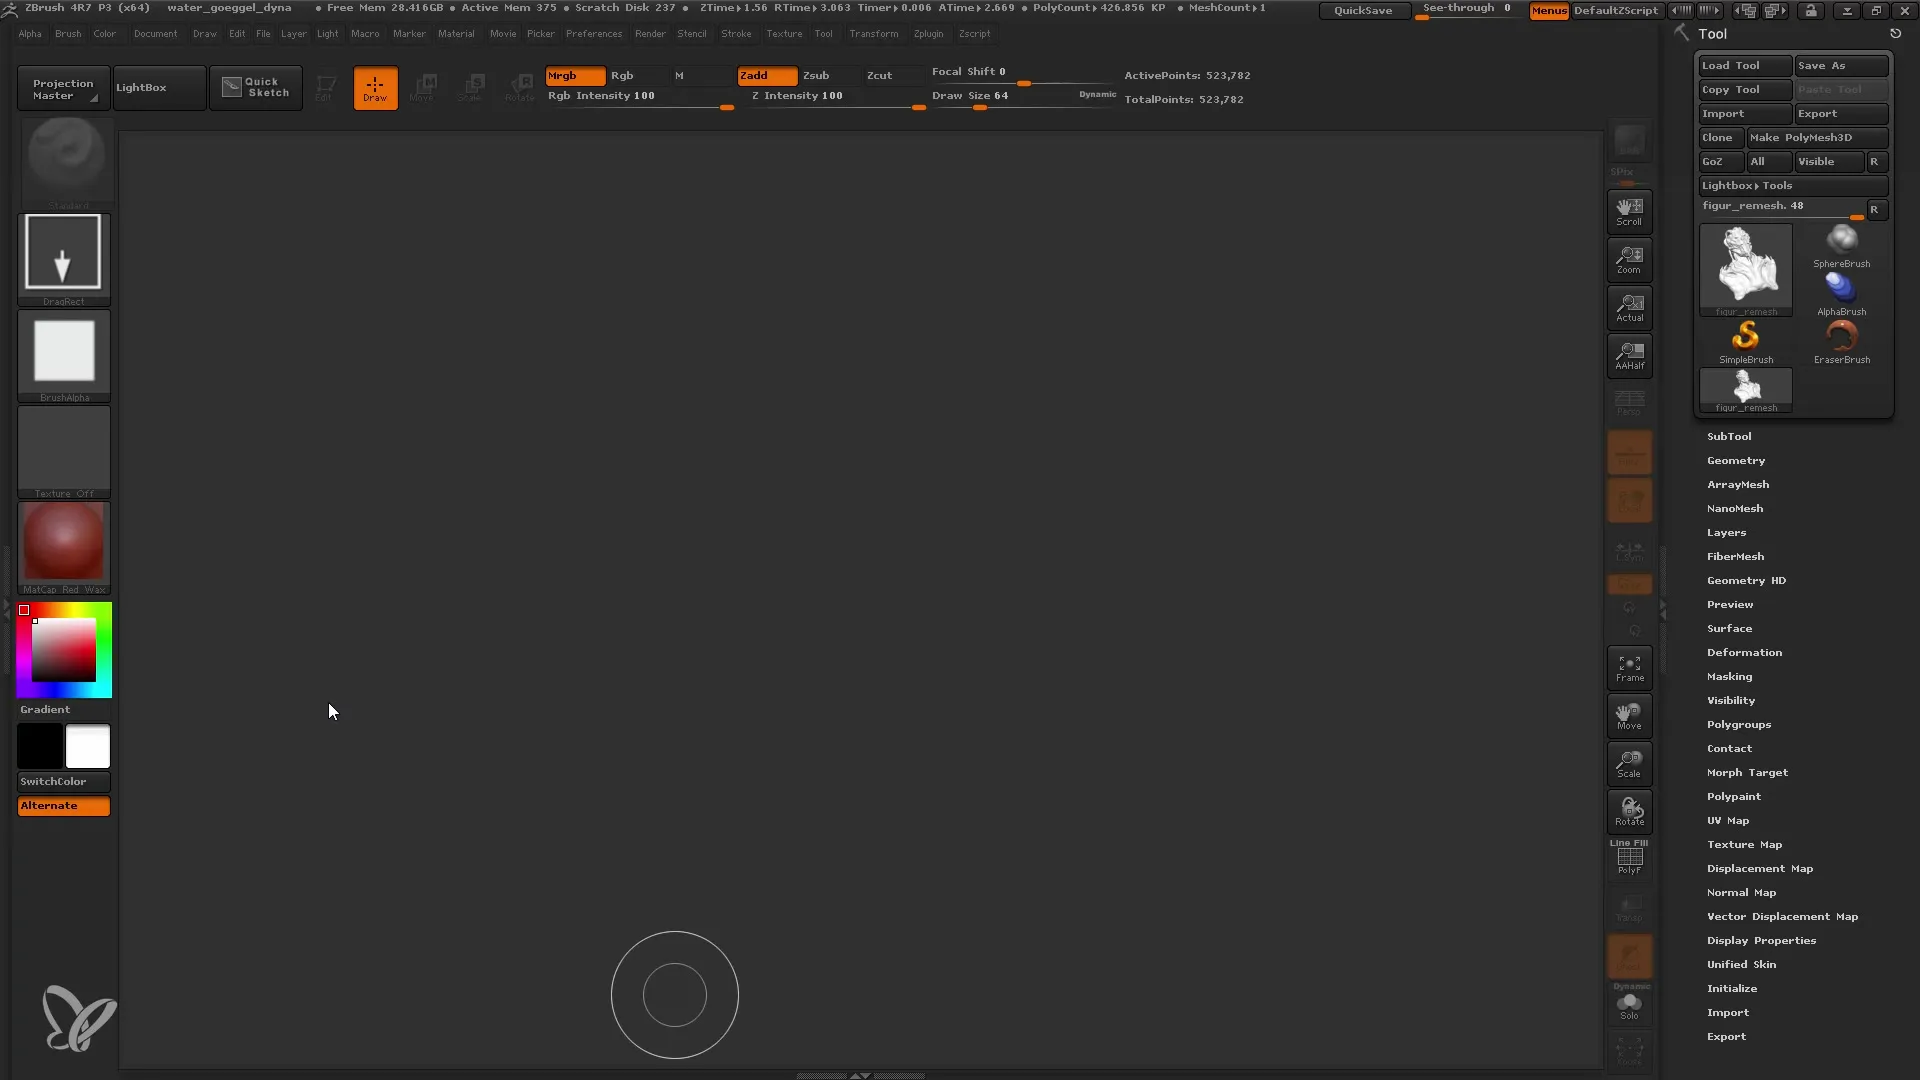
To determine how dense your mesh is, you can now look at the polygon count. In this variant, we have half a million polygons. This is already a very dense mesh that you typically want to reduce. Note that nothing has been changed up to this point – this is simply the starting point for your work.
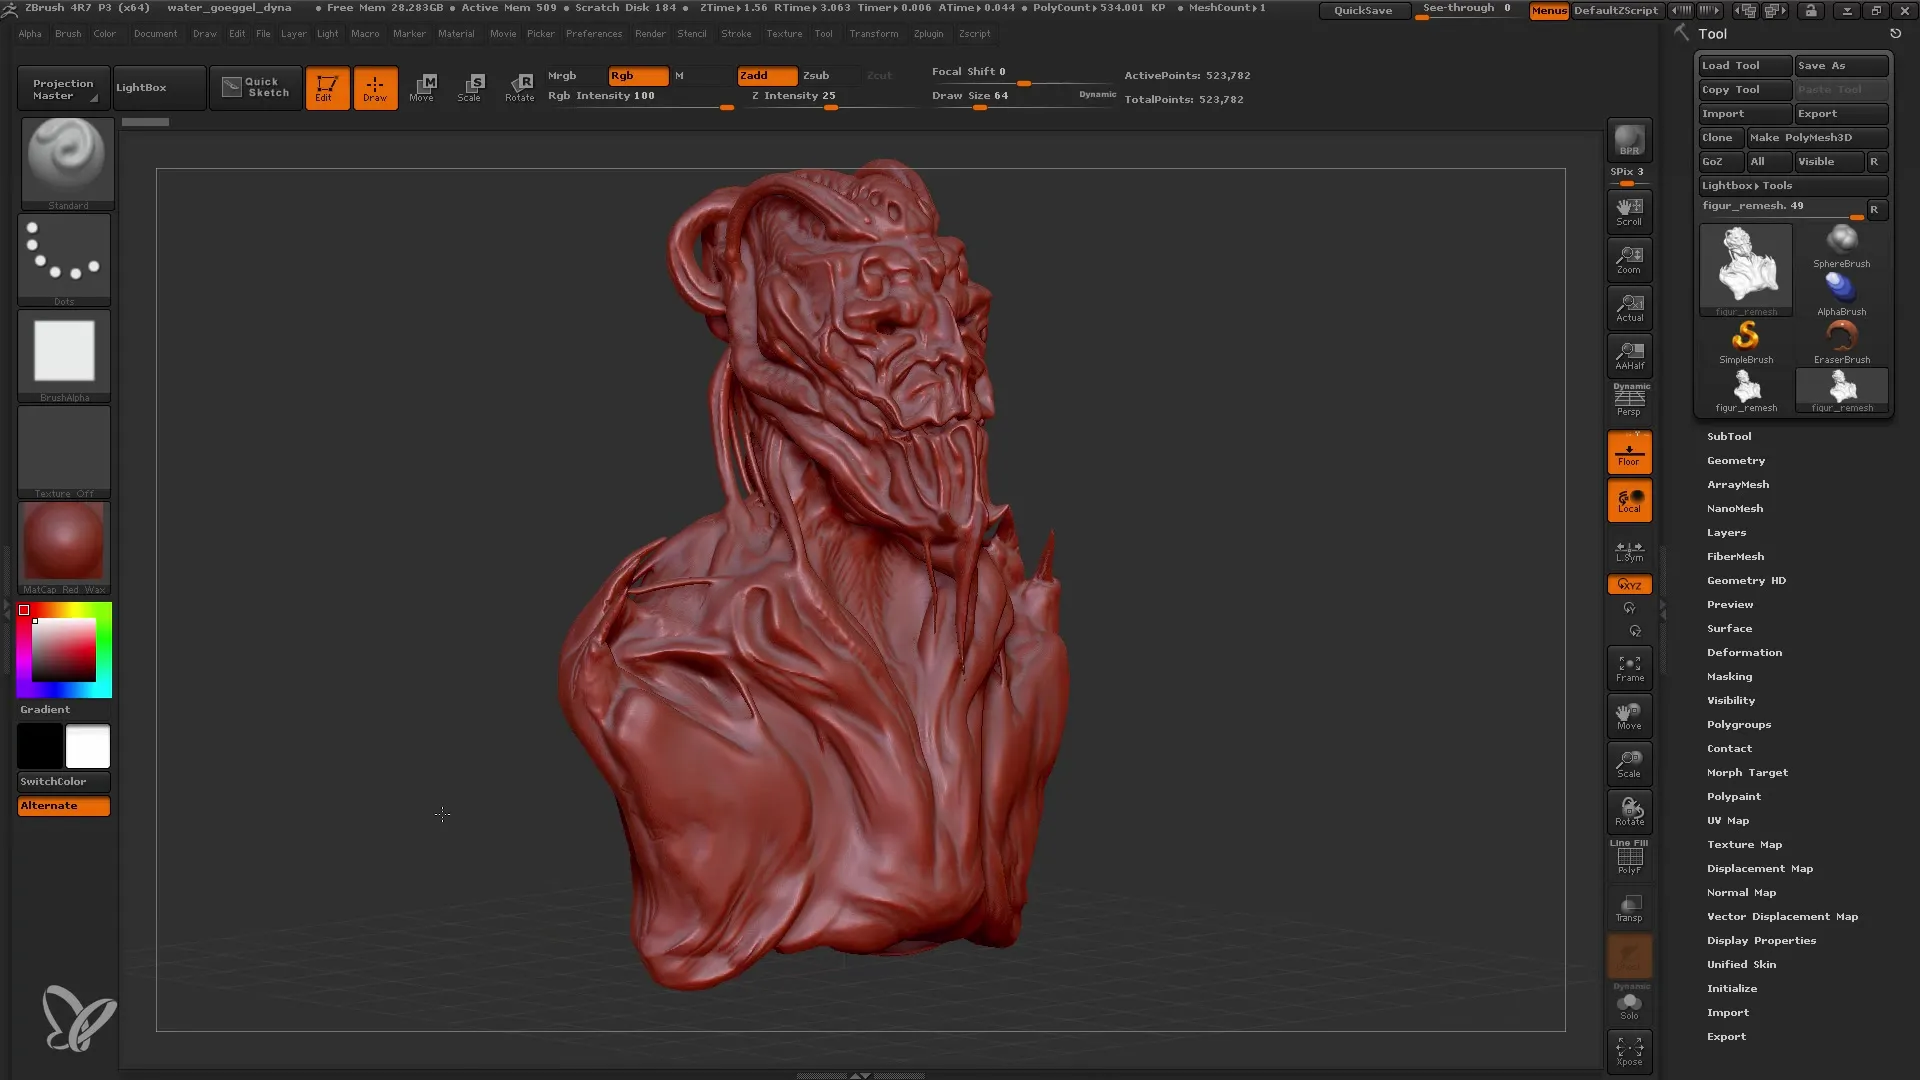
To reduce the polygon count before using ZRemesher, you need to disable Dynamesh. Click on the corresponding buttons and ensure you can see the model correctly. In the next step, it's important to have your precise goal in mind: You want to create a new, cleaner mesh with fewer polygons but still preserve all the essential details.
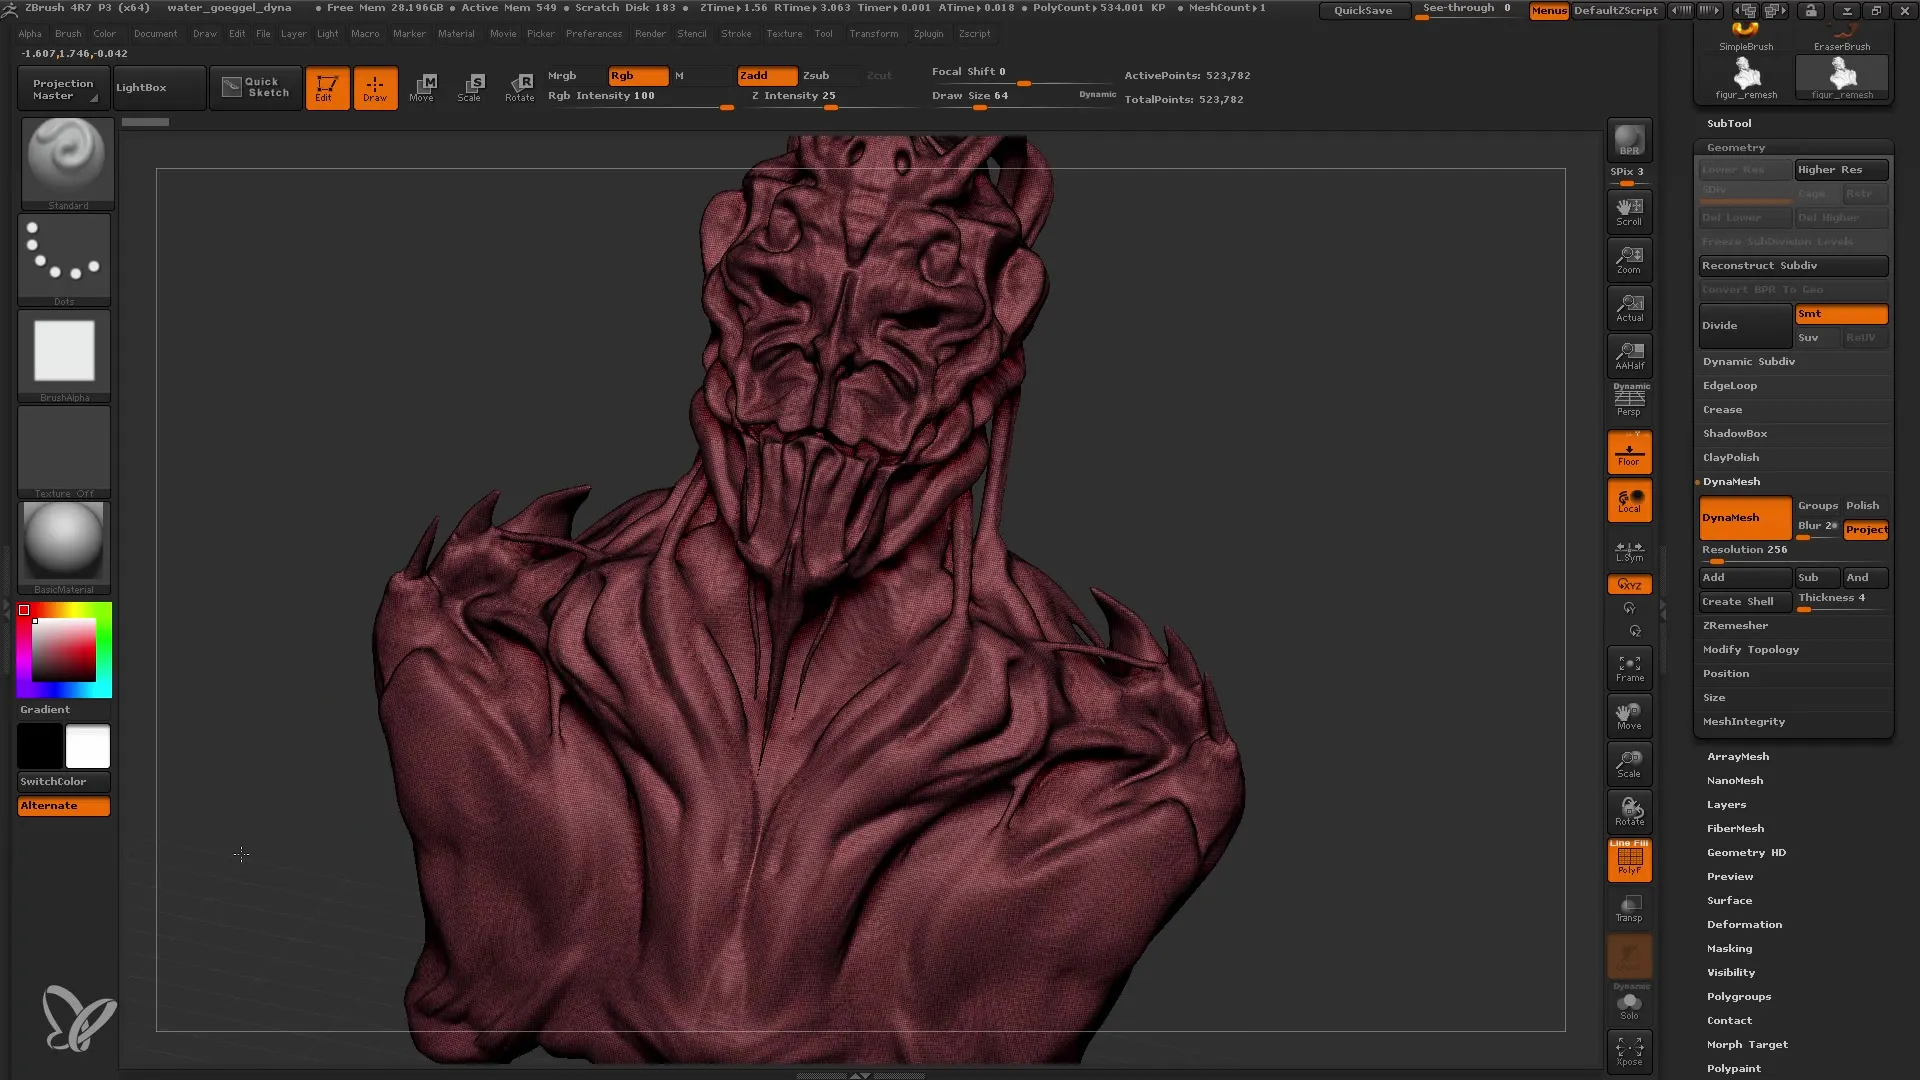
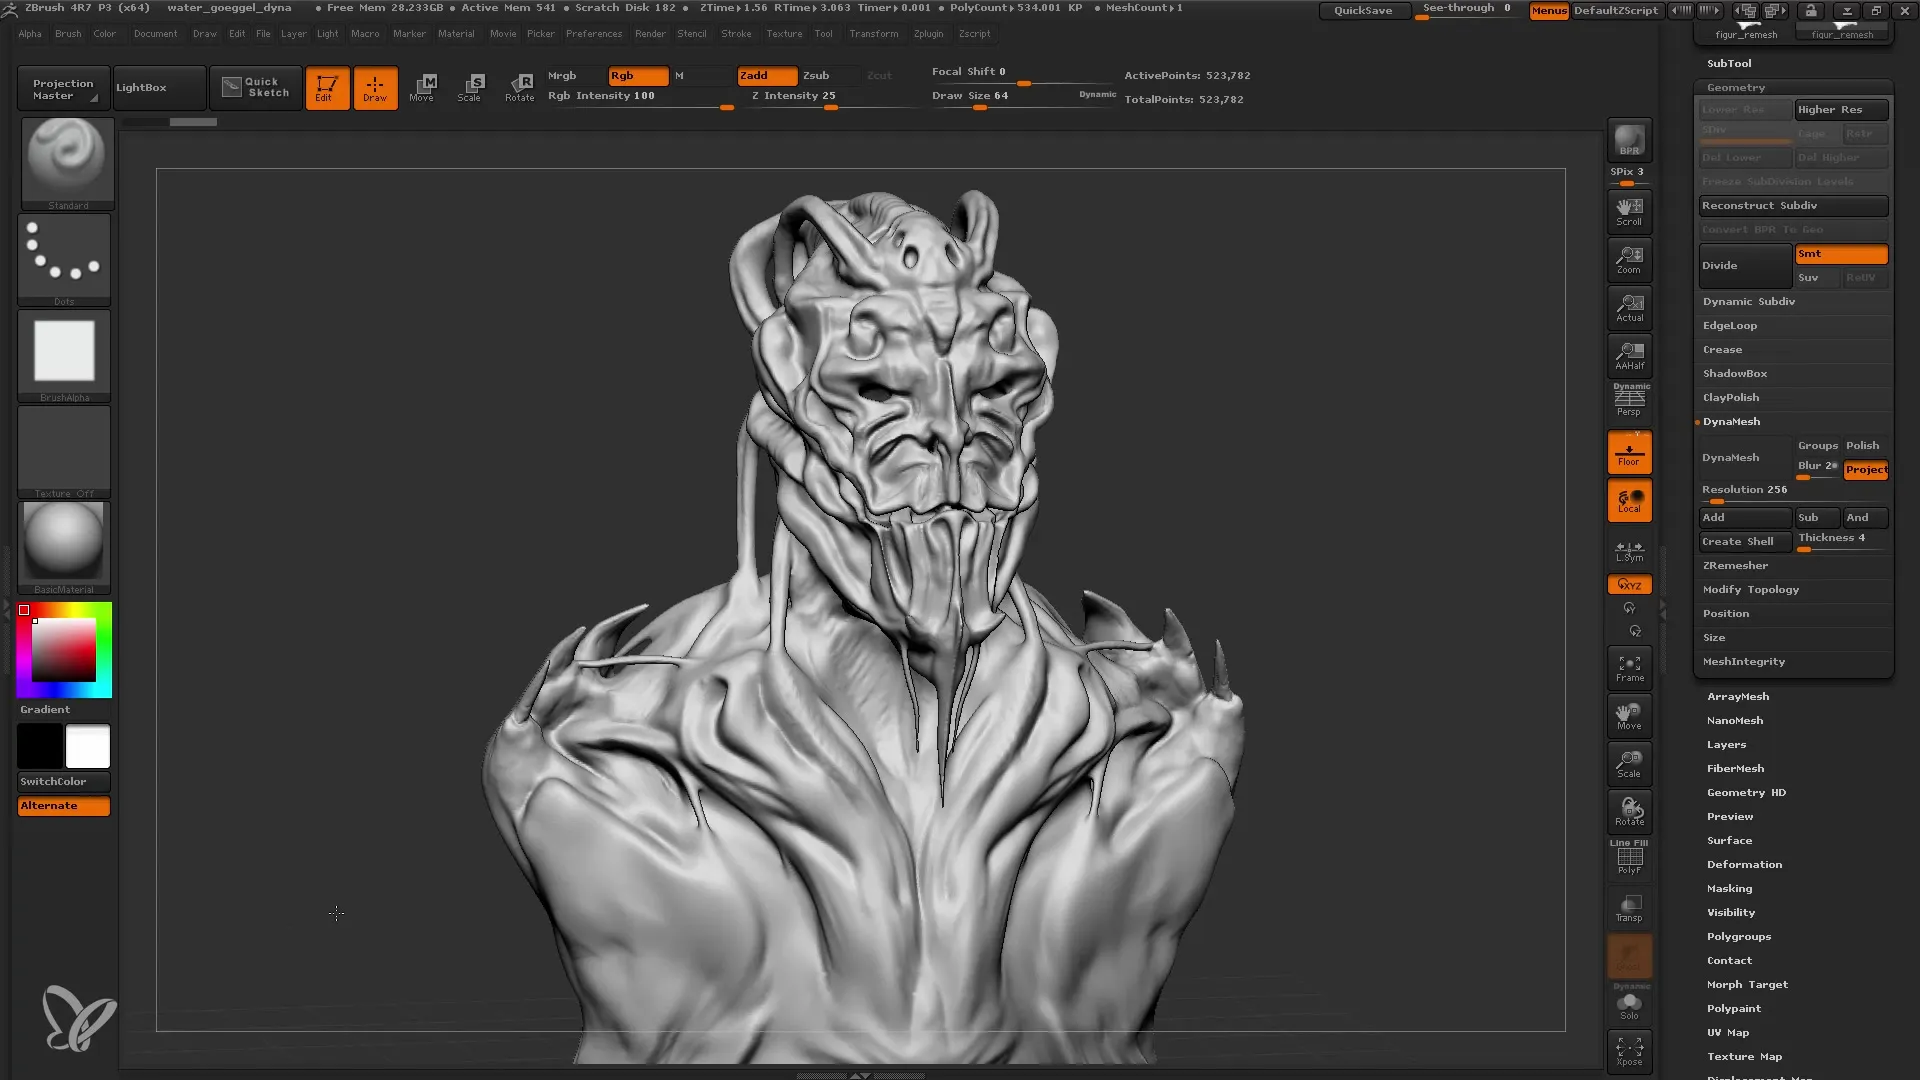
The next step is to duplicate your object. Duplications are crucial as you want to keep the original Dynamesh object as a reference. Name your new variant, for example, "Remesh".
Before starting with ZRemesher, make sure you have saved your project. ZRemesher requires significant computing power, which can overload or even crash your computer. It is therefore extremely important to save regularly.
Now you can go to the "Subtool" menu and find the ZRemesher function under "Geometry". Here, you can make various settings to determine the desired polygon count. The default option usually works well, especially when starting with about 500,000 polygons. Click the ZRemesher button now and wait a moment while ZBrush works.
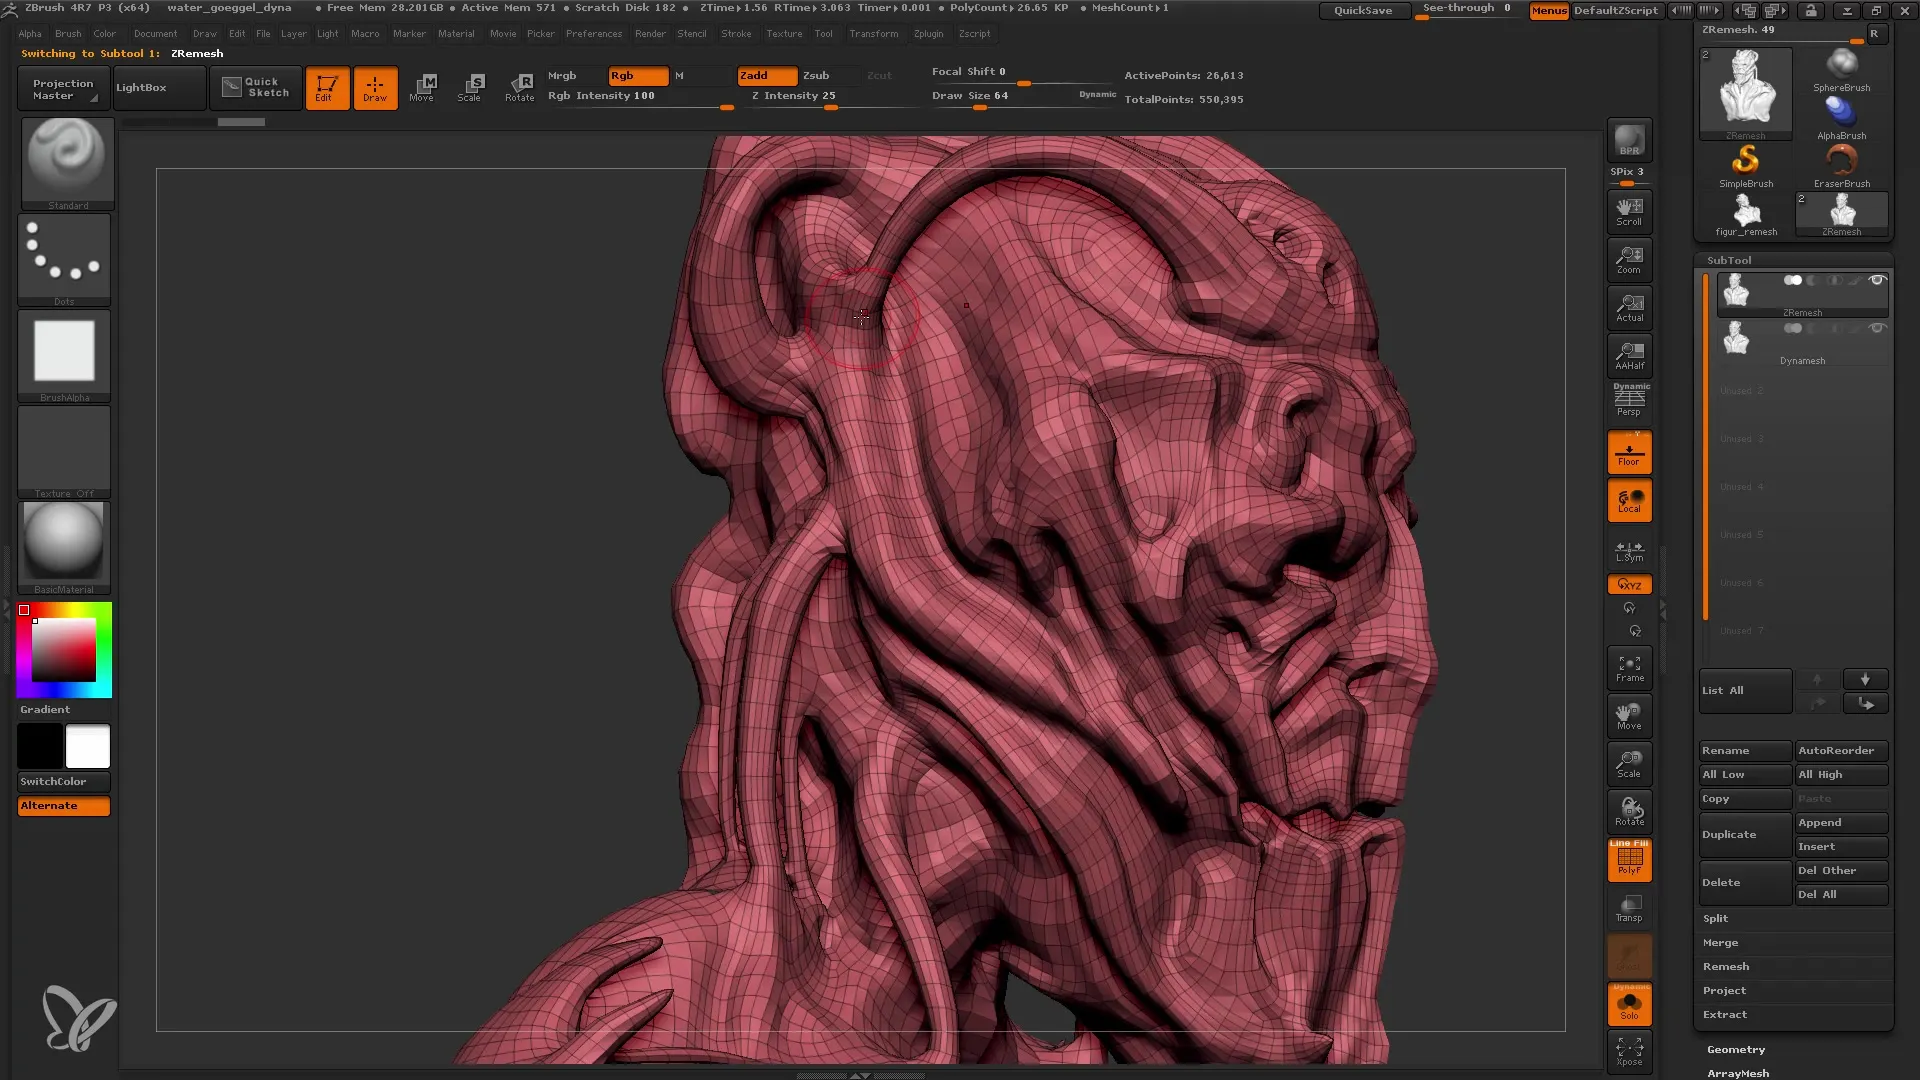
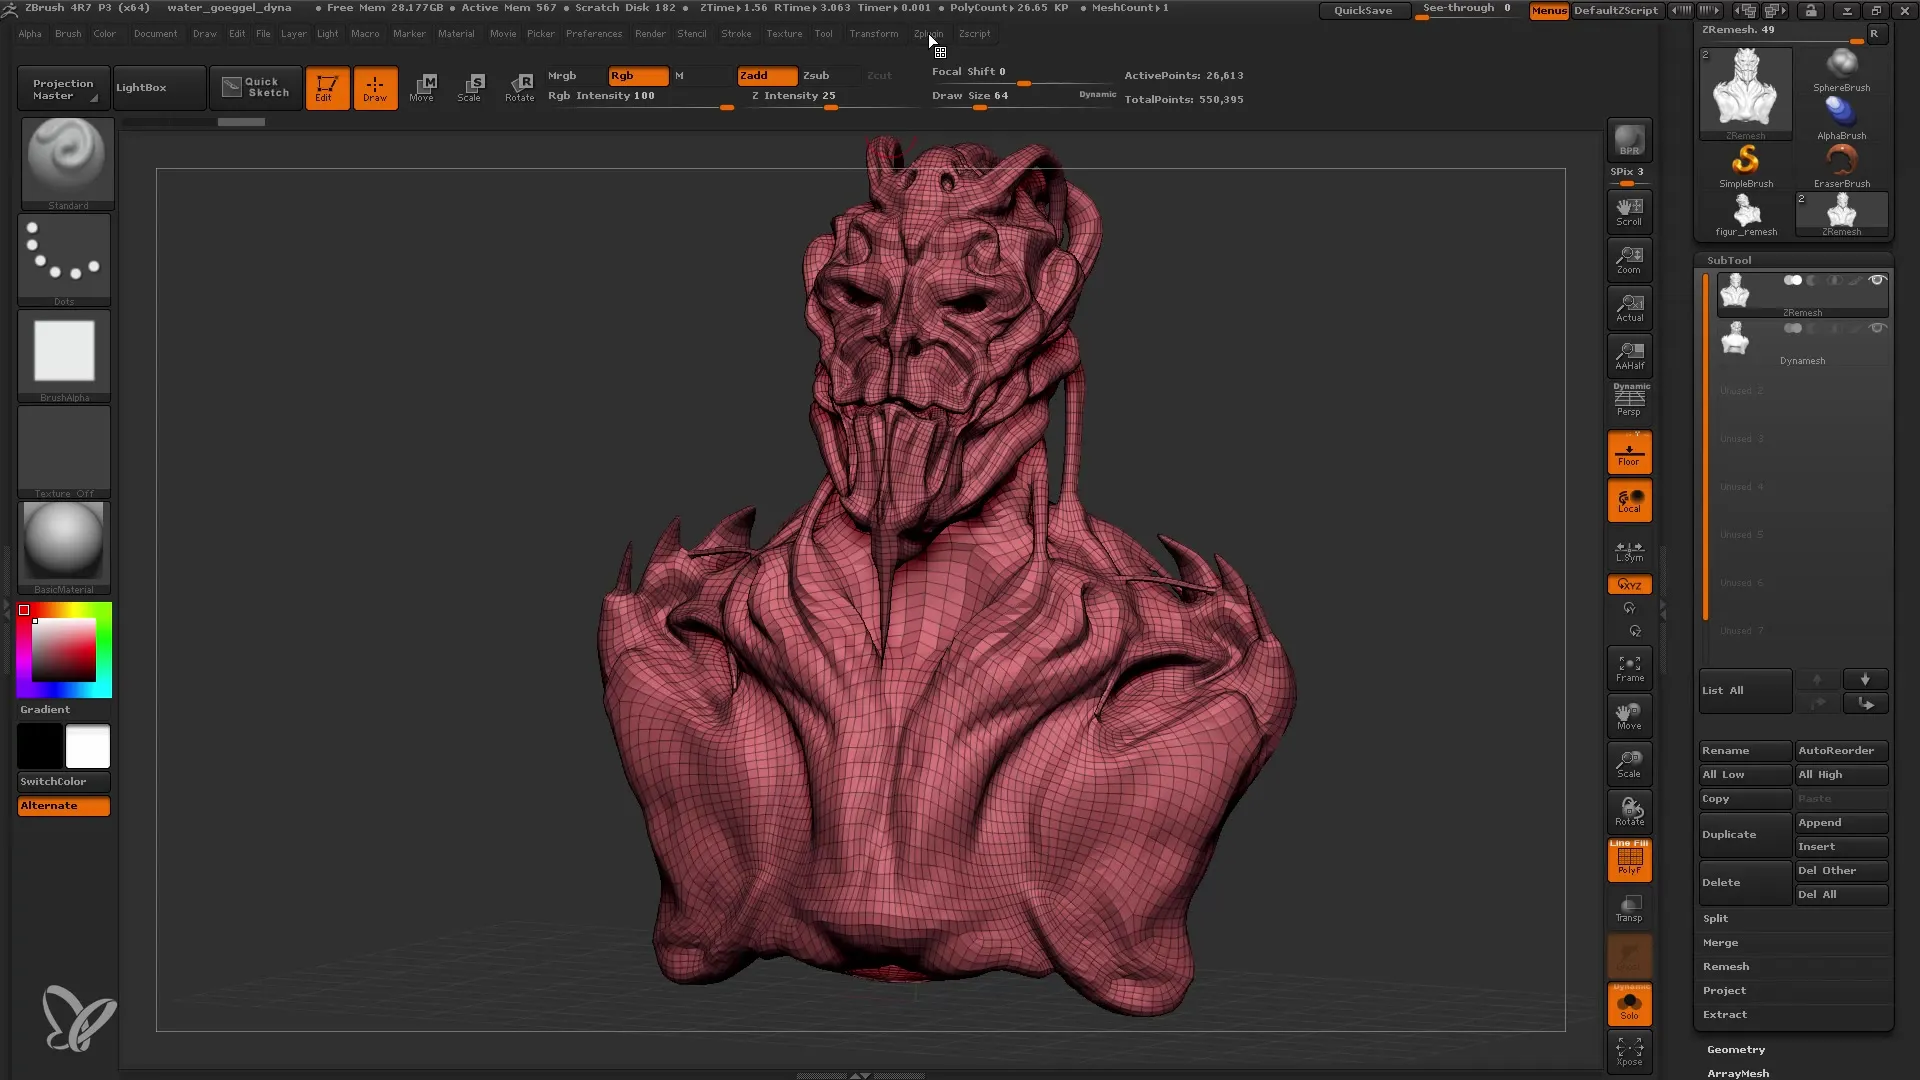
Once ZRemesher has finished its work, you should check the polygon count. In this case, we are now at about 26,000 polygons with no significant loss of detail. You can compare the results and be amazed at how well the shapes have been maintained while drastically reducing the polygon count.
To create your UV map, go to the "UV Master" plugin. Here, you can use the "Unwrap" function, which prepares the mesh for texturing. Please note that significant computing power is required here as well, so don't forget to save your work.
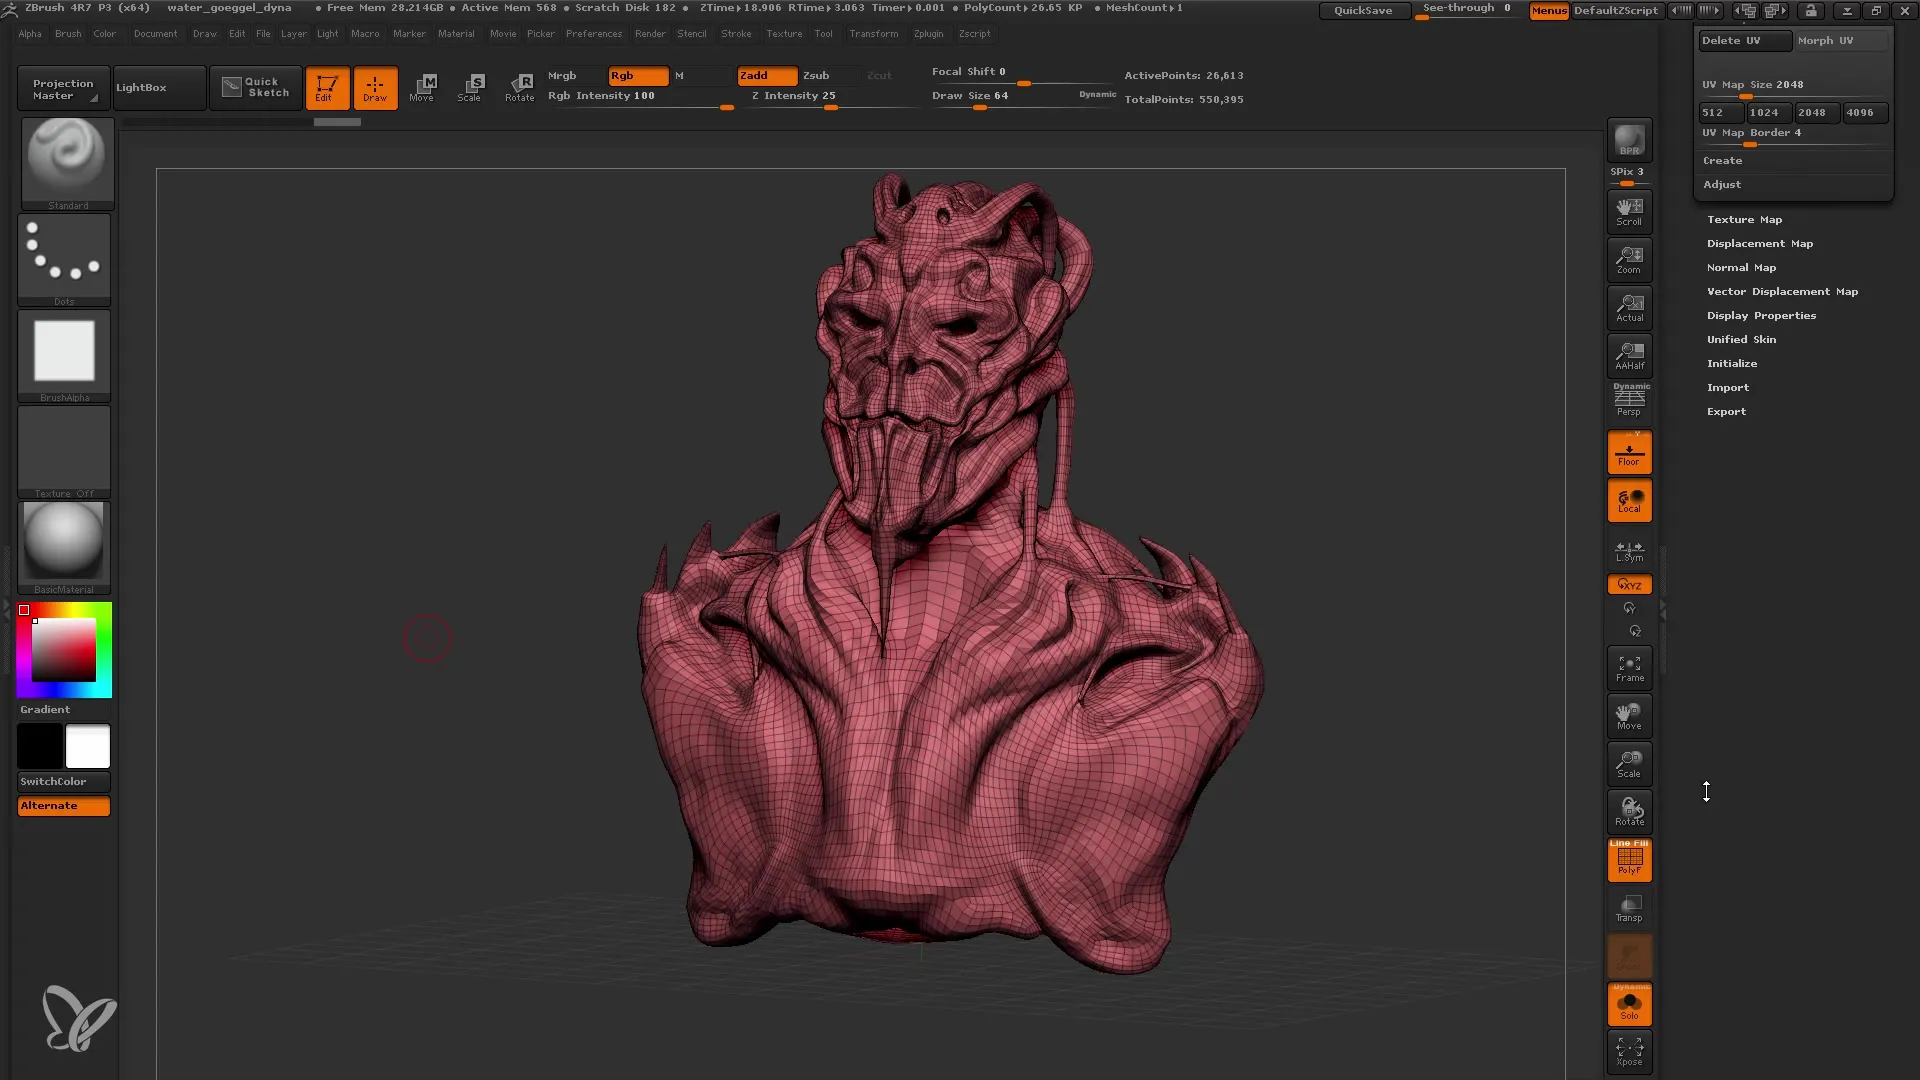
After unwrapping, you can see how your UV map looks. Use the "Morph UV" function to display the layout of the UV map. This is crucial for correctly applying textures later on and ensuring that you do not lose the details.
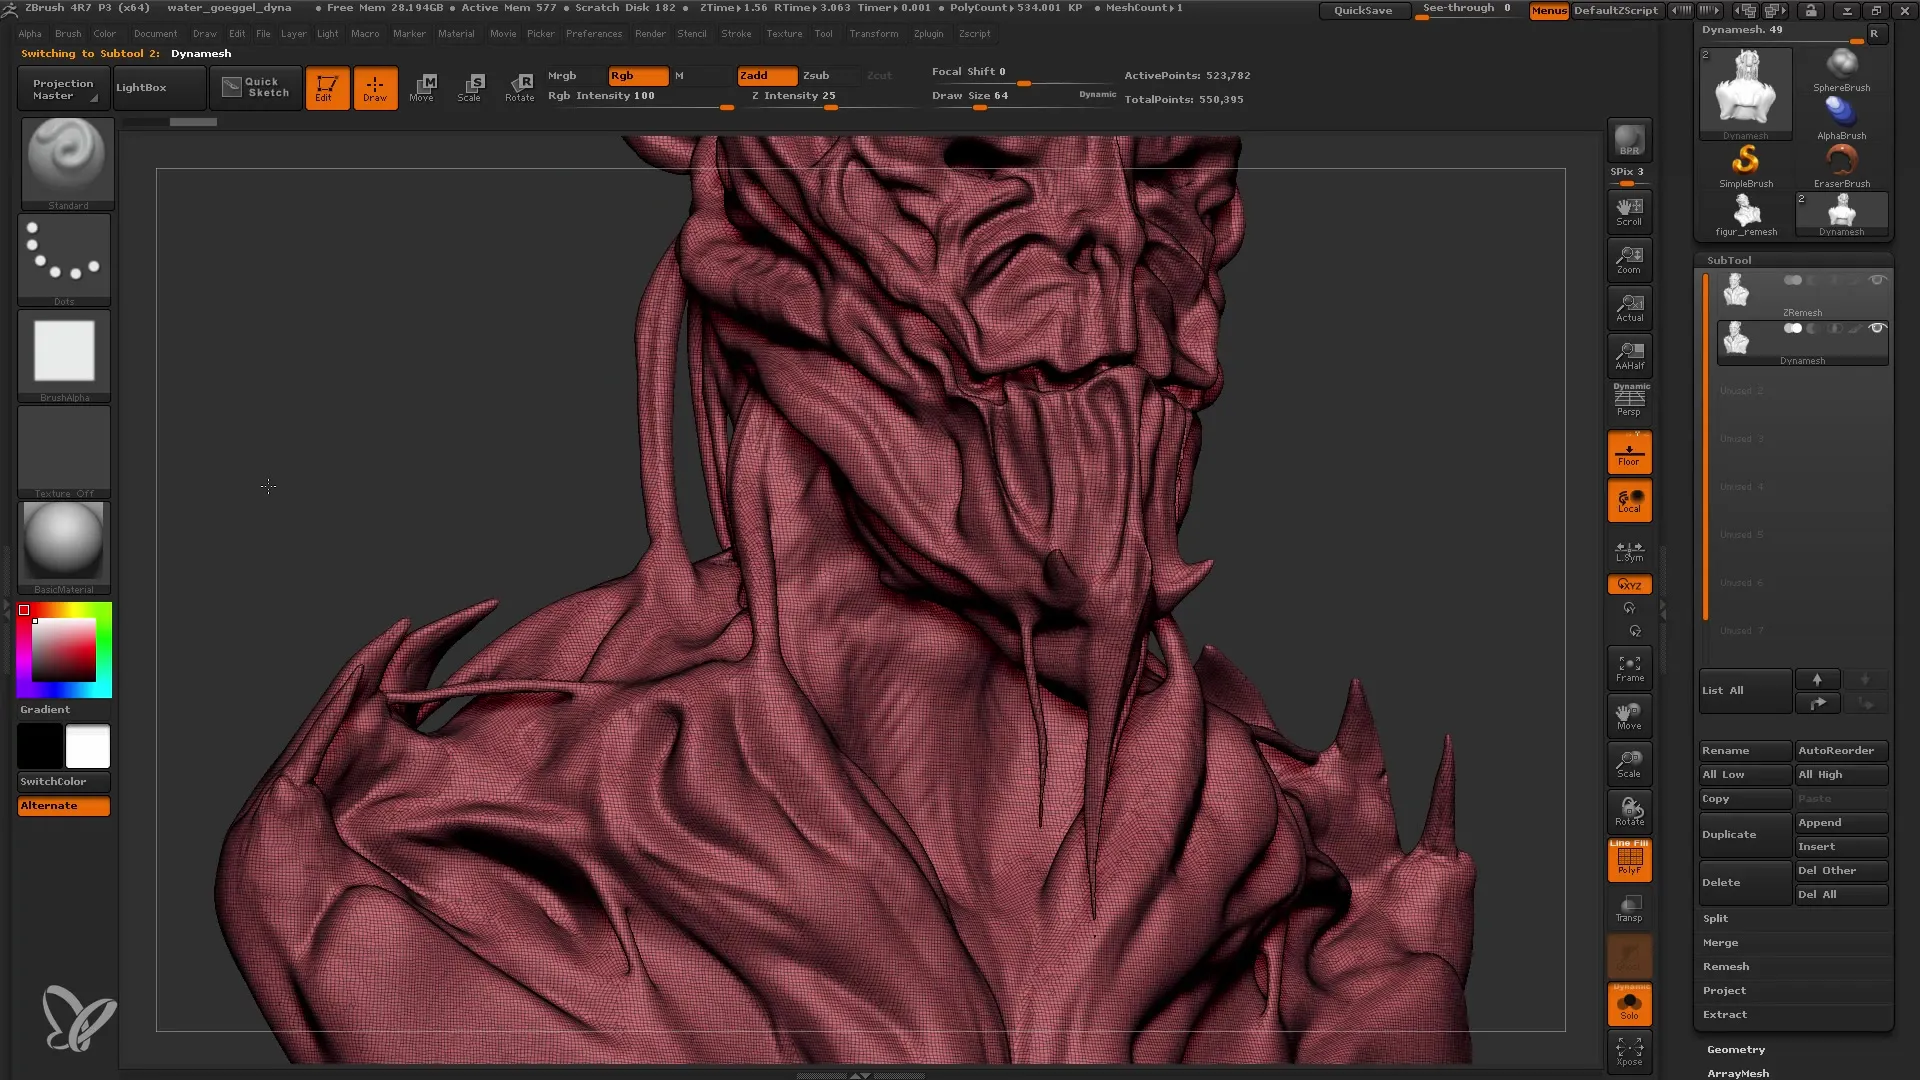
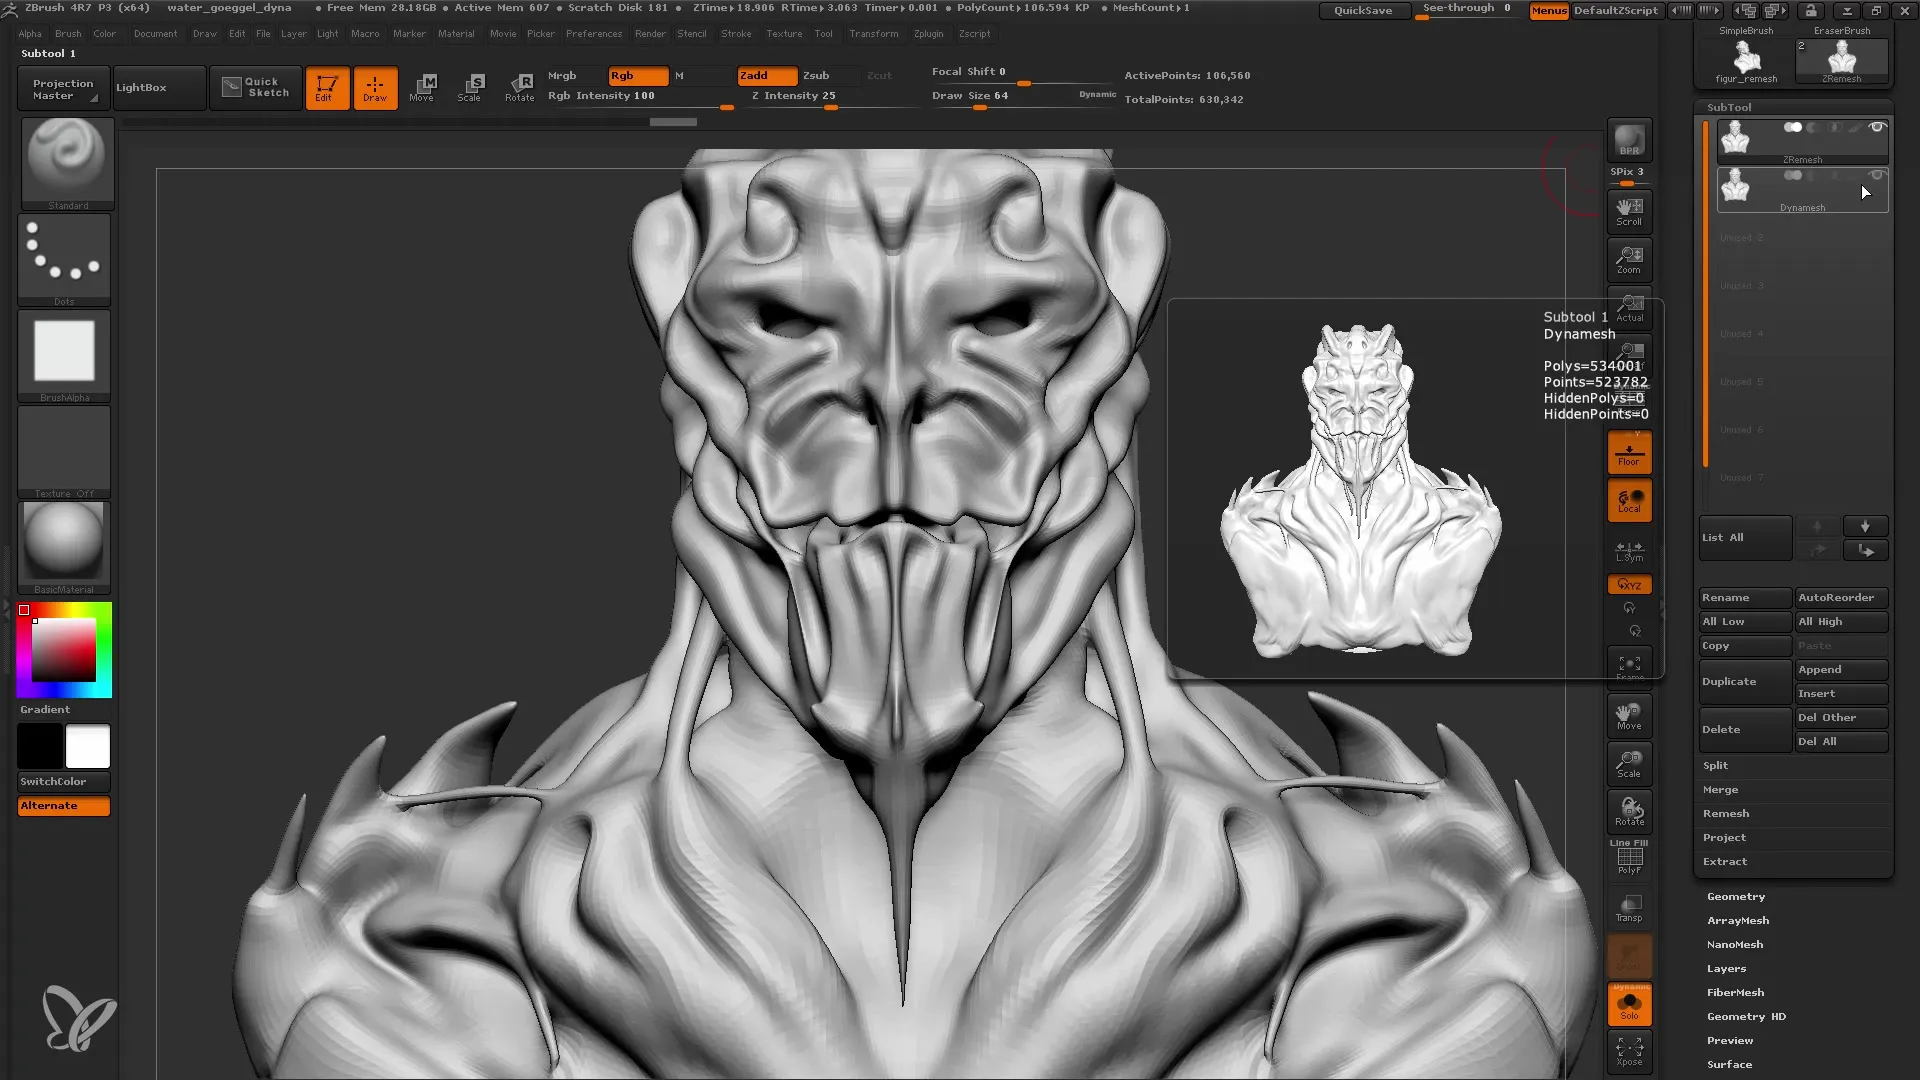
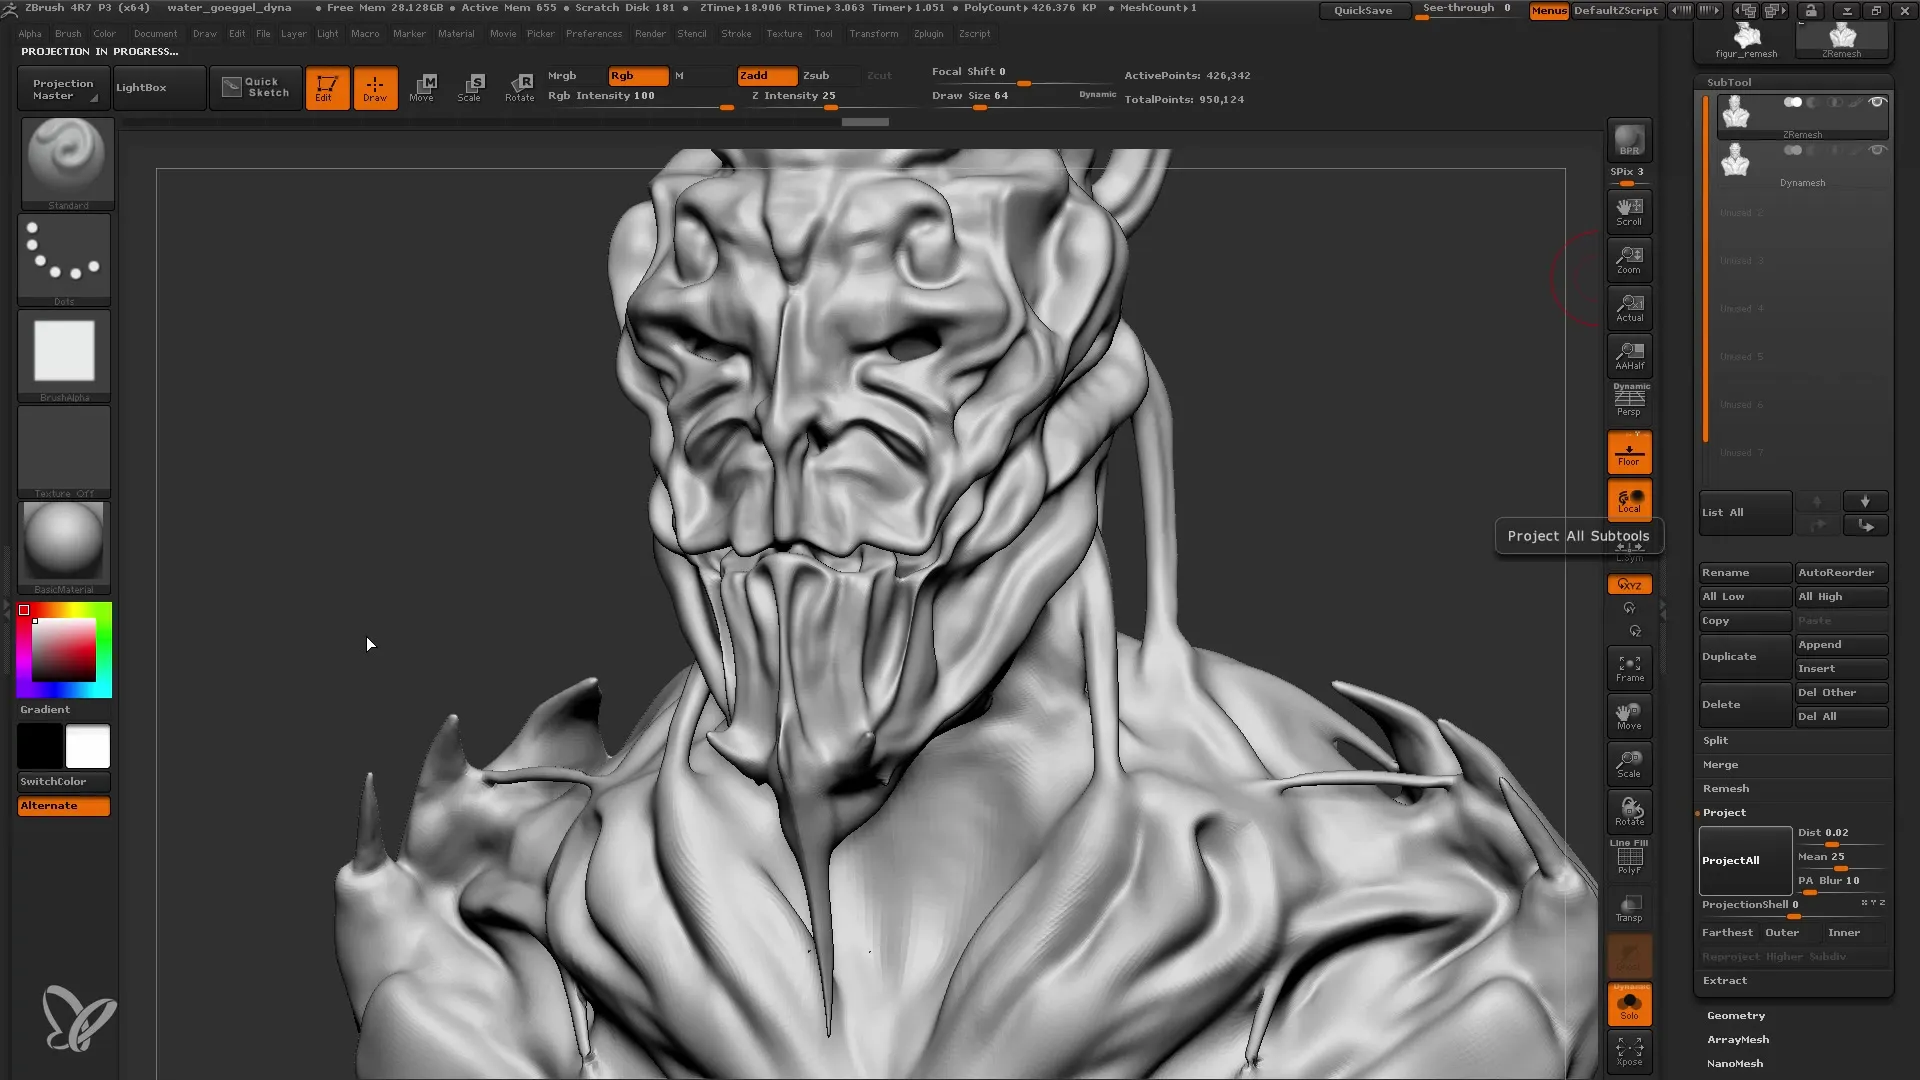
Now we want to project the details from the original Dynamesh object onto the new remesh model. Activate the Visible on your original model, make sure that the "Solo" function is deactivated so that both models are visible.
Then navigate to the settings under "Project" and click on "Project All". Notice the change in detail - you now have the opportunity to use your previous details to refine the new mesh.
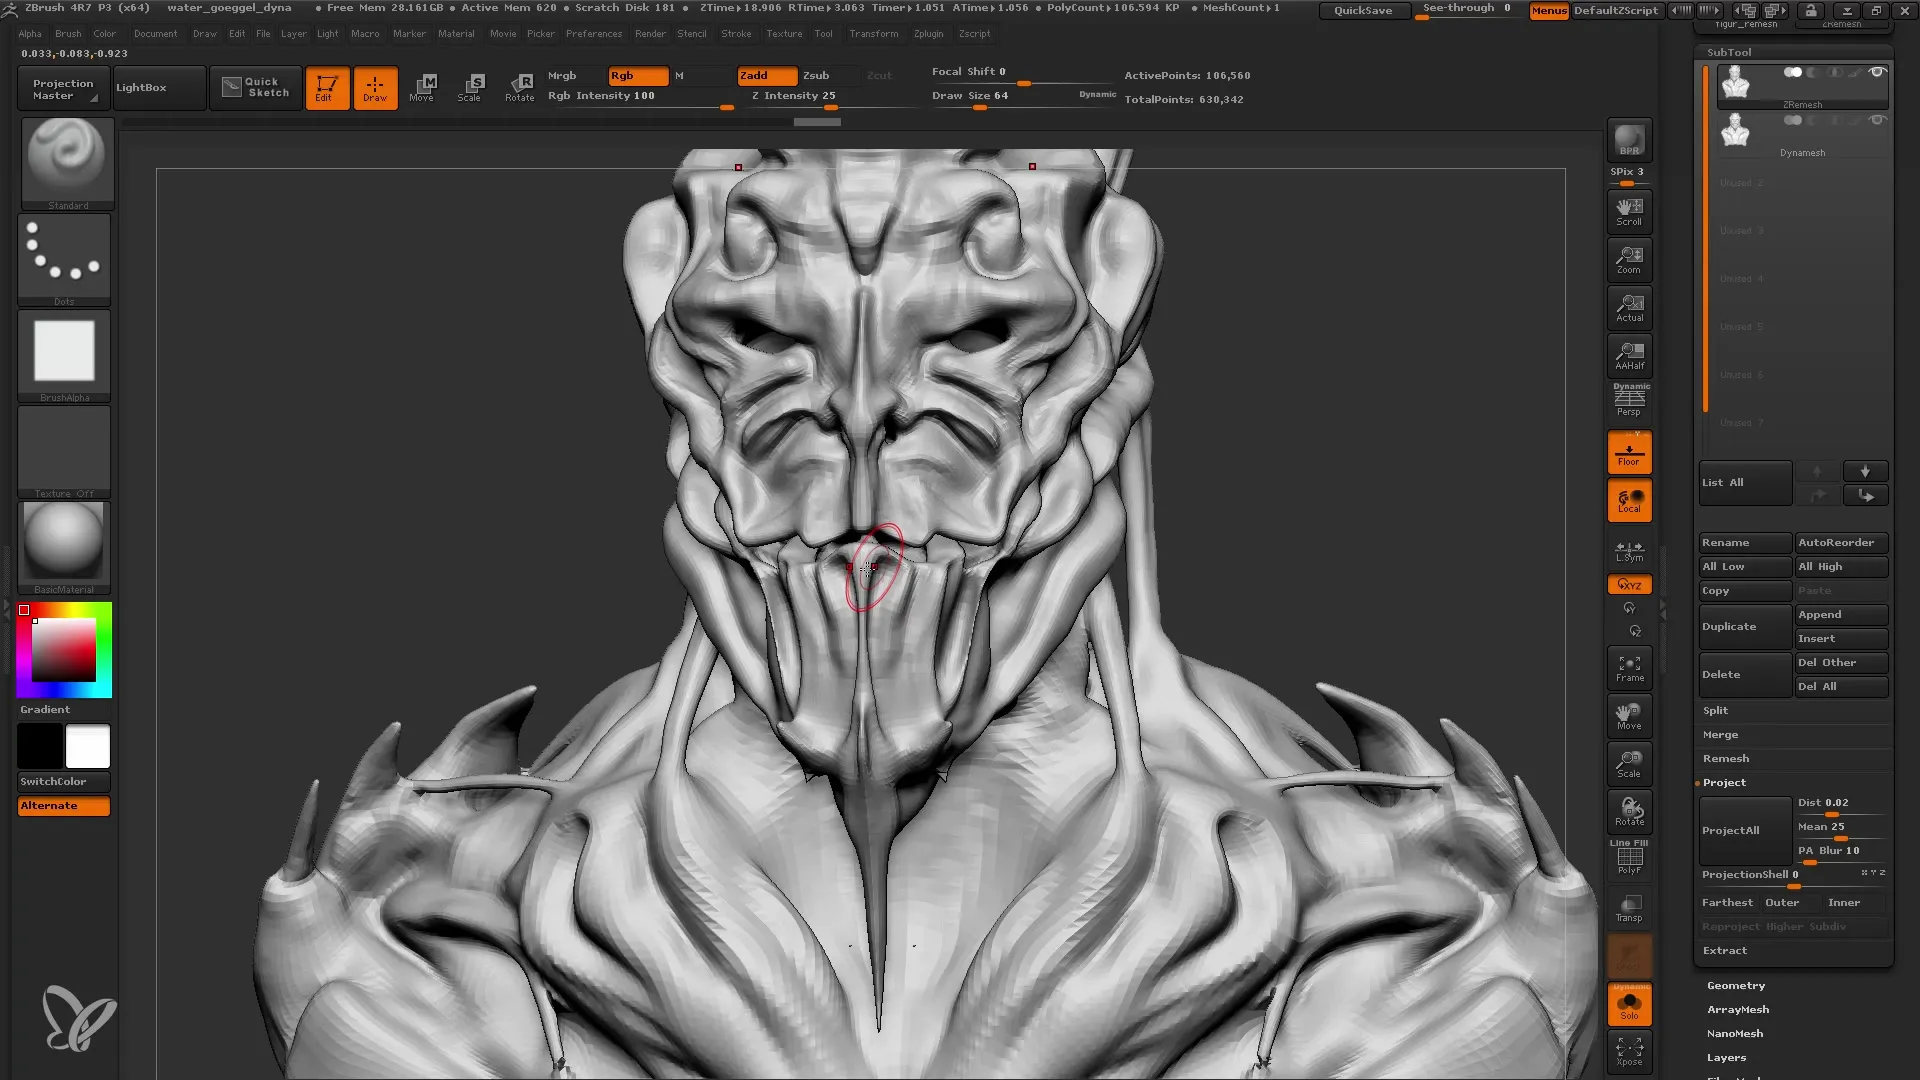
Projecting the details can be done multiple times to ensure that you are getting the best possible color depth and detail accuracy. In this example, we want the details from the original model to be fully transferred.
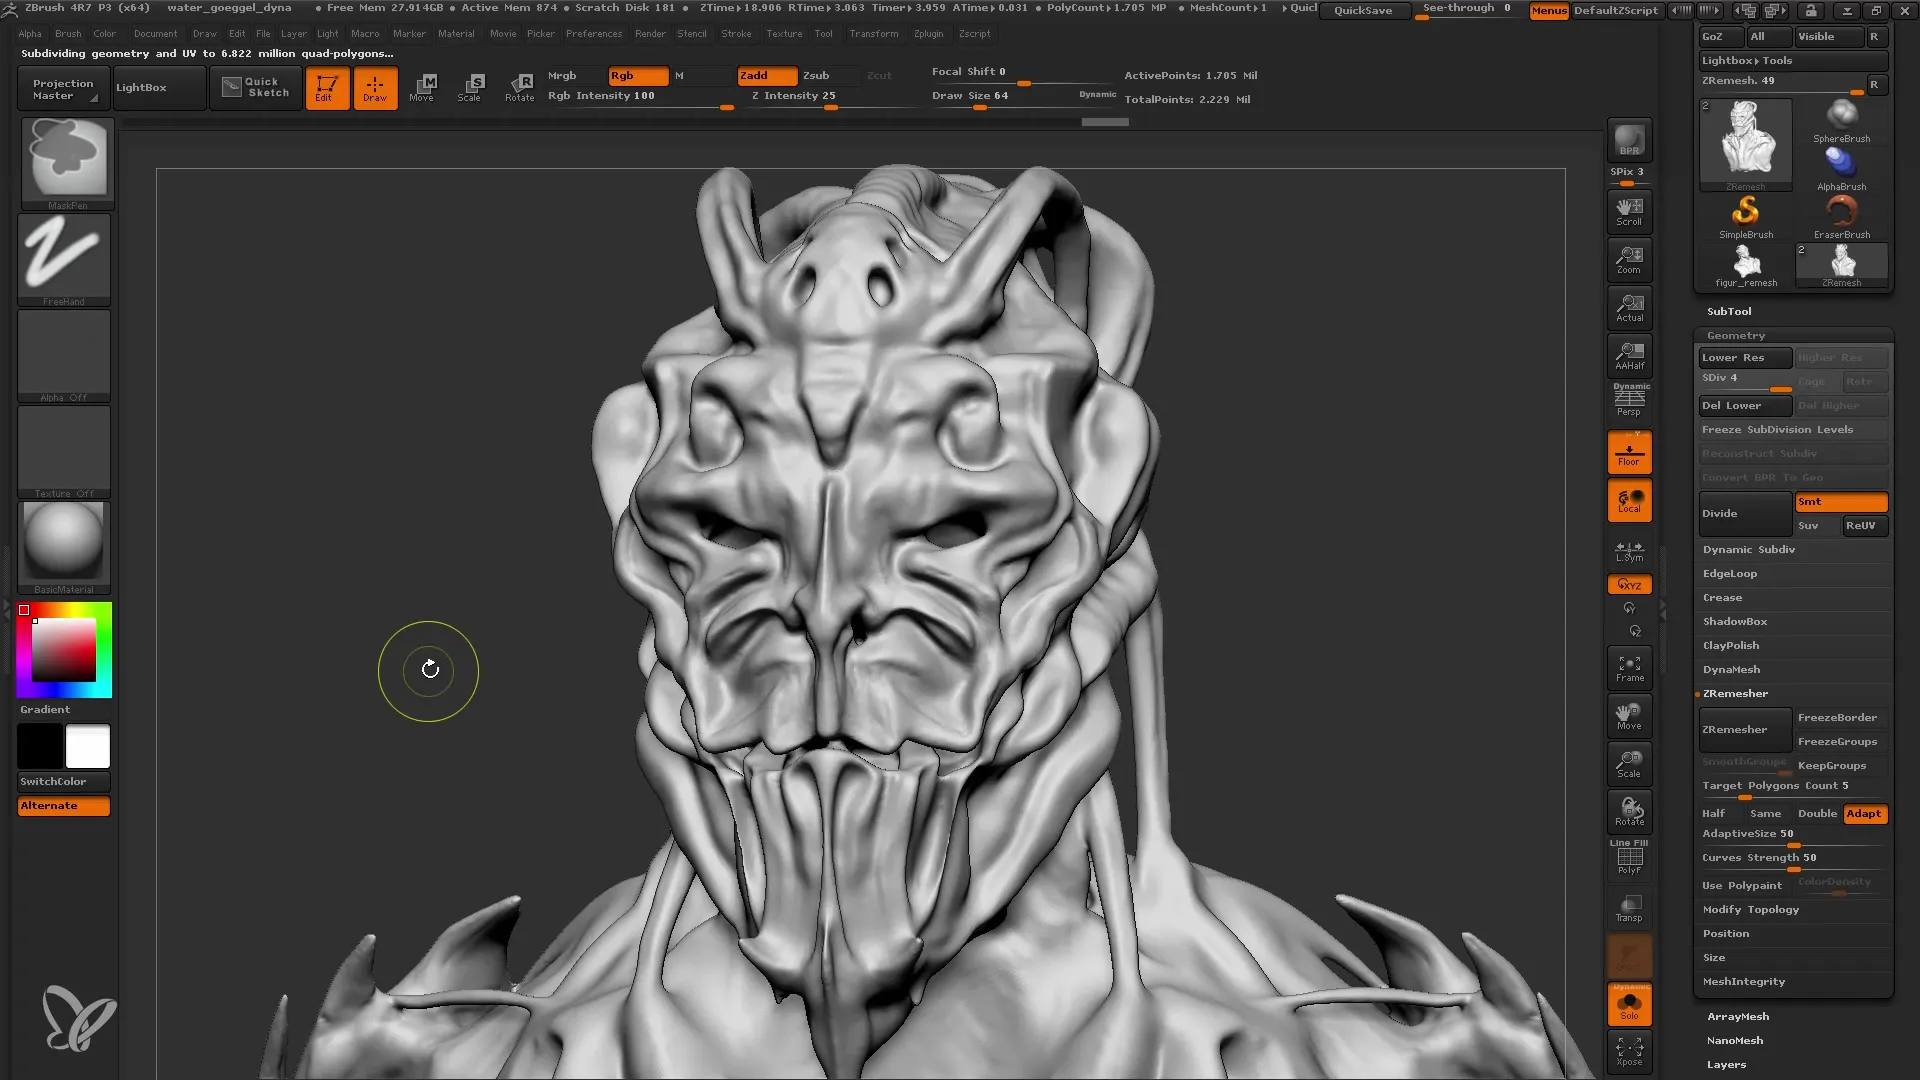
Finally, after working with the subdivision levels, you can determine how much detail you want to add to your model. ZBrush allows you to add subdivision levels without changing the base polygon count.
Summary
The ZRemesher is an excellent tool to efficiently reduce complex models in ZBrush without losing many of the original details. With the right preparations and understanding of the process, you can significantly improve your models.
Frequently Asked Questions
What is ZRemesher?ZRemesher is a tool in ZBrush that automatically recreates the topology of 3D models and optimizes the polygon count.
How can I use ZRemesher?To use ZRemesher, you need to duplicate your model, turn off Dynamesh, adjust the settings, and then click on "ZRemesher".
Why should I create the UV map?A UV map is crucial for texturing, as it specifies which polygon receives which color or texture.
Could I lose details when using ZRemesher?Yes, some fine details may be lost, but they can be easily restored by projecting the details from the original model onto the new mesh.
What is the best way to ensure I don't lose data when working with ZBrush?Save your work regularly and duplicate your model before applying intricate operations such as ZRemesher.
