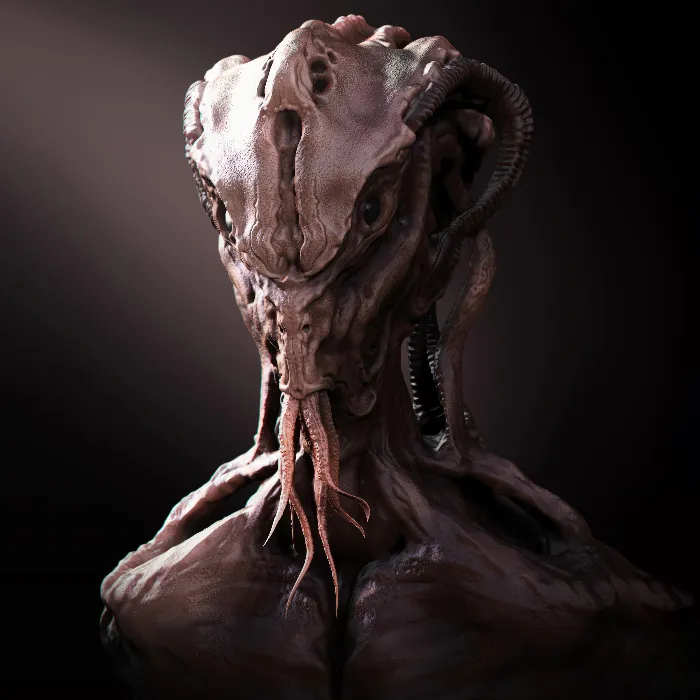
Welcome to this tutorial where you will learn more about using Brushes in ZBrush. Brushes are the main tools of ZBrush that allow you to make detailed changes to your digital models. In this tutorial, we will go through the basic settings and functions of Brushes step by step, so that you can effectively work with these tools and improve your modeling skills.
Key Takeaways
- Brushes are essential for detailing work in ZBrush.
- Settings such as size, intensity, and Focal Shift determine the outcome of your work.
- Different stroke variations offer various ways to apply Brushes.
- Alphas significantly enhance the possibilities of detail generation.
- The Lazy Mouse function helps in drawing more precise lines and shapes.
Step-by-step Guide
To work optimally with Brushes in ZBrush, follow these steps:
1. Create a New Mesh
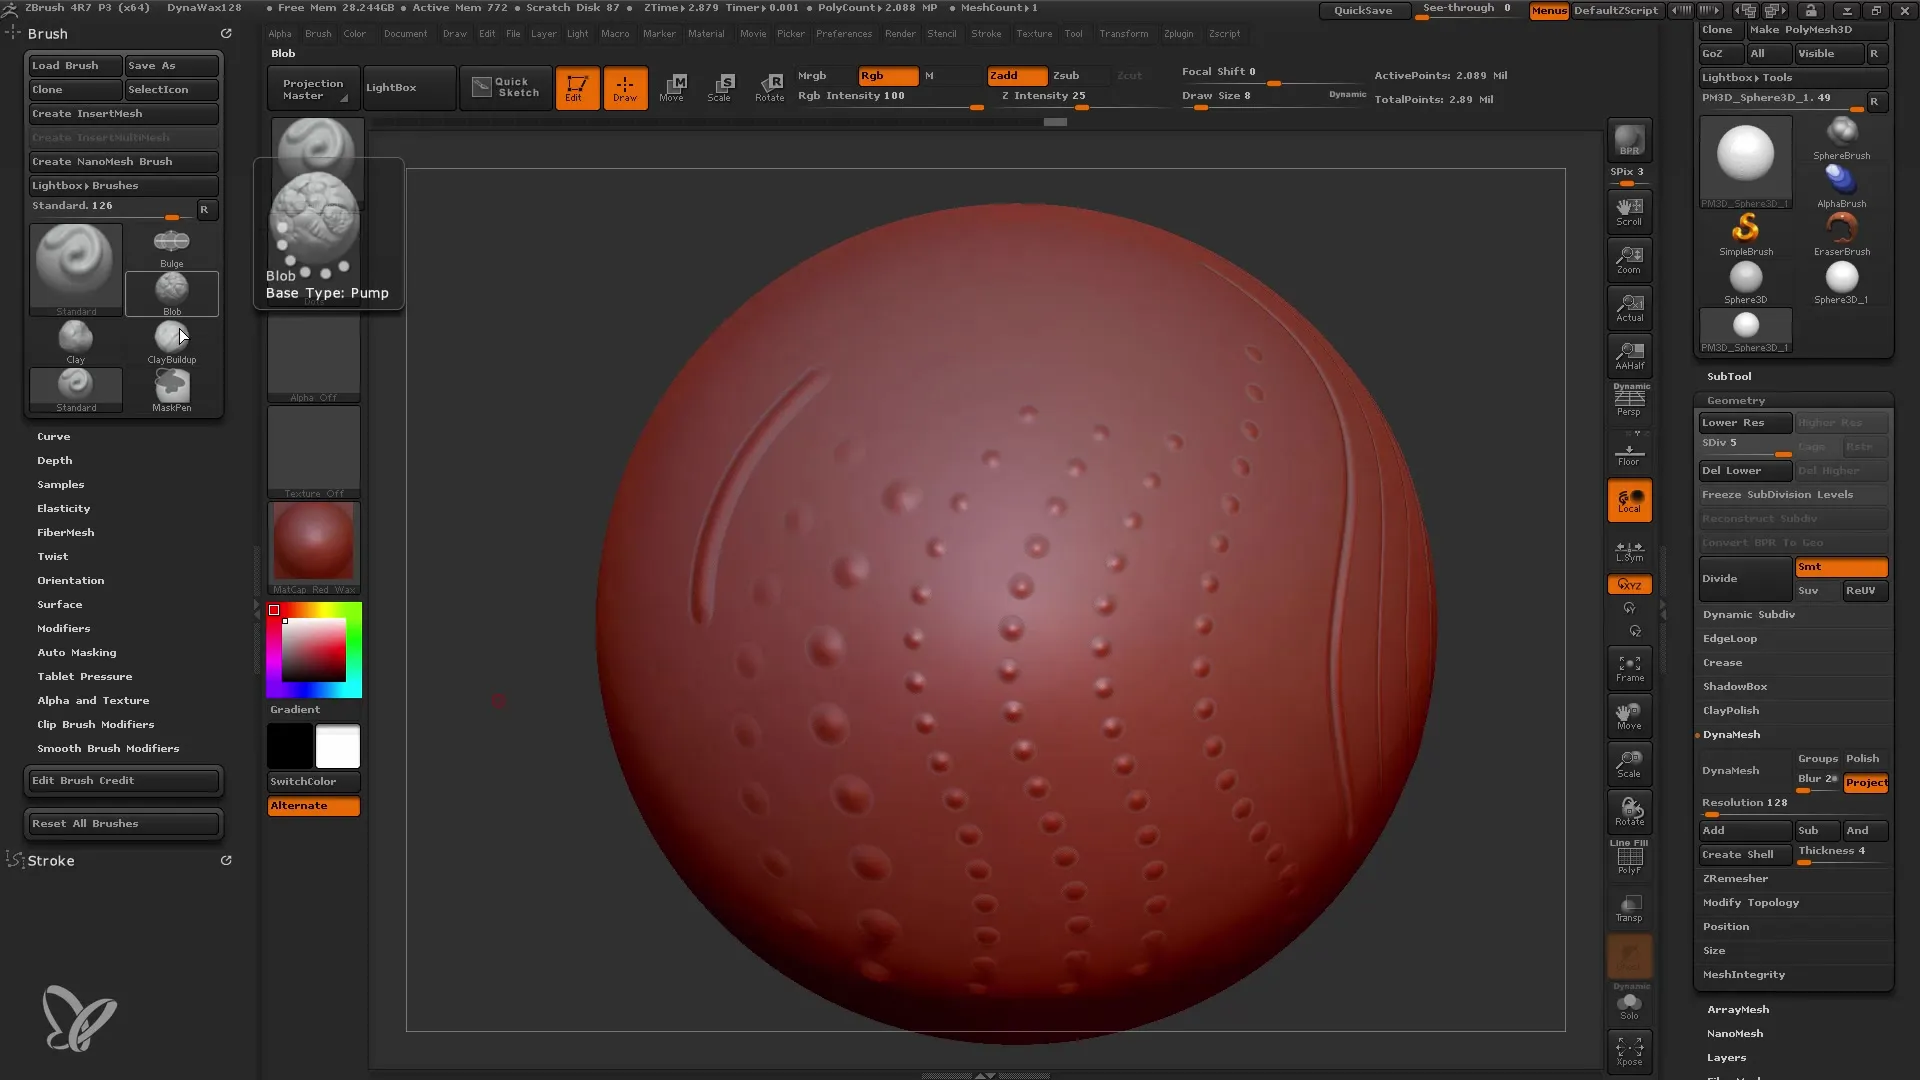
Start by creating a new sphere or any mesh of your choice. You can do this by simply selecting the default sphere and then adjusting its geometric properties. Click on the "Edit" function and activate the Polymesh to be able to edit your mesh.
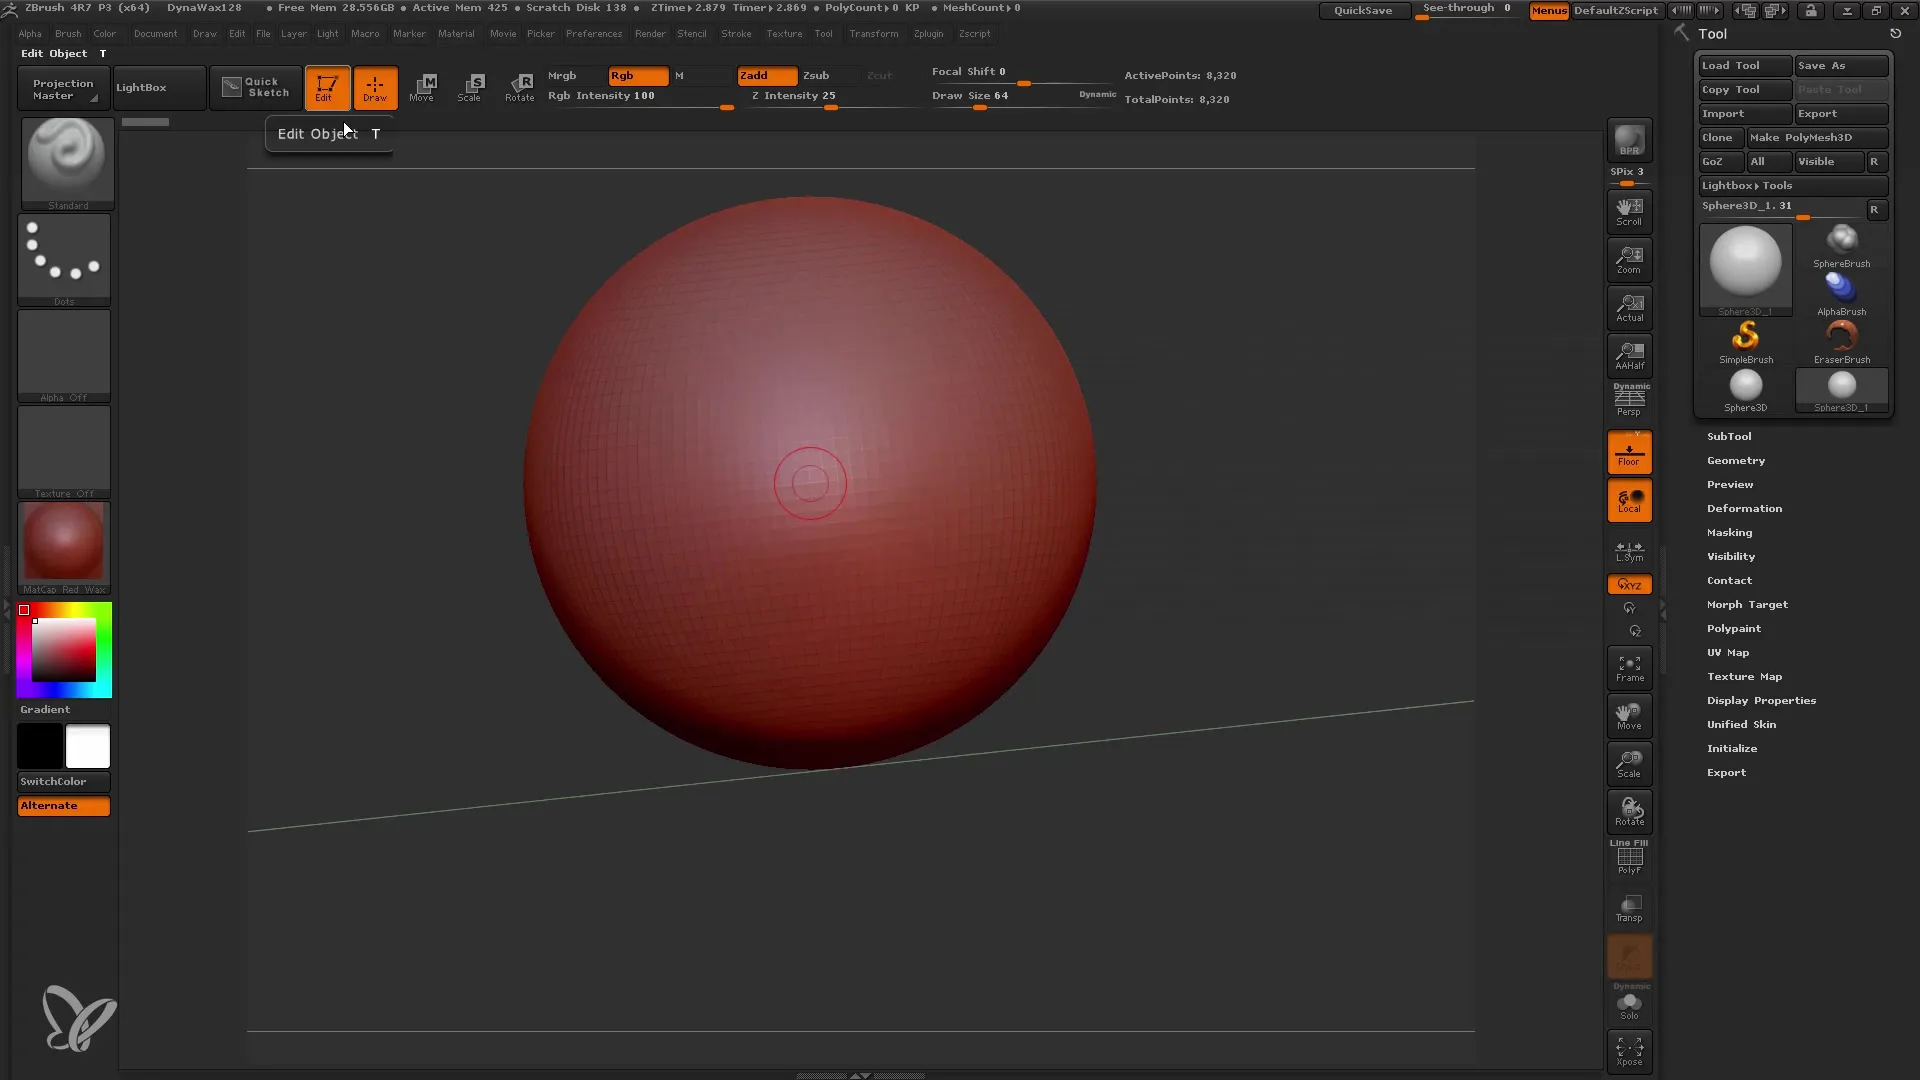
2. Subdivide Your Mesh
To be able to add enough details, you need to subdivide your mesh in ZBrush. Choose the Subdivision Level and increase it to about 5. This will give you over 2 million polygons, providing you with more room for fine details.
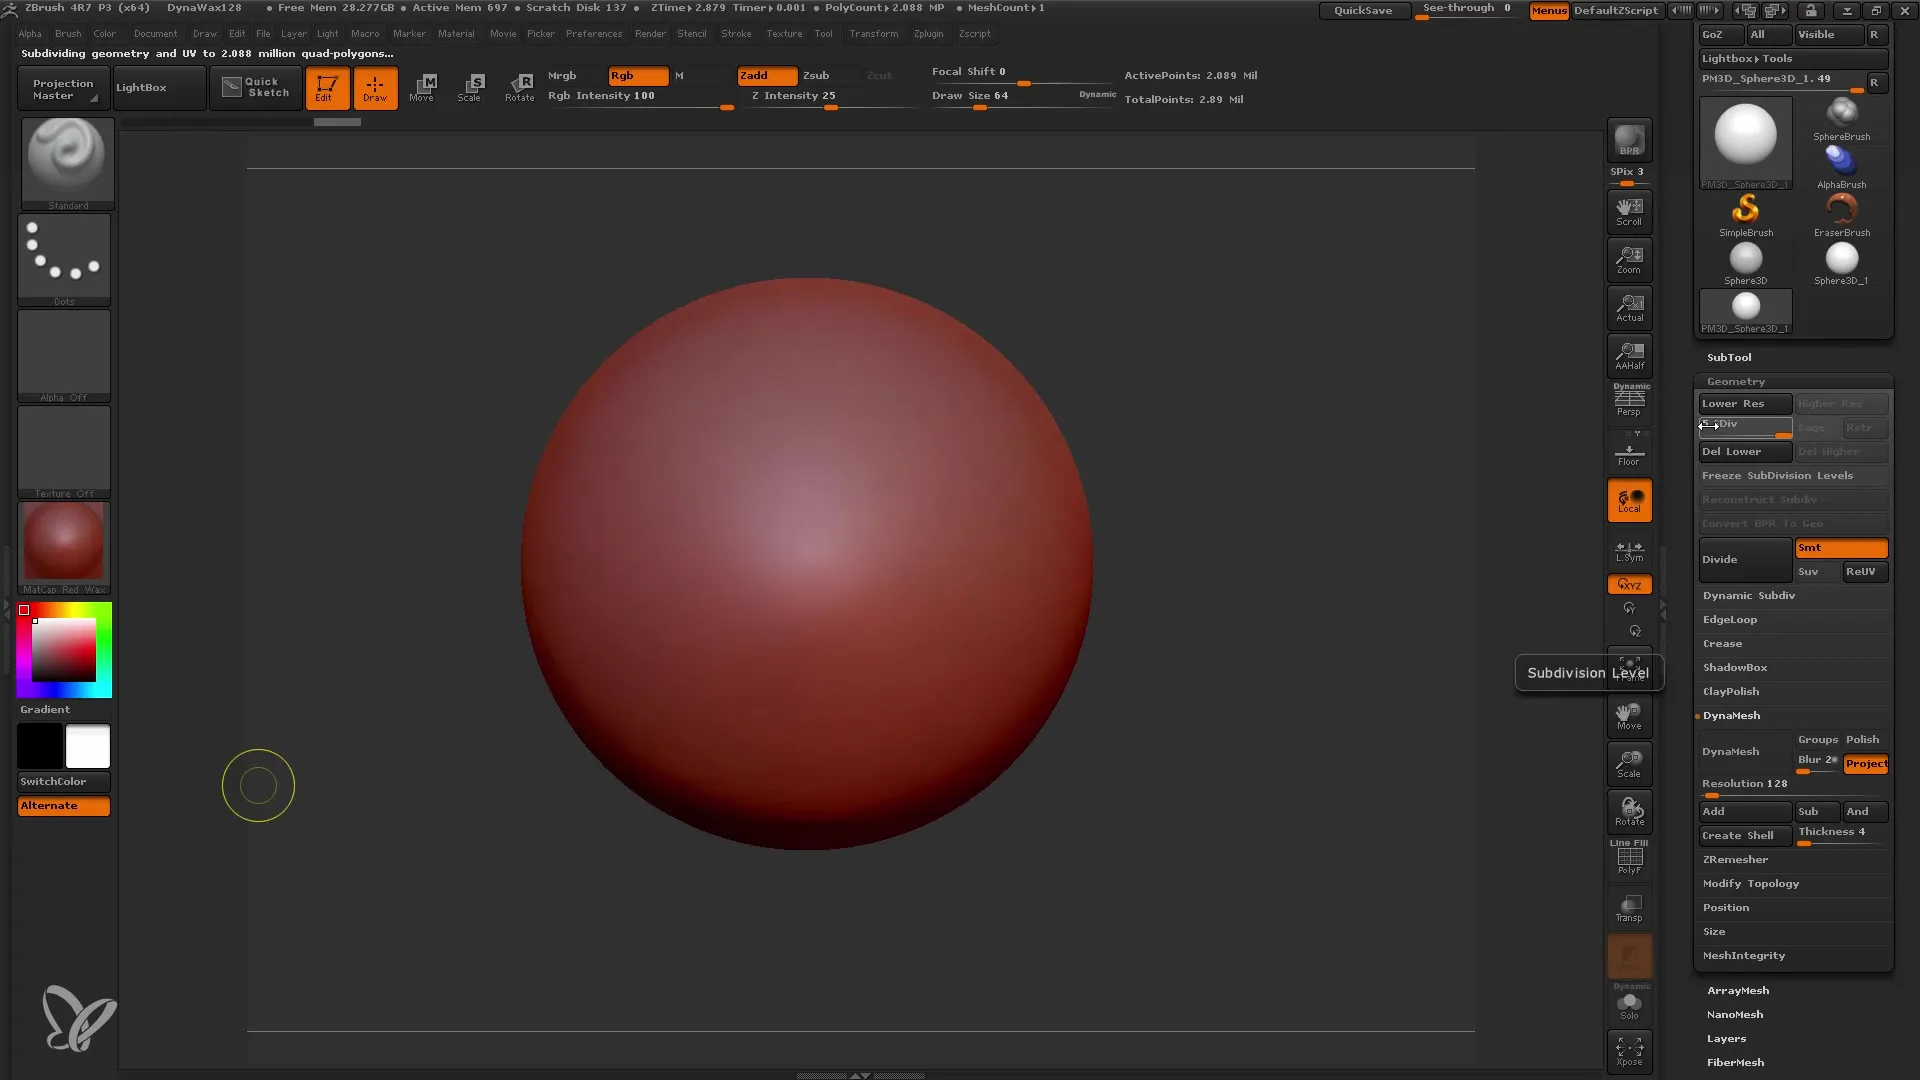
3. Select Your Brush
Click on the Standard brush and make the default settings. With pressure sensitivity, you can control how strongly the brush responds to the pressure of your input device. You can test this by varying your pressure to see how the brush intensity changes.
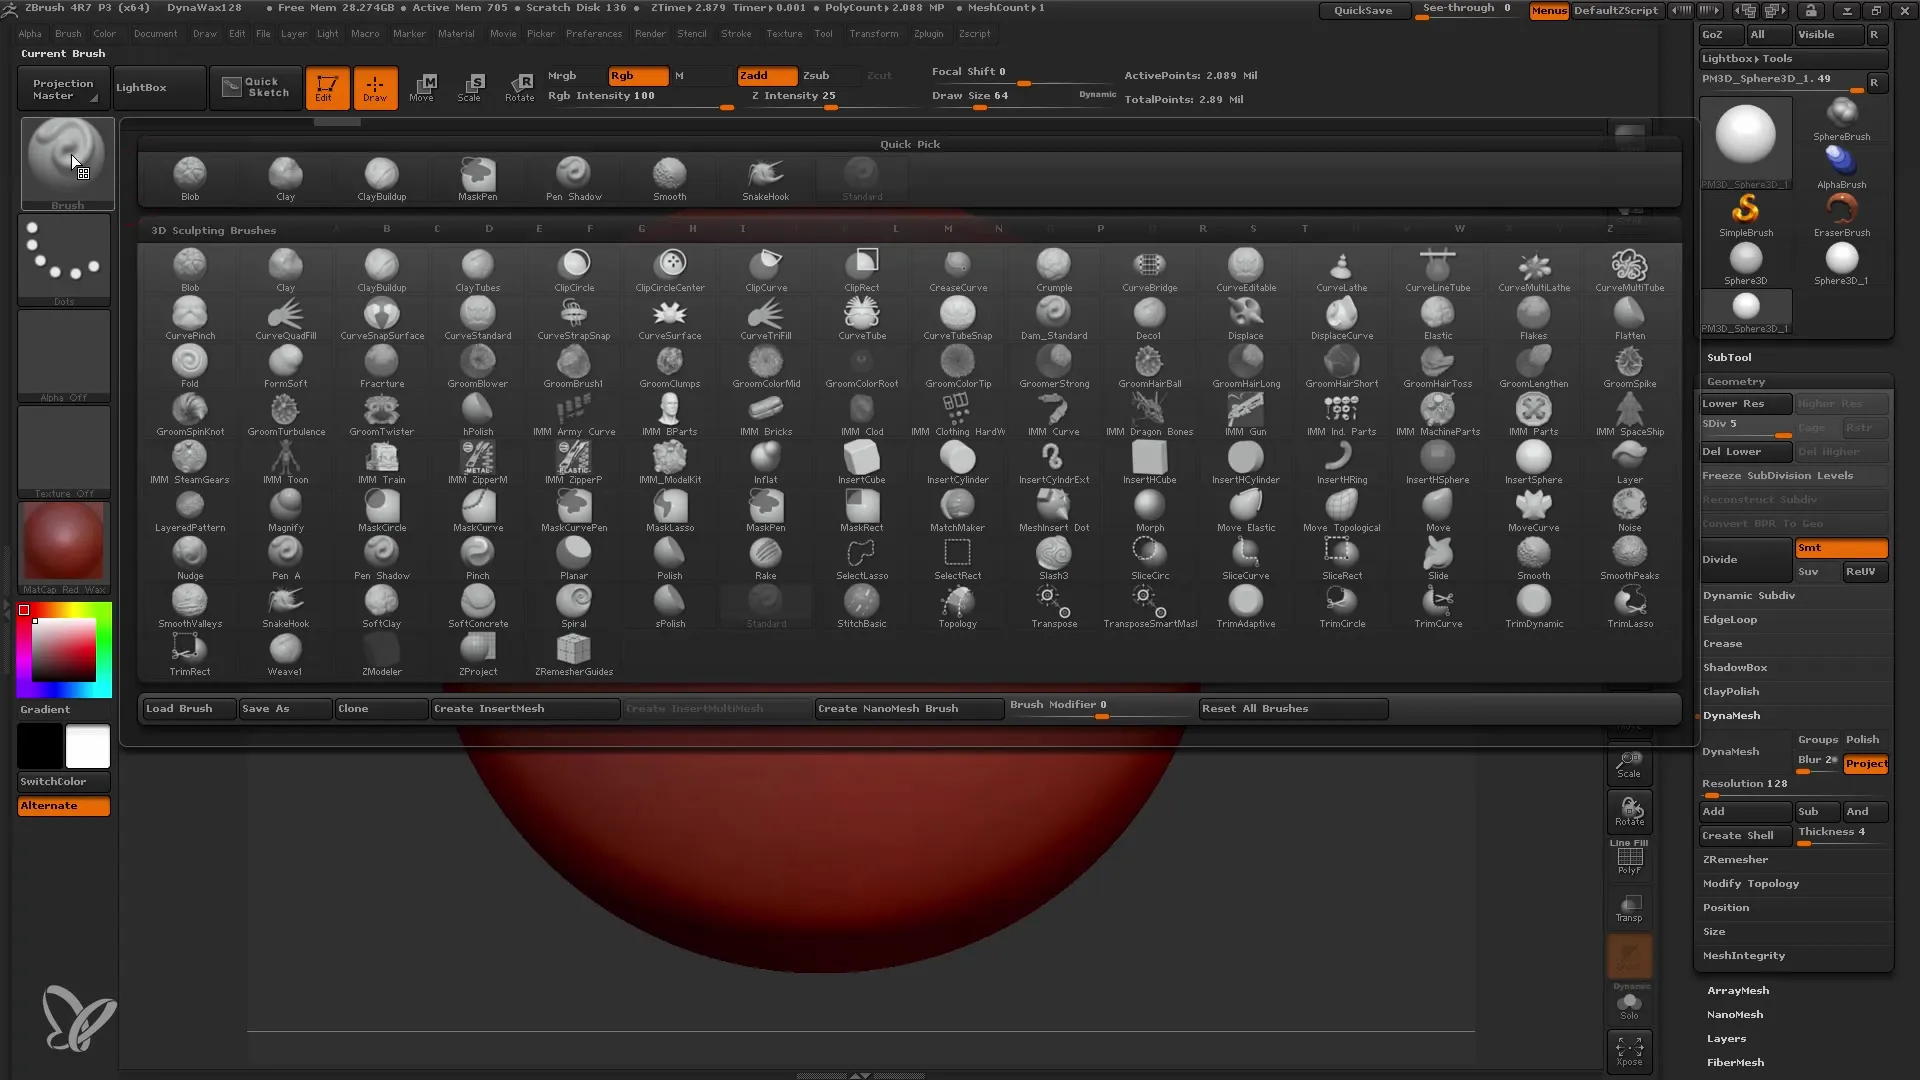
4. Adjust the Brush Settings
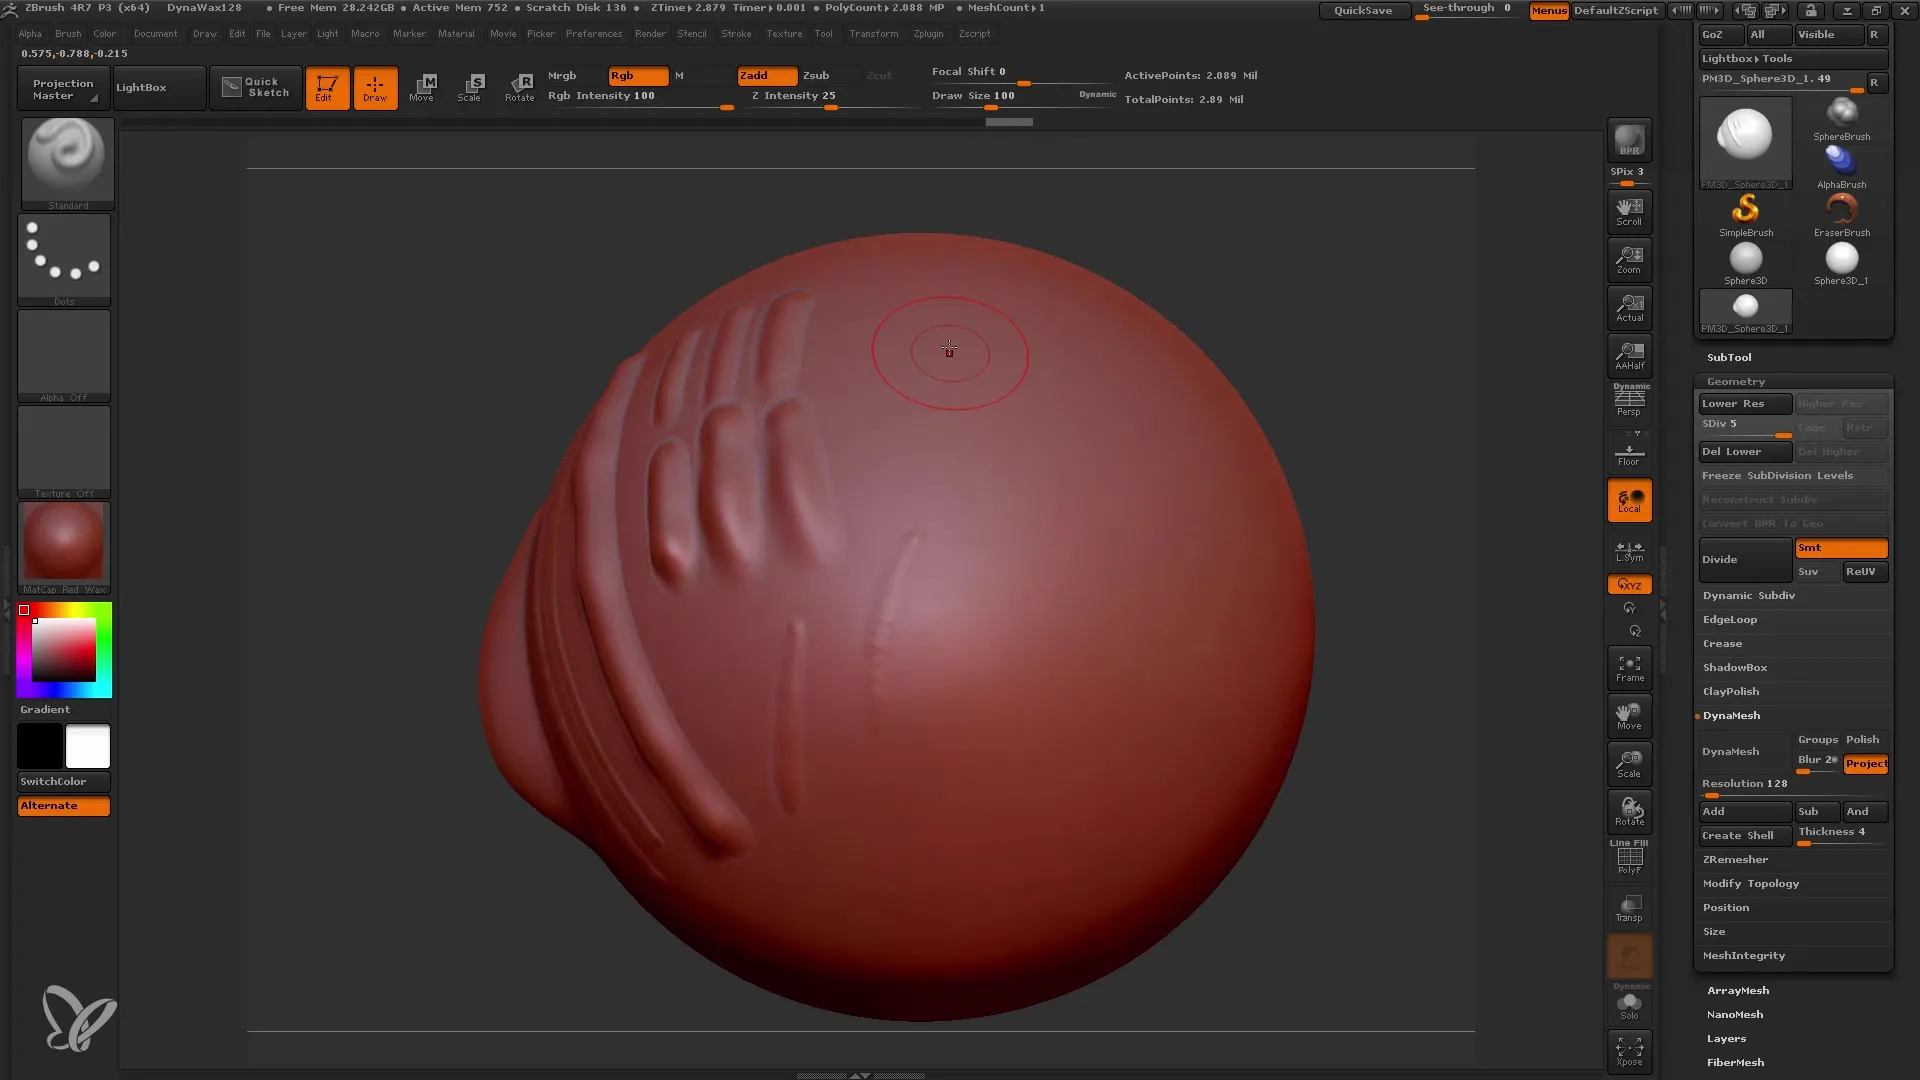
Below the Brushes, you will find important settings like size and intensity. Size affects the brush diameter, while intensity determines how strongly the brush effects in ZBrush. Try out different settings to see which result you like best.
5. Understand the Function of Focal Shift
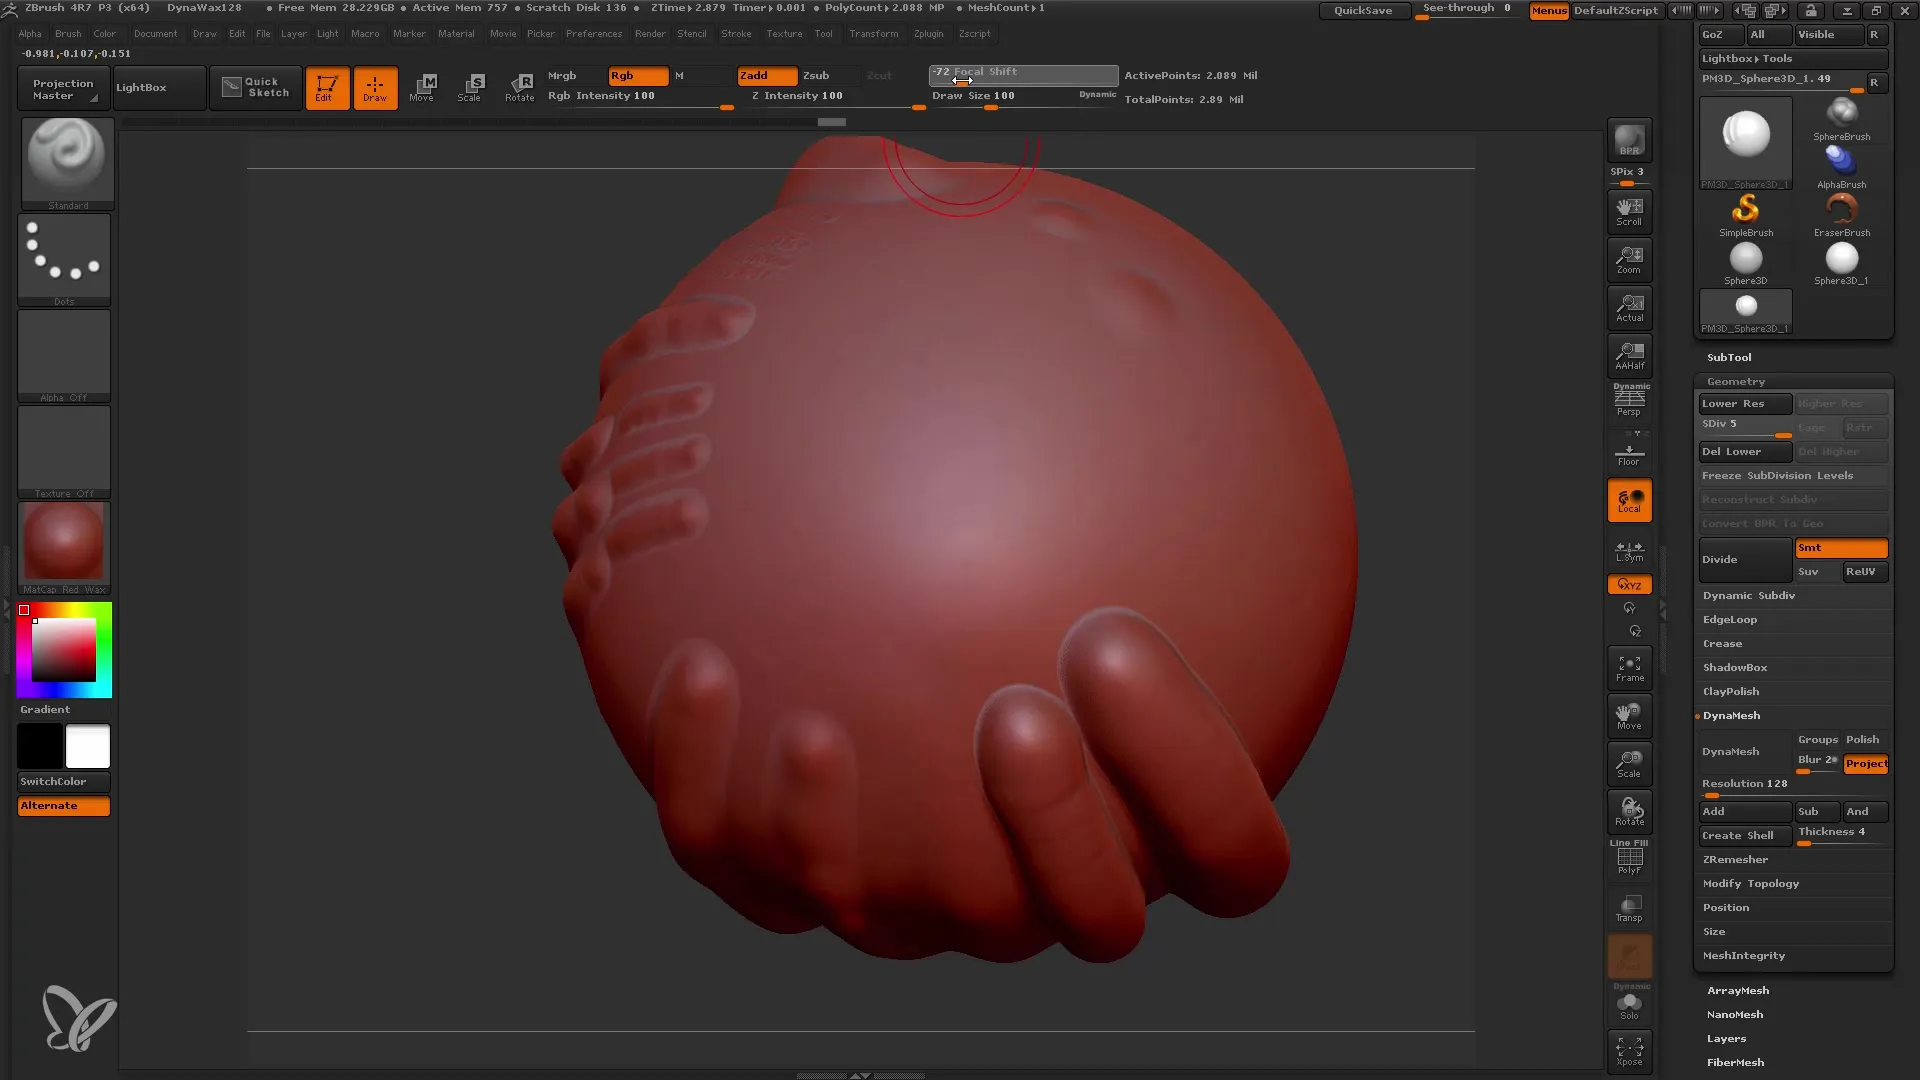
Focal Shift affects how the brush itself interacts with the material. A negative value enlarges the inner area of the brush, making transitions smoother. A positive value has the opposite effect, creating sharper edges. Experiment with this to find the ideal value for your project.
6. Choose the Stroke Type
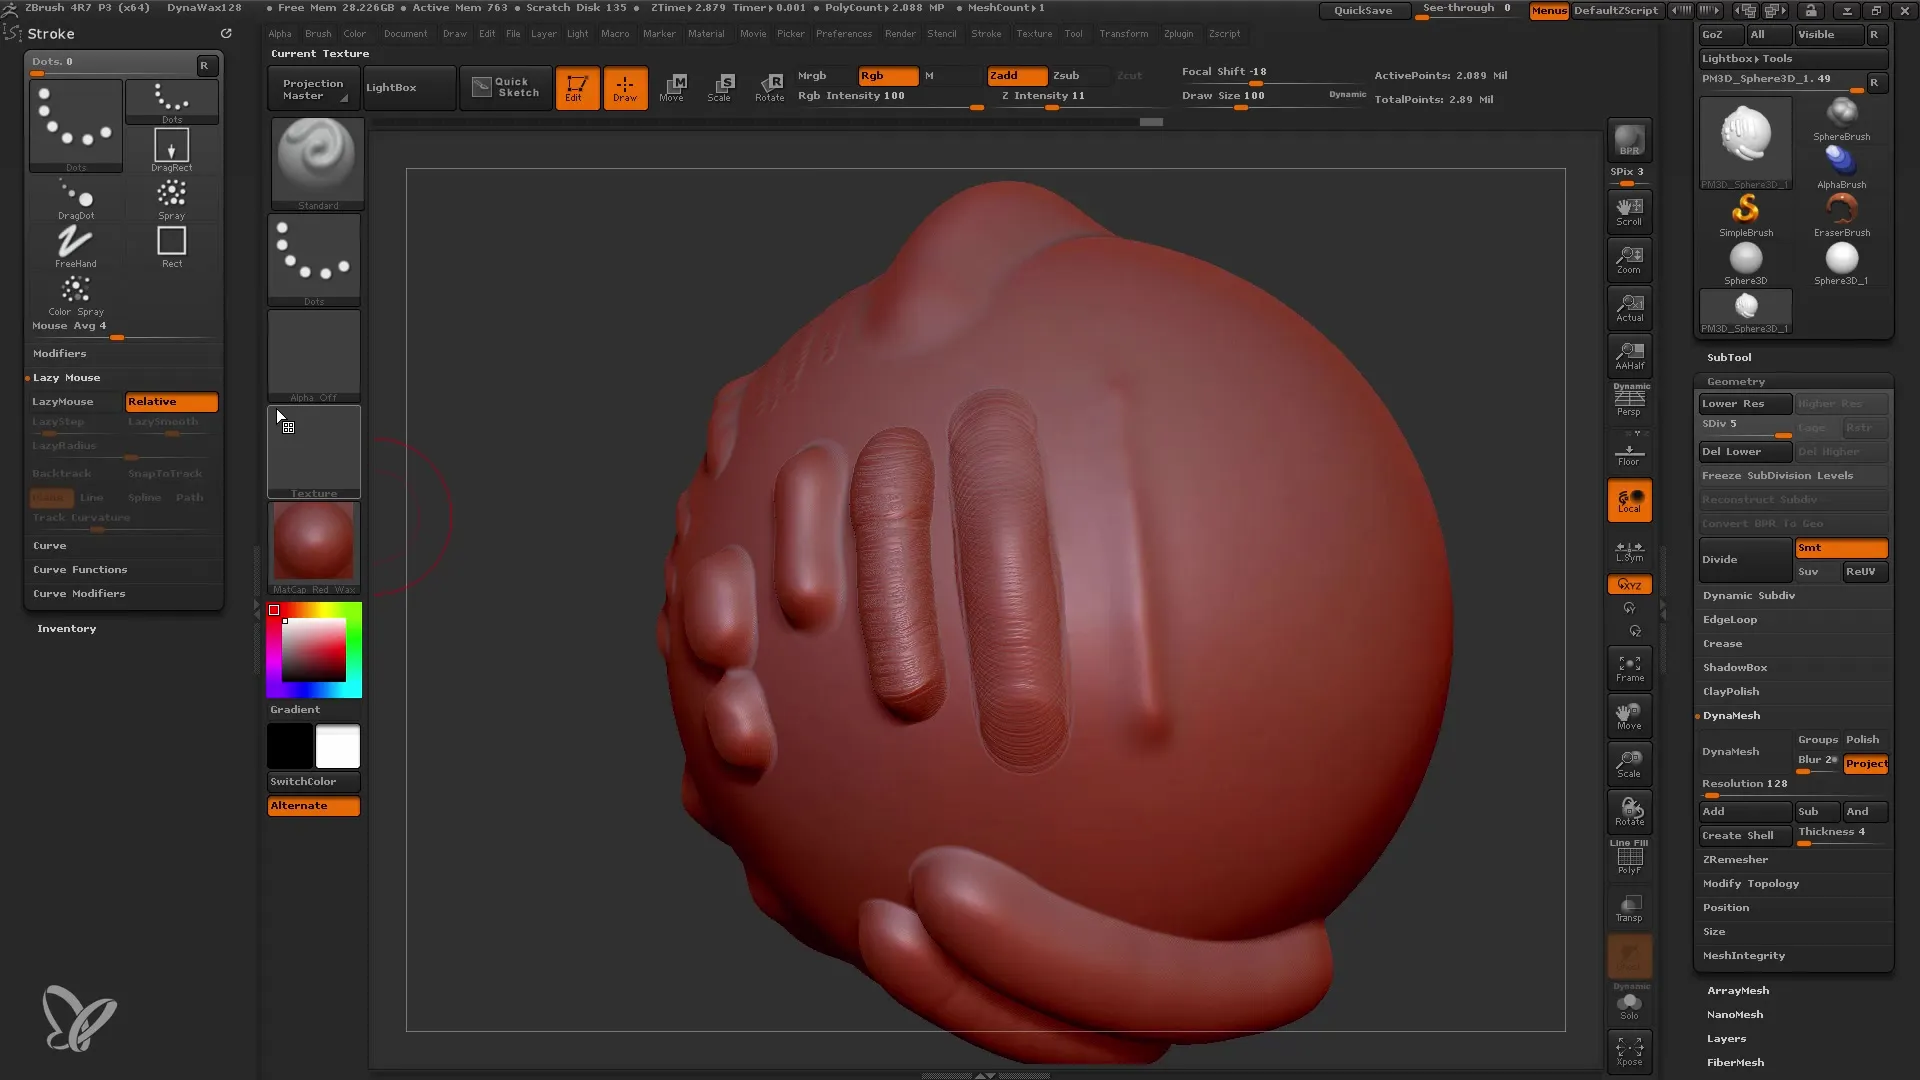
There are several stroke types you can use for your Brushes. When working with the Standard brush, the stroke type "Dots" is preset. Try out the variations "Freehand", "Spray", and "Drag Rectangle" to find out which style is best suited for your purposes.
7. Use Alphas for Detailed Textures
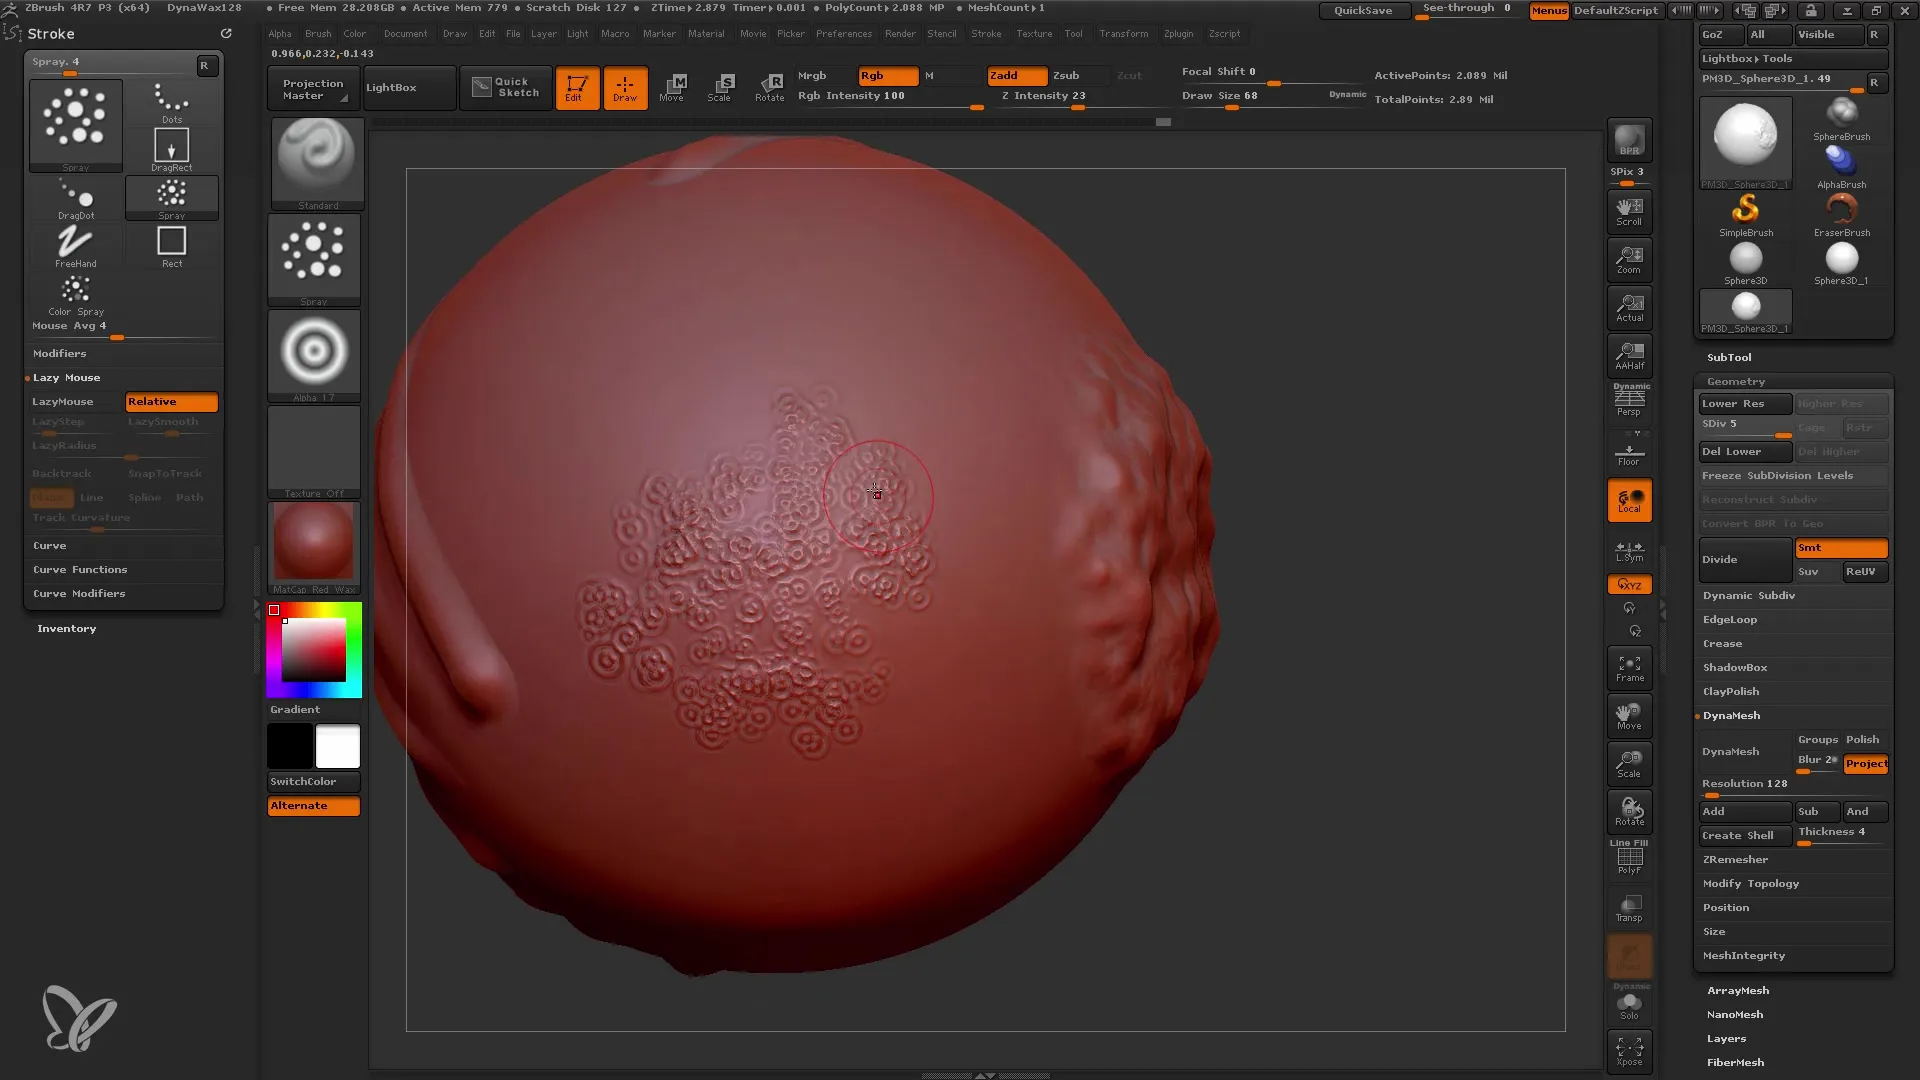
Alphas are images that can be used as templates for generating details. You can import many different Alphas or create your own. Choose an Alpha and experiment with intensity and application to create special textures on your mesh.
8. Experiment with Drag Variants
The drag variants like "Drag Rectangle" and "Drag Dot" can be used to create precise details. With "Drag Rectangle", you drag a rectangle, while "Drag Dot" allows you to place individual components precisely on your mesh. Make sure that size and intensity are properly set to achieve the best results.
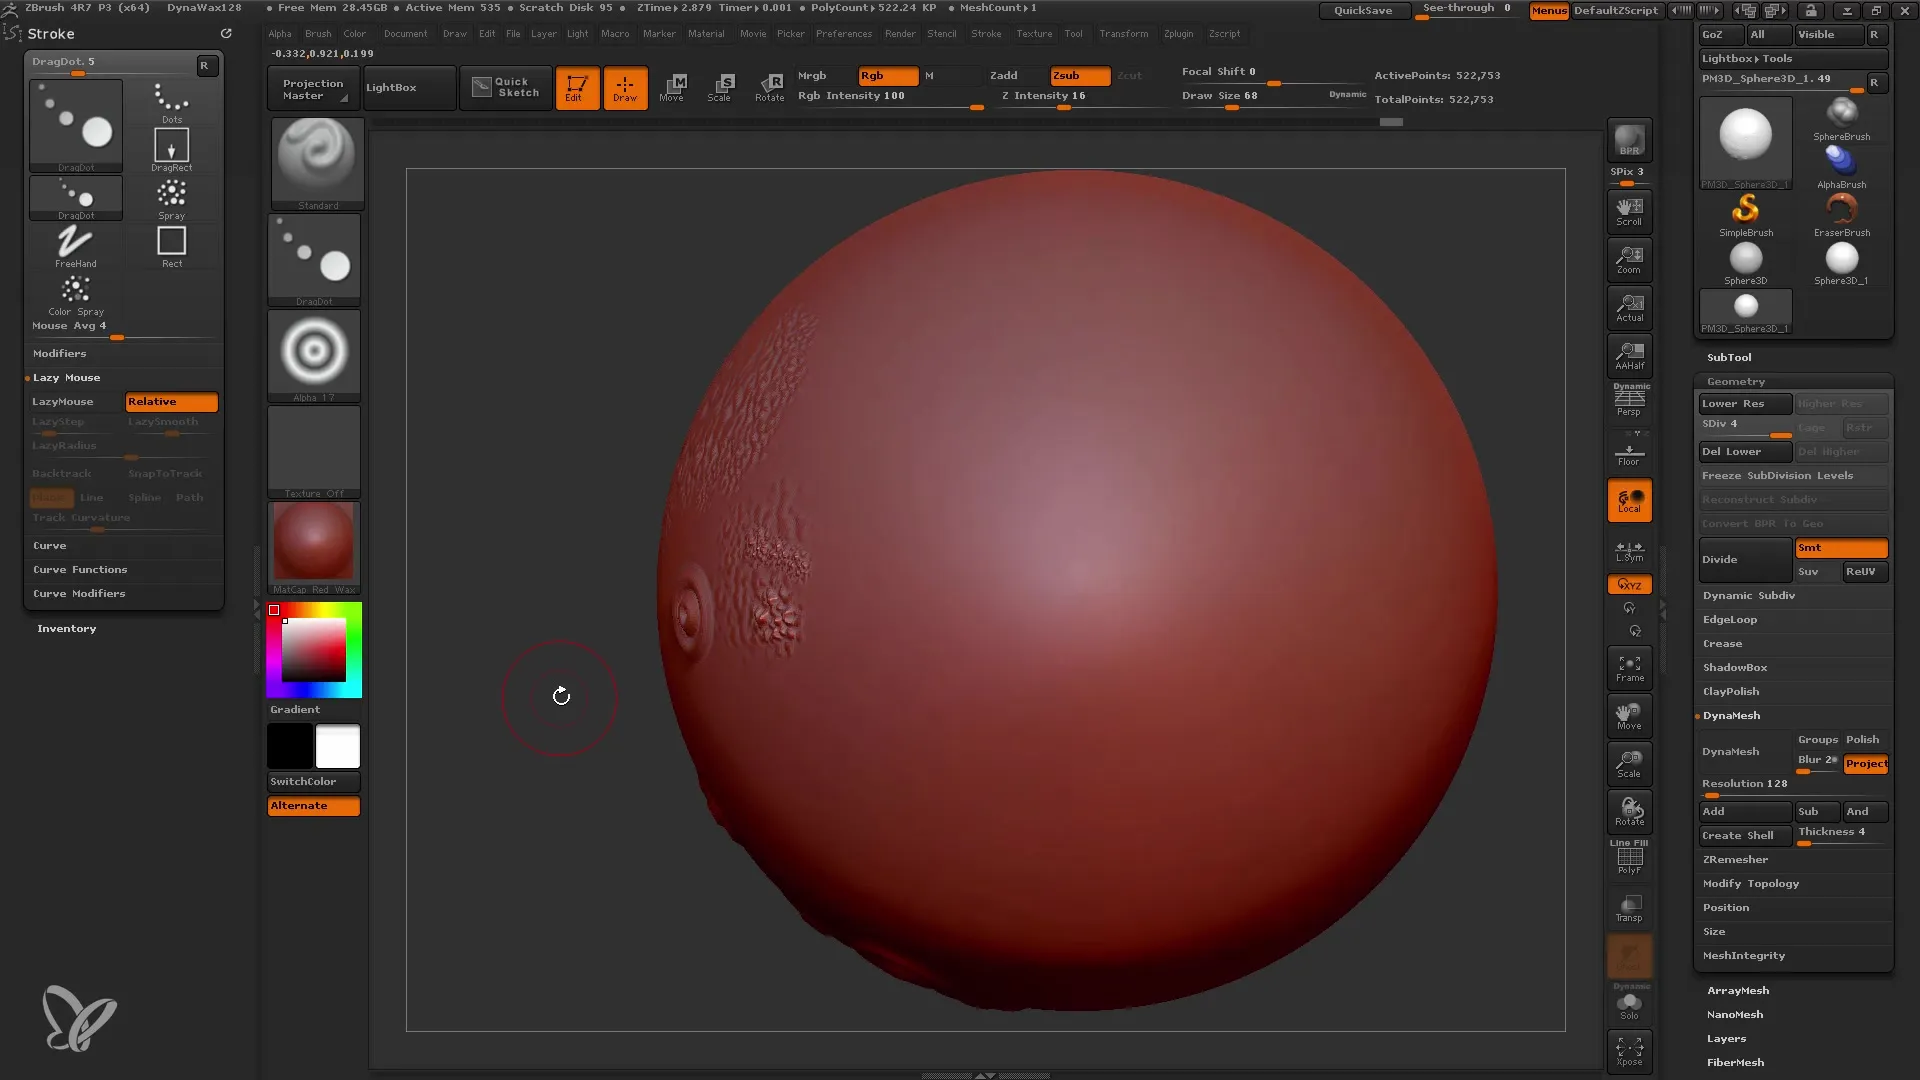
9. Activate the Lazy Mouse
The Lazy Mouse feature helps you create smoother lines by adding a delay effect when drawing. Activate the Lazy Mouse in the Stroke menu and experiment with different values to achieve the best effects on your project.
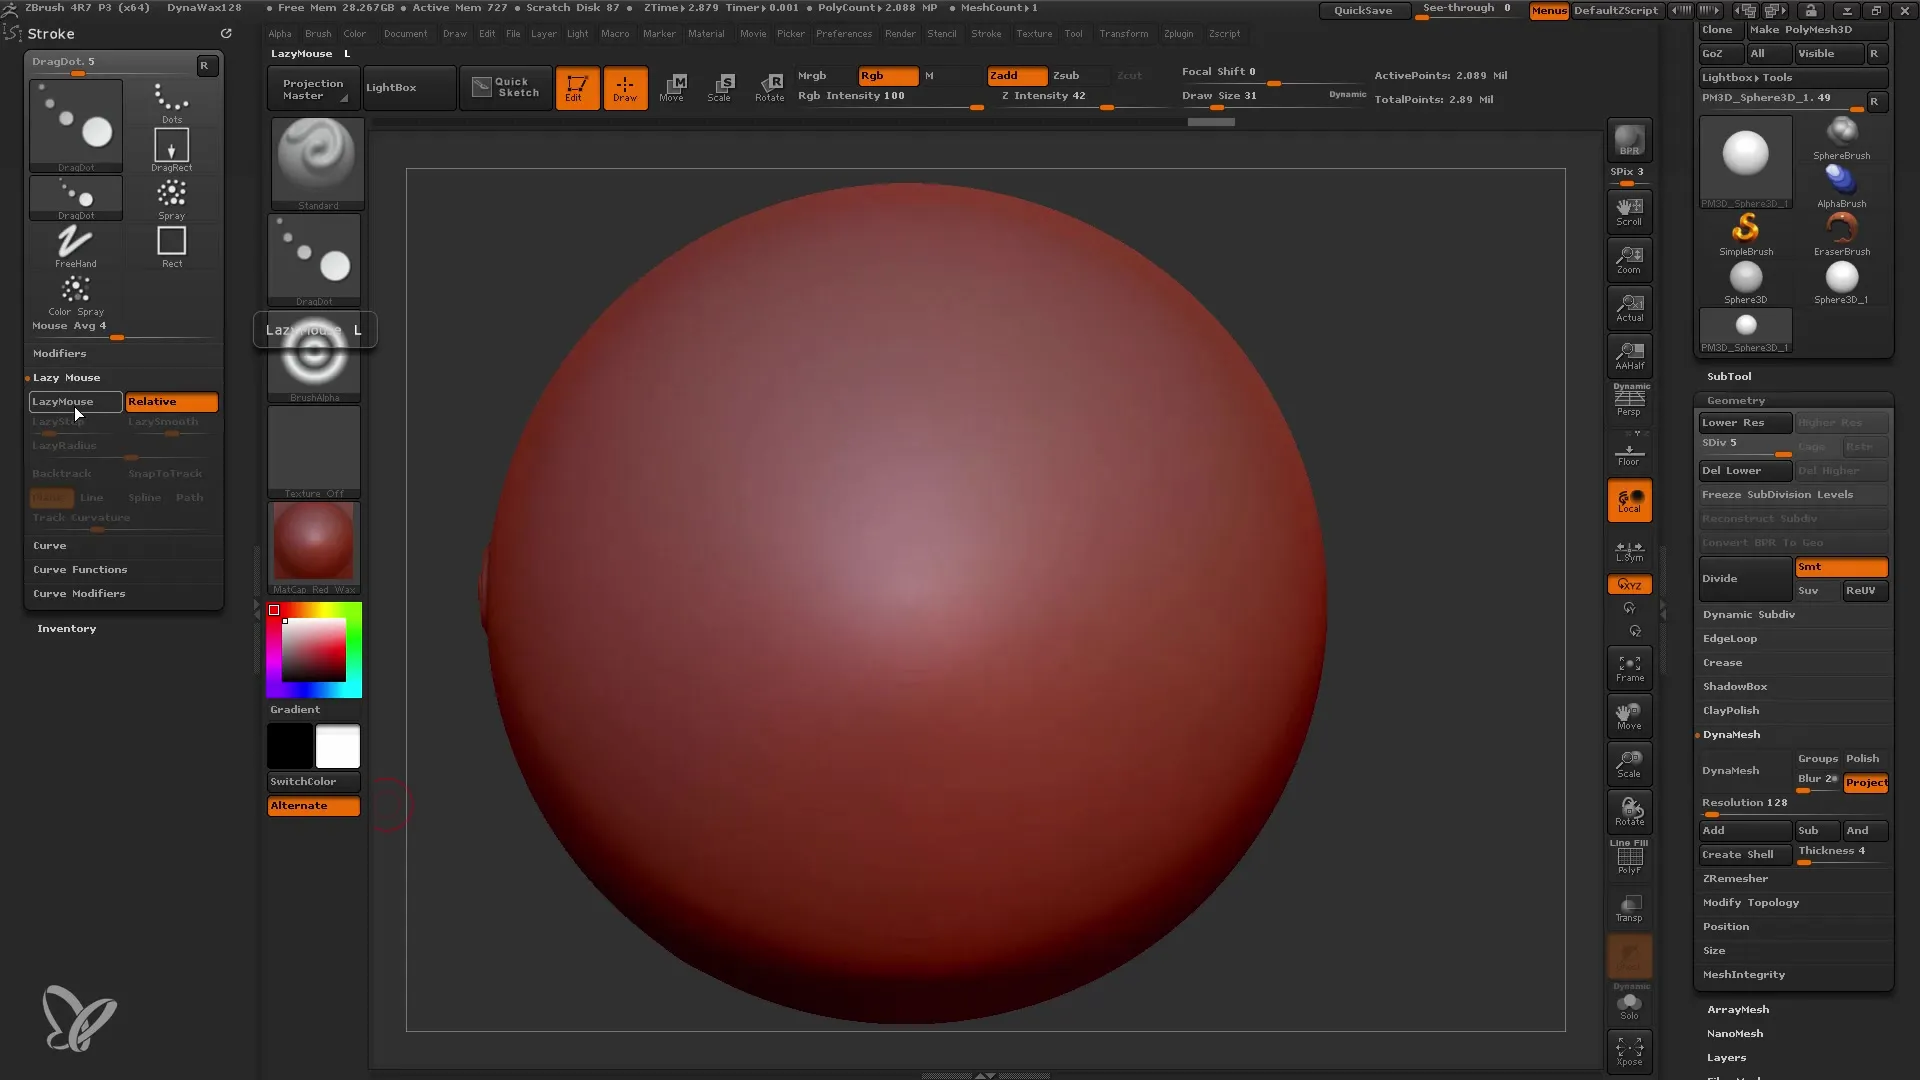
10. Explore the Gravity Command
With the Gravity command, you can pull the brush downward, which is helpful when creating effects like wrinkles or hanging materials. Turn on the Gravity and play with the settings to achieve the desired effect.
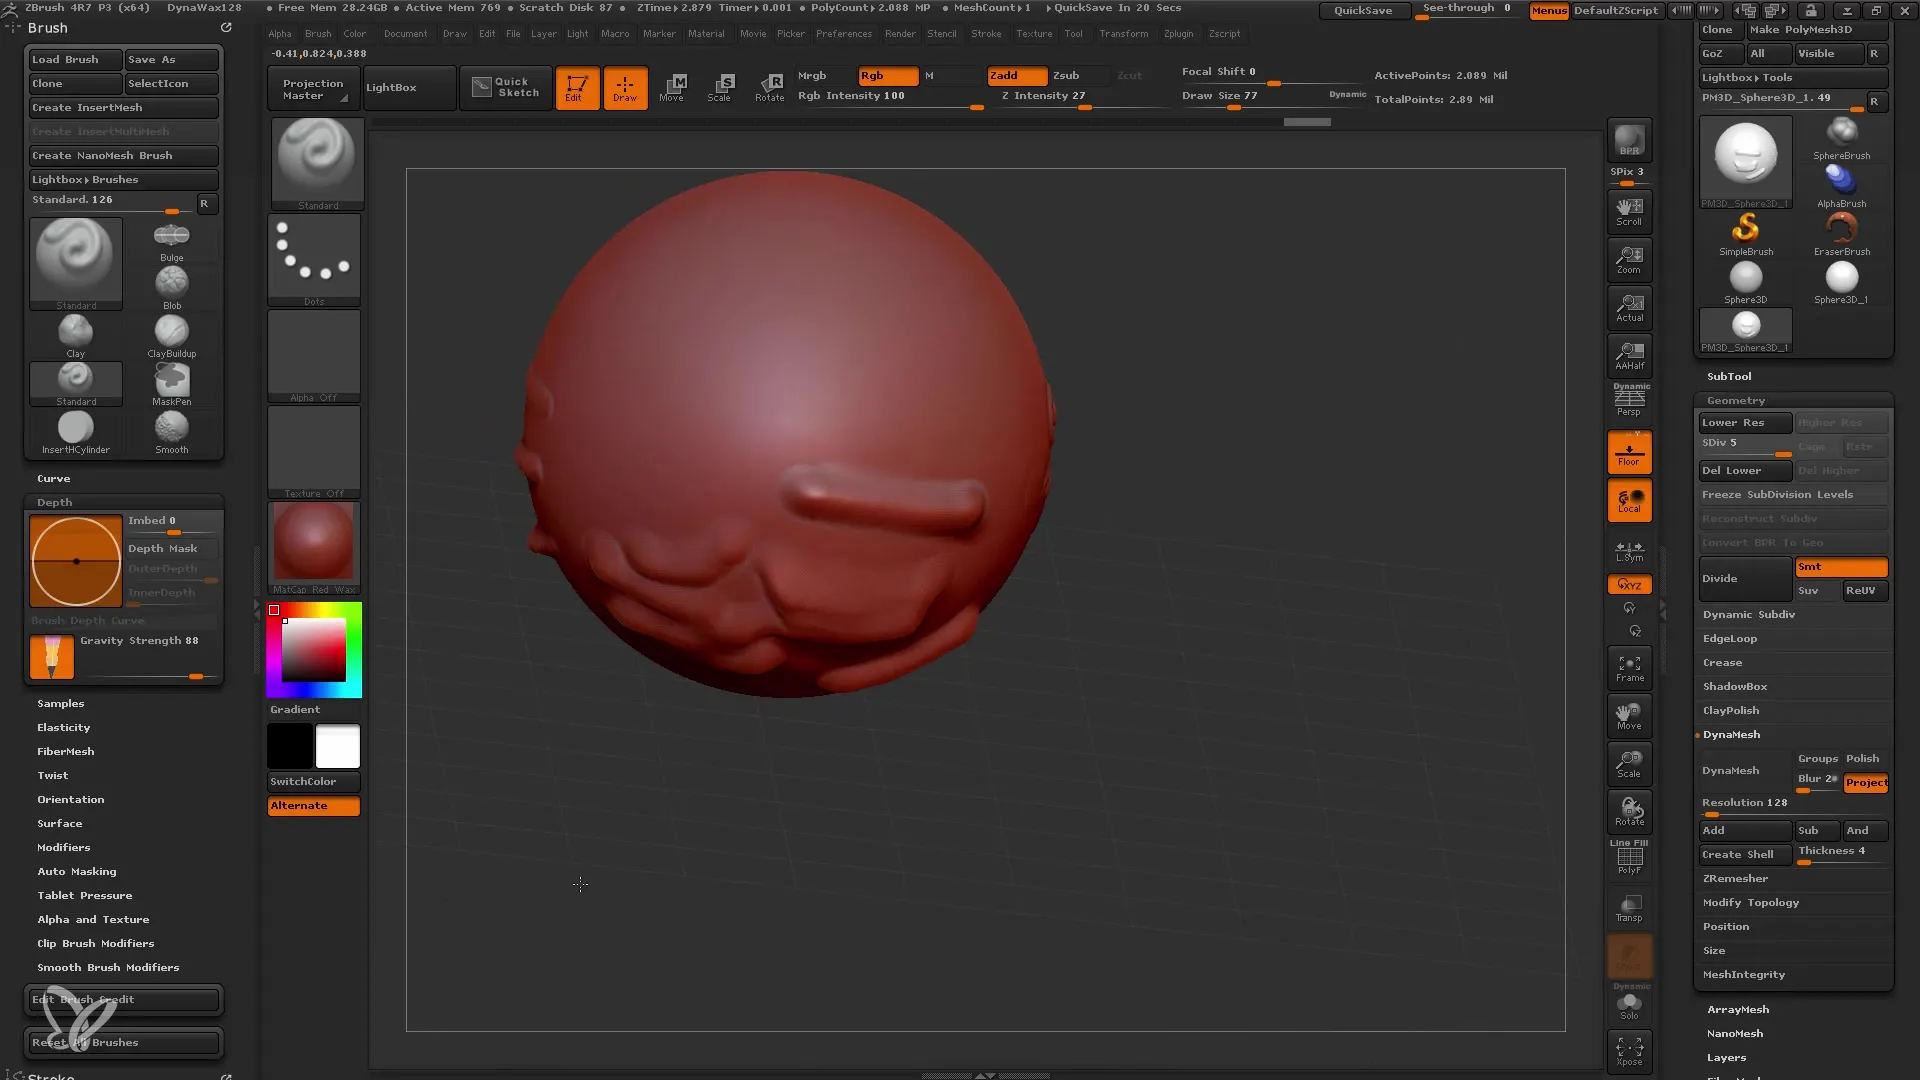
11. Use Backface Mask
The Backface Mask is a very helpful feature that ensures the backside of your model is not damaged during editing. Activate this feature before using complex brushes like Clay Buildup to ensure you are only editing the front side of the mesh.
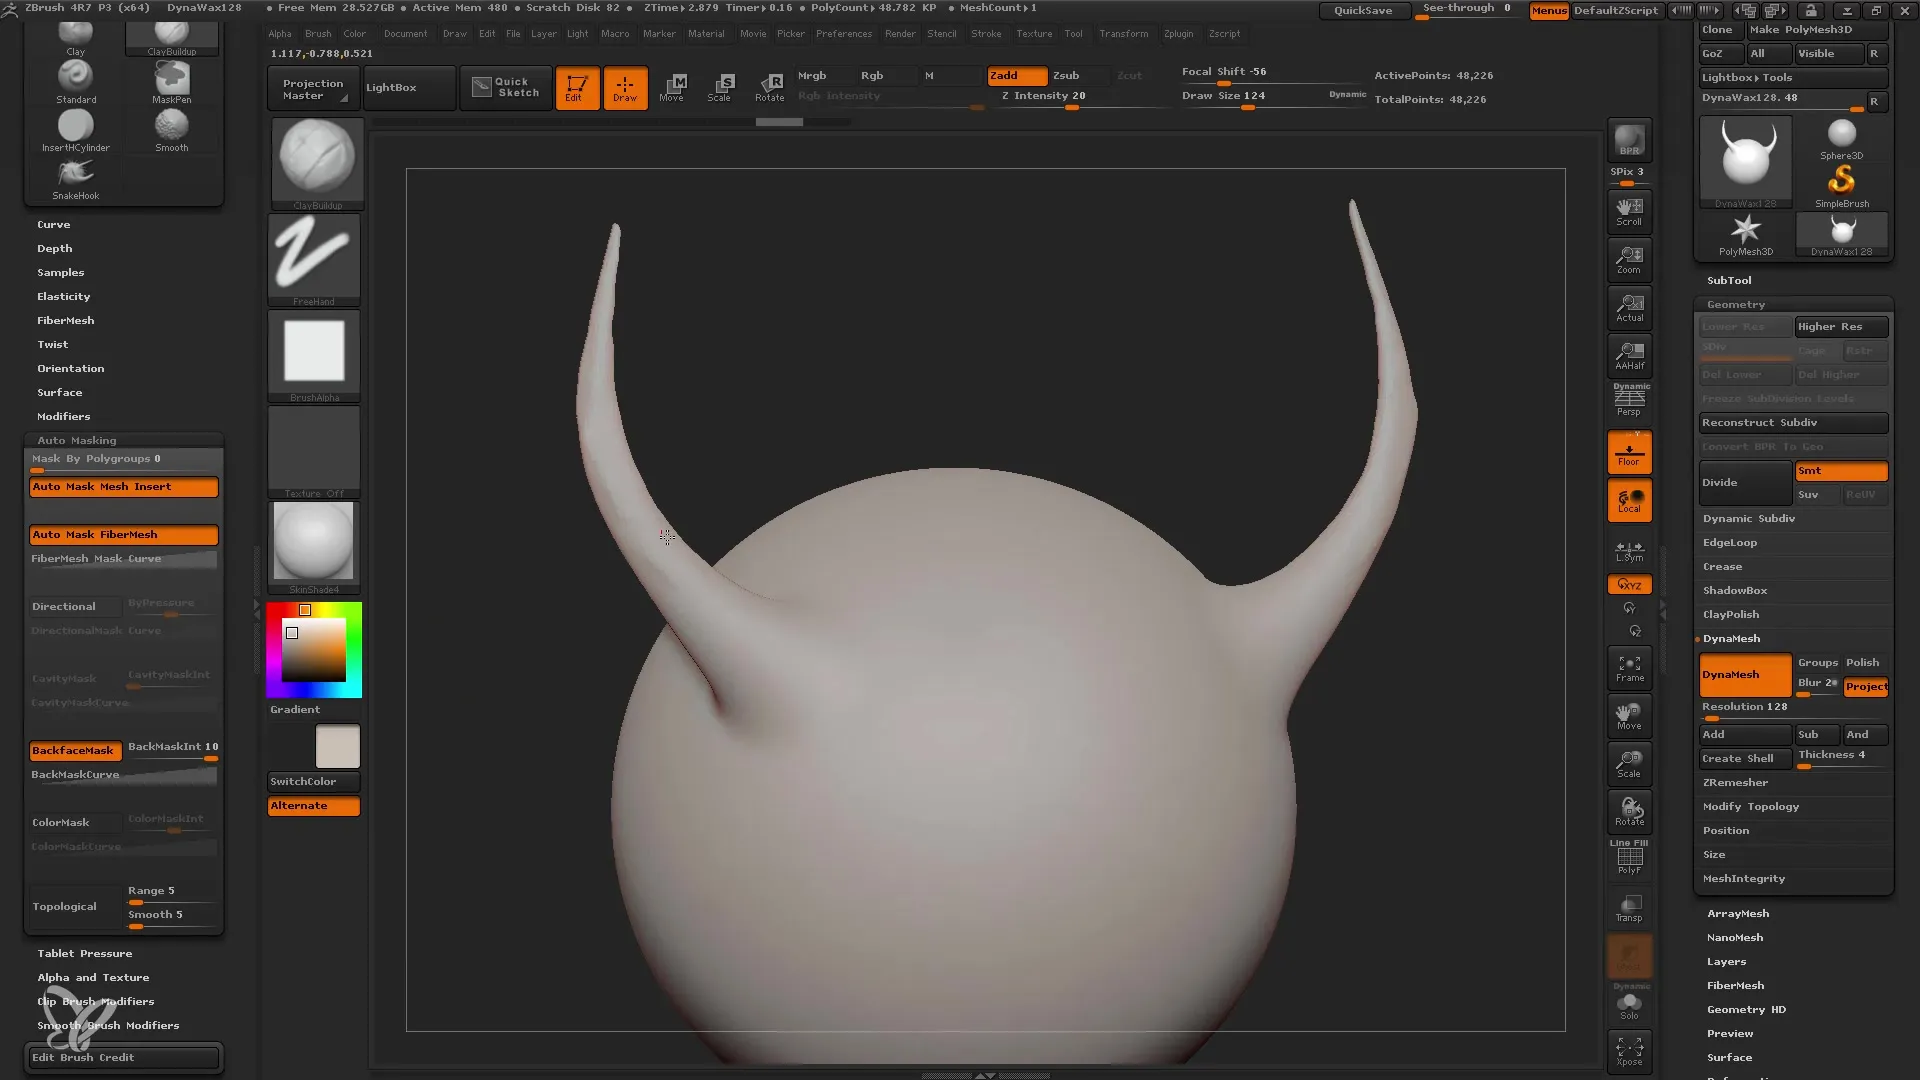
12. Save your customizations
Don't forget to save your custom brushes and settings when you are satisfied with your project. You can save the current versions in the Brush menu and come back to them anytime.
Summary
In this tutorial, you have learned how to effectively use and customize the different brushes in ZBrush. You now know how important settings like size, intensity, and the various strokes are for the editing process. You have also learned how alphas and special features like Lazy Mouse and Backface Mask can help you enhance your model with more details and precision.
Frequently Asked Questions
What are Brushes in ZBrush?Brushes are the tools you use in ZBrush for shaping and adding details to your 3D meshes.
How can I adjust the size of a brush?You can adjust the size of a brush in the Brush menu under the "Draw Size" option.
What is the Focal Shift?The Focal Shift affects the edge hardness of the brush. A lower value means softer transitions, while a higher value creates sharper edges.
How can I use Alphas in ZBrush?You can import or create alphas and apply them to your brushes to create detailed textures.
What is the Lazy Mouse?The Lazy Mouse is a setting that adds a delay when drawing to create more precise lines and curves.
