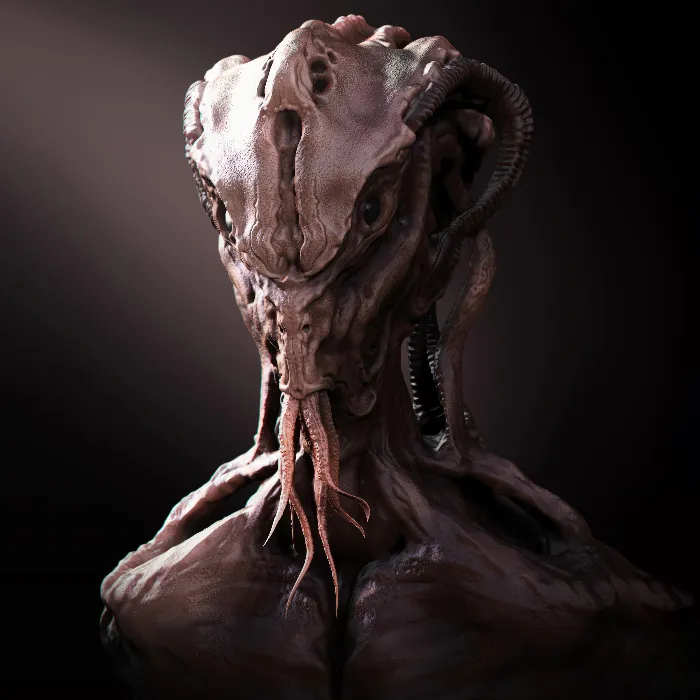
In this tutorial, you will learn the basics of Insert (Multi) Mesh Brushes in ZBrush. With these special brushes, you can quickly and efficiently add details to your 3D model. ZBrush offers a variety of pre-made IMM brushes to help unleash your creativity and easily create complex shapes. Below, I will provide you with a step-by-step guide so that you can make the most of the various functions and possibilities of these powerful tools.
Main Takeaways
- Insert Mesh Brushes allow easy insertion of 3D meshes into your model.
- Using Multi-Mesh Brushes gives you the ability to apply multiple meshes simultaneously.
- Customizing and creating your own Insert Meshes can significantly improve your workflows.
Step-by-Step Guide
To familiarize yourself with Insert Mesh Brushes, here are the essential steps:
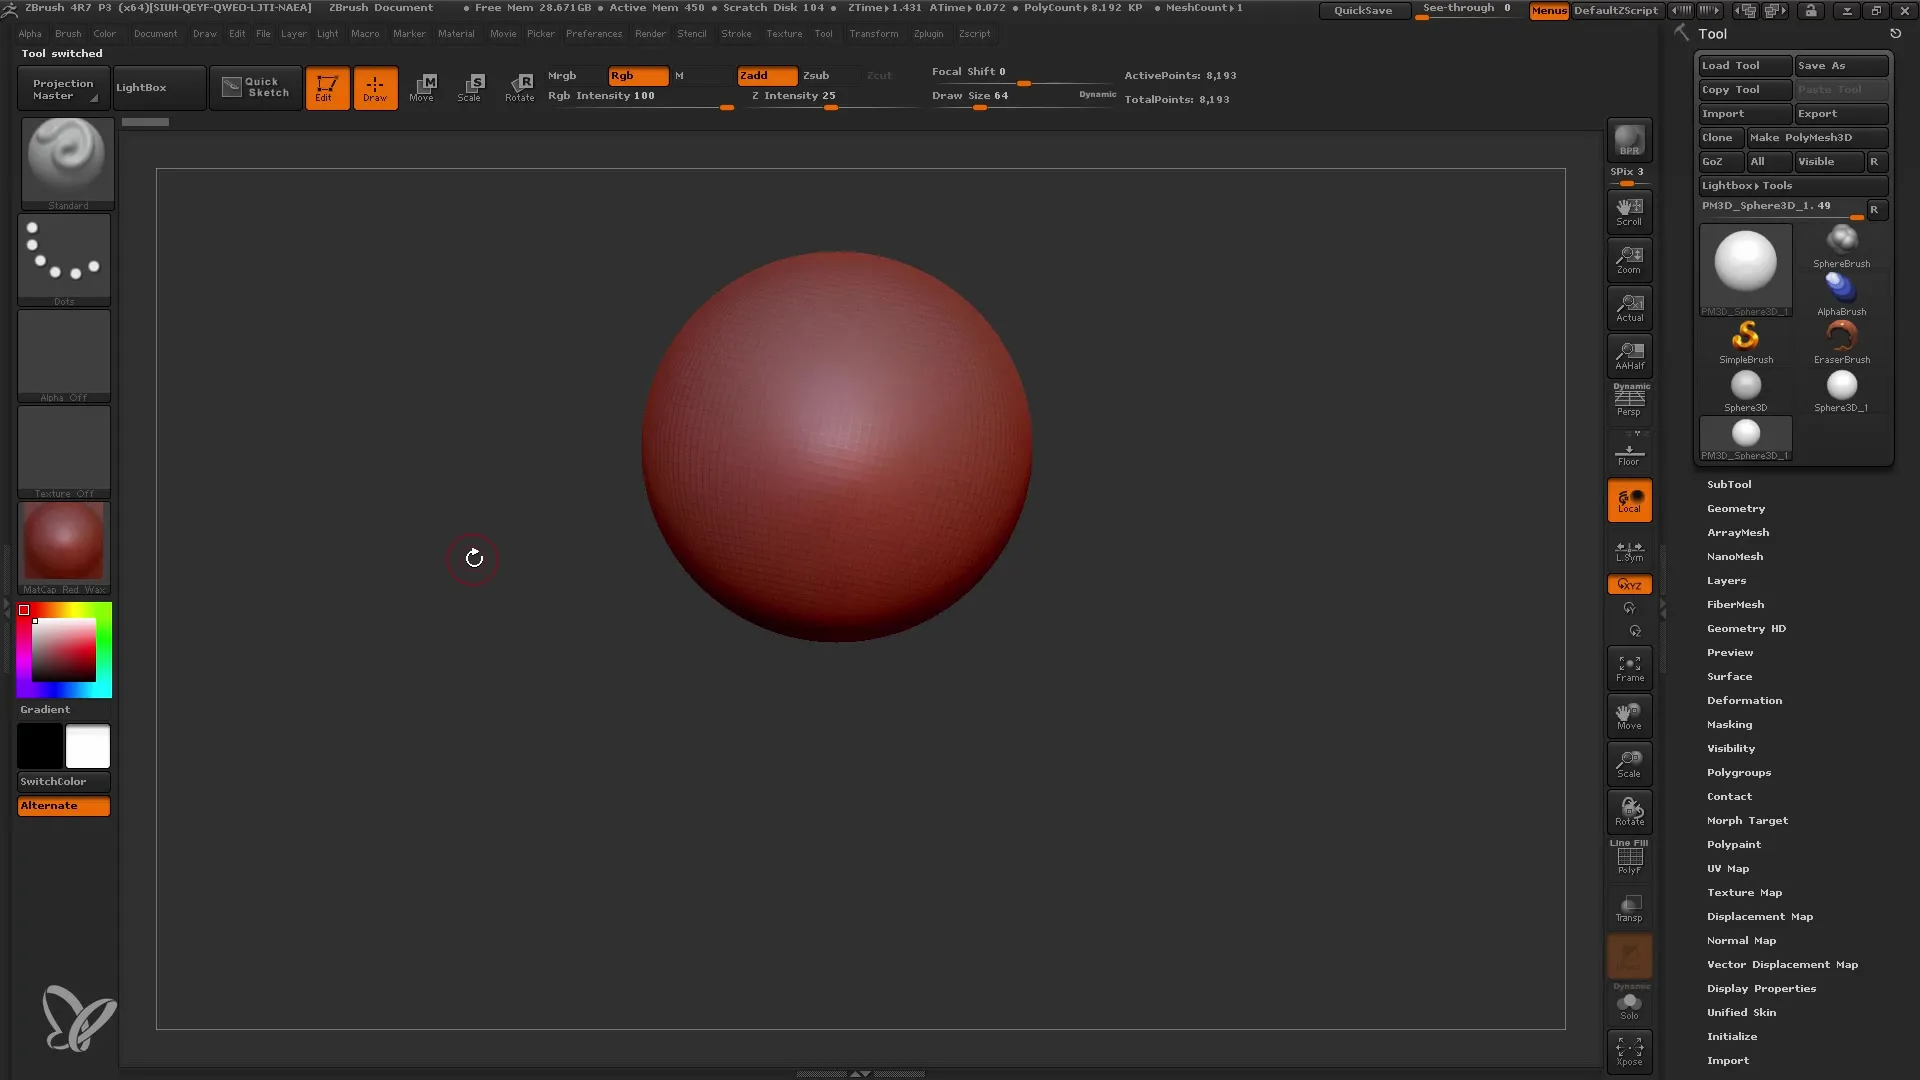
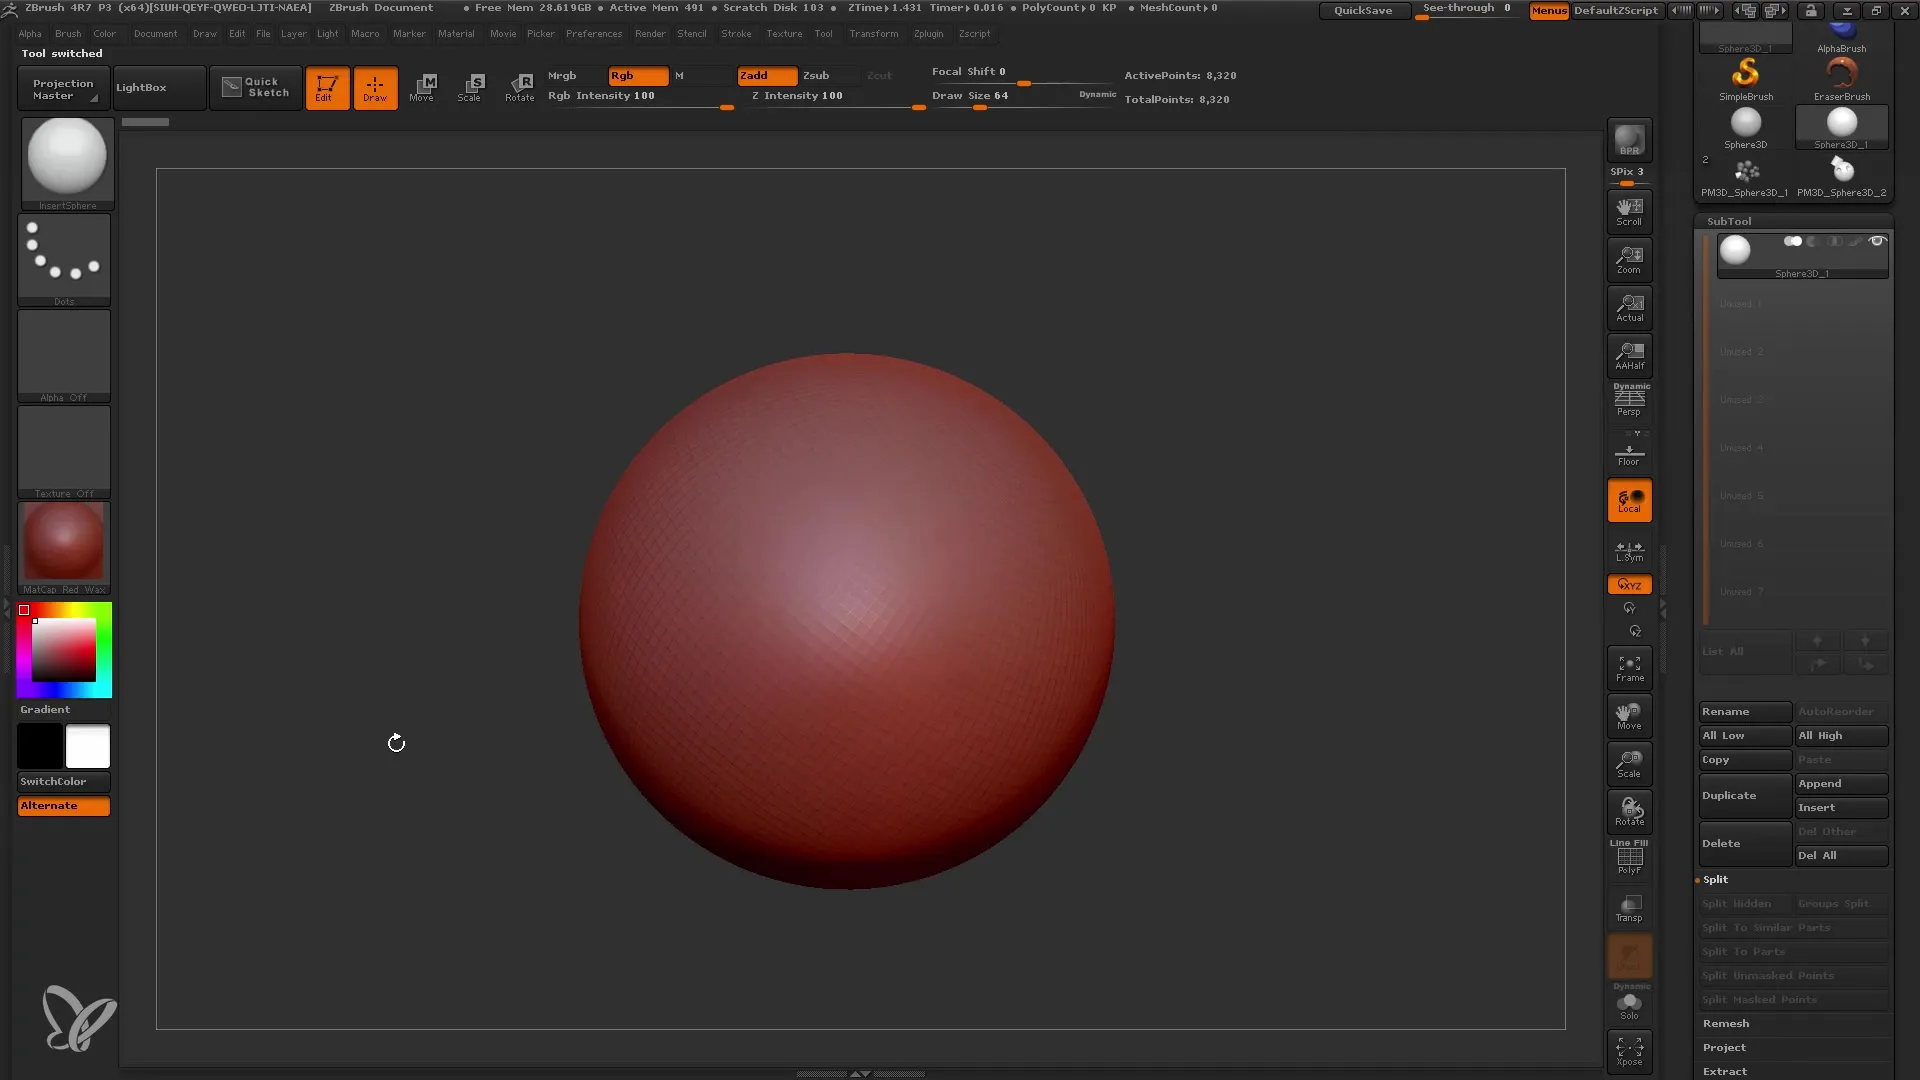
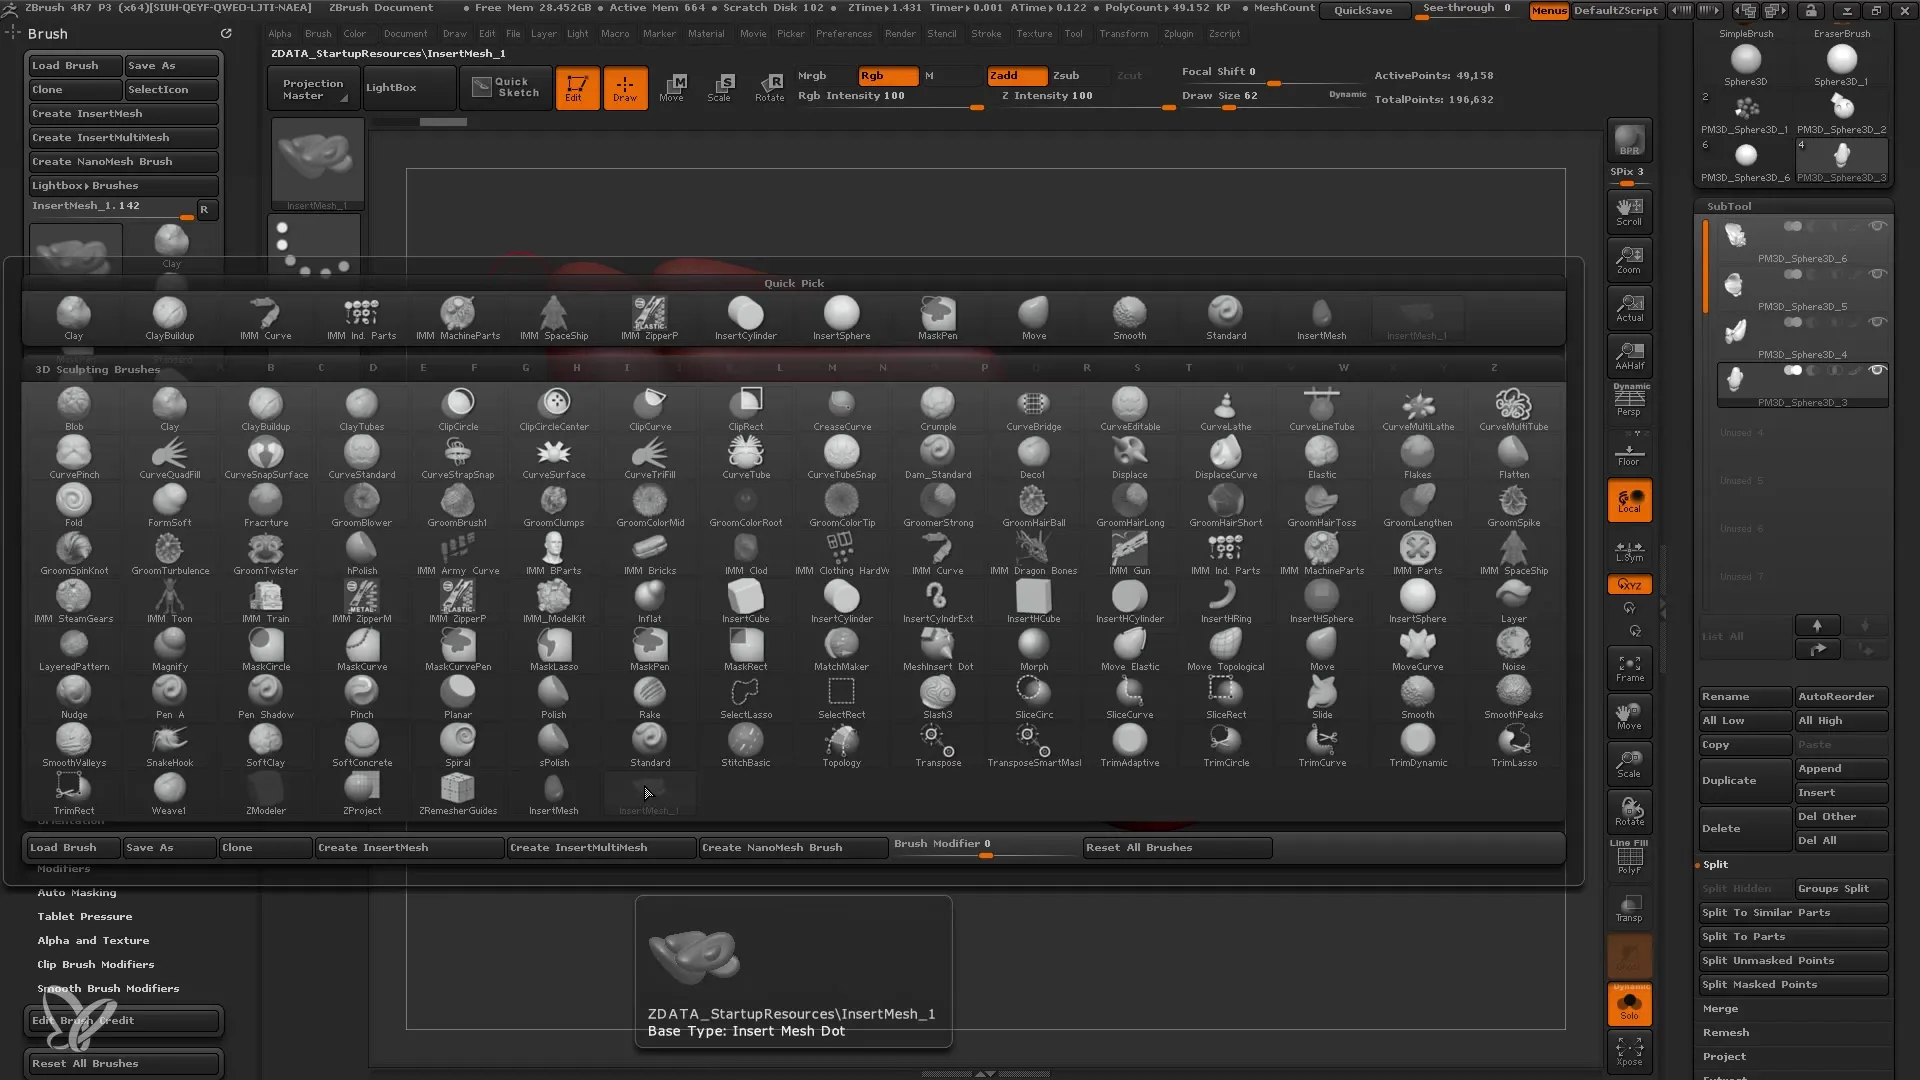
First, you should insert a new sphere into your ZBrush project. Go into Edit mode and turn the sphere into a polymesh. Press the B key to open the Brush palette. Here you will find almost all of the Insert Brushes provided by ZBrush. A particularly important brush is the Insert Mesh Brushes, which you can select here.
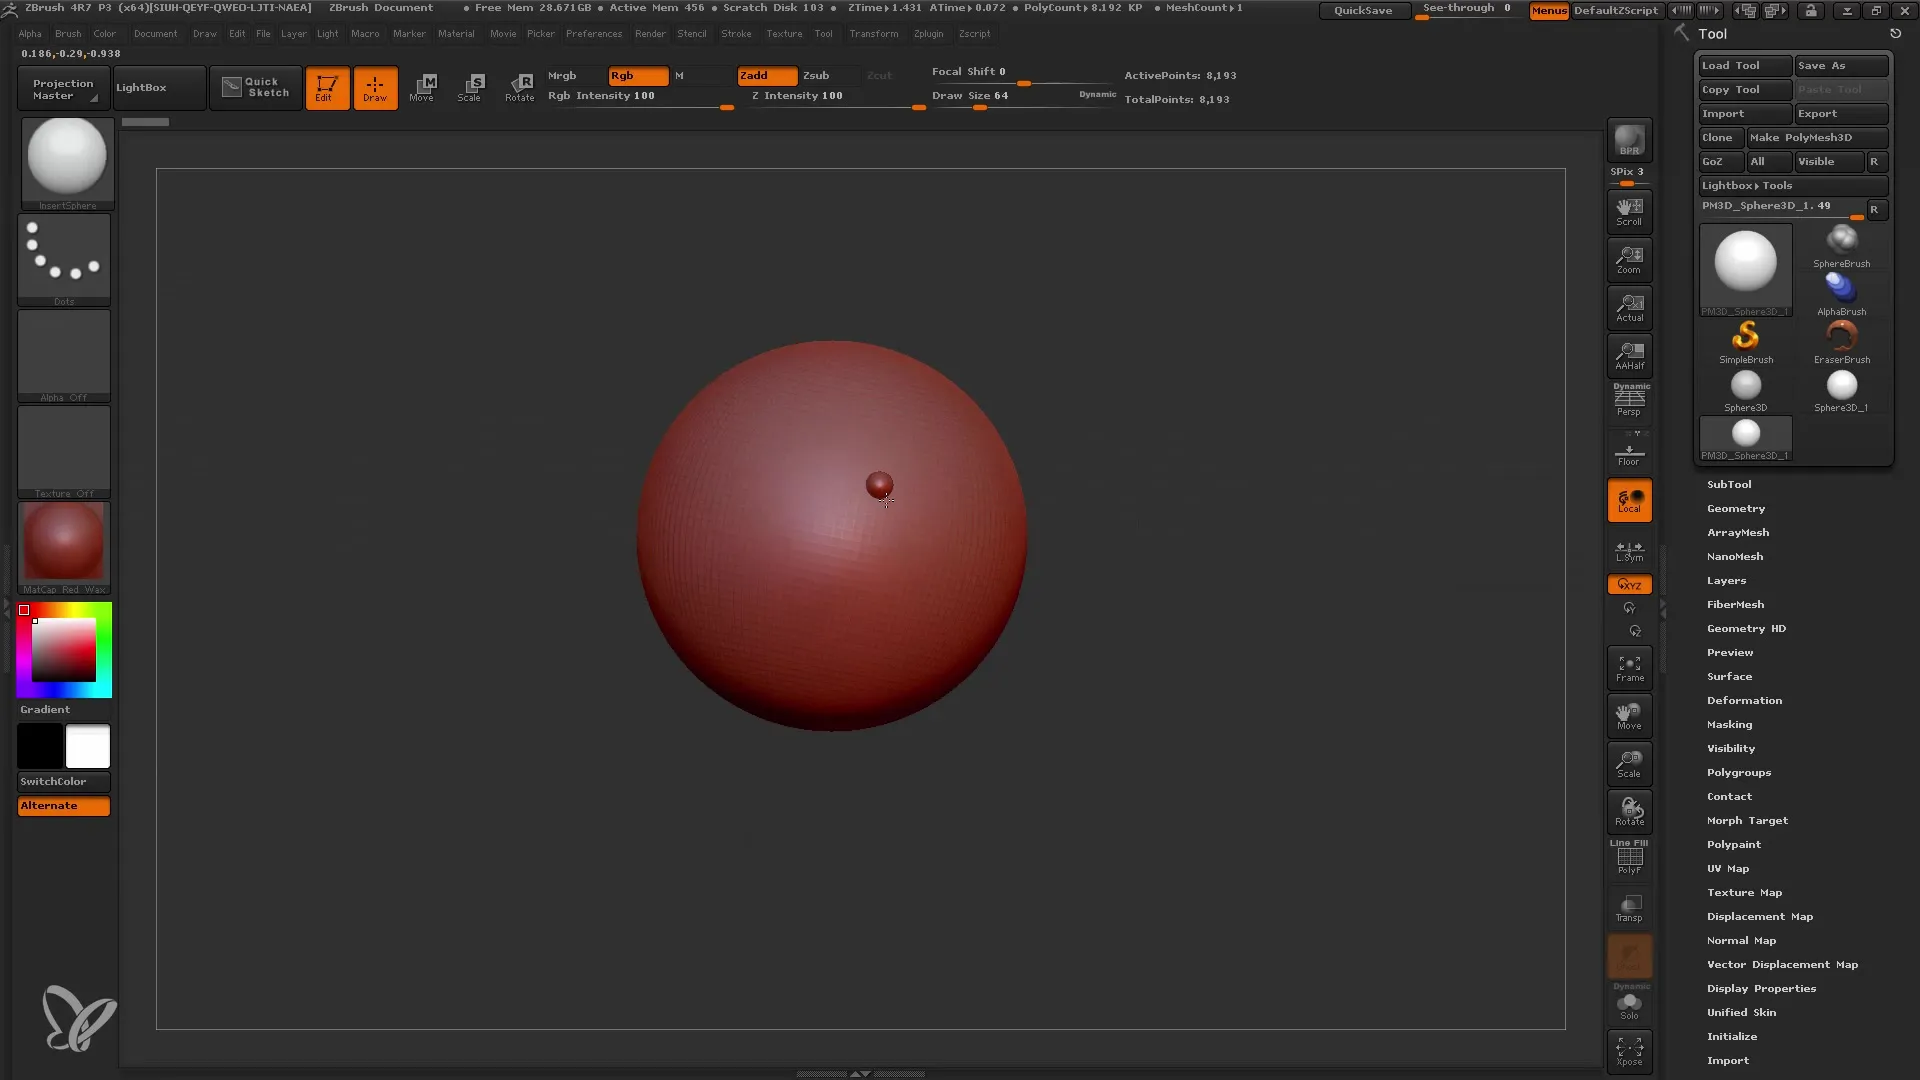
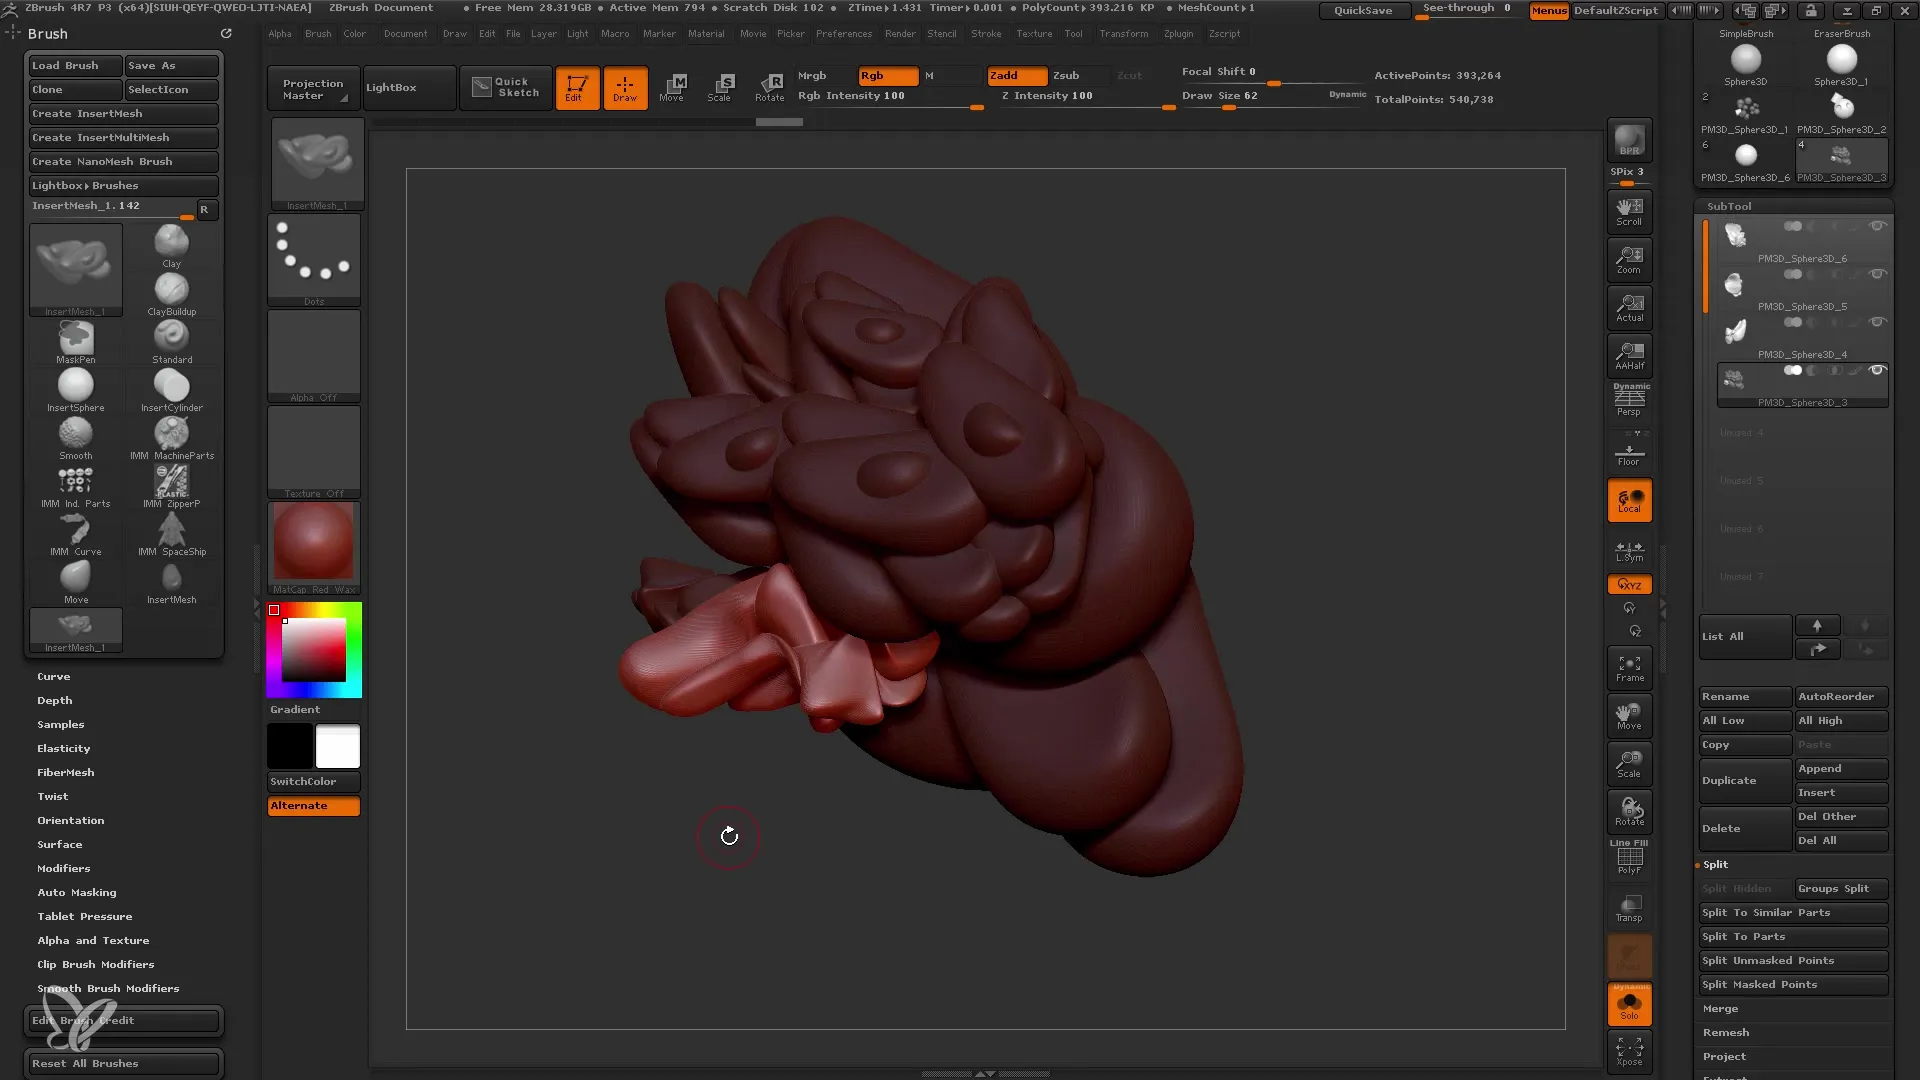
Now, I will select an Insert Mesh. I have chosen an Insert Sphere and dragged it into my model. You will immediately notice that you now have the ability to place the sphere wherever you want and duplicate it as you wish. When working with Insert Brushes, you can create multiple elements without having to model each one separately.
Another helpful feature is using DynaMesh, which allows you to maintain uniform topologies. Press the Control key (CTRL) and drag the mesh to transform it. You will see that the resolution of the entire mesh adjusts, similar to the Curve function. This is particularly useful when you are in the conceptual phase and want to experiment quickly.
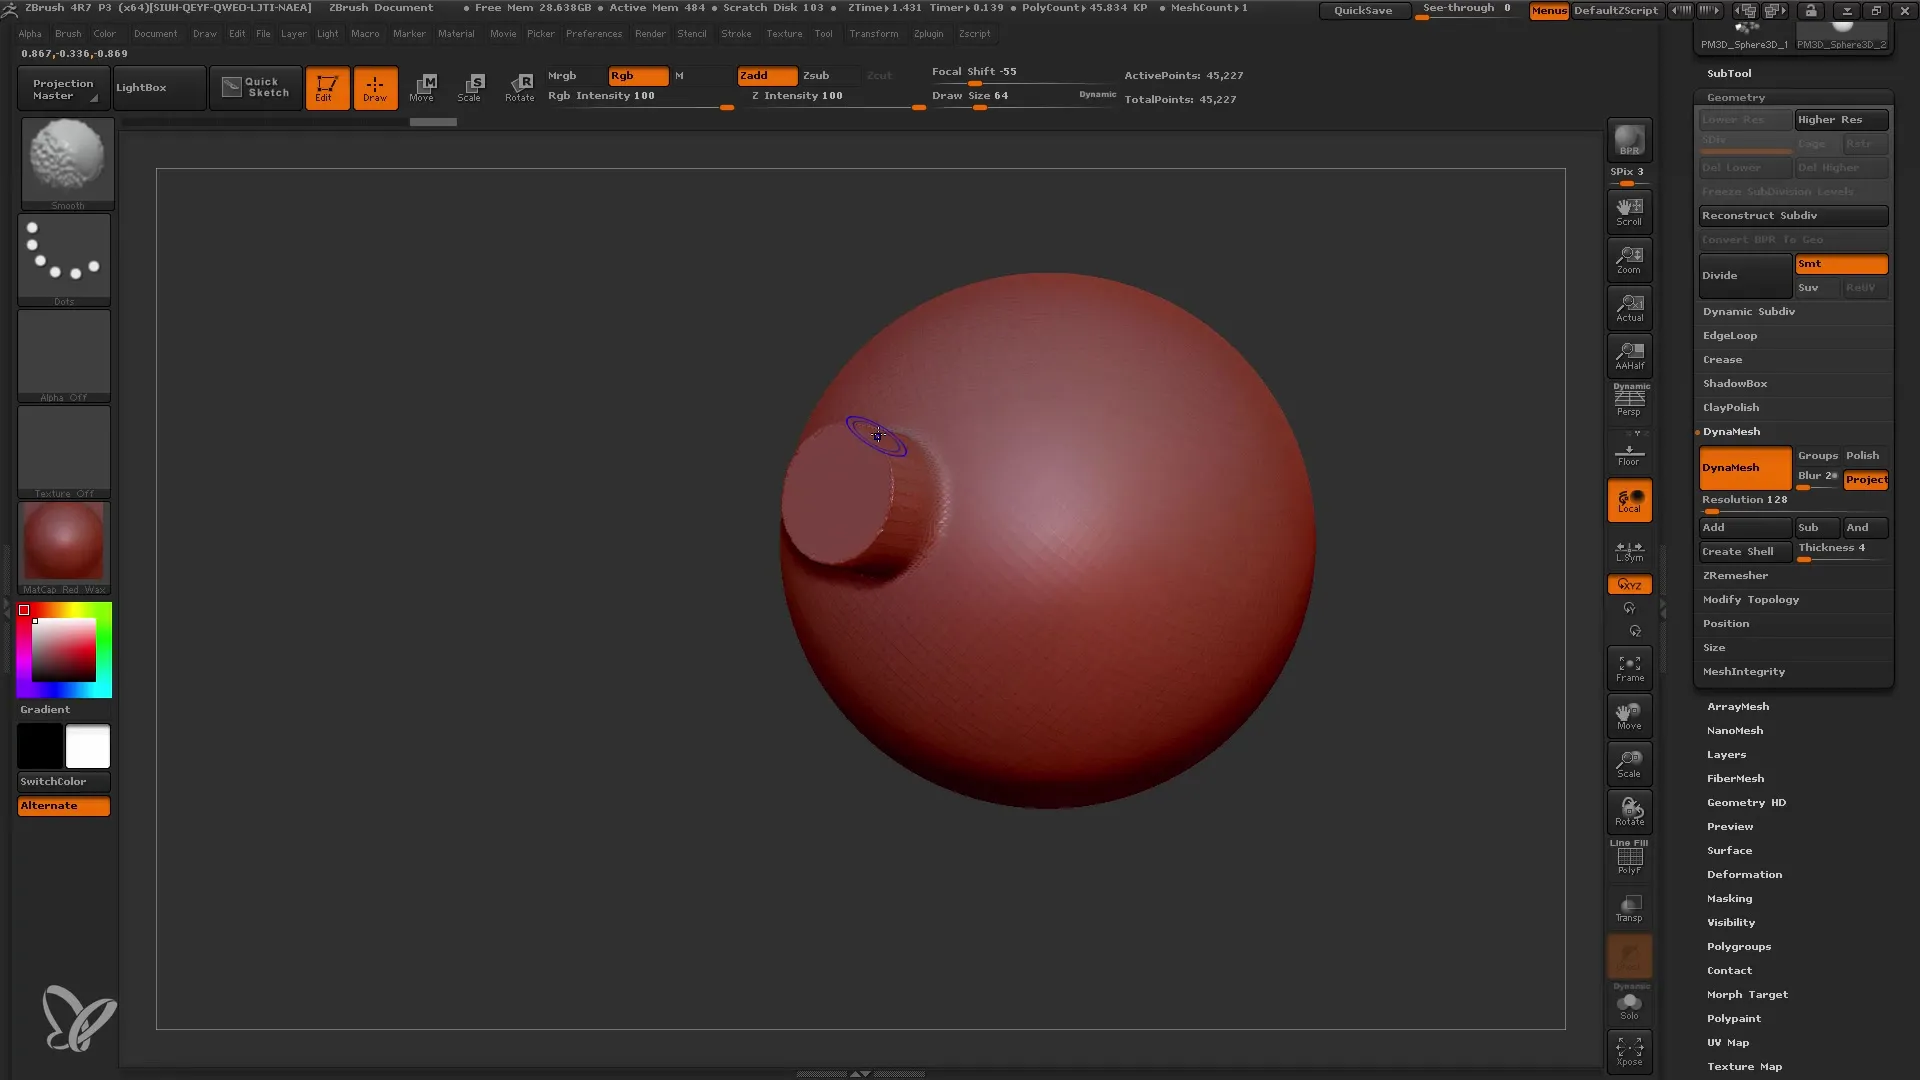
Here's an interesting technique coming into play. Next, I will show you how to subtract a mesh using the Alt key. Hold down the Alt key and drag your mesh. You will see that it breaks down into fragmented pieces, allowing you to make individual adjustments. It is important to refine the edges with the Smooth Tool to ensure clean transitions.
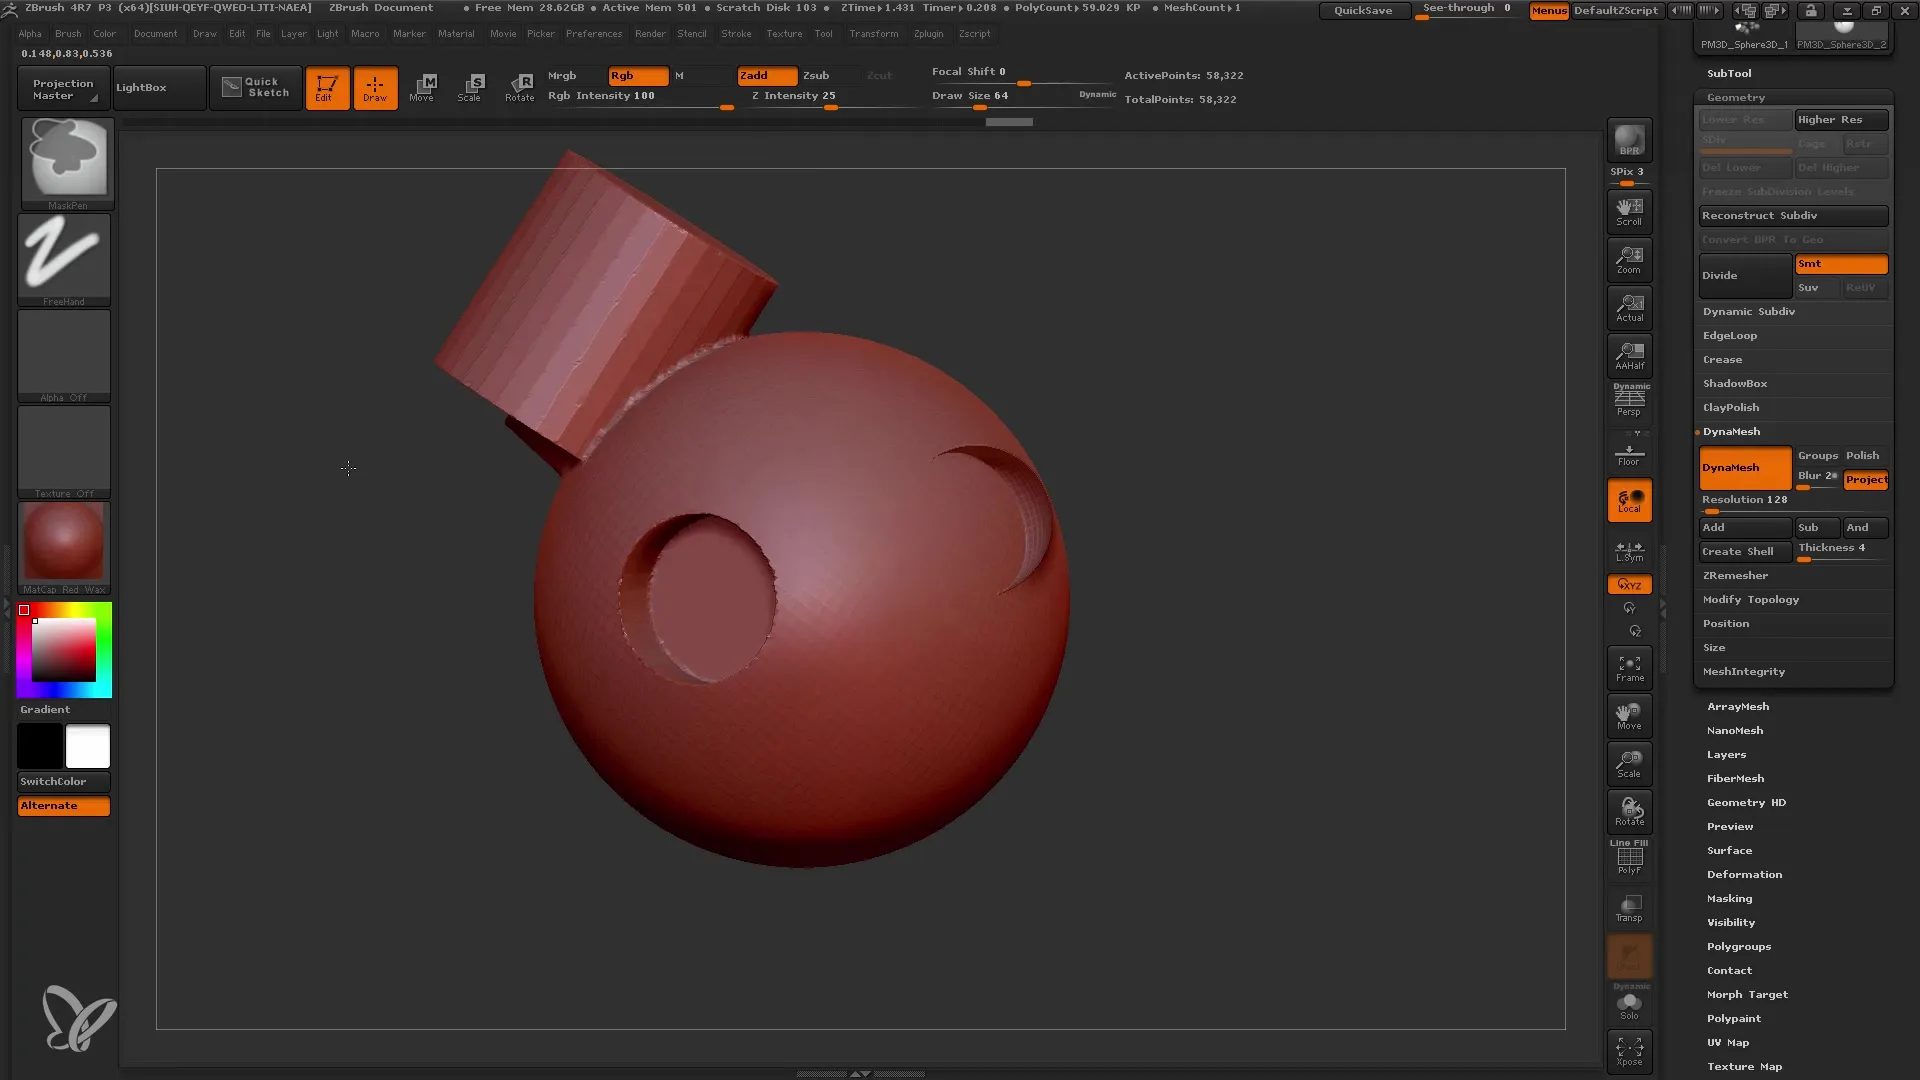
Now that you have grasped the basics, I want to introduce you to the Insert Multi Mesh Brushes. These offer you a variety of mesh variations within a single brush. Make sure your model does not have subdivision levels before working with the Multi-Mesh Brushes. If your active brush meets the requirements, drag the meshes into your project.
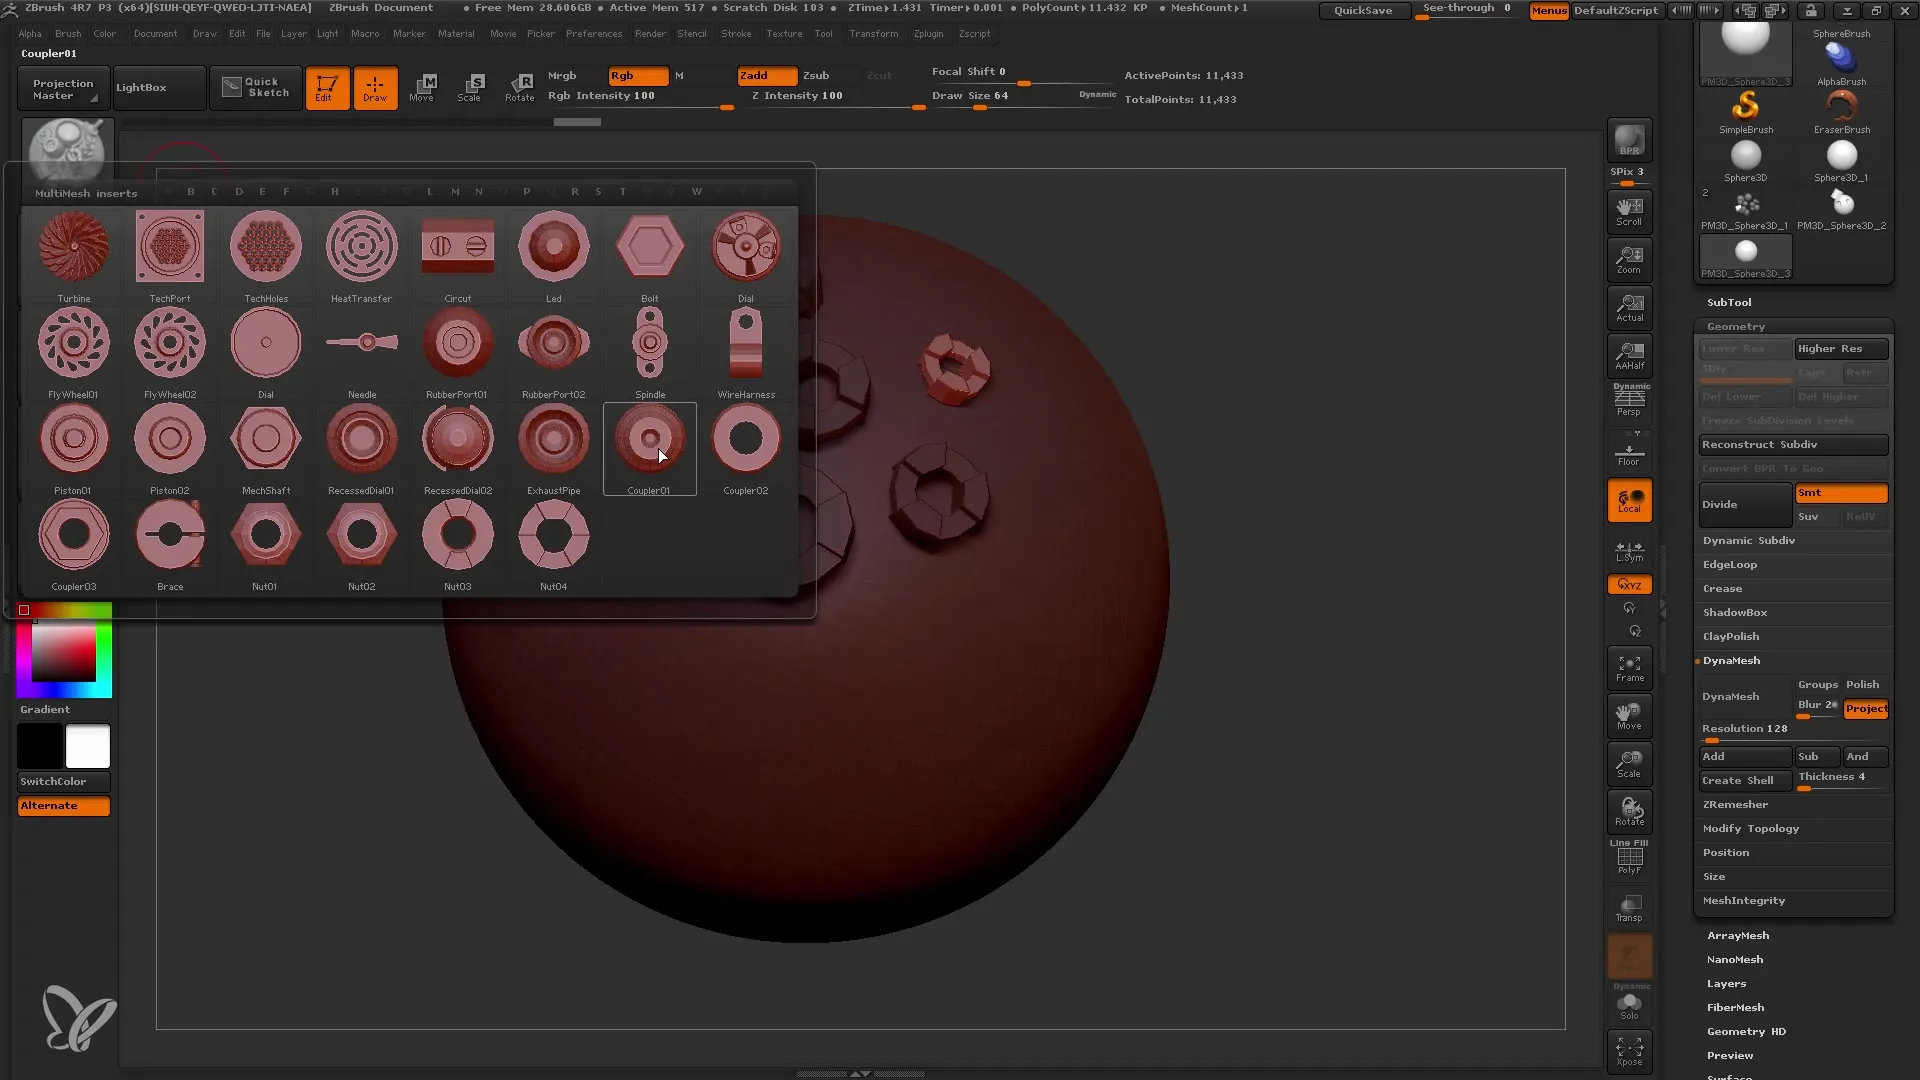
You now have the opportunity to select different parts and integrate them into your model. Press the M key to navigate through the various options menus and choose the desired element. The Insert Multi Mesh Brushes are especially useful when you want to create complex models or integrate detailed items into your design.
If you need a specific shape that you want to create yourself, you can also generate your own Insert Meshes. Start with a sphere or another object and shape it to your liking using the Move Tool. Once your model is ready, reopen the Brush palette, drag the model over it, and place it as a new Insert Mesh.
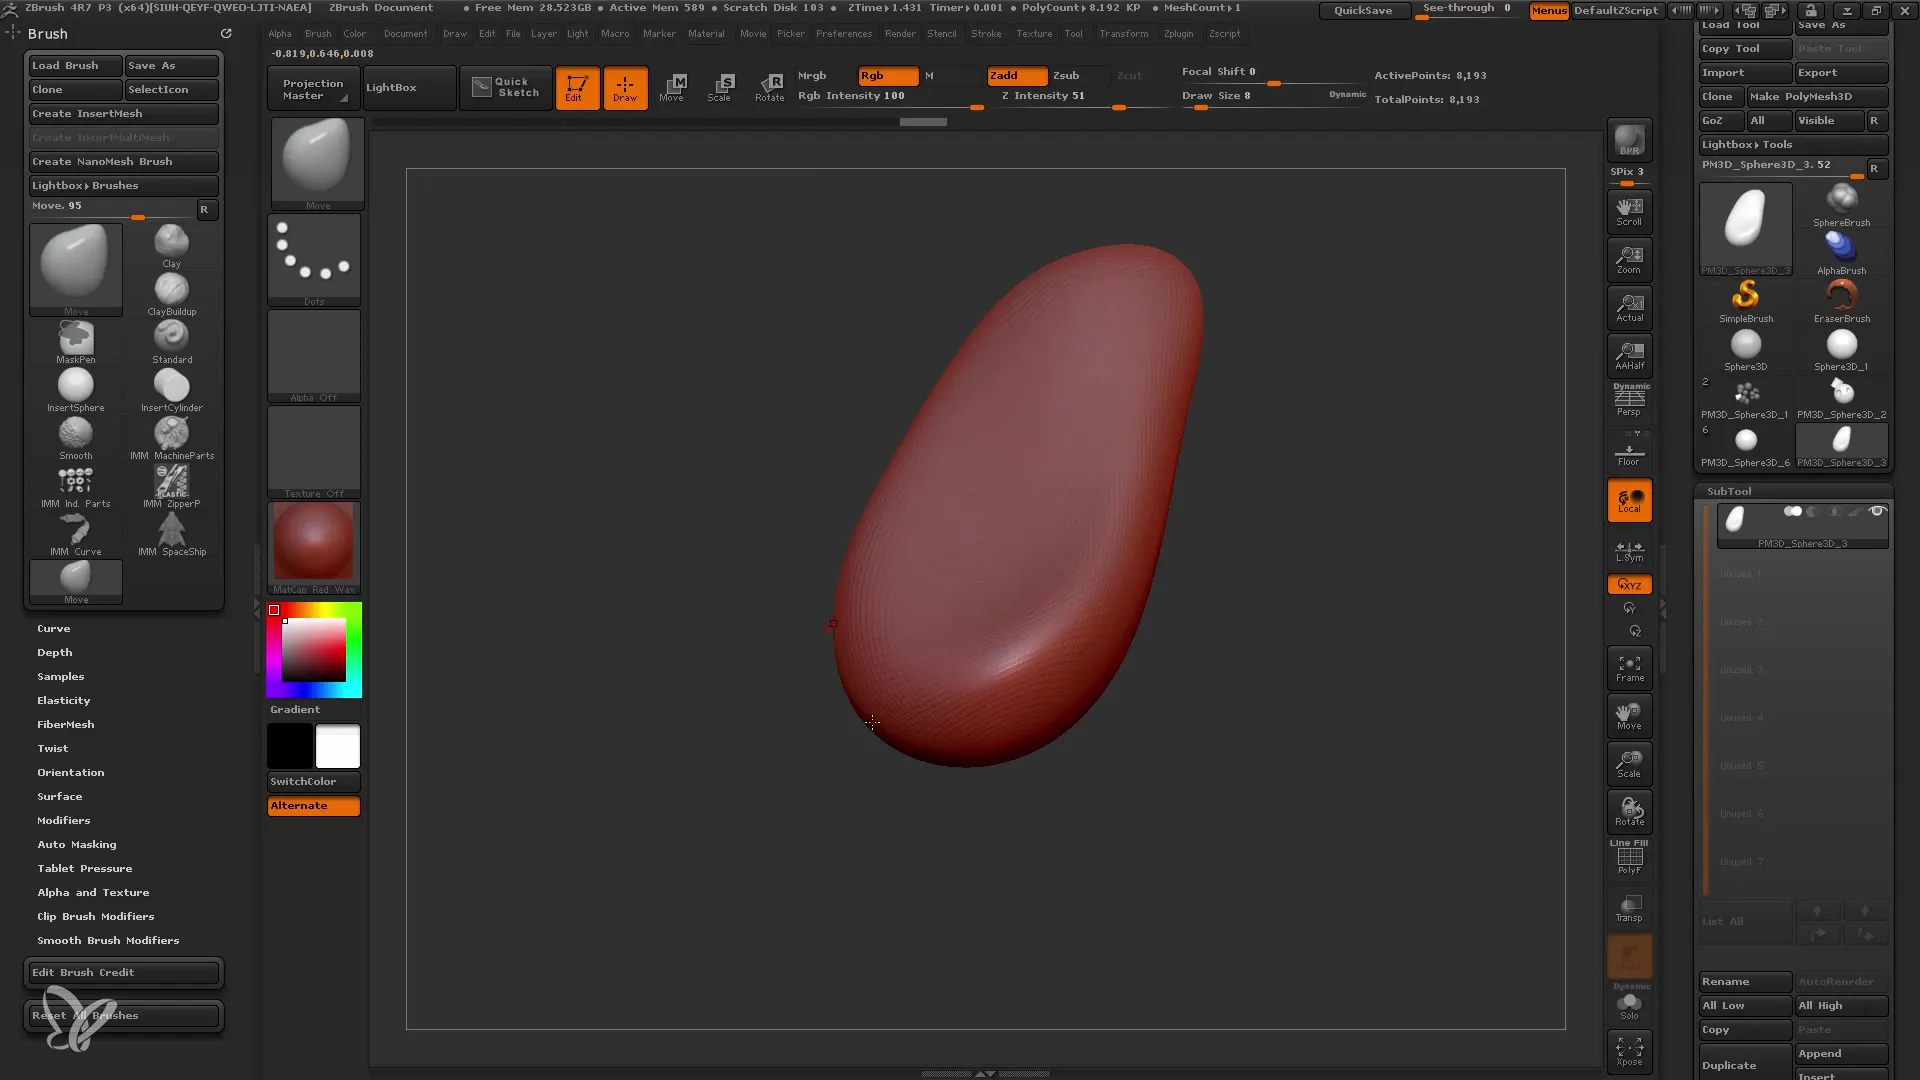
To create multiple variations of an Insert Mesh, you can duplicate your initial model and further modify it. This technique allows you to generate a large number of unique details without having to start from scratch each time. It is advisable to build a collection of useful Insert Meshes that you can use in future projects.
Summary
In this tutorial, you have learned how to effectively use Insert (Multi) Mesh Brushes in ZBrush to add details to your 3D models and increase your efficiency in modeling. You are familiar with various techniques for adjusting and creating your own brushes that facilitate the modeling process.
