Welcome to the world of ZBrush, where you can create impressive 3D models with creativity and skill. In this tutorial, you will learn how to use the Extract function to extract masked areas of a mesh and place them in their own subtool. You will receive step-by-step instructions to ensure that you master and apply the technique. Let's dive right in and explore the possibilities that this function offers!
Key Takeaways
The Extract function allows you to extract parts of your mesh based on masks and then edit them. You determine the thickness of the extracted part yourself. The combination of masking and extraction allows you to create complex shapes easily and precisely that fit perfectly into your existing model.
Step-by-Step Guide
Step 1: Prepare the base model
To use the Extract function, you must first ensure that you are in Edit Mode and have selected a mesh. Choose the model you want to work with.
Step 2: Apply masking
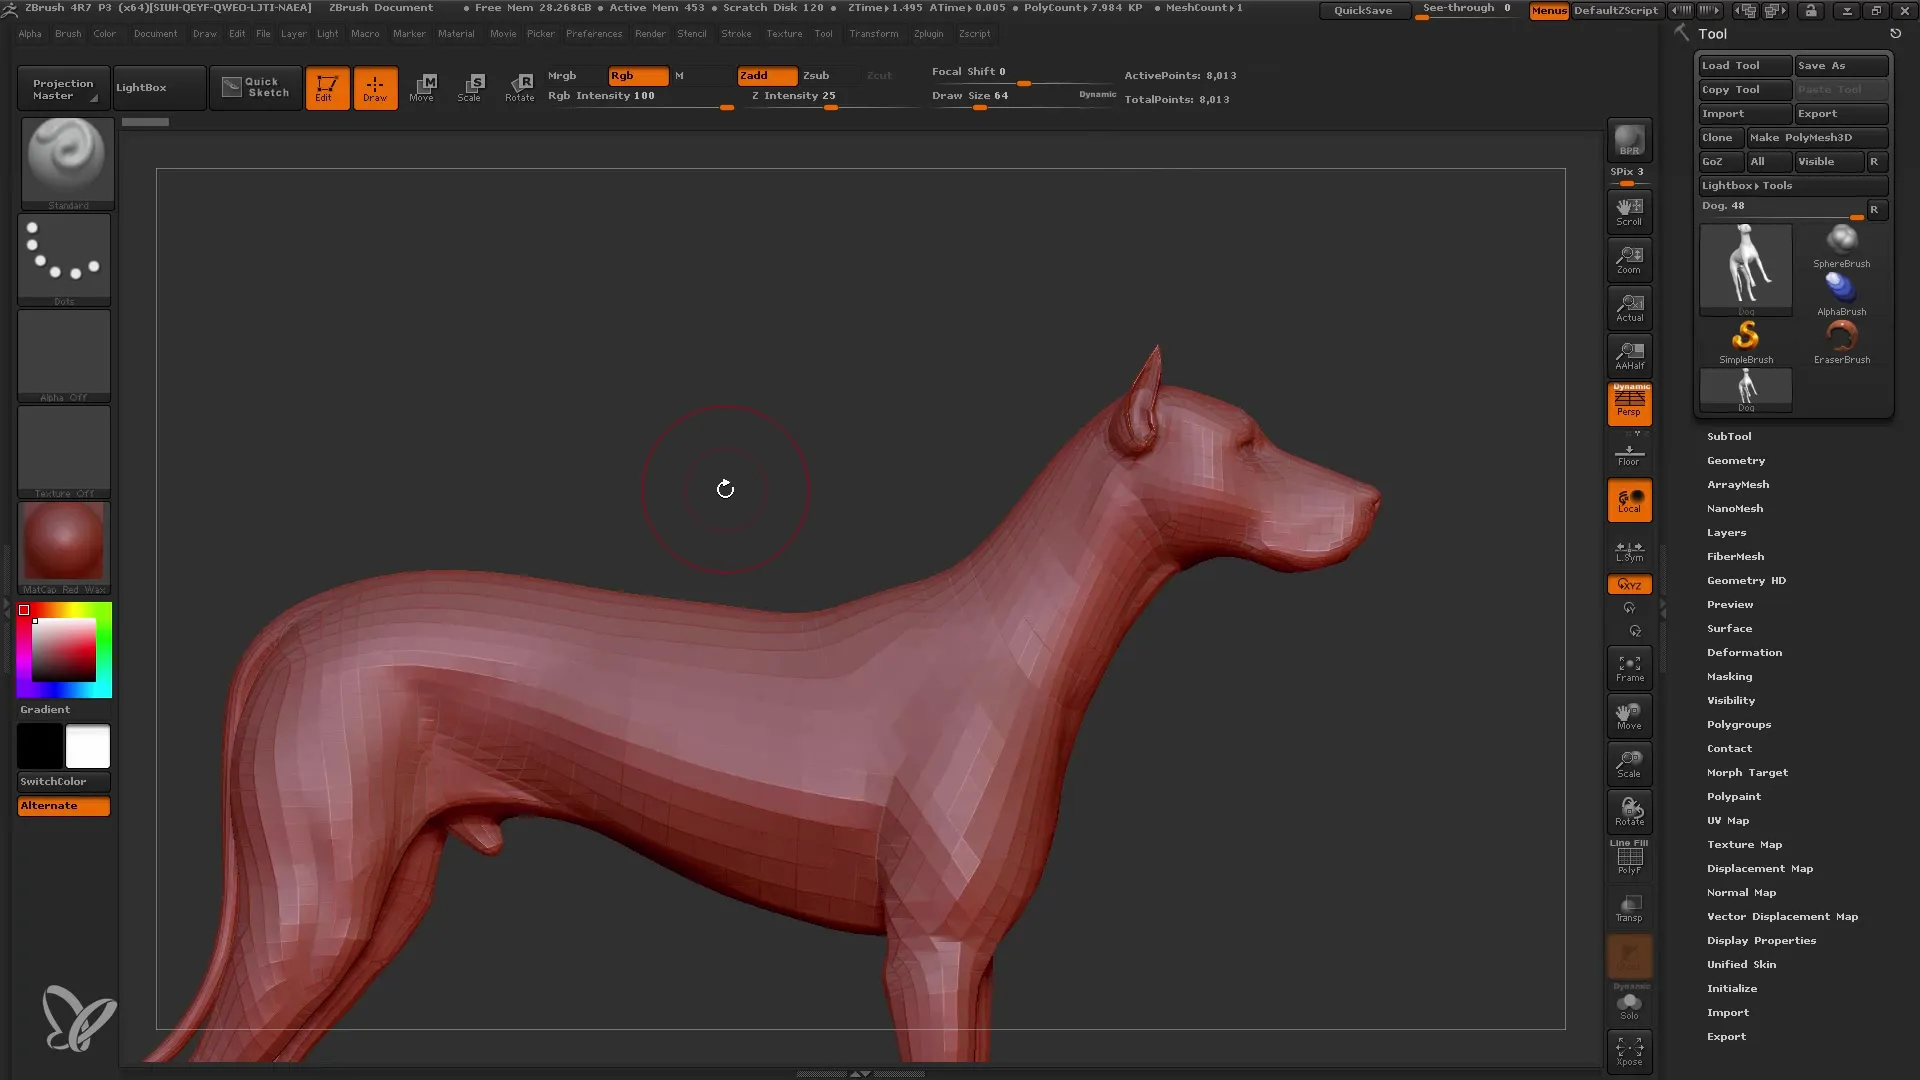
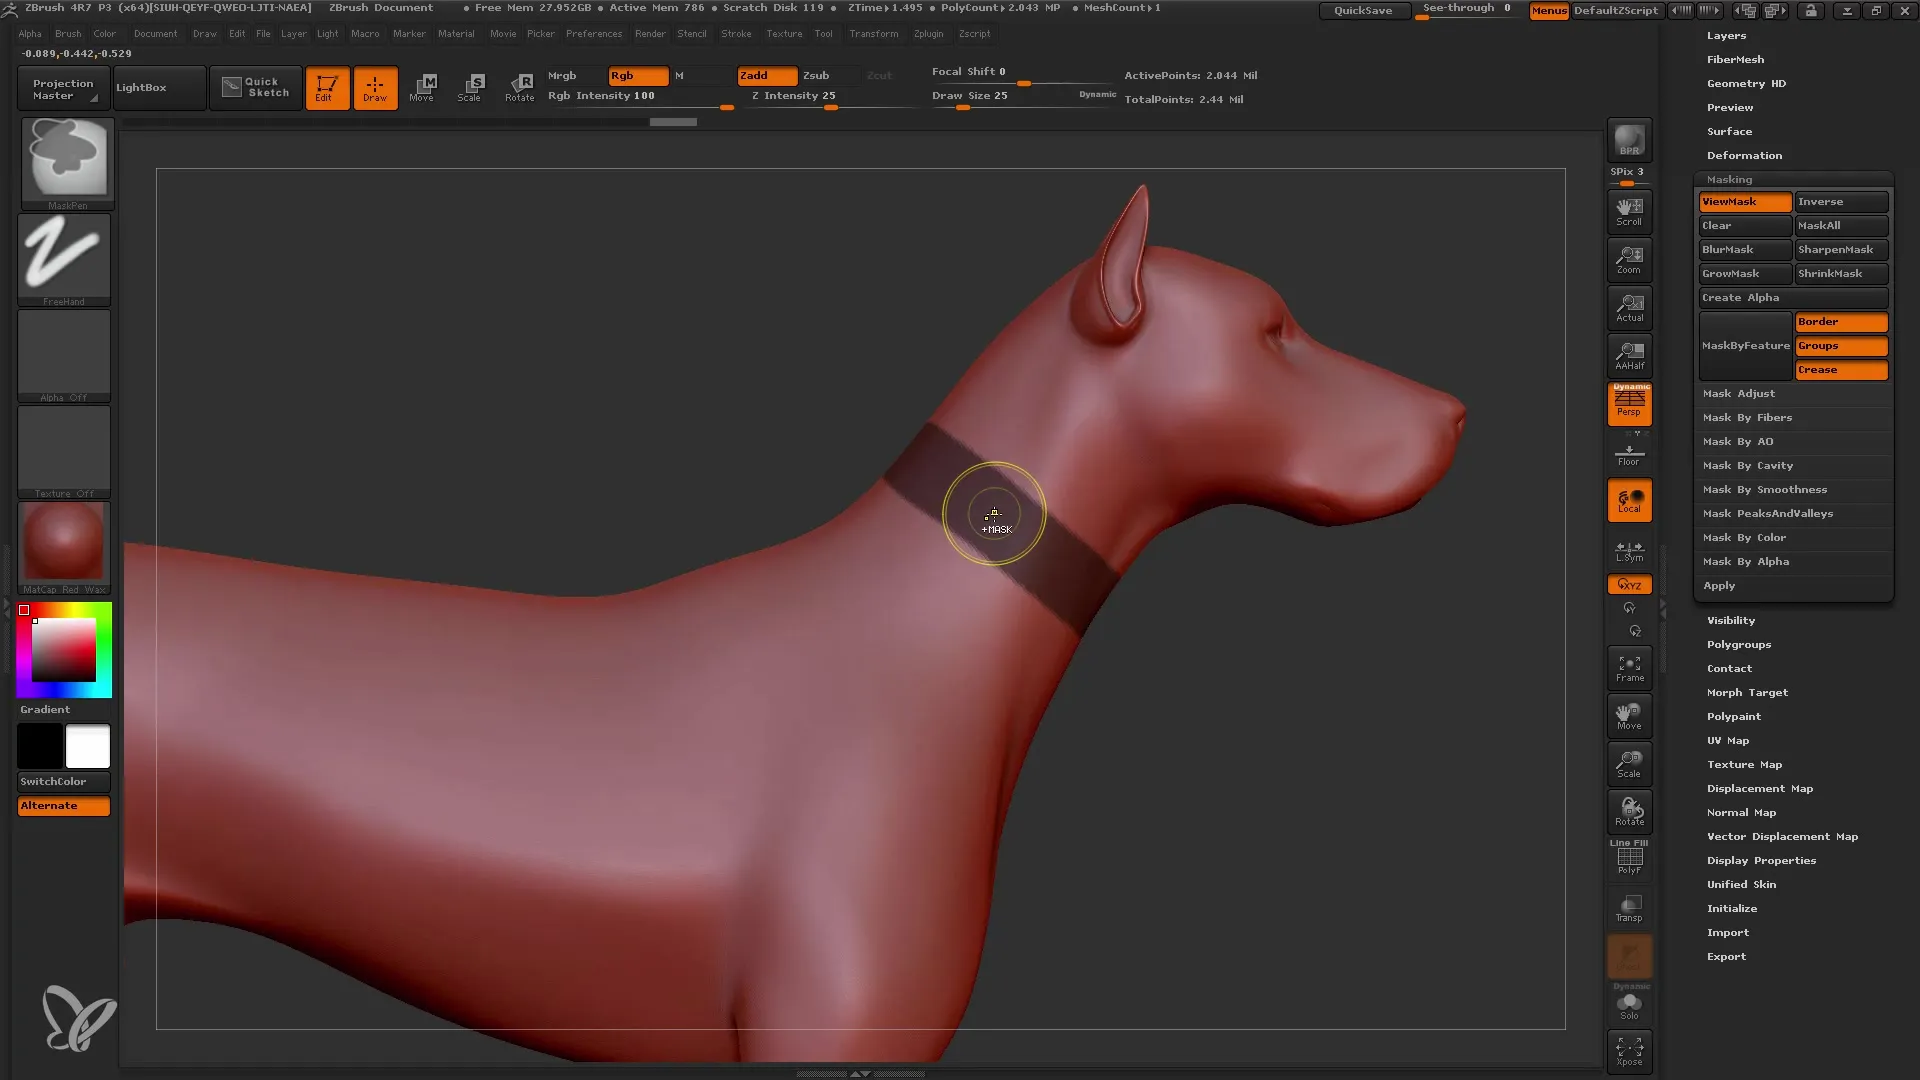
Now it's time to mask the areas you want to extract. Hold down the control key and use the mouse to paint over the mesh to select the desired areas. Depending on the polygon count, the mask will look different. Make sure the masking is clean and clearly visible.
Step 3: Increase polygon count
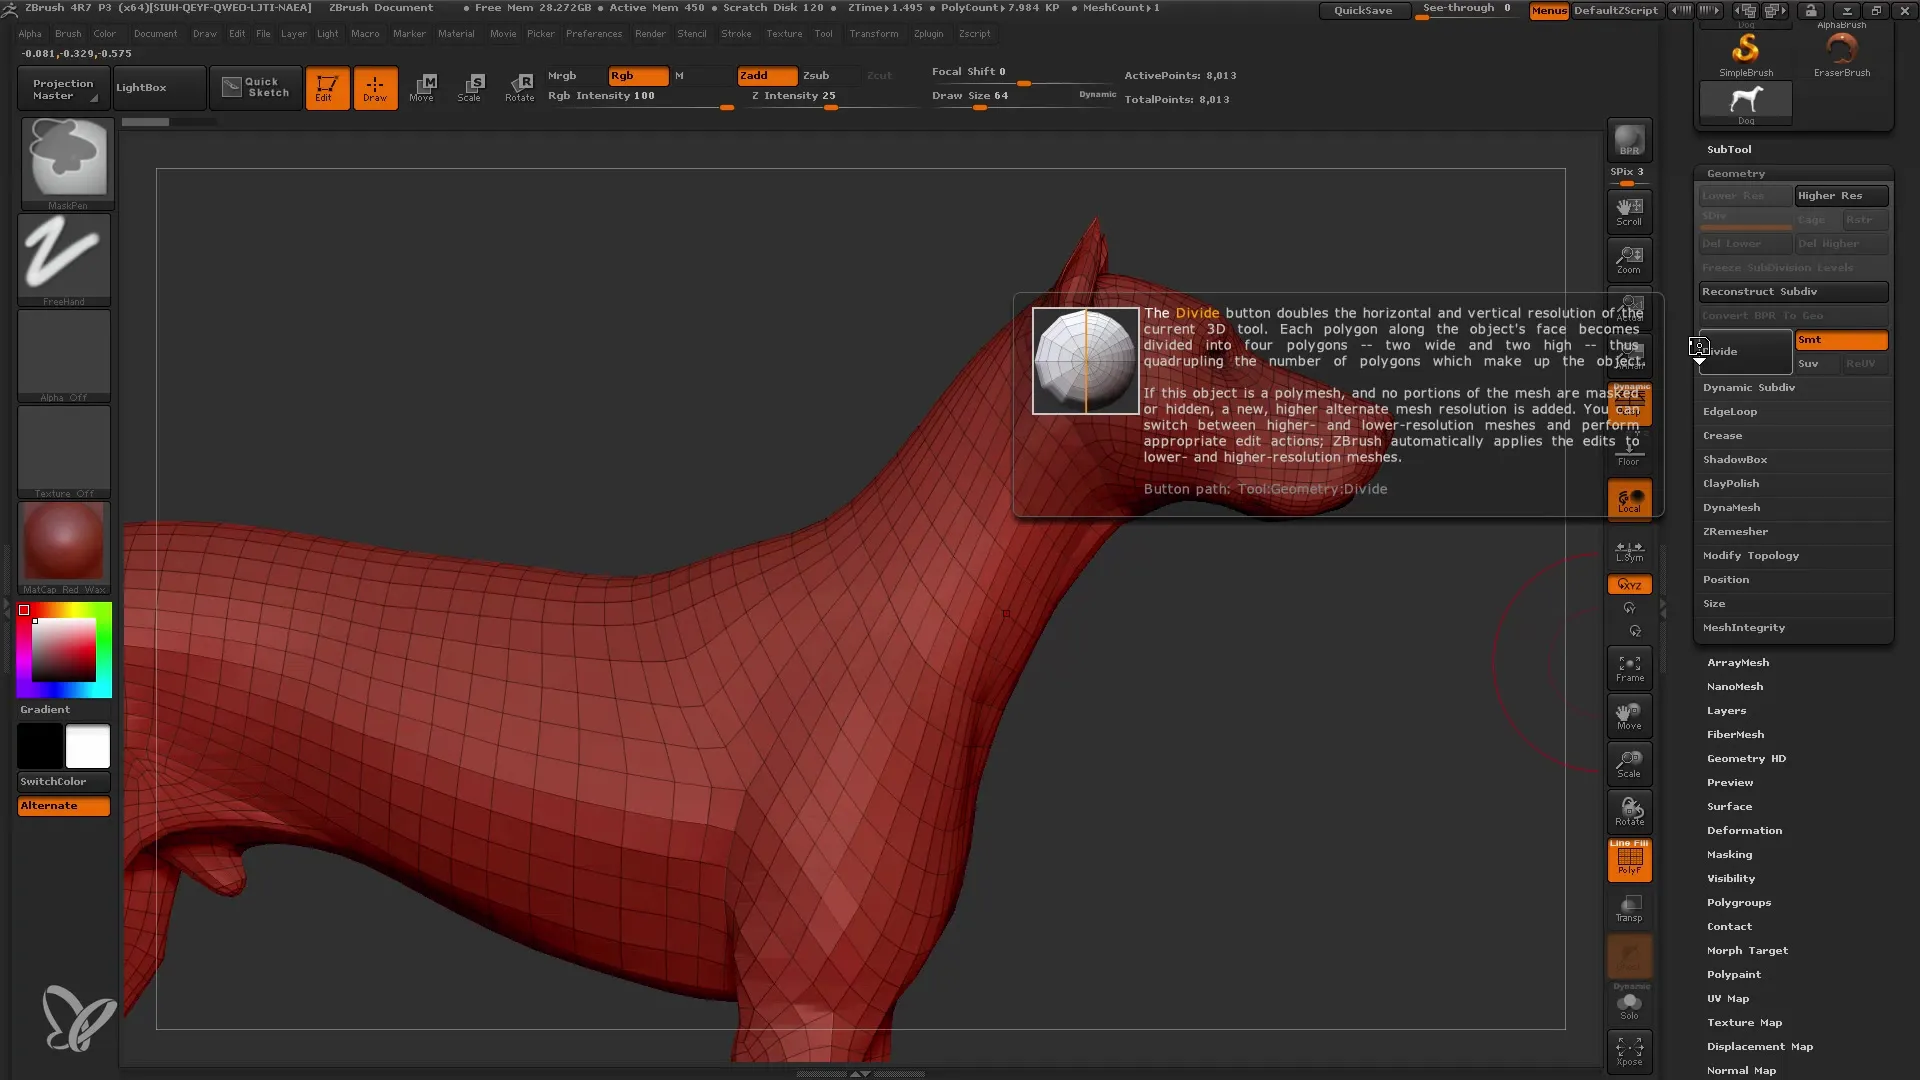
If you are working with masking on a low-resolution mesh, it may be necessary to increase the polygon count to get a cleaner mask. Press the control key and the "D" key multiple times to increase the resolution and obtain more detailed masks.
Step 4: Use symmetry
To make your work more efficient, you can activate the symmetry option. Hold down the control key and press the X key to ensure that both sides of your model are masked at the same time when you draw. This saves time and ensures uniform results.
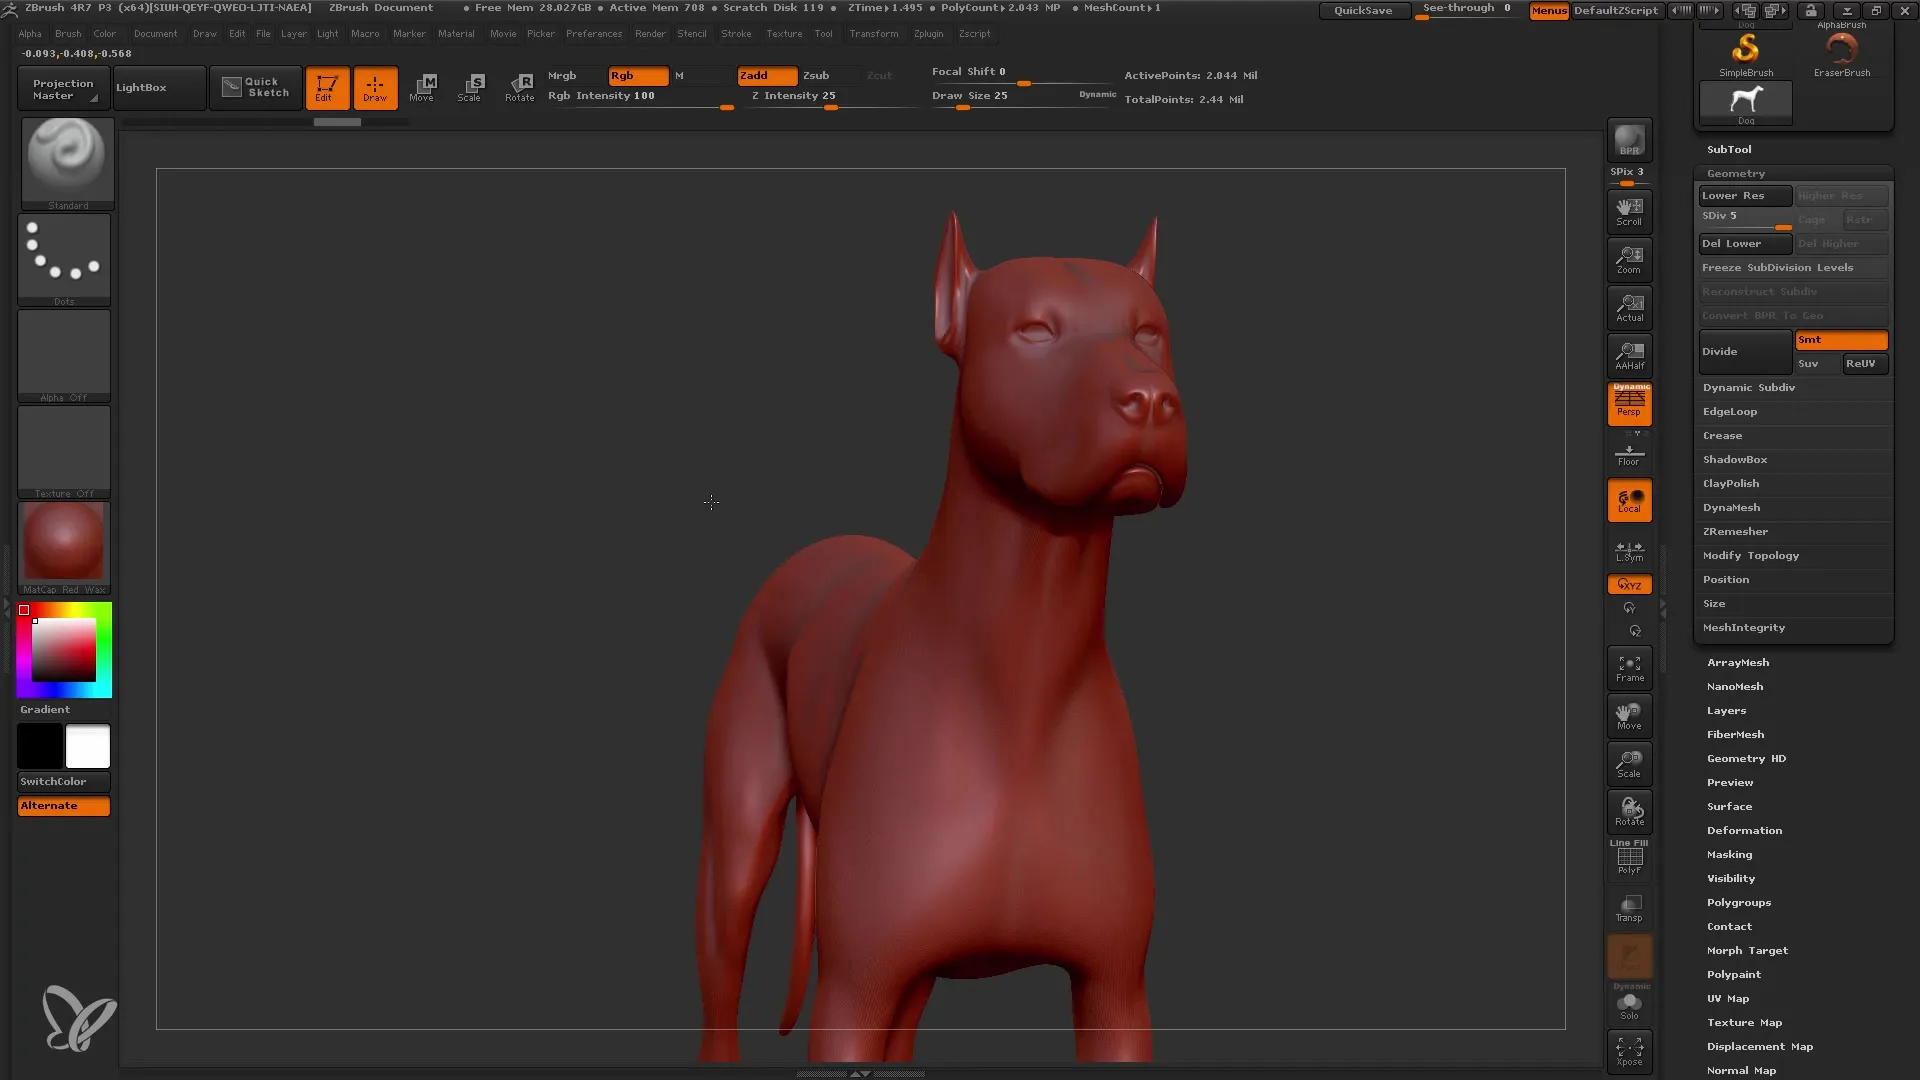
Step 5: Refine masking
To sharpen the edges of your masking or make them softer, you can apply different techniques. Hold down the control key and the Alt key while clicking on a mask area to sharpen it. Alternatively, you can simply click on the mask to soften it.
Step 6: Call the Extract function
Once you are satisfied with the masking, go to the Subtool options and select the Extract function. The Extract button opens a menu that allows you to start the extraction process.
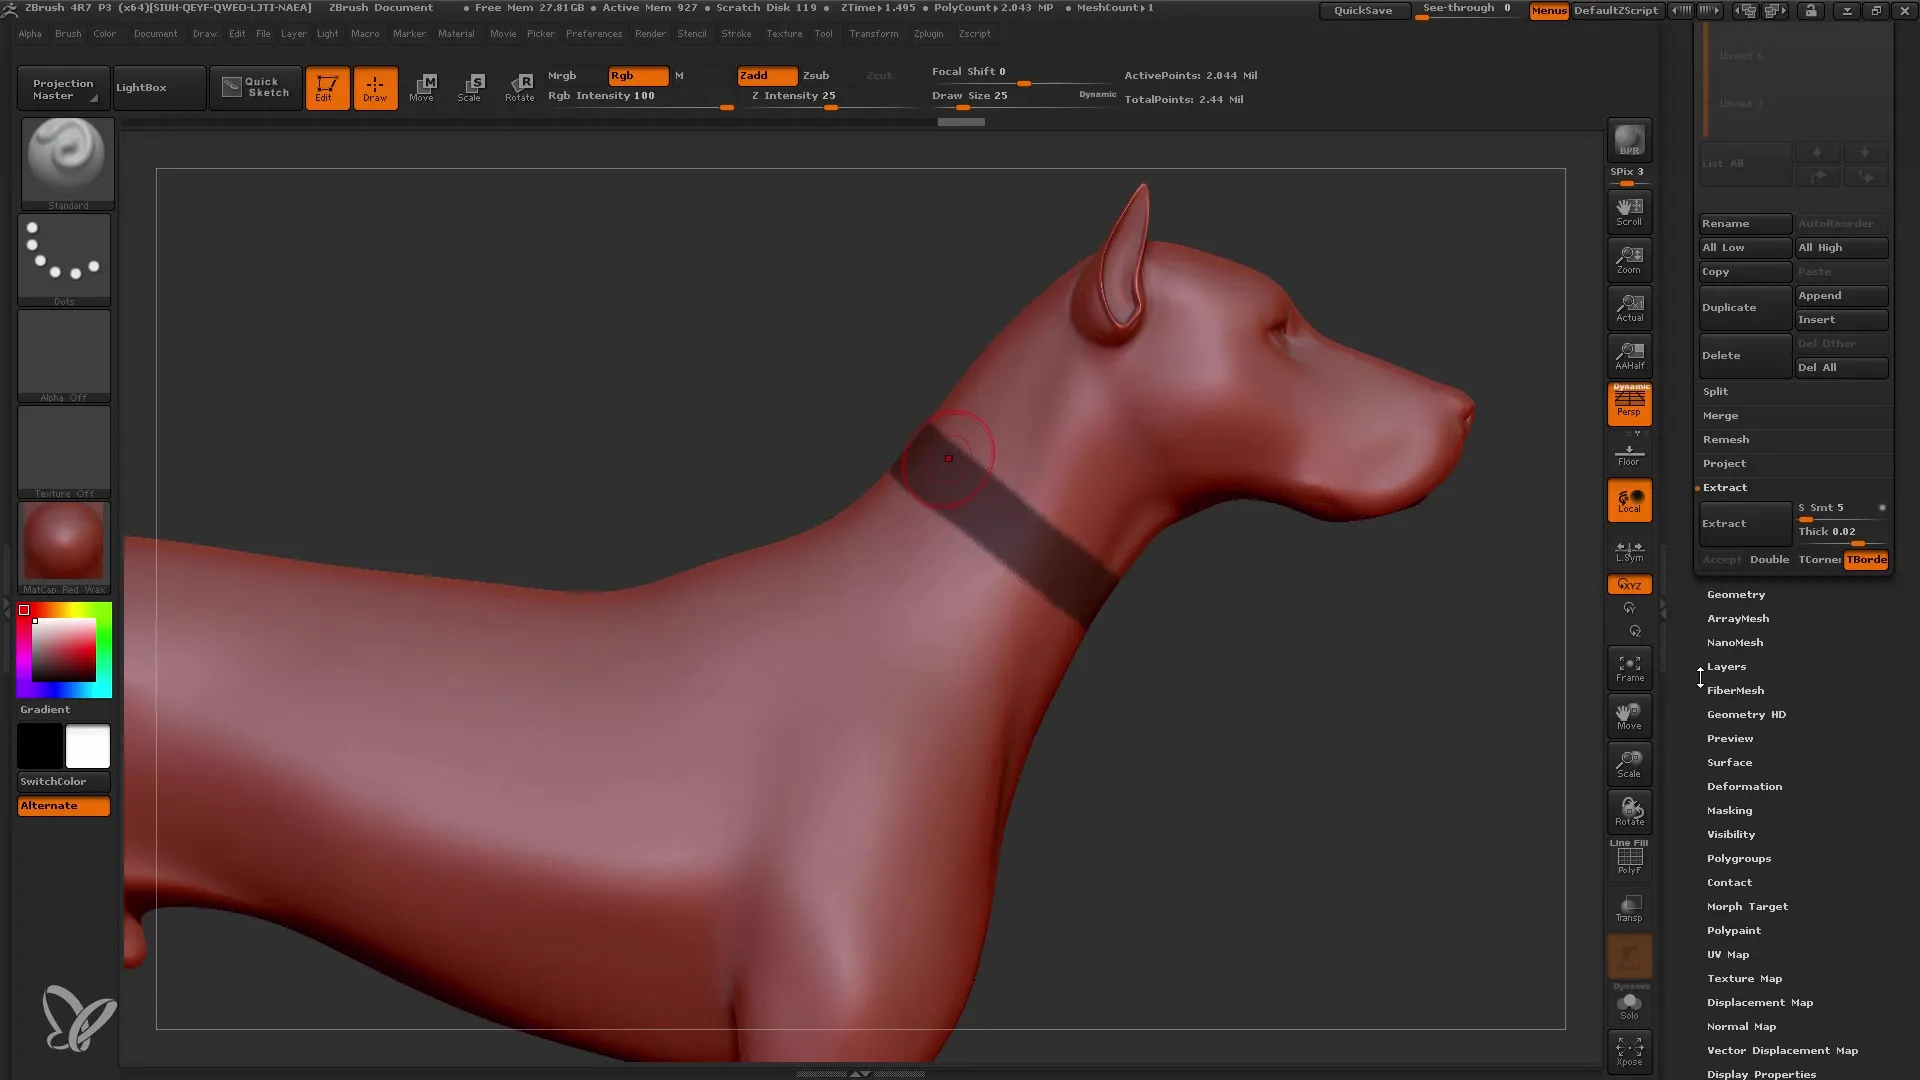
Step 7: Adjust parameters
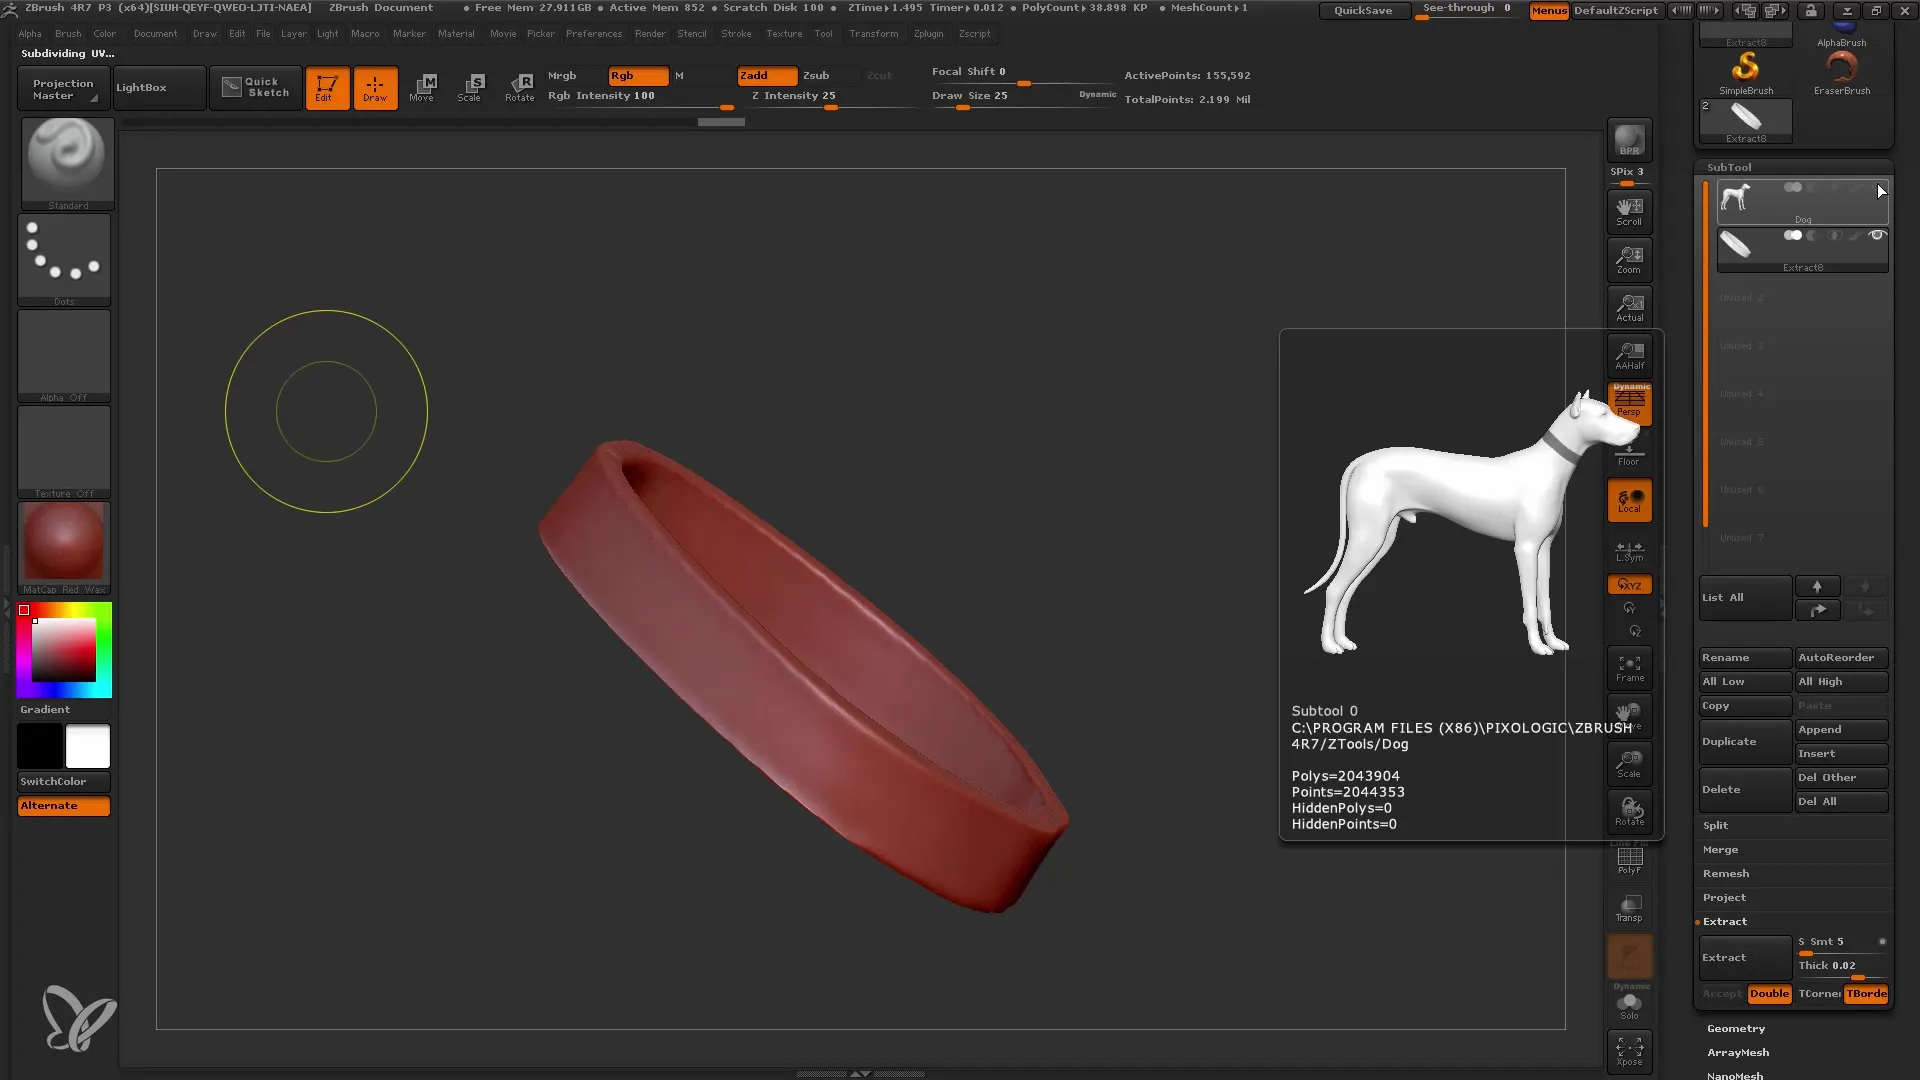
In the Extract menu, two important sliders are available: the Smooth (SMT) slider and the Thickness slider. Adjust the SMT slider to smooth the edges of the extracted part. Experiment with the Thickness slider to adjust the thickness of the extracted collar until you achieve the desired result.
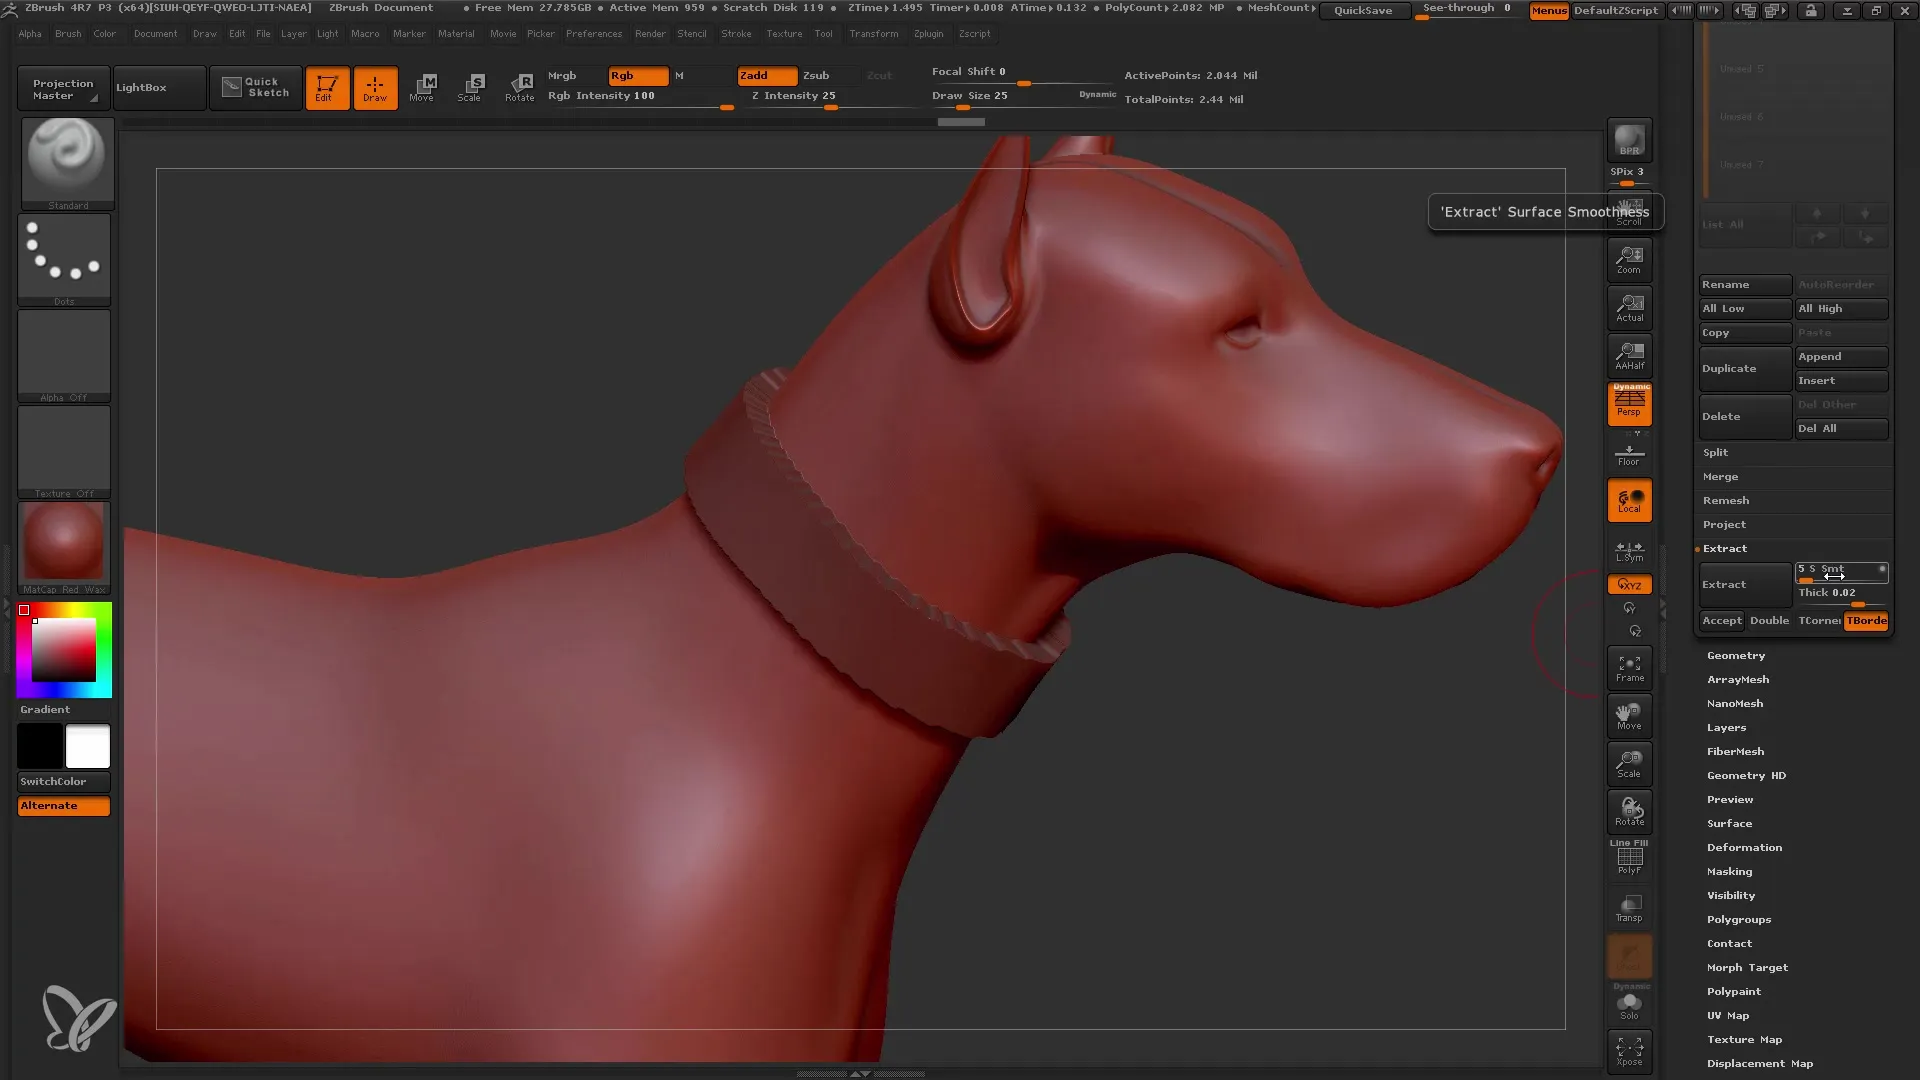
Step 8: Accept the extraction
If you are happy with the result, click the "Accept" button to finalize the extraction. This will save your collar as its own subtool in ZBrush.
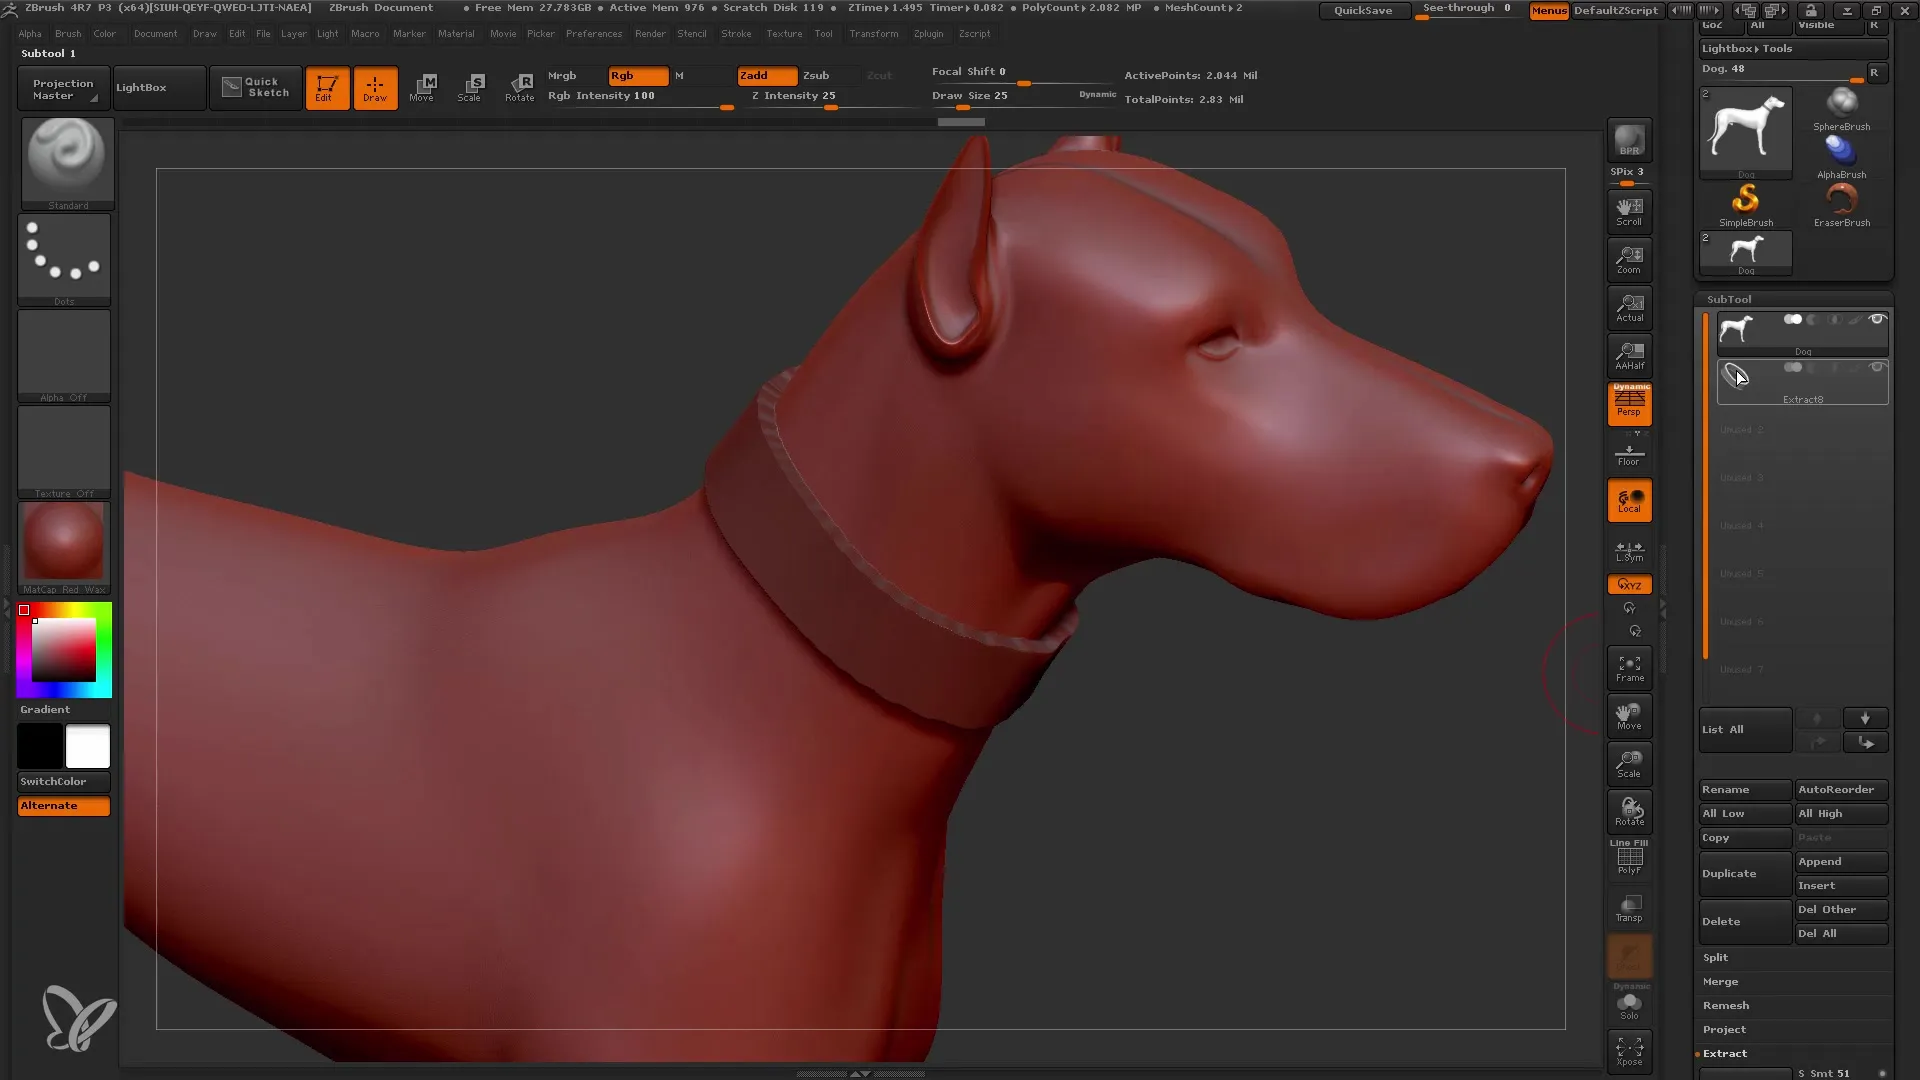
Step 9: Edit the new subtool
After the new subtool has been created, you can hide the old mesh and only view your extracted collar. This allows you to make adjustments and ensure that everything is in the correct scale and position.
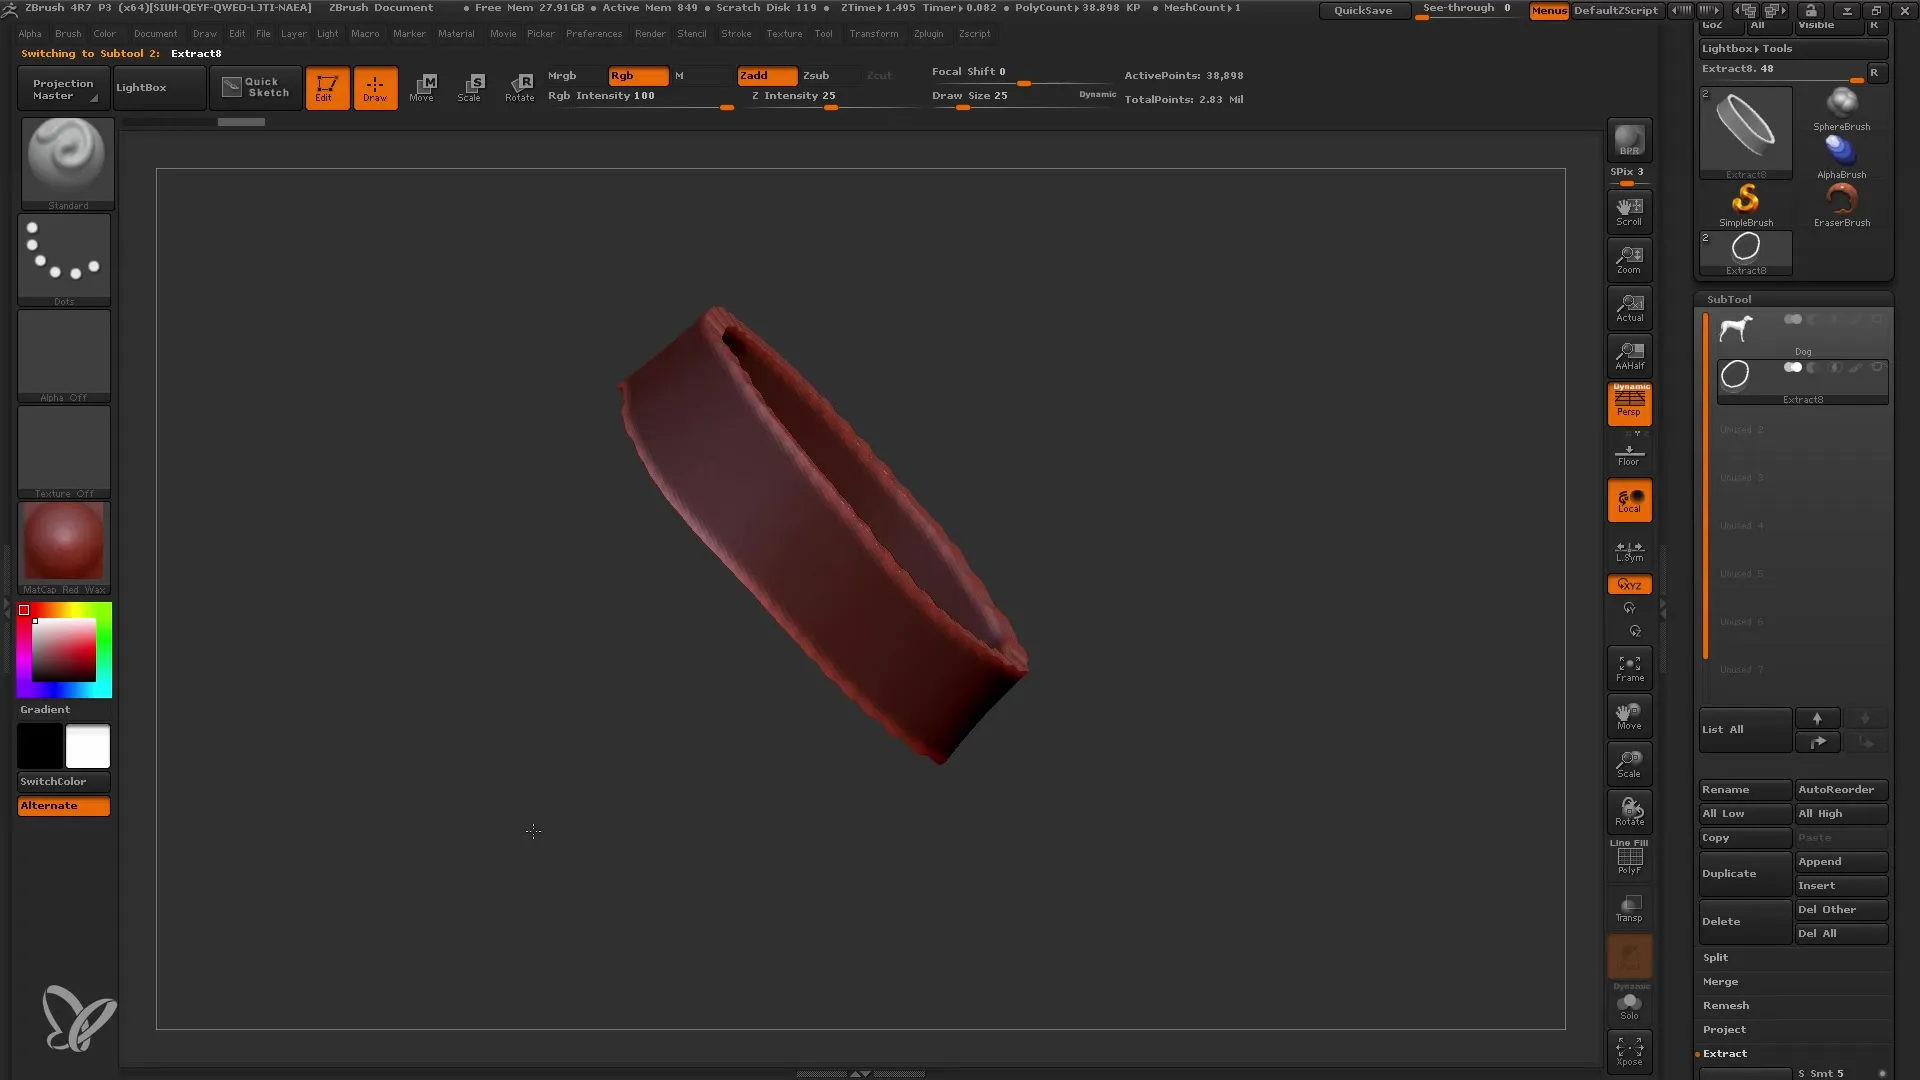
Step 10: Refining Edges
To refine the edges of your extracted object, select the Clip Curve brush and use it to smooth and enhance parts of the model. Make sure to work precisely by holding down the Shift and Control keys.
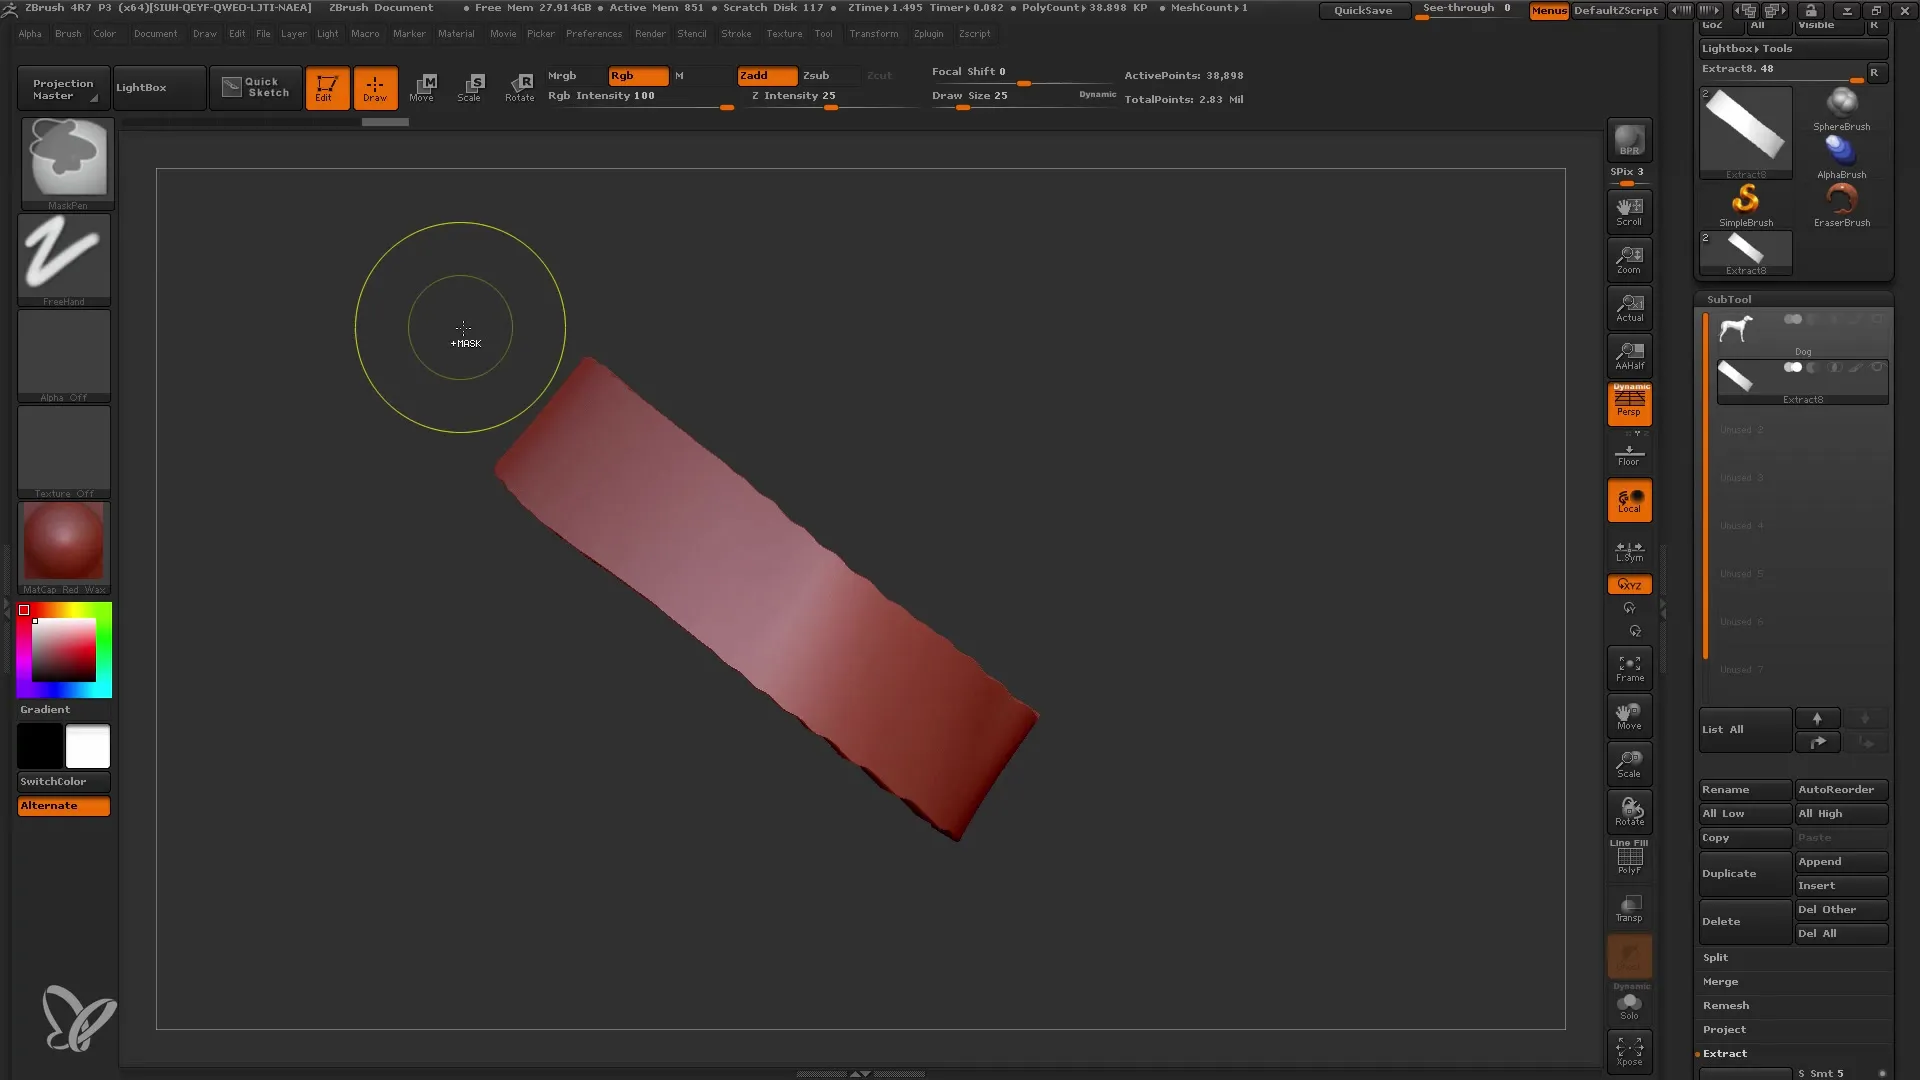
Step 11: Polishing and Deforming
Use the deformation tools in ZBrush to further work on and polish your collar. Here you can apply functions like "Relax" to achieve smooth transitions and smoother edges.
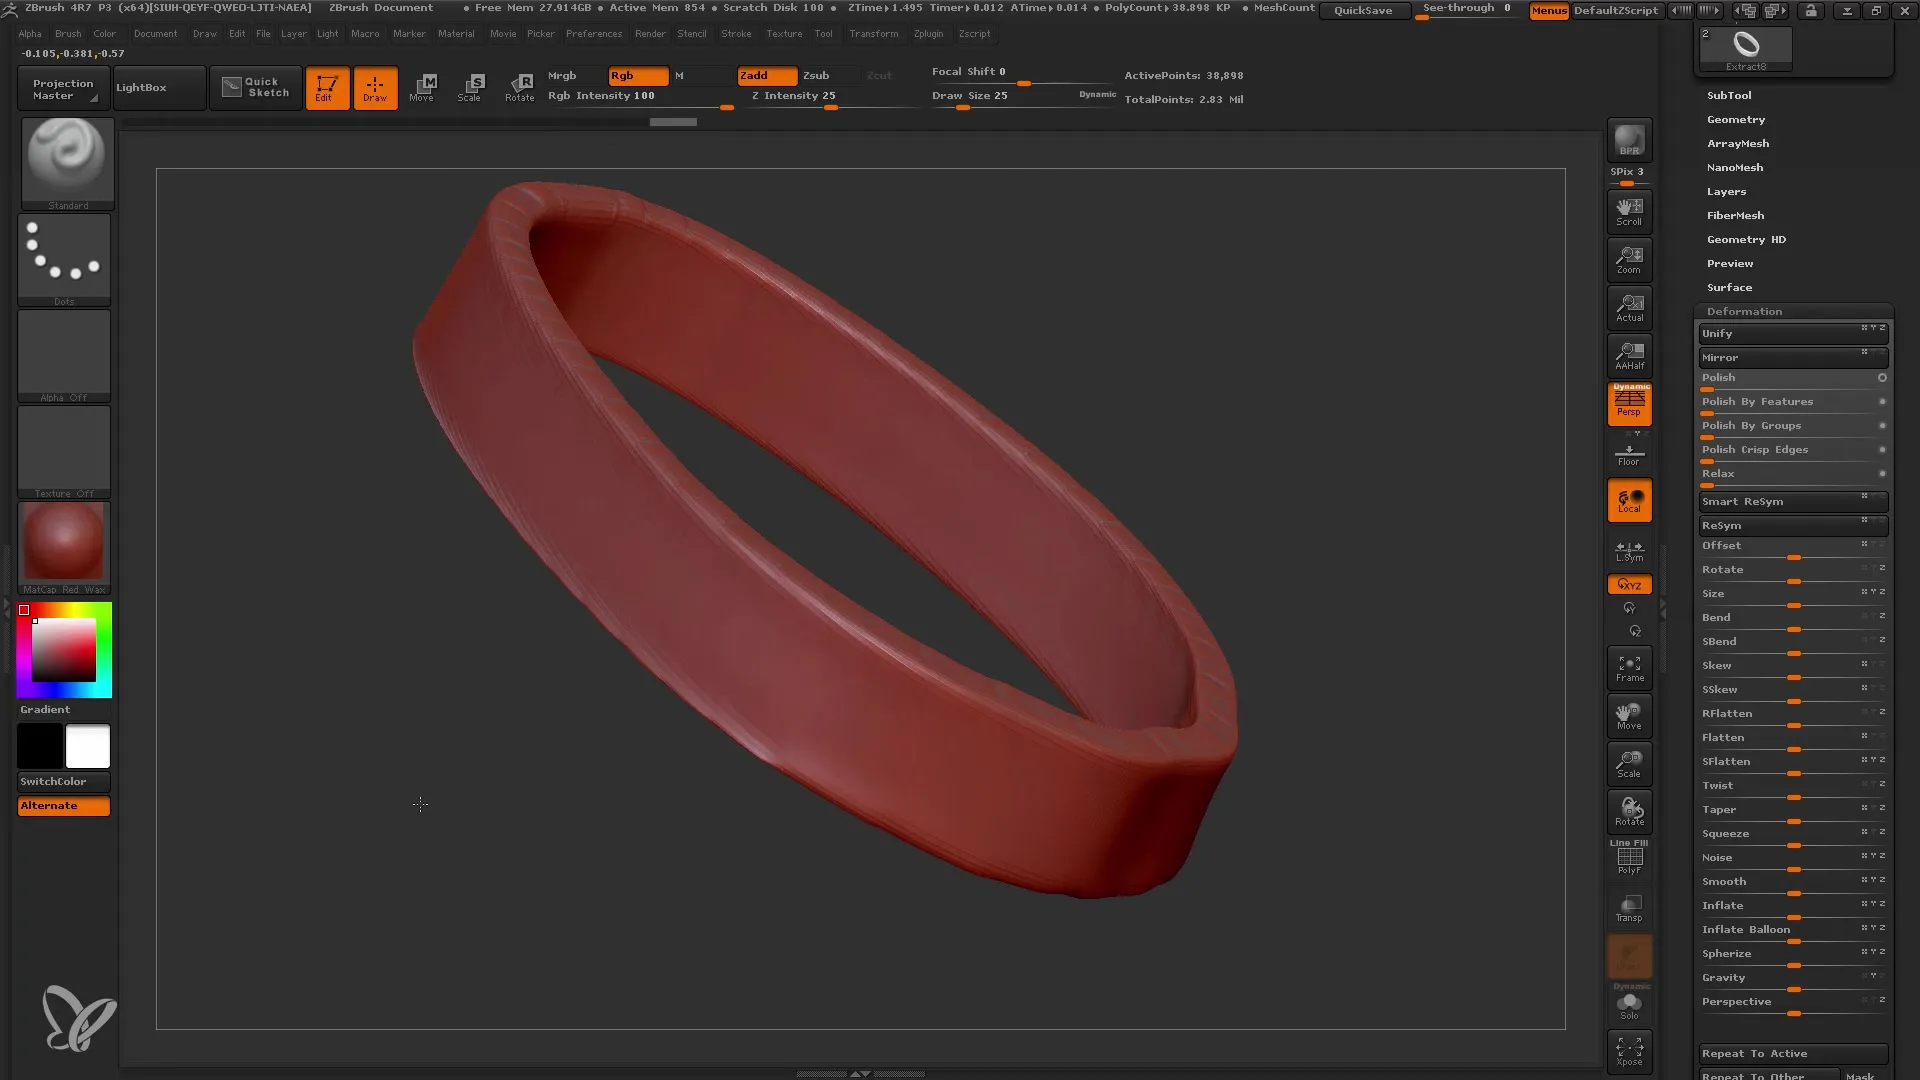
Step 12: Detail Processing
If you want to add more details, you can increase the resolution of the collar to create textures and finer elements. This way, you can even make the surface more detailed.
Summary
The extract function in ZBrush allows you to seamlessly extract masked areas of a mesh into a separate subtool. With a little practice, you will master the various masking and adjustment techniques and be able to create complex shapes easily and precisely. Use the learned steps to fully unleash your creativity in 3D modeling.
Frequently Asked Questions
What is the extract function in ZBrush?It allows extracting masked areas of a mesh into a separate subtool.
How can you adjust the thickness of the extracted part?By using the Thickness slider in the Extract menu, you can adjust the thickness flexibly.
Can I undo the extraction?Yes, you can always go back before confirming the extraction and adjust the mask.
