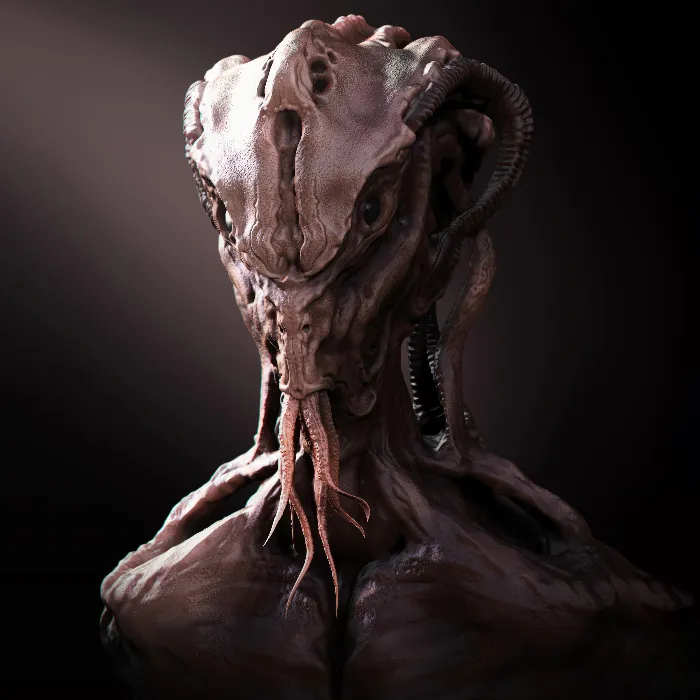
Welcome to this comprehensive tutorial on using Spotlight in ZBrush. In this video, I'll show you how to project fine textures onto your 3D model using the Spotlight feature, significantly enhancing the level of detail. Whether for characters, objects, or environments, the right texture can make all the difference. Let's dive into the techniques and possibilities that will make working with Spotlight easier.
Key Takeaways
- With Spotlight, you can precisely apply textures to your model.
- The feature allows importing your own textures and gives you a lot of control over their application.
- The Spotlight wheel offers various options to adjust the size, intensity, and position of textures while working.
Step-by-Step Guide
First, you'll want to prepare your textures before starting to use Spotlight.
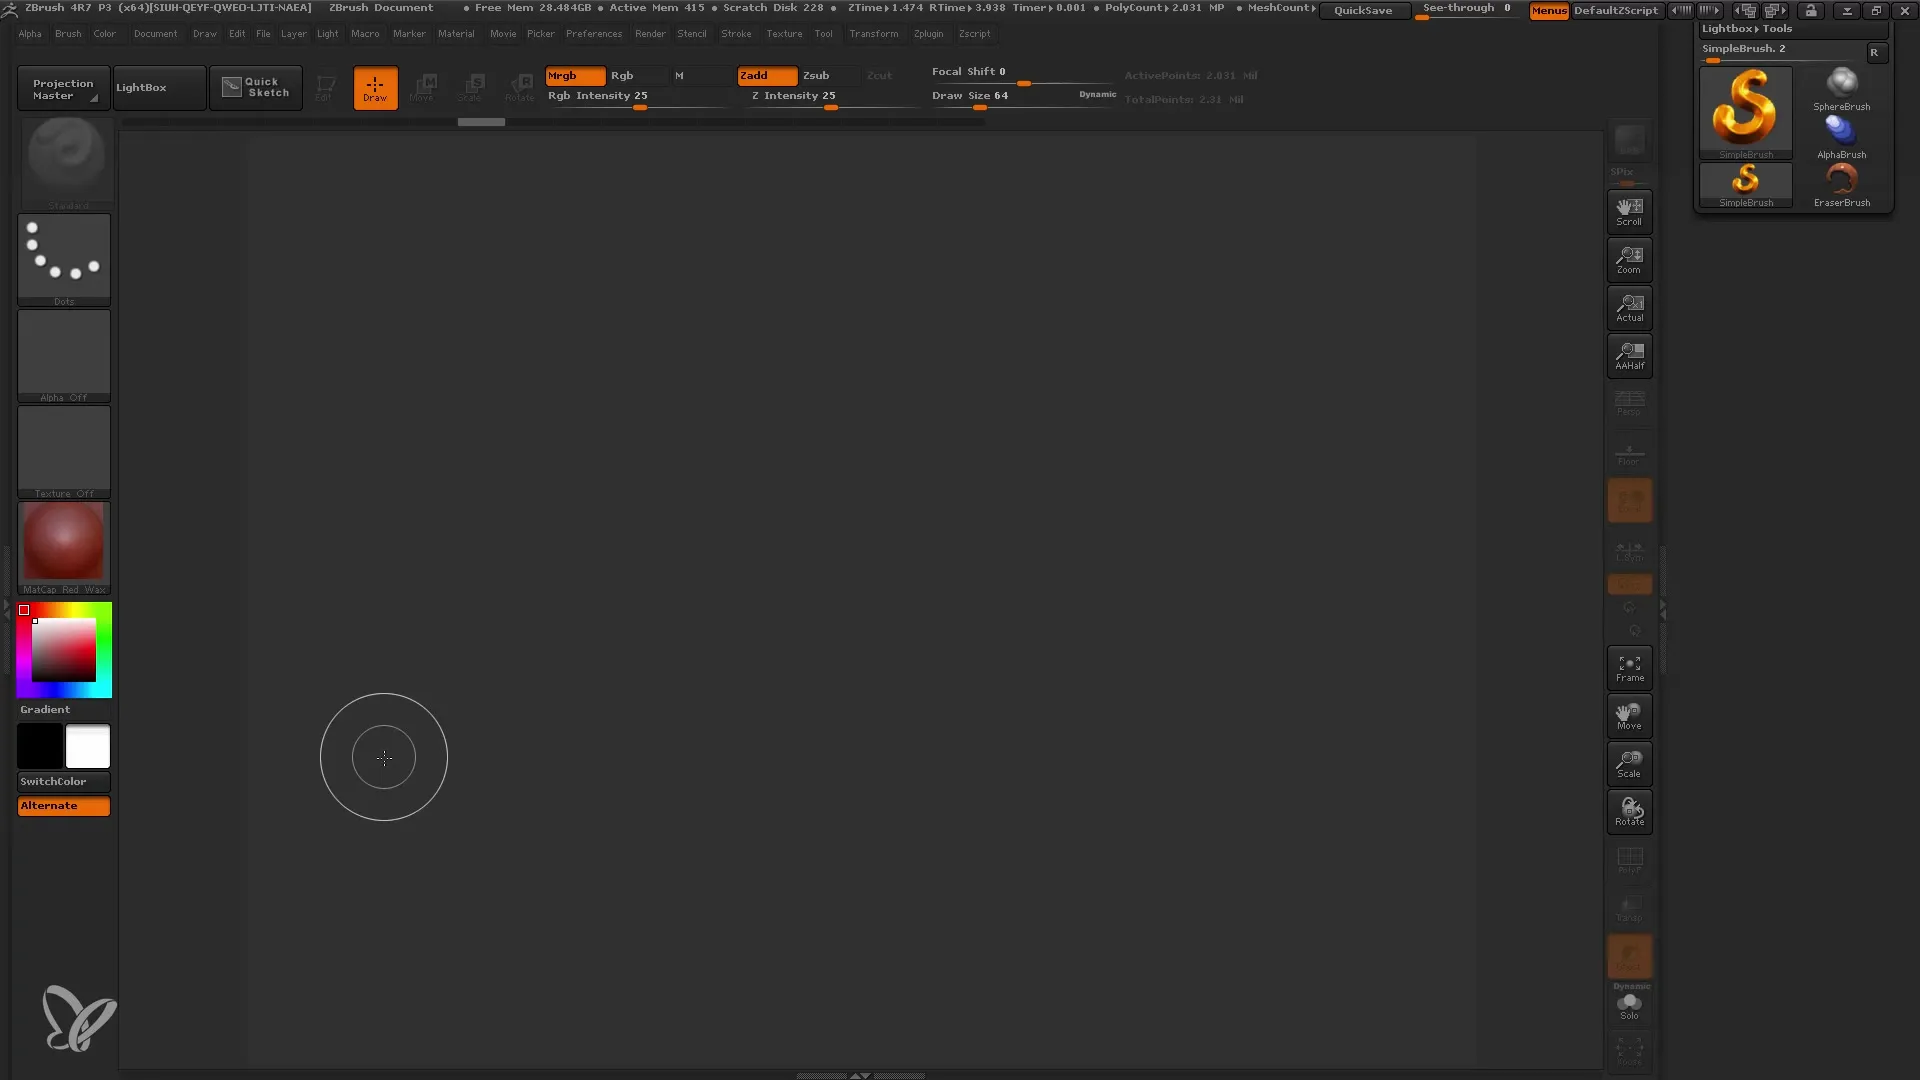
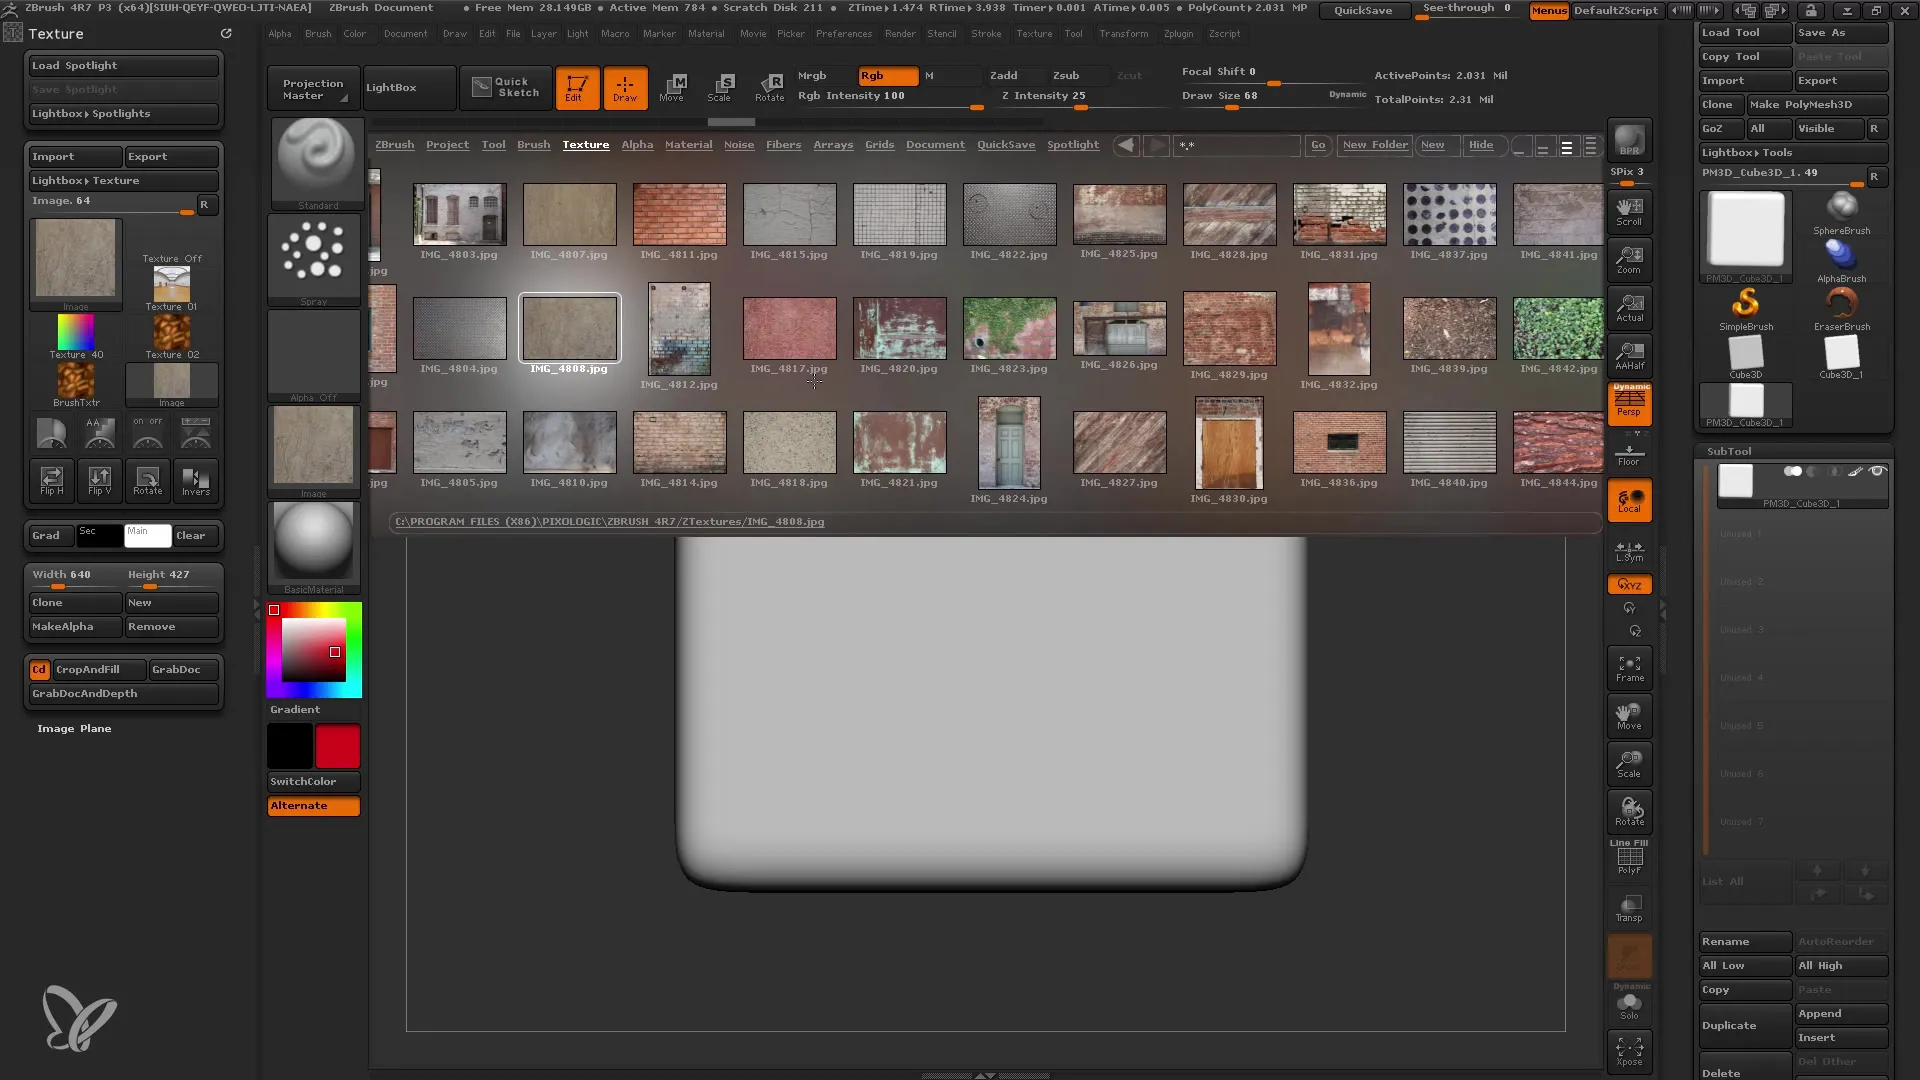
- Load Textures To begin texturing, open the textures menu to load the required textures. You can either use pre-defined textures from the Lightbox or import your own images.
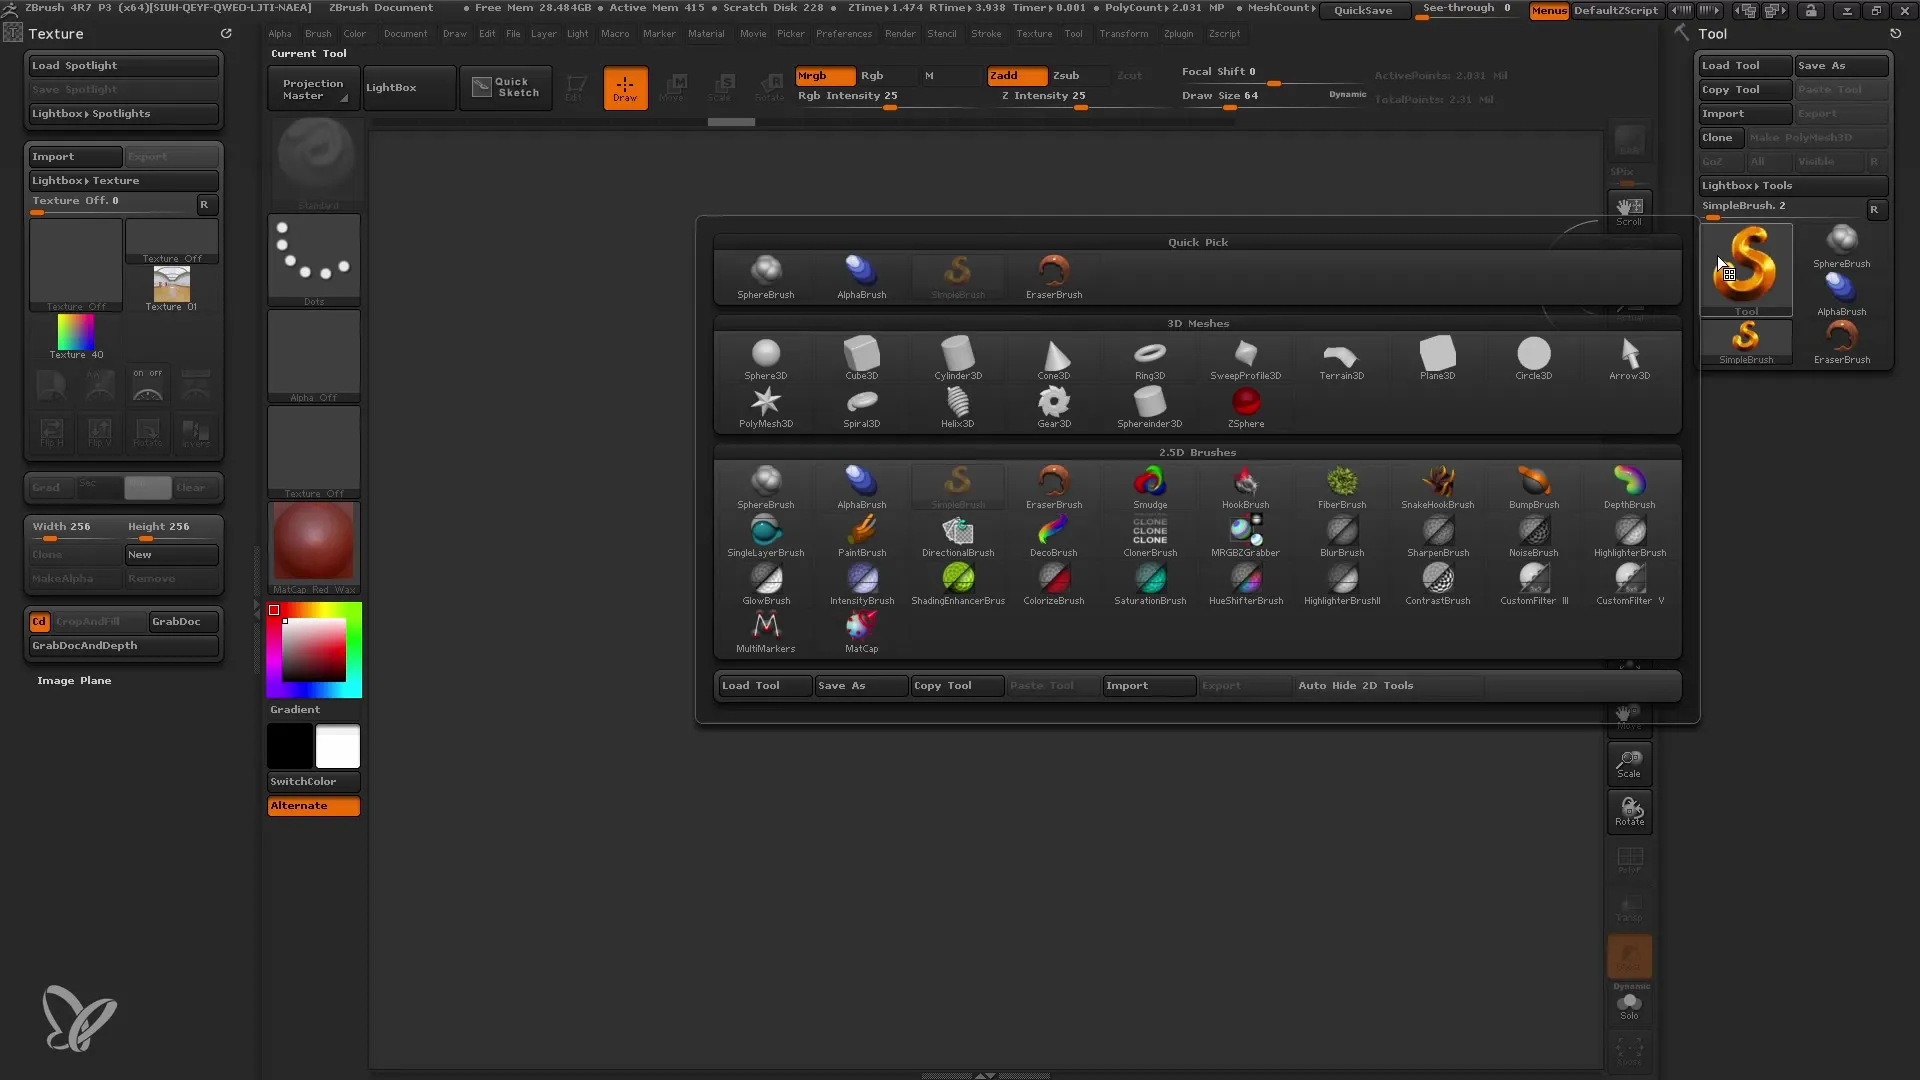
- Select a 3D Model For this tutorial, I'm using a simple cube. Go into Edit Mode to manipulate the cube and activate polygons to allow for more details.
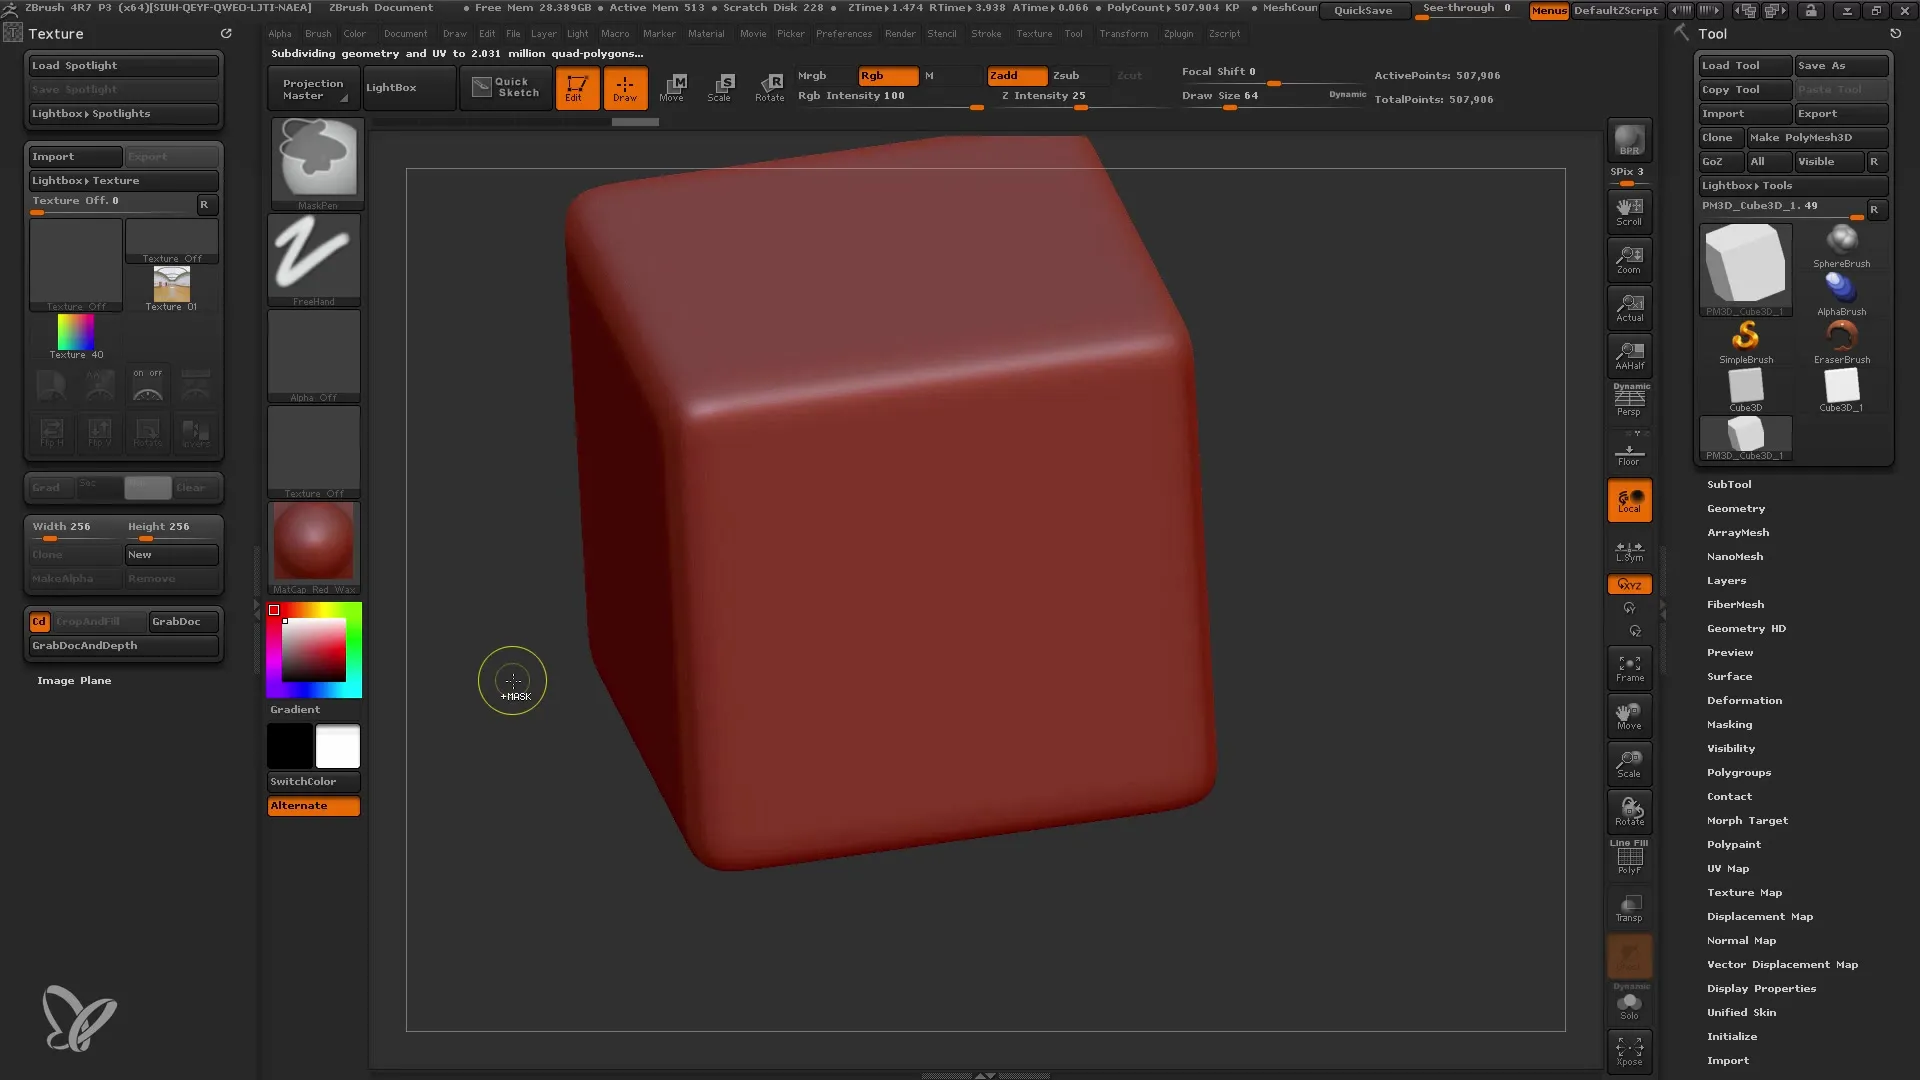
- Choose a Material Apply a suitable material to your model. I recommend using the default material to work more clearly with the textures.
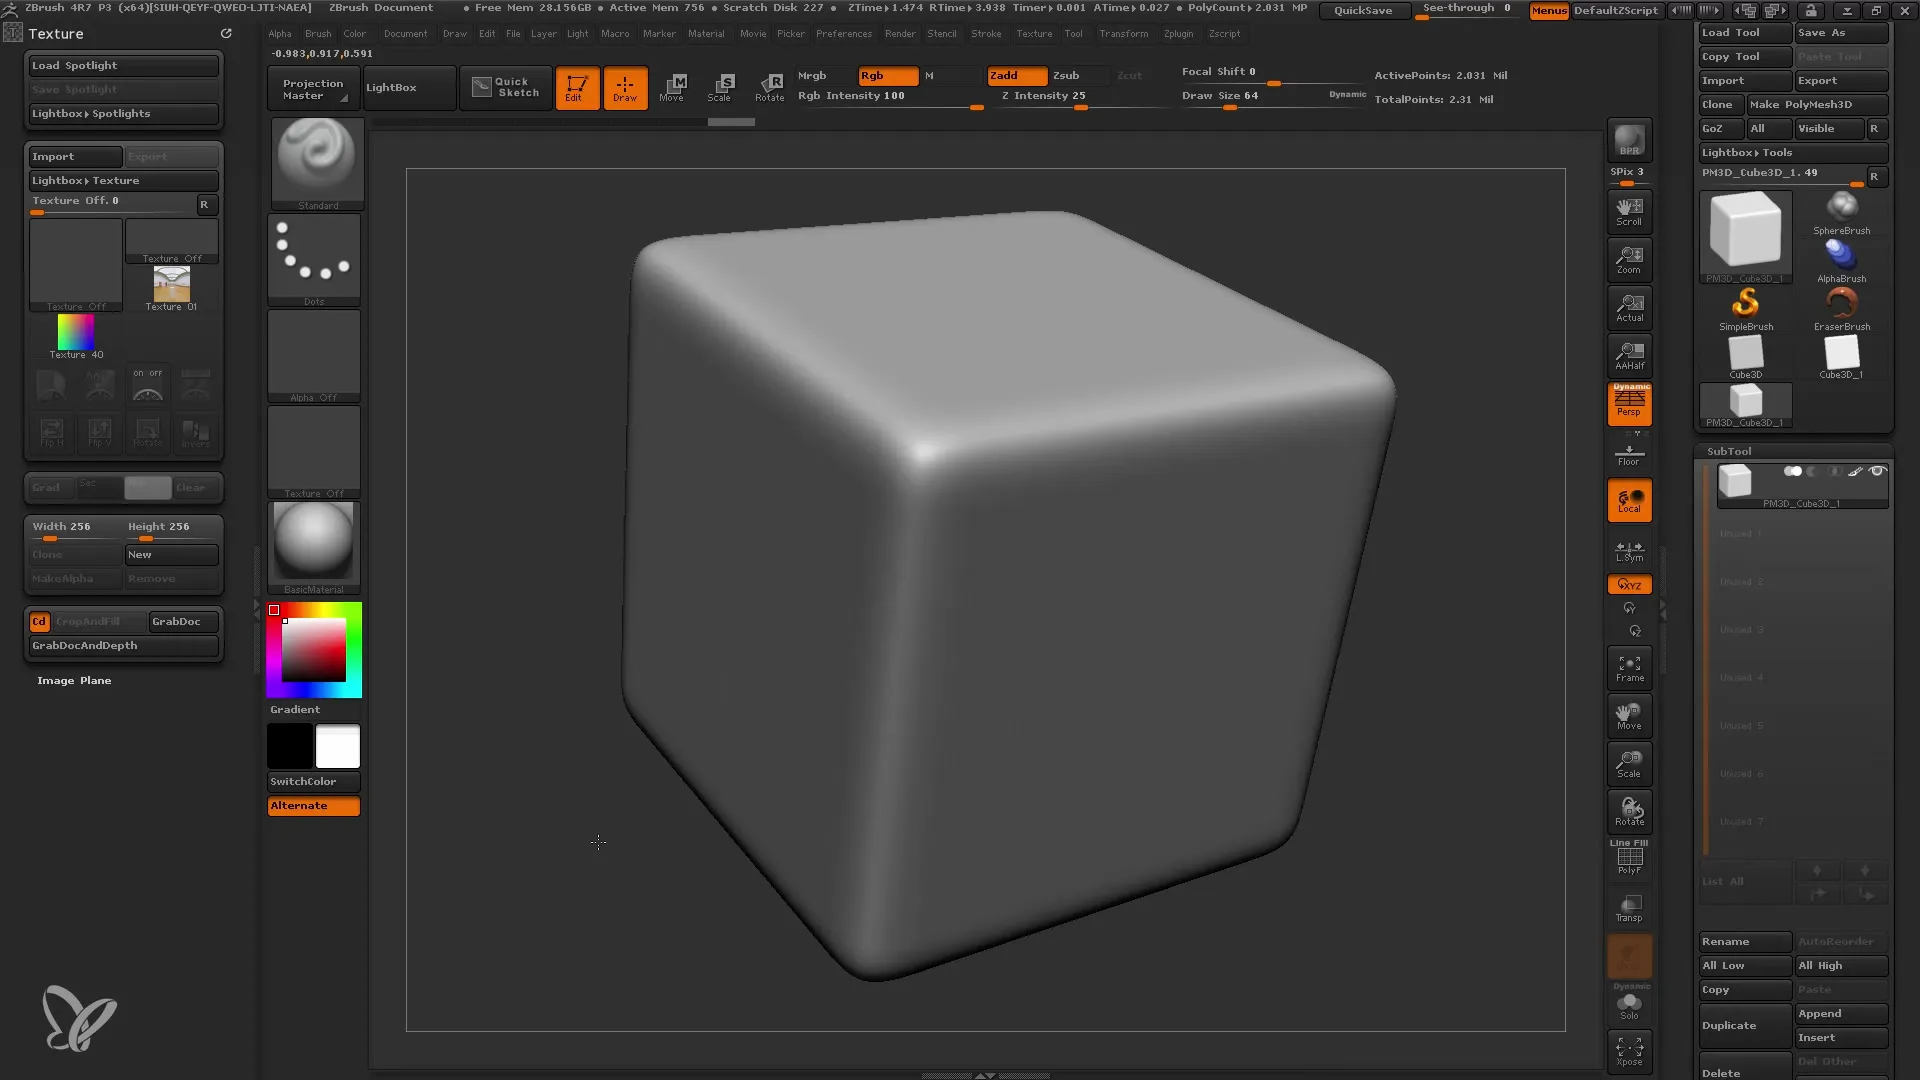
- Adjust Intensity If desired, you can adjust the brush intensity. A lower value (with the "v" key) ensures that the textures are applied more subtly.
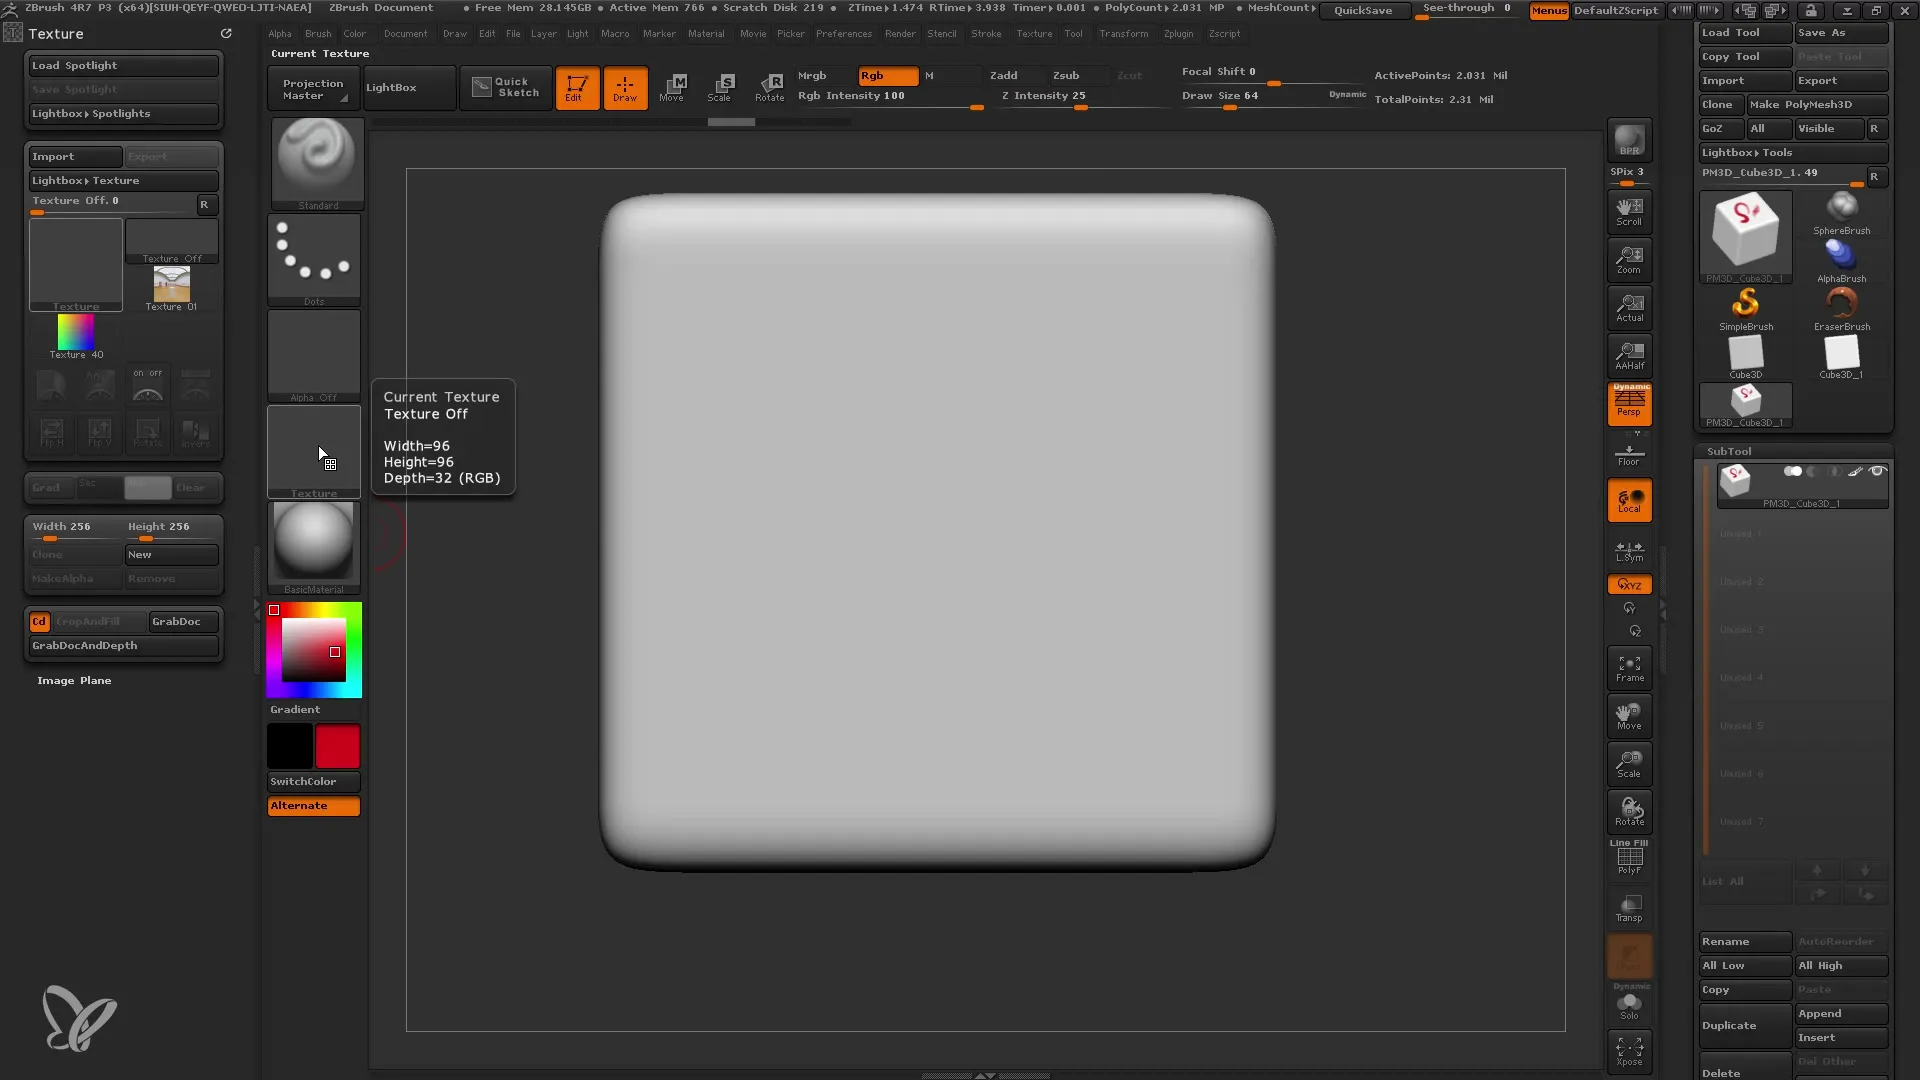
- Reload Textures To apply the desired texture, reload it into the brush using the spray function. Make sure the texture is applied evenly and without distortions.
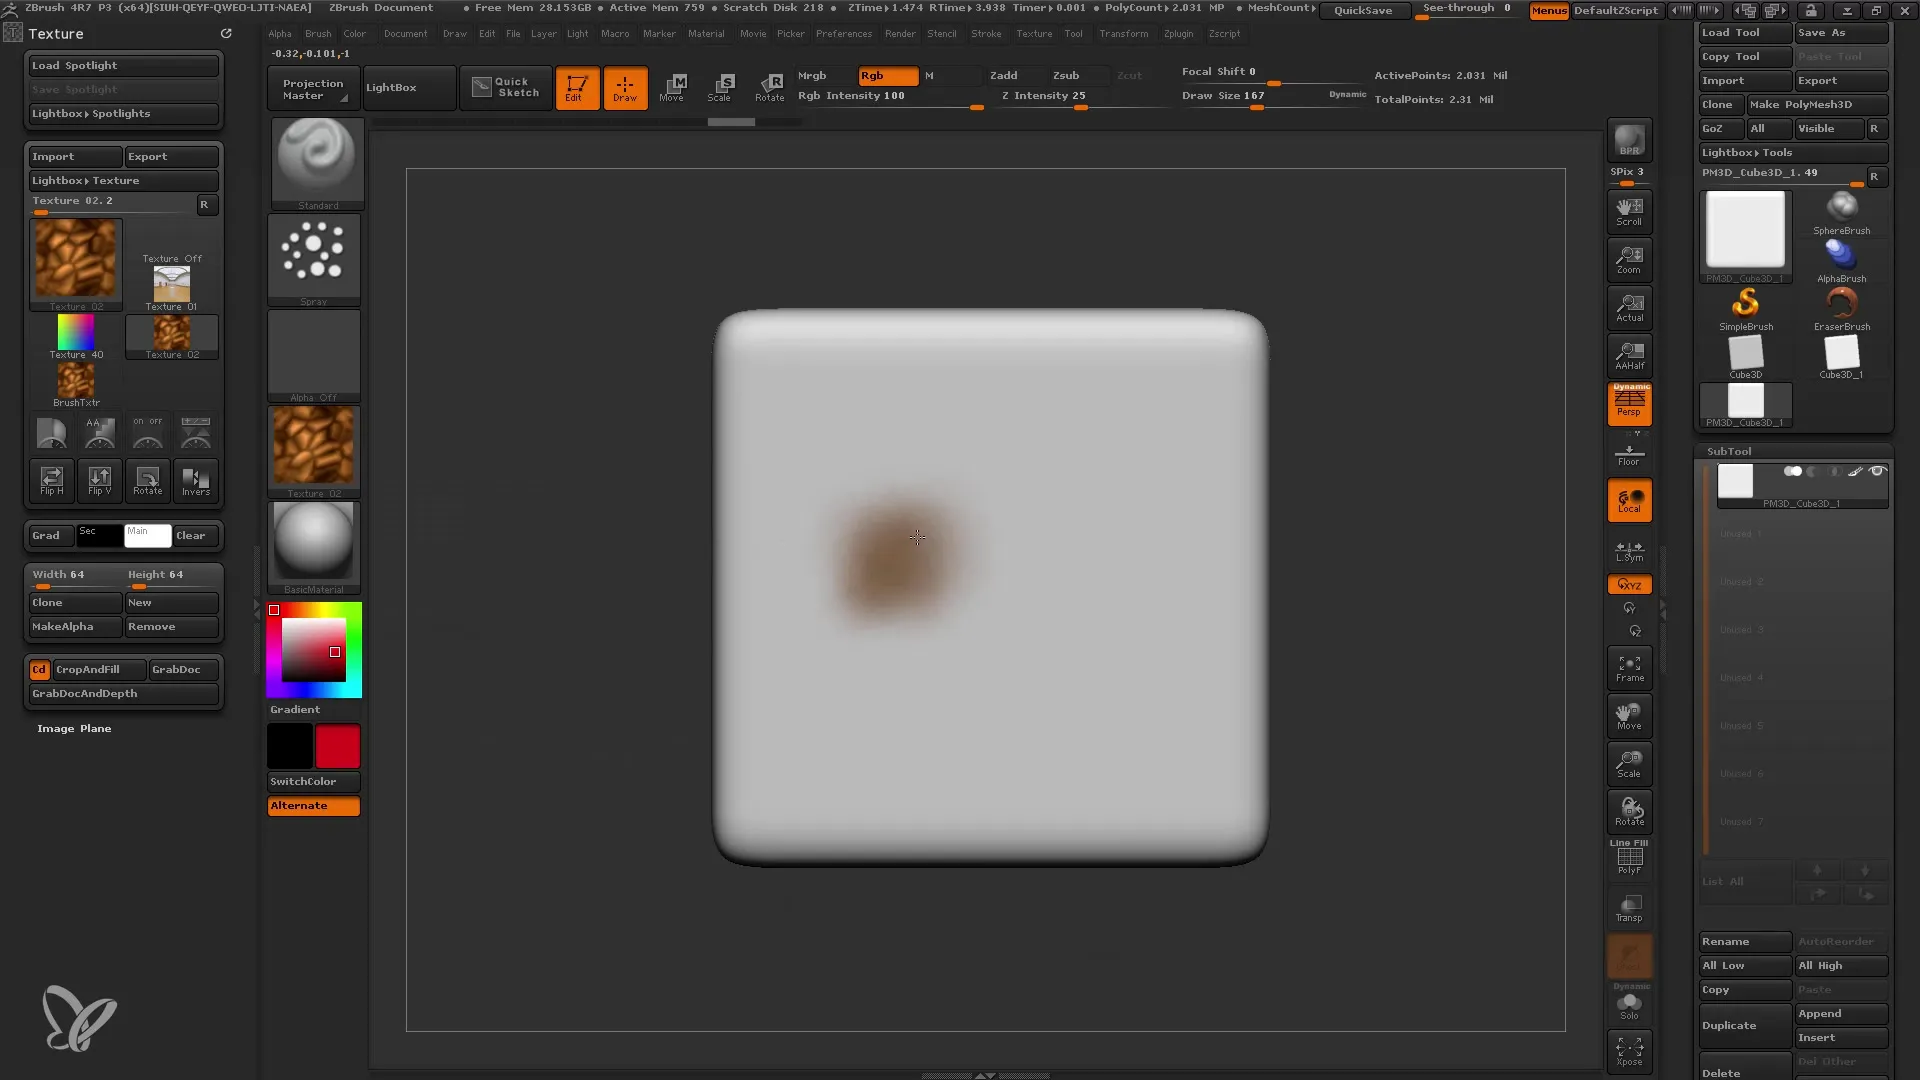
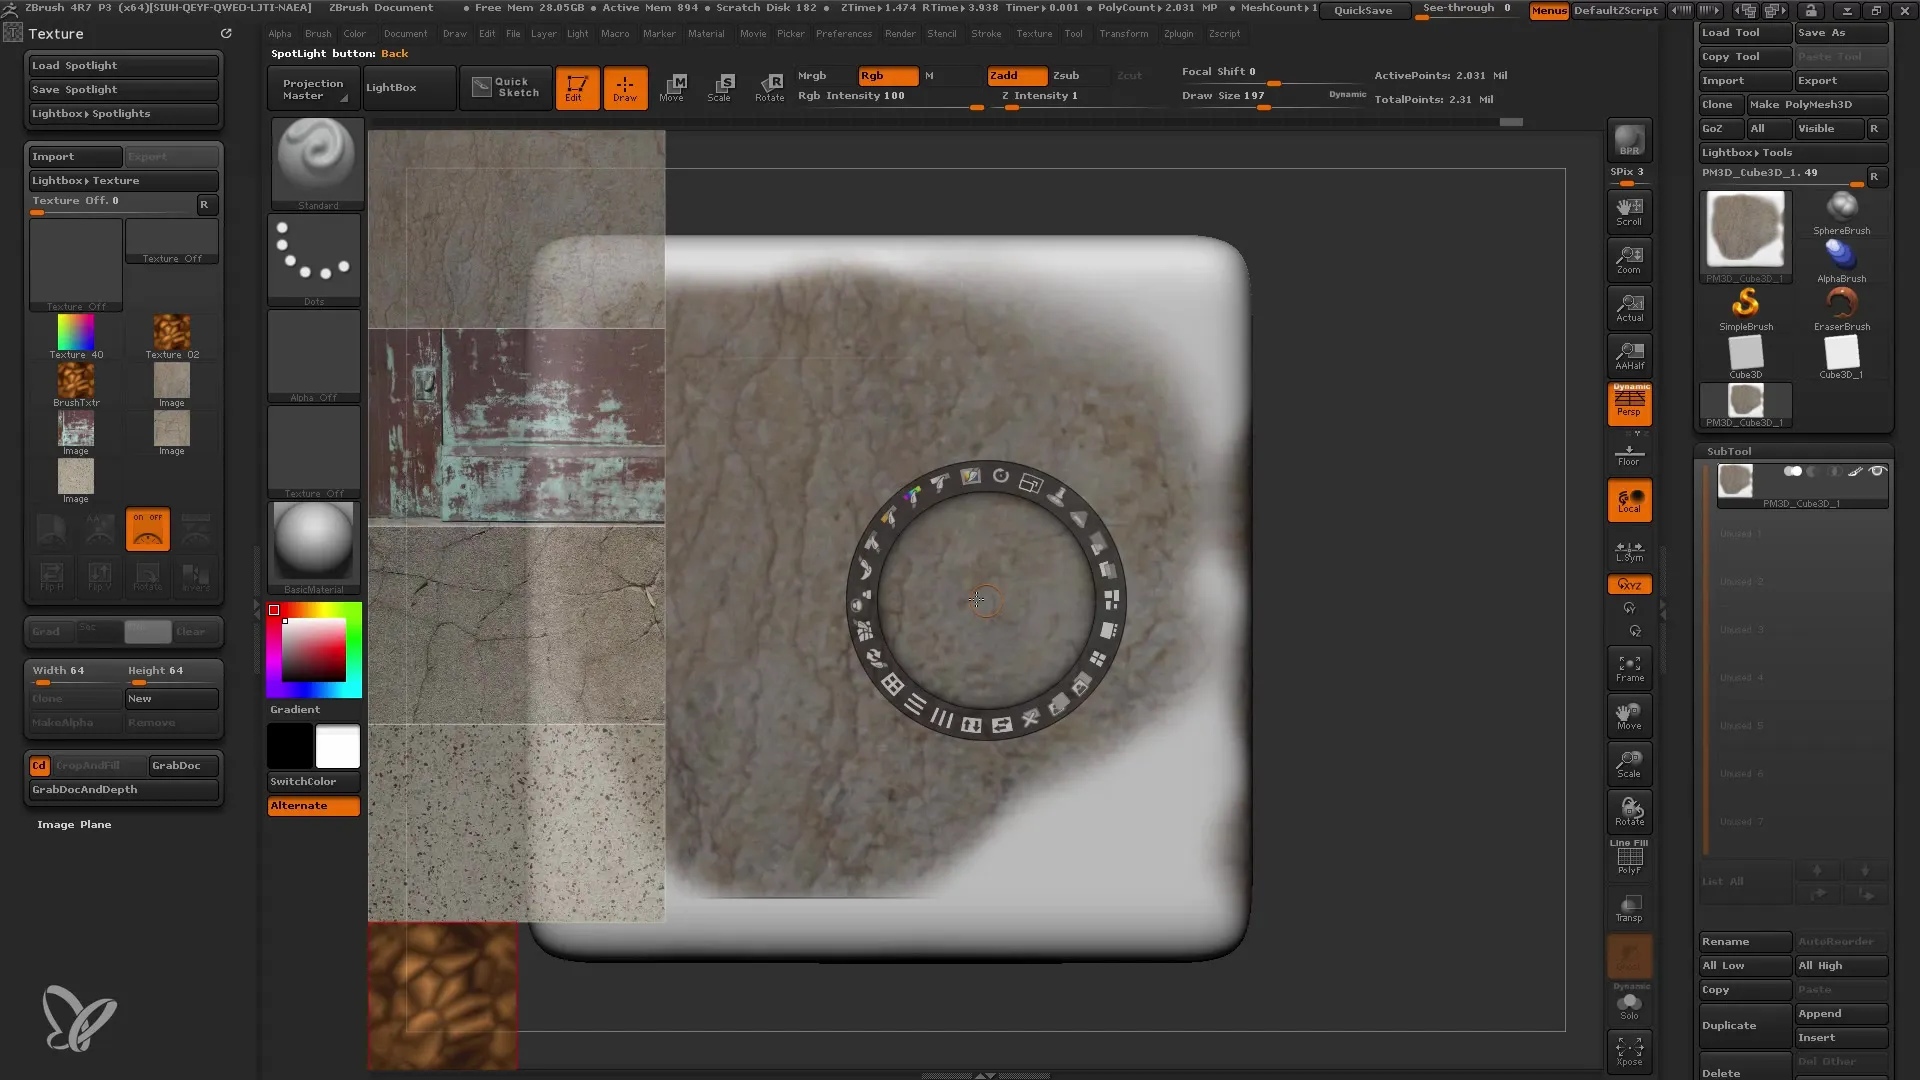
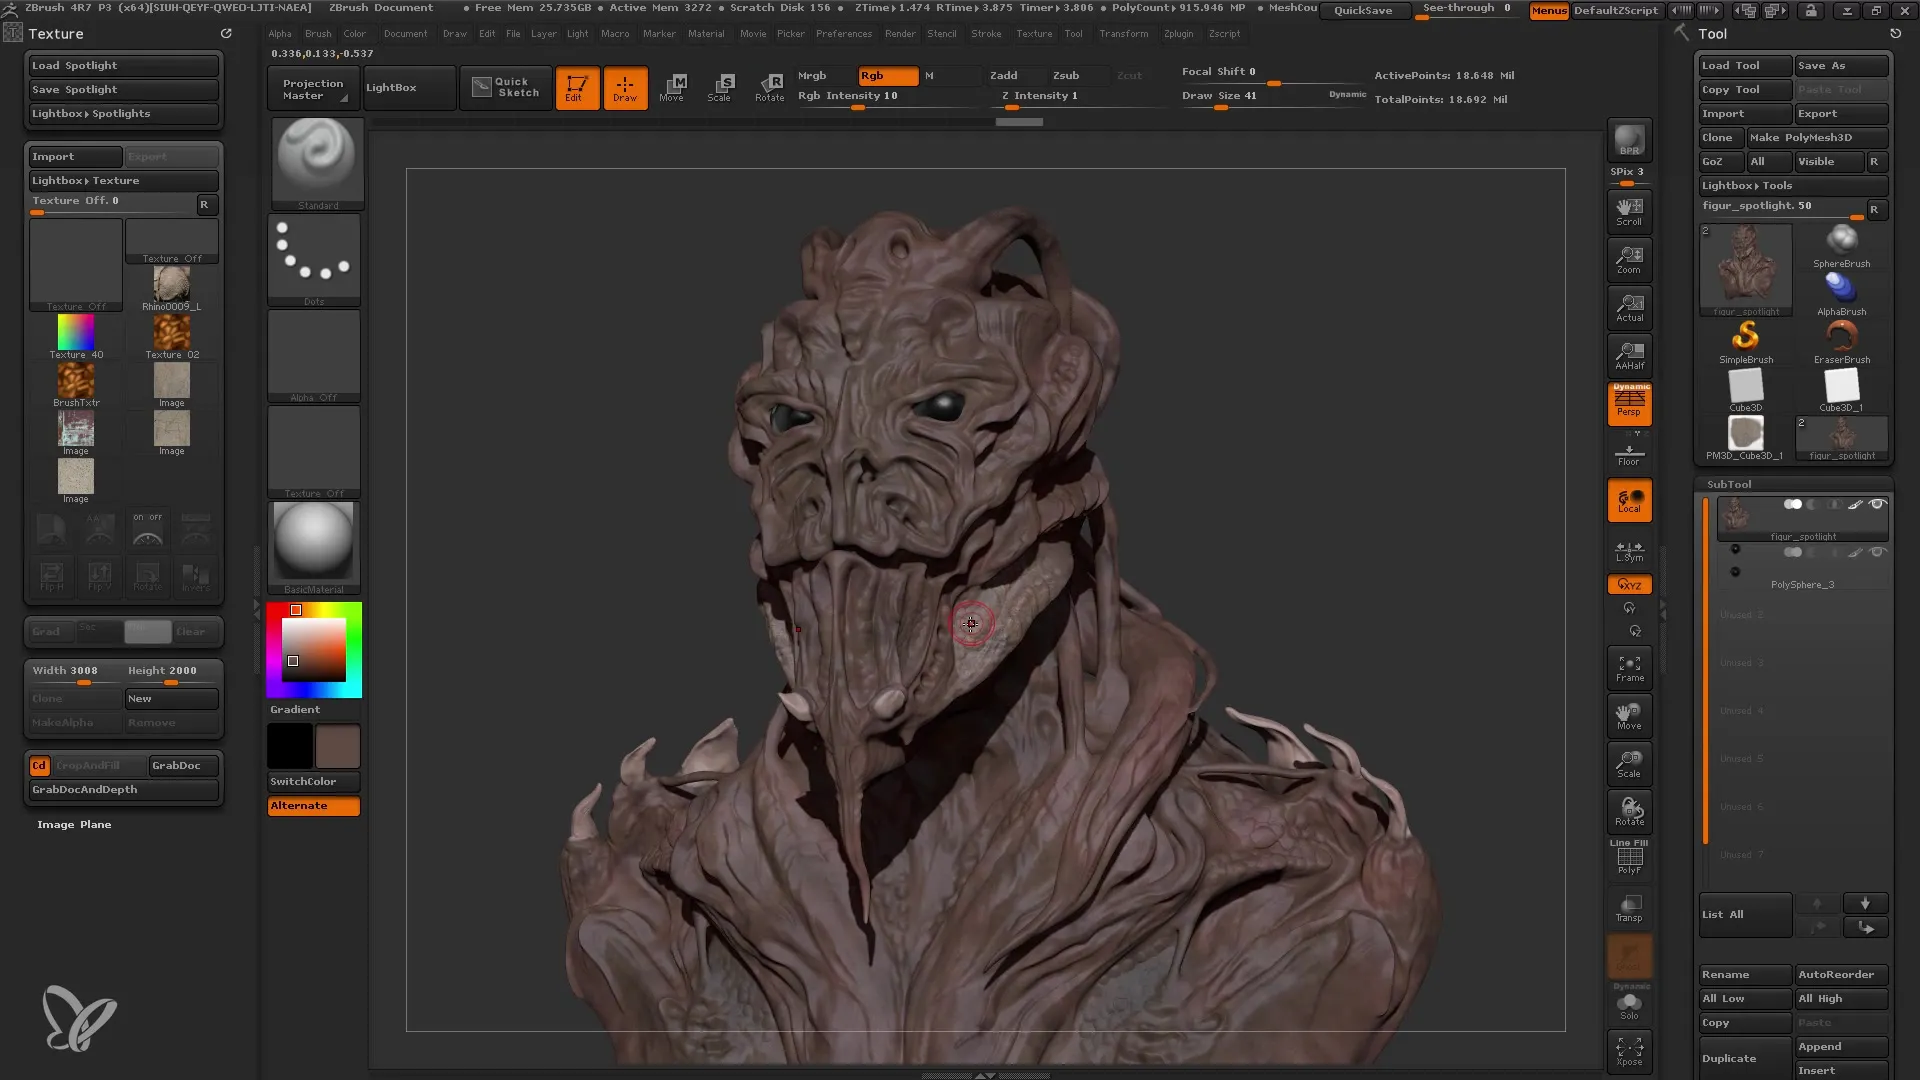
- Activate Spotlight To use the Spotlight feature, select the textures you want to project. You can make your selection in the Lightbox and add the textures to the Spotlight one by one.
- Control Spotlight Once you have activated the Spotlight feature, you will see a wheel that allows you to control the texture. You can move the texture in the wheel and adjust its position and rotation.
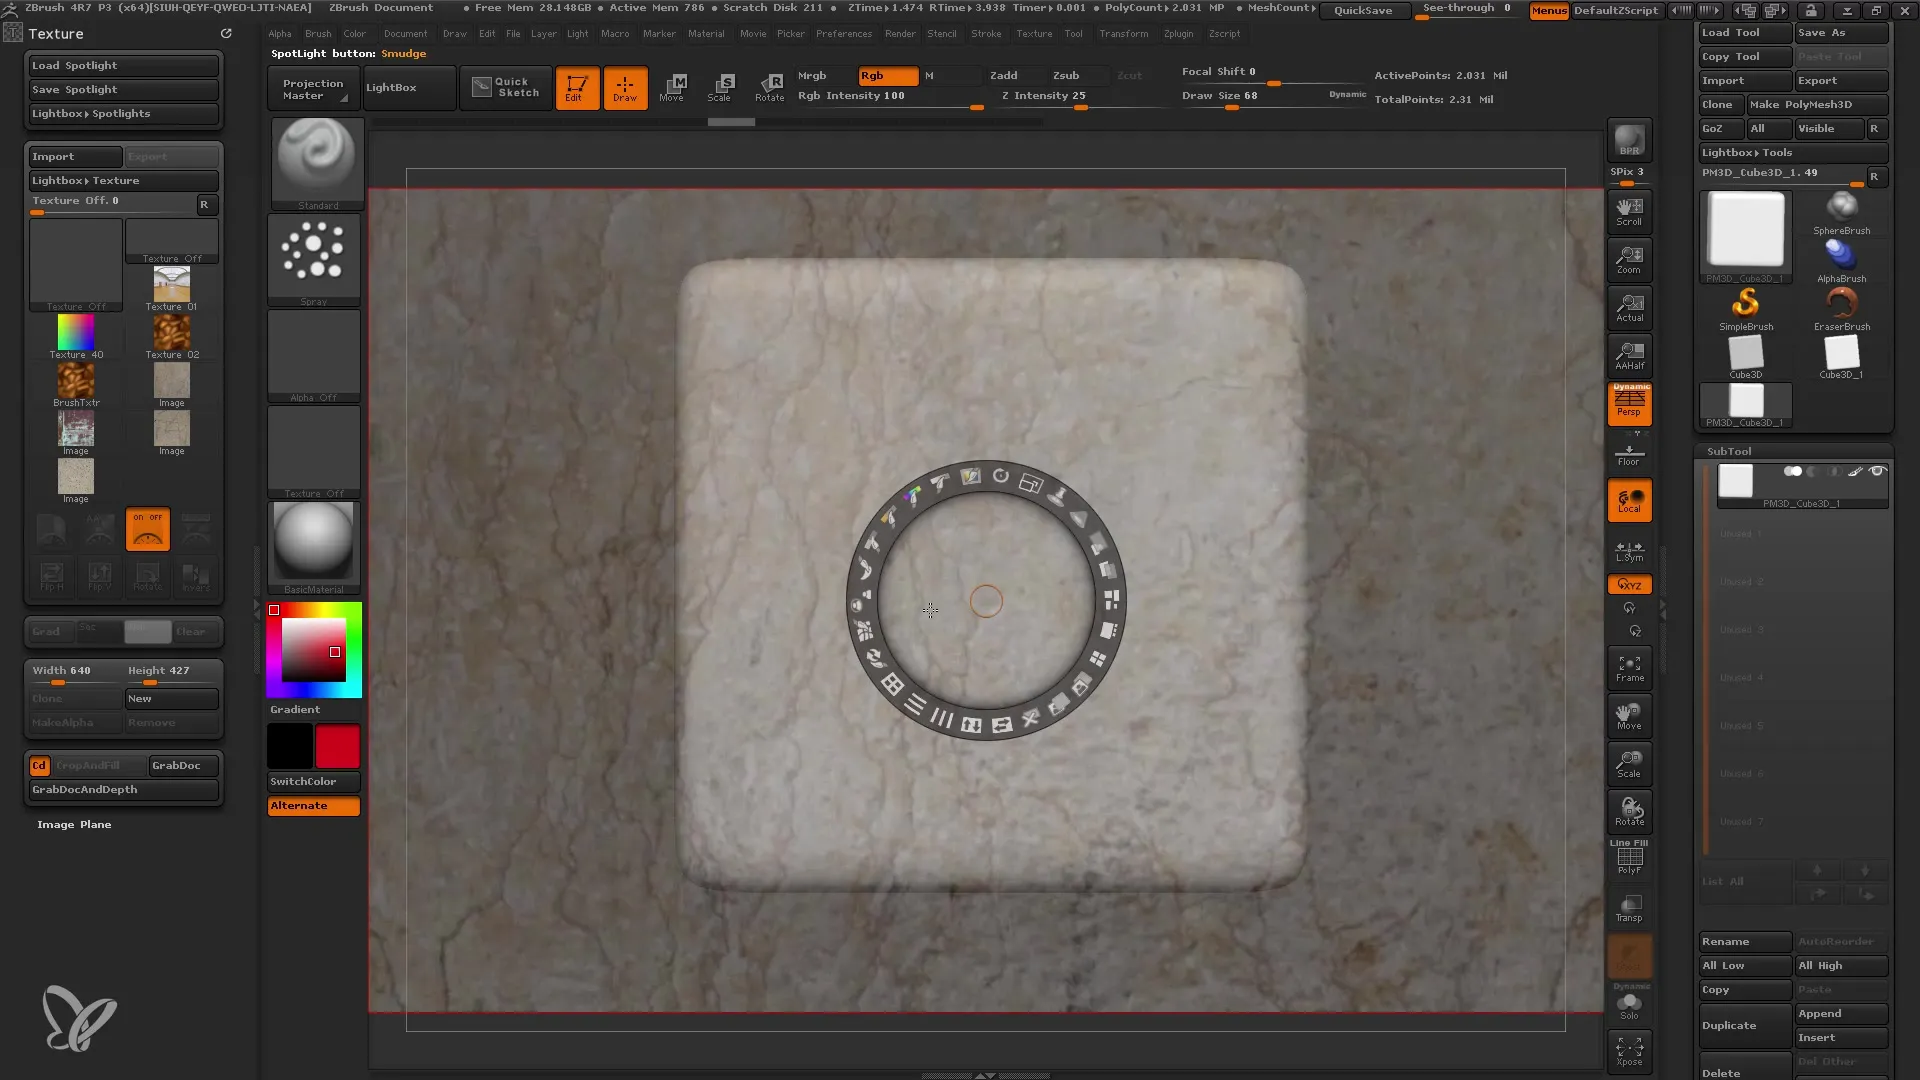
- Make Adjustments In the Spotlight menu, you'll find functions for changing hue, saturation, and contrast. Use these tools to adjust the texture to your liking.
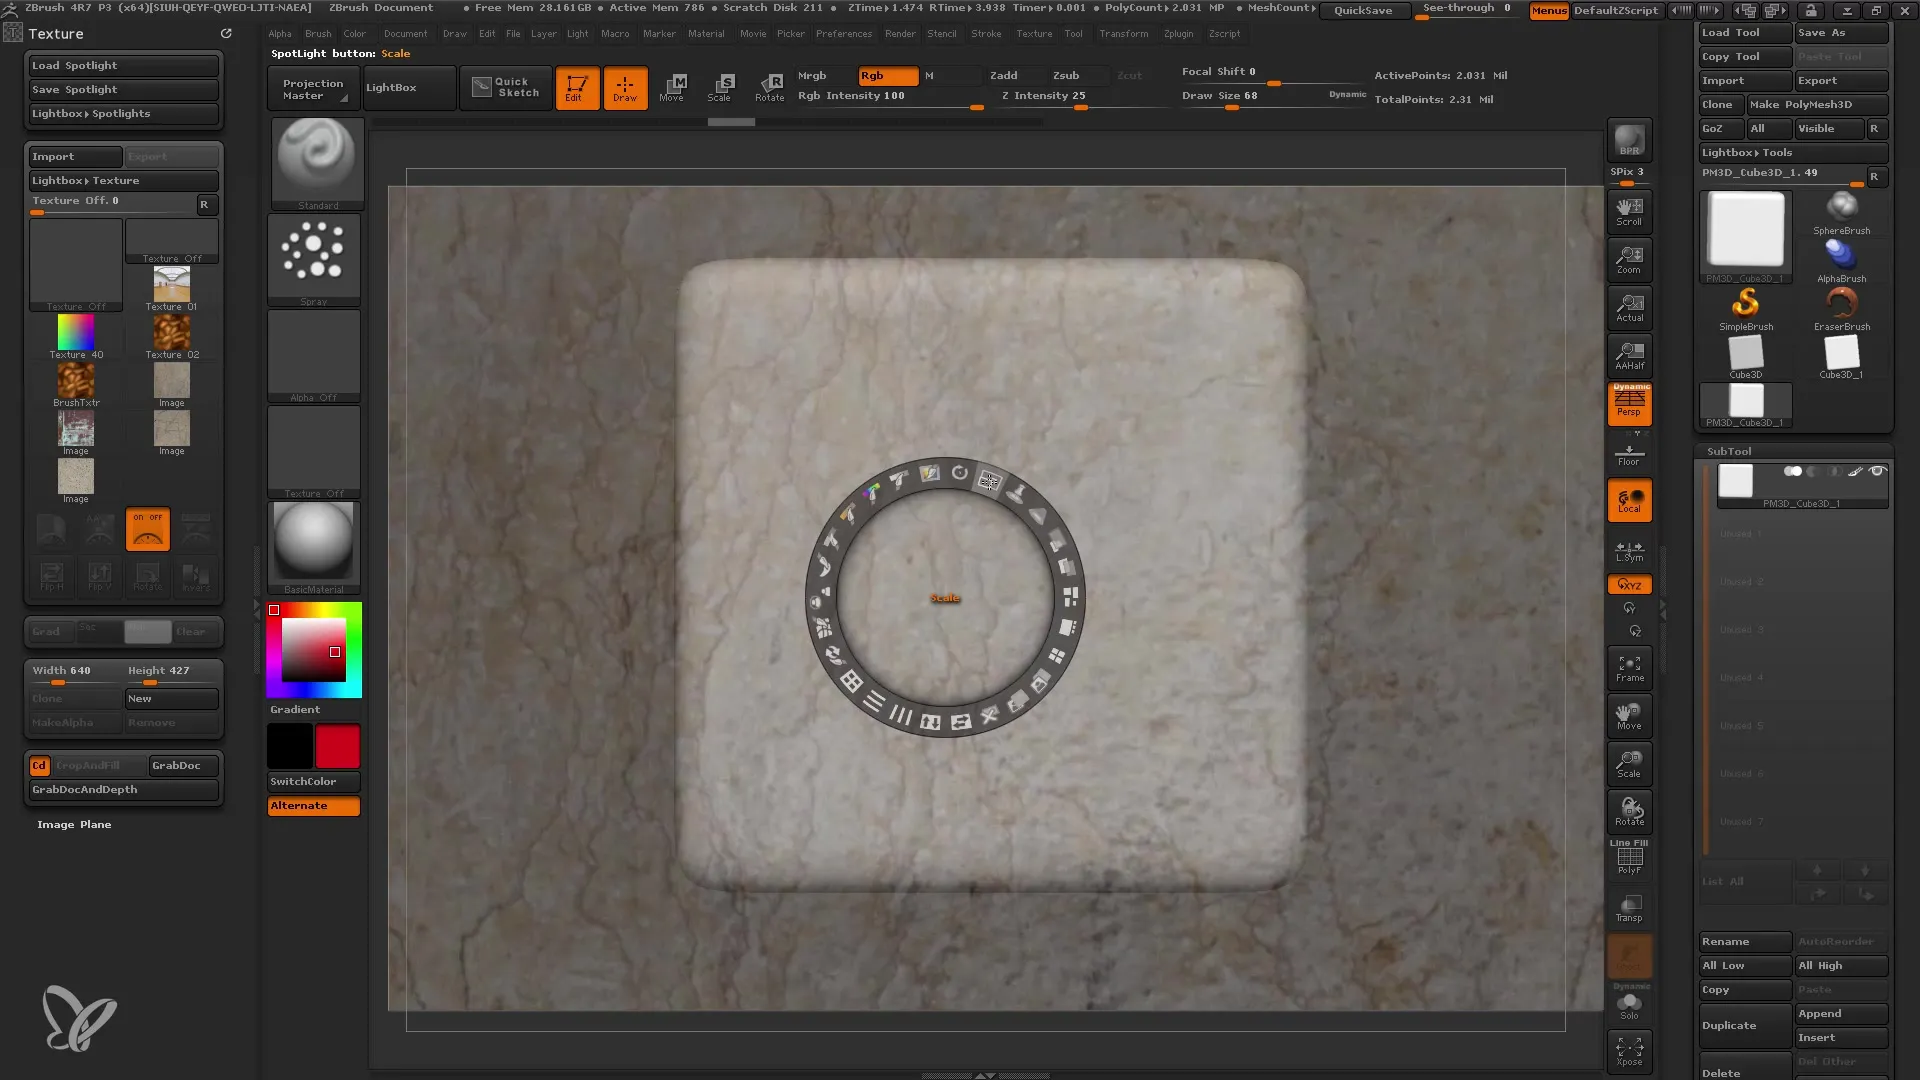
- Painting with Z With the "Z" key, you can paint the texture onto your model. Make sure to adjust the size of the spotlight to suit the details you want to apply.
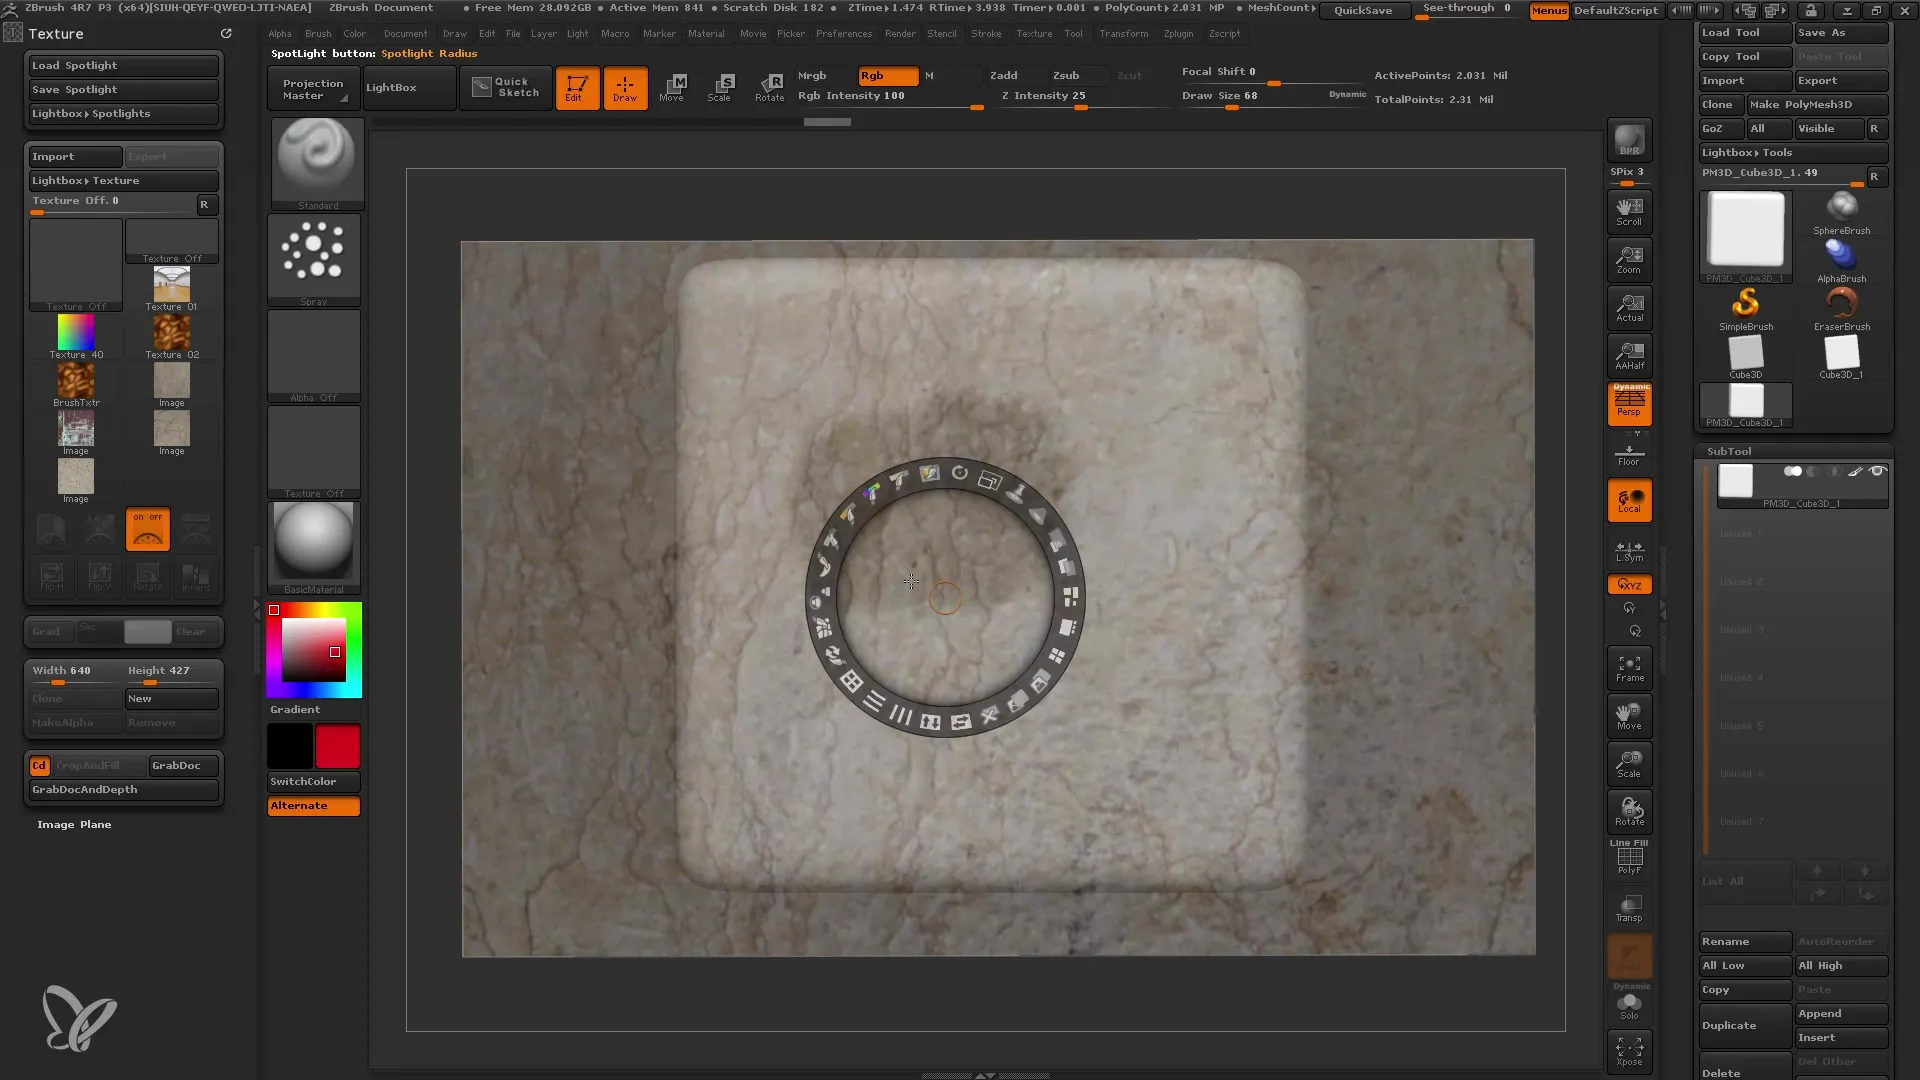
- Utilize Flick Option If there's an area that doesn't look good, you can use the Pin Spotlight. Select the specific texture and paint over the area to add additional details.
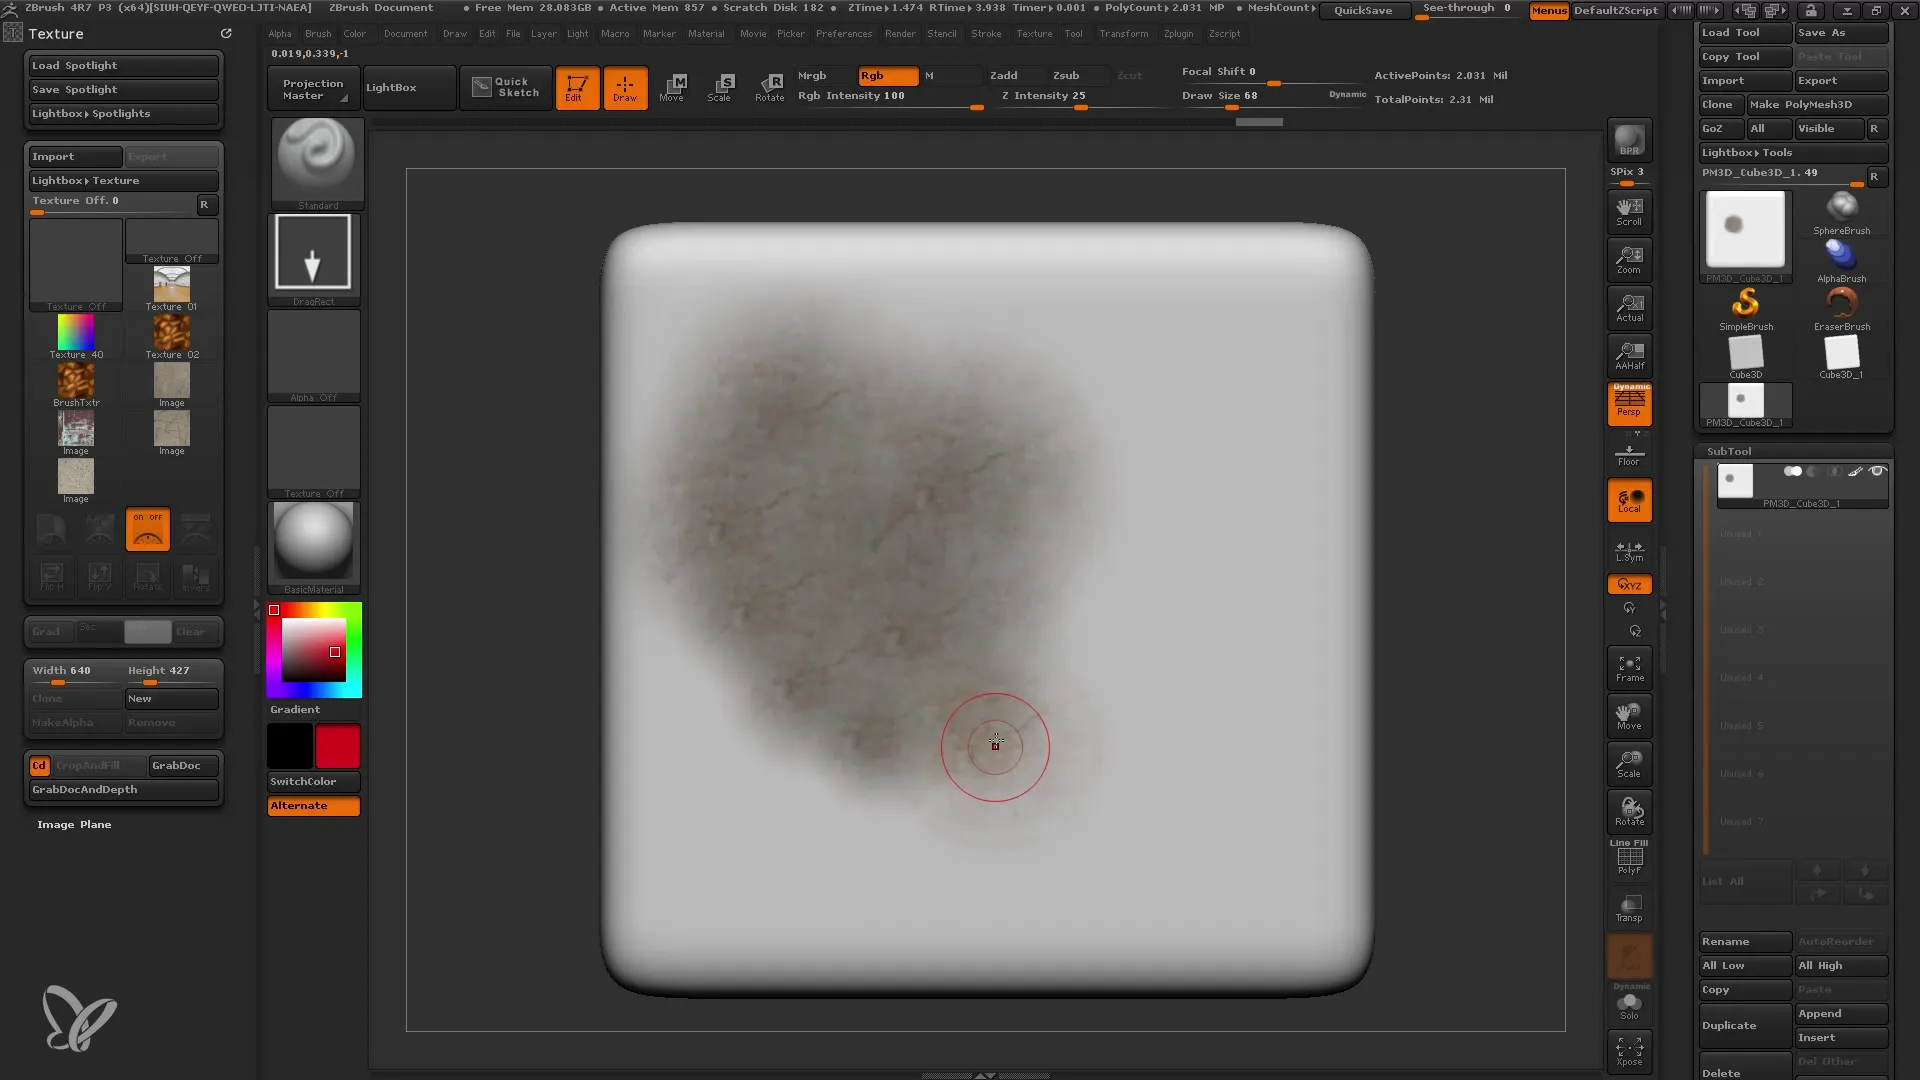
- Modeling with Spotlight Spotlight allows not only texturing, but also serious modeling. Make sure to choose a not too high intensity to avoid distortions.
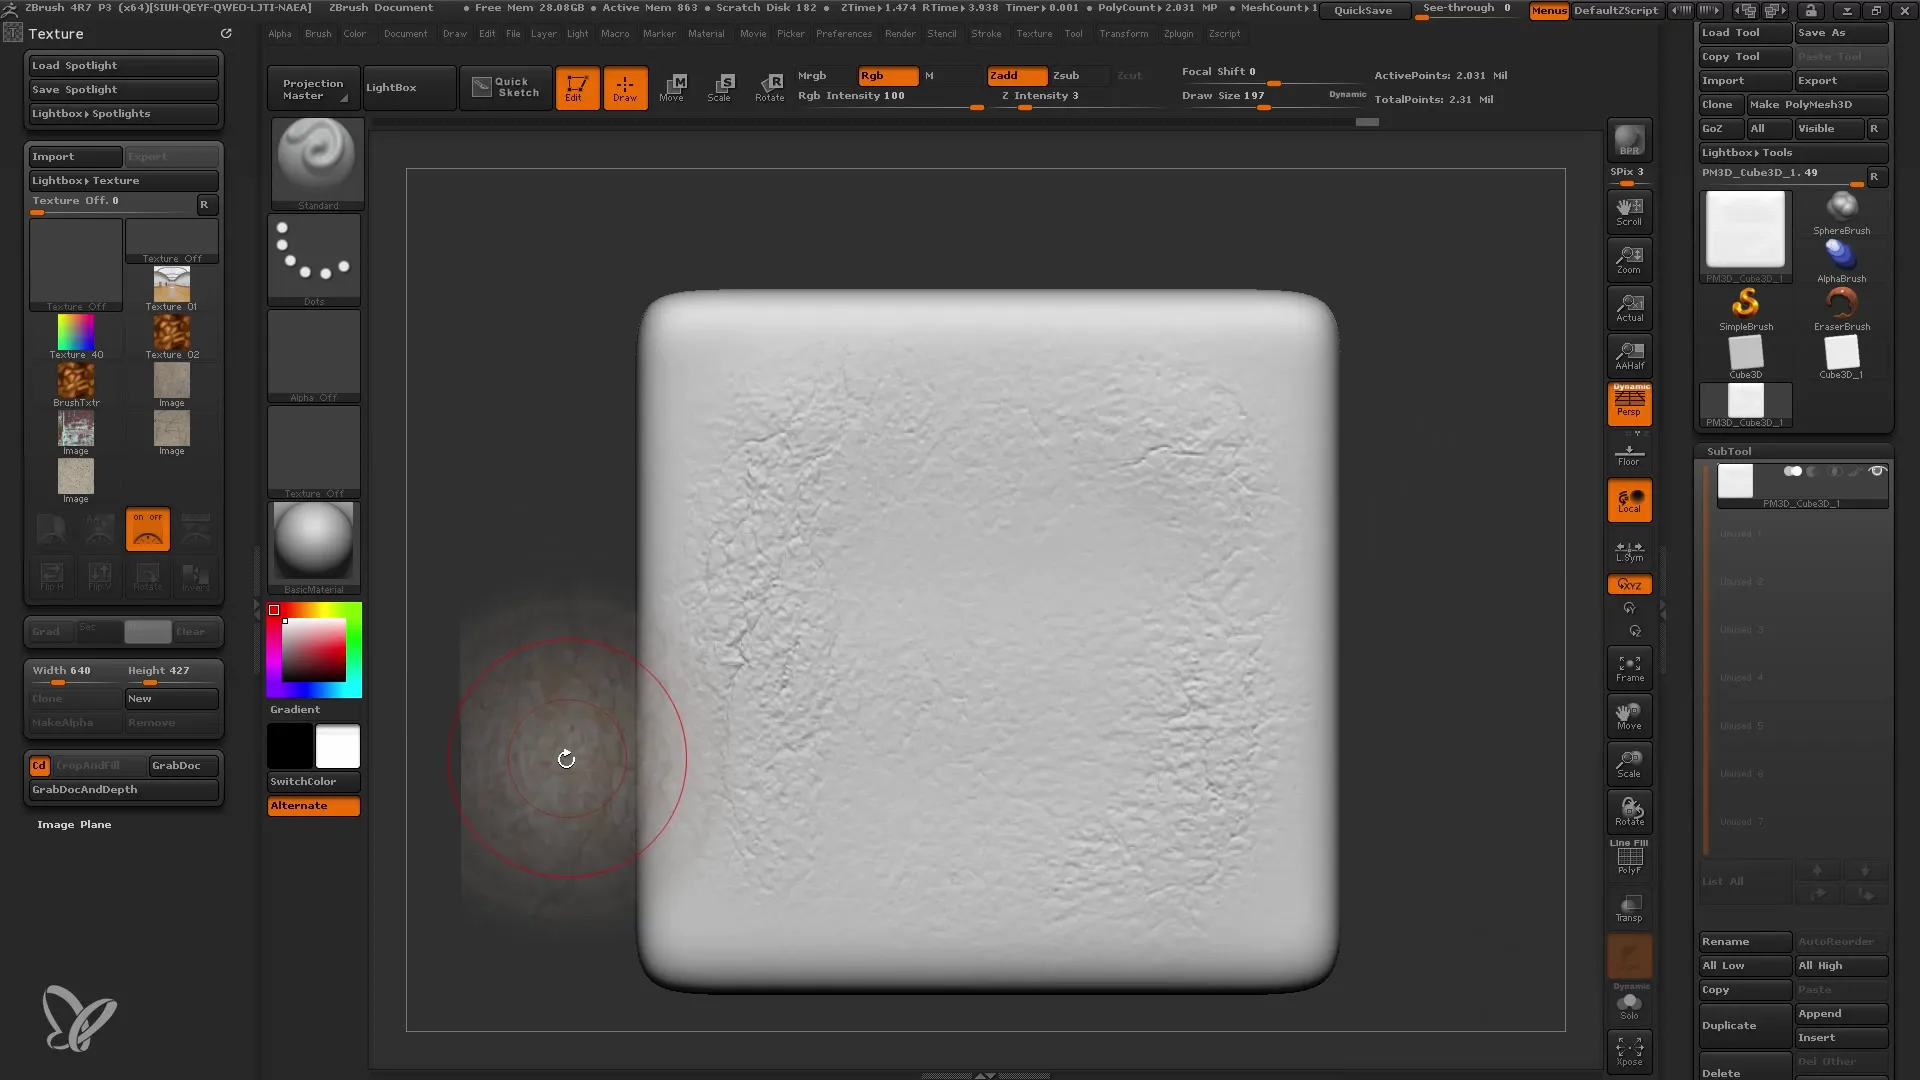
- Structuring Use spotlight to create bitmap textures while editing the model. This allows you to achieve realistic details.
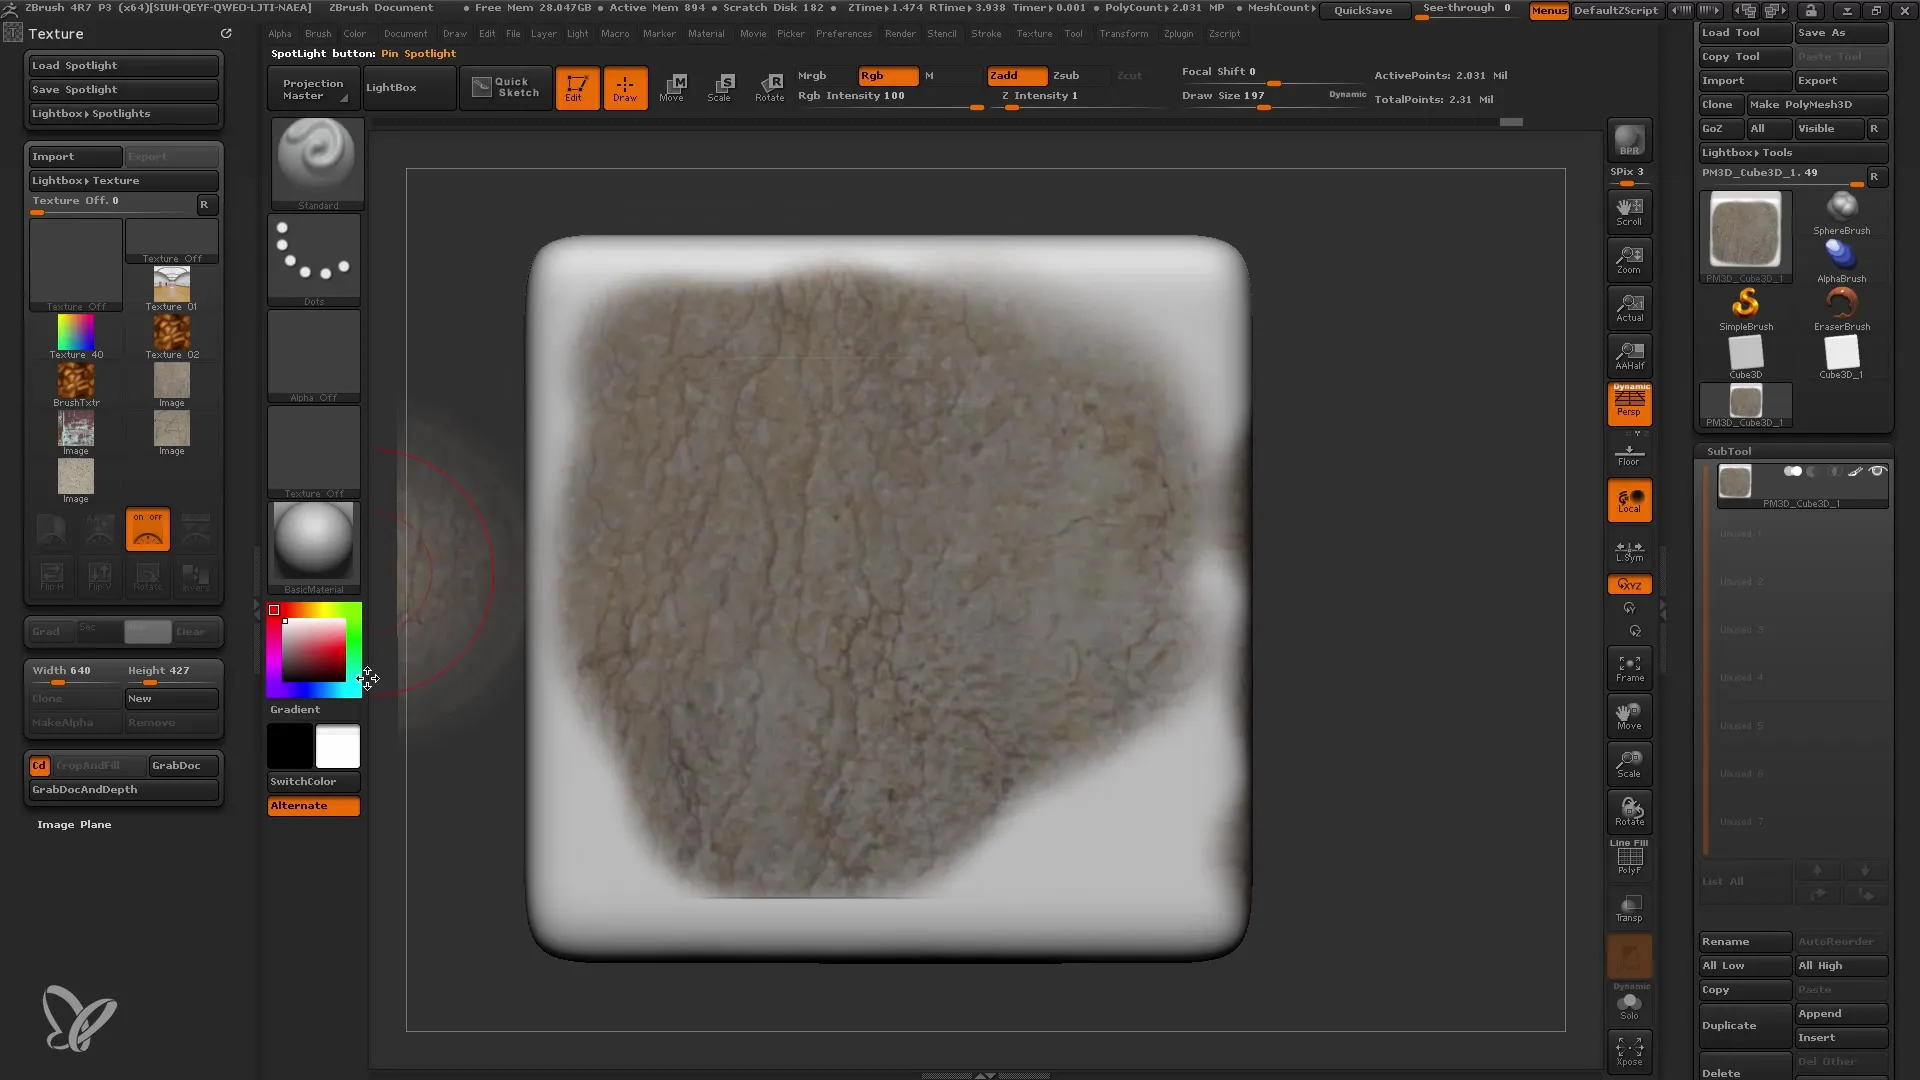
- Advanced Usage You can save multiple textures in your spotlight wheel to quickly switch between different options. This saves time and increases efficiency.
- Ending Spotlight To end the Spotlight feature, press "Shift + Z". This allows you to continue editing the mesh normally.
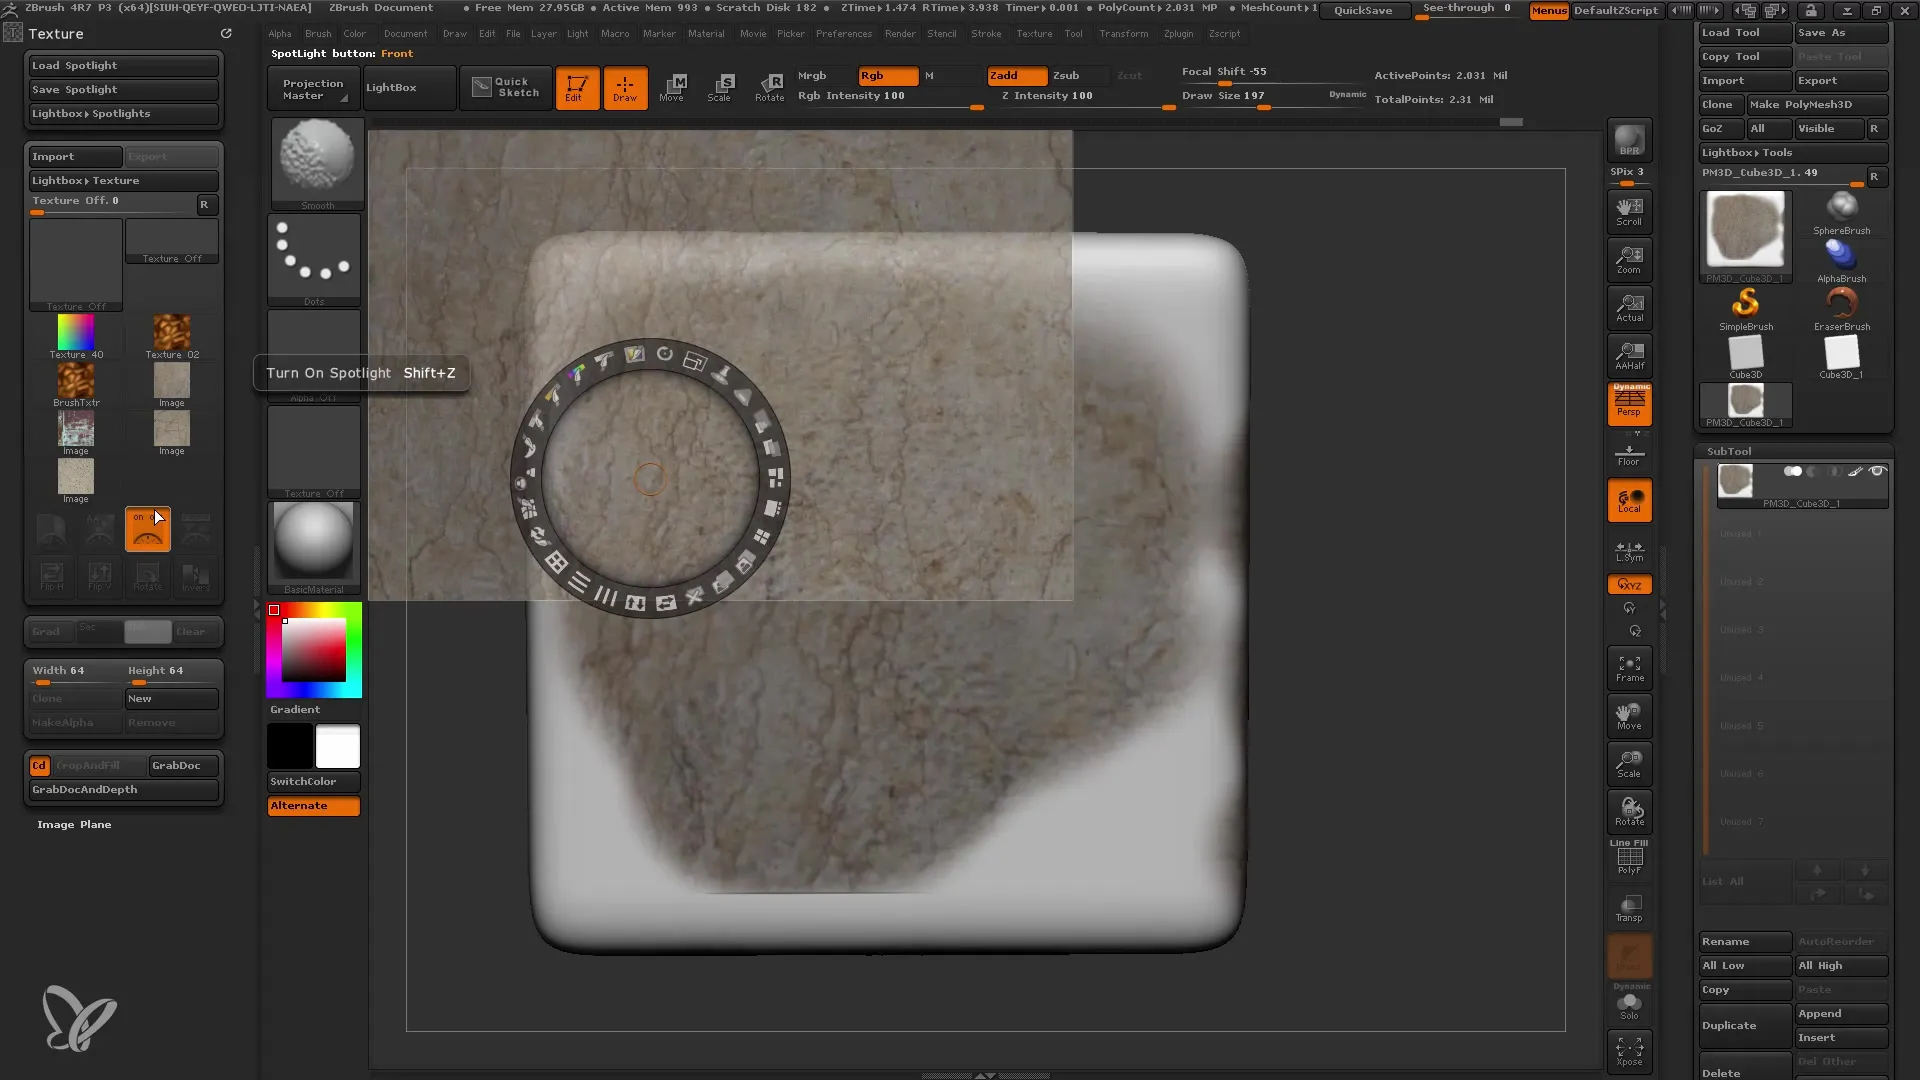
- Refining the Model Enhance the detail level of your model with additional textures. You can experiment with different lighting and rendering settings to optimize your model.
Summary
In this tutorial, you have learned how to use the Spotlight feature in ZBrush to apply fine textures to your model. You have discovered the controls of the Spotlight wheel and how important it is to adjust the intensity and position of the textures. These skills will significantly enhance your modeling.
Frequently Asked Questions
How do I load textures in ZBrush?You can import textures through the Textures menu and Lightbox.
What is the function of Spotlight?Spotlight allows for the precise application of textures to a 3D model.
How do I change the intensity of a texture?The intensity can be adjusted through the brush settings.
Can I use multiple textures at the same time?Yes, you can save and switch between up to four textures in the Spotlight wheel.
How do I remove textures from Spotlight?Select the texture and click on the "X" to remove it.
