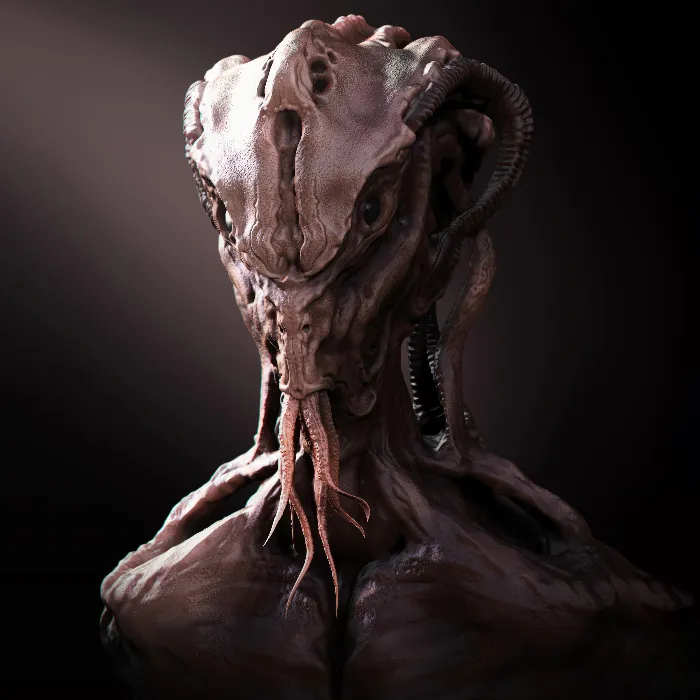
In this tutorial, I will show you how to incorporate details into your 3D model in ZBrush. We will use various brushes to add depth and structure to your object. You will learn which standard brushes are important and how to effectively use them to achieve the desired level of detail. Let's get started!
Main Takeaways
- Standard brushes are crucial for adding details.
- Control over the detailing process is important to shape the result according to your vision.
- You can combine different brushes to achieve unique surface effects.
Step-by-Step Guide
Model Preparation
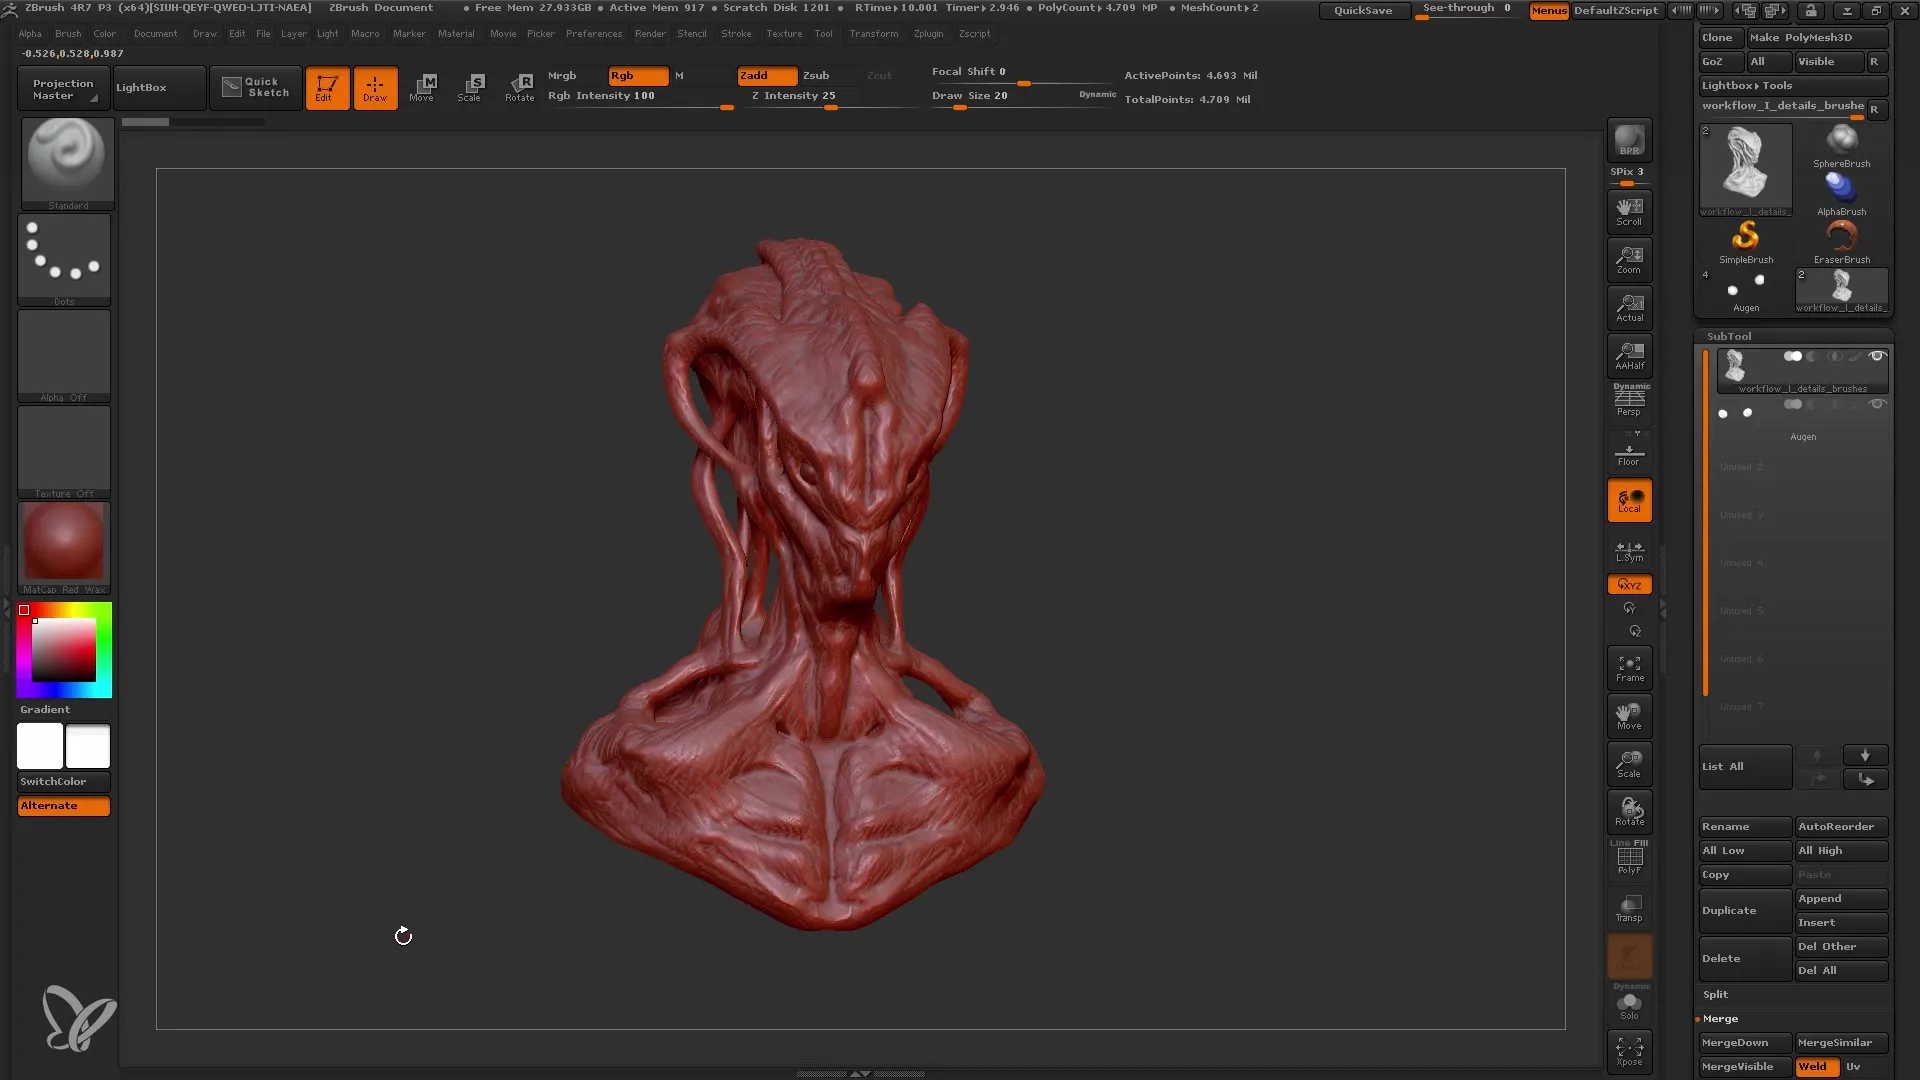
Before diving into detailing, make sure your model is well-prepared. Ensure that the Dynamesh function is turned off, as it can lead to unwanted information loss during detailing. Make sure all necessary data for your model is ready.
Brush Selection
Now is the time to choose the right brushes. I start with the Standard Brush, which is great for adding simple details and emphasizing existing shapes. You can also use the Clay Buildup Brush to sculpt basic forms and create subtle cavities. Experiment with these brushes to find your preferred one.
Detailing on the Face
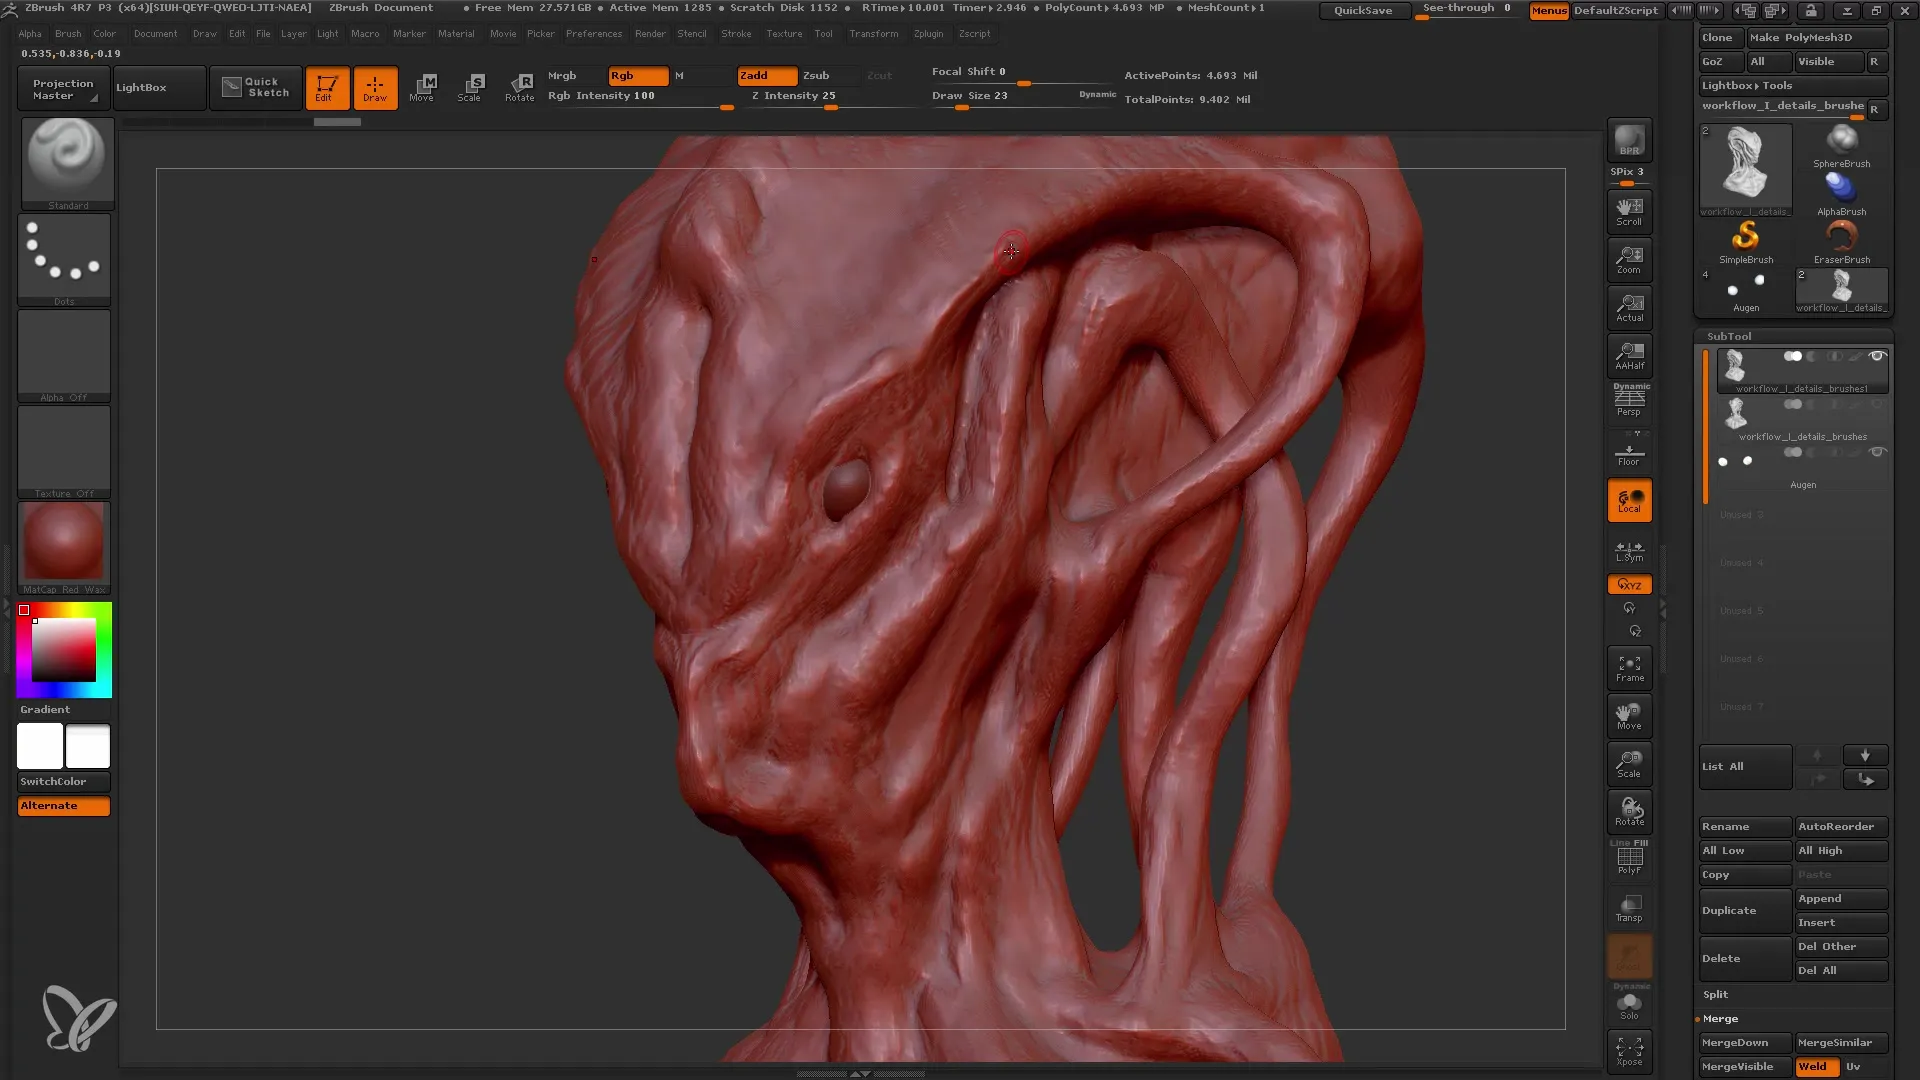
Now, I focus on the face of my model. There are still many details to add. Using the Standard Brush, I work on the facial features step by step, enhancing existing shapes and ensuring the overall look remains organic.
Using Alpha Textures
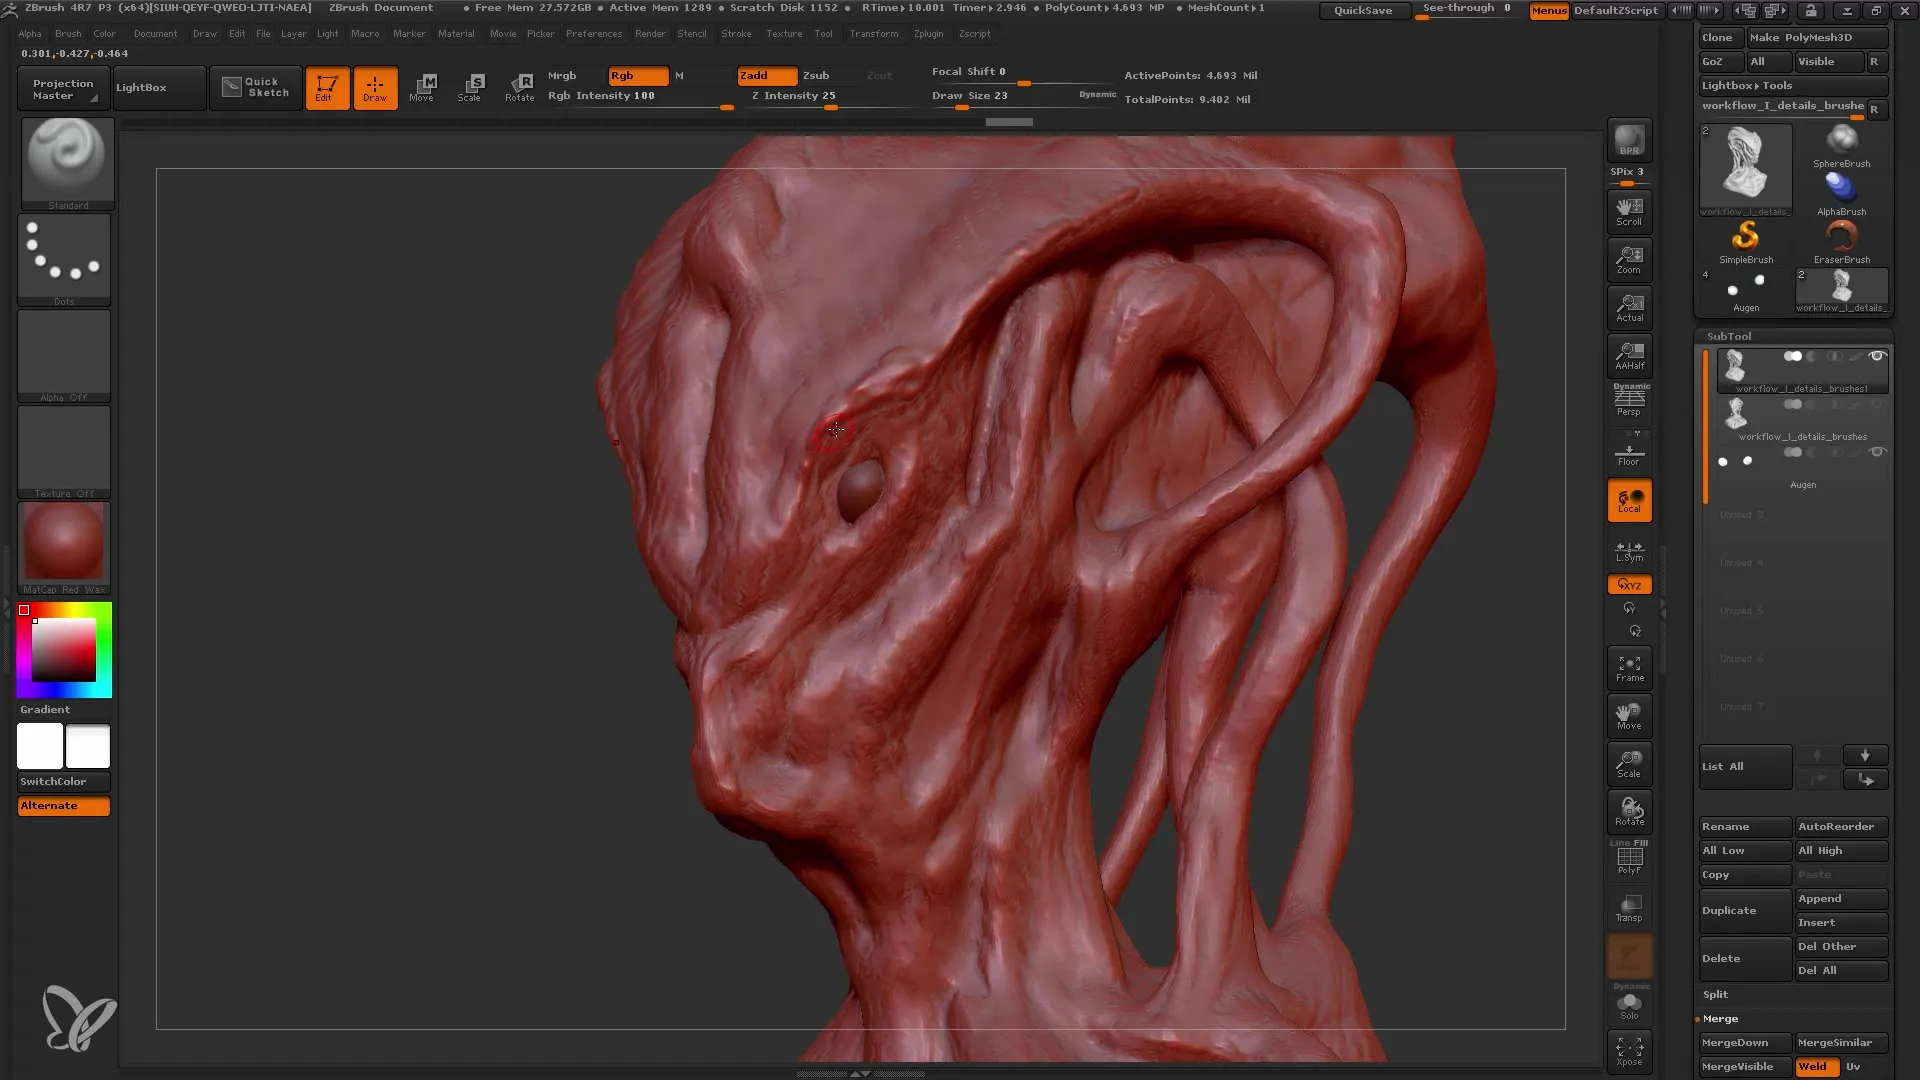
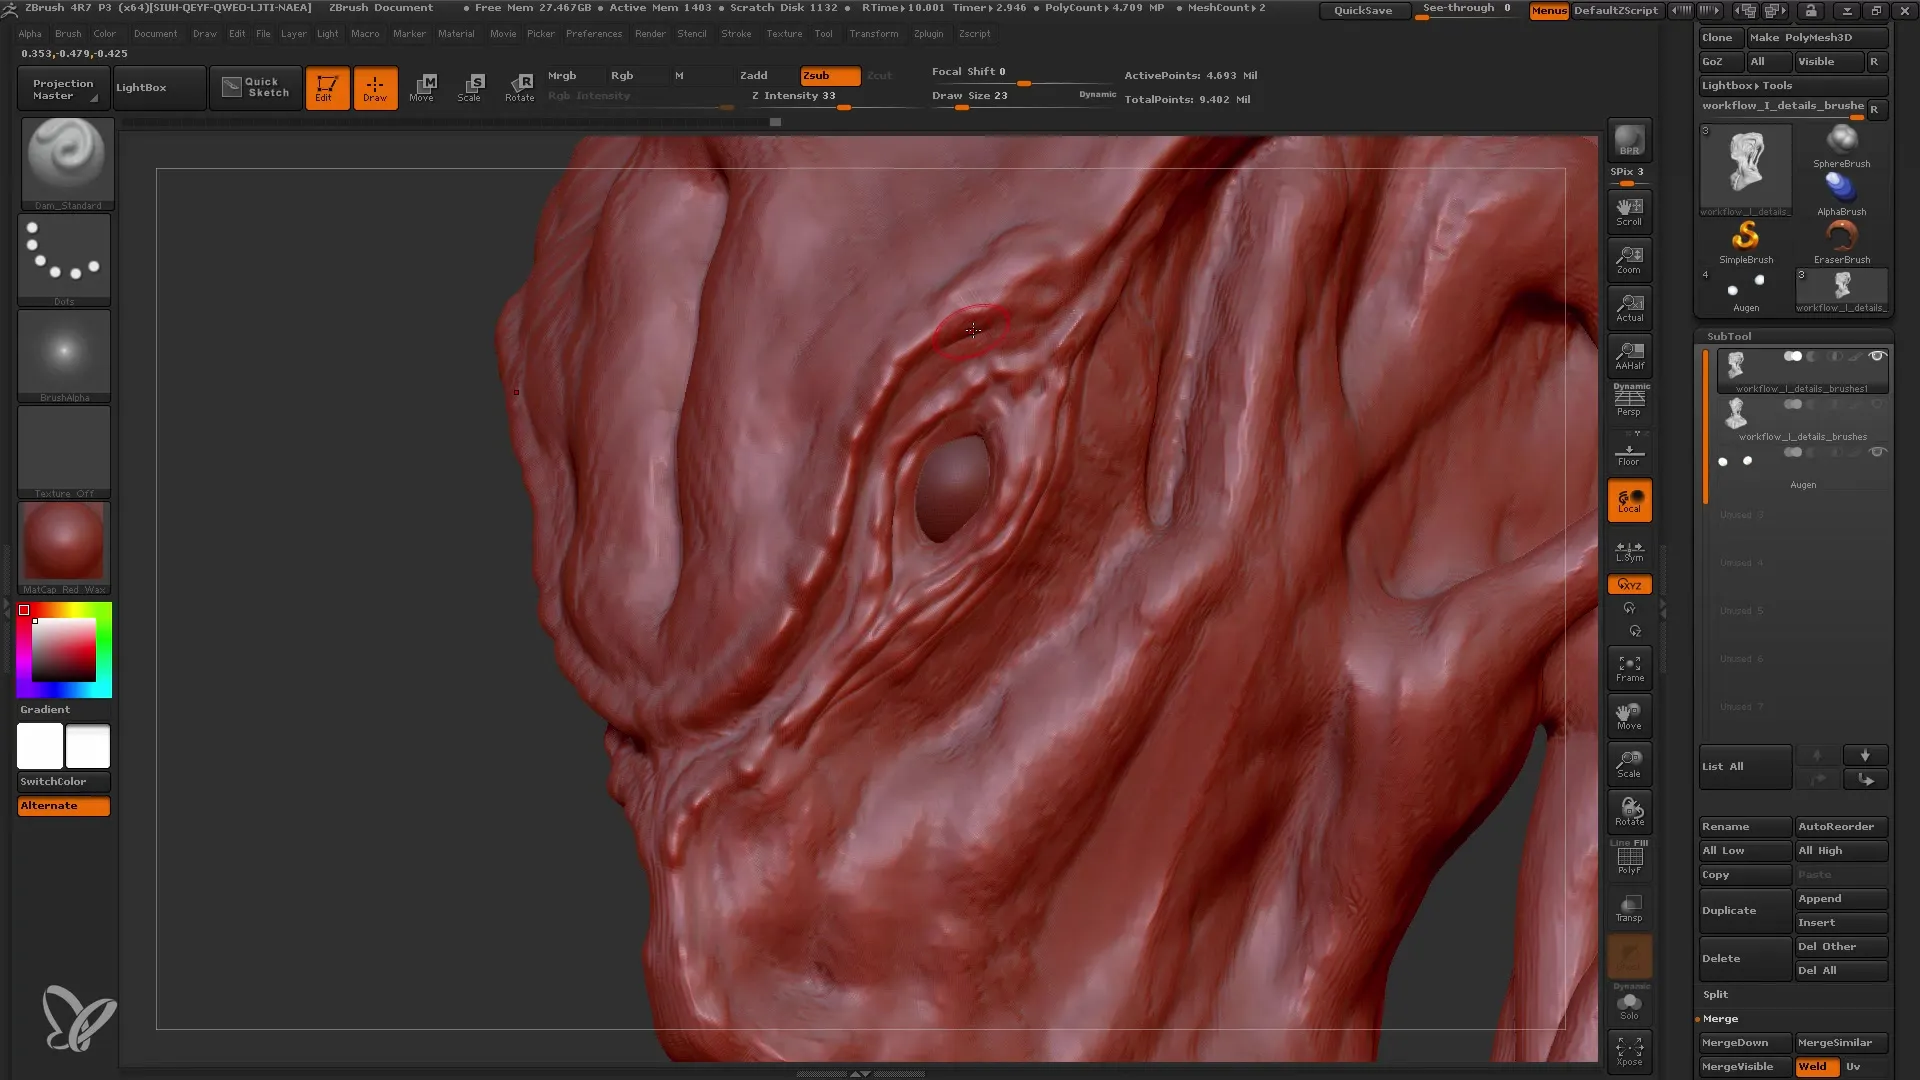
To add additional texture, I use Alpha Textures. These can make your model appear more realistic. I use the Damian Standard Brush to introduce interesting patterns and textures into the face.
Fine-tuning the Details
Now is the time to refine the final details. Use the Move Brush to refine the dynamic shape of the details. Be careful not to make too many changes; it's important to create a focal point that guides the viewer's eye.
Adding Veins and Small Details
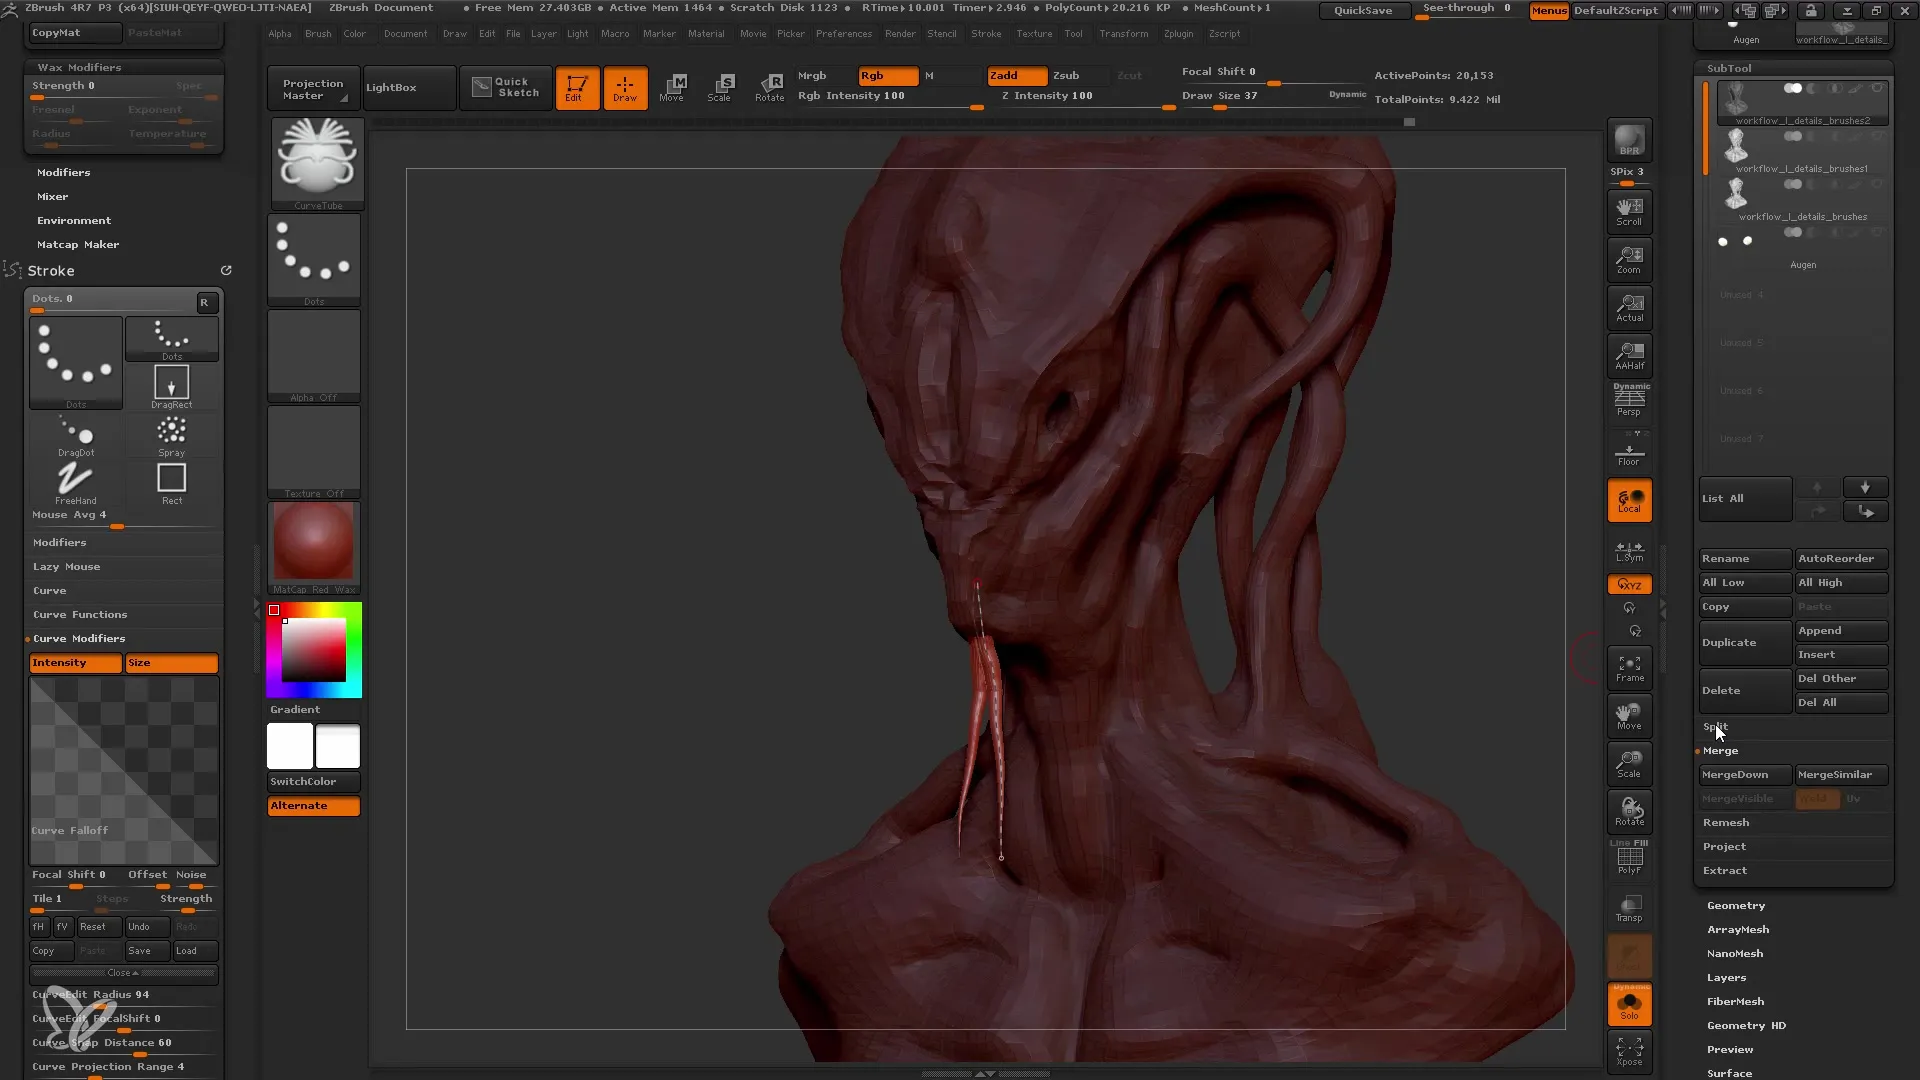
To further enhance realism, add veins and finer details with a softer brush. Adding small veins in the neck area, for example, can give the model more life.
Working with Subtools
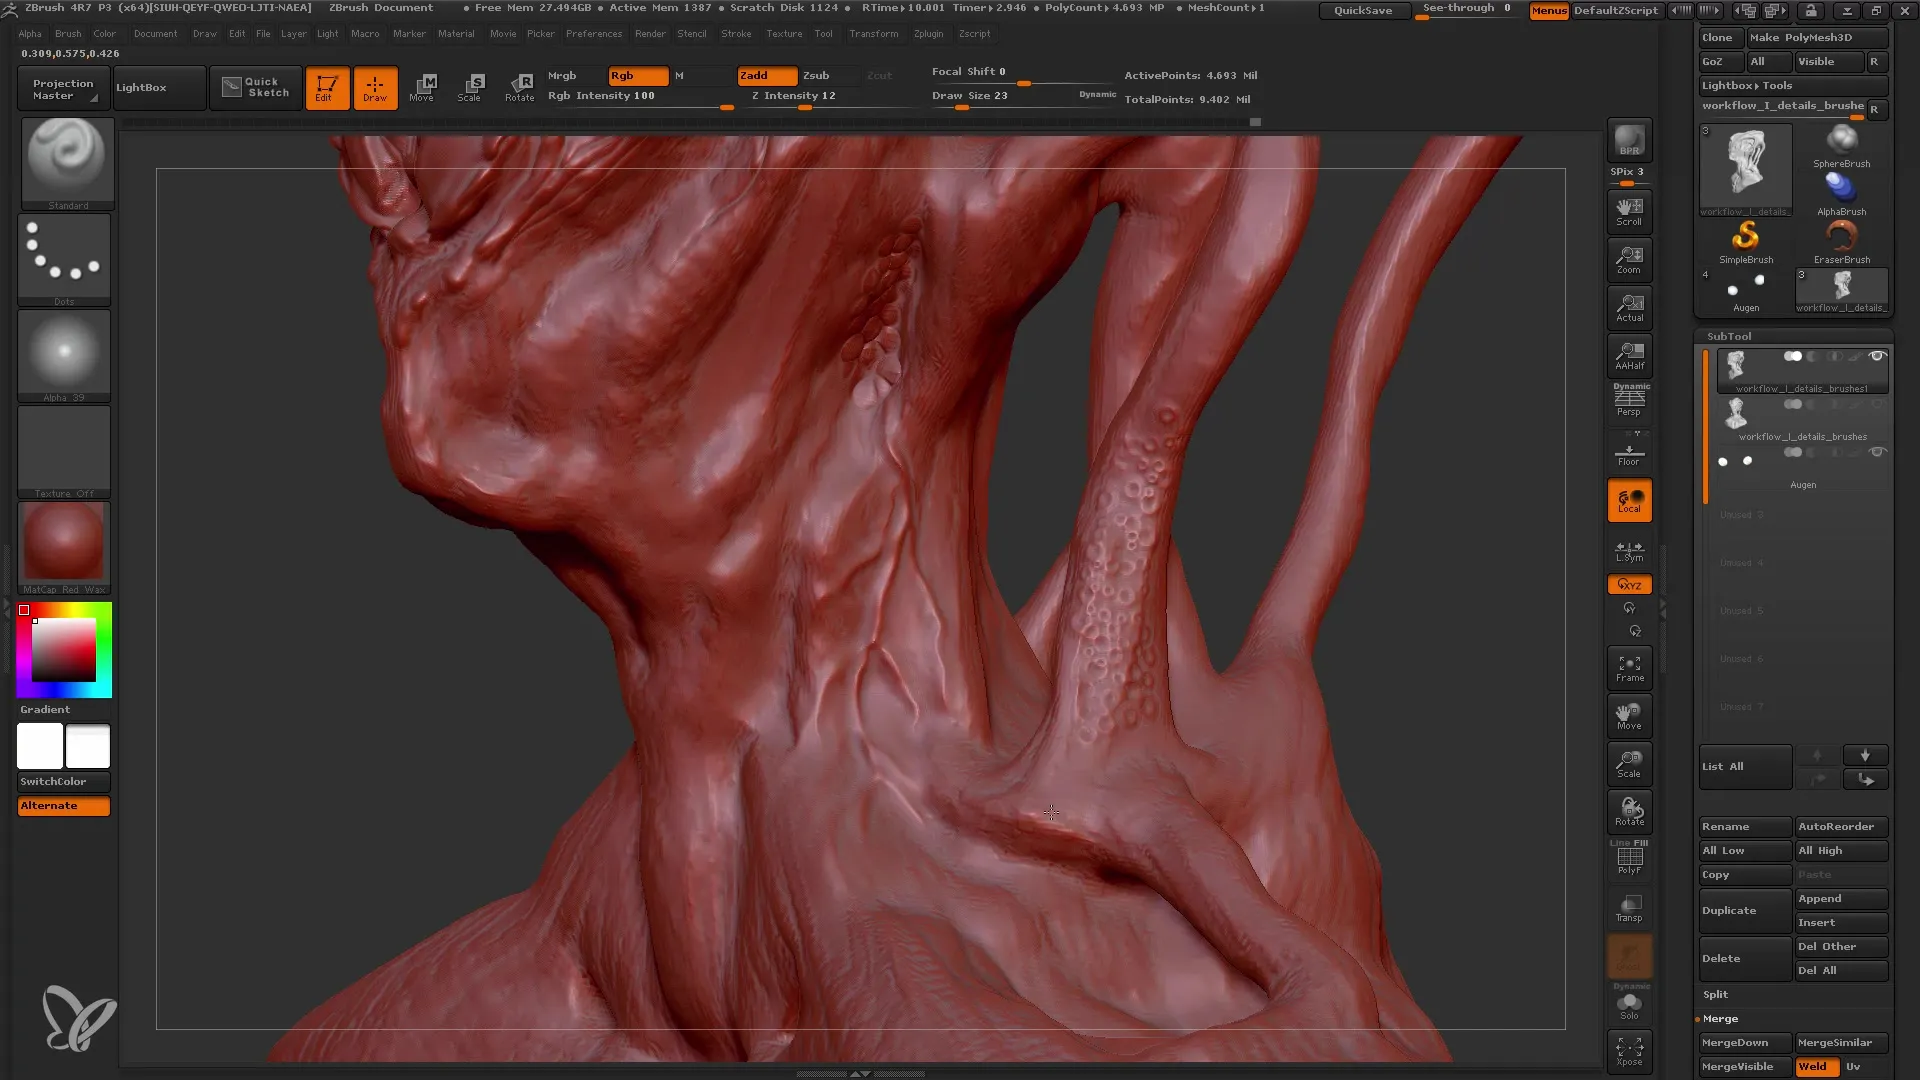
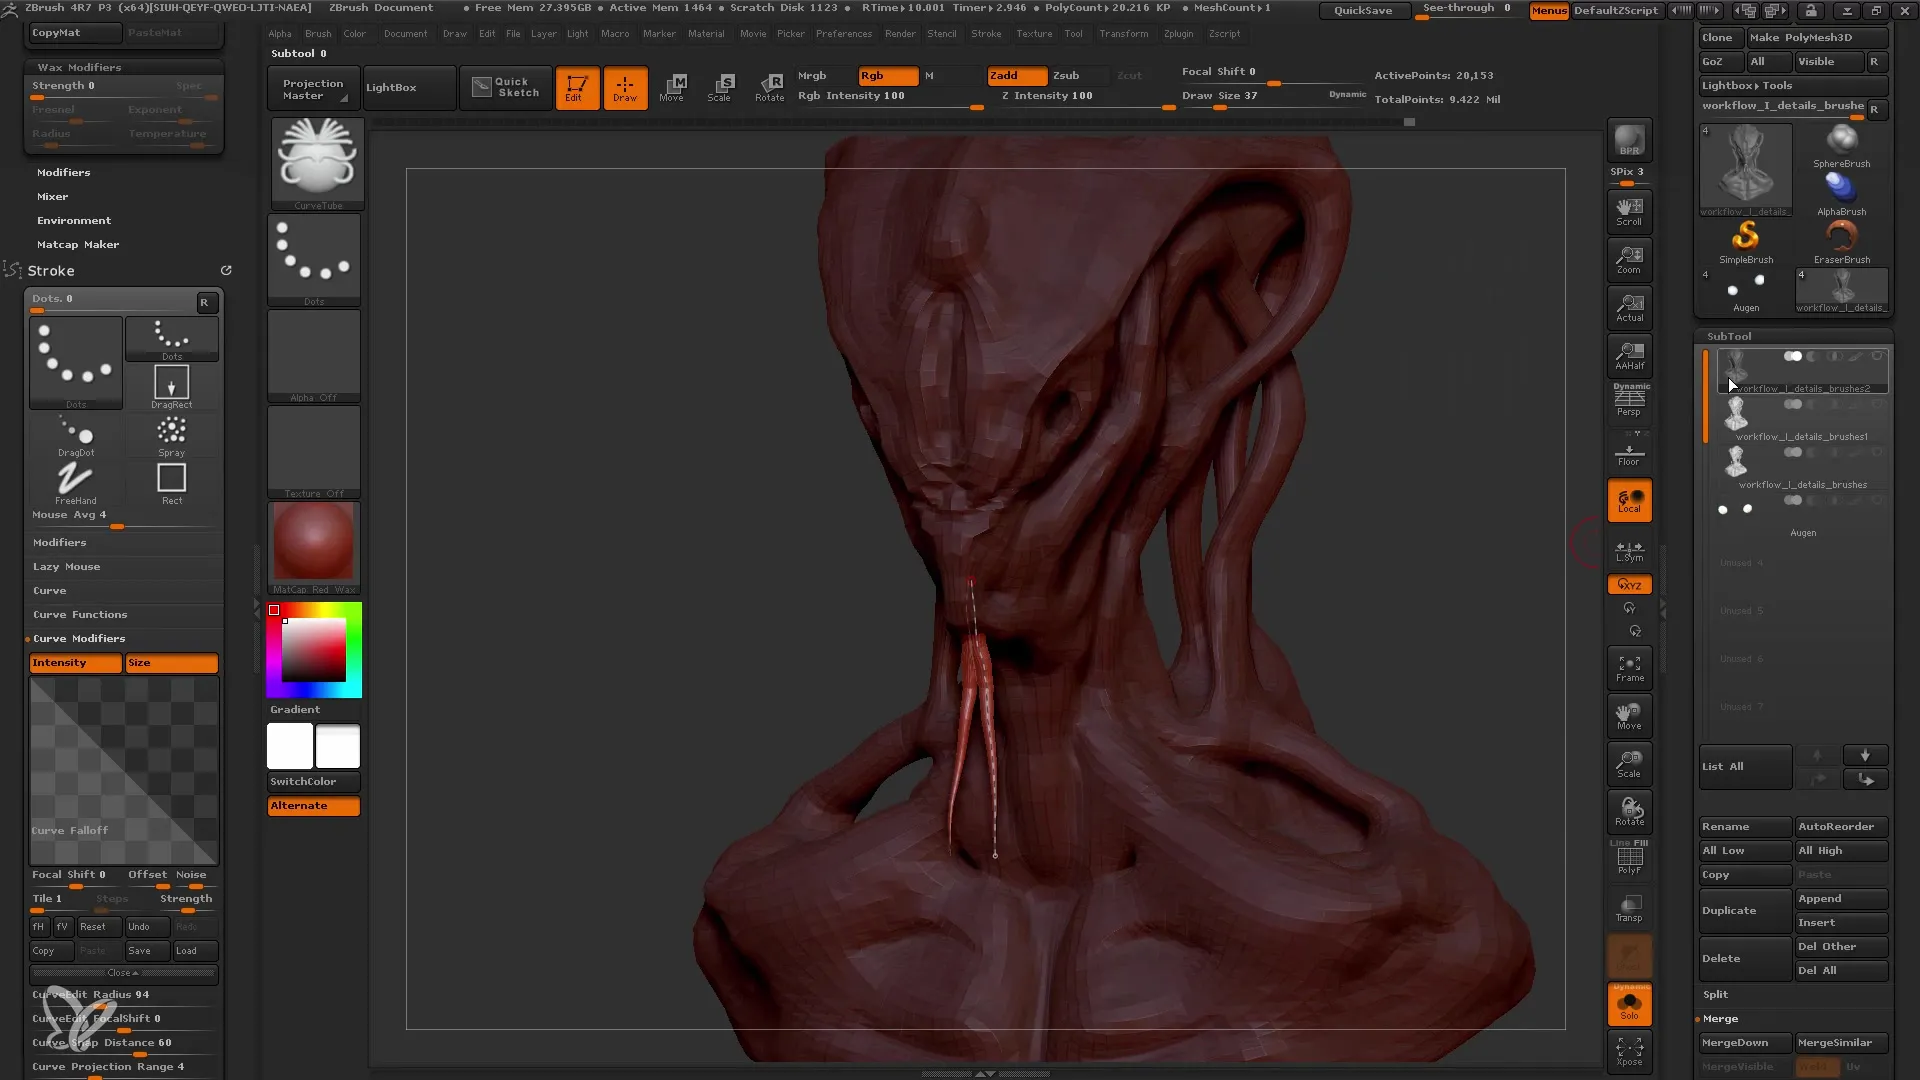
If you want to add details like tentacles, using Subtools is ideal. You can use different Subtools to make shapes more dynamic. Make sure to remember to turn off the symmetry function when working, especially with asymmetric structures.
Review and Control
It's also important to regularly review the process. I go back and check the details. If something doesn't look as I want it to, I can undo or repaint it. ZBrush allows you to make changes directly without the fear of losing the entire model.
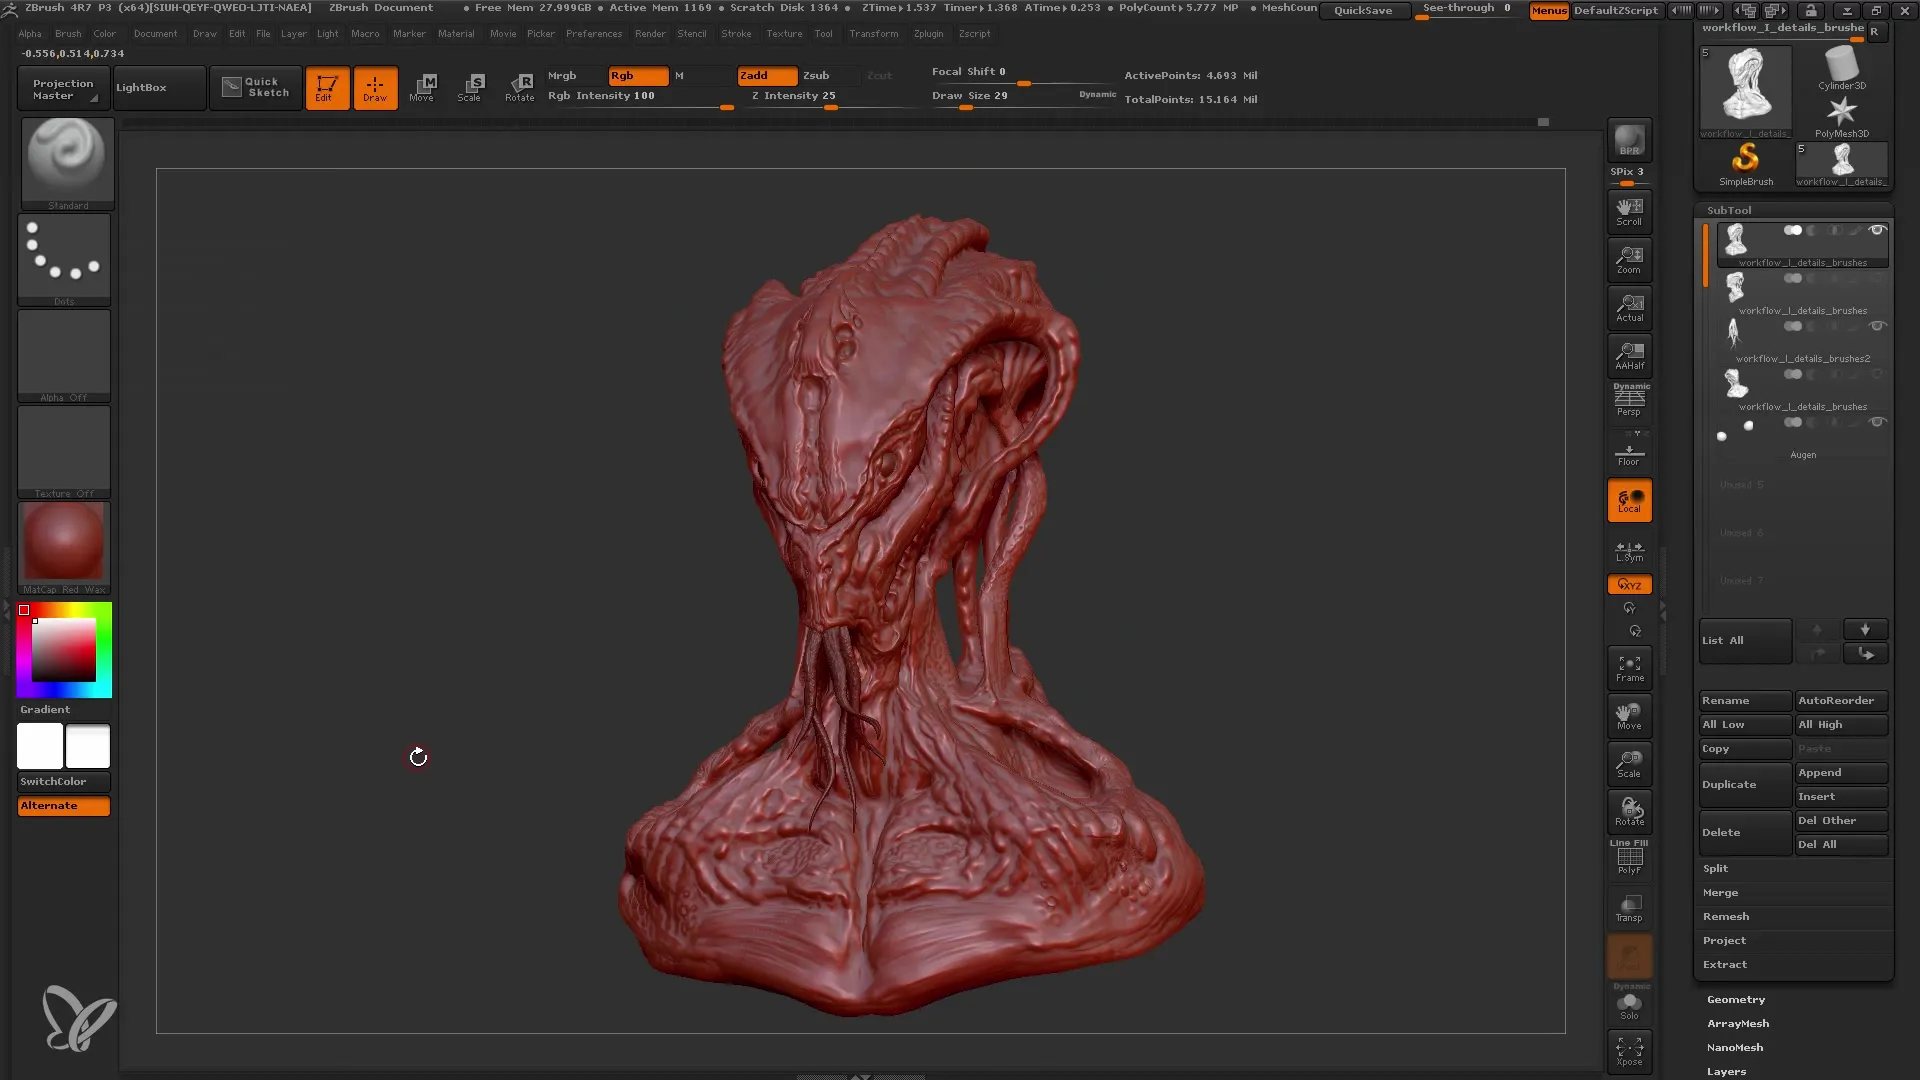
Final Adjustments and Completion
Finally, I add some final adjustments and work on the details that I consider necessary. I go through the entire model and ensure that the overall picture is cohesive.
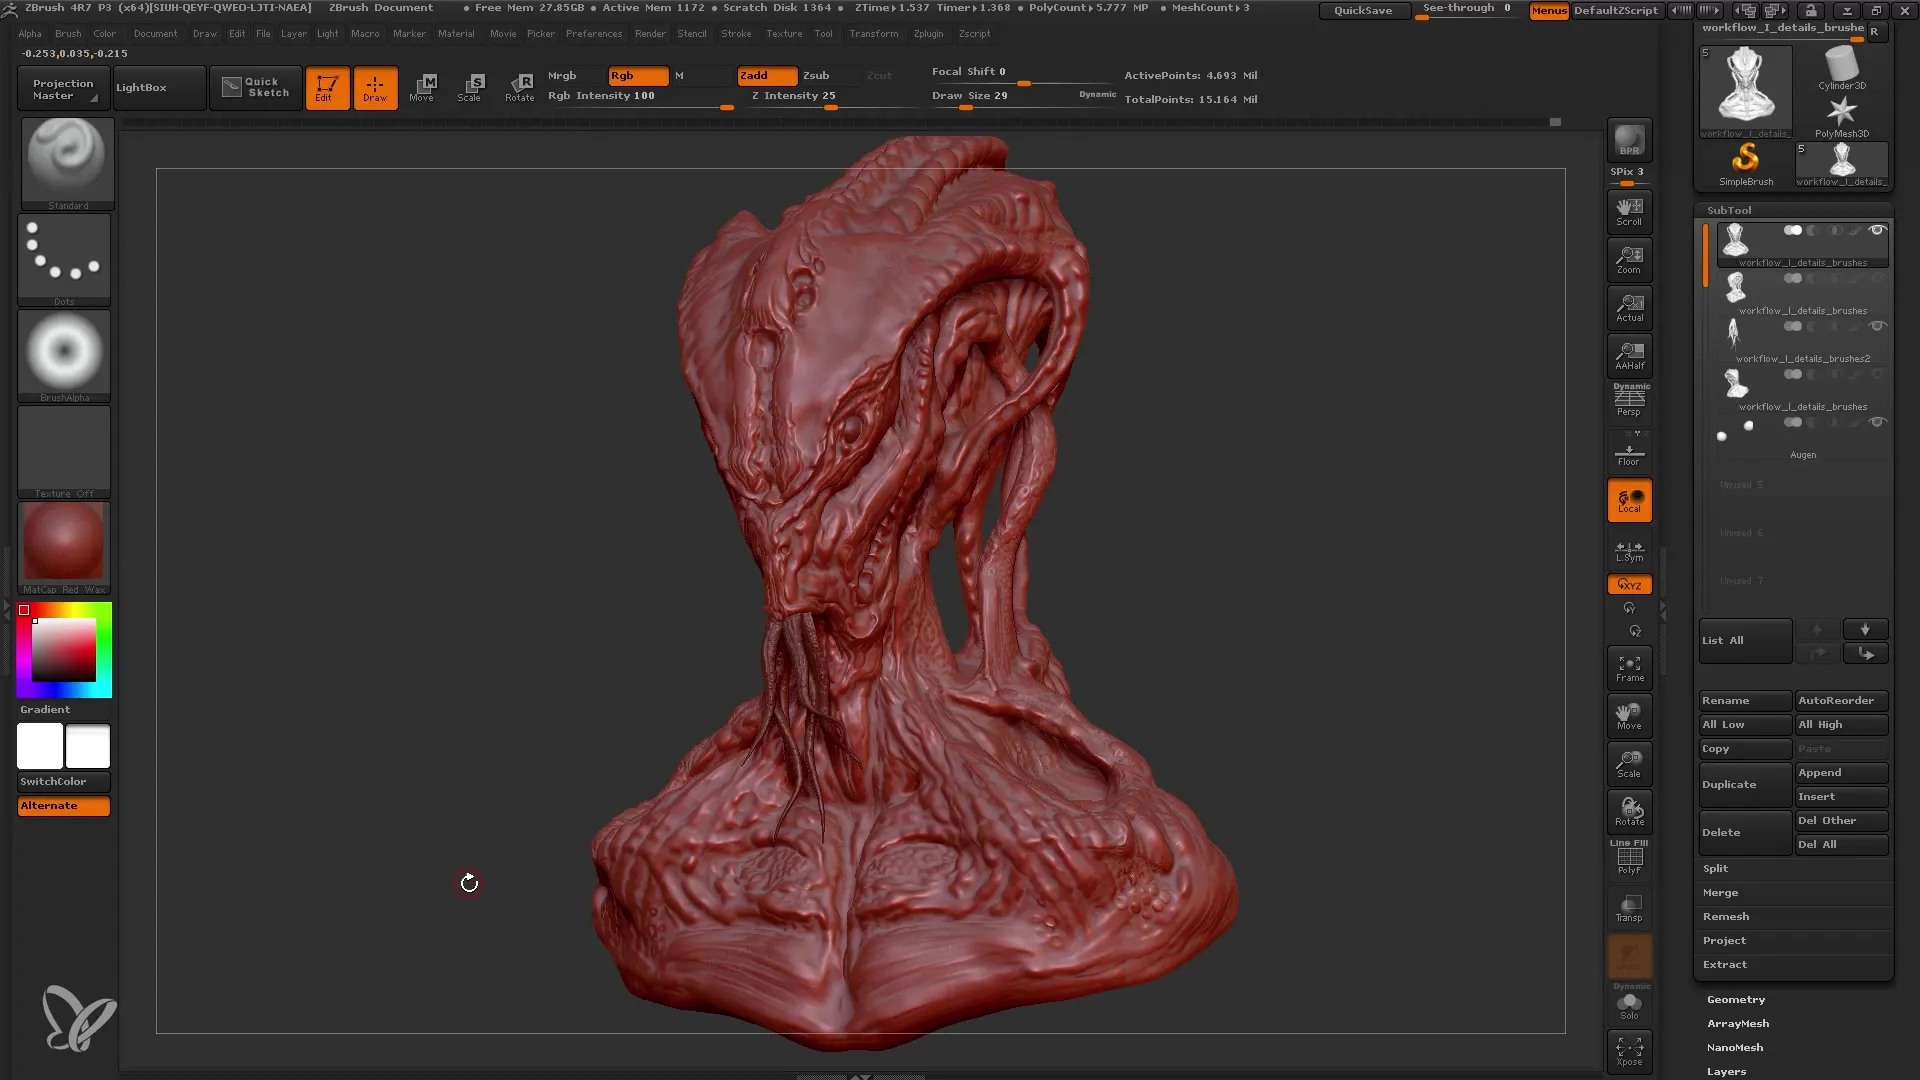
Summary
In this tutorial, you have learned how to add details in ZBrush using various brushes. From selecting the right brushes to fine-tuning the details, we have gone through all the important steps to bring your model to life.
Frequently Asked Questions
What are the most important brushes for detailing in ZBrush?The most important brushes are the Standard Brush, Clay Buildup Brush, and Damian Standard Brush.
How can I undo details if I am not satisfied with my work?You can undo or repaint details without having to lose the entire model.
Is it better to work on a model with multiple subtools?Yes, working with subtools allows you to create different details more efficiently and flexibly.
