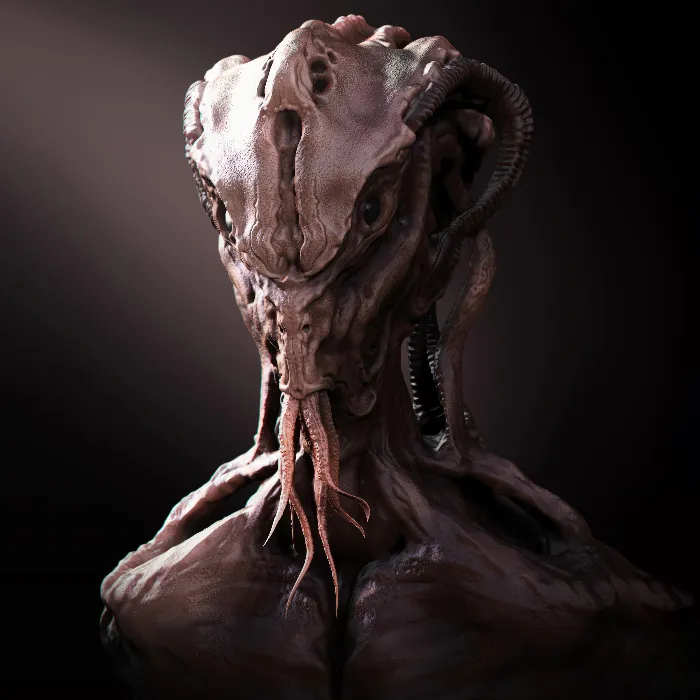
In digital art, the interaction of various programs is crucial for the quality of your final product. In this tutorial, I will show you how to efficiently combine the render passes from ZBrush using Photoshop to achieve impressive effects. I will explain the use of layer masks and adjustment layers. These techniques will help you control light and shadow optimally and give your artwork the finishing touch.
Main Takeaways
- You will learn how to import render passes into Photoshop.
- I will show you how to work with layer masks to make targeted adjustments.
- You will learn how to effectively use different light sources and shadows in your image.
- You will understand the importance of color and effect adjustments to enhance the overall image.
Step-by-Step Guide
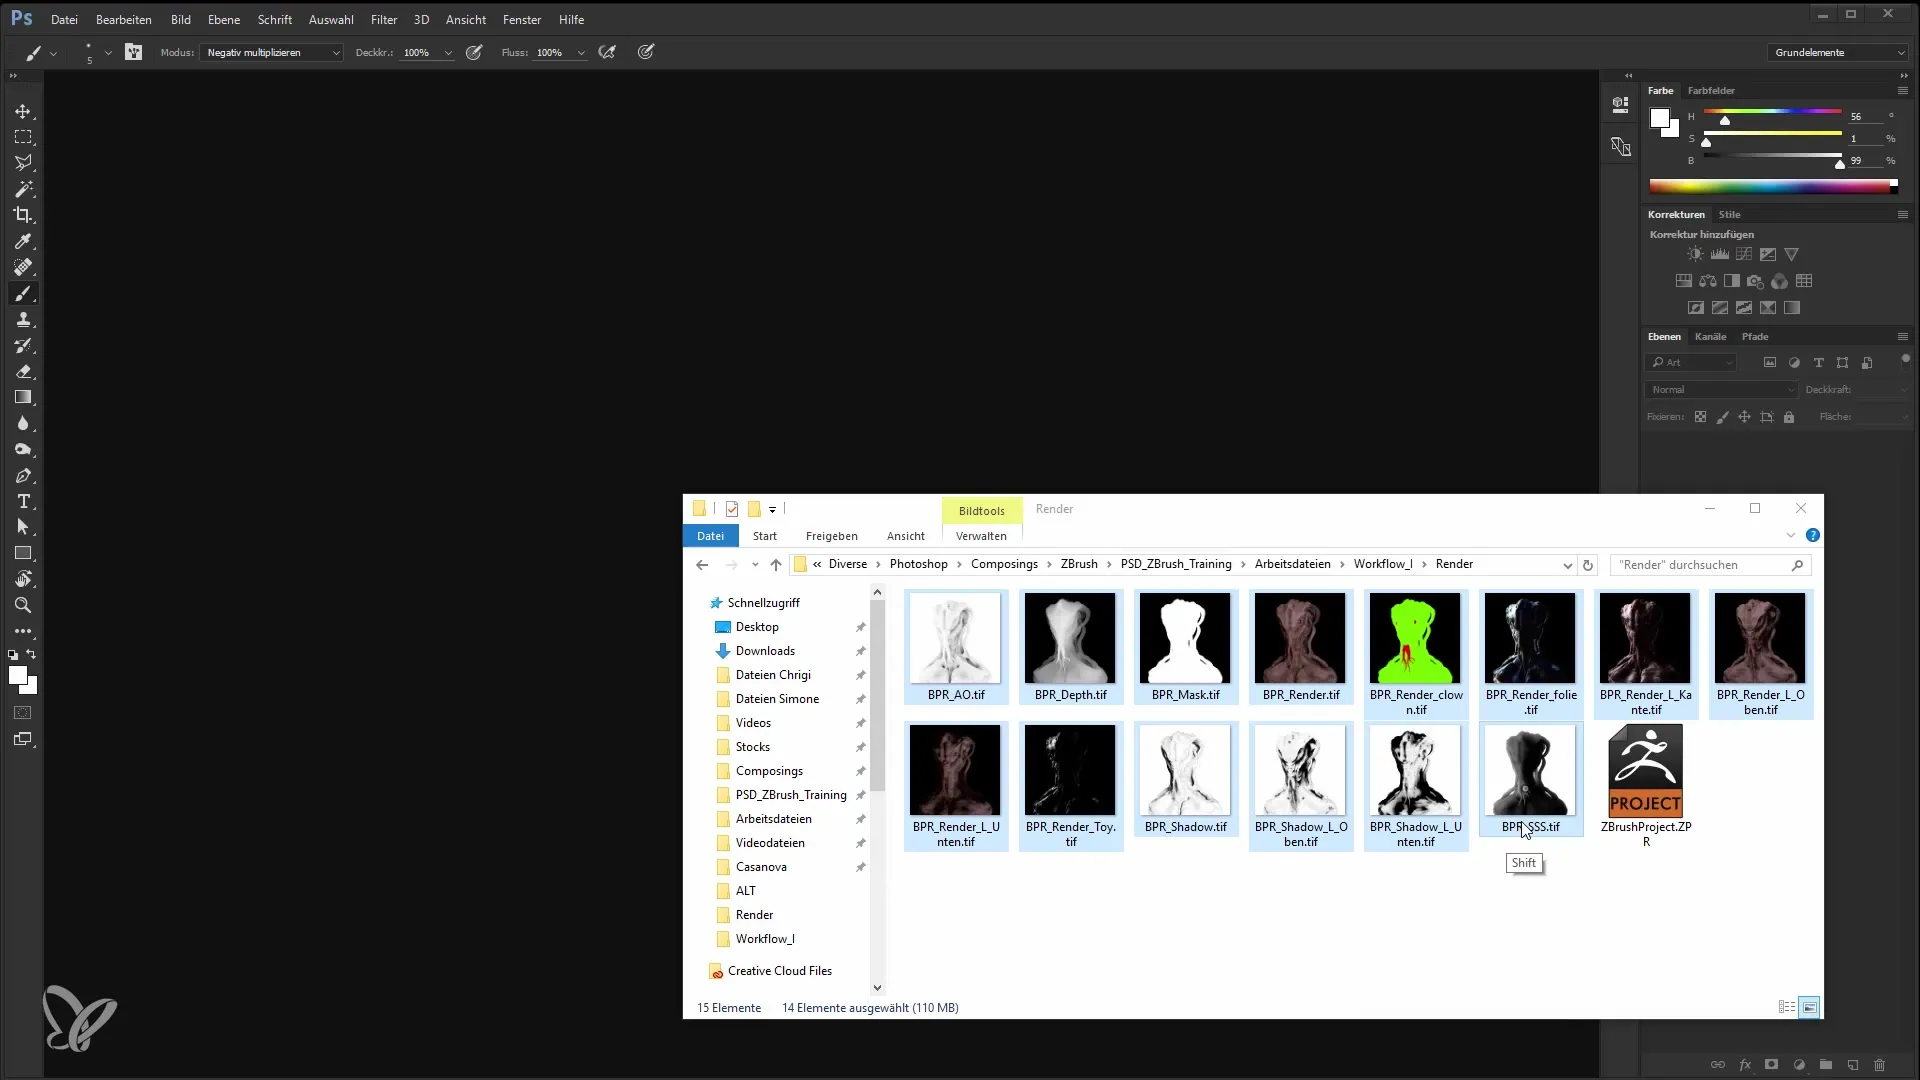
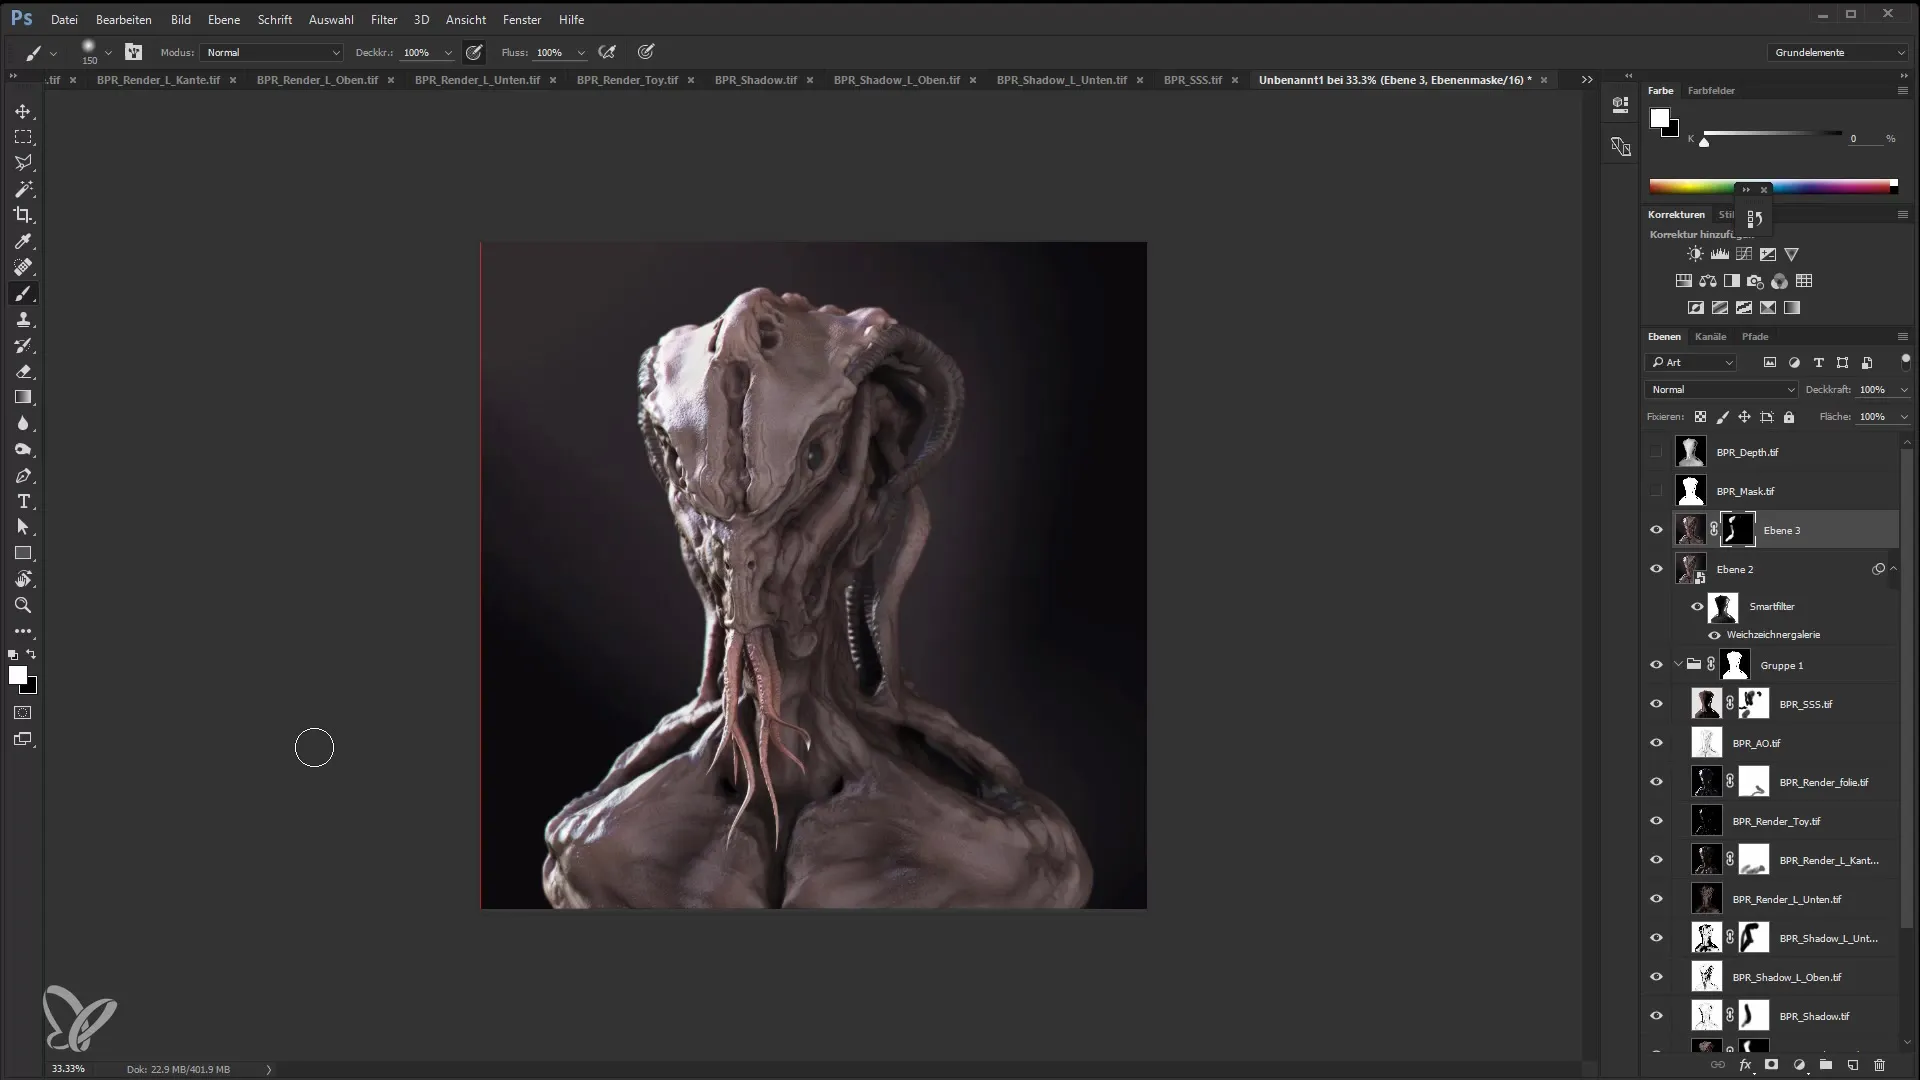
First, open Photoshop and load your render passes. Hold down the Shift key while selecting the edges of your document to efficiently transfer everything.
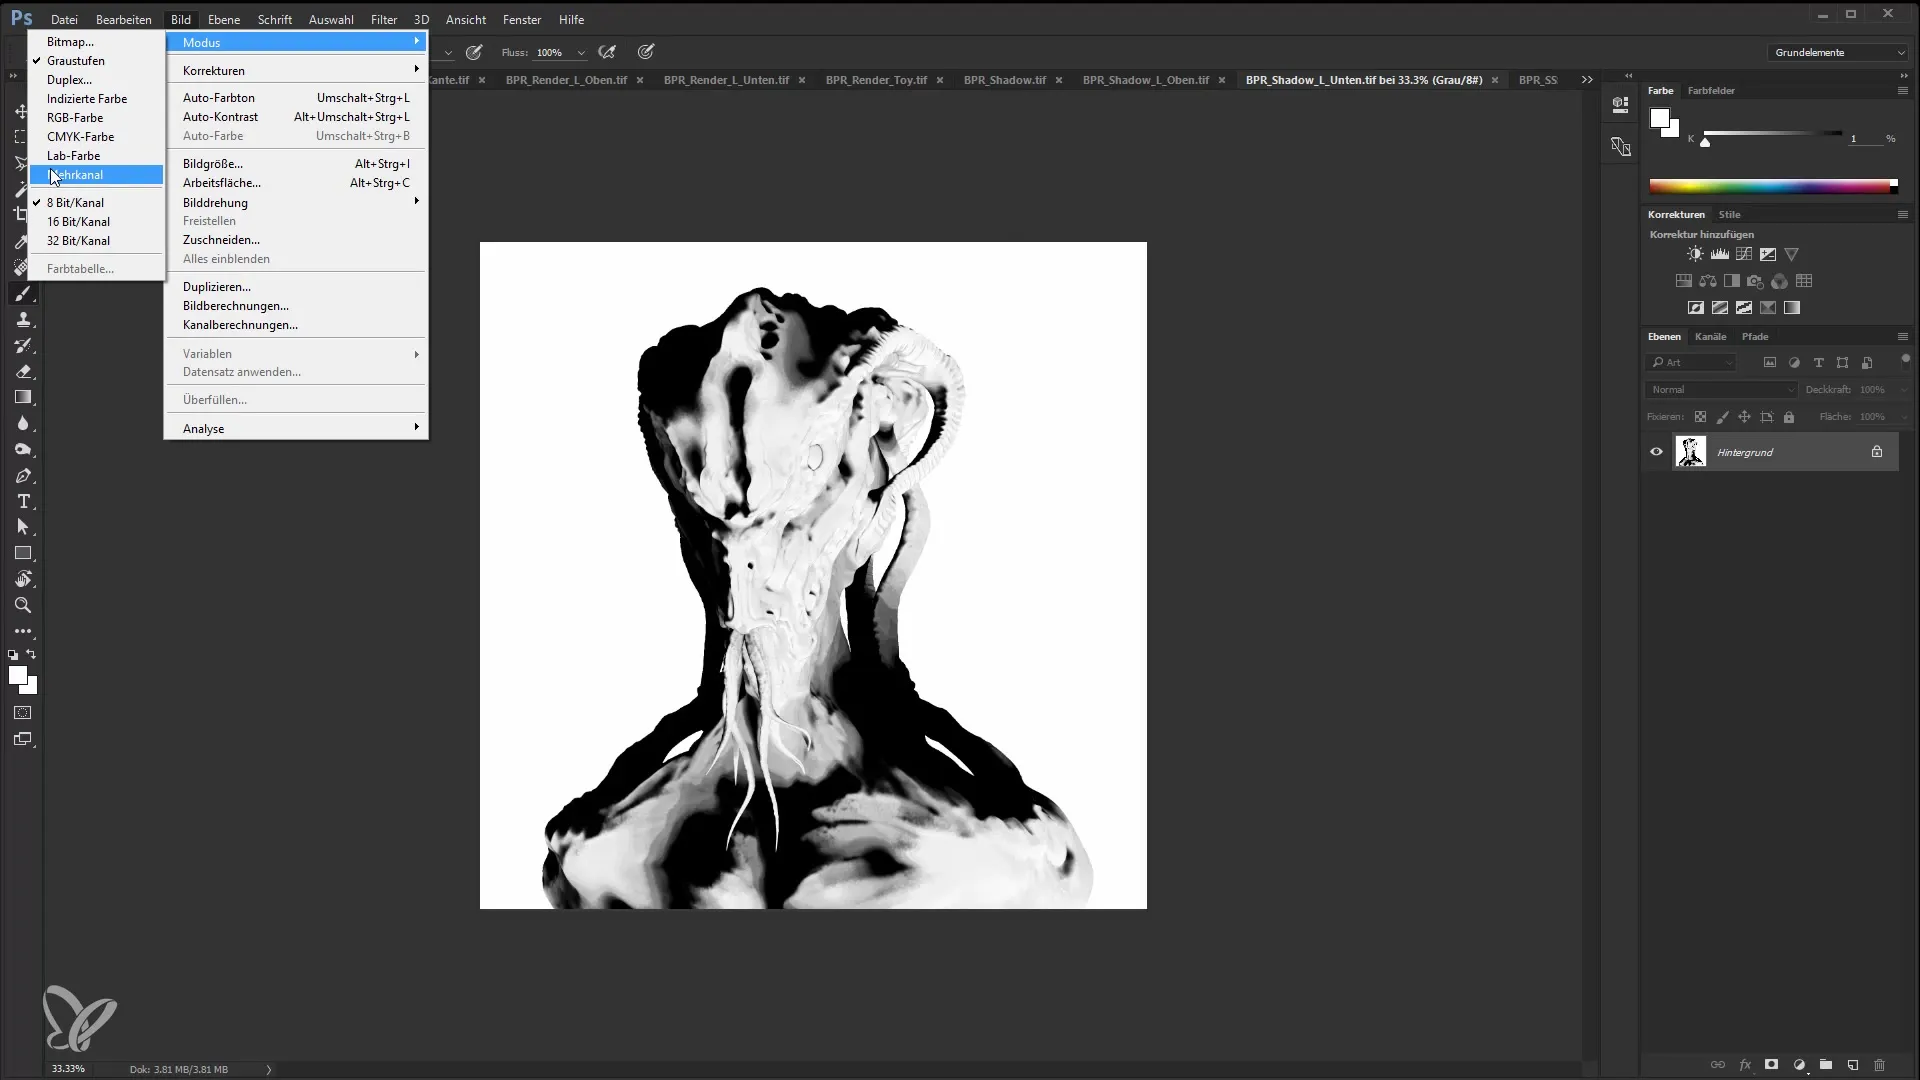
Next, make sure your element colors are in RGB mode. This conversion is essential for you to process the file correctly.
Then save the changes and set up the project files. Go to "Scripts" and choose "Load Files into Stack" to import all necessary files into Wolfgang's document.
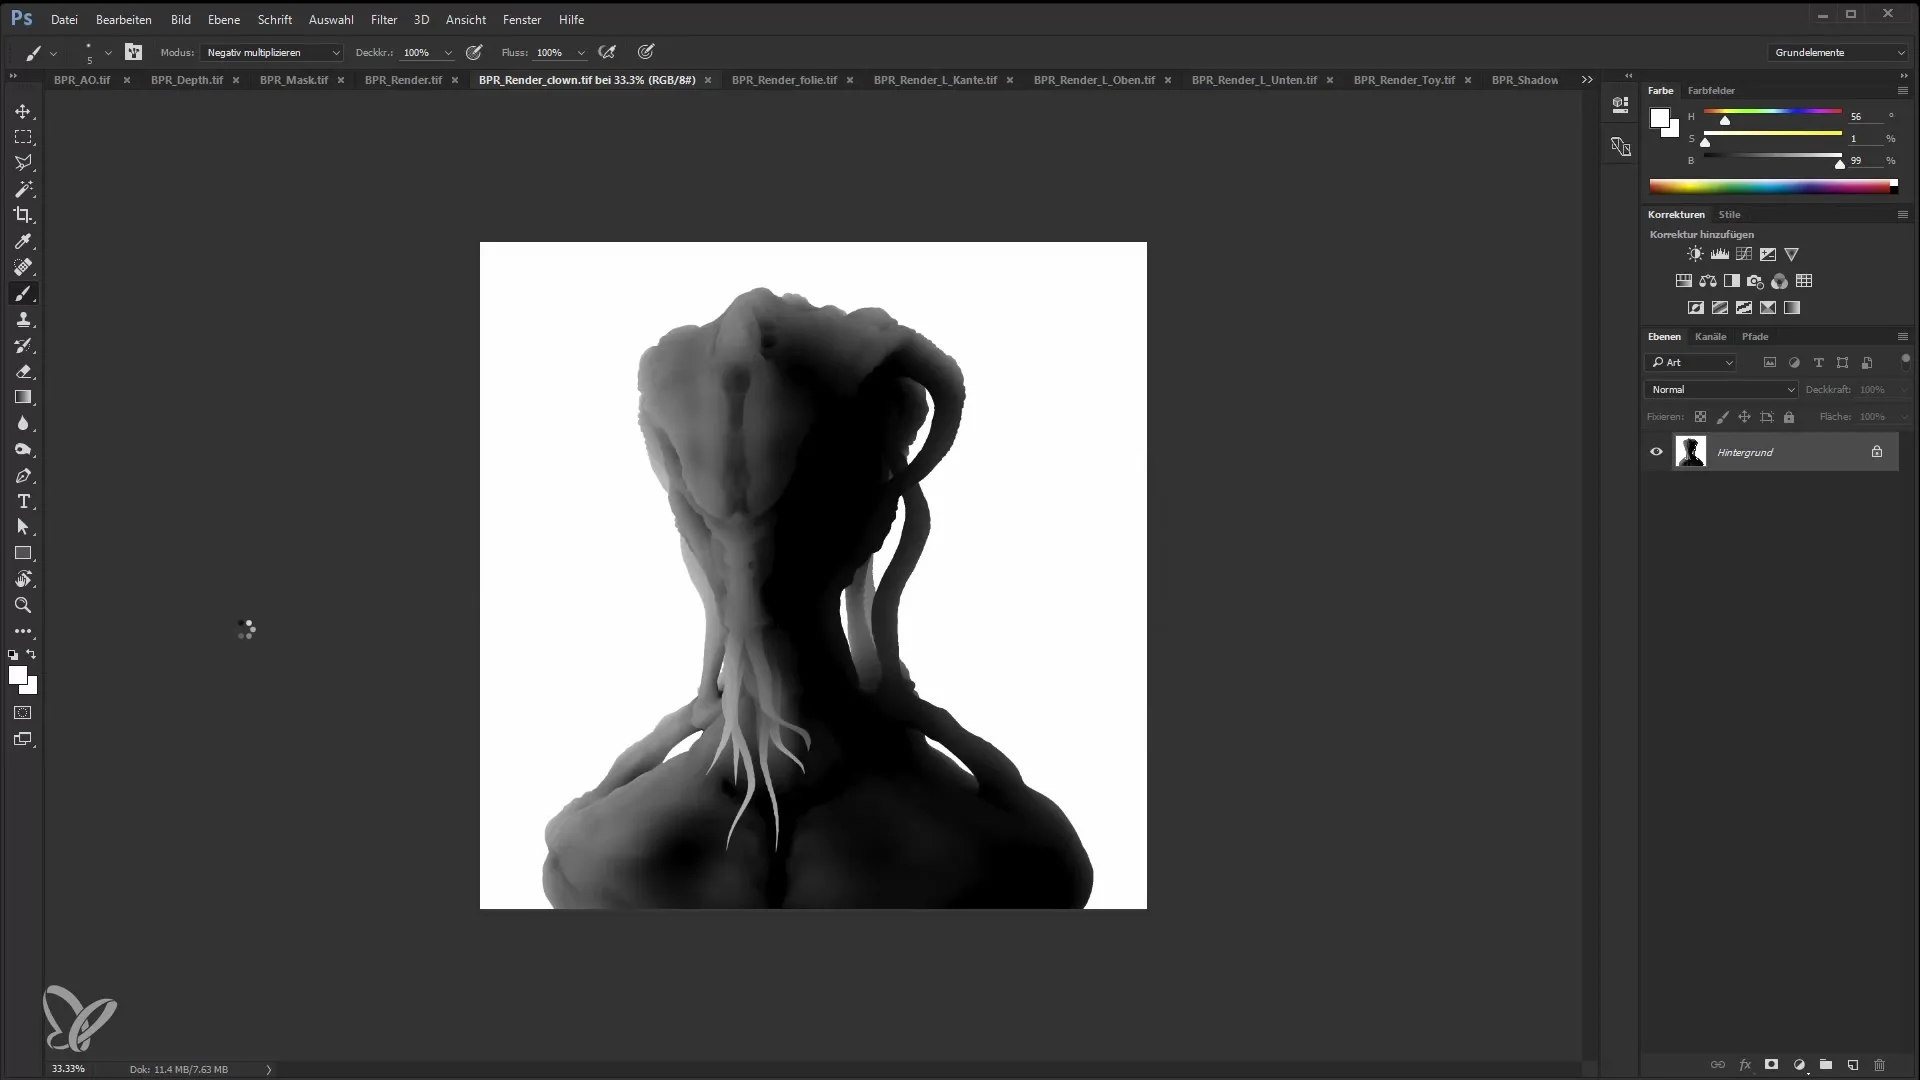
Once all passes are loaded, arrange the elements in the document. Select one of the edges and place it where desired.
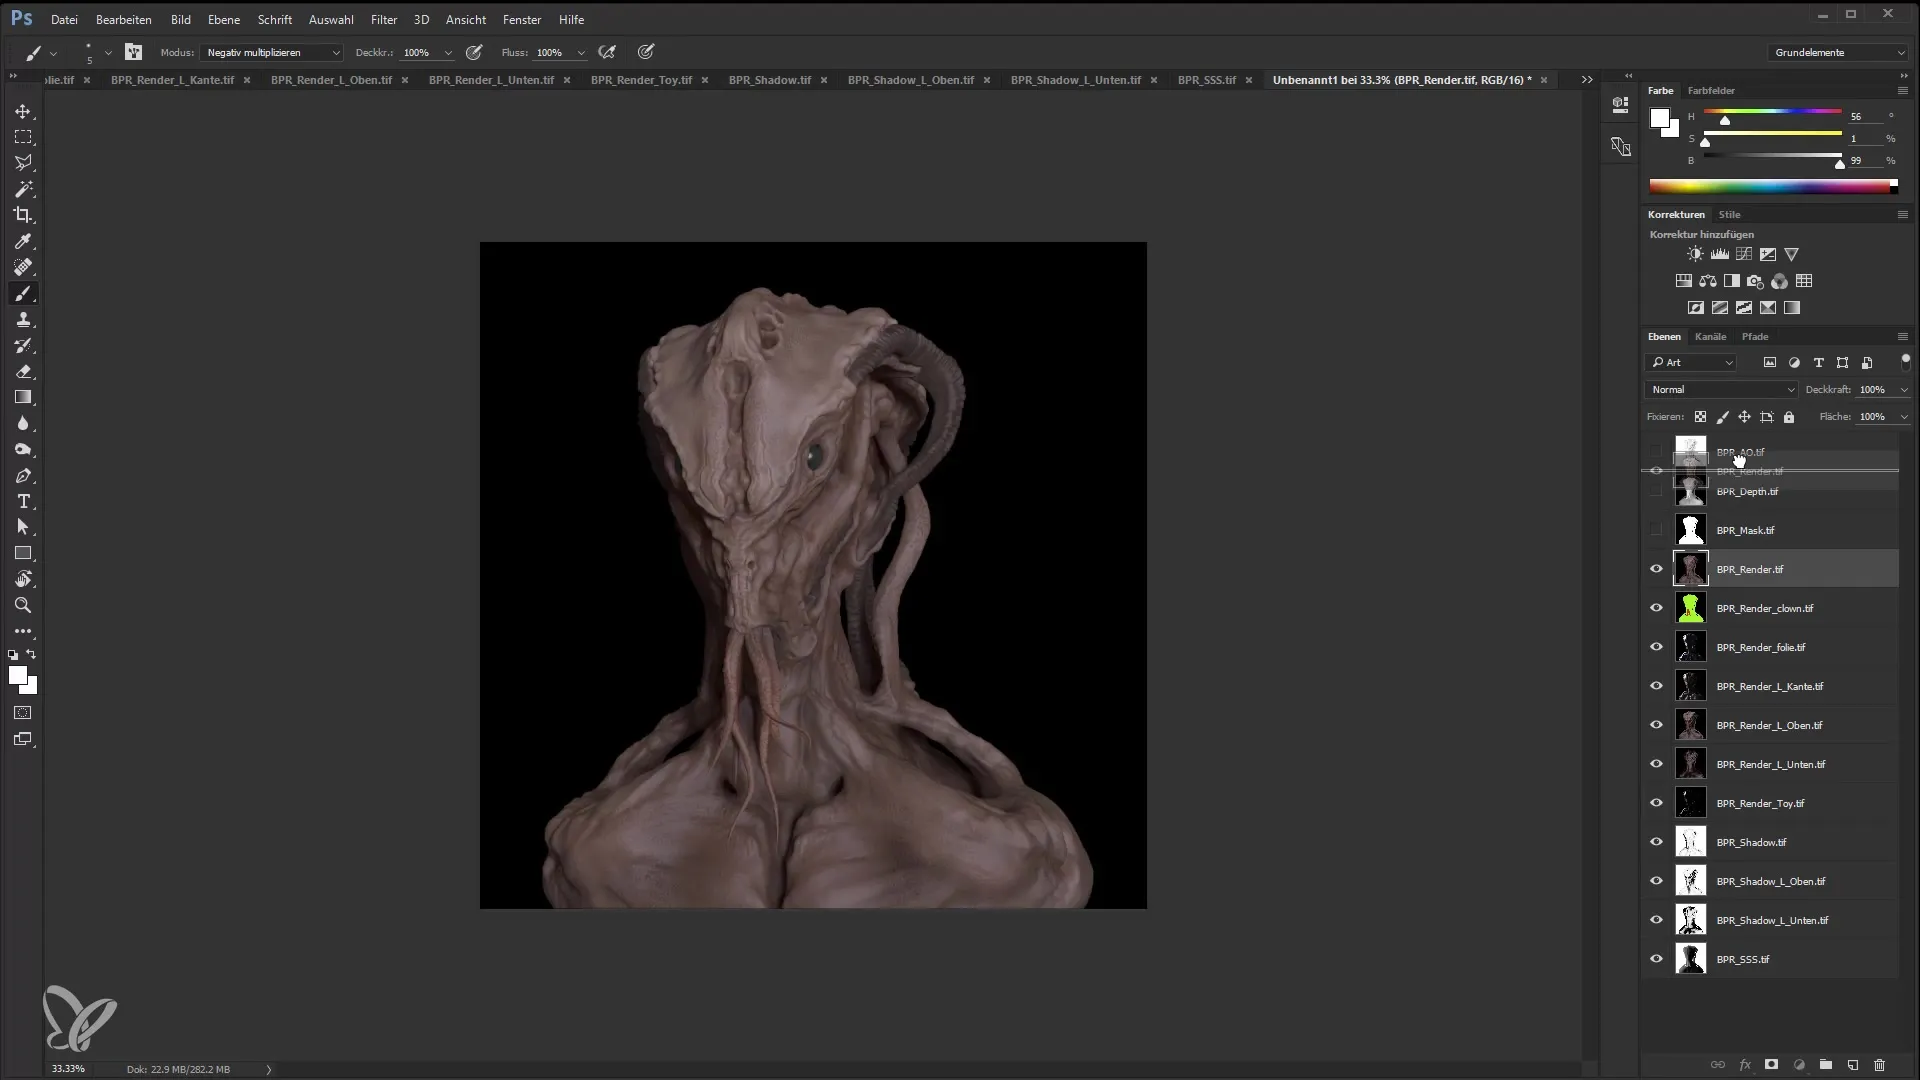
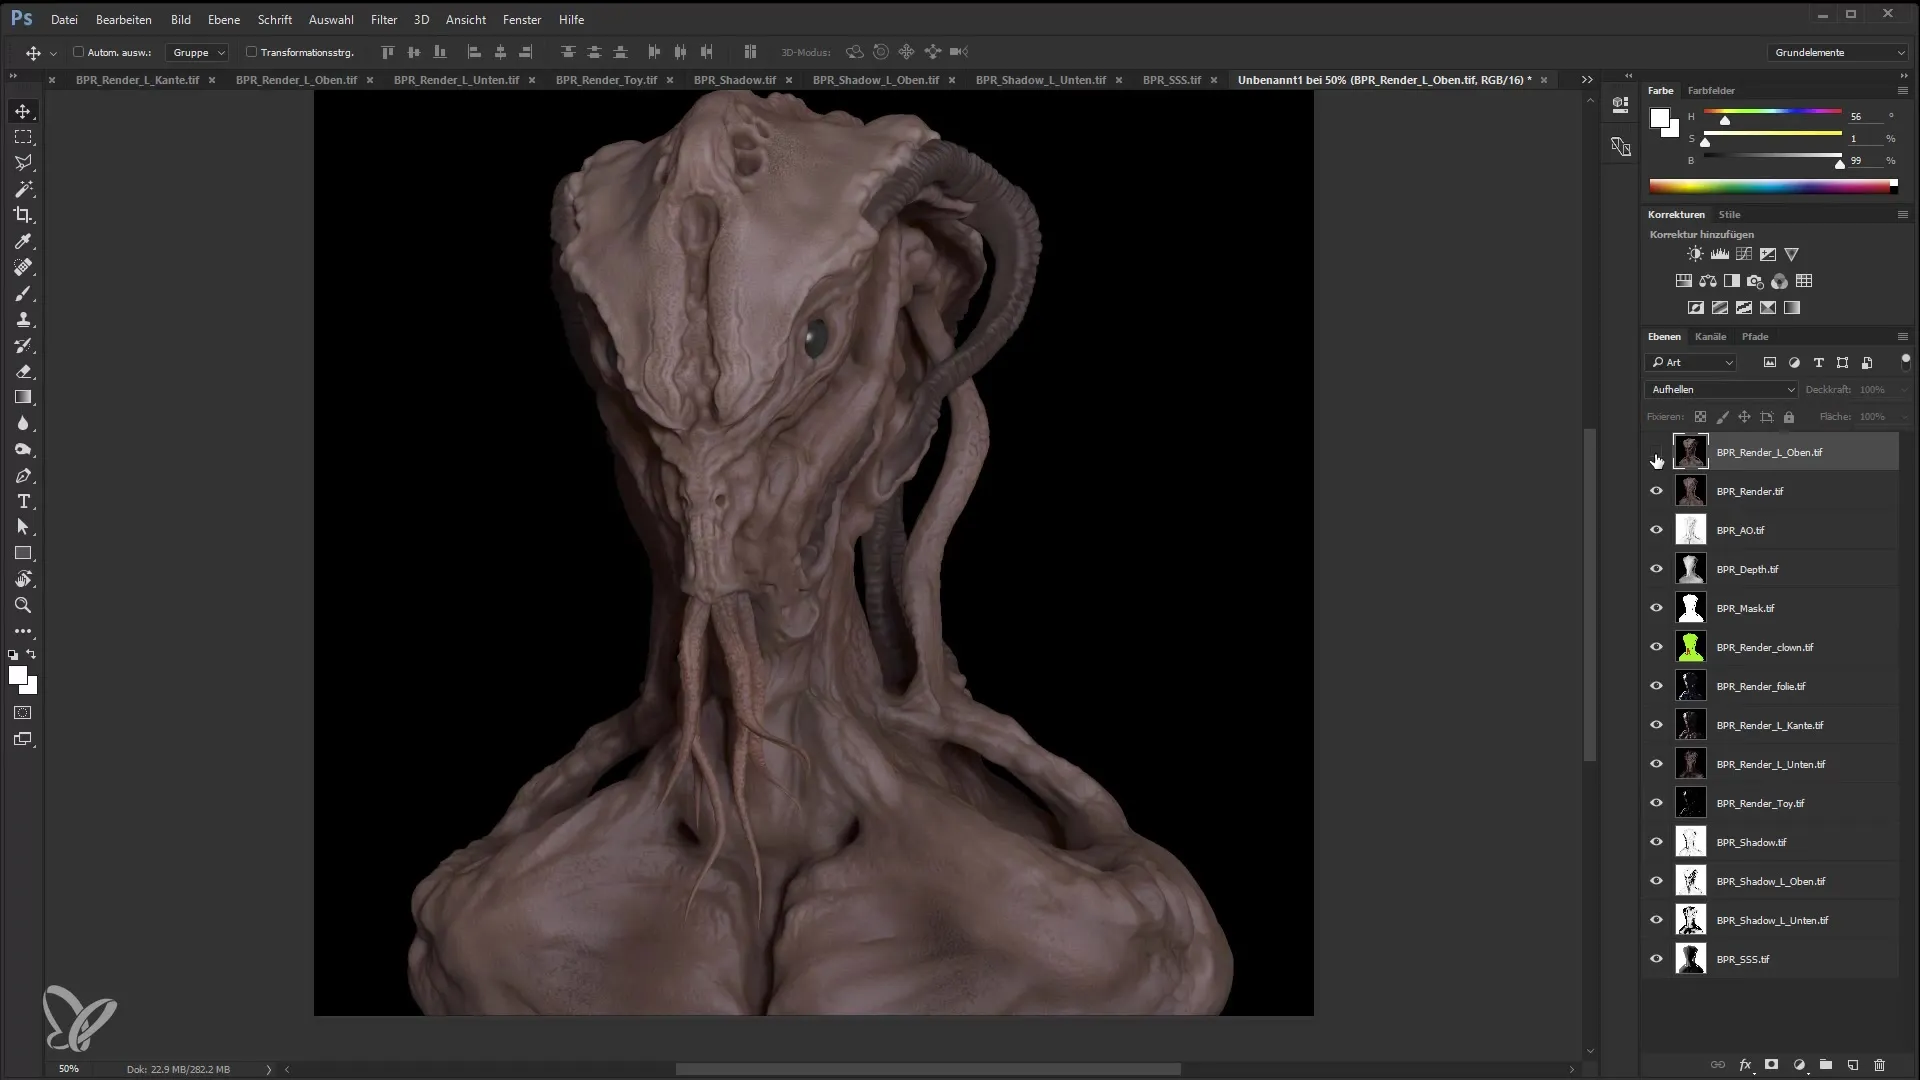
Next, focus on the light sources. First, activate the top light in the layer. Experiment with the "Lighten" setting to adjust areas you want to highlight accordingly.
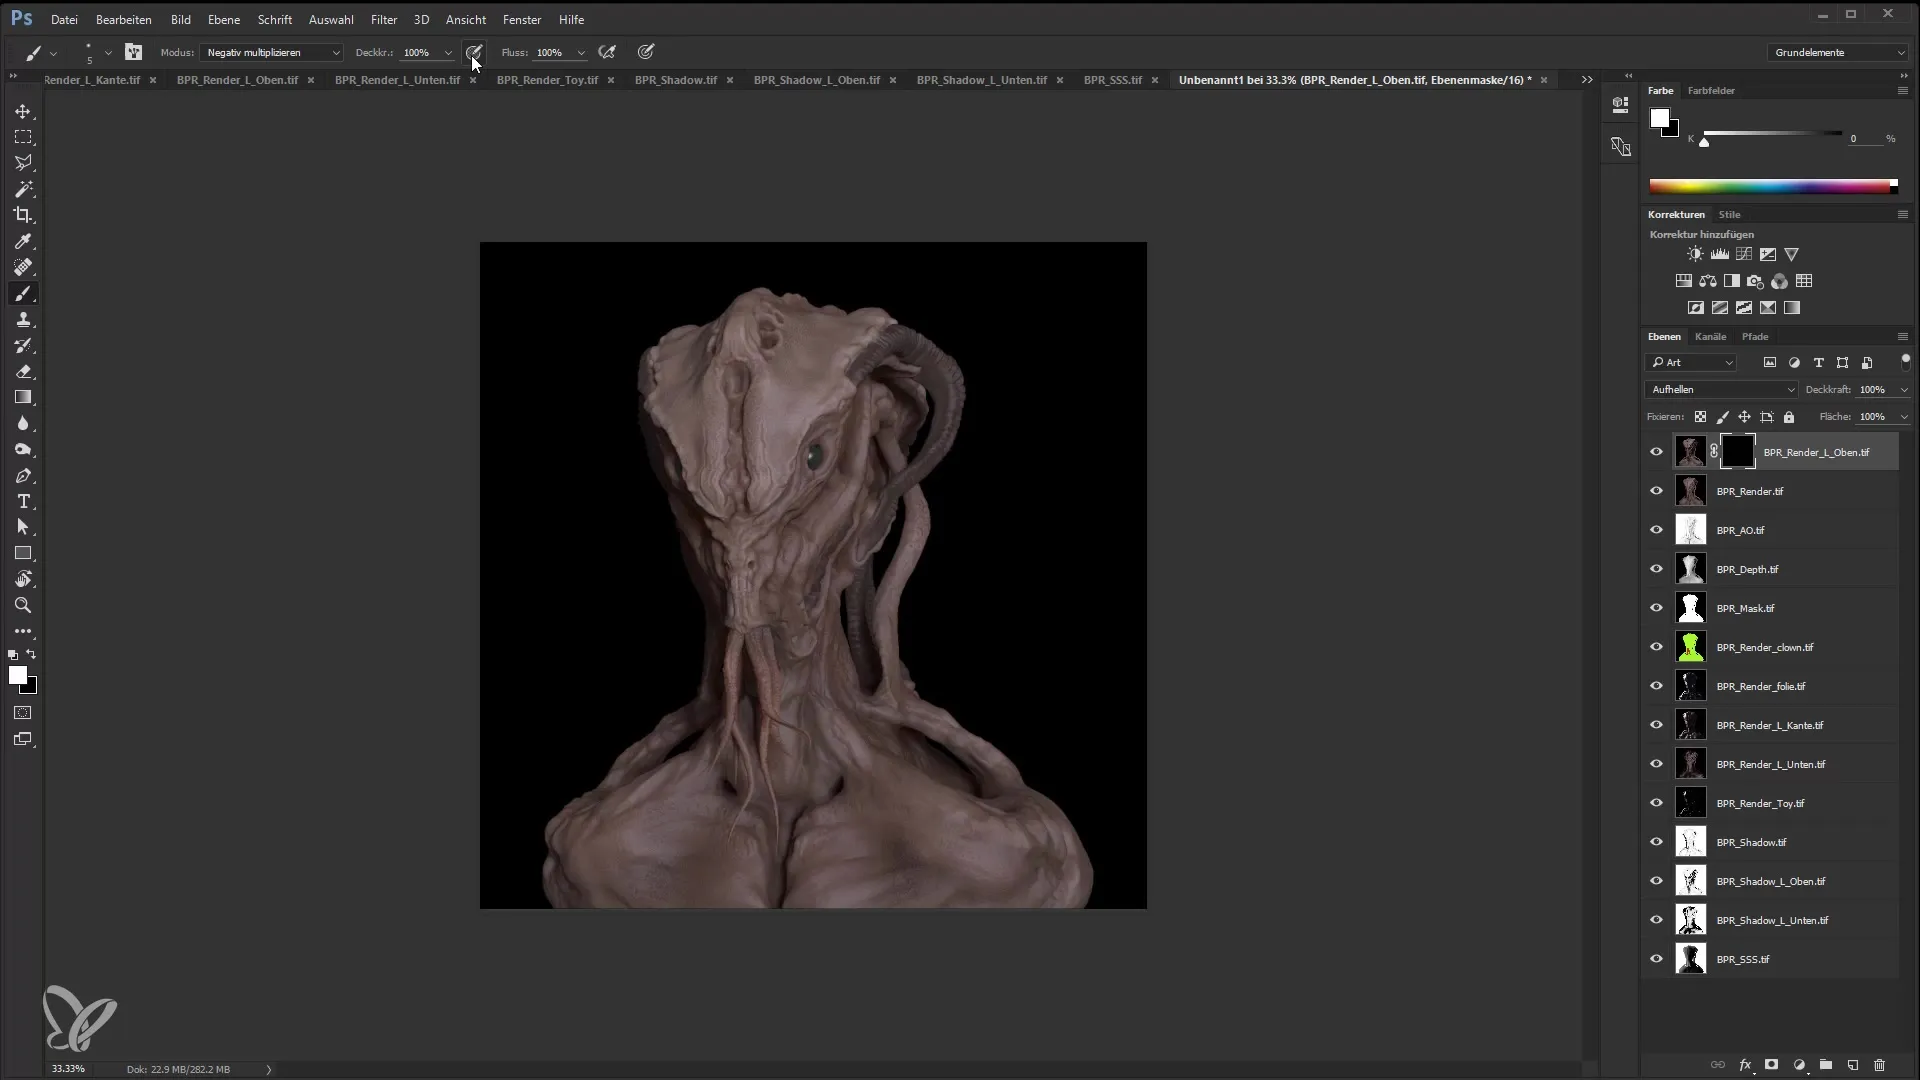
To create a light mask, hold down the Alt key and click on the layer mask. Then paint with a white brush to increase the light in the desired area. Make sure to adjust the brush to an appropriate size.
Now, work on shadow placement. Select the standard shadow and change it to the "Multiply" mode. Check the light and shadow ratios to create a harmonious result.
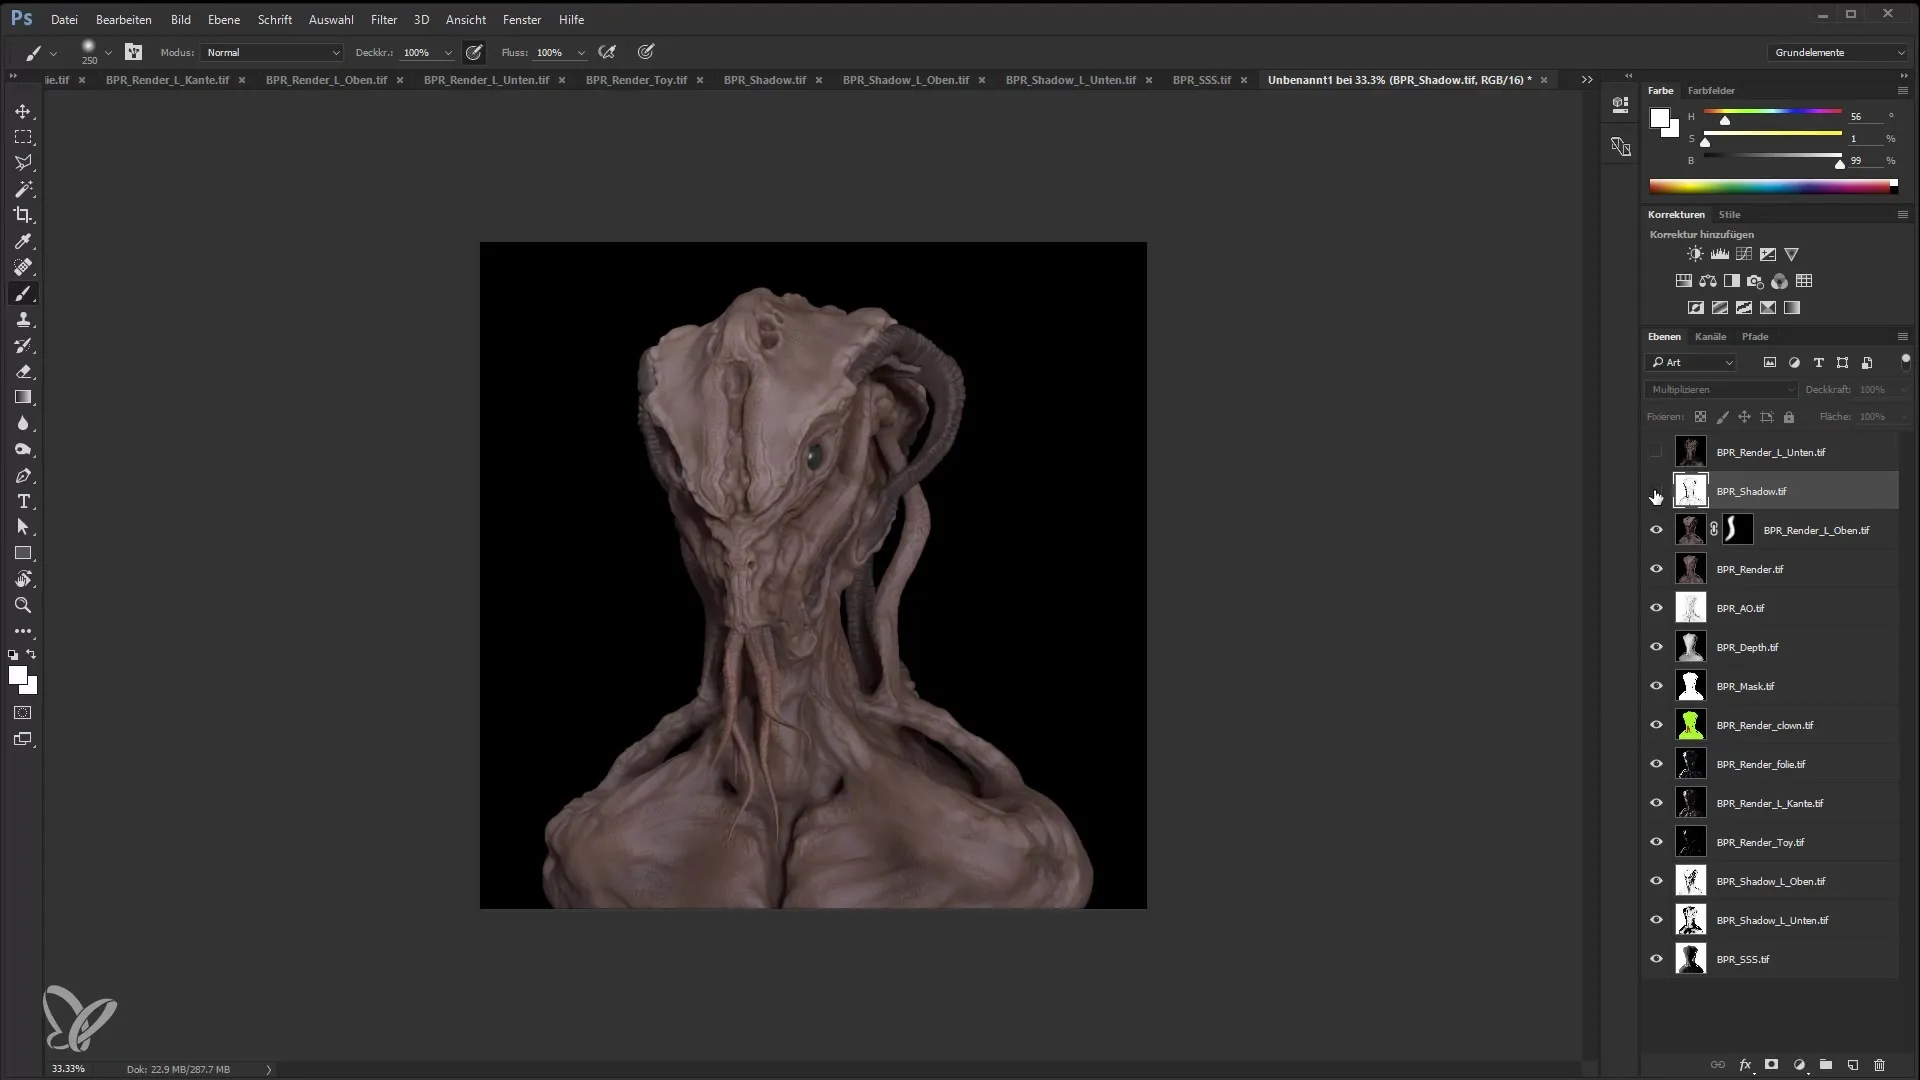
Gradually fade the shadows to not darken the light accents too much, and ensure that the overall image appears well-balanced.
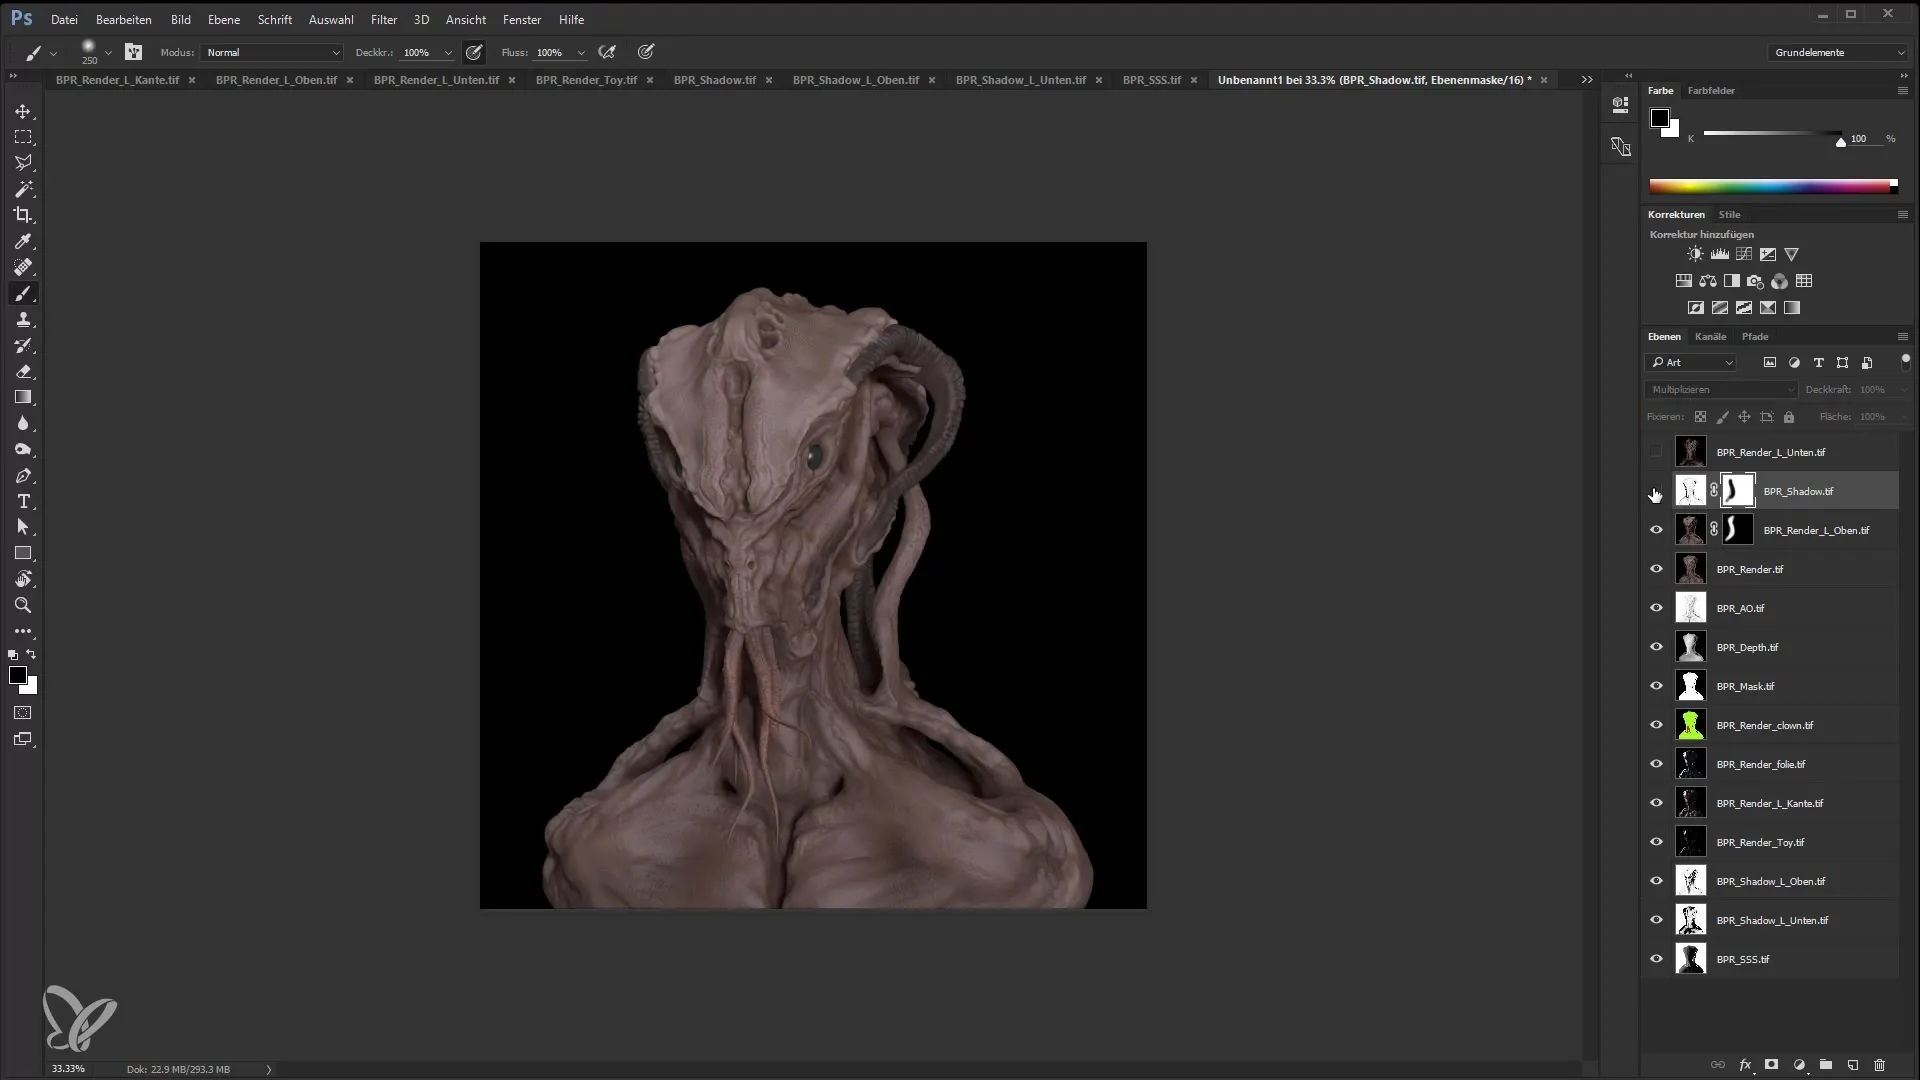
Enhance the depth by selecting the "Edge Light" and using the "Lighten" mode again. This will give the image more depth and visual appeal.
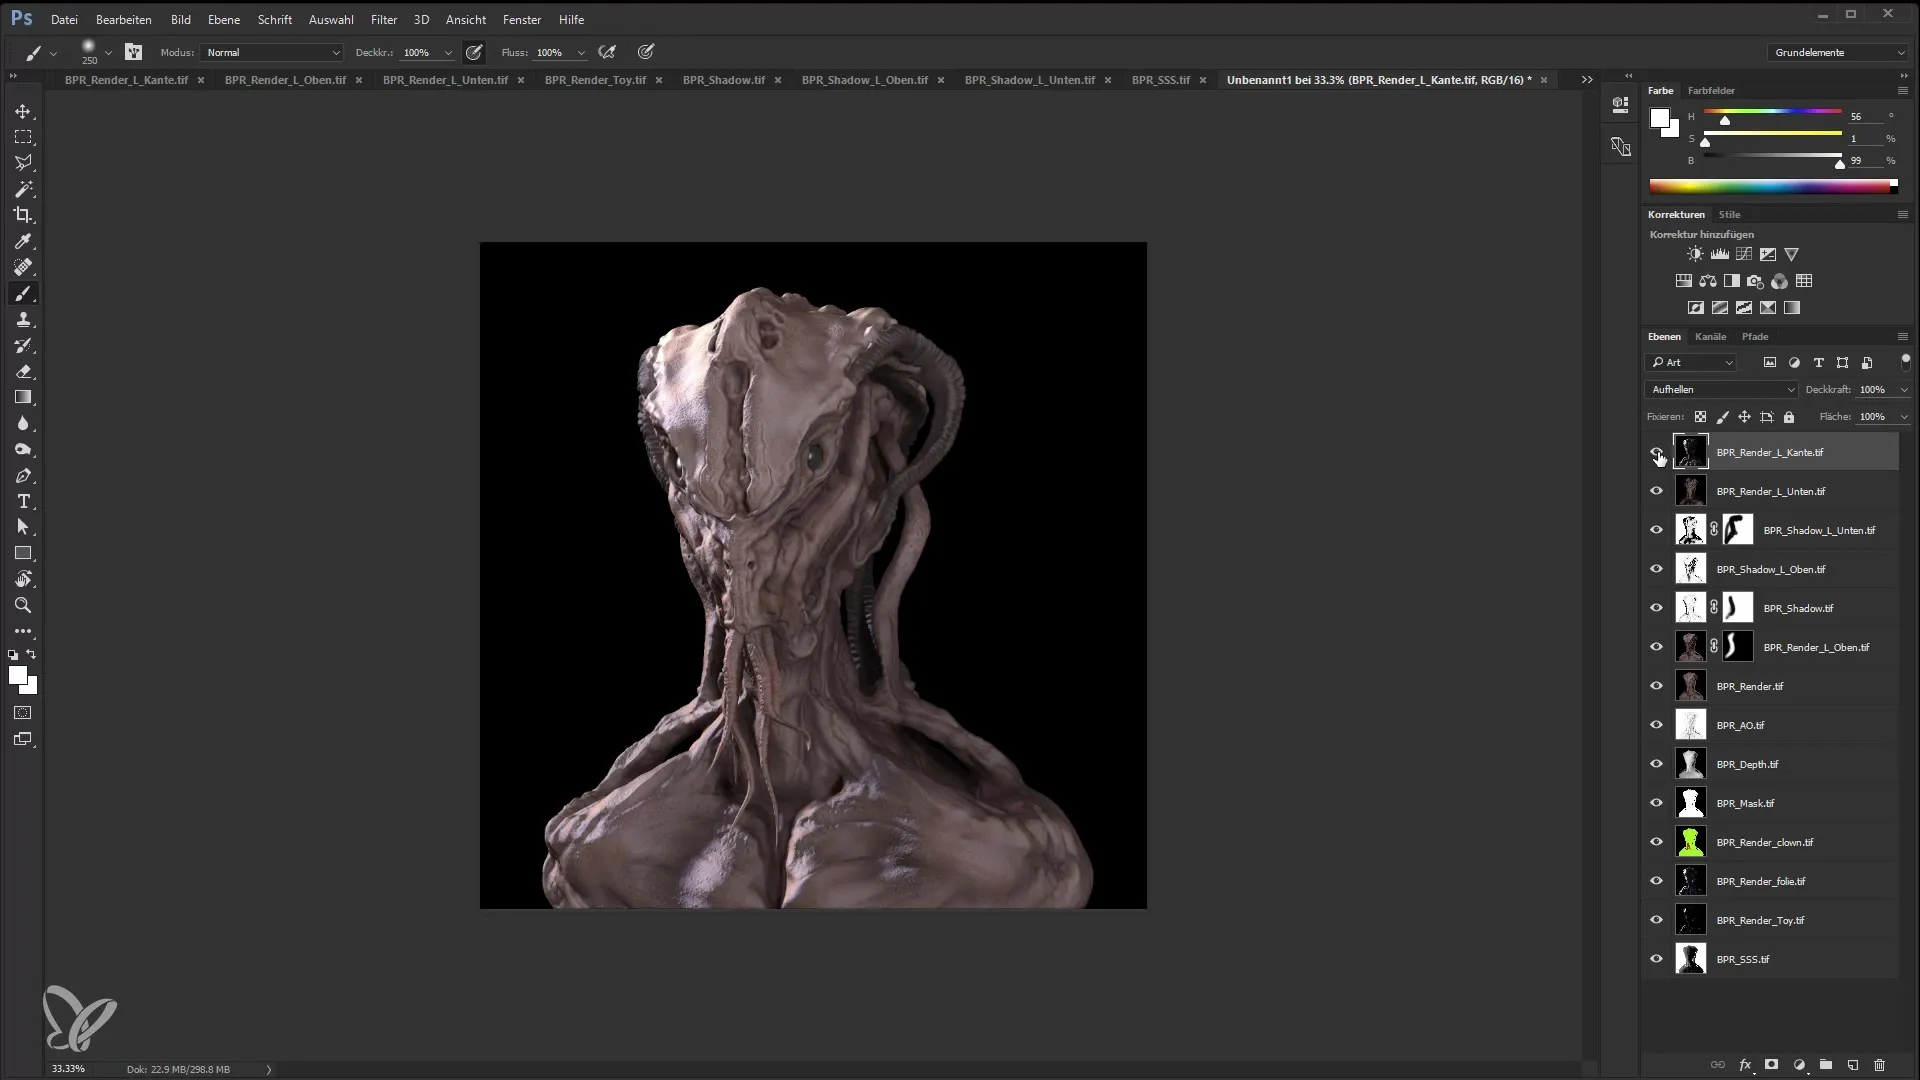
Now, it's time to add further effects. Choose the "Toy Plastic" effect and also set it to "Lighten" to create additional texture and shine.
Make sure to keep the overall look pleasing. Adjust the intensity of the effect here to avoid overdoing it and ensure it fits into the overall image.
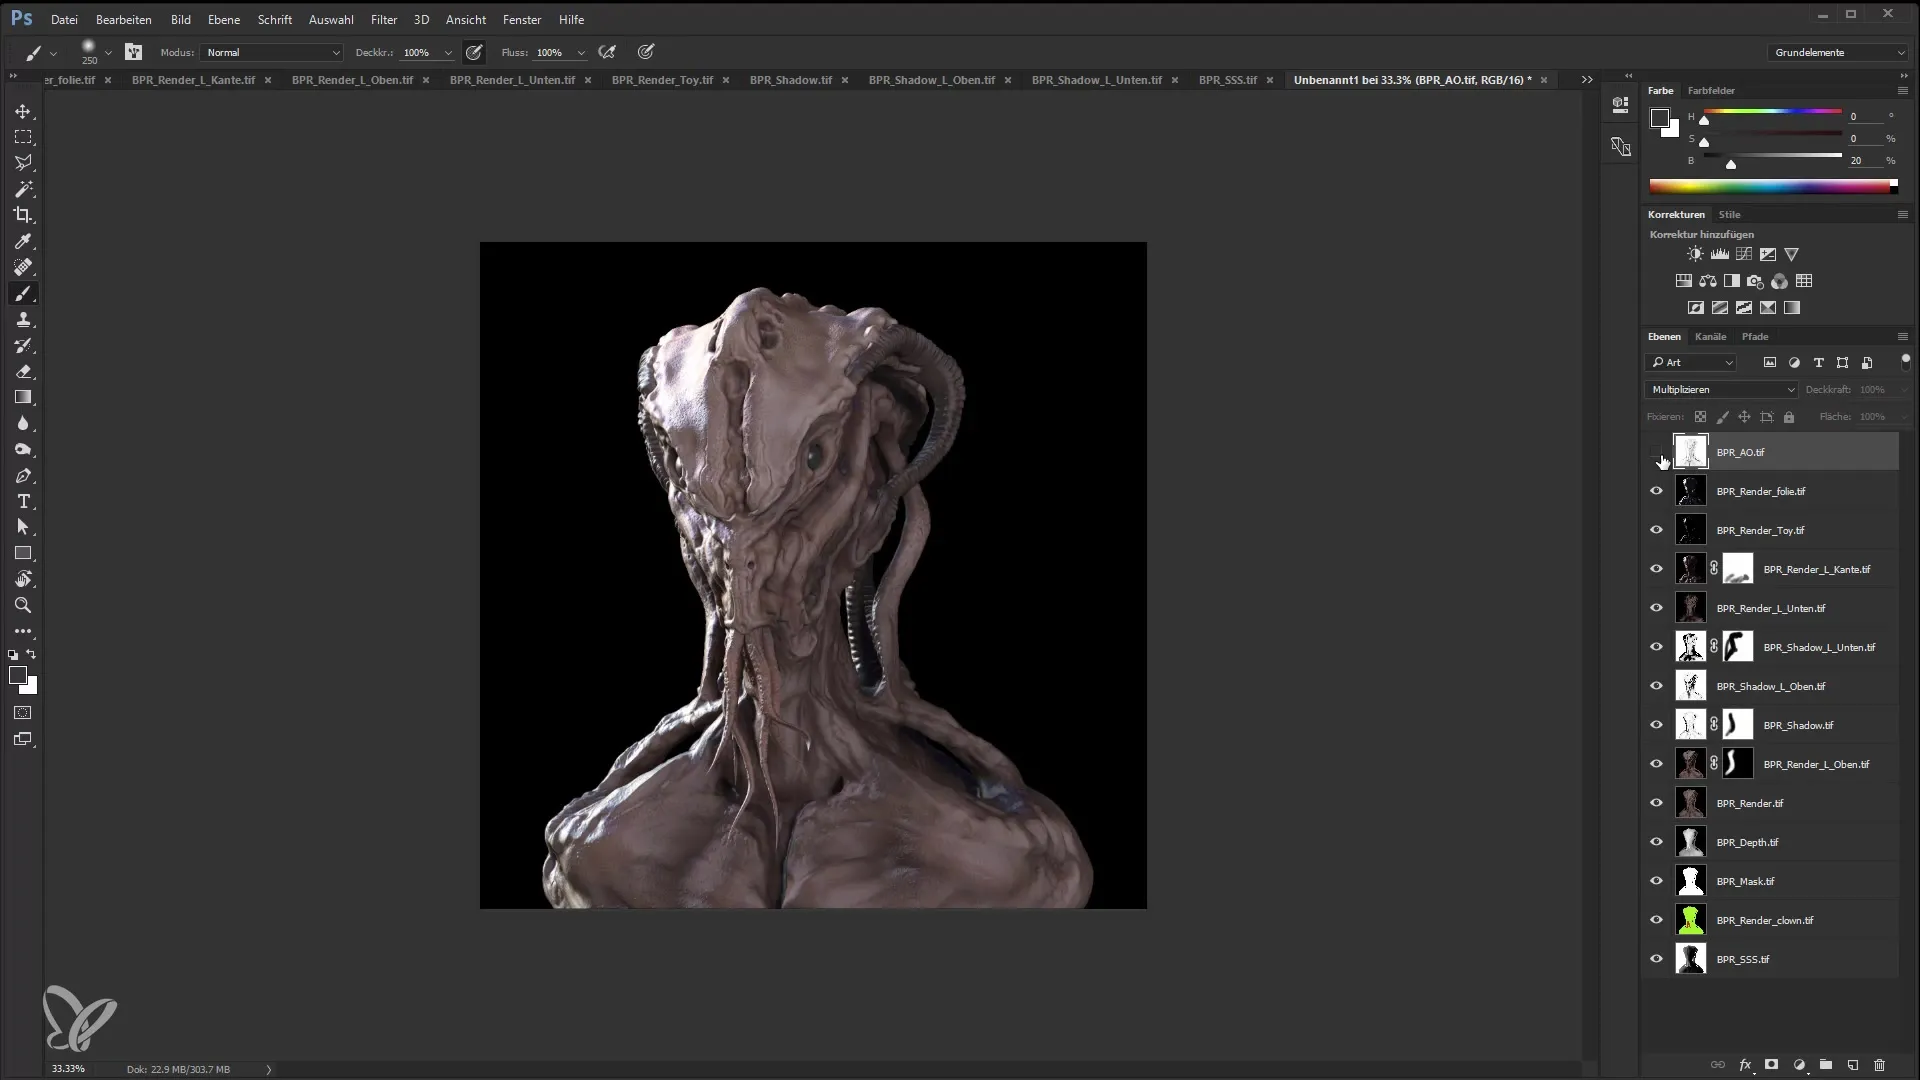
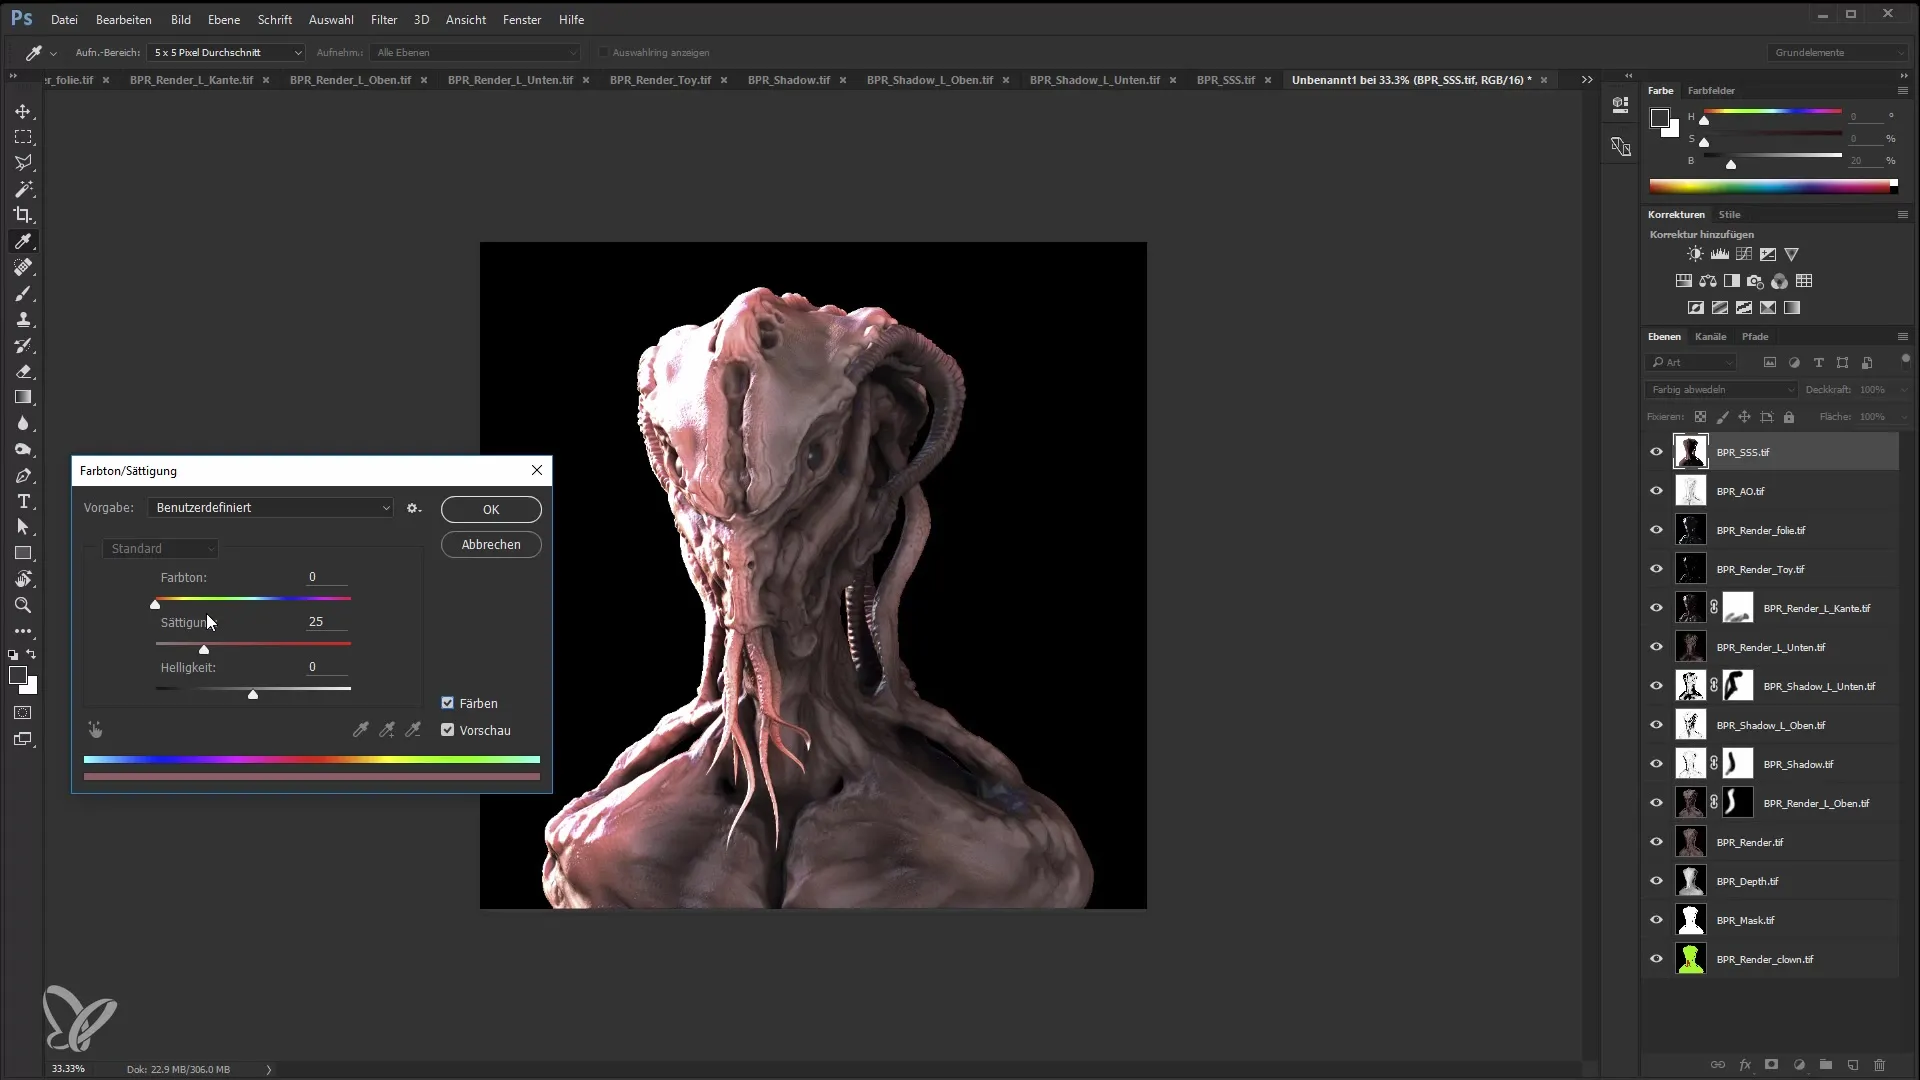
Feel free to activate Subsurface Scattering to integrate more vibrant, luminous color tones. Work with adjustment layers here to gently control the intensity.
For the final editing, you should also experiment with the filter options and deep channels. Use the field drawing filter to add special focus and blur effects.
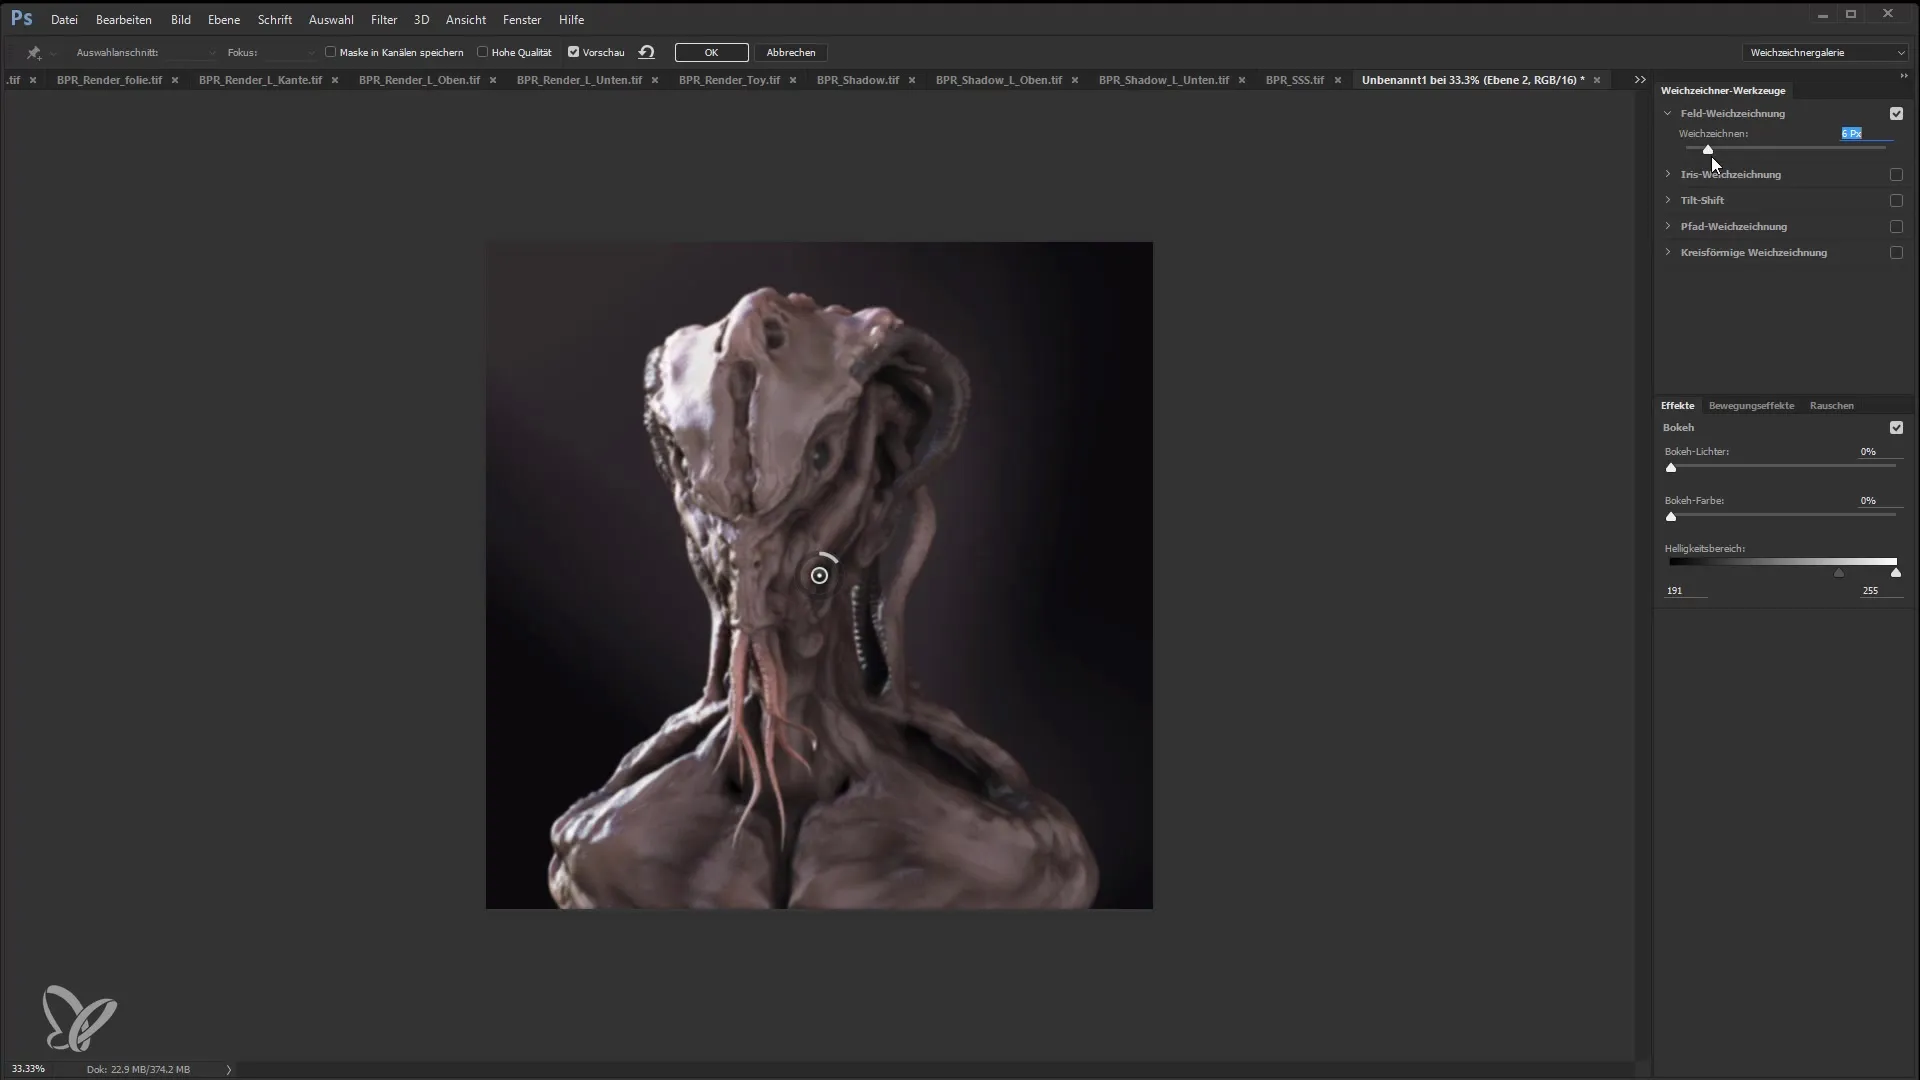
Finally, add sharpness to highlight important areas of your image. Control the details to ensure everything remains balanced.
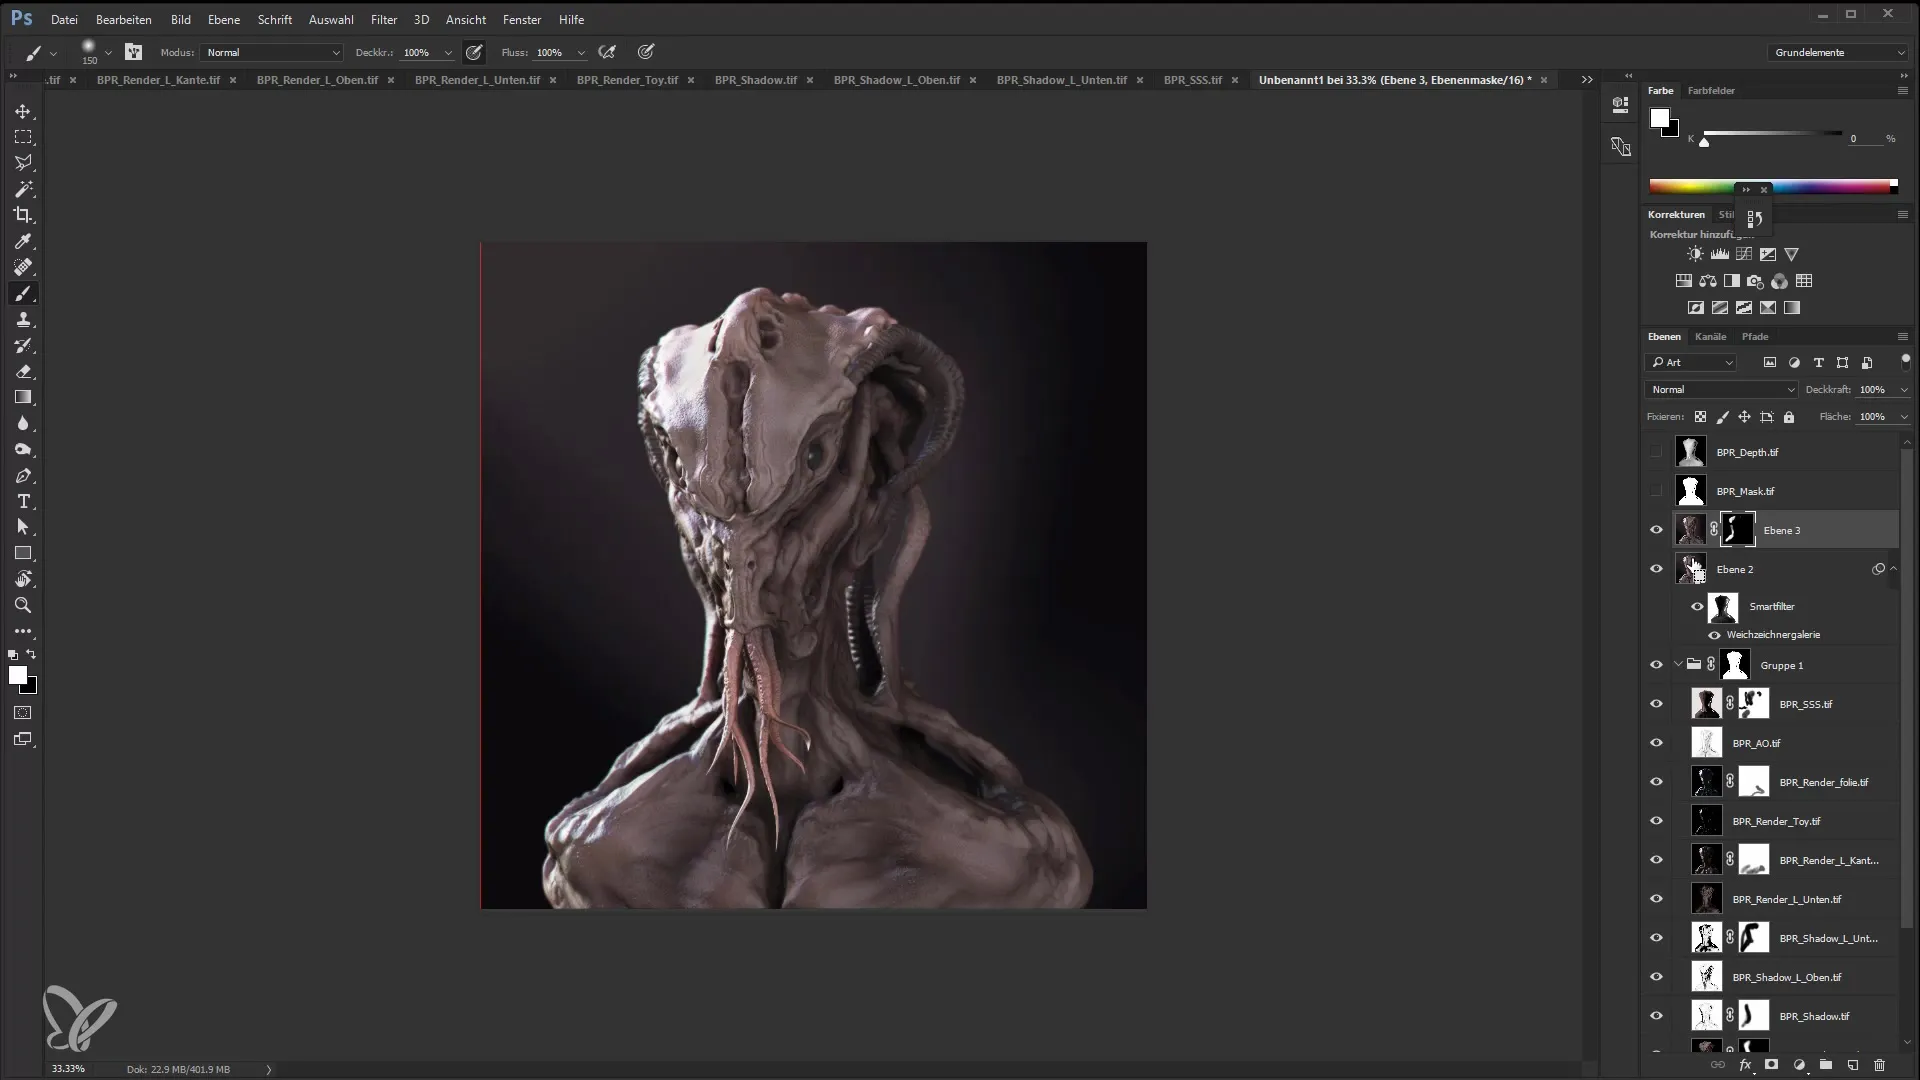
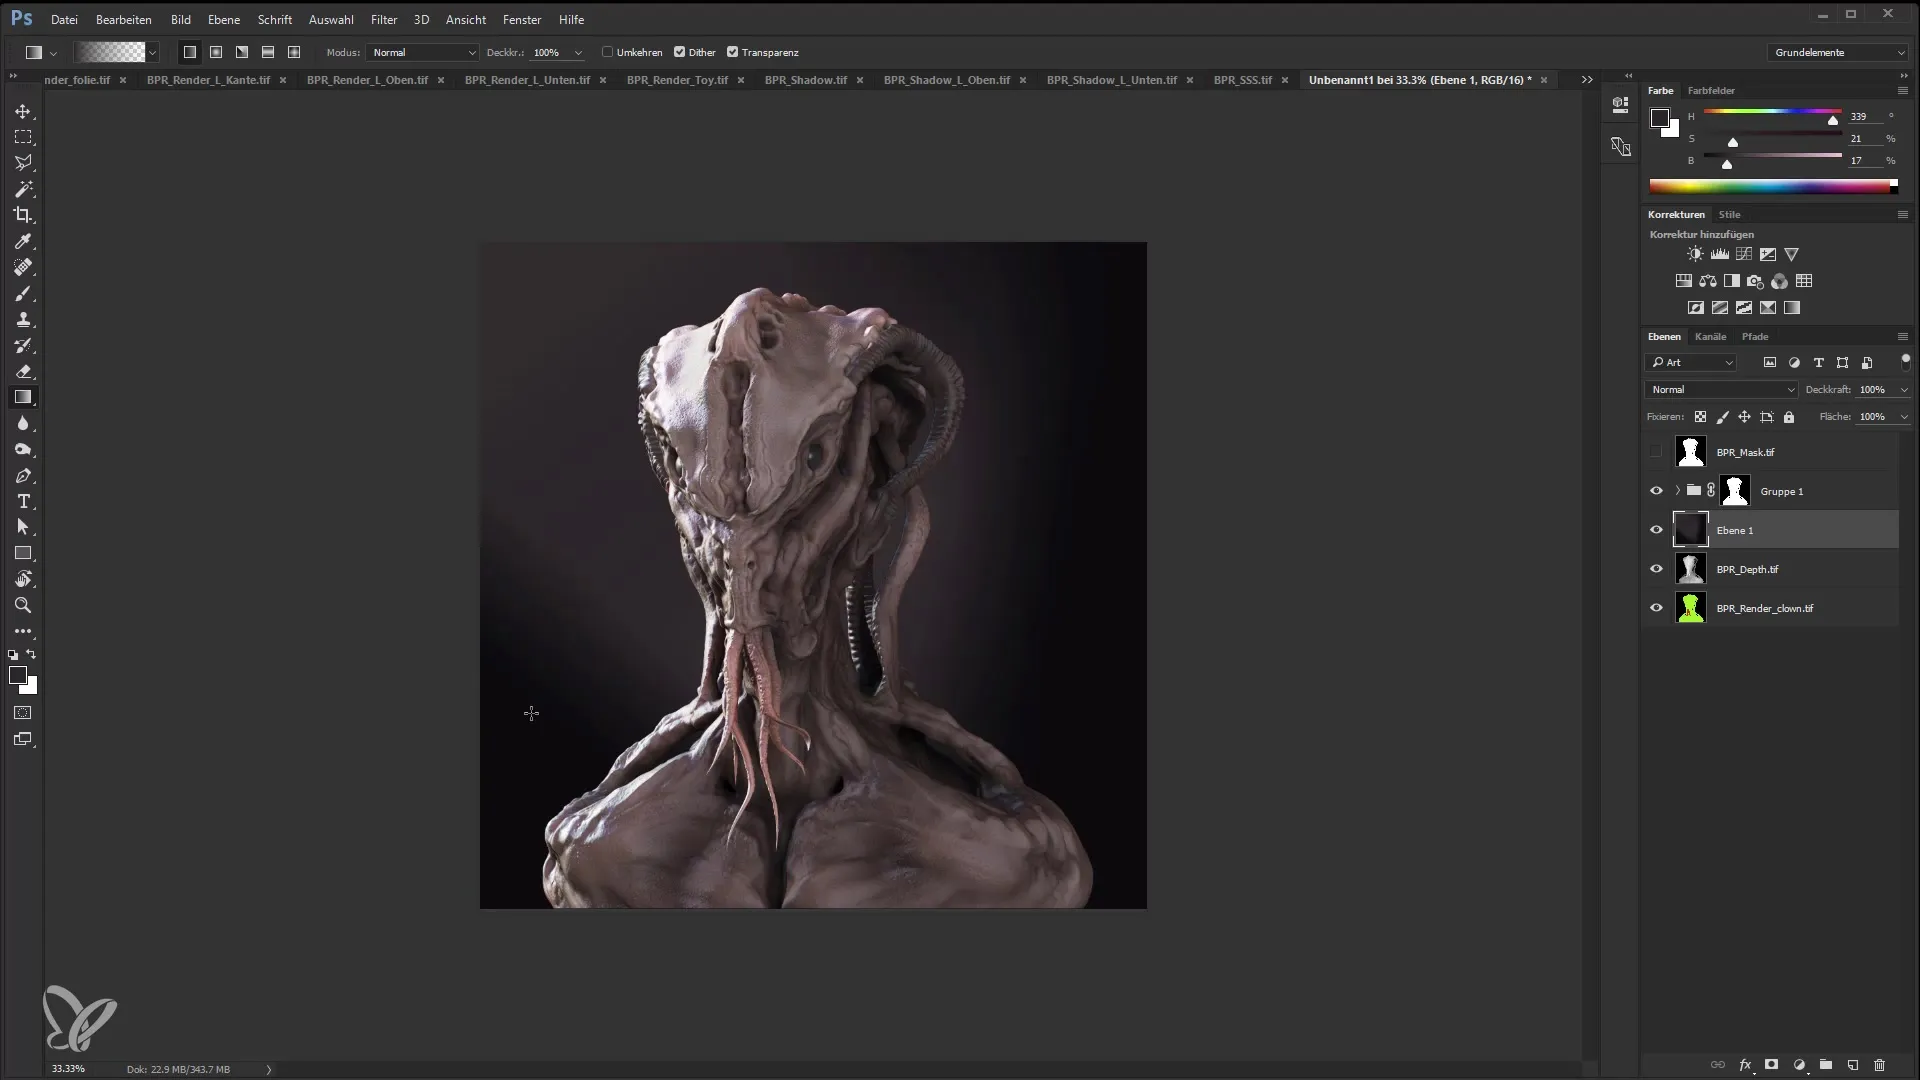
Say goodbye to the gray palette and play with different color tones in the background so the image doesn't look too monotonous.
Add your final touch with the Color Lookup function. This function can moderately adjust the entire image and give it a cinematic touch.
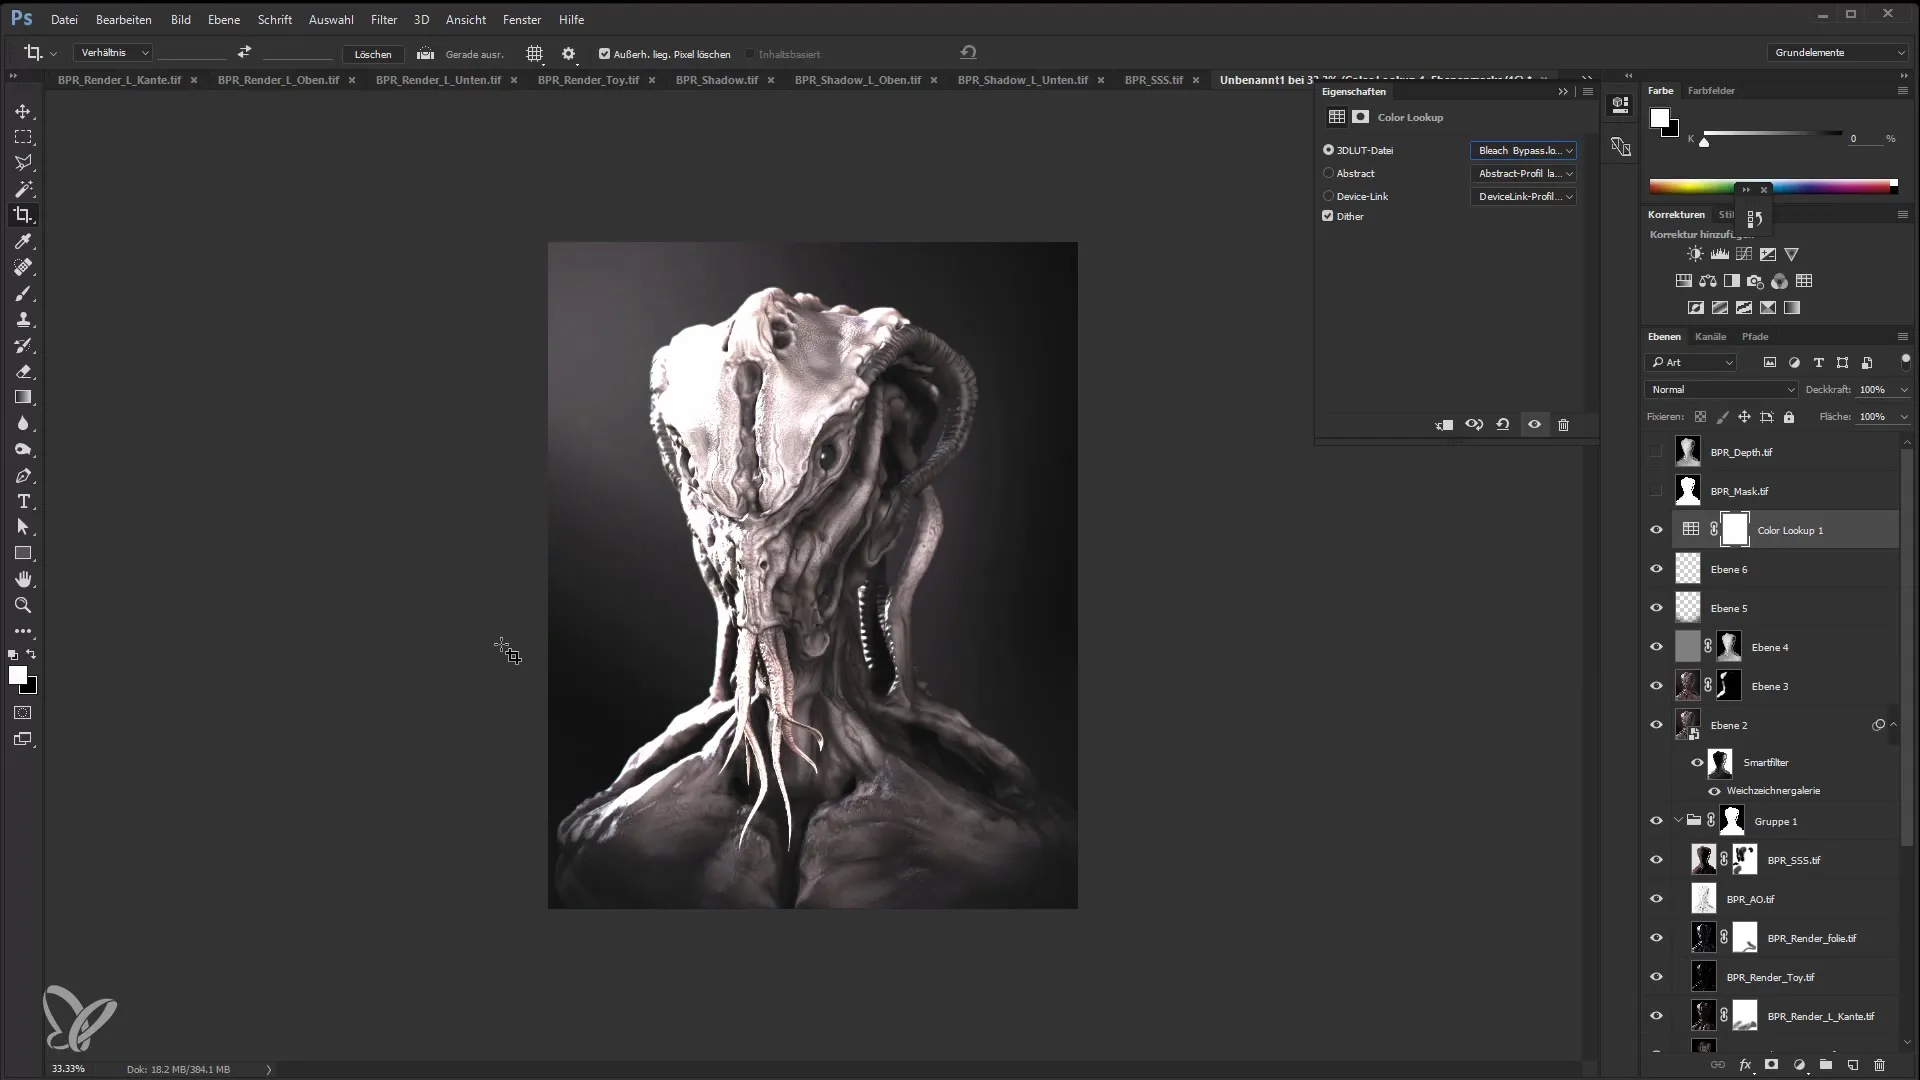
Remember to crop the image as needed before saving. Make sure the main subject is central and clearly recognizable.
Summary
In this tutorial, you have learned how to merge render passes from ZBrush in Photoshop to achieve visually appealing results. By making targeted adjustments with light, shadow, and color manipulations, you create an impressive overall image that can support your artistic vision.
Frequently Asked Questions
How do I import render passes into Photoshop?You can import render passes into Photoshop using the script for batch loading.
What are layer masks and how do I use them?Layer masks allow you to hide or reveal specific areas of a layer.
How can I deal with shadows in Photoshop?Use the "Multiply" function to add shadows and control the lighting of your image.
How can I adjust the color tones in my image?Use adjustment layers like Hue/Saturation or the Color Lookup function.
How can I apply sharpening in Photoshop?Use the High Pass filter in combination with a layer mask for specific sharpening effects.
