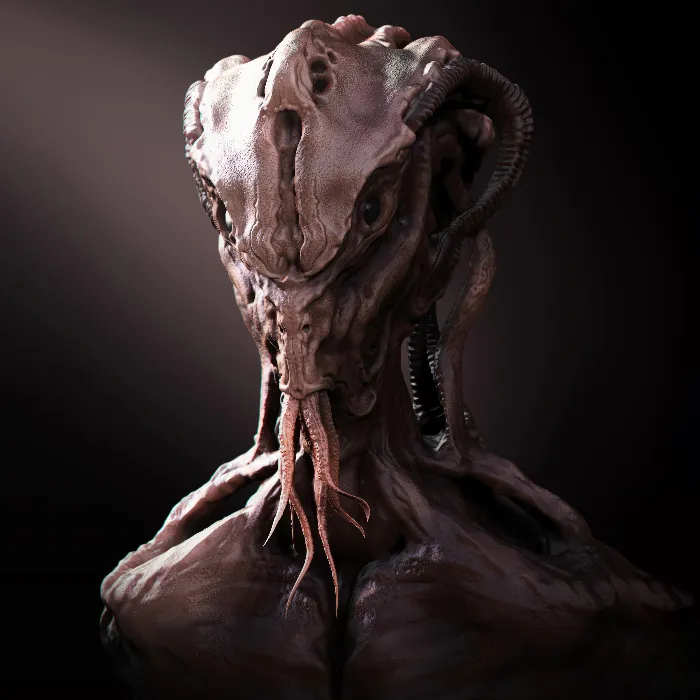
In this tutorial you will learn how to seamlessly render your models from ZBrush in Keyshot. We will go through the basic steps to adjust materials, create the lighting, and generate the final rendering. This tutorial is specifically aimed at beginners who want to present their 3D models easily and effectively in Keyshot.
Main takeaways
- Keyshot is a powerful rendering tool that can easily be integrated into the ZBrush workflow.
- It is crucial to adjust the materials and lighting correctly to achieve impressive render results.
- With the right setup, you can create render passes for compositing without having to rely on texturing and lighting beforehand.
Step-by-step guide
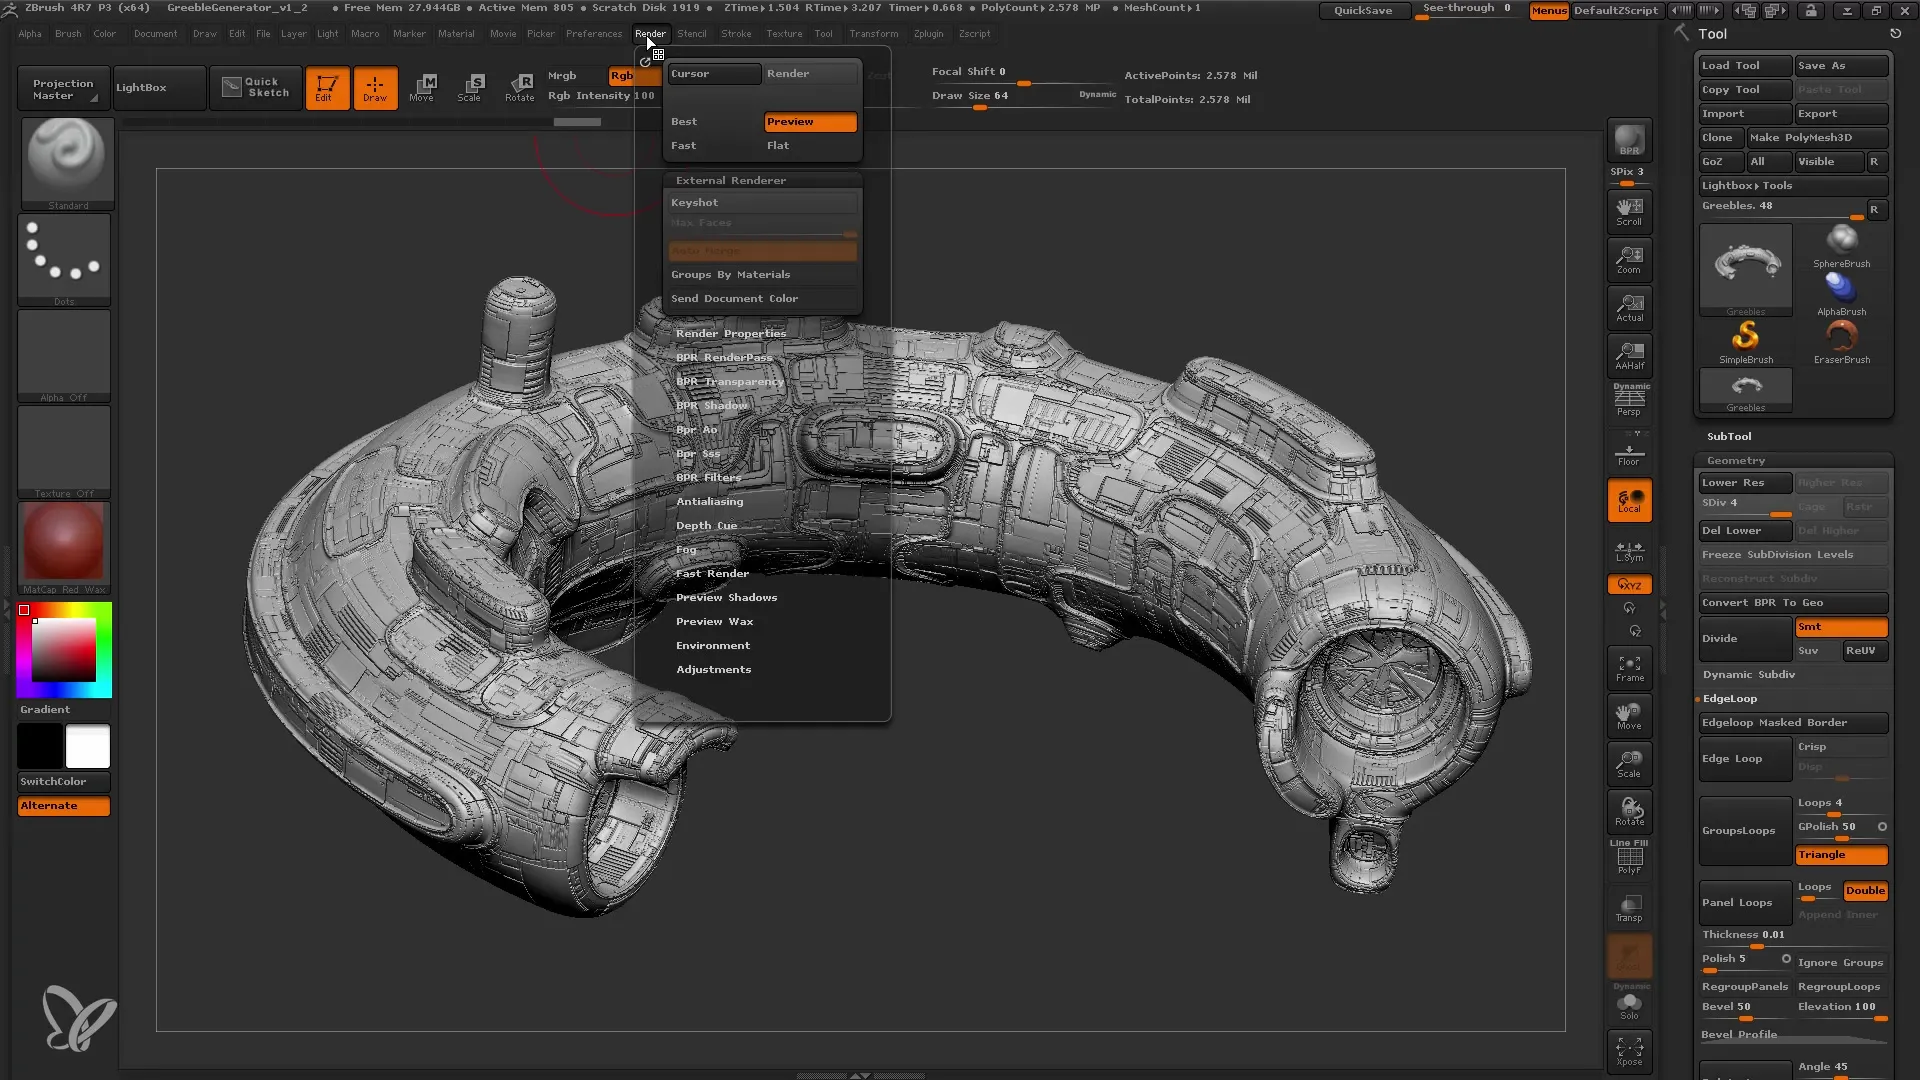
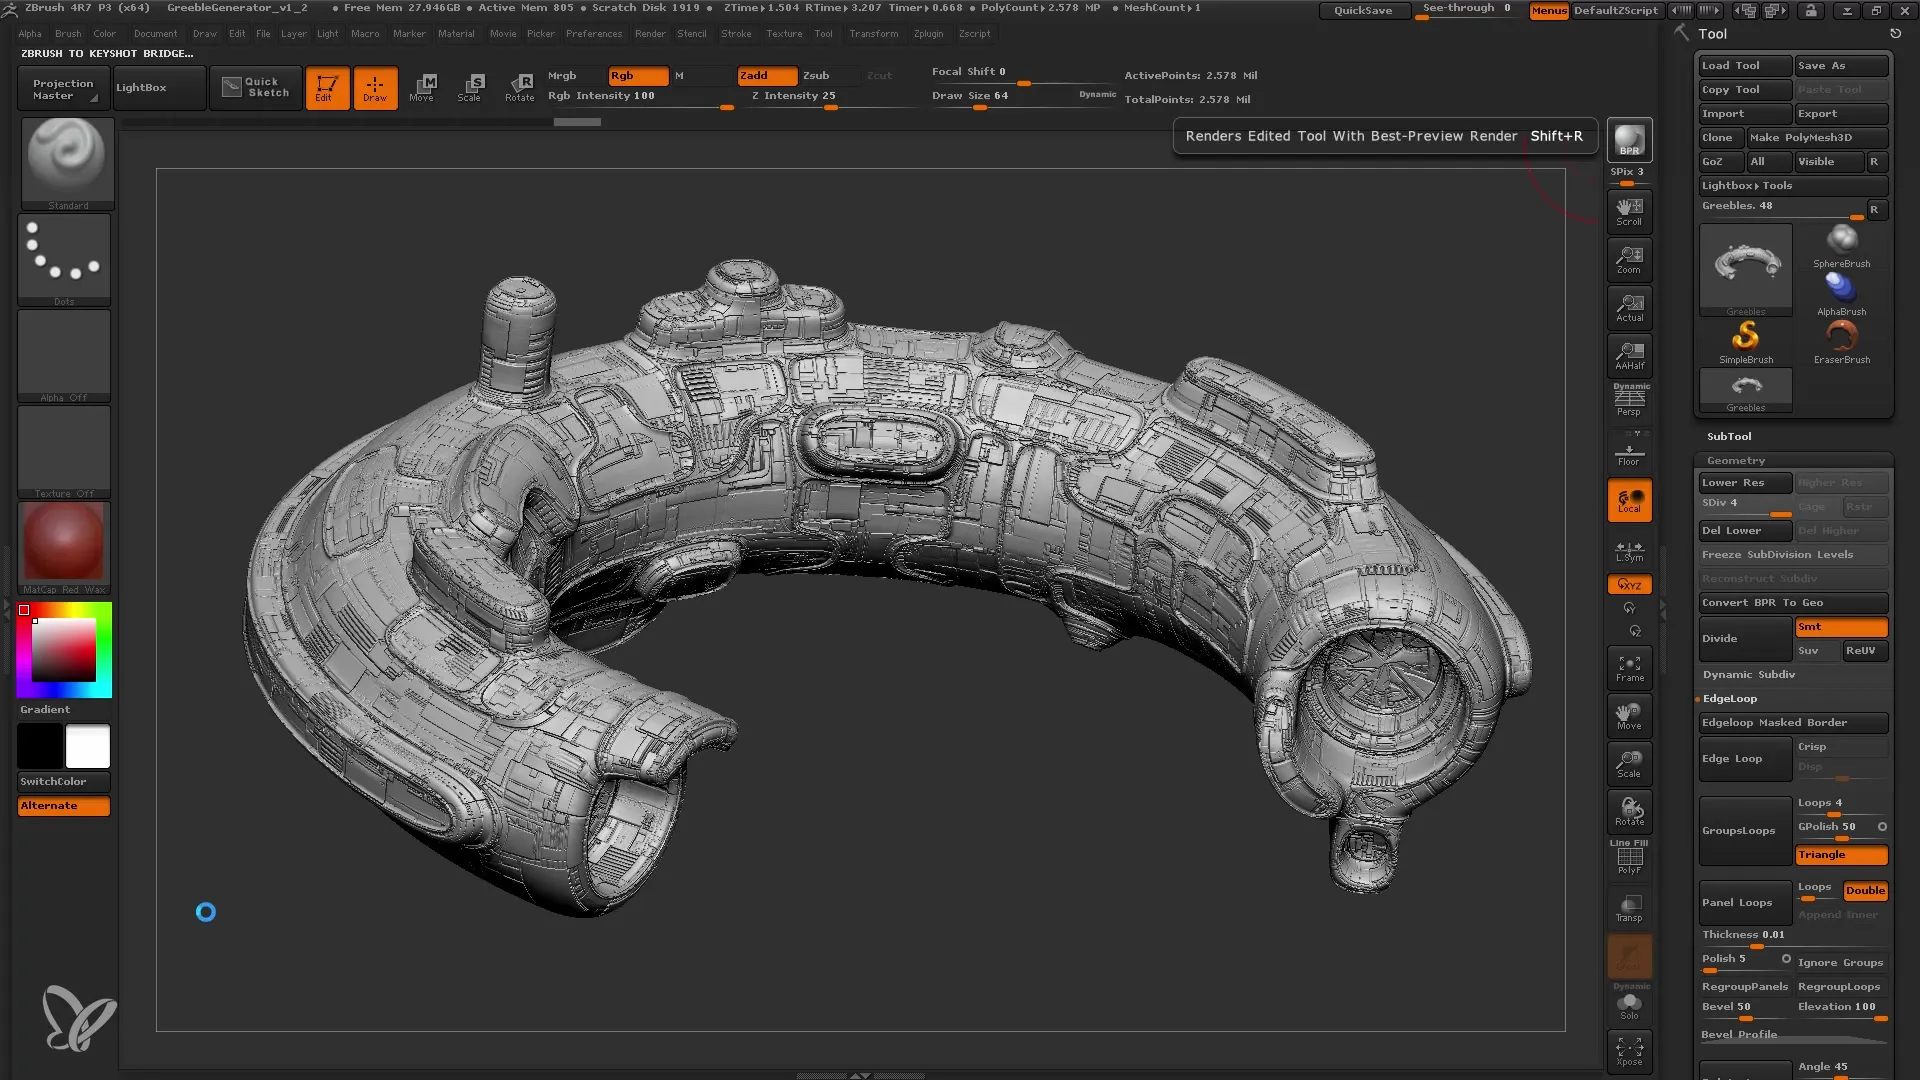
First, you'll get the transition from ZBrush to Keyshot. To do this, activate the Keyshot Bridge, which helps you transfer your models. You start the process by selecting the external render option for Keyshot and activating the Bridge to transfer your model.
Once the program is open, your model should be visible. Here you can analyze it better and zoom in on details with a 3D mouse or the zoom tools. It is important to get an overview of the perspective. You can adjust the object's focal length to try out different perspectives.
I recommend setting the focal length to about 50 mm to get a more realistic view. Next, you are in a dark environment where shadows are missing – you should set the background to black.
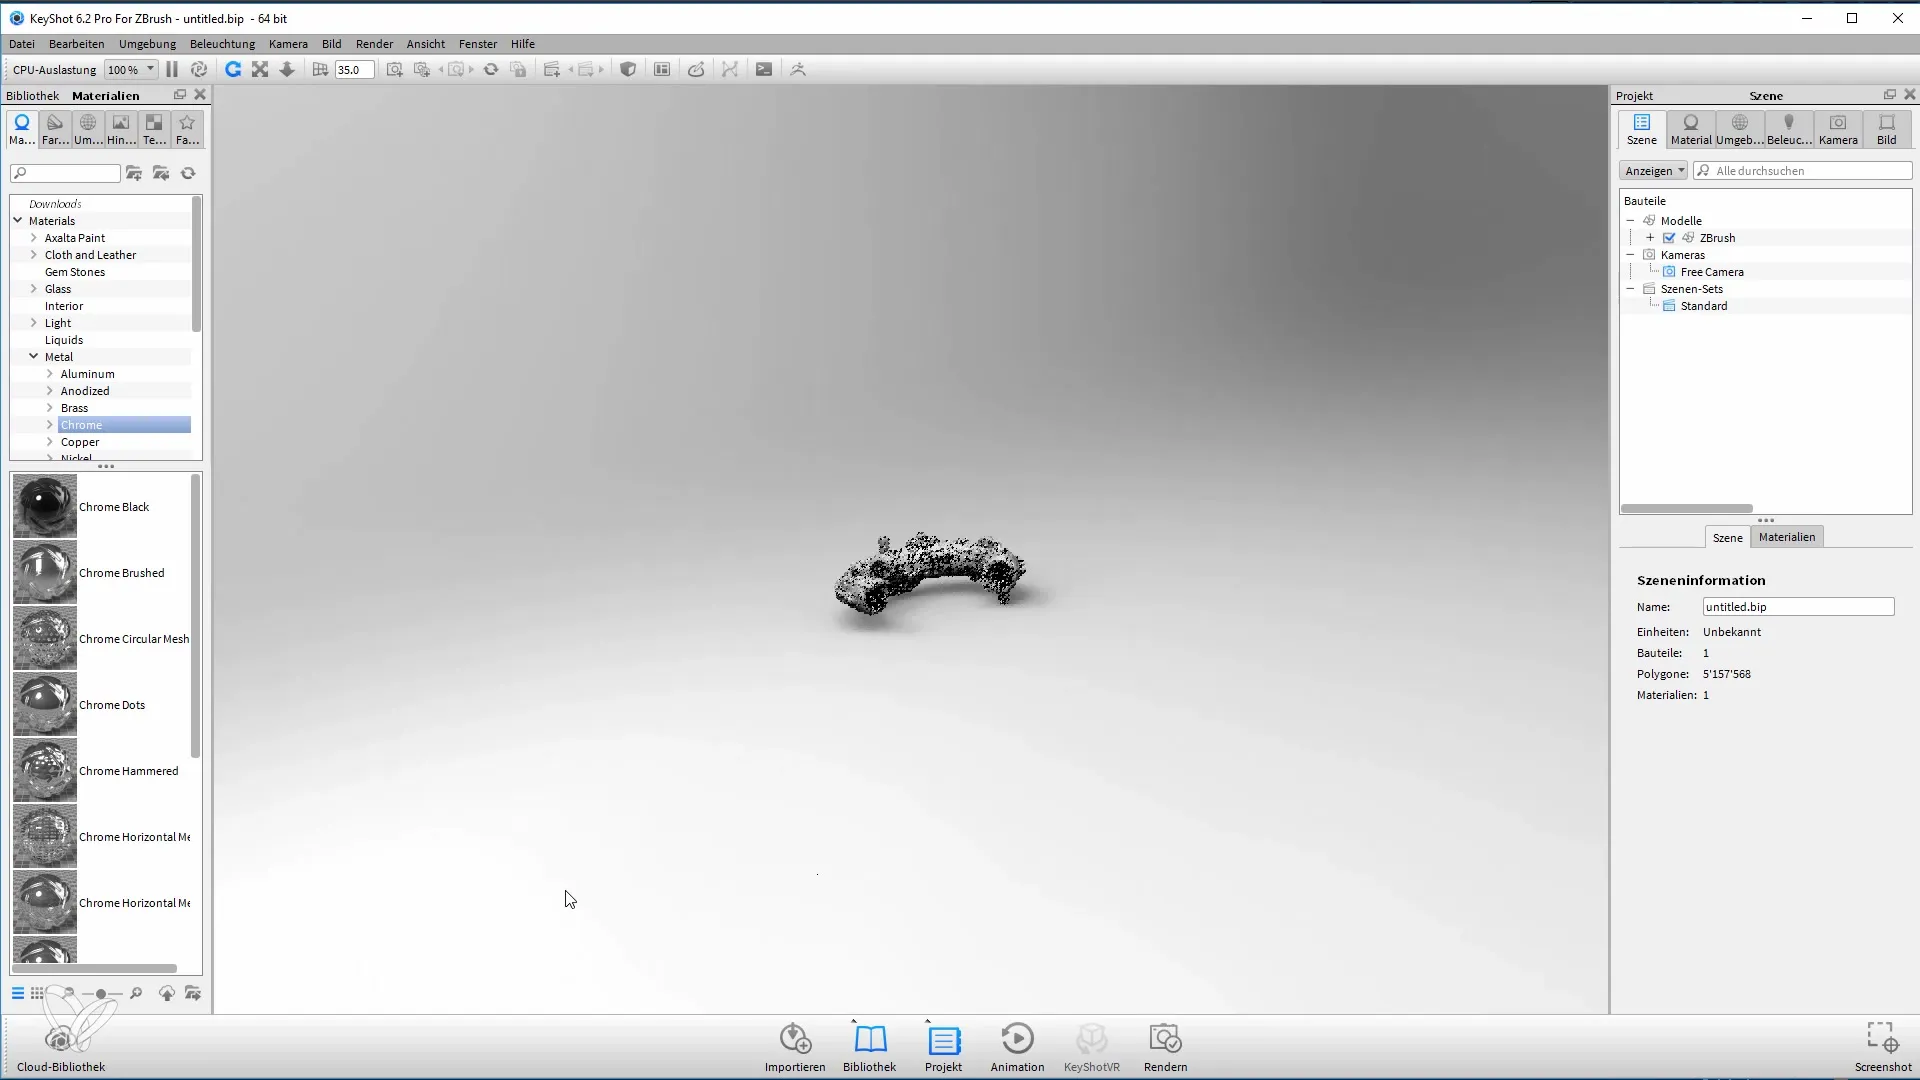
Now you can start with the materials. To give your model an appealing look, I recommend using the Chrome Black material. Drag this material onto the model to make initial adjustments. Also check the lighting; here a simple startup HDRI is used.
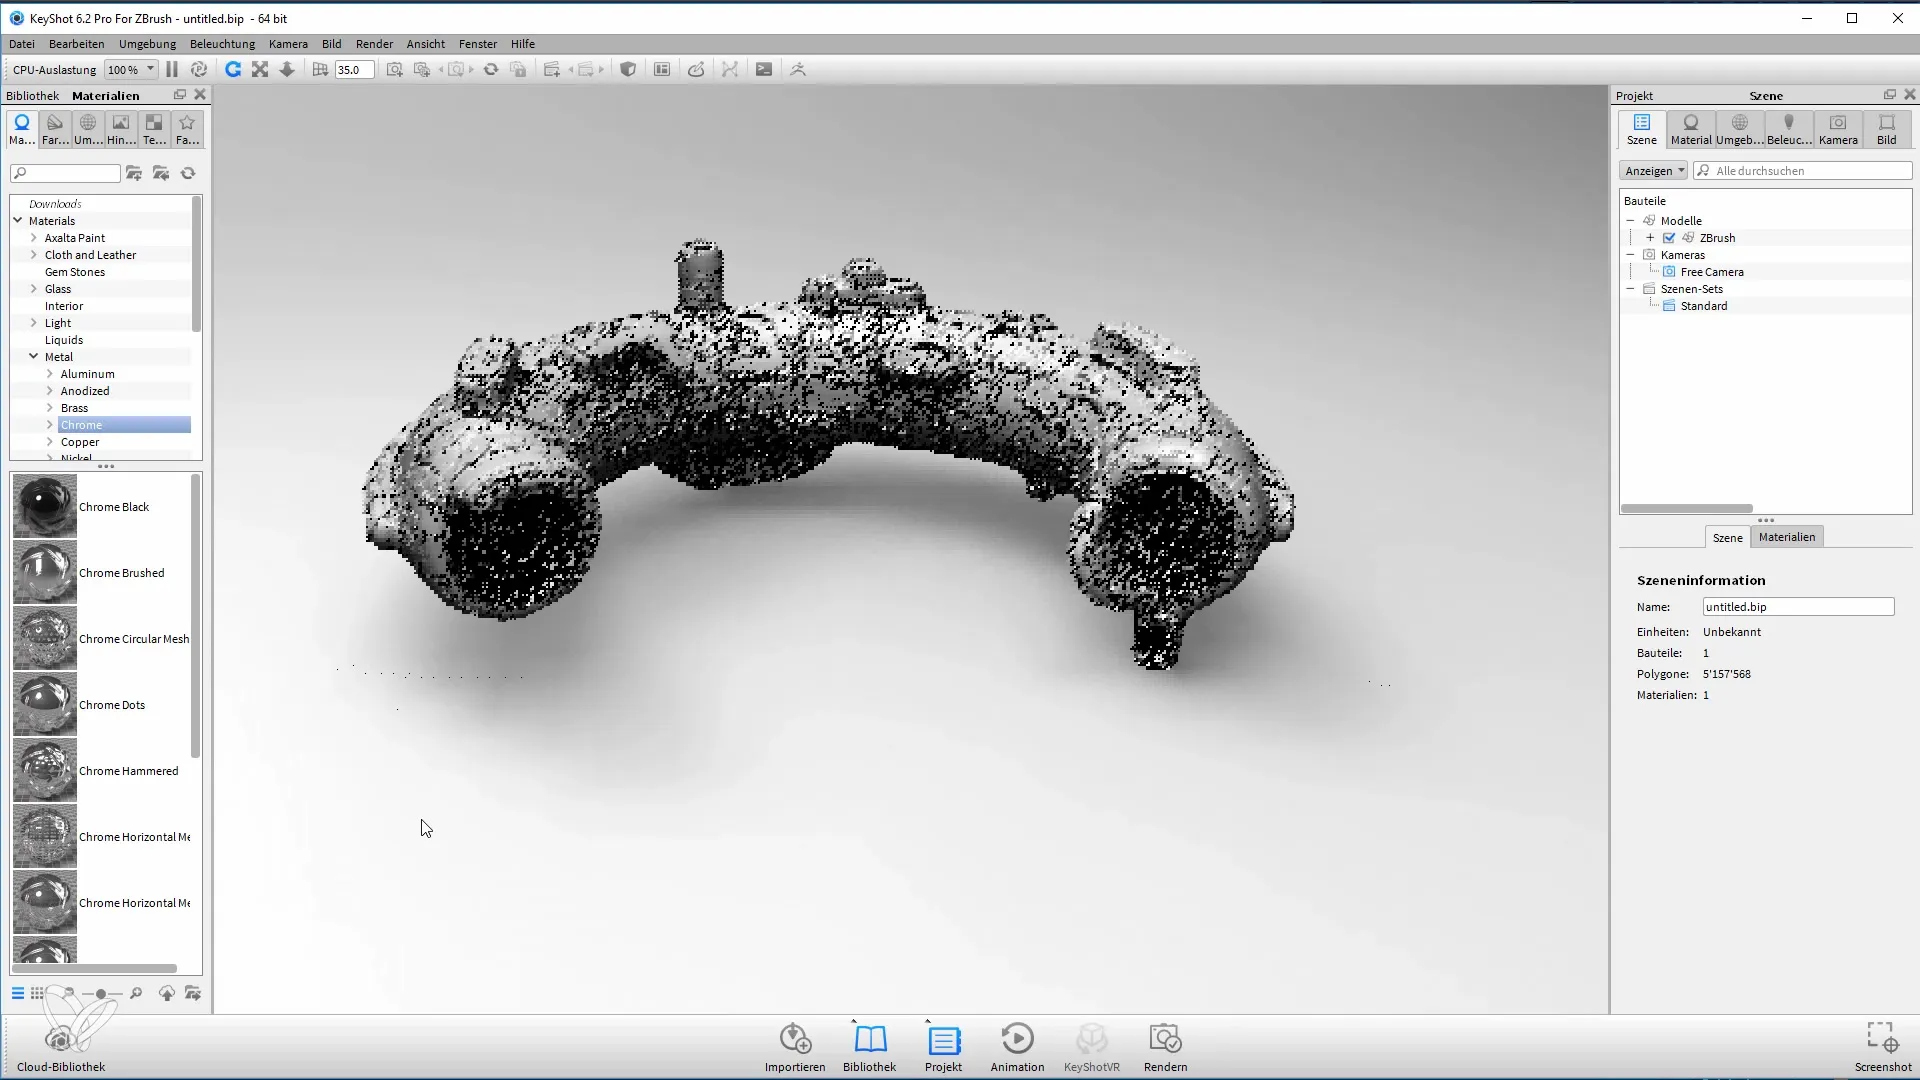
Experiment a bit with the lighting settings. You can add dual lighting: one from above and one from below. This creates interesting light and shadow effects.
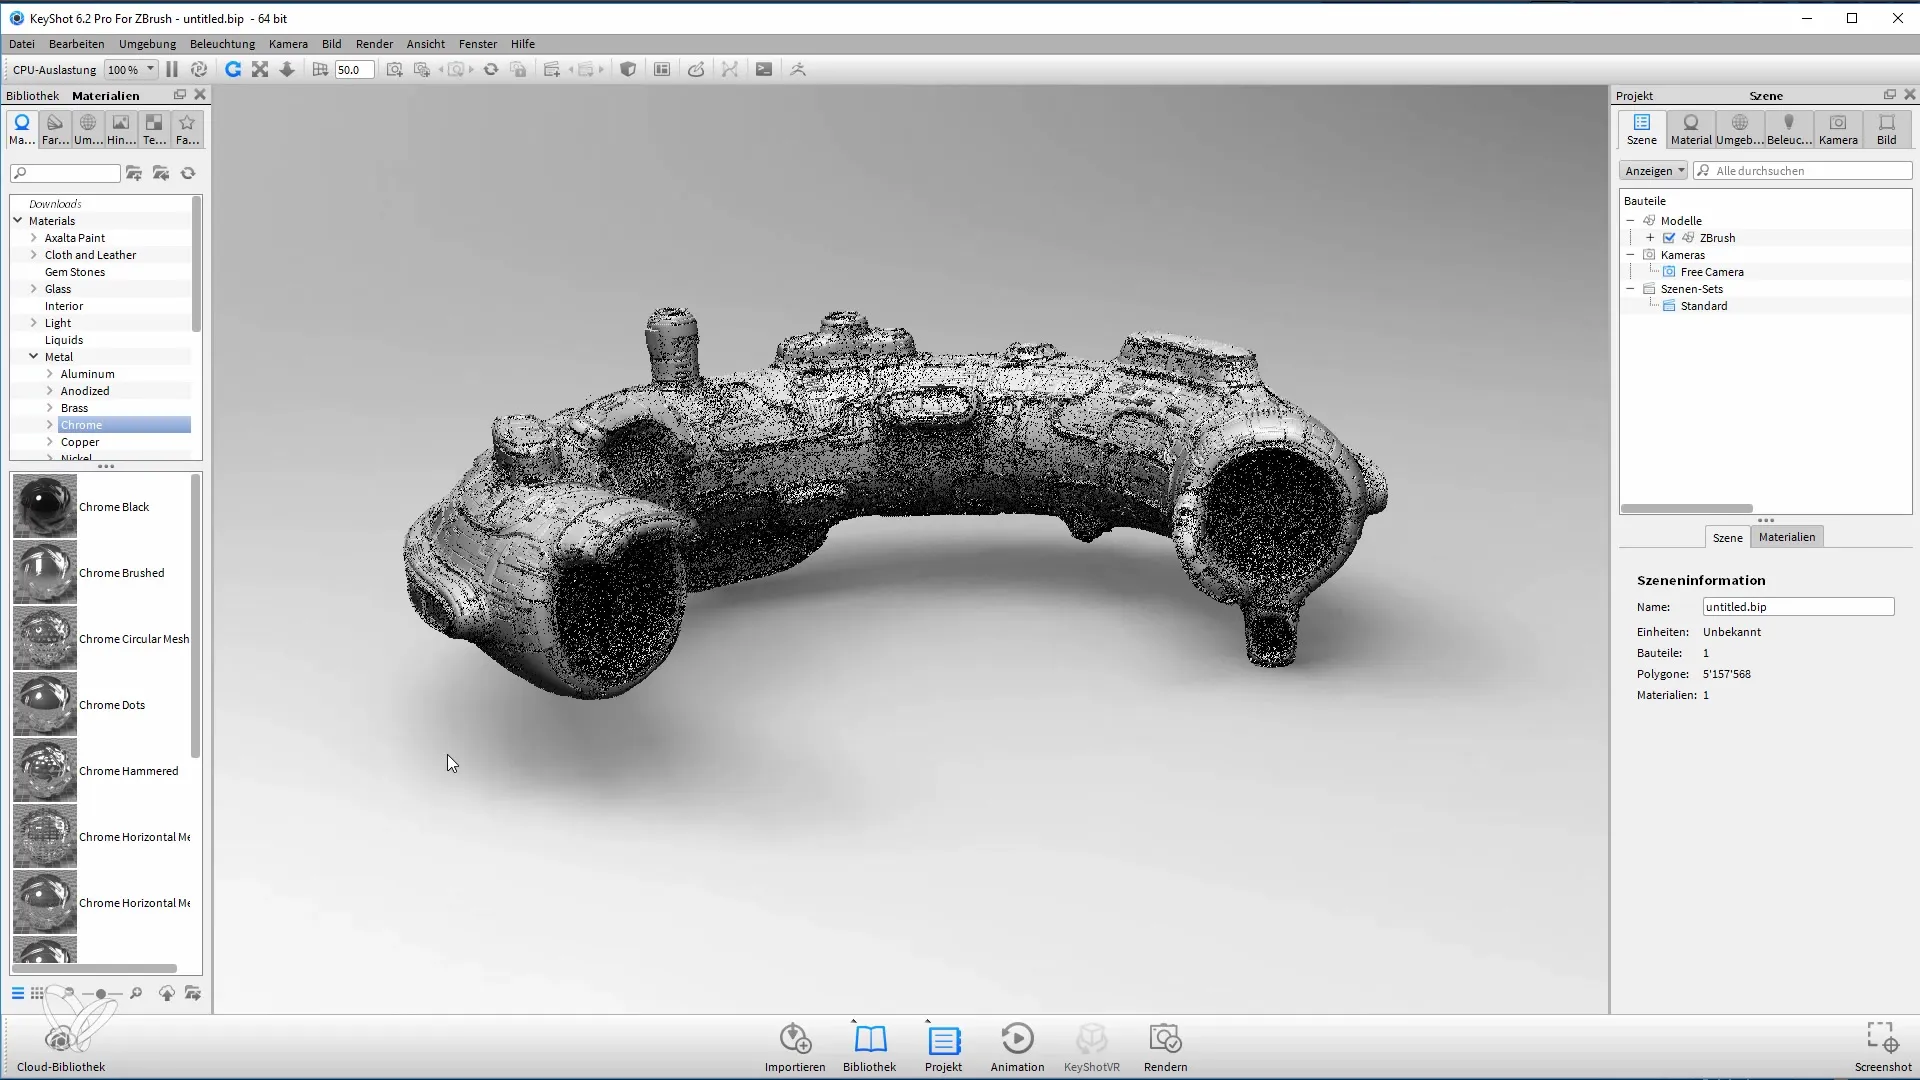
Observe how the light is reflected on your model. In Keyshot, you have the option to adjust the colors of the lighting and reflections to achieve the desired look.
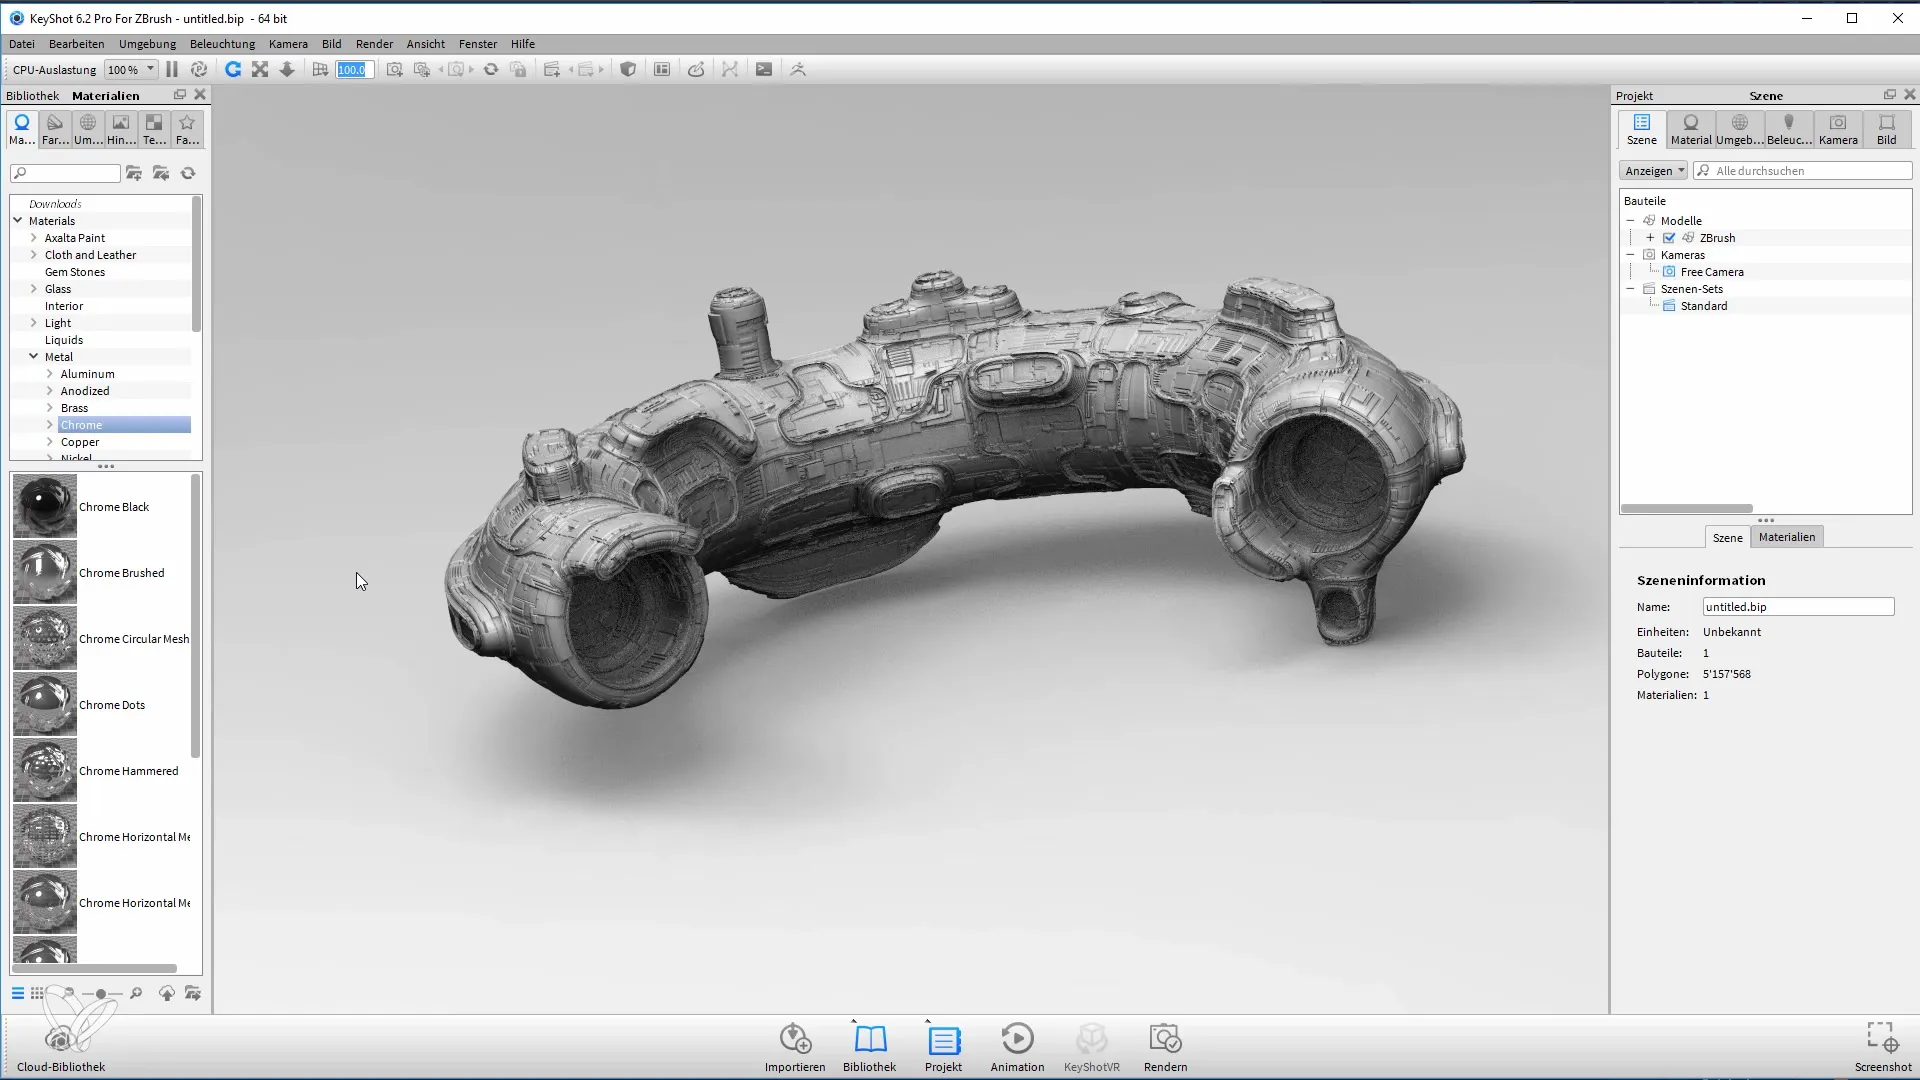
Once you are satisfied with the materials and lighting, it is important to save the camera setting so that you can always refer back to this view. You can create a new camera and save the current scene.
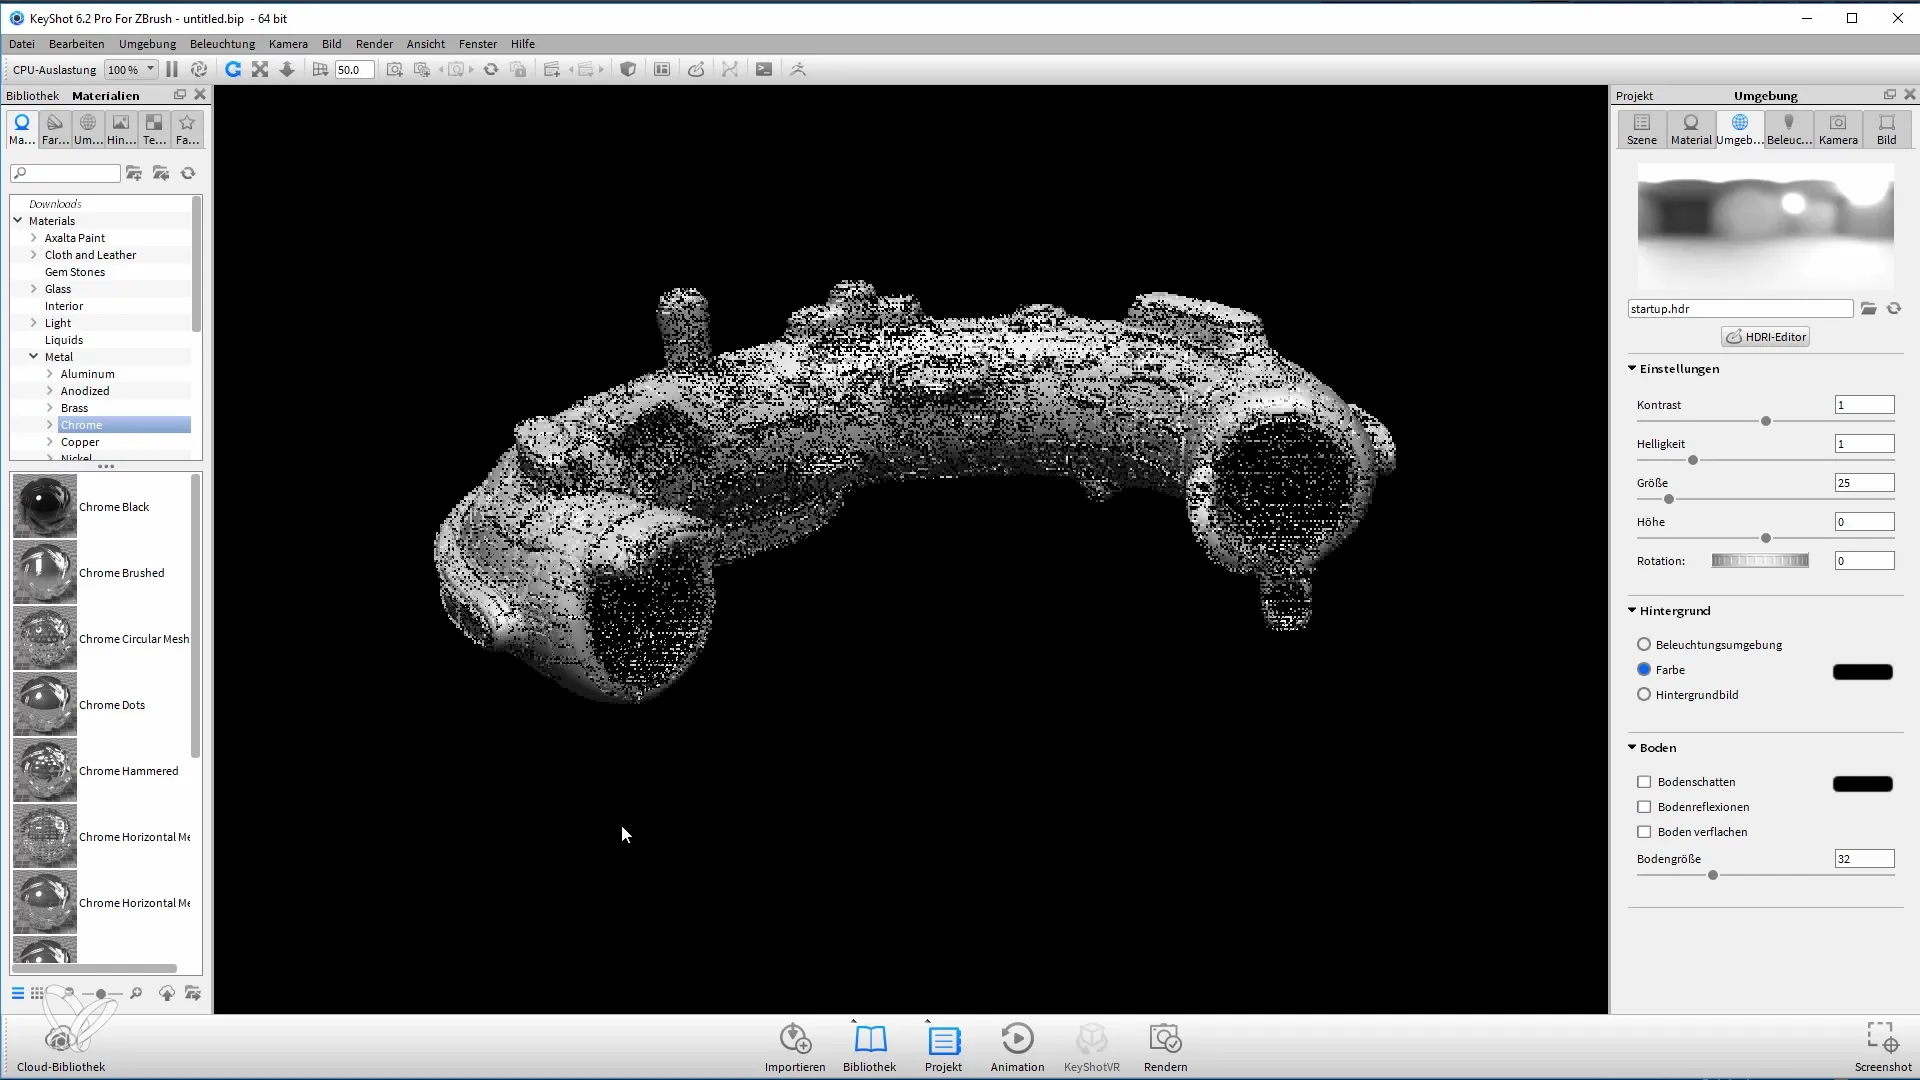
To further adjust the contrast and lighting, I played with the rotation function of the spherical panorama. These adjustments allow you to control the light according to your preferences.
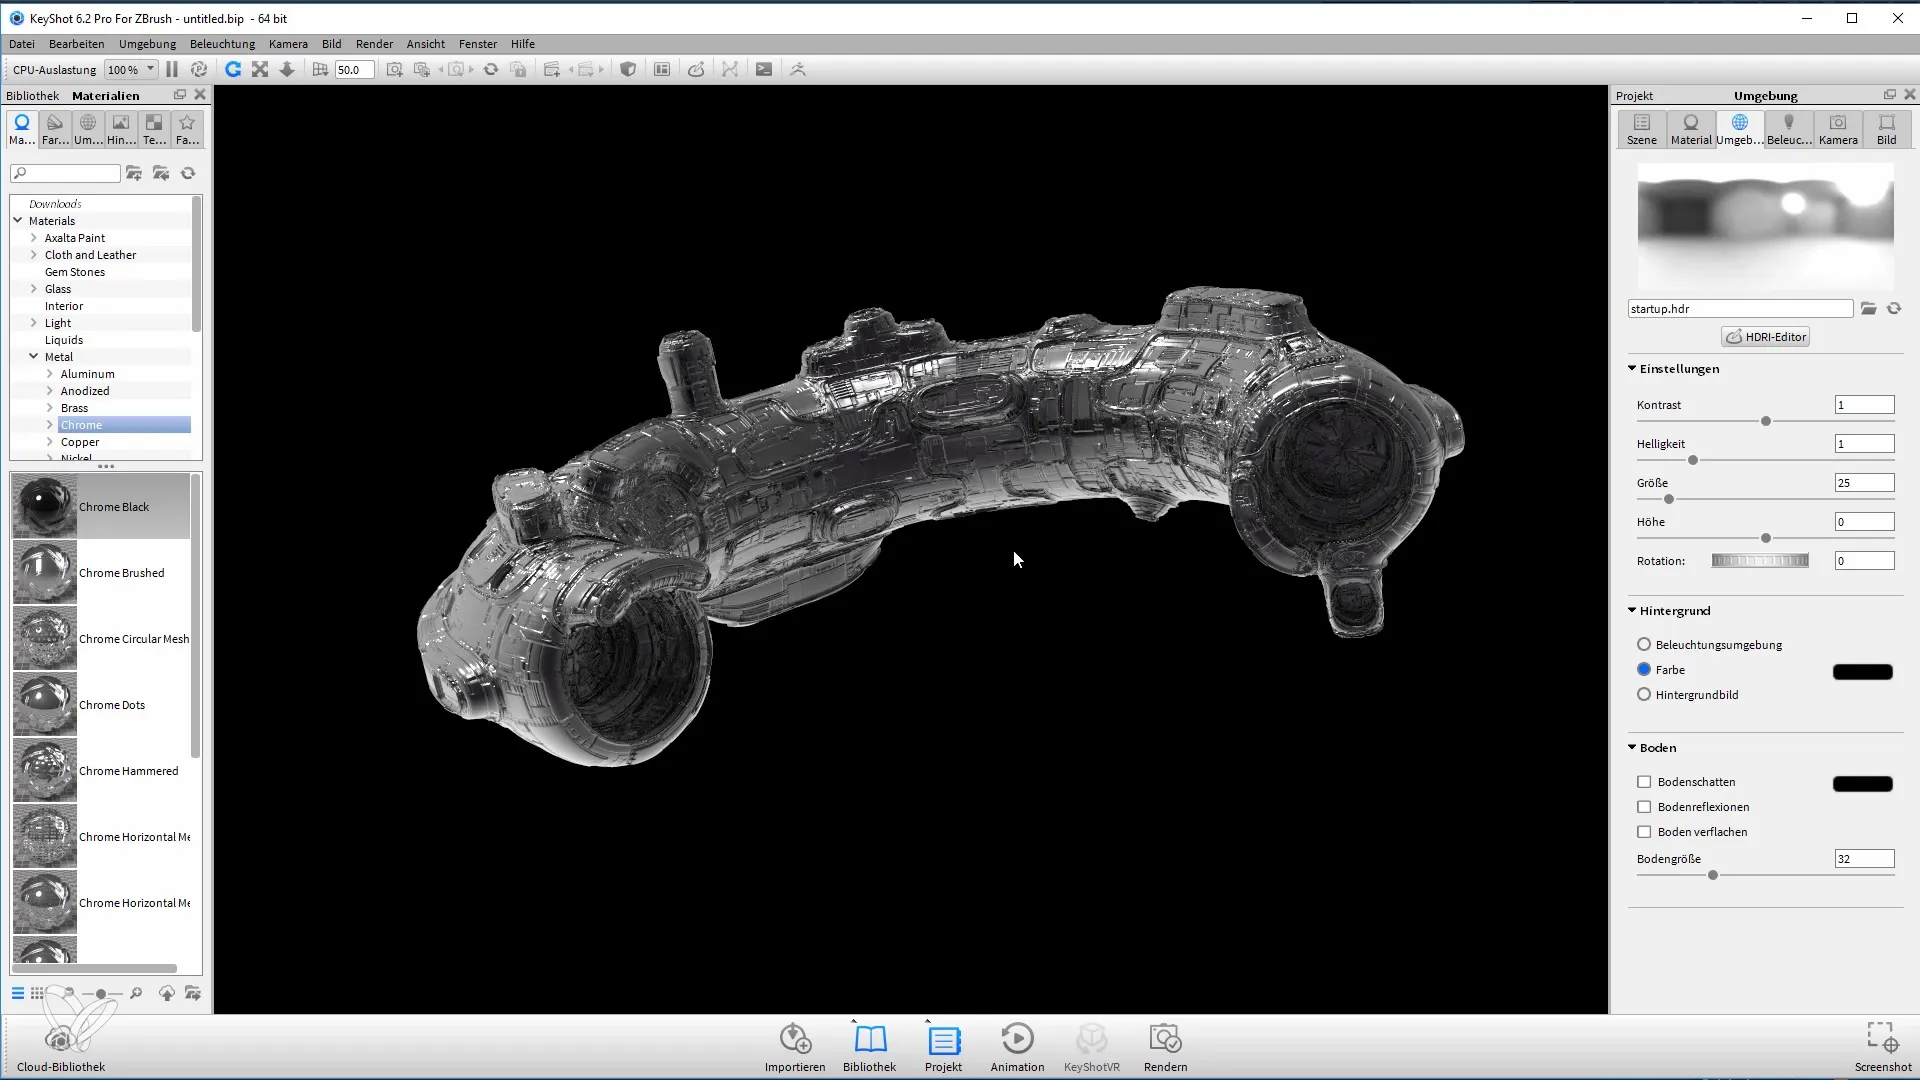
When you are satisfied with the setup, it's time to perform the first rendering. Go to the render settings and make sure the resolution is high enough (e.g. 4000 px). Choose the TIF format to integrate the alpha channel, which makes later editing in Photoshop easier.
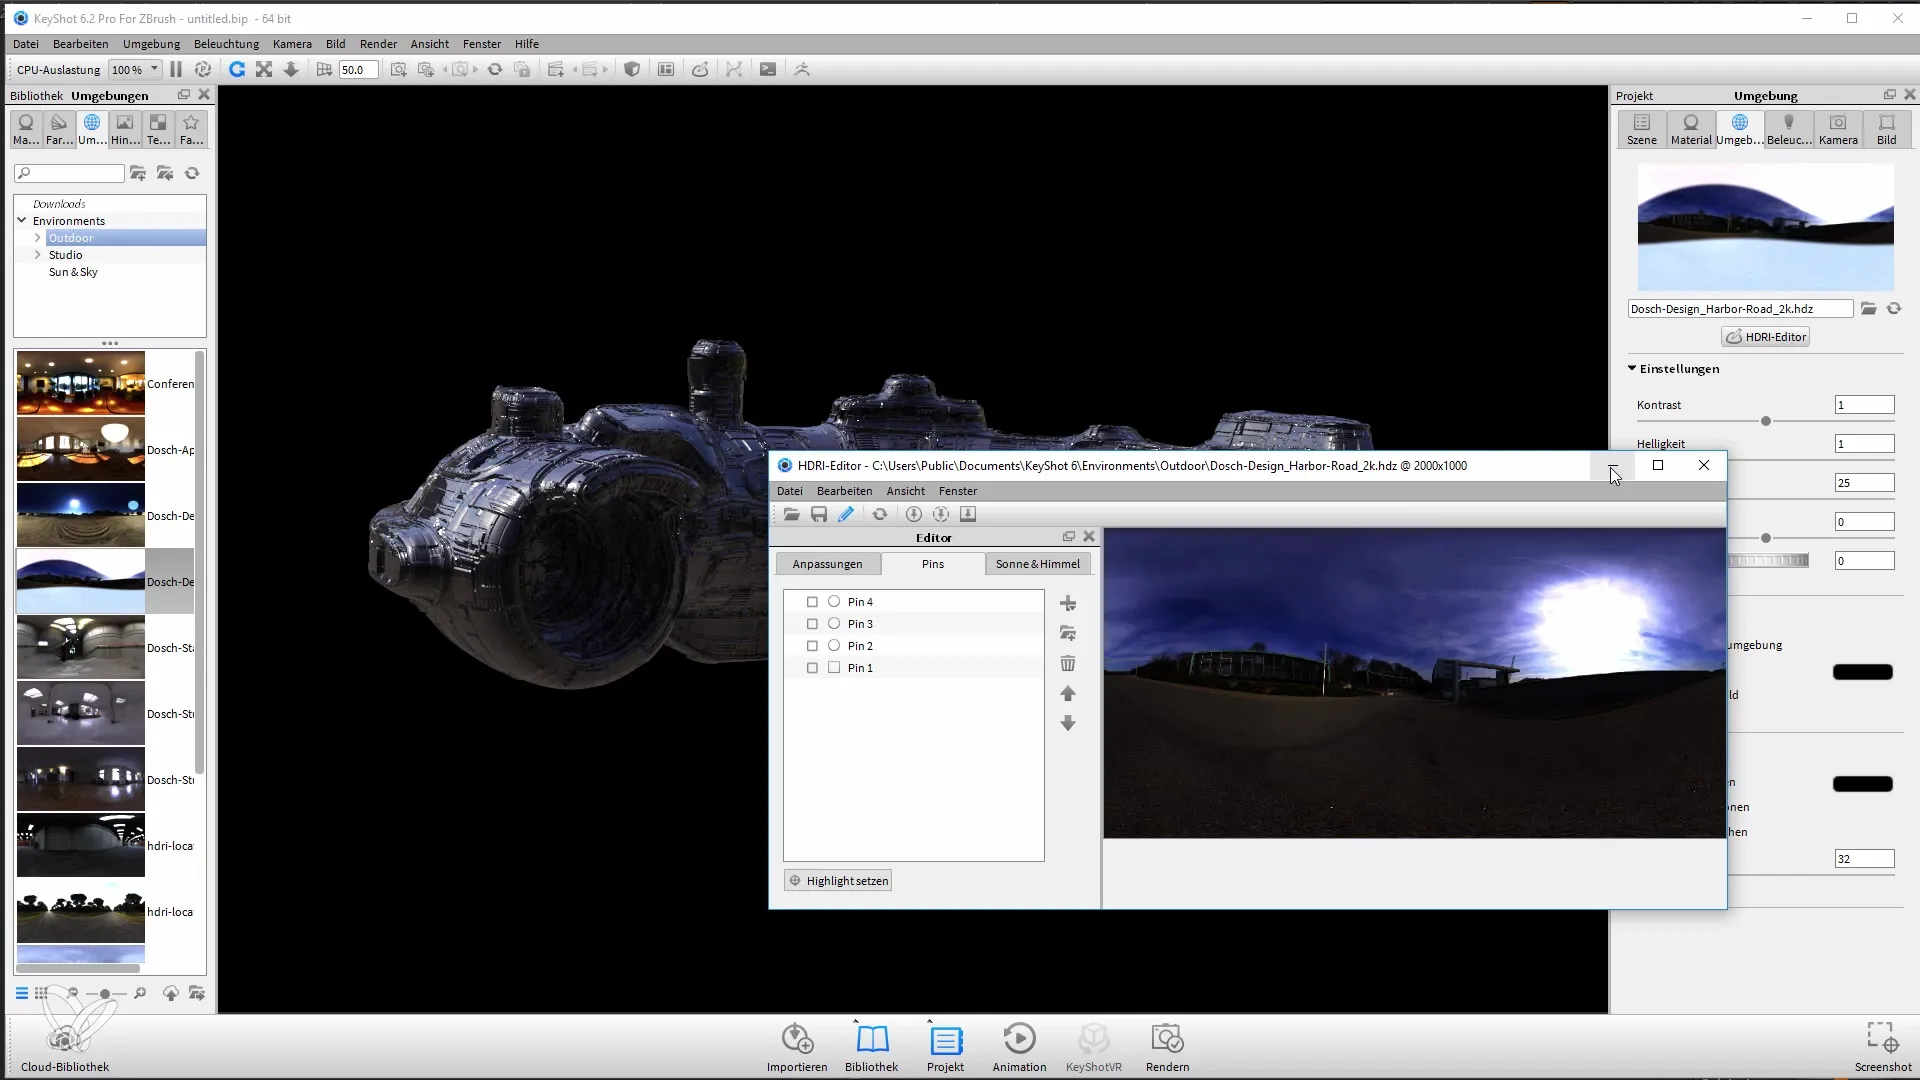
Remember to adjust the render settings accordingly to enhance the quality of your renderings, especially when focusing on details.
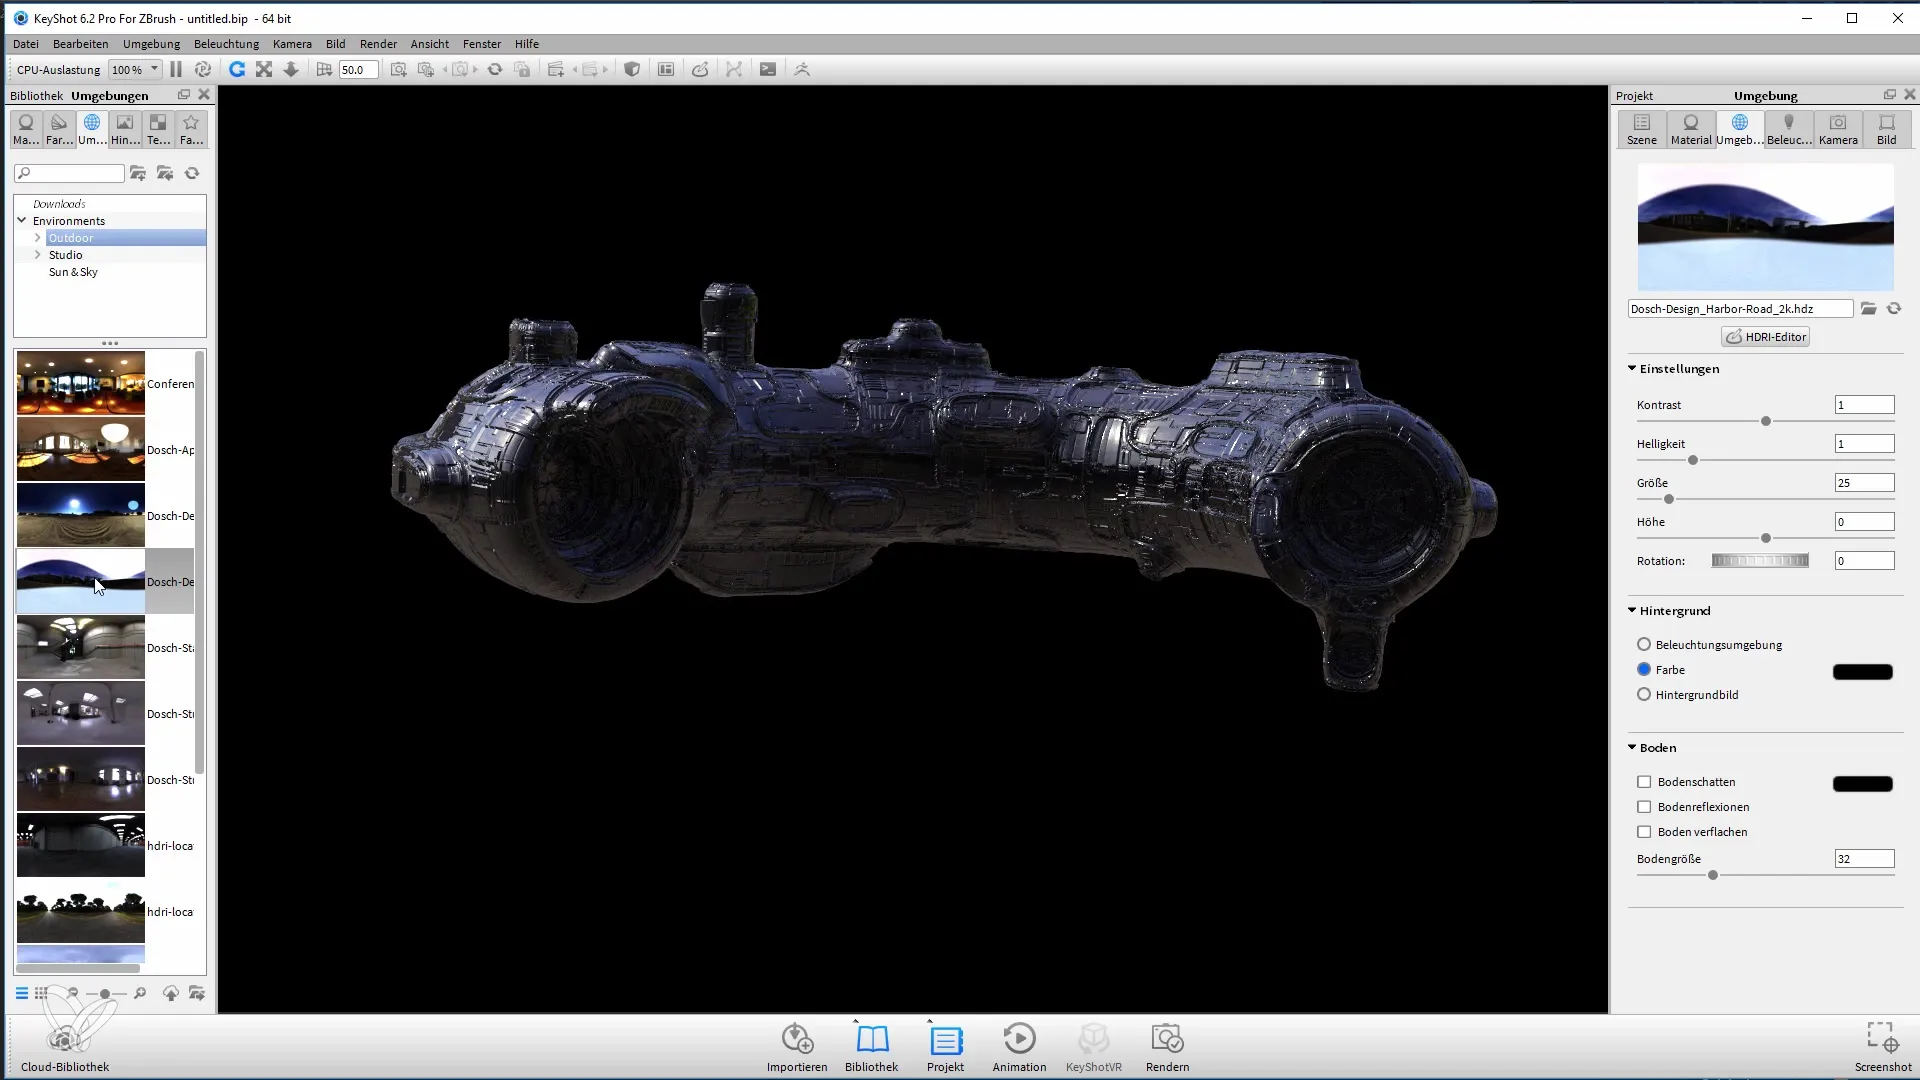
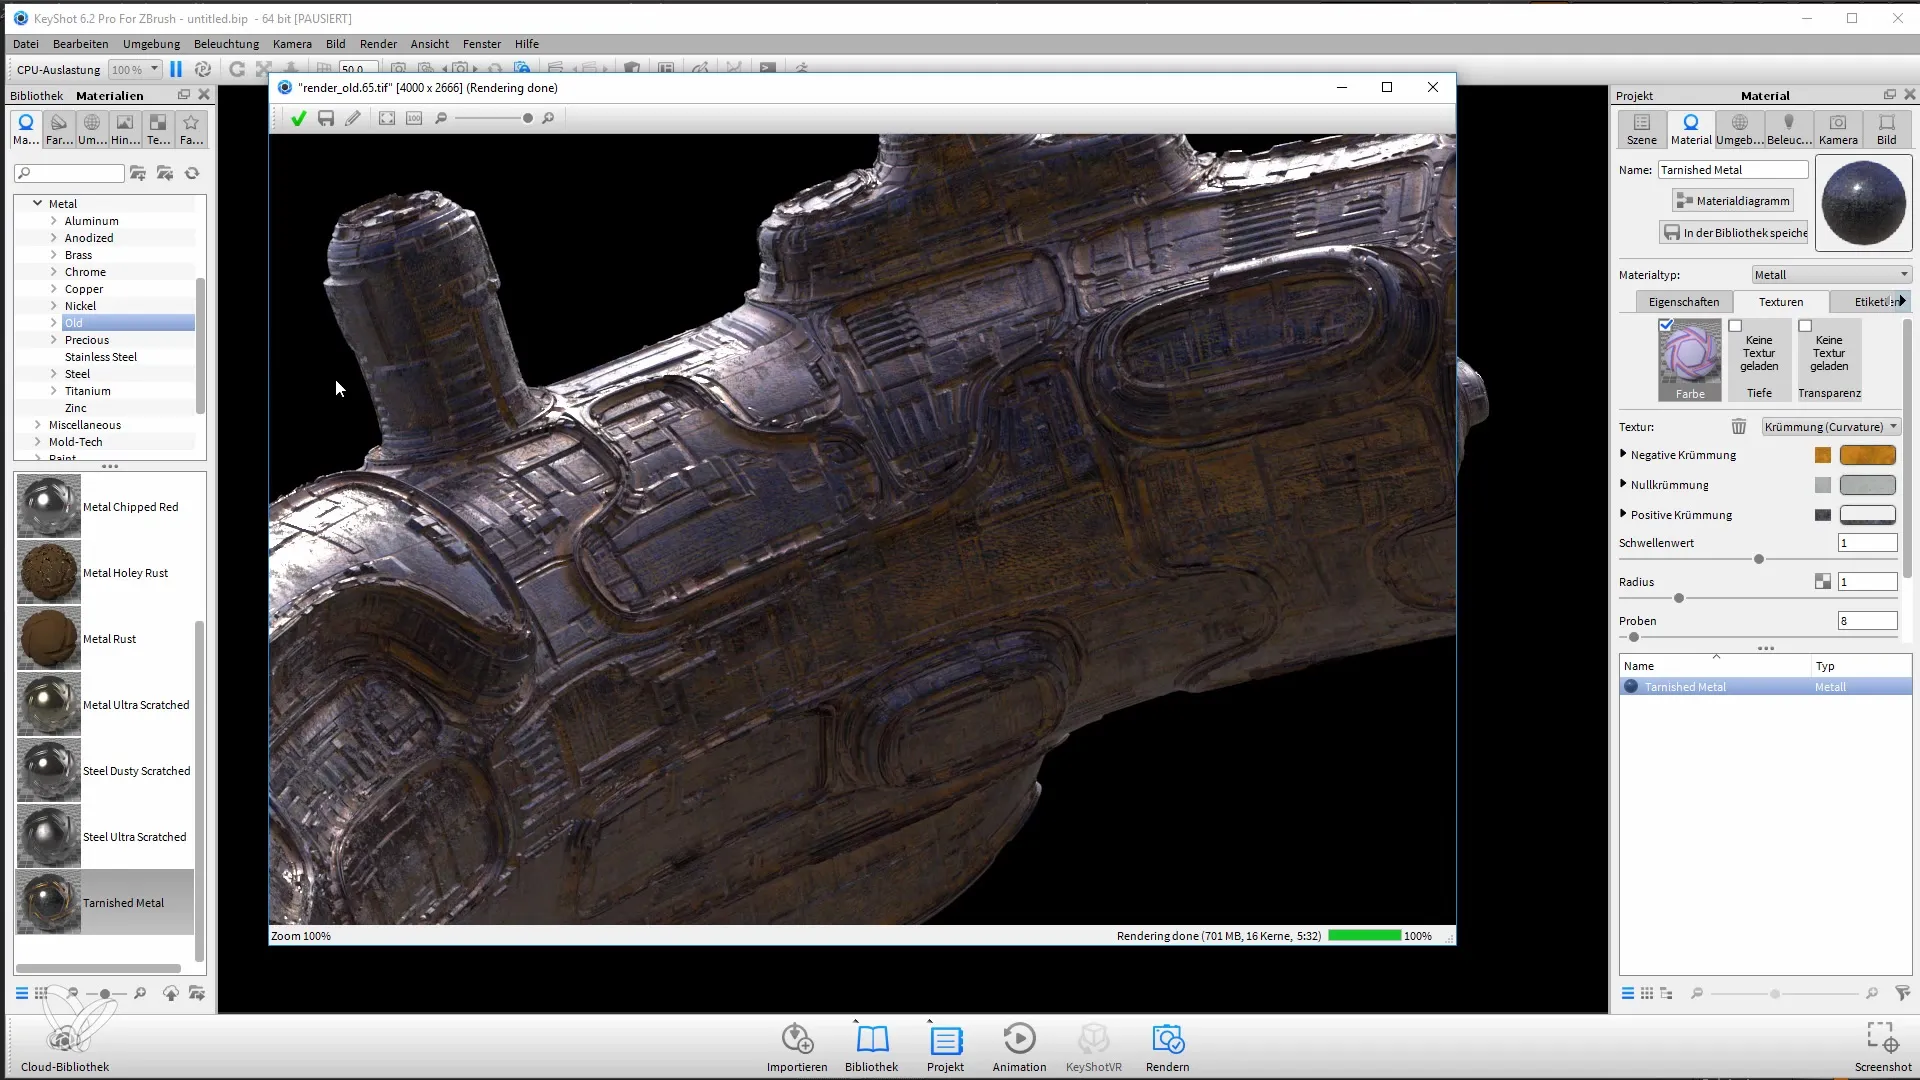
Now I will try another material – the Camouflage material, which can give you a more organic look. To ensure the model looks interesting, you can adjust the material parameters so that the color changes based on the object's curvature.
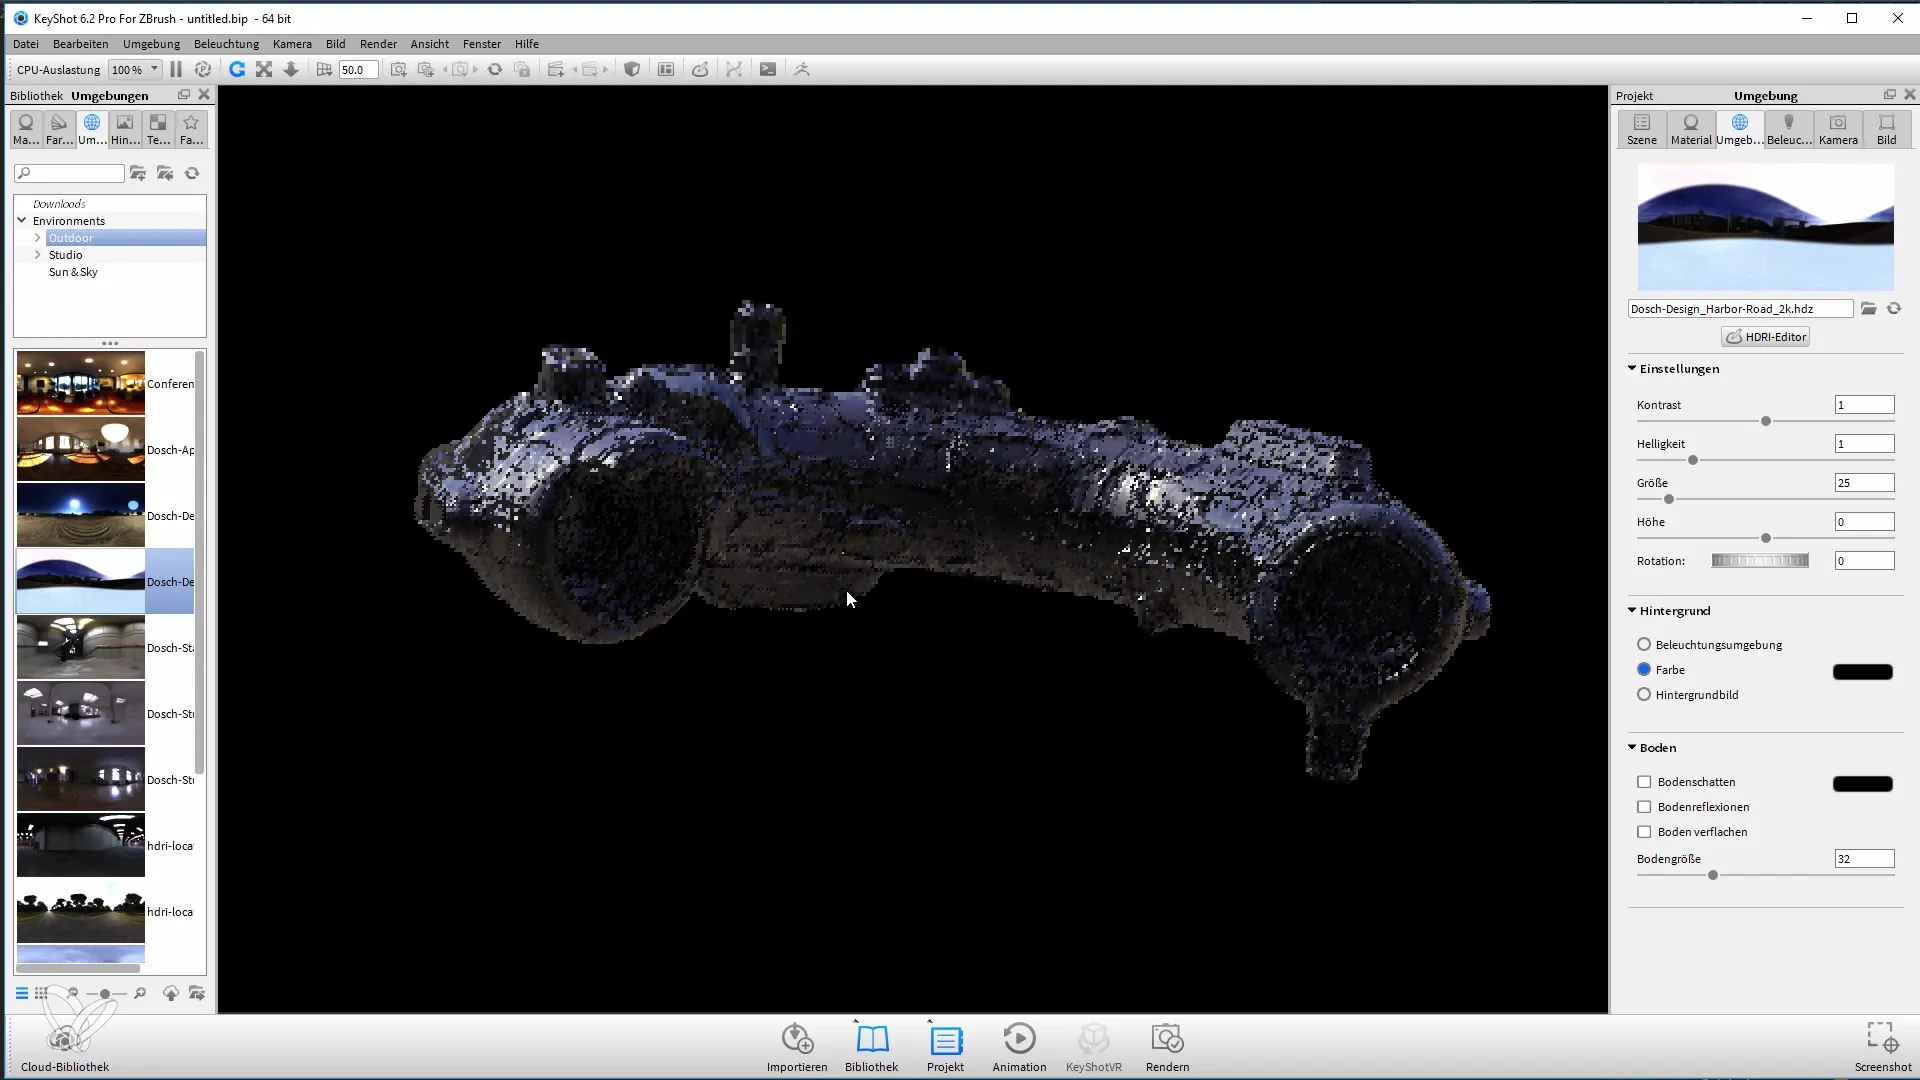
When you are ready to start the rendering, select the desired resolution again and start the rendering process. This may take a bit longer, depending on the material used.
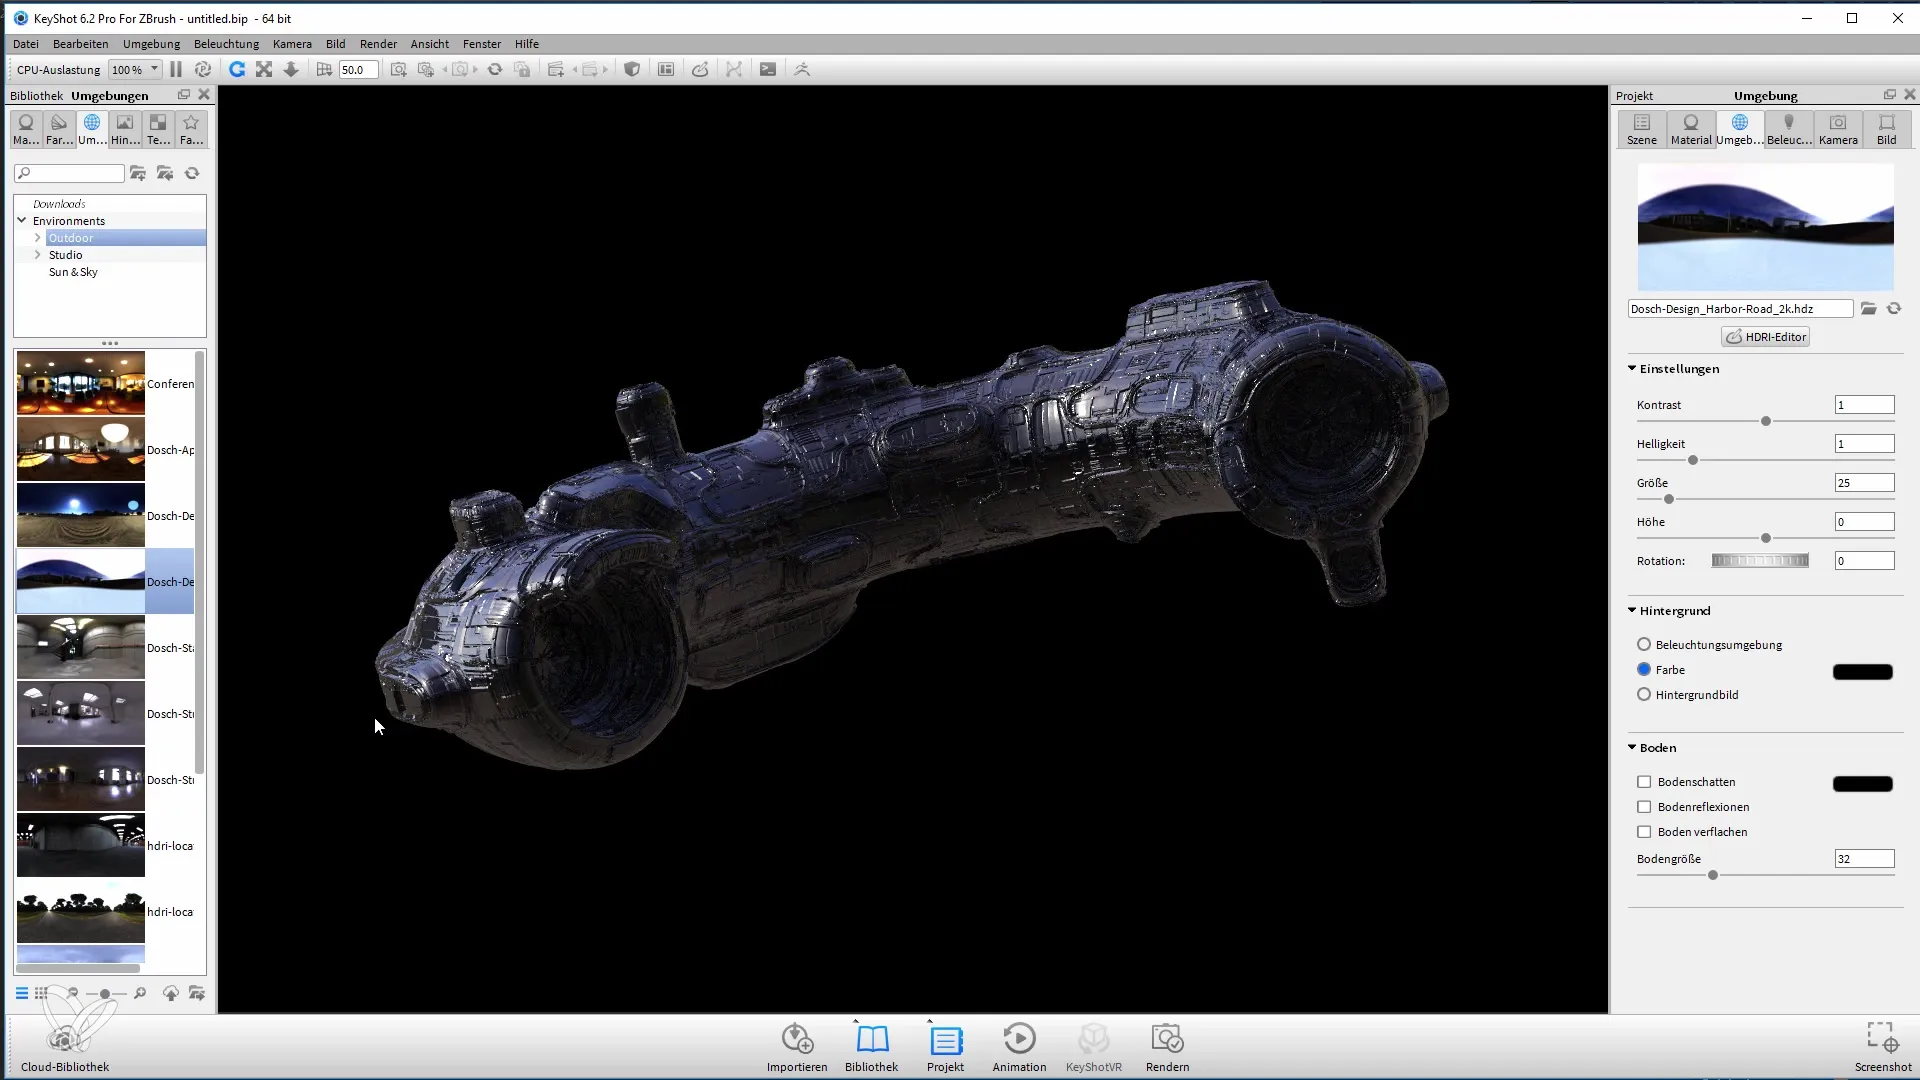
Once the rendering is complete, you will have a beautiful representation of your model. Make sure to save your result securely and use the different render passes for later editing in Photoshop.
With these render passes, you can continue working in Photoshop and ultimately create a unique final product.
Summary
In this tutorial, you have learned how to switch from ZBrush to Keyshot to render your 3D models. Adjusting materials, lighting, and camera settings is crucial for impressive results. With the right render passes, you can further optimize your images in Photoshop.
Frequently Asked Questions
What is Keyshot?Keyshot is a powerful rendering tool often used in conjunction with 3D modeling software to create realistic renderings.
How do I transfer my model from ZBrush to Keyshot?Activate the Keyshot Bridge in ZBrush, select your model, and send it to Keyshot.
Can I adjust the lighting settings in Keyshot?Yes, Keyshot allows you to fully modify the lighting and materials to achieve different effects.
What format should I choose for rendering?The TIF format is recommended as it allows you to integrate the alpha channel and facilitate later compositions in Photoshop.
How can I improve the quality of my renderings?Experiment with the render settings and adjust the details and image size to achieve better results.
