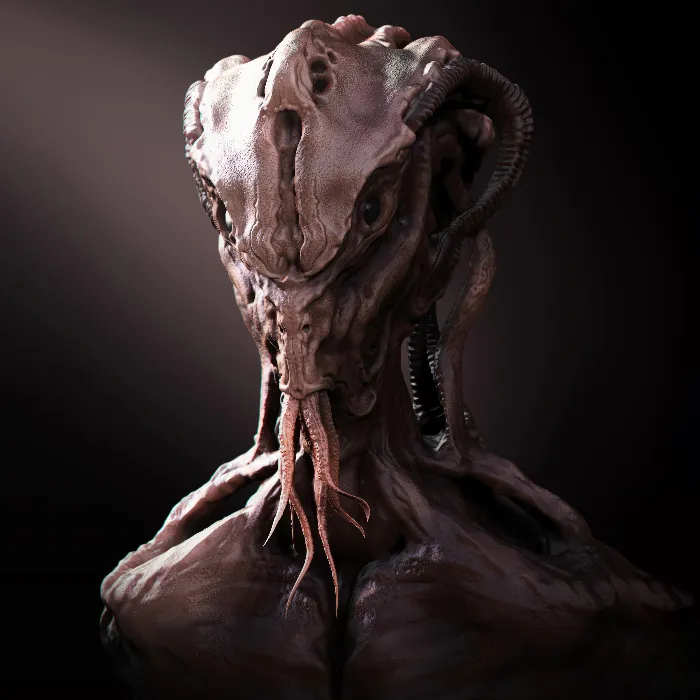
In this tutorial, you will learn how to use the integration between ZBrush and Cinema 4D with the help of the GoZ function to effectively render your 3D models. The focus is on ensuring a smooth workflow that allows you to transport your models from ZBrush to Cinema 4D and back, enabling you to render low-polygon models in detail by using various maps that significantly enhance the quality of your work.
Key Insights
- GoZ is a plugin that facilitates the connection between ZBrush and other 3D programs like Cinema 4D.
- To achieve optimal results, it is important to consider the polygon count and the maps used.
- With UV maps and displacement maps, you can increase the texture and detail accuracy of your models.
Step-by-Step Guide
1. Introduction to GoZ
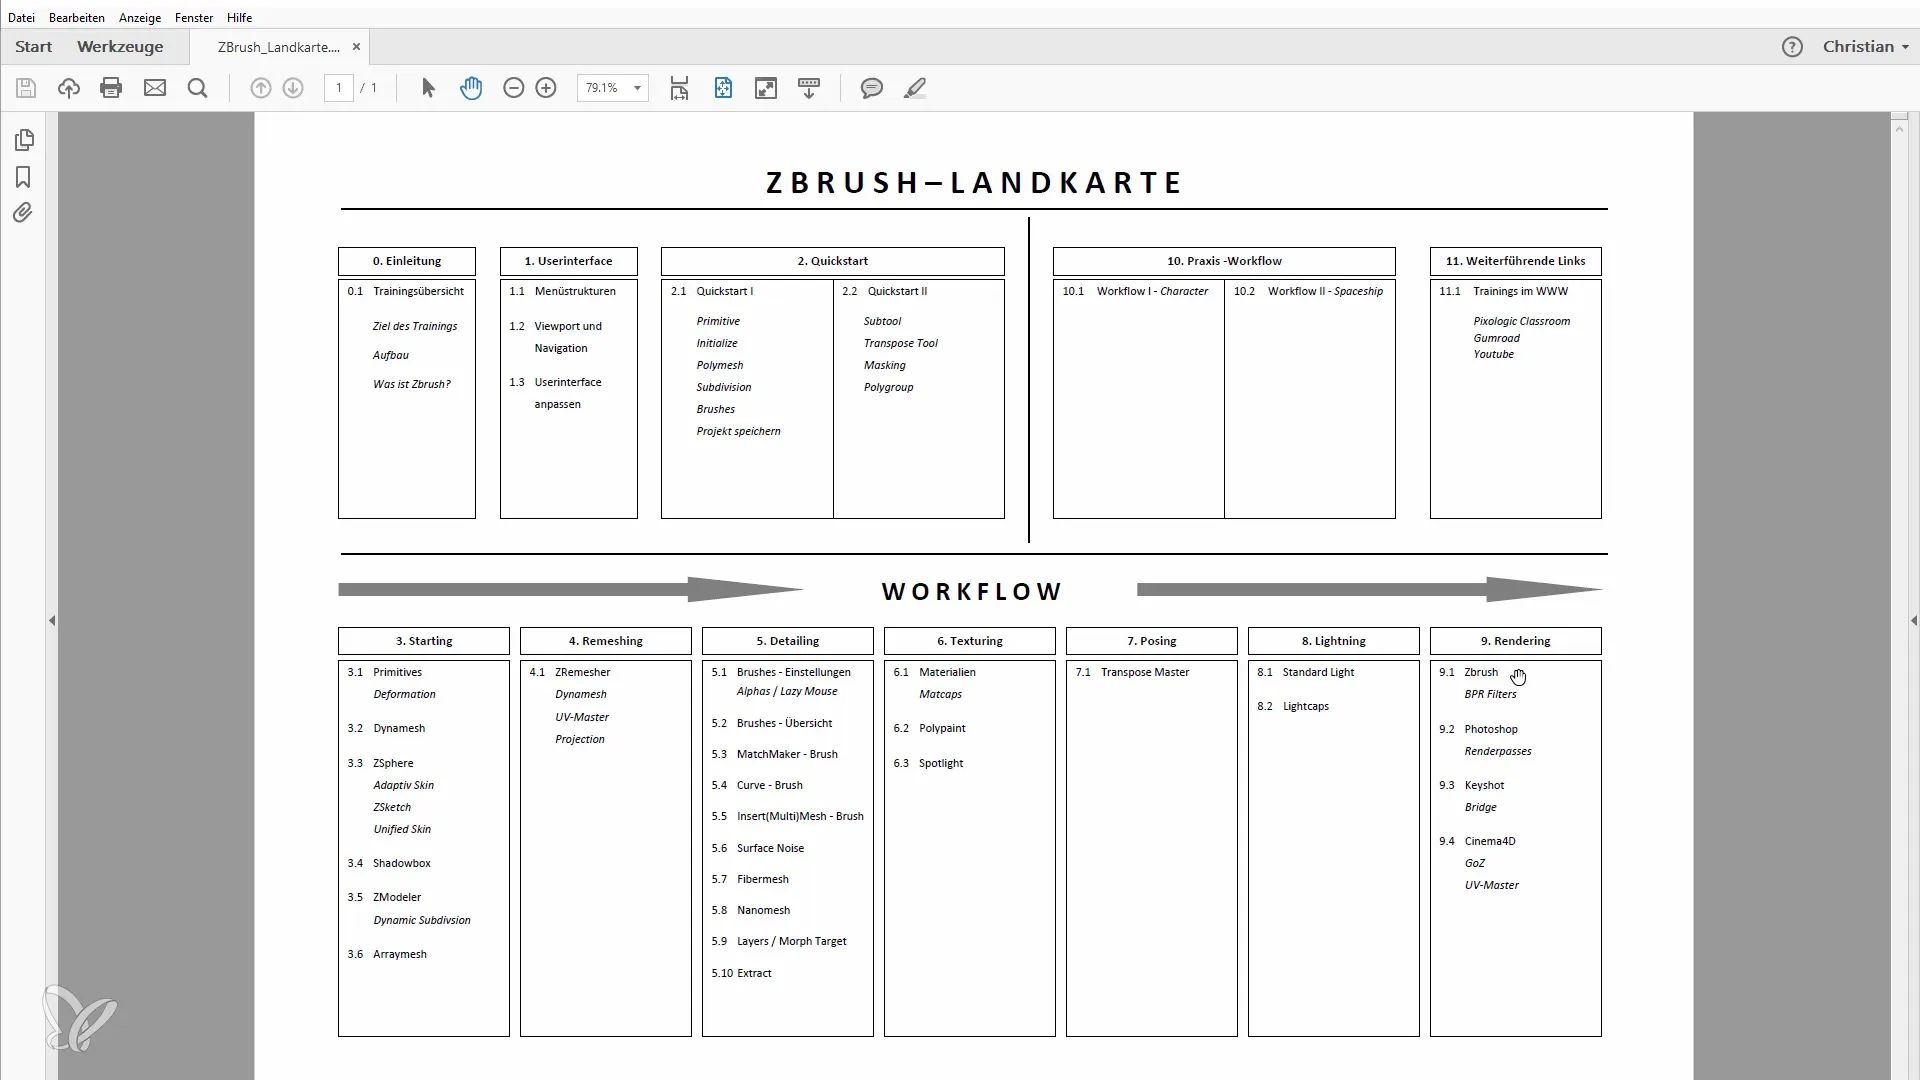
At the beginning of the tutorial, we explain GoZ, a connecting element between ZBrush and Cinema 4D. GoZ is included by default in ZBrush and does not need to be downloaded. It helps in transporting models between the programs. Many programs can be connected with GoZ, ensuring a seamless workflow.
2. Creating a Model in ZBrush
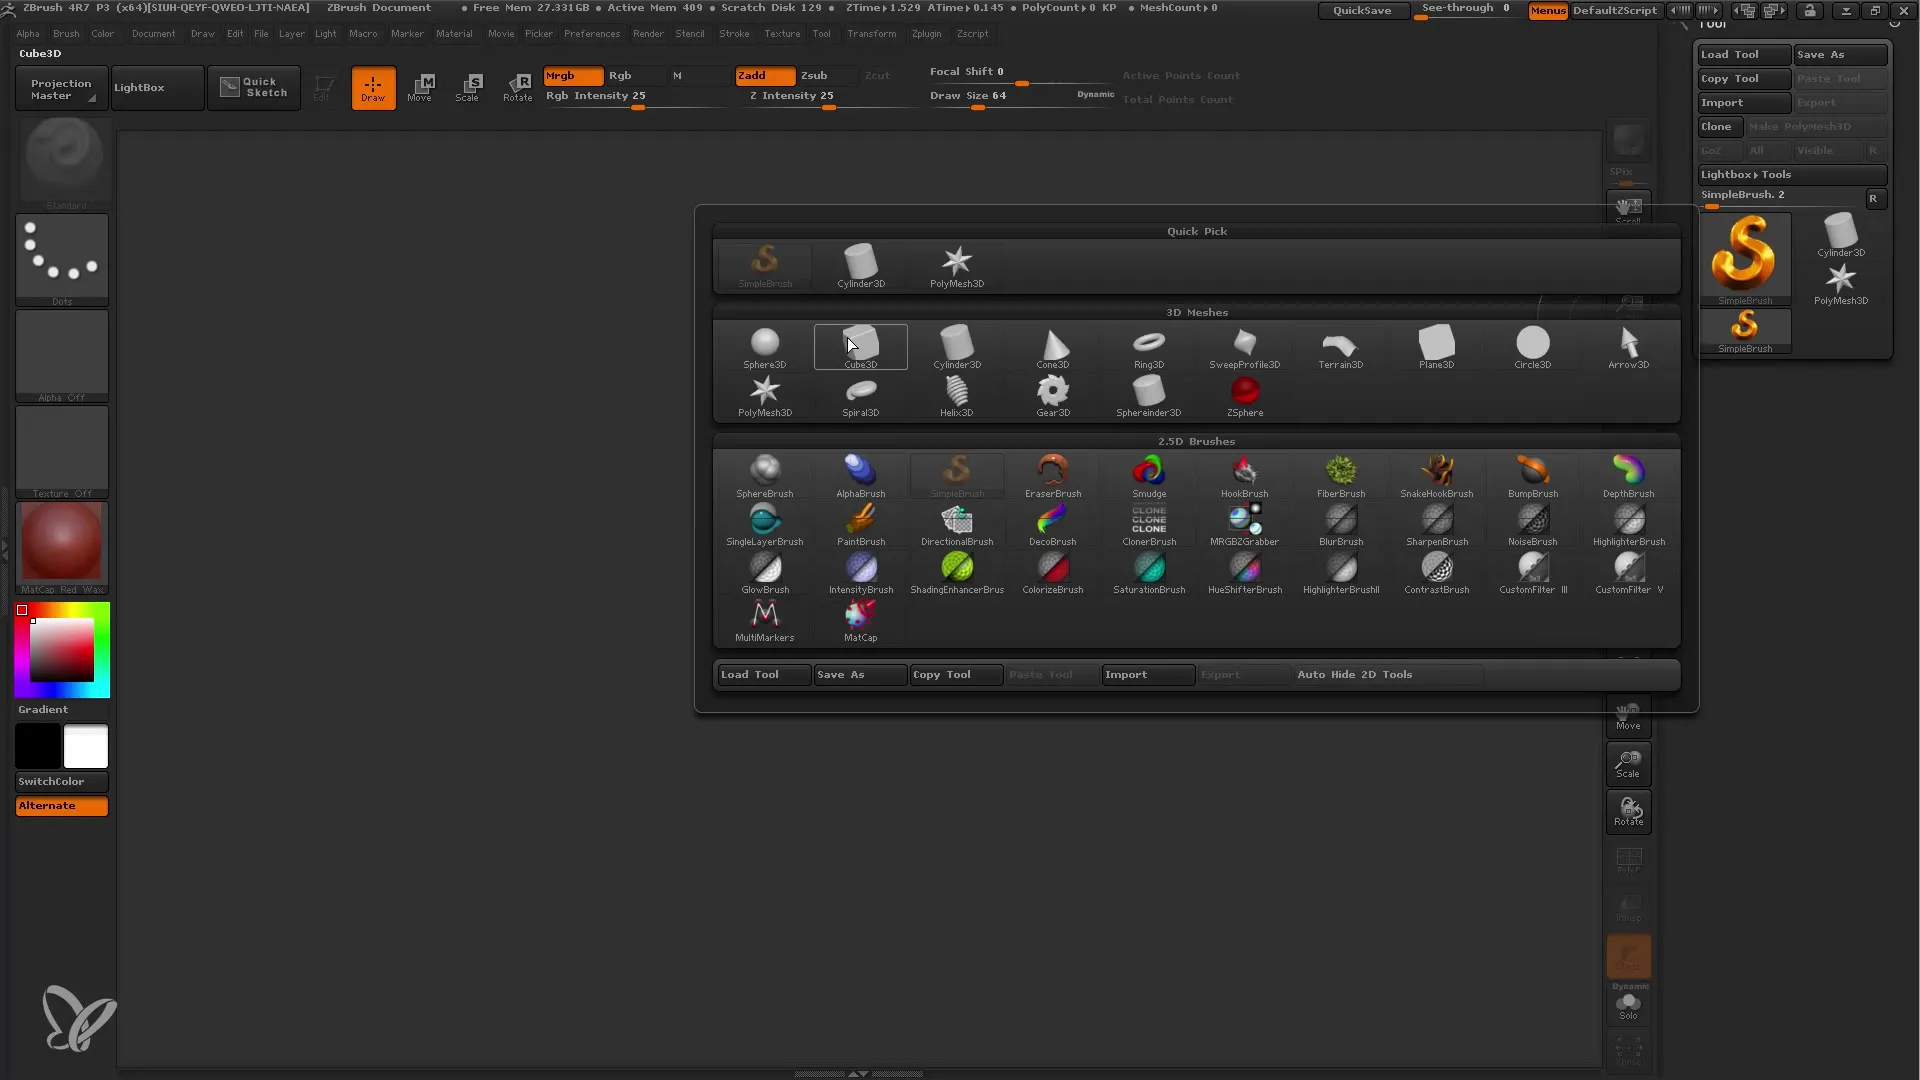
Now open ZBrush and create a simple model, for example, a cube. You must put the cube in Edit Mode and convert it to a polymesh. This is important as GoZ can only export complete polygonal objects.
3. Using GoZ to Export to Cinema 4D
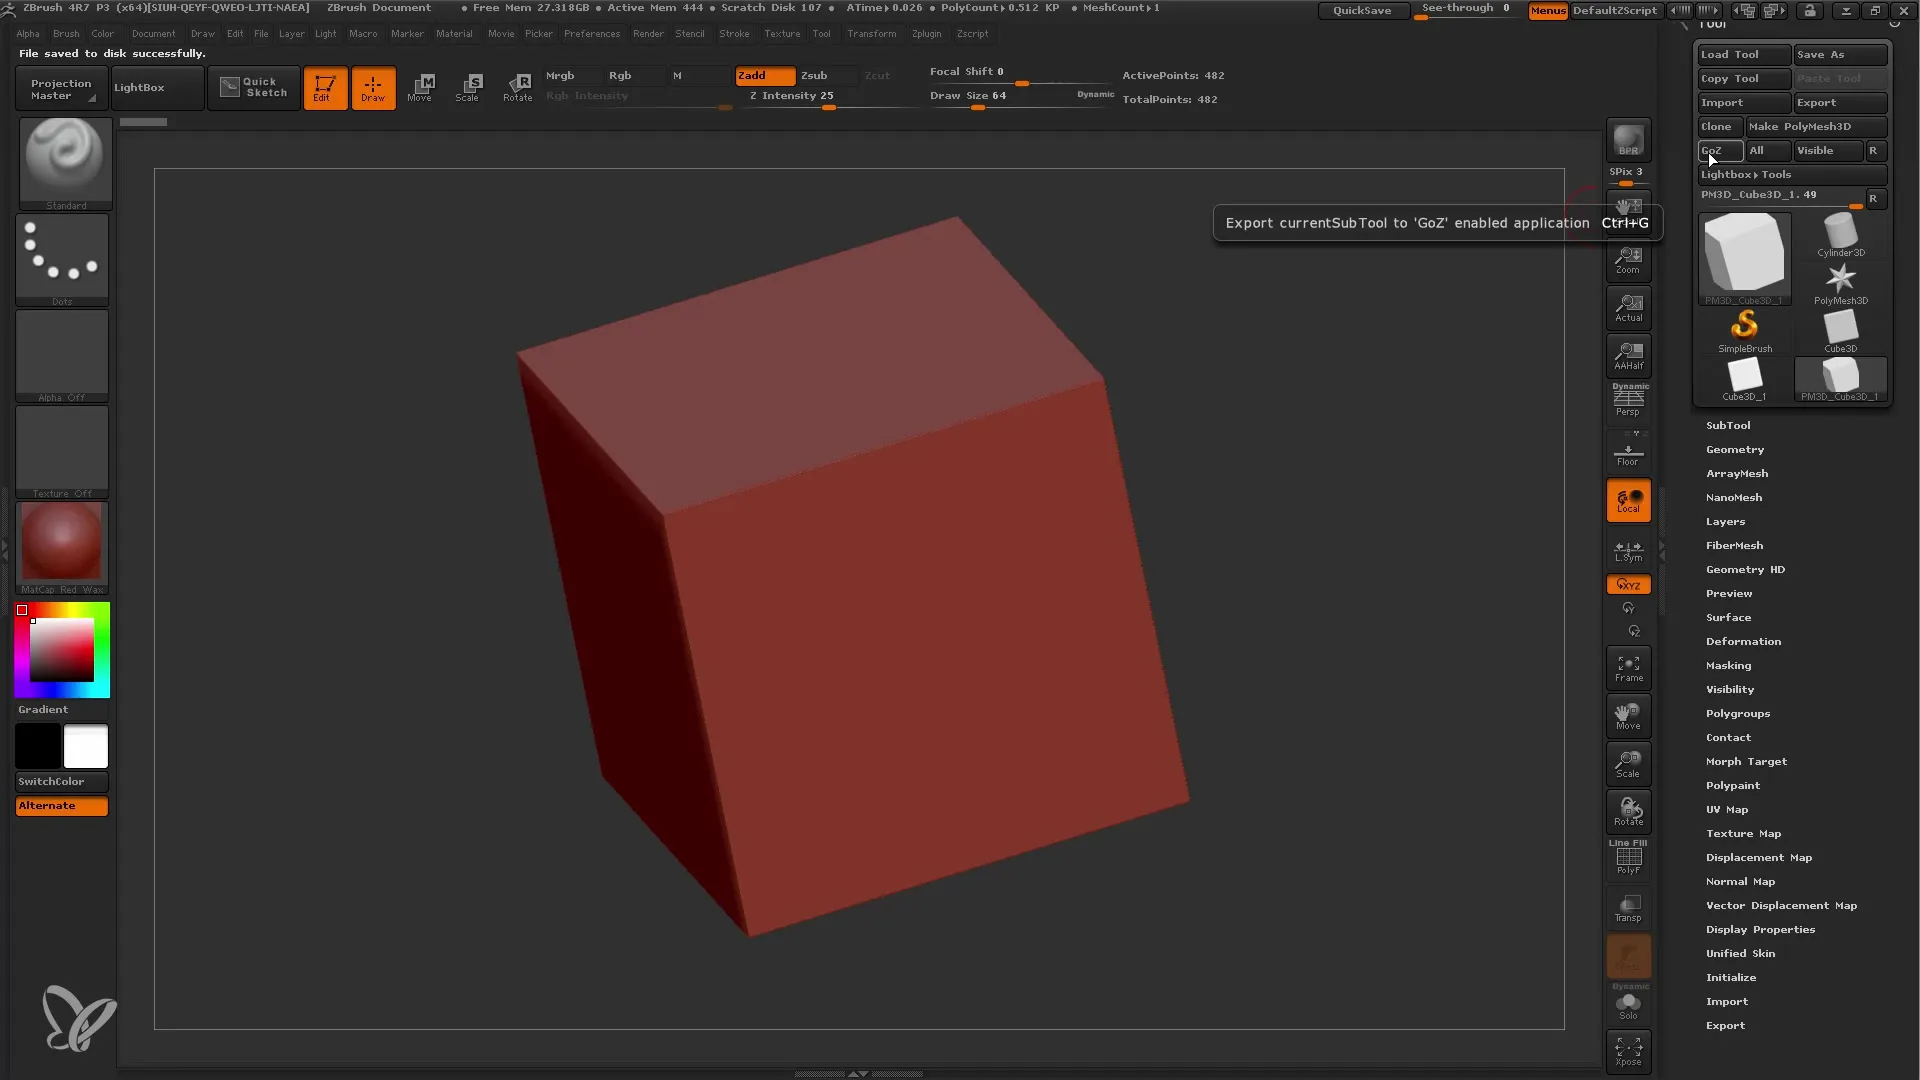
To export the model to Cinema 4D, select the desired object and click "Go". You will be prompted to select the program to which you want to export the model. In this case, select Cinema 4D.
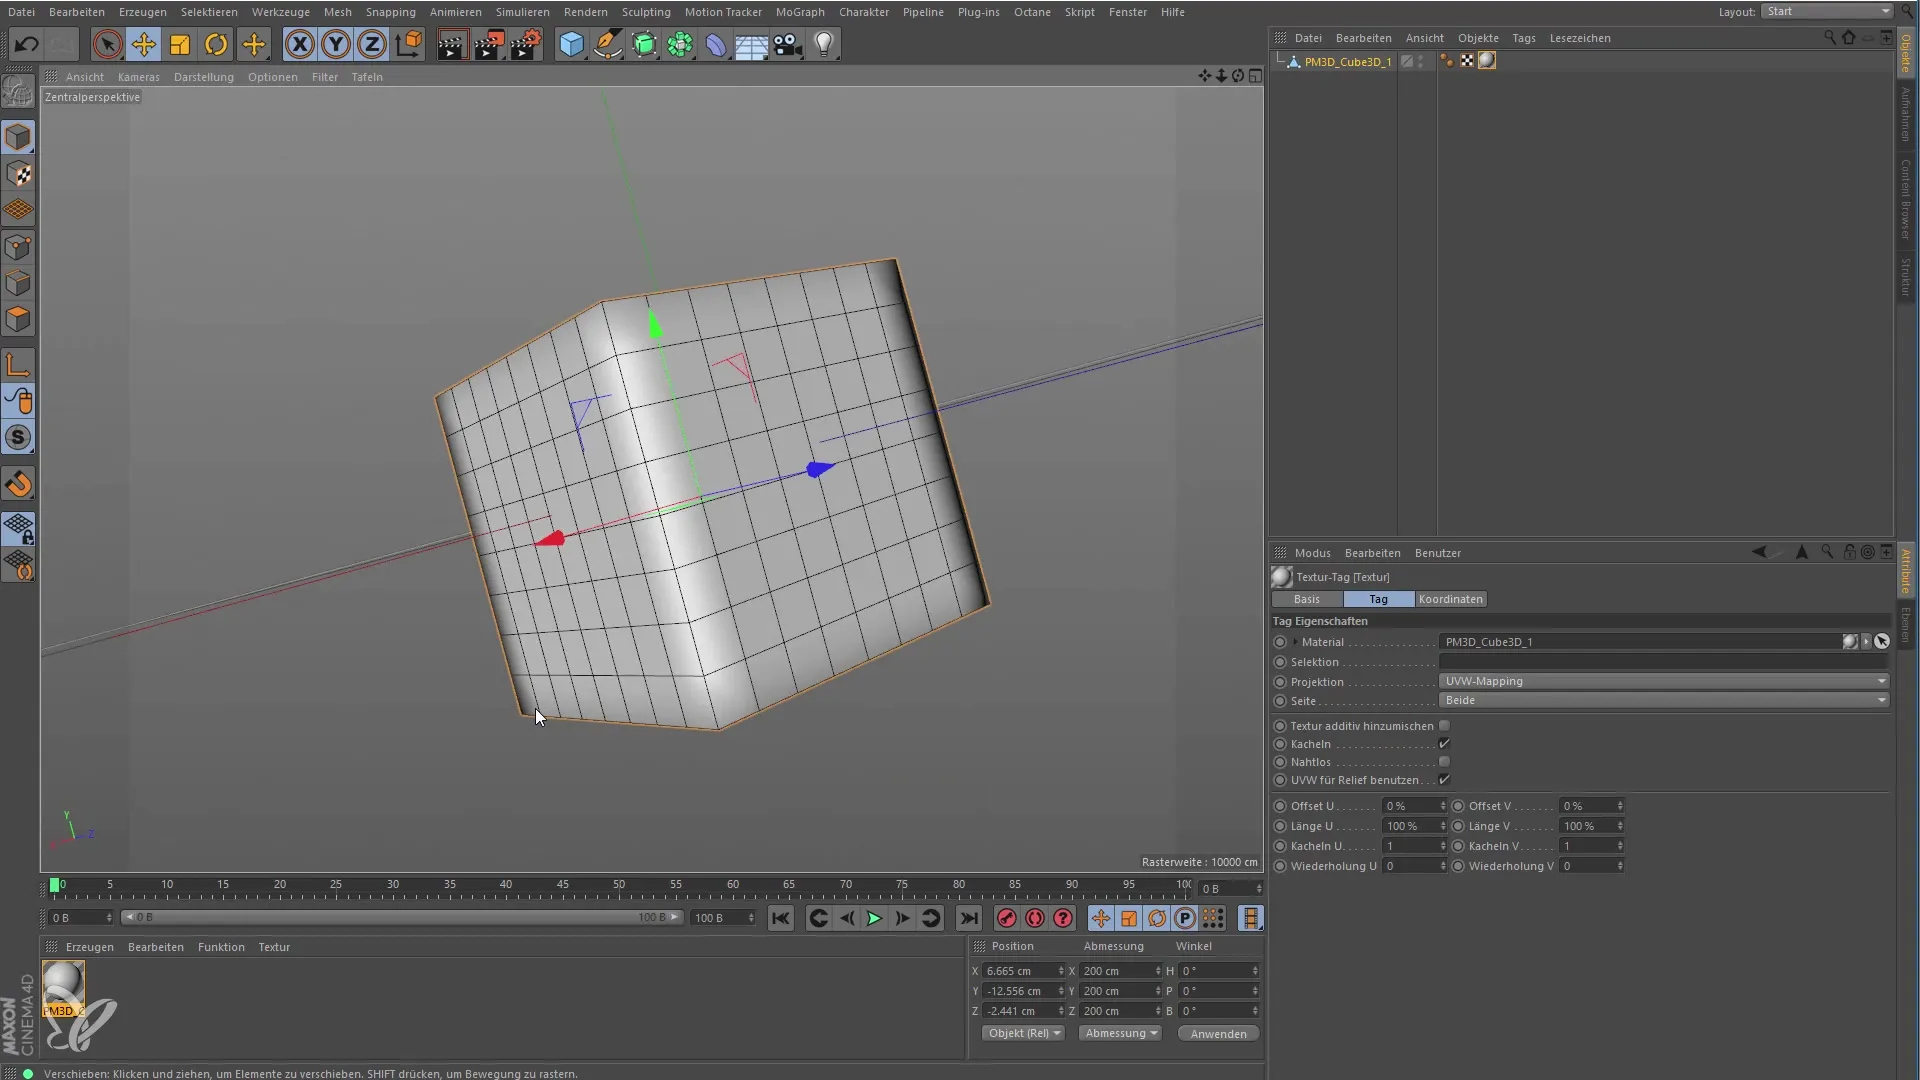
4. Checking the Quality in Cinema 4D
Upon arriving in Cinema 4D, you will notice that the resolution of the imported model is not optimal. Here, it is important to adjust the quality of the model to achieve better results. You can use the Fong tag to make the surface appear smoother.
5. Adjusting Subdivision Levels
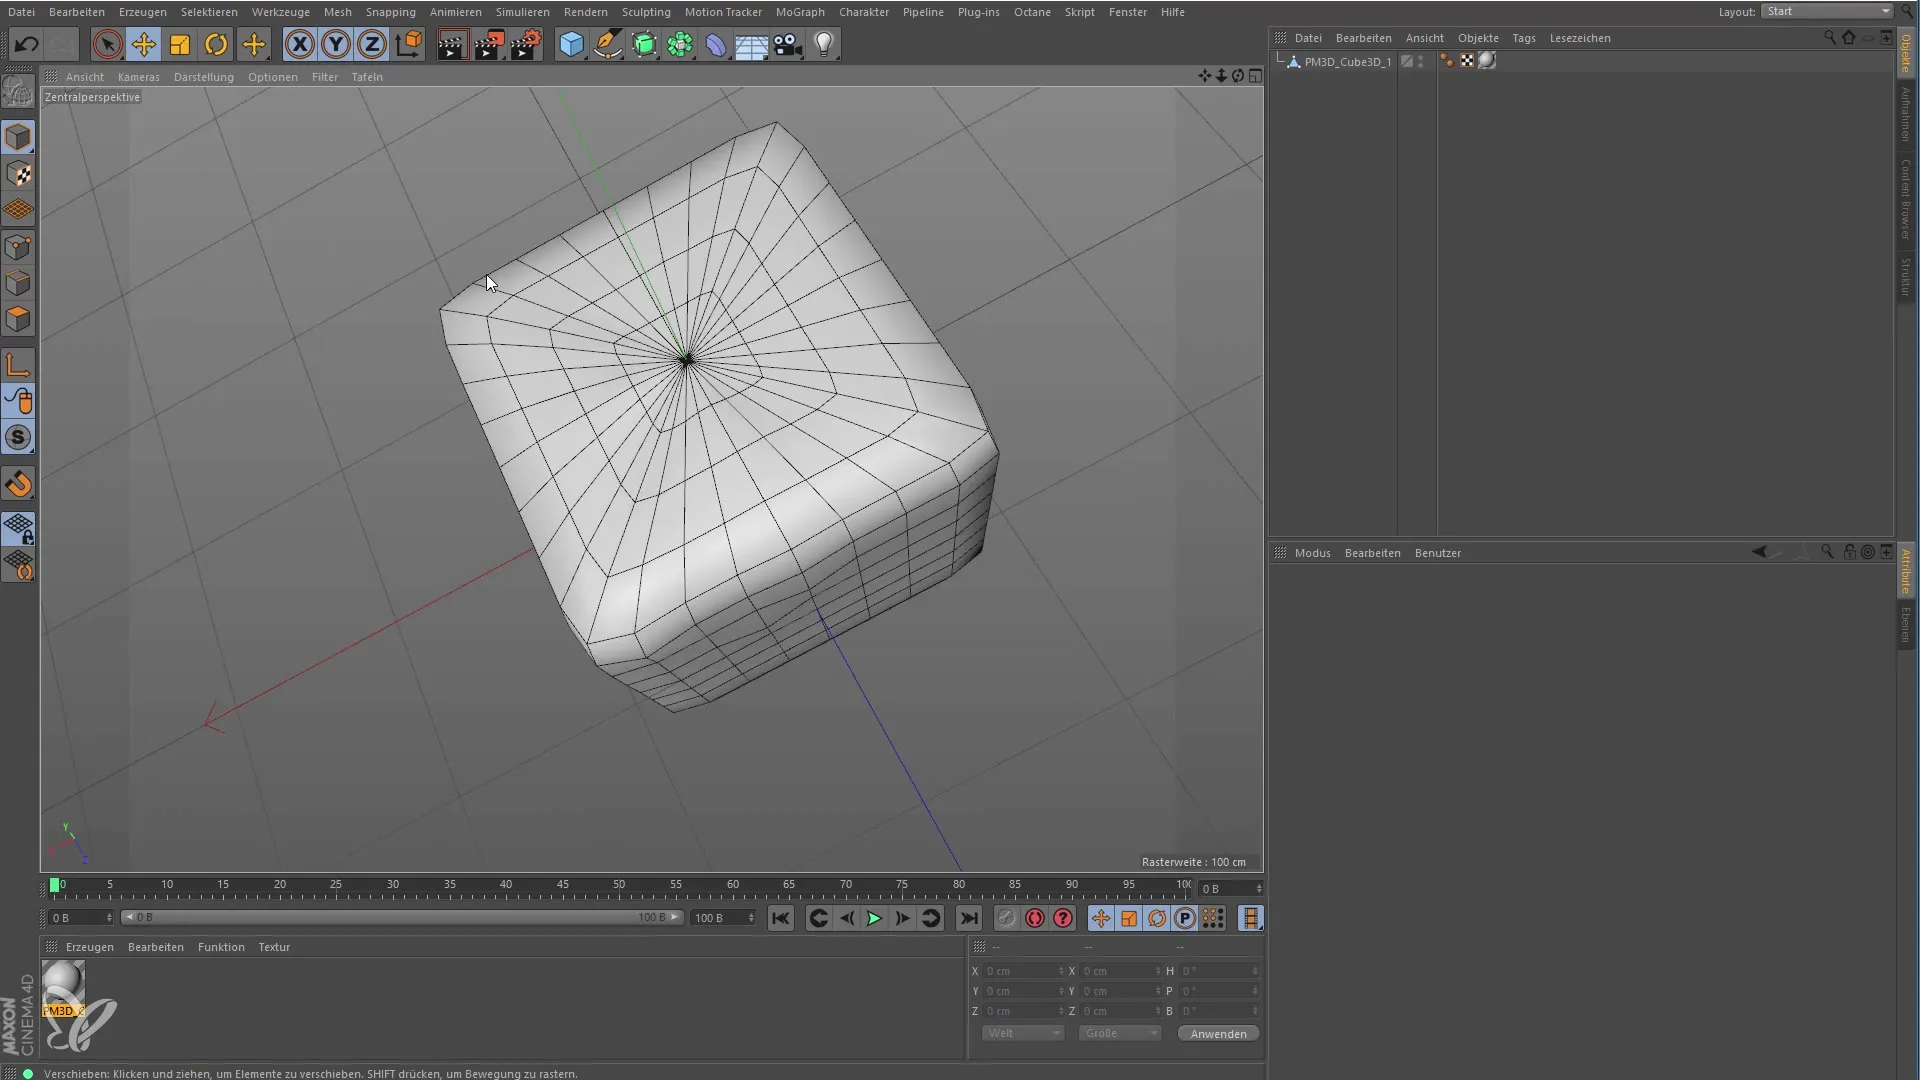
Go back to ZBrush and continue working on your model. You can increase the subdivision levels to bring more details into the model. After adjusting these levels, export the model again to Cinema 4D to see the new details.
6. Exchanging Models between ZBrush and Cinema 4D
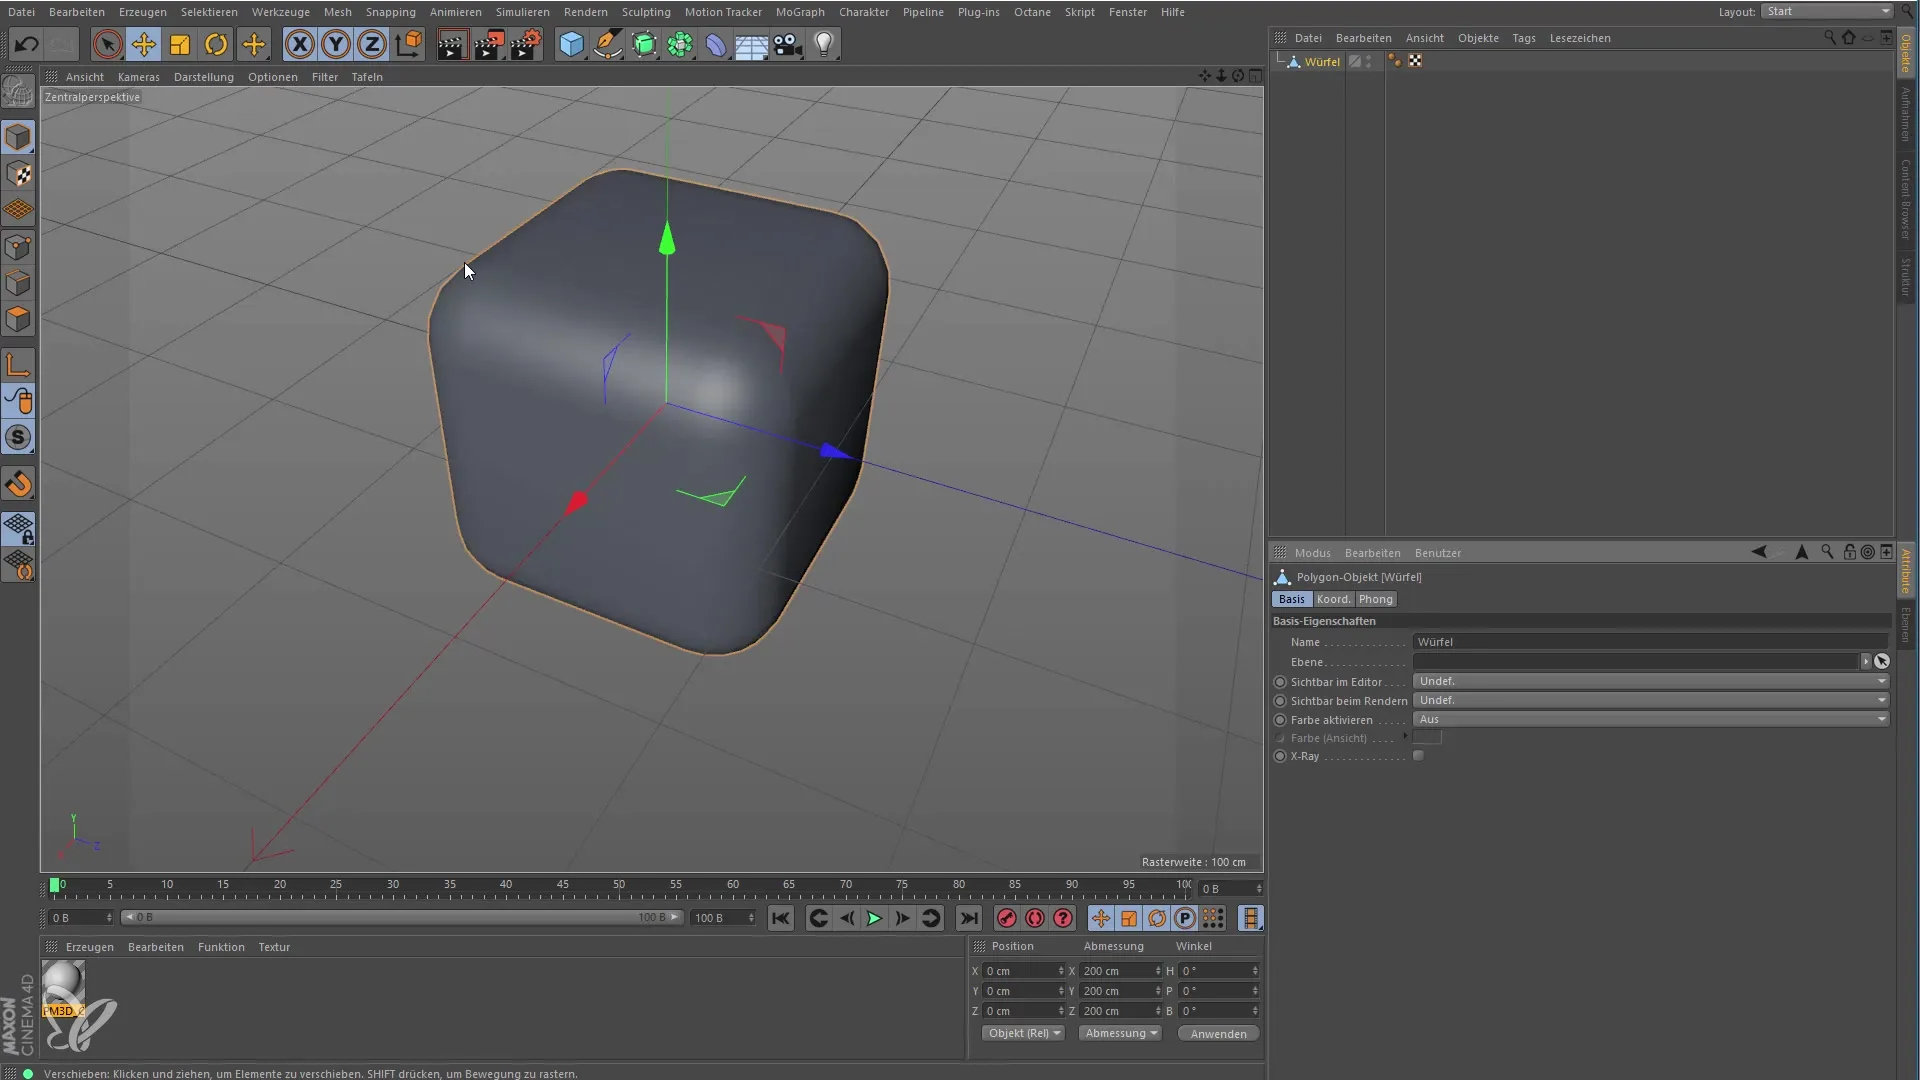
You can also export models from Cinema 4D to ZBrush. Make sure your basic objects in Cinema 4D are converted to polygonal objects before exporting. In ZBrush, the model is then edited and detailed.
7. Importing a Script
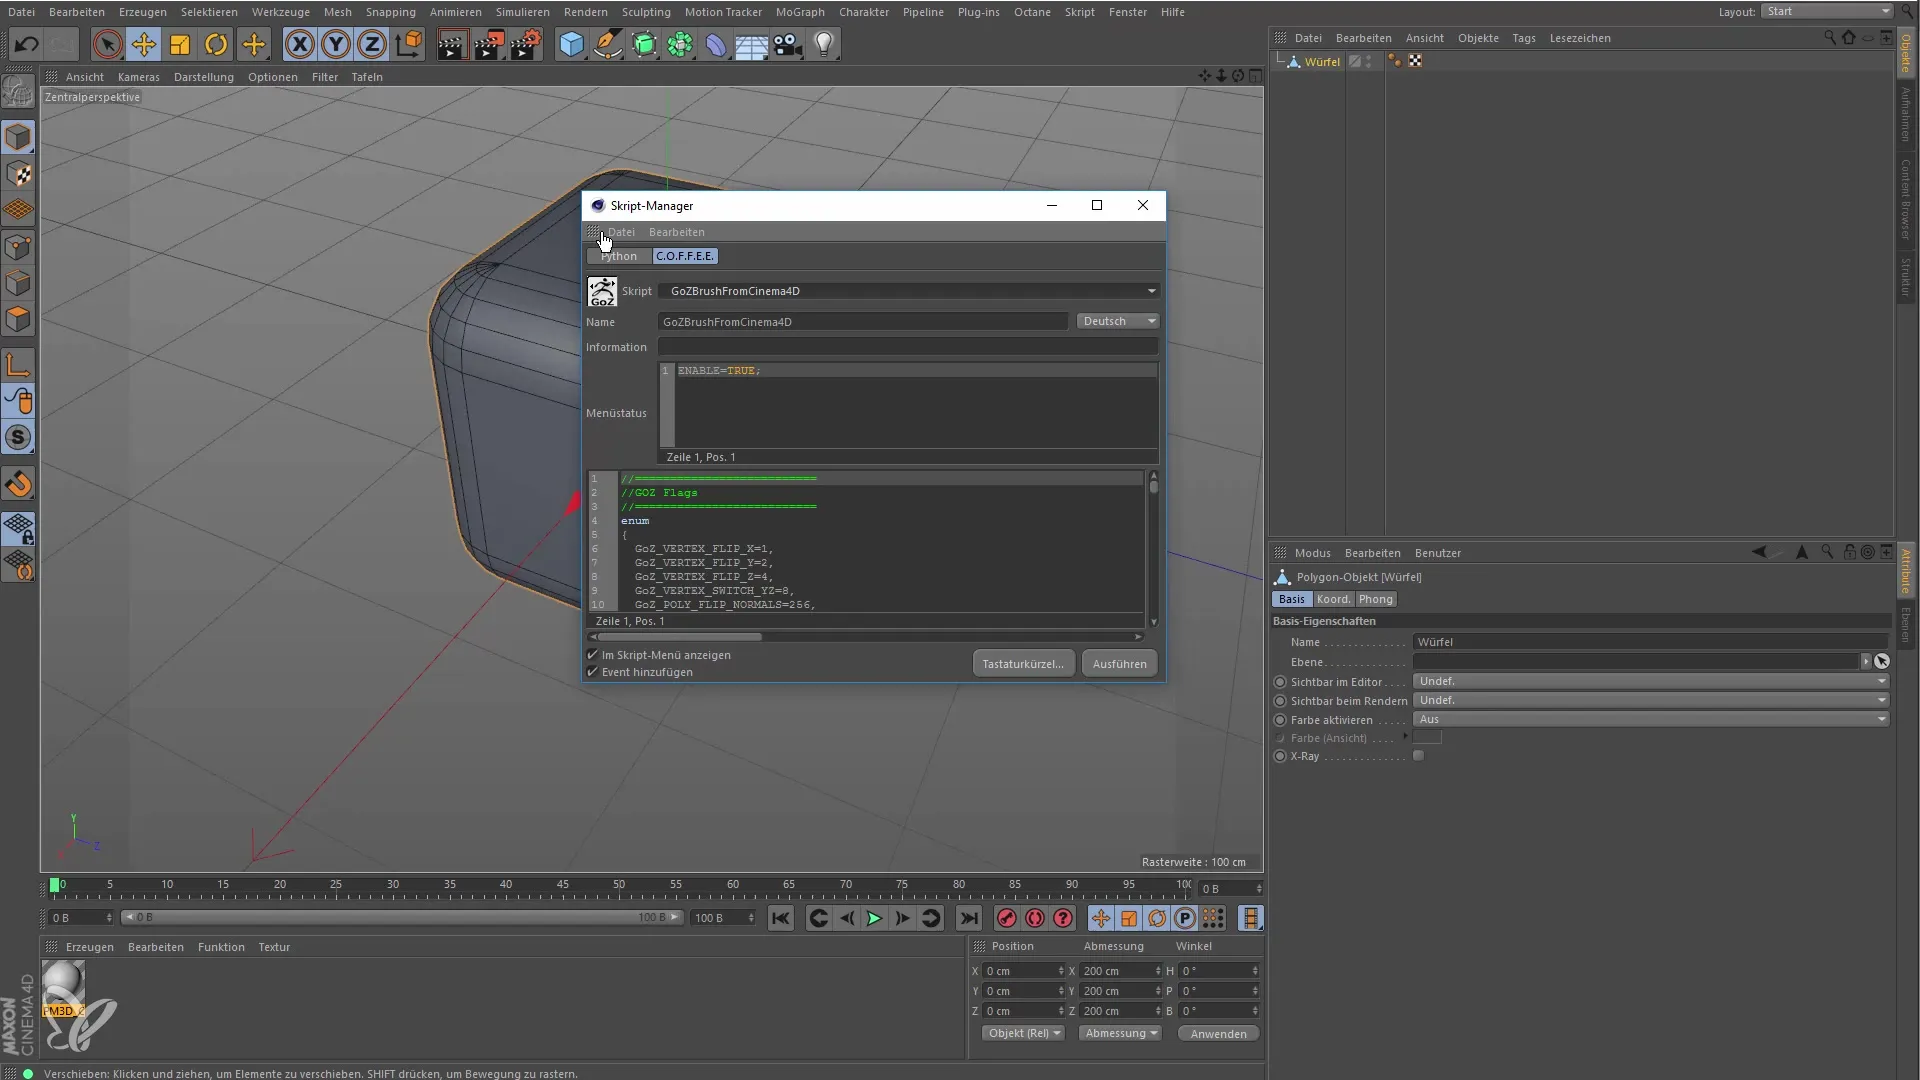
One way to use GoZ is by utilizing a script. Go to the script management of ZBrush and load the GoZ script. The script simplifies the importing and exporting between the programs.
8. Using UV Master
If you have a detailed model, you should create UVs to apply textures correctly. Go to the UV Master plugin in ZBrush and unwrap your model to generate a UV map.
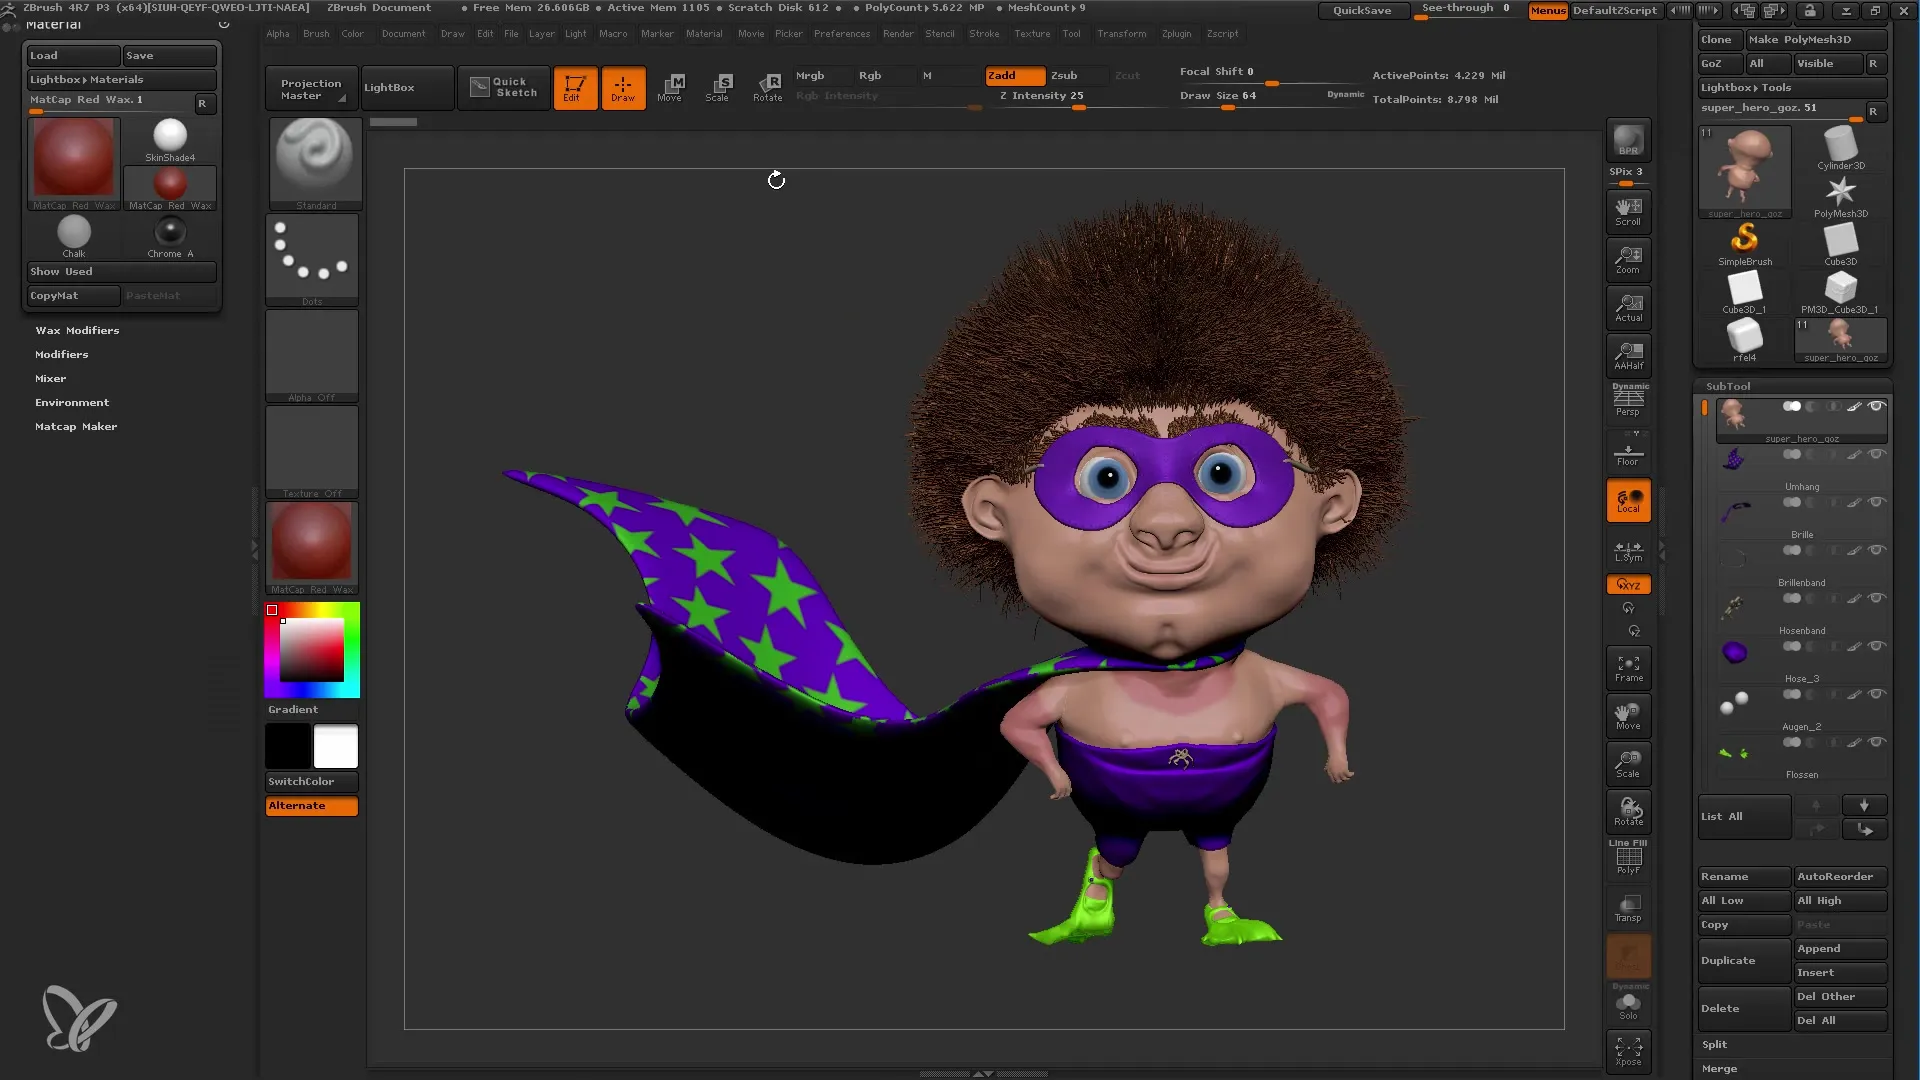
9. Creating Texture and Displacement Maps
Create texture and displacement maps in ZBrush to make your models in Cinema 4D appear even more realistic. These maps help to reproduce the surface texture and details of the models during rendering.
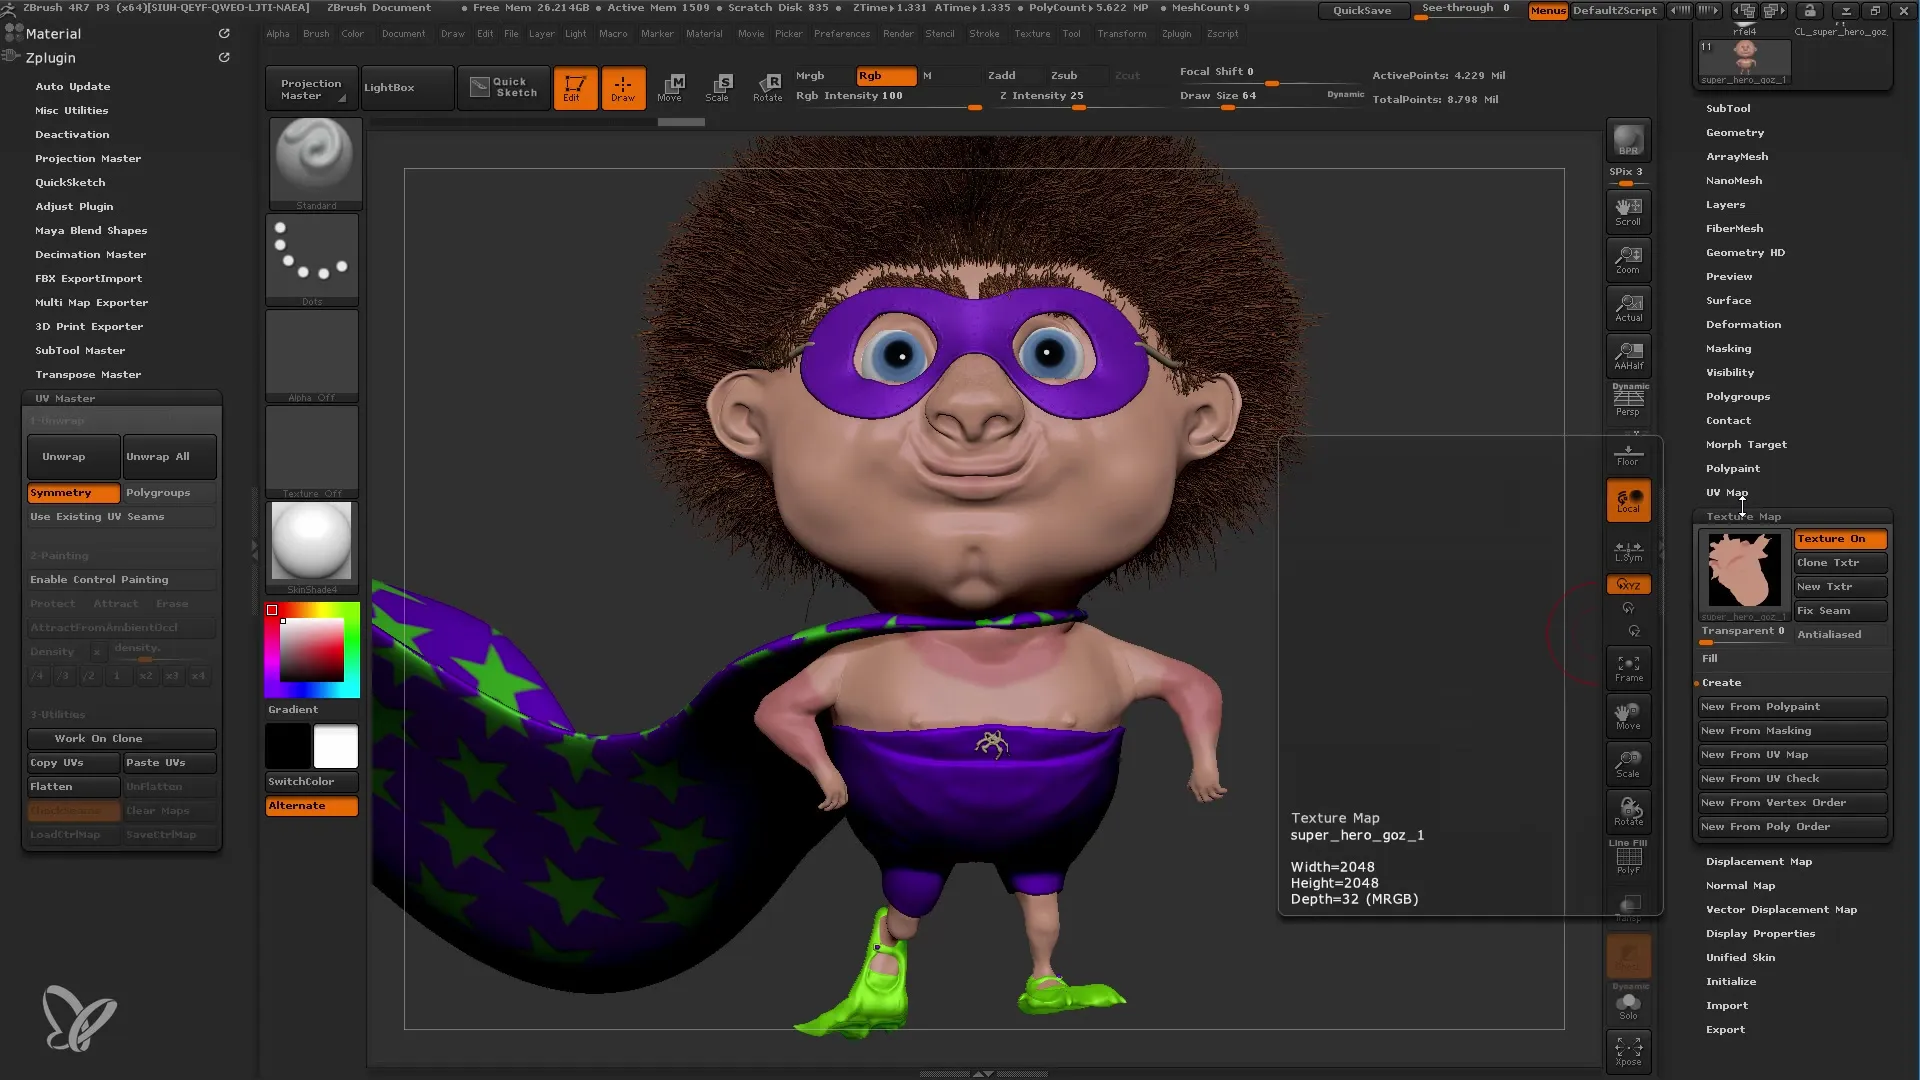
10. Inserting Details into the Material
In Cinema 4D, you can insert the created maps into the material of your model. Make sure to correctly place both the displacement and normal maps to make the details visible.
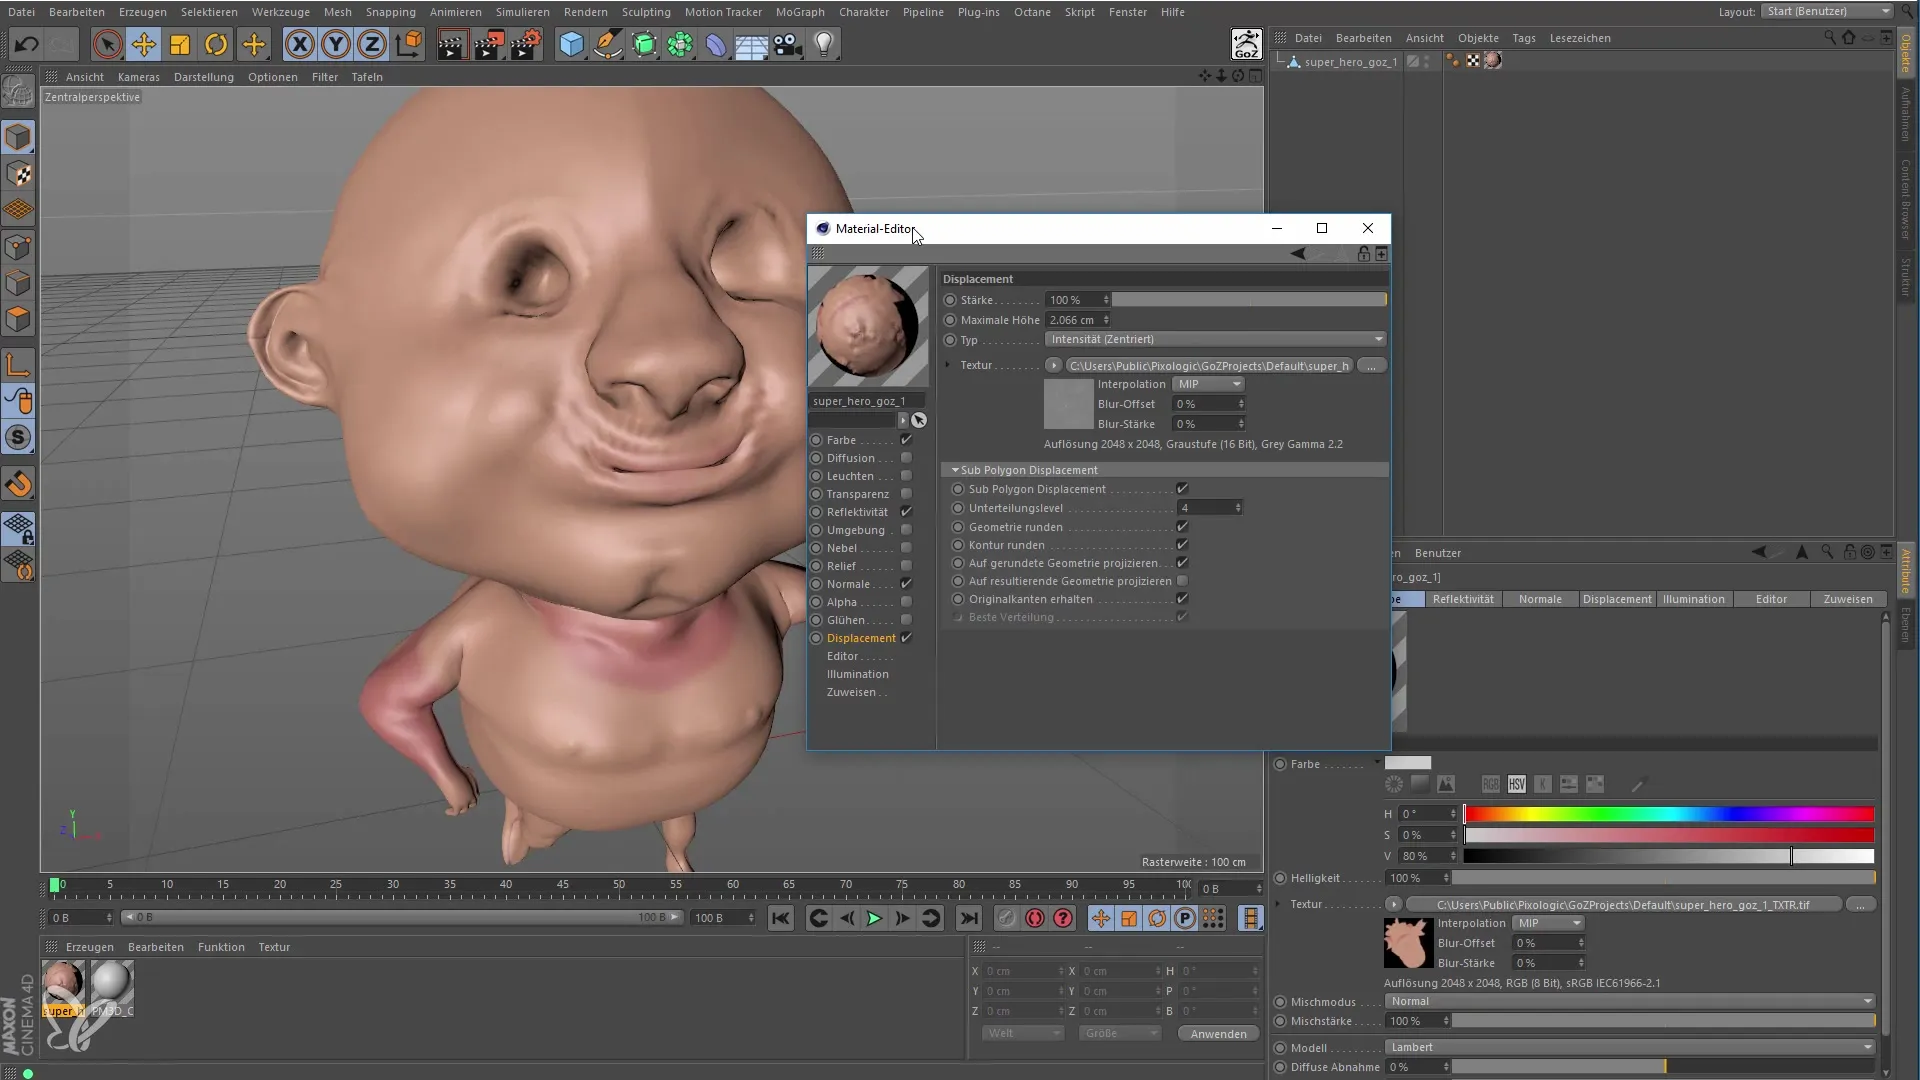
11. Rendering in Cinema 4D
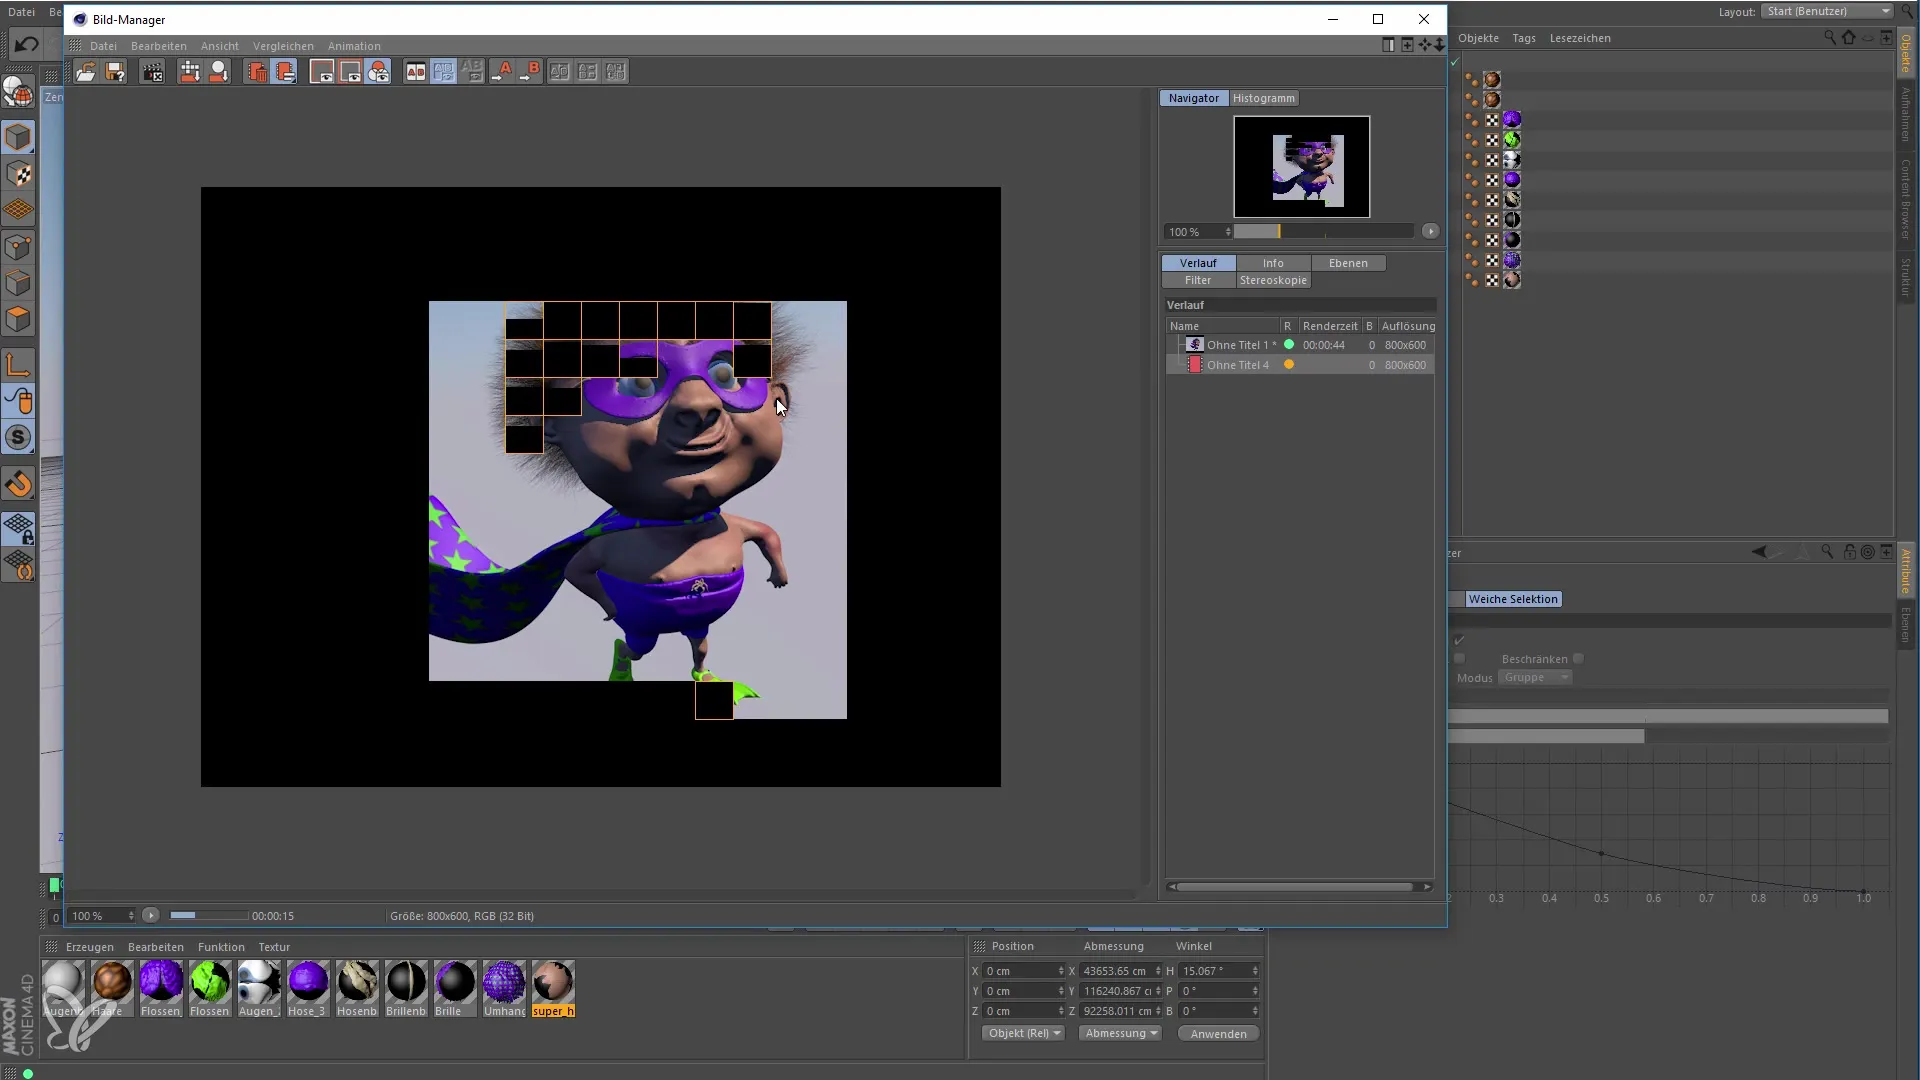
Now you can render the model in Cinema 4D. Set the render settings so that the quality of textures and details can shine. Adjust the strength of the displacement map and increase the subdivision settings for optimal results.
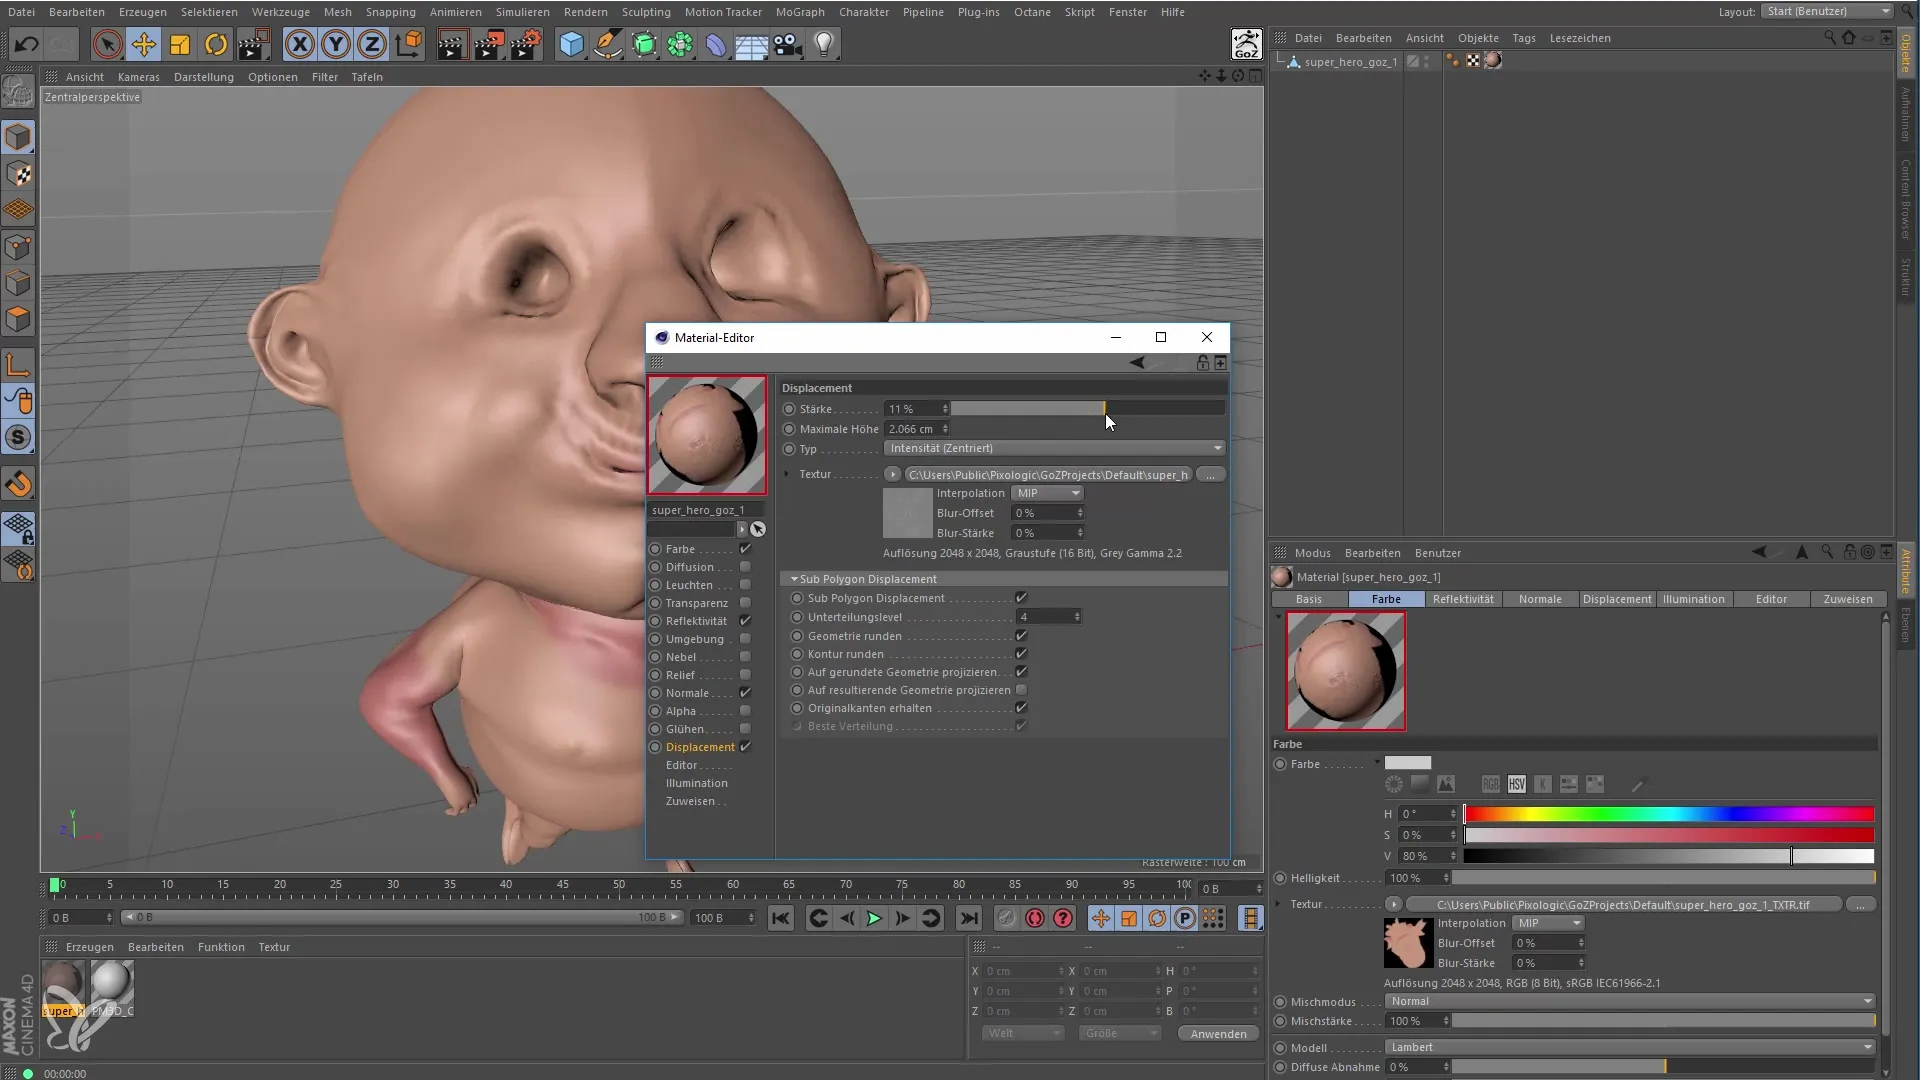
12. Final Adjustments
Before conducting the final rendering, you can make last adjustments to the materials and lighting. Utilize the various rendering options in Cinema 4D to create an impressive final view of your model.
Summary
In this tutorial, you have learned how to efficiently connect ZBrush and Cinema 4D to create and render high-quality 3D models. Access to GoZ allows you to achieve a smooth workflow, while the right techniques in generating textures and details help maximize the quality of your work.
Frequently Asked Questions
How do I install GoZ?GoZ is included by default in ZBrush and does not need to be installed separately.
Which programs can I connect with GoZ?GoZ can be connected to many programs, including Cinema 4D, Modo, and KeyShot.
How does the export from ZBrush to Cinema 4D work?To export, select the model in ZBrush and click on "Go", then choose Cinema 4D from the list of programs.
What are Displacement Maps?Displacement Maps ensure that details on the surface of your model are realistically represented by influencing the geometry of the model.
How do I create UV Maps?To create UV Maps, use the UV Master plugin in ZBrush and apply the "Unwrap" function.
