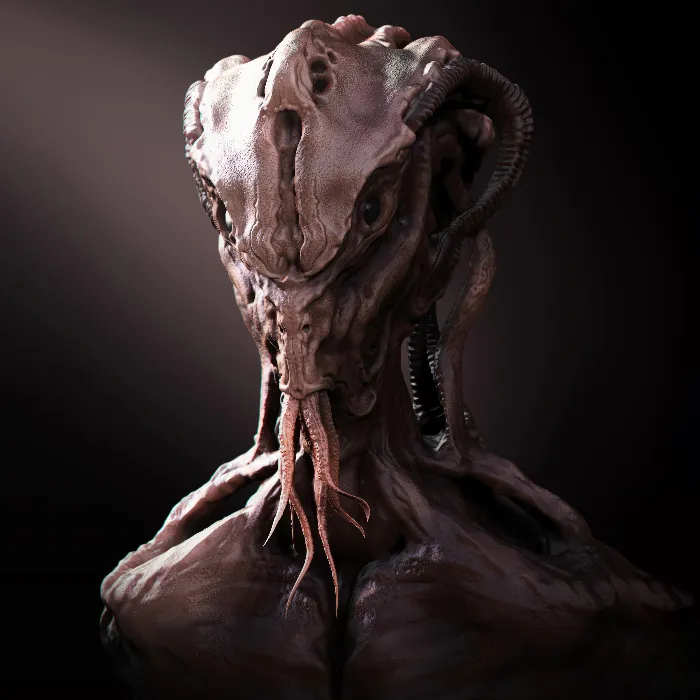
In this tutorial, you will learn how to bring your 3D mesh to life in ZBrush through textures and masking techniques. Texturing is essential to give your model depth and variations in color representation. We will use different materials and techniques to add interesting details. This step-by-step guide will help you unleash your creativity in ZBrush and can also be very useful for your future projects.
Main Insights
- Use different materials to give an interesting base color to your mesh.
- Experiment with RGB intensity for natural color tones.
- Masking techniques play a crucial role in creating depth and details.
Step-by-Step Guide
To start texturing your model, you first need to select the right material. Go to the material menu and choose "SkinShade V," which is ideal for organic shapes. To adjust the subtools, use the shortcut "F" in conjunction with "MRGB." This allows you to apply materials and colors to all subtools.
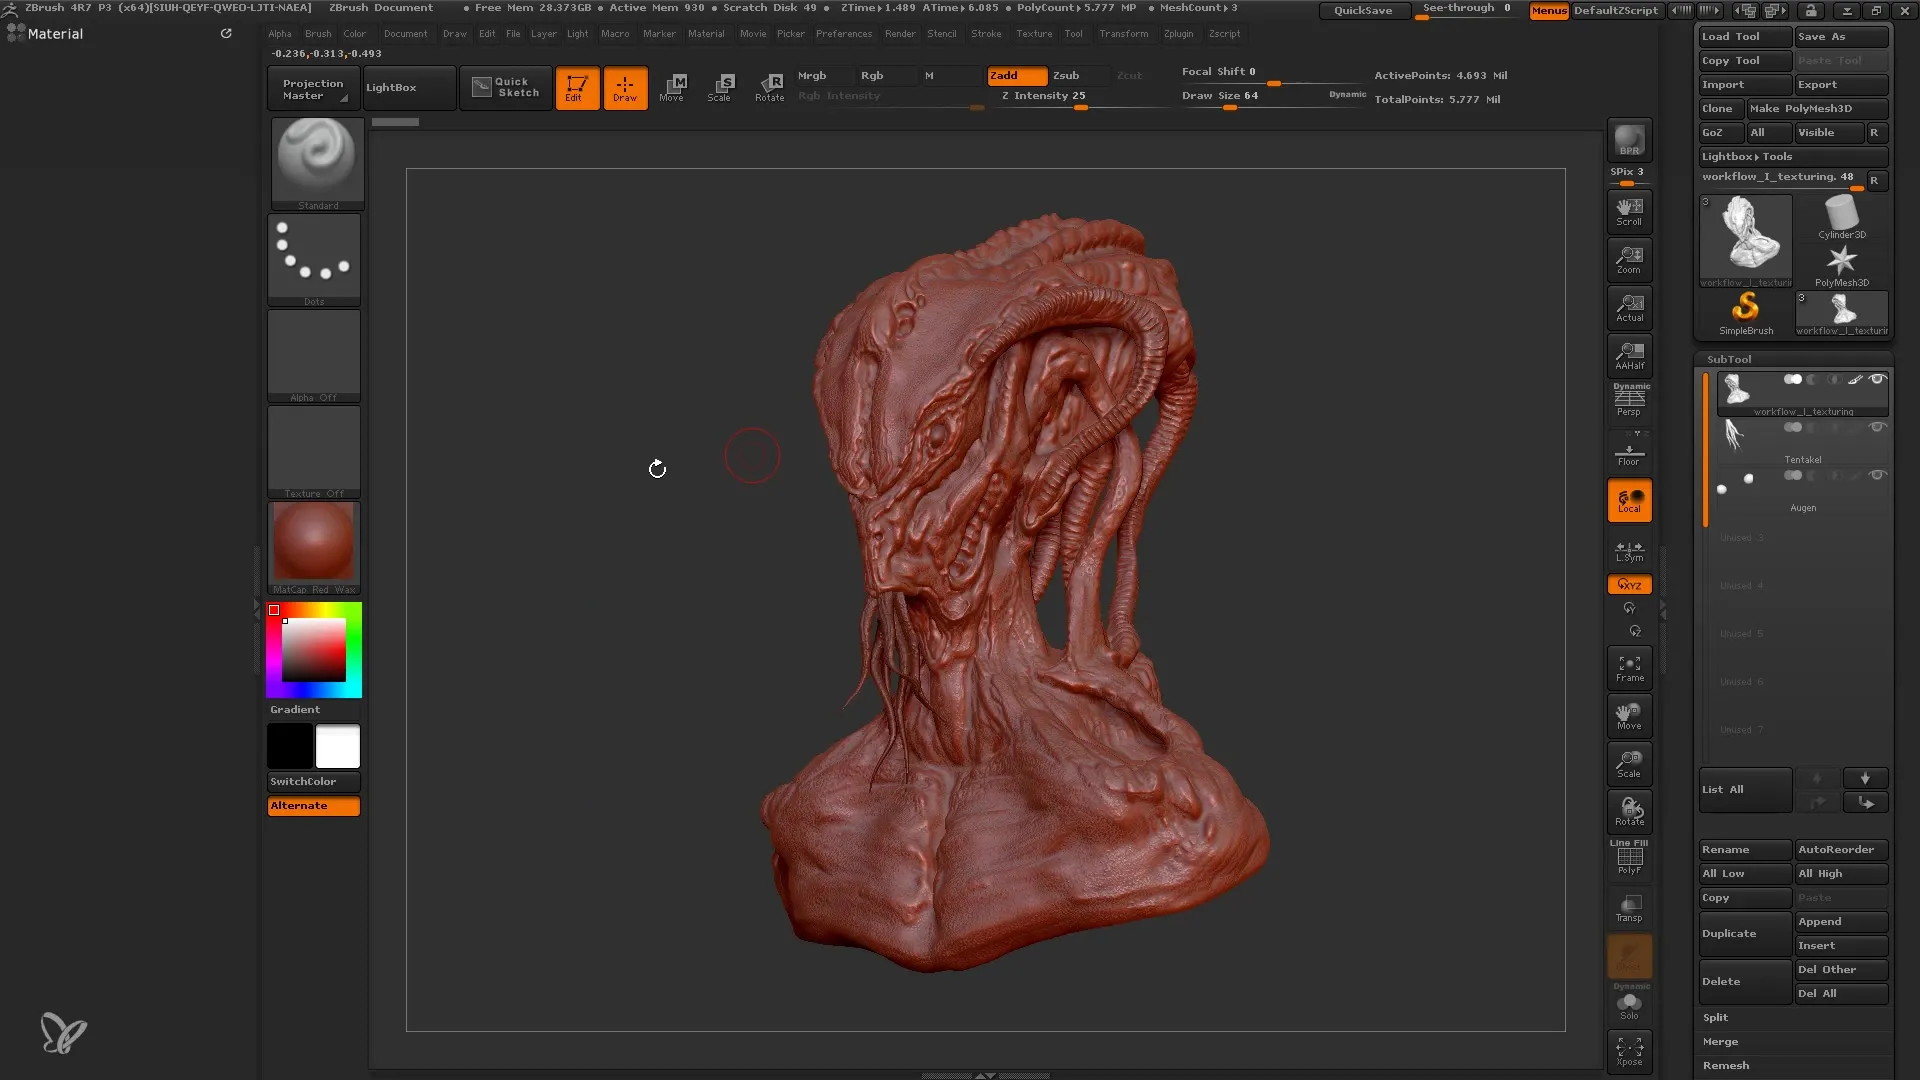
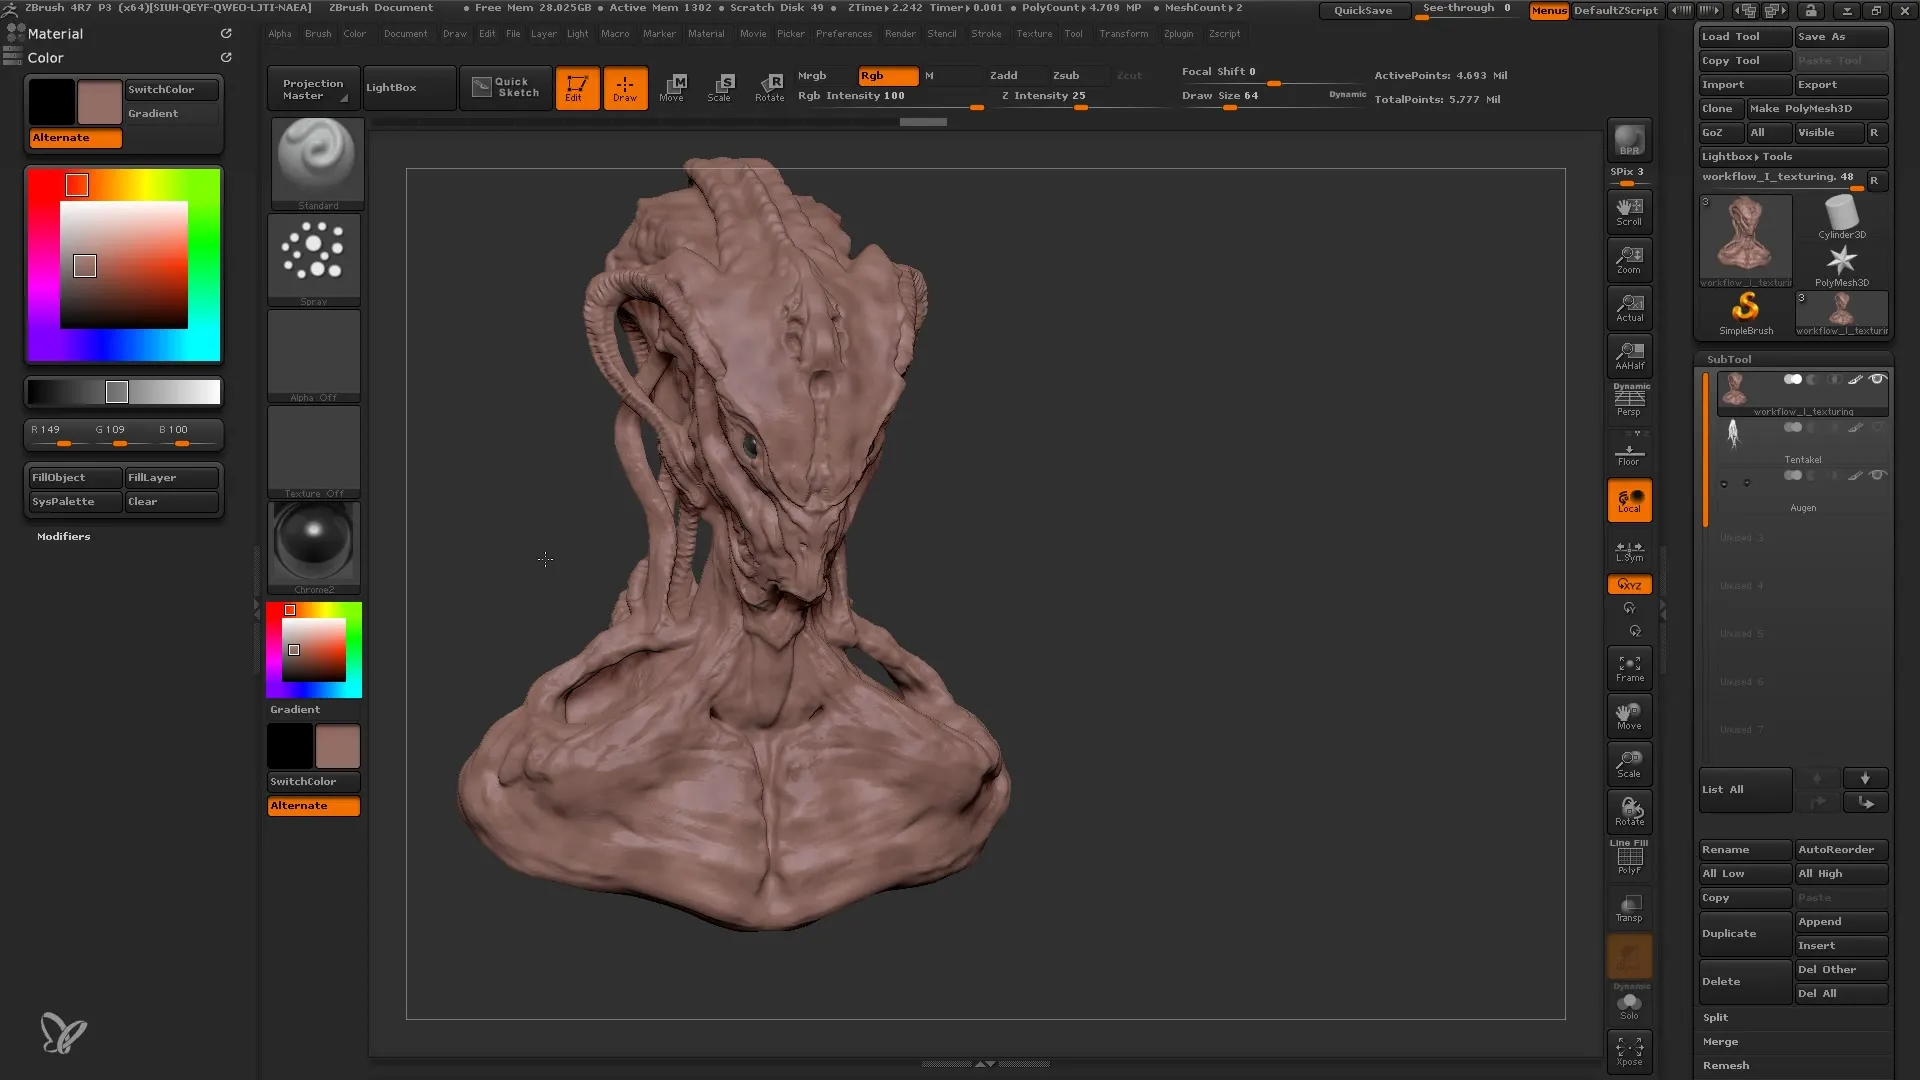
Now that you have set the material and can see an image of your model, focus first on the base color of the main part of your model. Hide the tentacles to make the work easier and start with an appropriate base color. Choose a skin tone that is not too dark or too light - just experiment! Make sure to keep the RGB setting enabled to apply the color correctly.
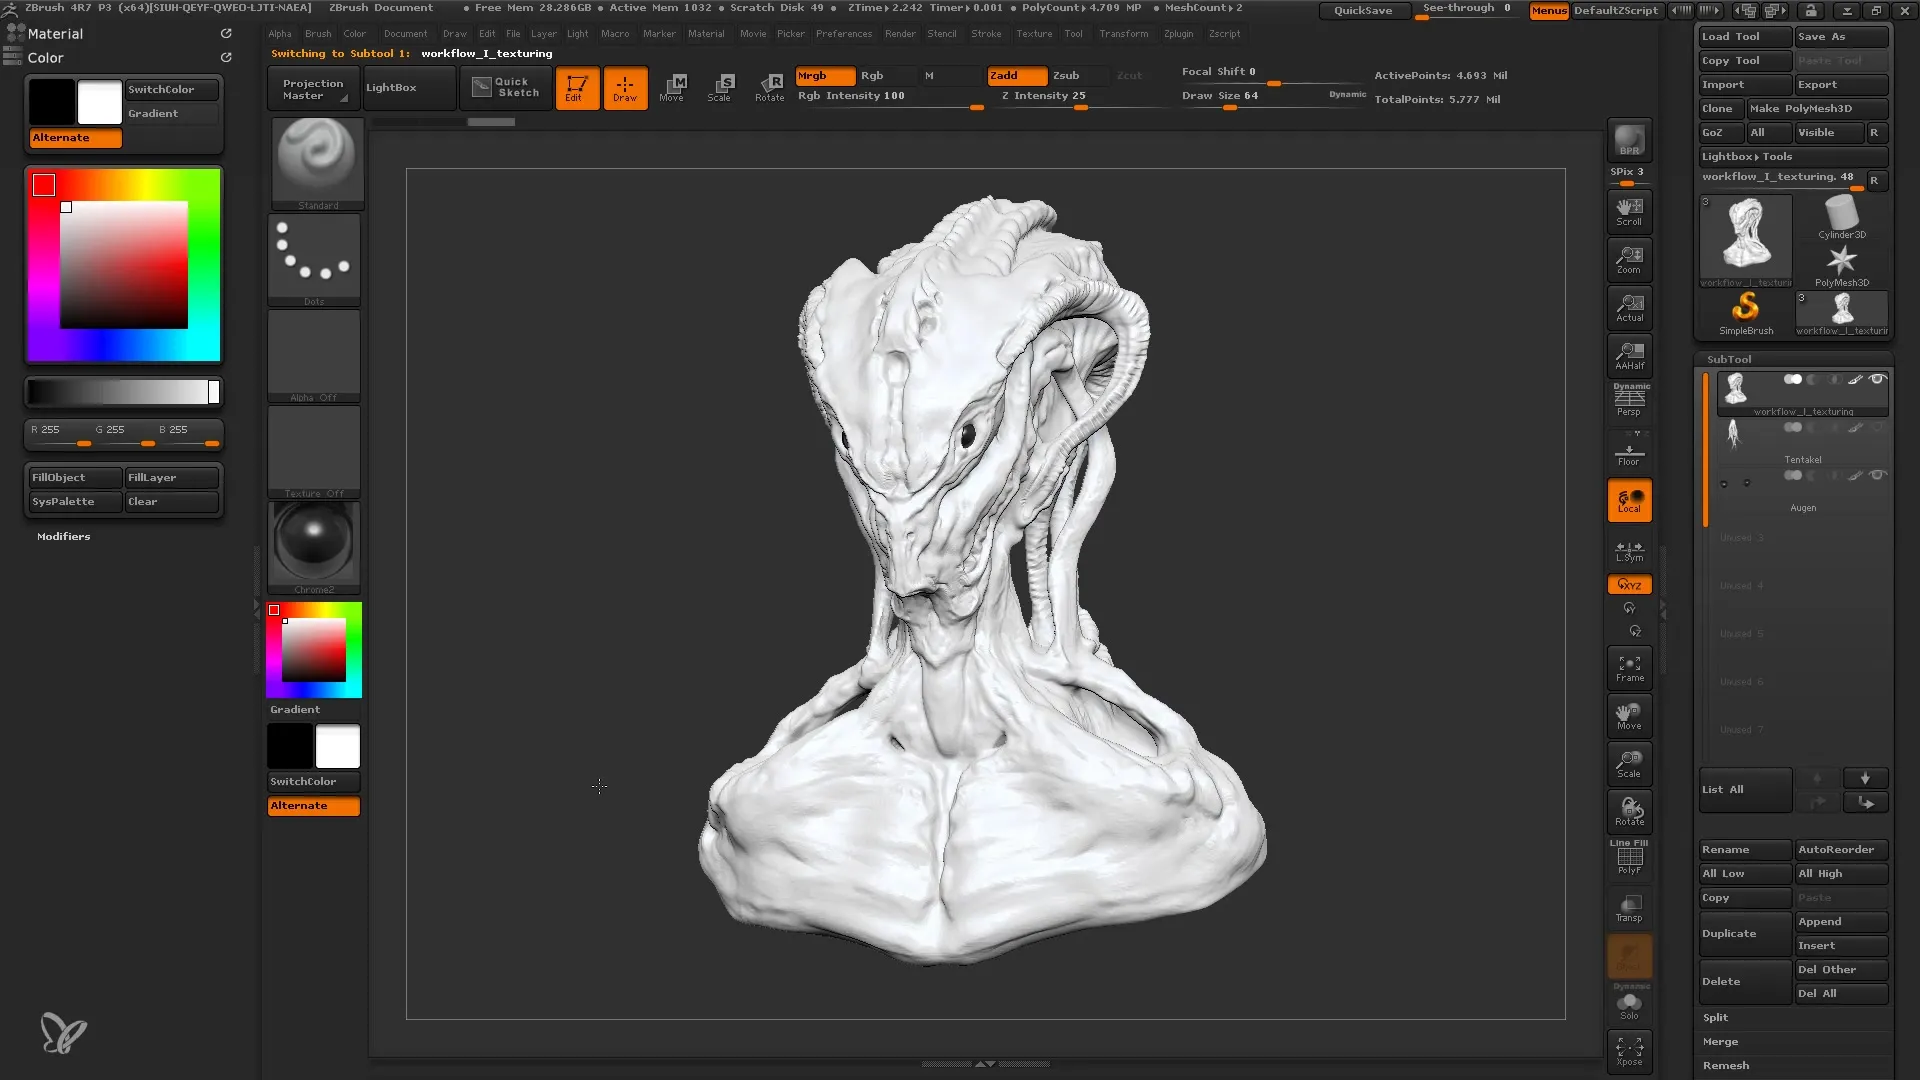
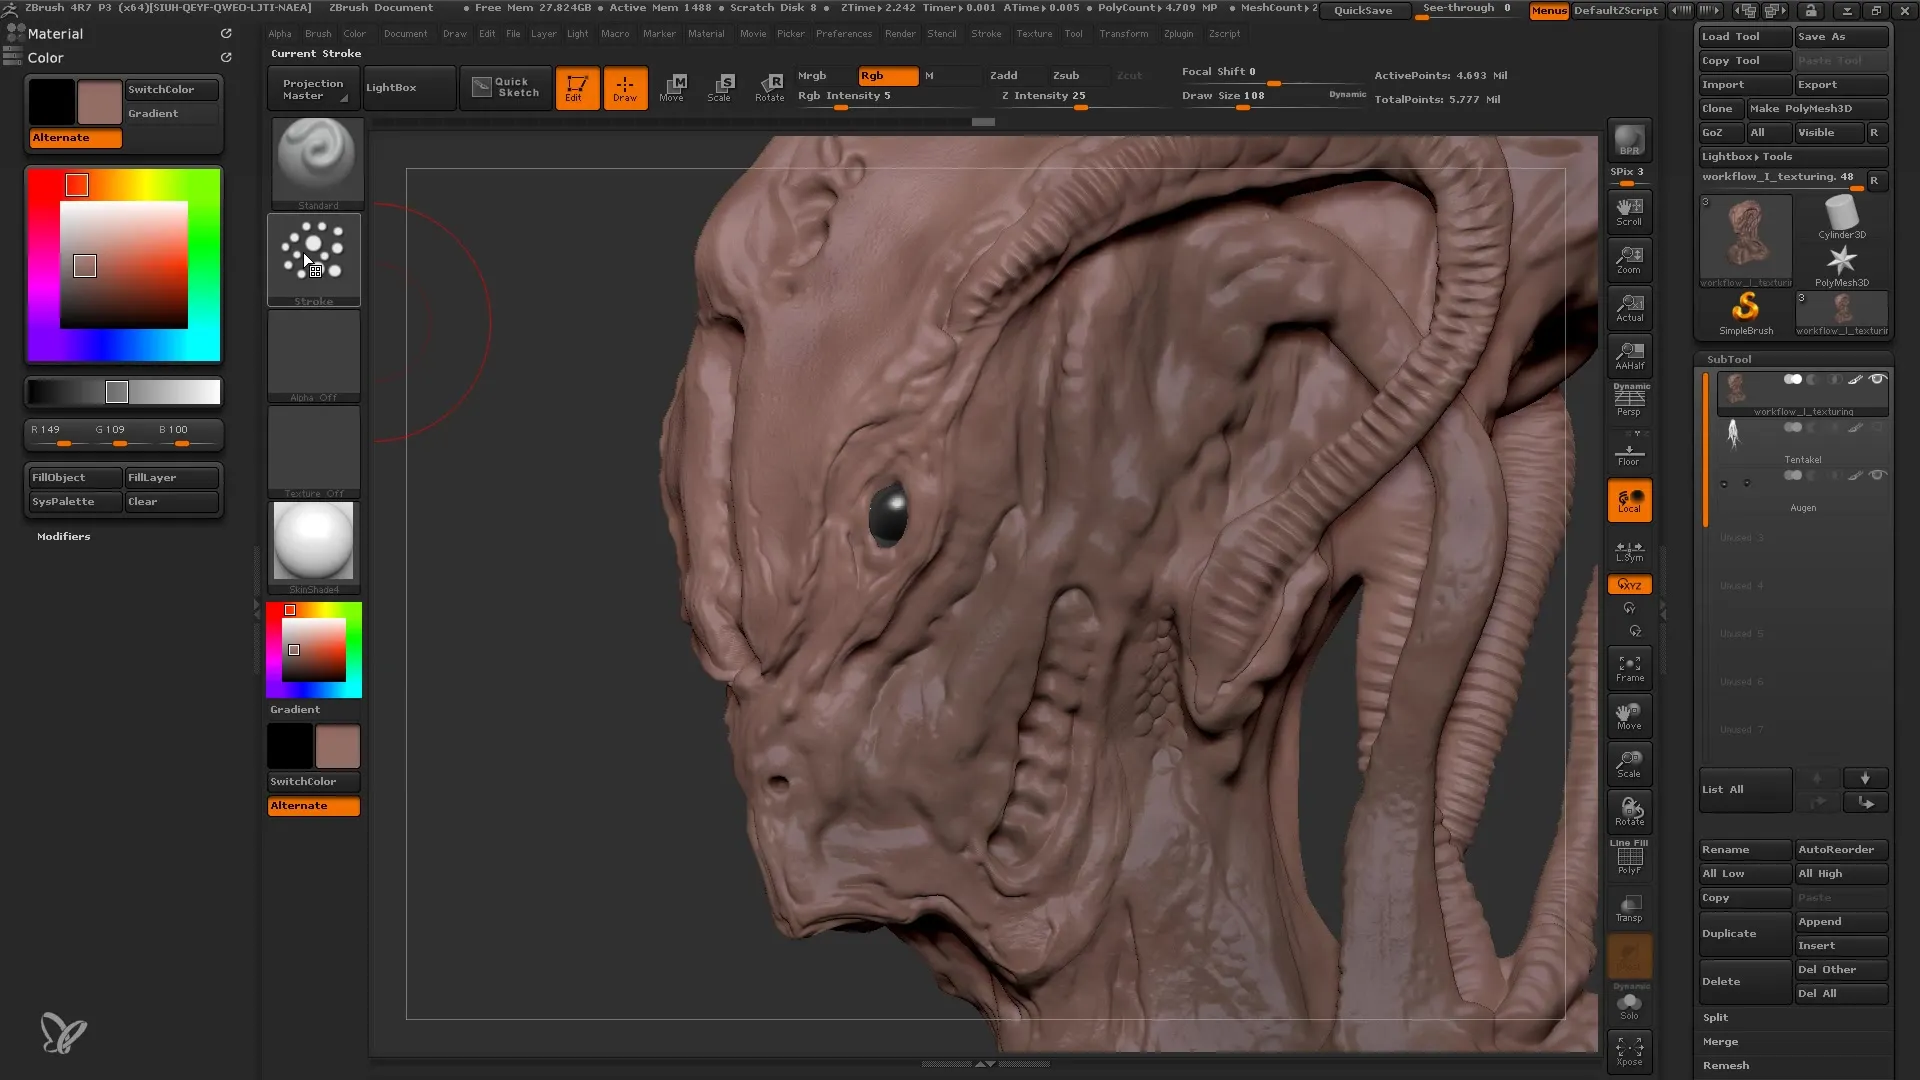
Next comes adding texture. Go to "Color Spray" for this. The spray gives your model more variance through different tonal values within the points. You can use the C key to pick up the last selected color again. Adjust the intensity so that the color appears slightly lighter and apply it to your model.
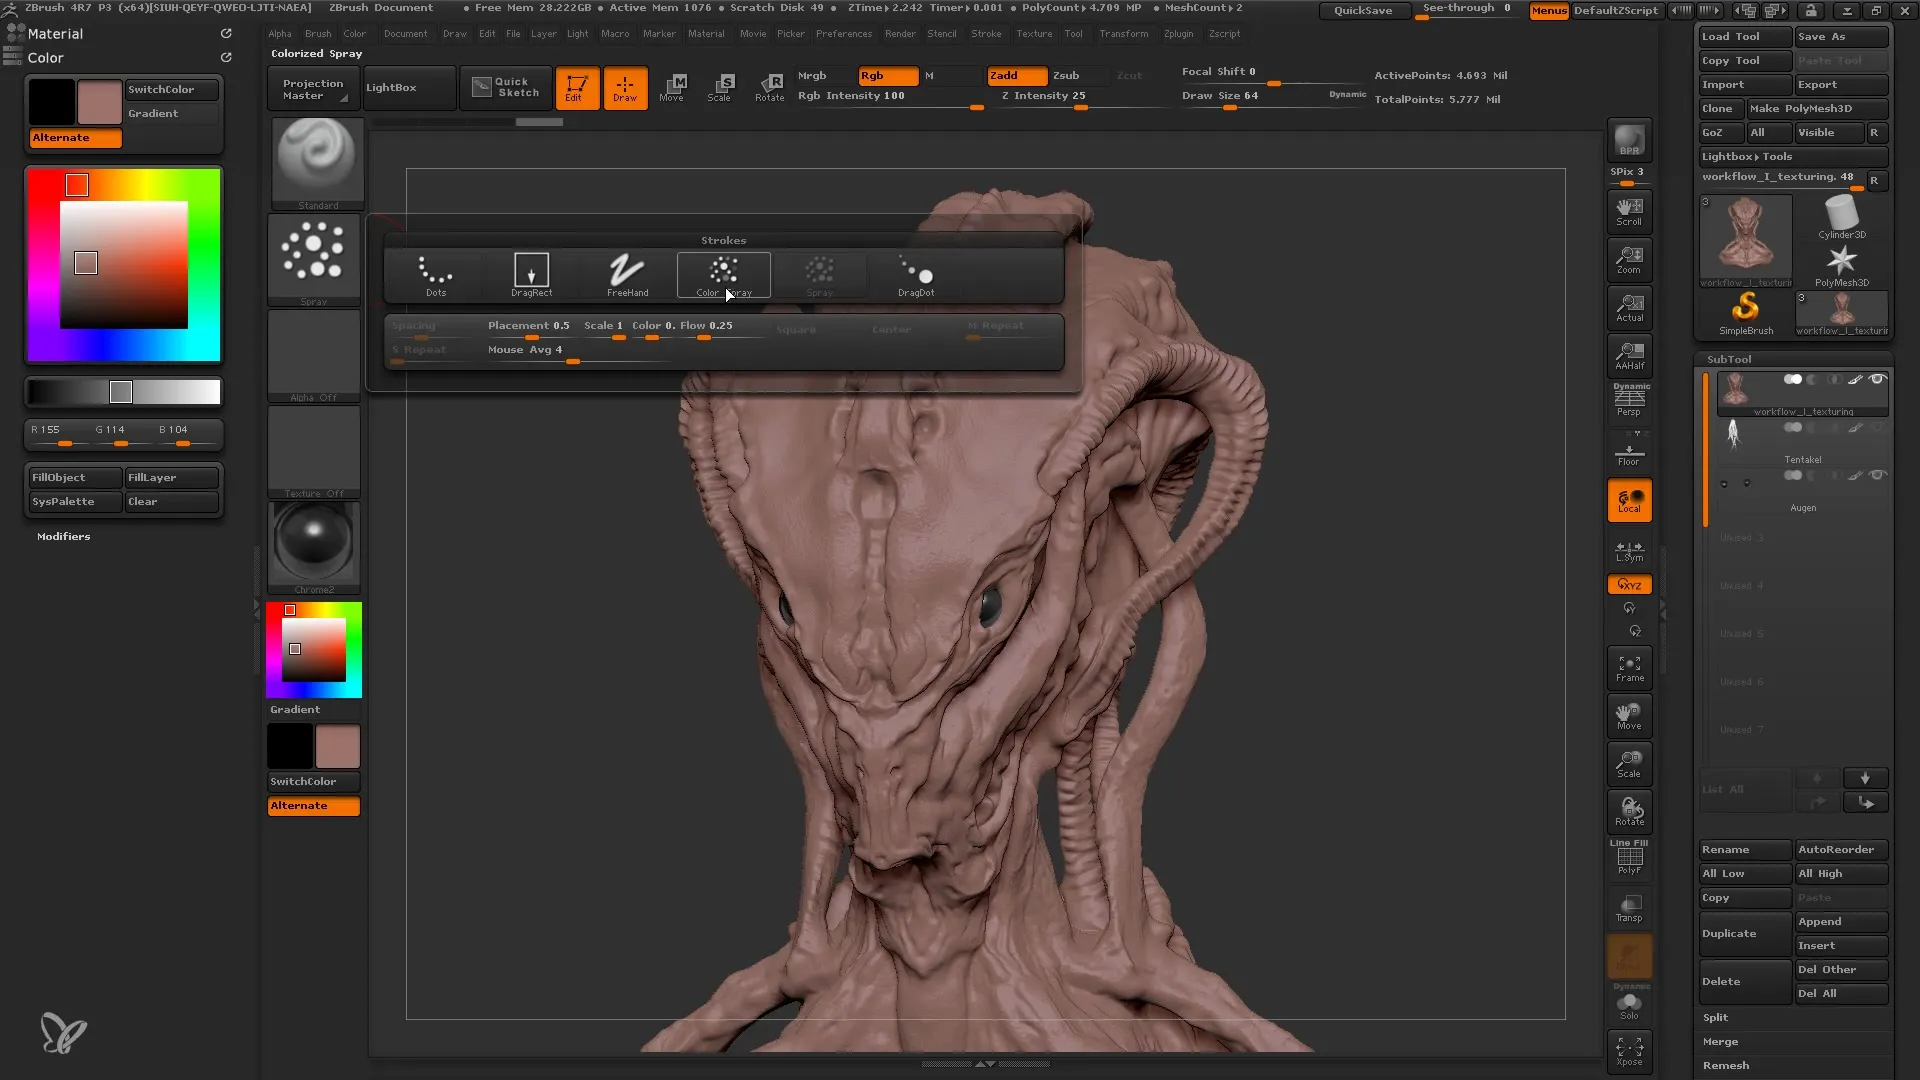
Make sure to switch to symmetry mode to make the application of colors more efficient. This will make your model more lively as you apply different shades in a smooth transitional form. Let the green tones and darker accents blend together to achieve a more realistic look.
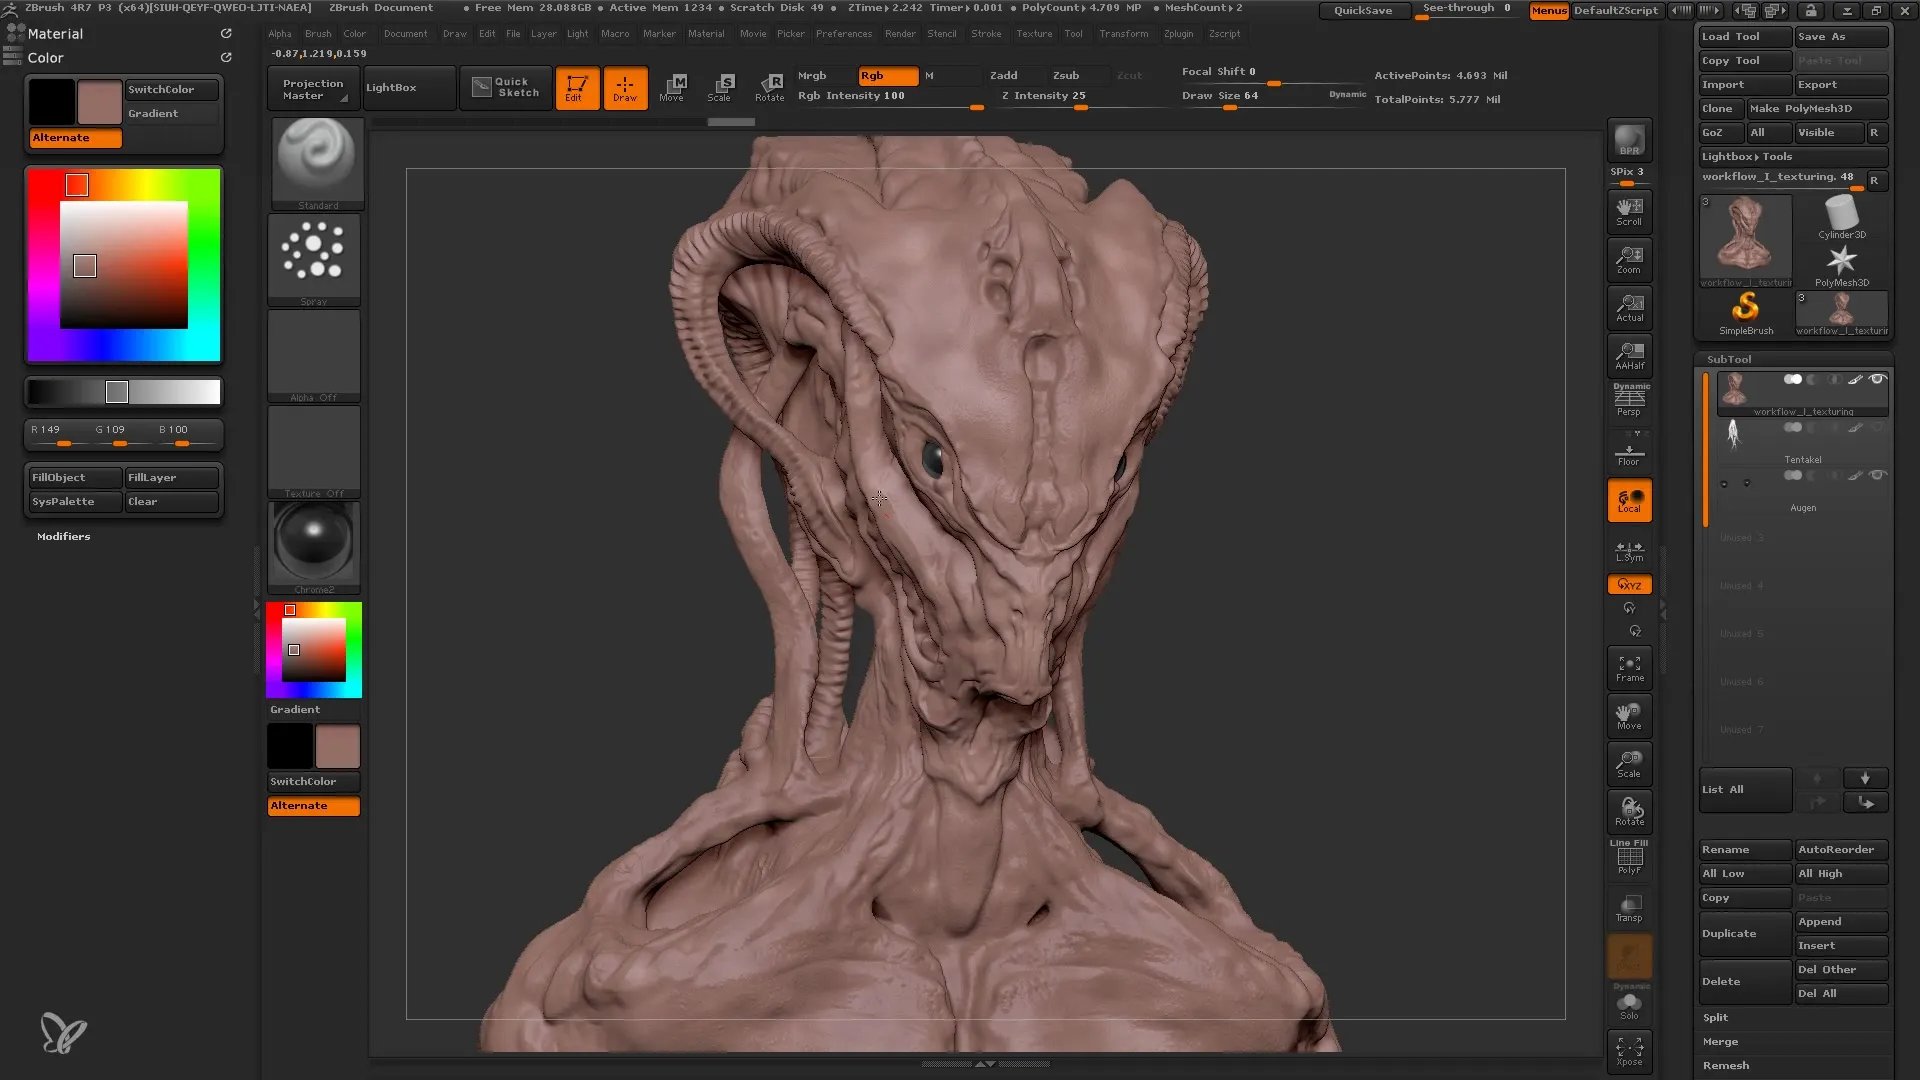
A proven method for working on details is using textures. Choose a texture and set the RGB intensity to a low value to subtly integrate the texture. This is especially helpful in areas where you do not want to focus, as the texture complements the look of your model without being intrusive.
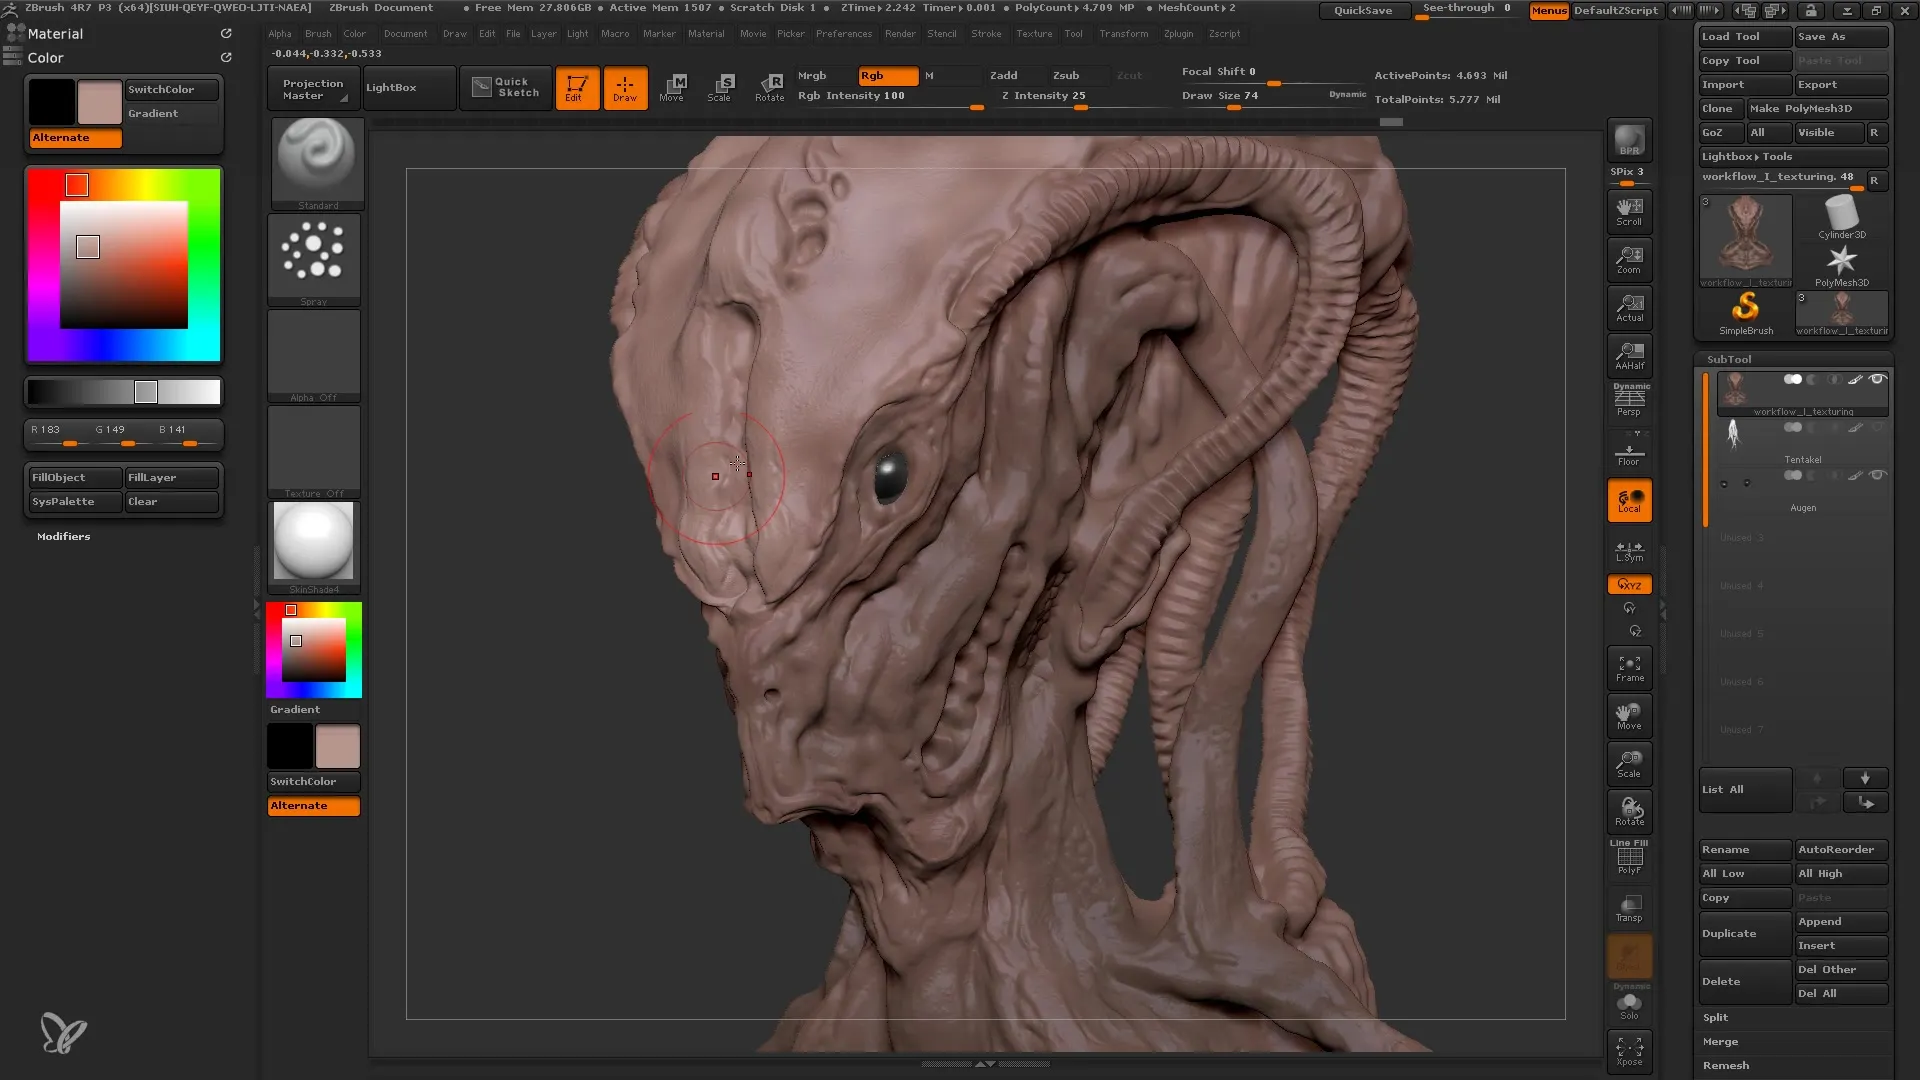
After integrating the base color and textures into your model, it's important that you can paint the polygons. You can use the C key to pick up pigmented colors from the current area. Make sure you work with the spray method and utilize individual color adjustments to bring your character to life.
For the next steps, you should continuously switch between materials and techniques to harmoniously blend the textures together. Experiment with different colors and shades to highlight specific areas, such as the tentacles or eyes, without overwhelming the entire mesh.
Another useful function is using special masks, such as the "Mask by Cavity" tool. This way, you can identify indentations and cavities in your model, which you can then emphasize more strongly through color applications. Remember to invert the mask to color only the desired areas.
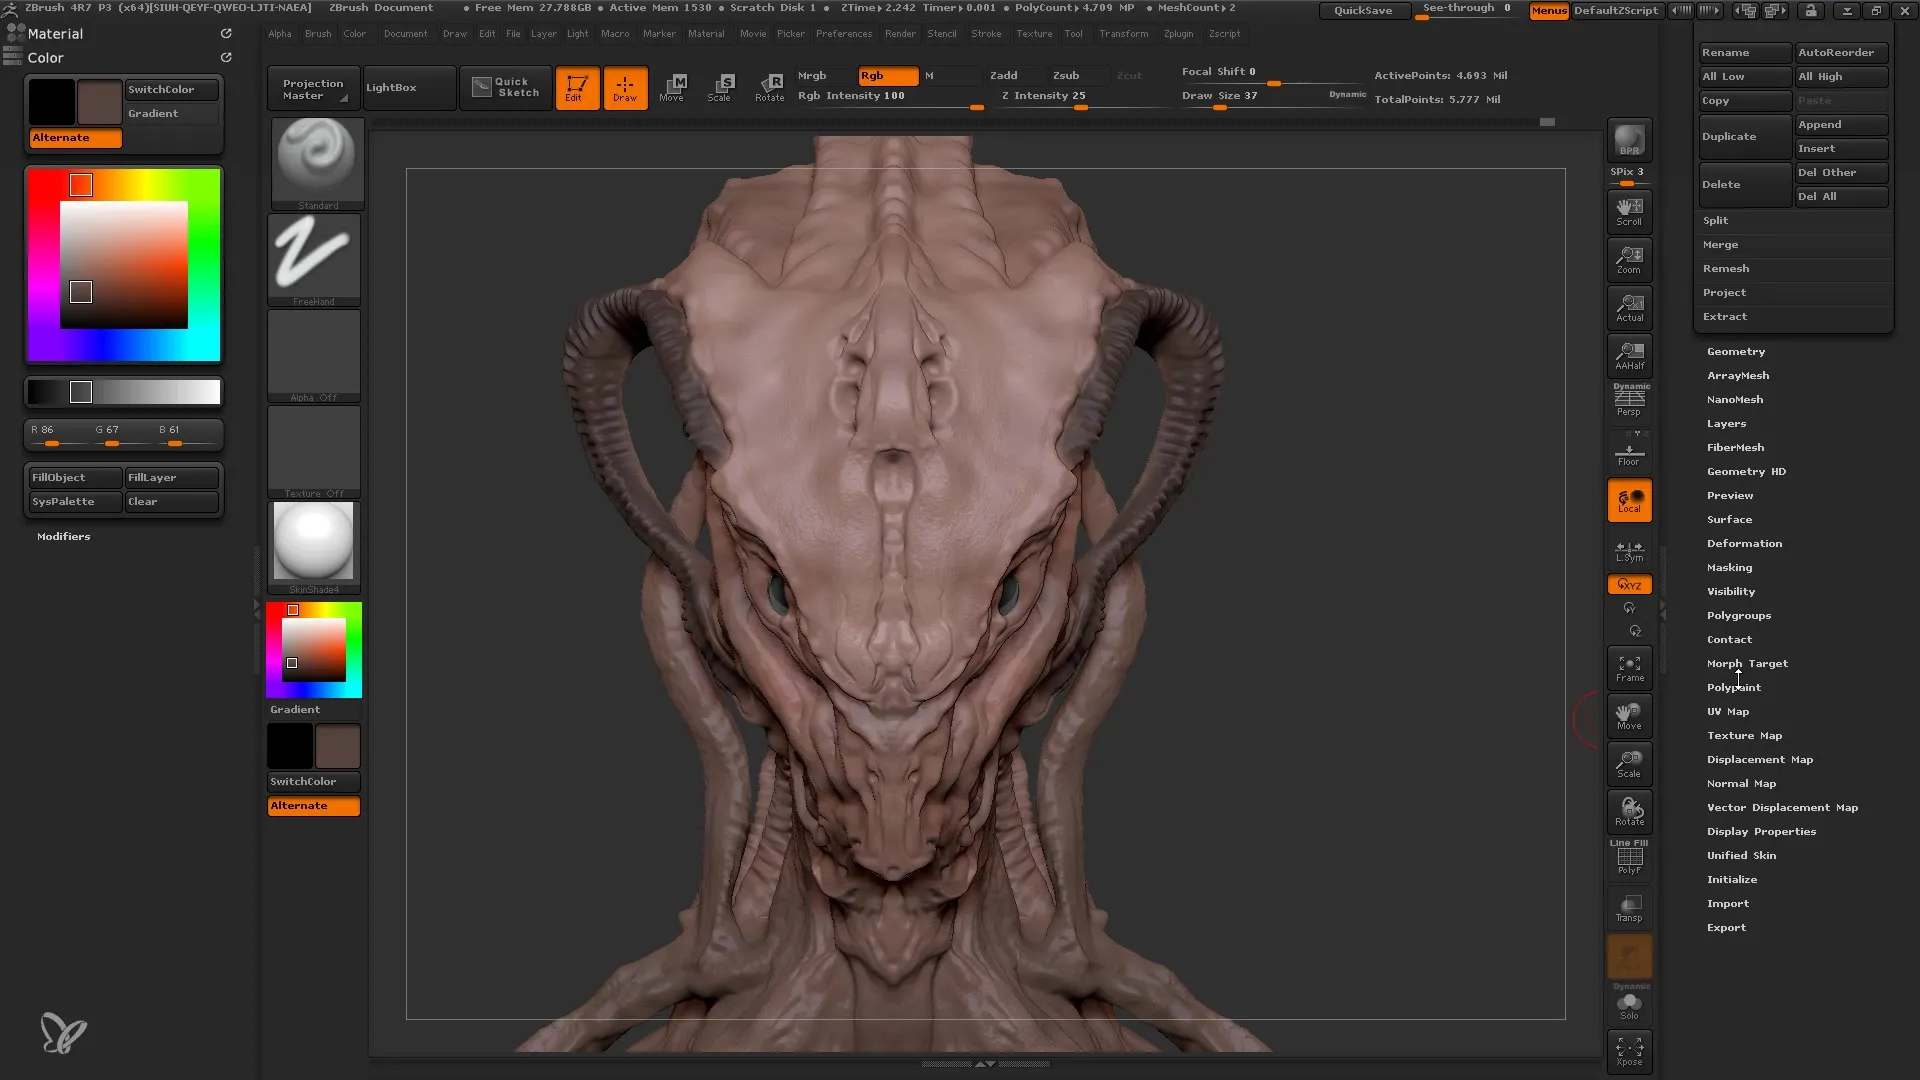
While using masks and tools, remember that color information in ZBrush is very precise and important for working out details. You have the perfect opportunity to optimize the entire model and create harmonious color combinations.
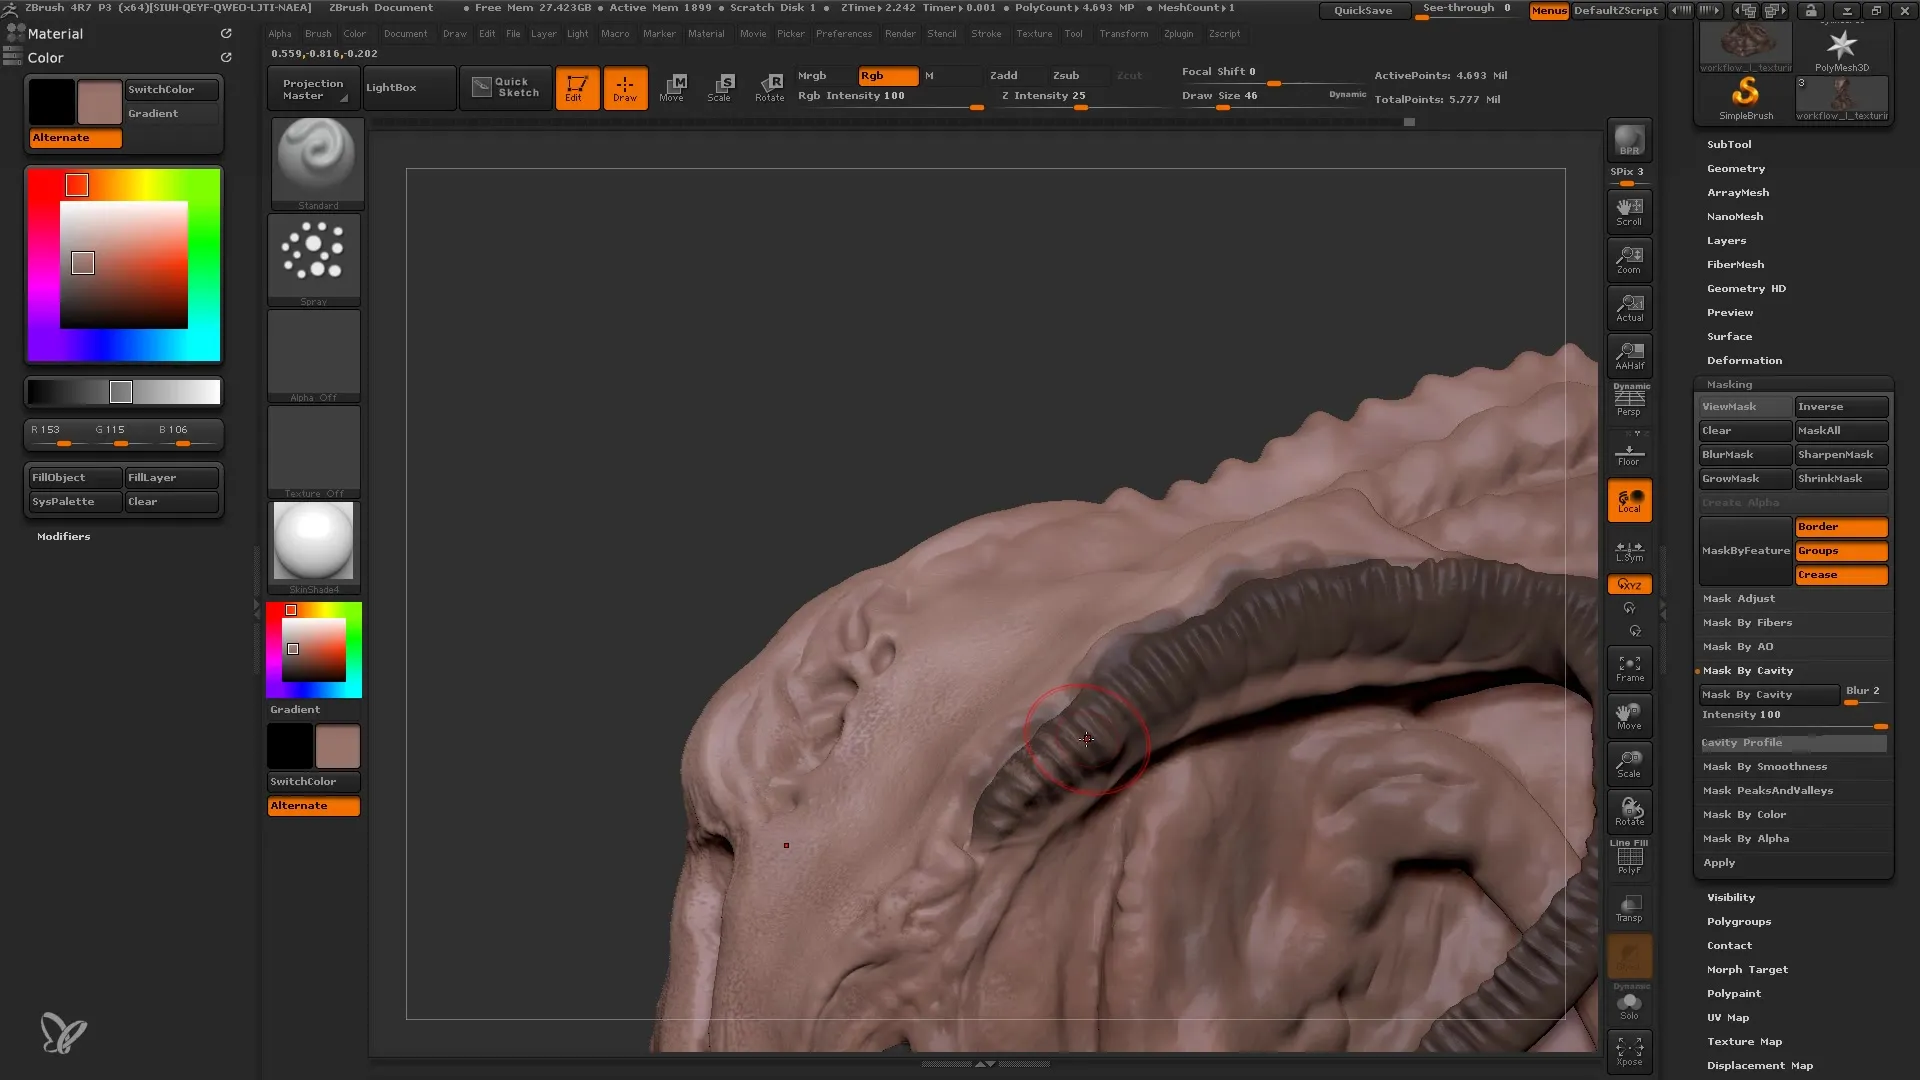
When you are satisfied with the structure of your model, check the overall balance of the colors. Make sure that the colors in different areas of your model create different accents and draw attention to where you want it.
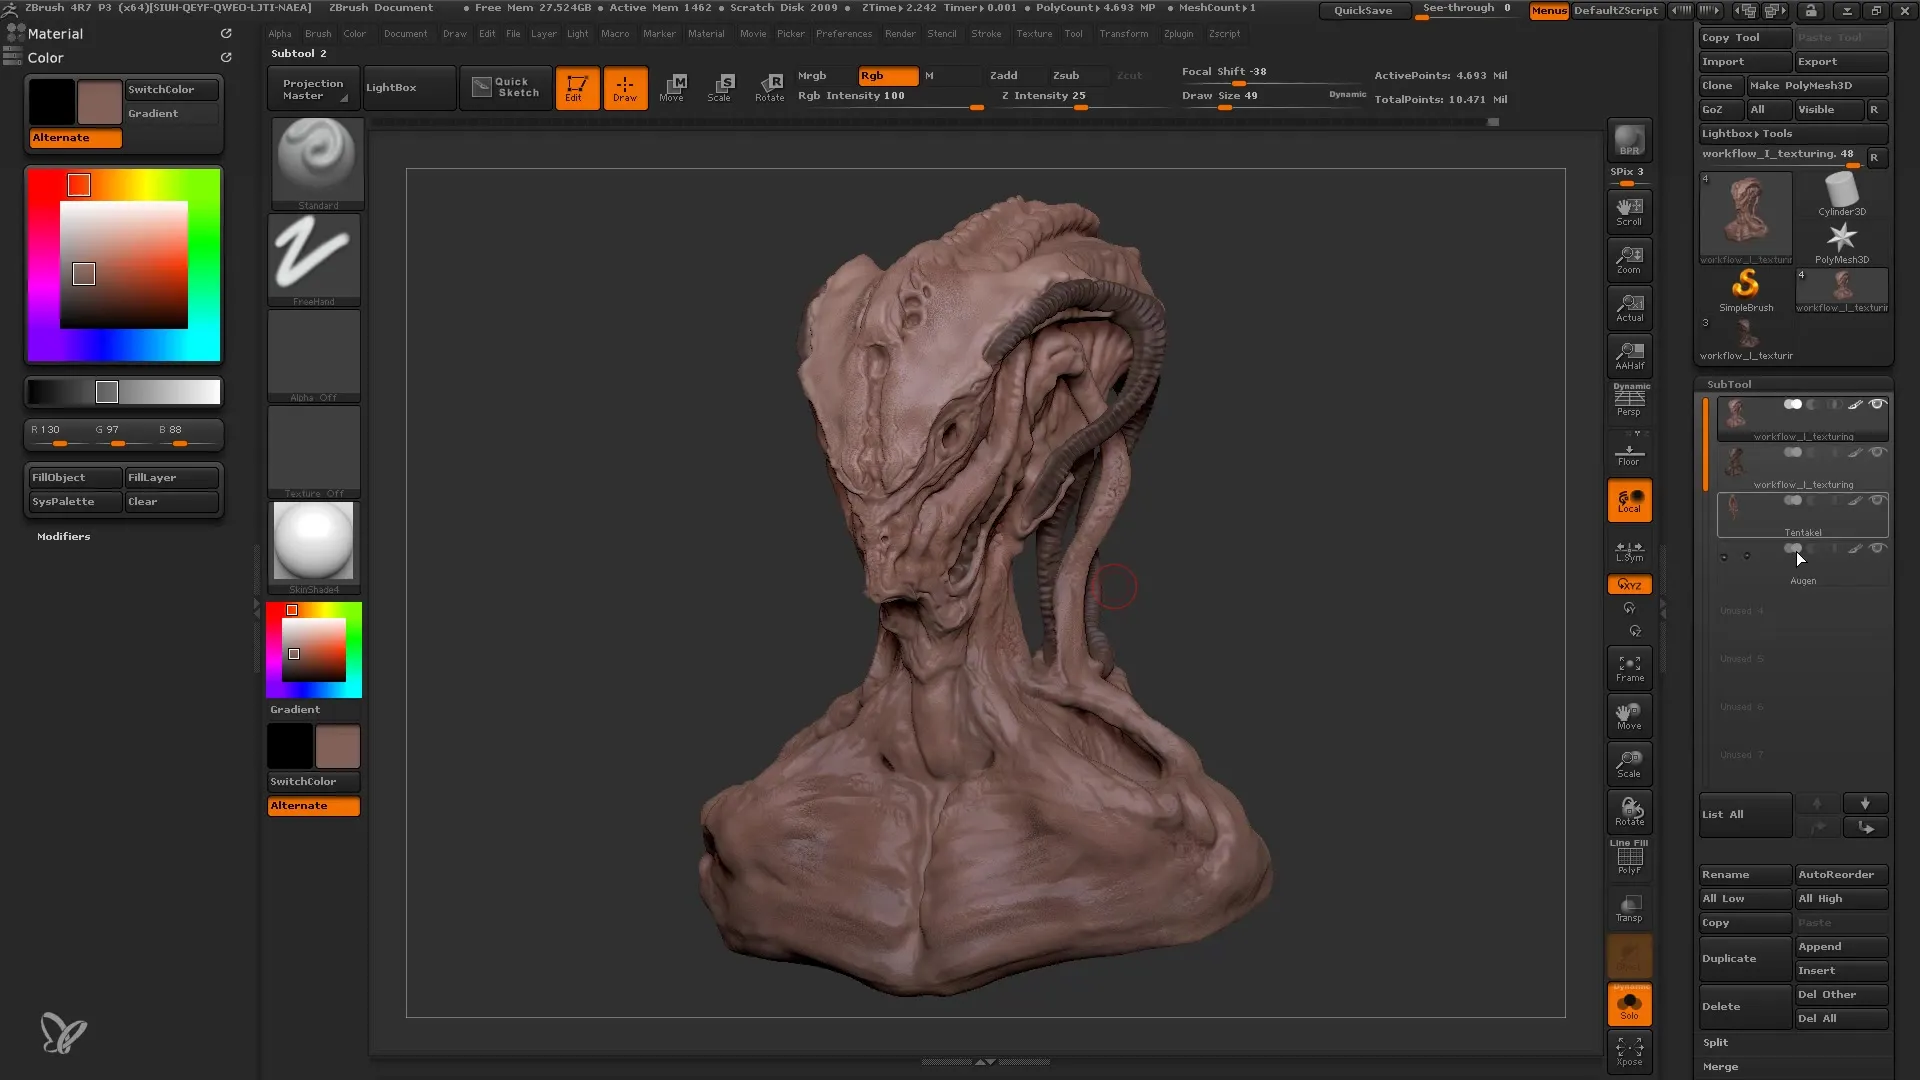
Summary
In this tutorial, you have learned how to create a foundation for texturing your 3D model in ZBrush using materials, masks, and textures. From selecting the material to choosing the right colors to applying masks - each step contributes to making your model look more vibrant and realistic.
Frequently Asked Questions
How do I choose the best material for my mesh?Choose a material that suits your type of model, e.g. "SkinShade V" for organic shapes.
How can I adjust the RGB intensity?Go to the color settings and set the RGB intensity to your desired value to influence the color strength.
Why are masks important?Masks help isolate specific areas of your model so you can make precise colorings and detail adjustments.
