In this tutorial, you will learn an effective workflow to create a Low-Poly-Base-Model using ZBrush. The focus is on utilizing ZModeler to generate appealing models in a short amount of time. Additionally, we will use Polygroups and Grouploops to refine the model and add interesting details. This guide aims to help you better understand the basics of modeling in ZBrush and unleash your creative potential. Let's get started!
Key Takeaways
- Creating a Low-Poly-Base-Model using ZModeler.
- Using Polygroups for better structuring of models.
- Applying Grouploops for interesting details.
Step-by-Step Guide
Step 1: Introduction to the Workflow
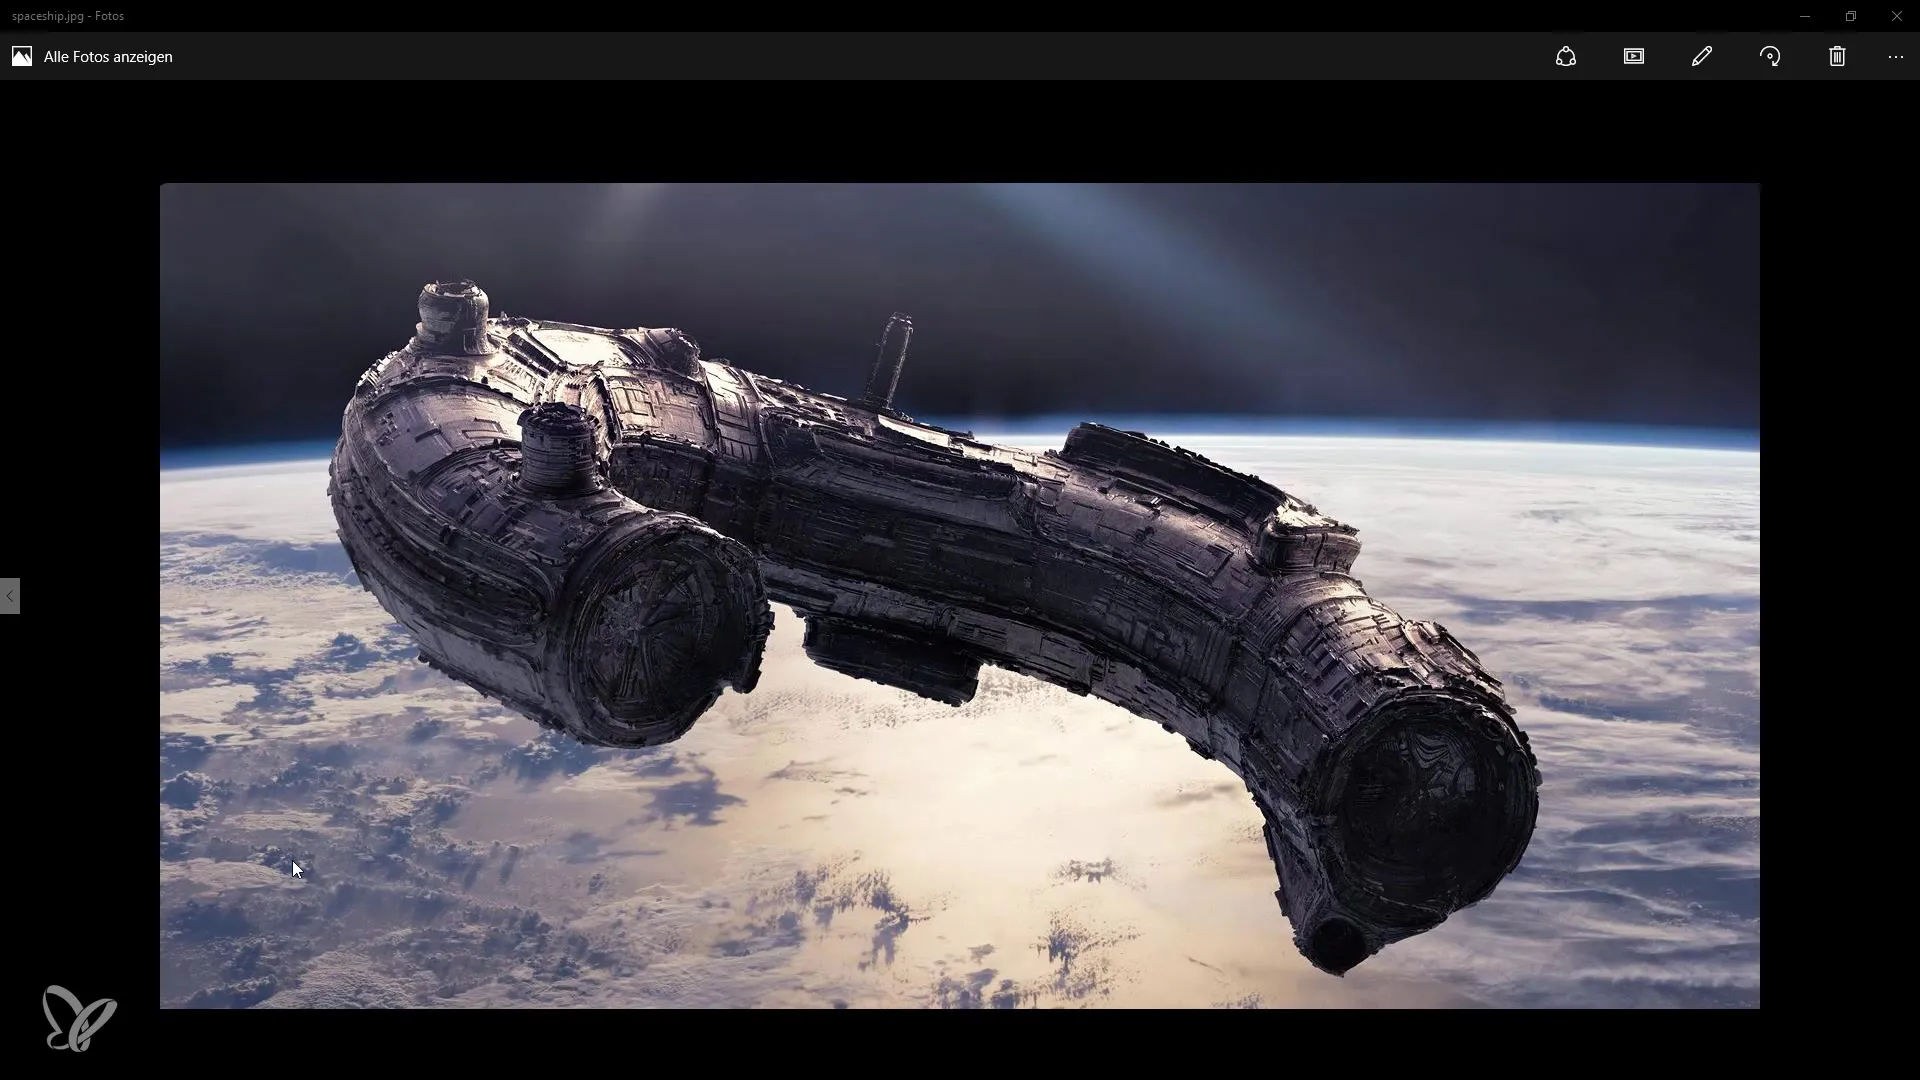
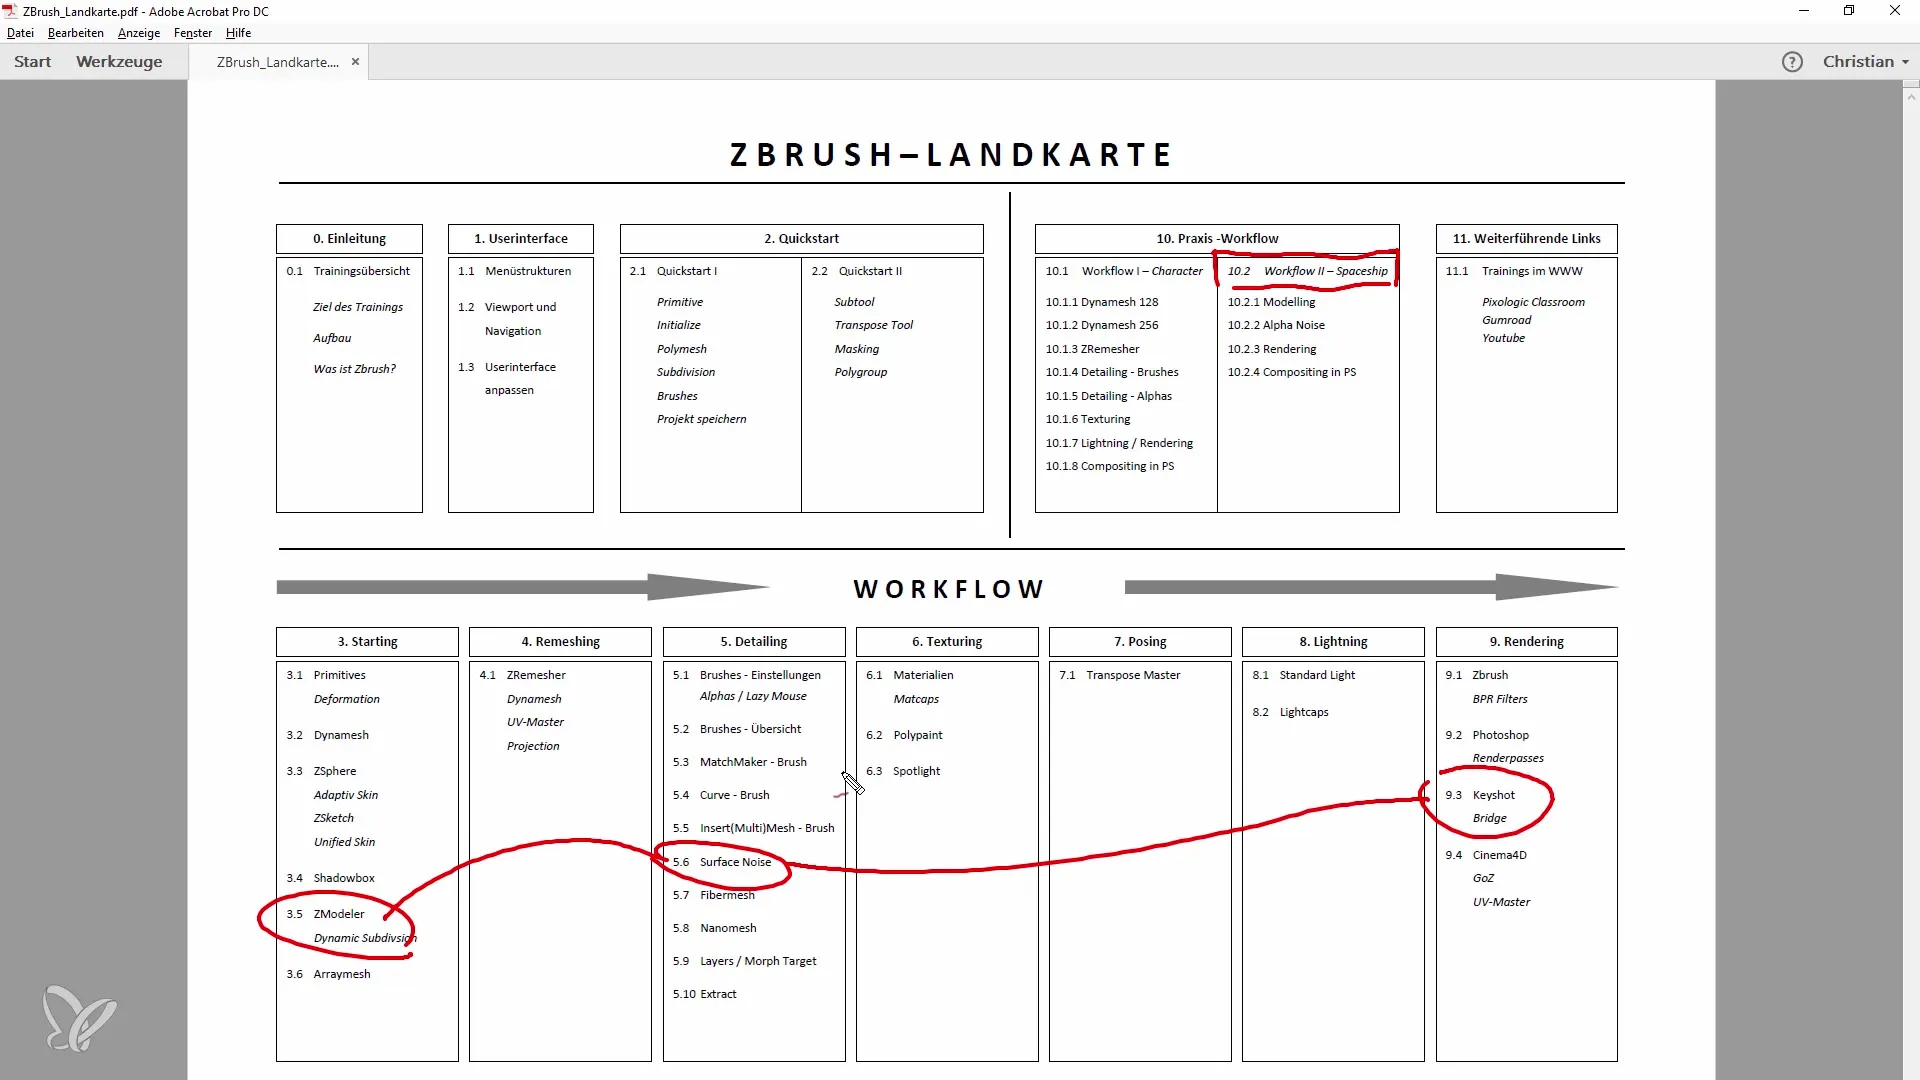
The second workflow I want to show you involves creating a spacecraft in ZBrush. It is important to develop the basic shape first before diving into detailing. The ZModeler is the primary tool we will start with.
Step 2: Creating the Base Form
To start modeling, select the 3D ring. Simply press the 'T' key to bring the ring onto the workspace. This shape serves as the base for our spacecraft.
Step 3: Adjusting the Lines and Polygons
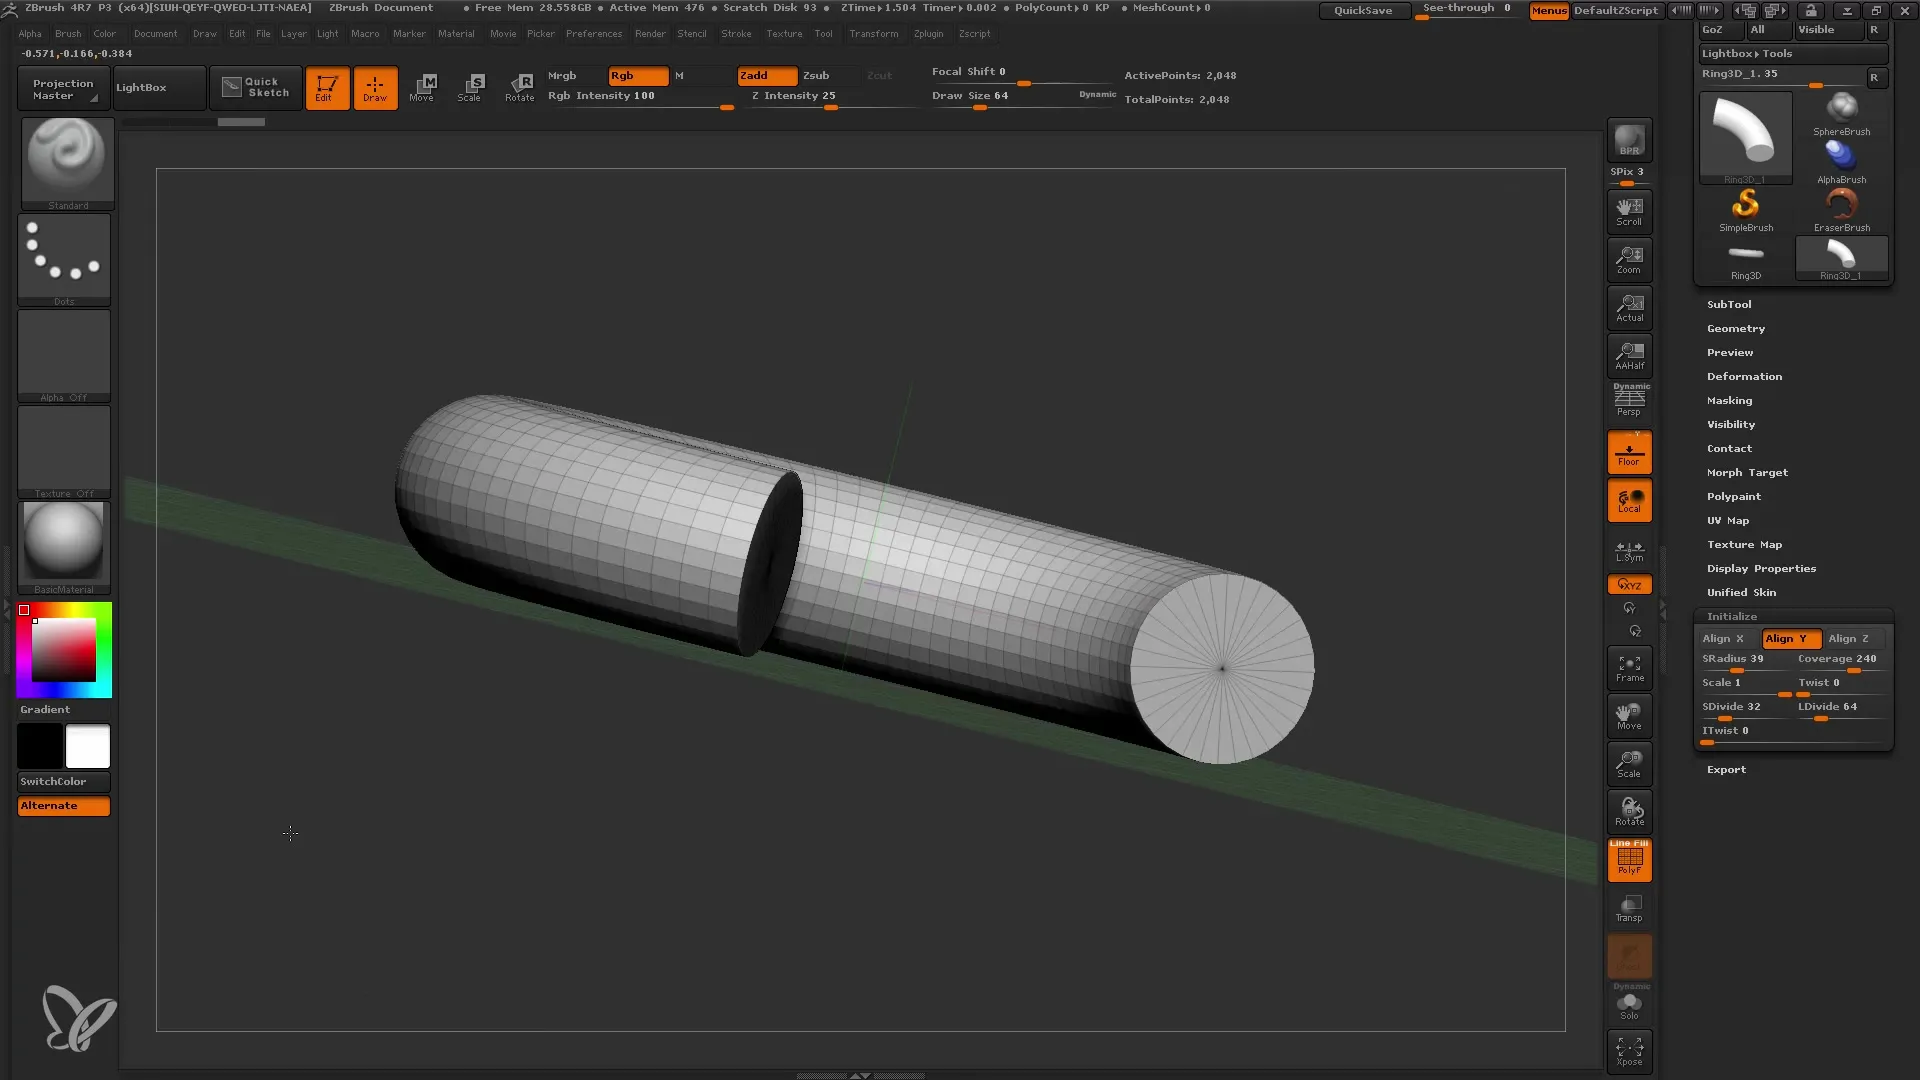
Now, draw the lines and use the basic material to increase visibility. Ensure to set the ring's coverage to 240° so the opening of 120° stands out nicely.
Step 4: Polygon Editing
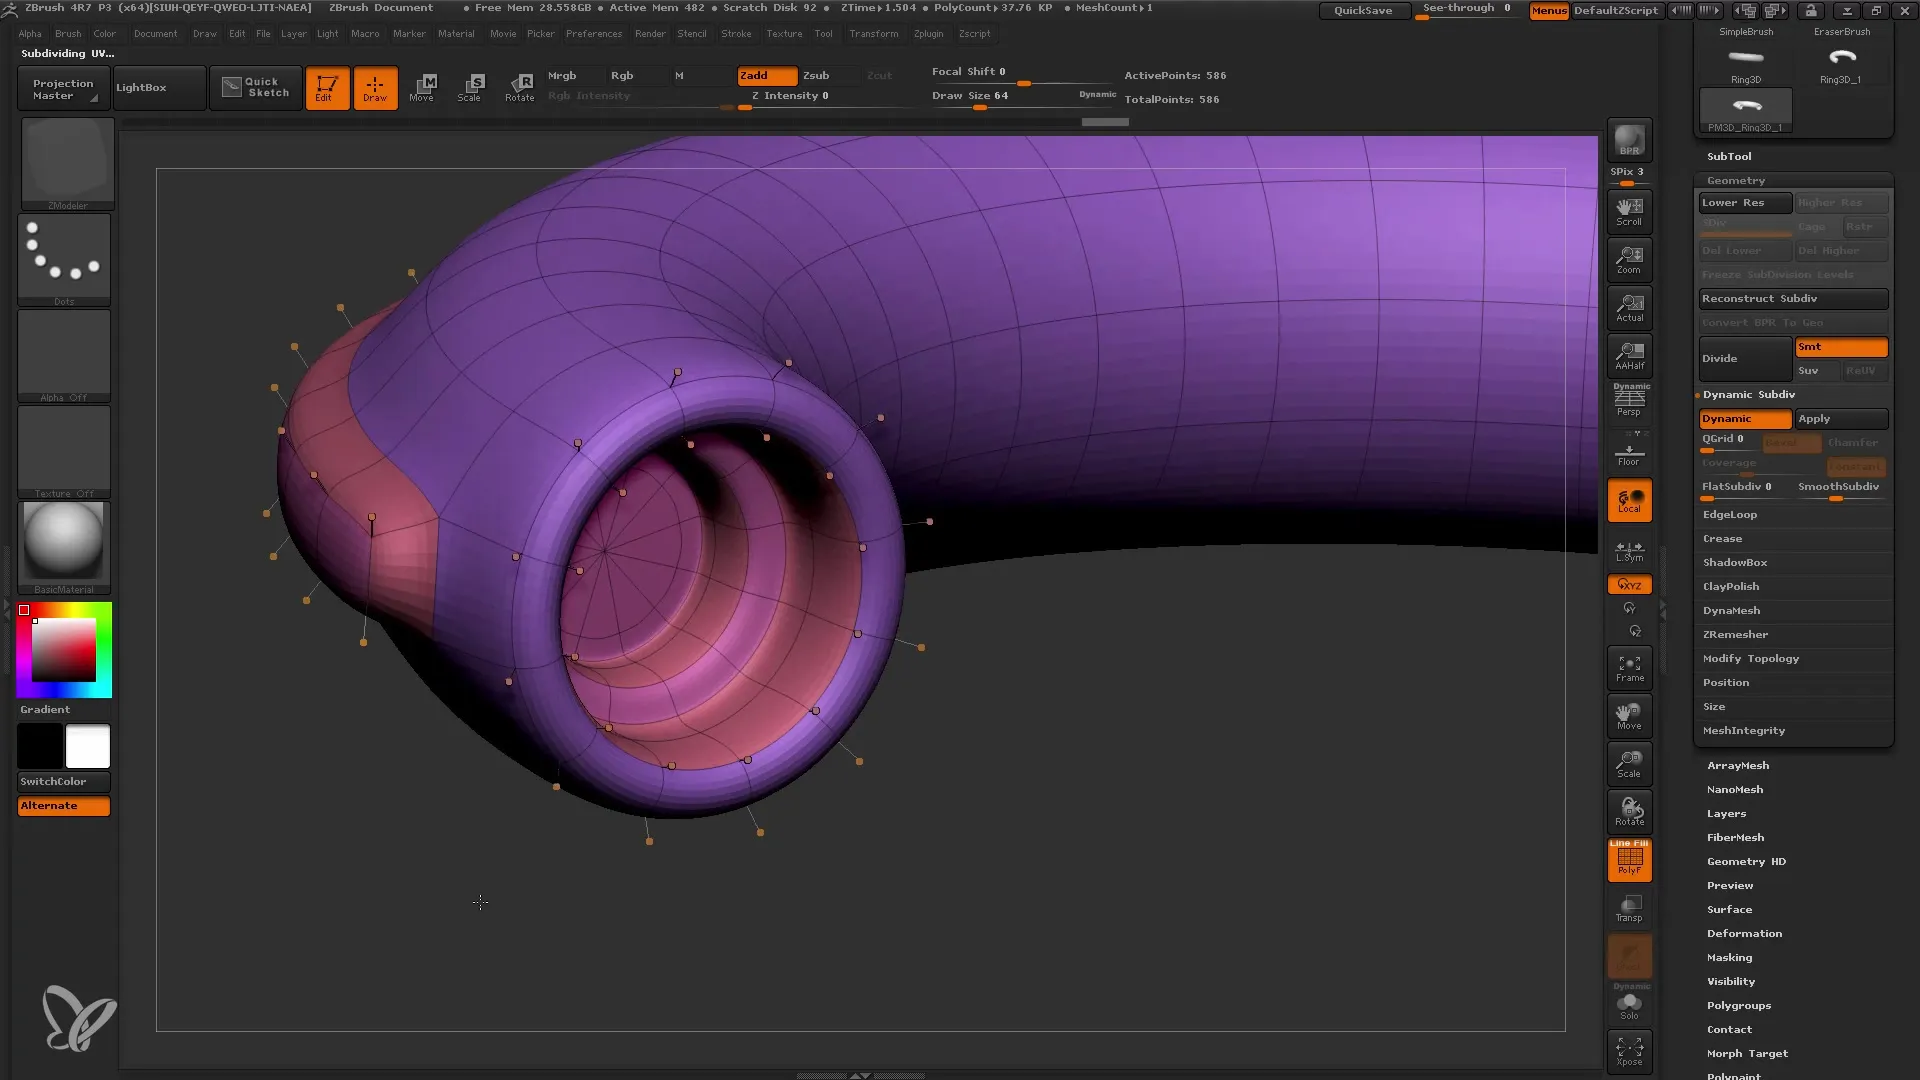
Use the SDivide function to reduce the polygon count and aim for about 12 segments and 32 subdivisions. This ensures an optimal subdivision of polygons.
Step 5: Centering the Polygons
It's important to position the edge at the center of the profile. By using the Twist tool, you can ensure the 12 segments are well balanced.
Step 6: Establishing Symmetry
Ensure symmetry remains intact by rotating the relevant points in the model. Clean symmetry makes it easier to work on individual polygons later on.
Step 7: Creating Polygroups
To create a clear structure, you should establish various polygroups. These not only aid in modeling but also in texturing later on.
Step 8: Using the CModeller
With the CModeller, you can create interesting shapes. Experiment with indentations in the model and use the Insert function to create entire regions.
Step 9: Fine-Tuning with Ed Loops
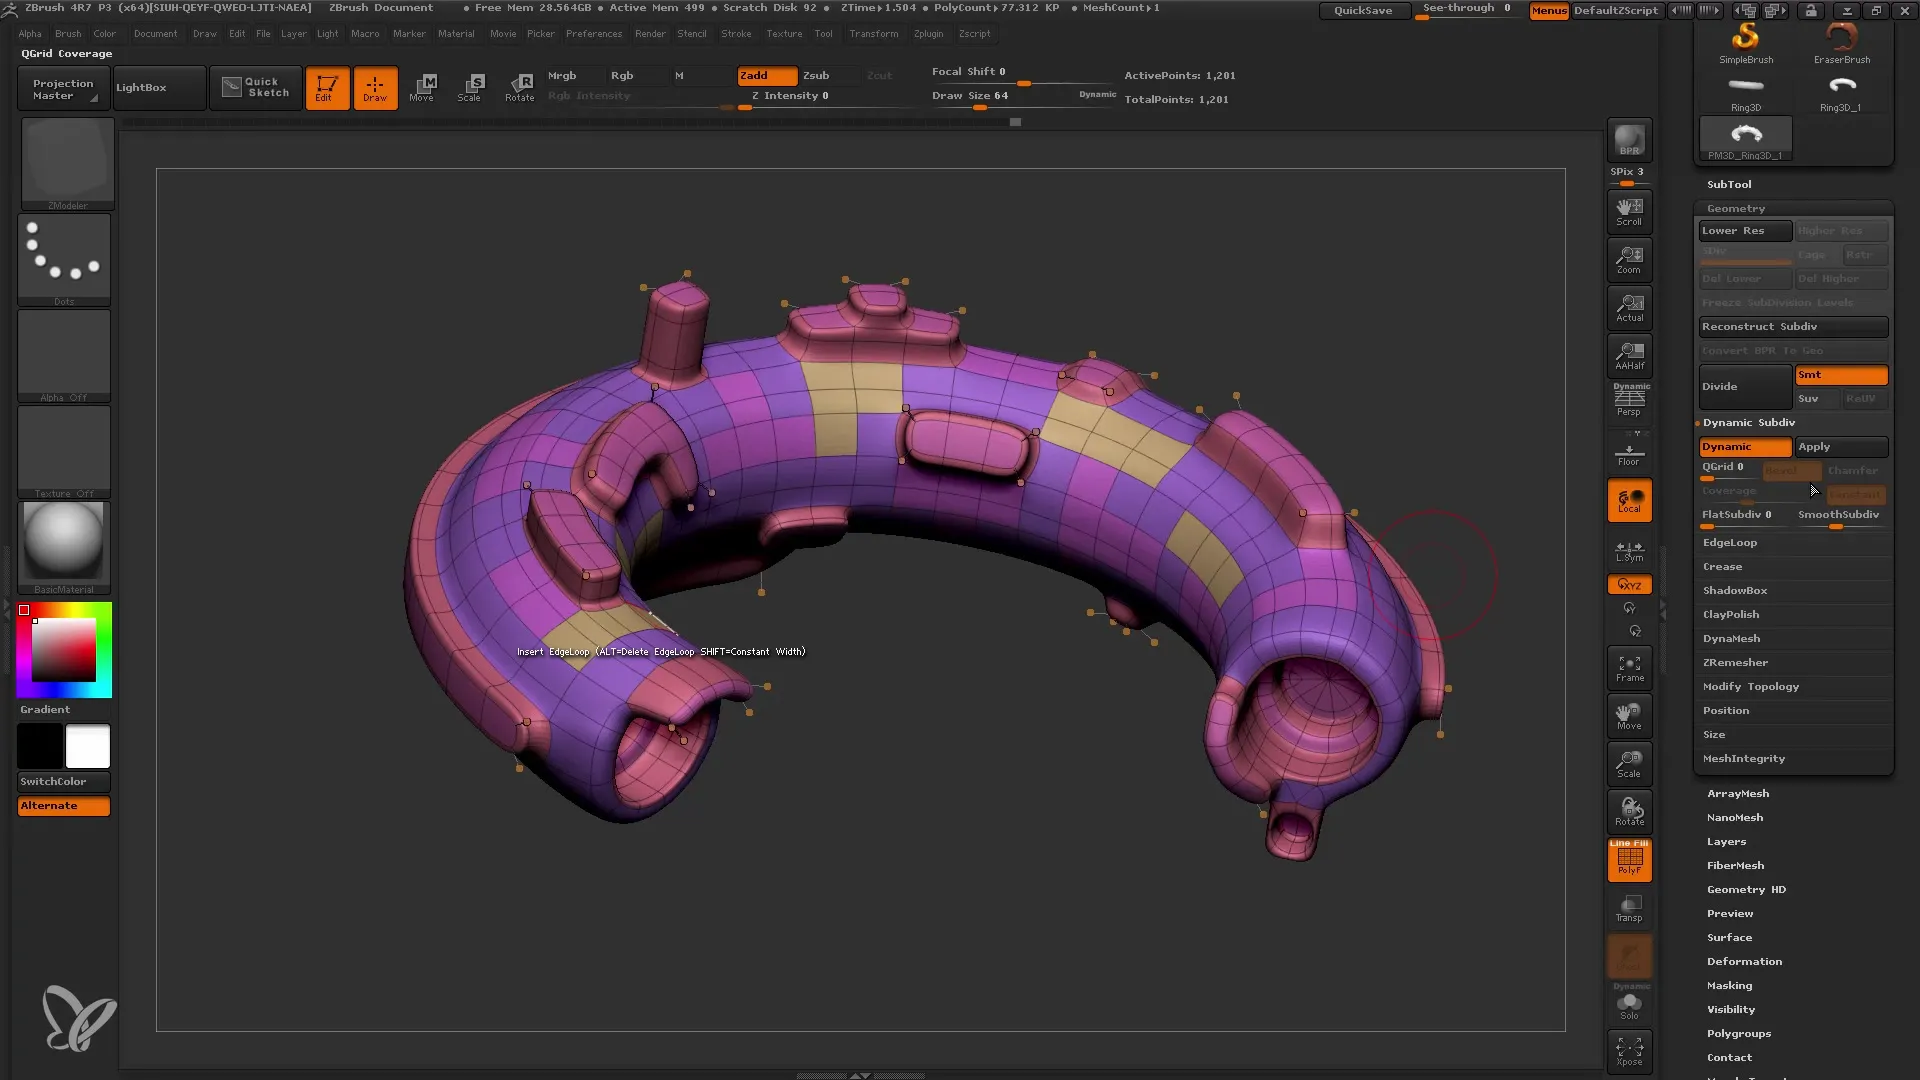
You can add Ed Loops to sharpen edges and make details more precise. Note that this step is useful before applying subdivision.
Step 10: Detailing and Finalizing
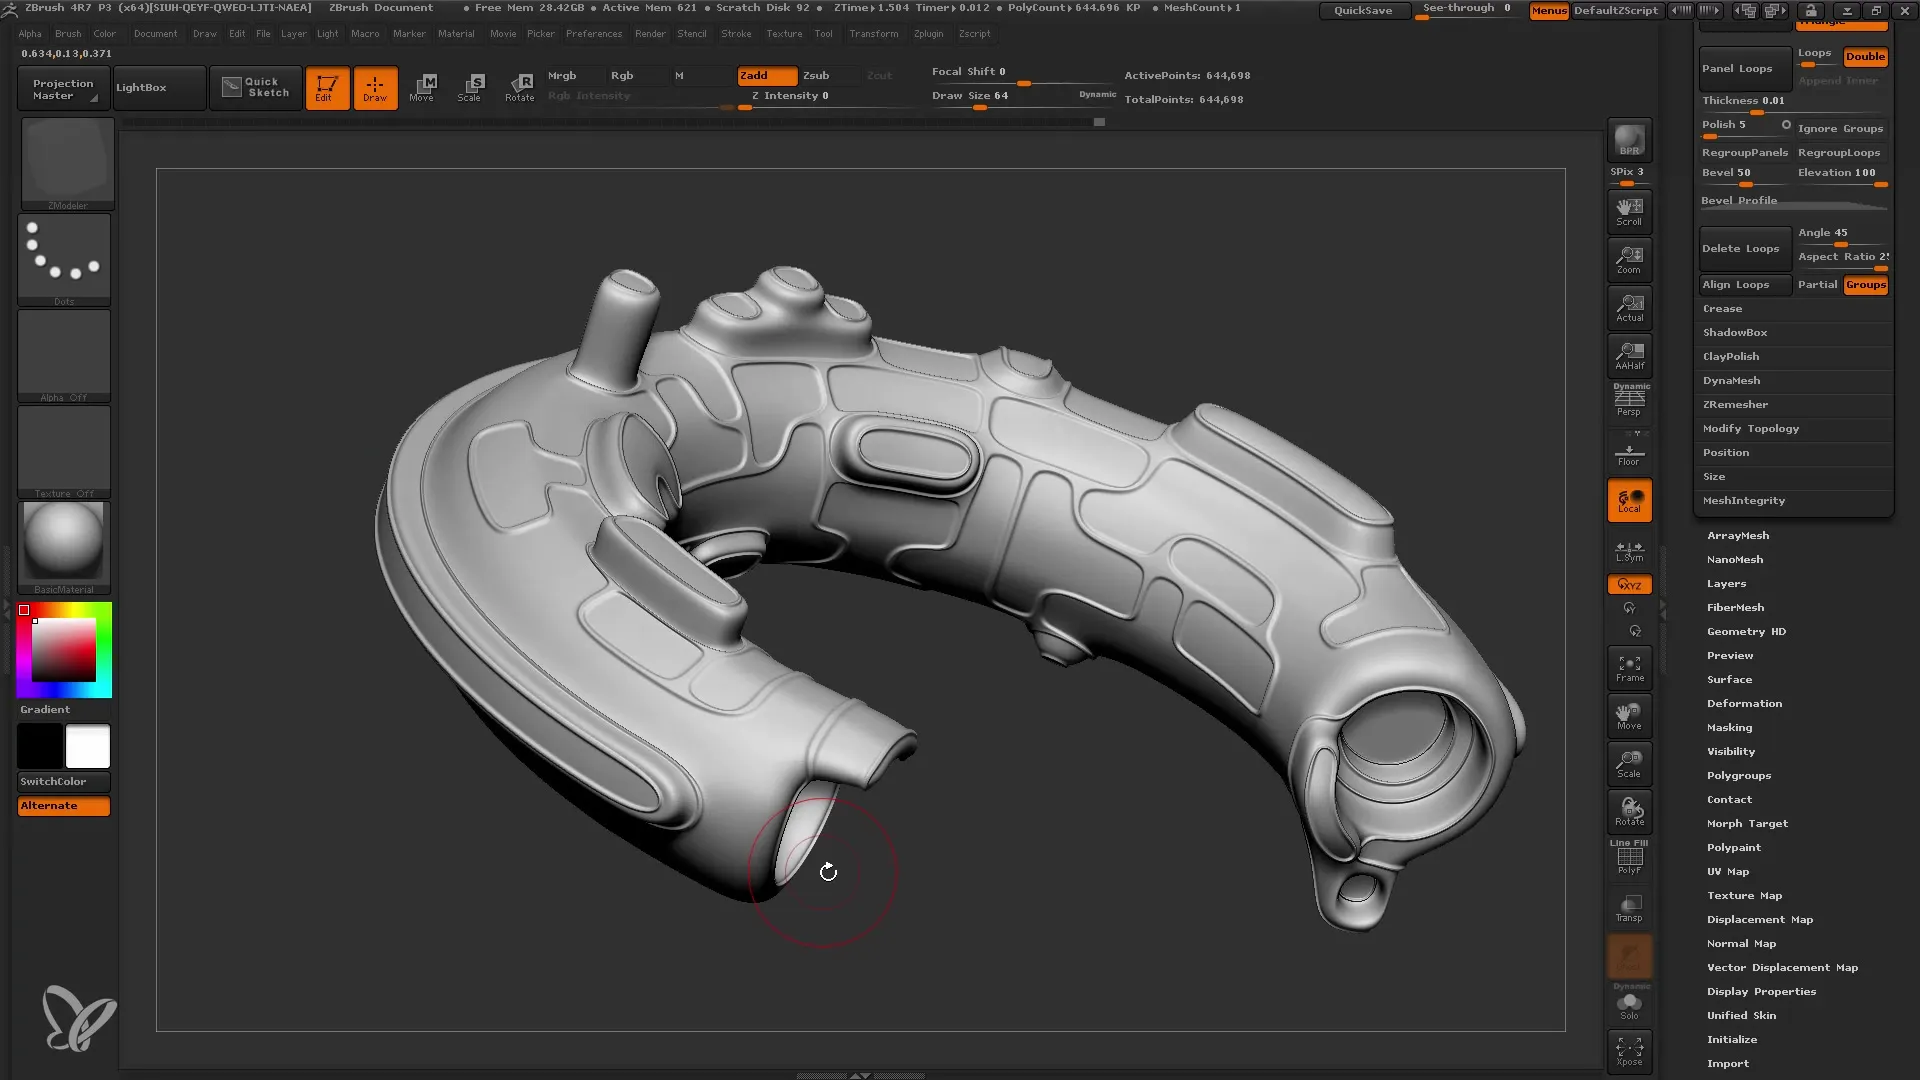
Now is the right time to further refine your model and add details. Take your time to experiment with the geometry and create interesting shapes.
Summary
In this tutorial, you have learned how to create an impressive Low-Poly-Base-Model using ZModeler and various tools. From selecting the base object to adjusting polygroups and details – every step is crucial for the final result. Continue to experiment with the different features in ZBrush to bring your creative ideas to life!
Frequently Asked Questions
How do I find the tools in ZBrush?You can find the tools through the menu on the left side of the interface.
How can I save my Polygroups?You can save your Polygroups by simply saving the file in ZBrush.
Which functions are available in ZModeler?ZModeler offers functions such as Extrude, Inset, and edge editing.
How can I activate symmetry in my model?You can activate symmetry by using the 'X' key.


