The Line Tool in Adobe InDesign is a versatile tool that allows you to create straight lines for layouts, charts, or design elements. It enables you to design precise lines in different weights, colors, and styles that seamlessly integrate into your project. In this guide, I will show you step by step how to effectively use the Line Tool to achieve clean and professional results. Let's get started and perfect your layouts with clear lines!
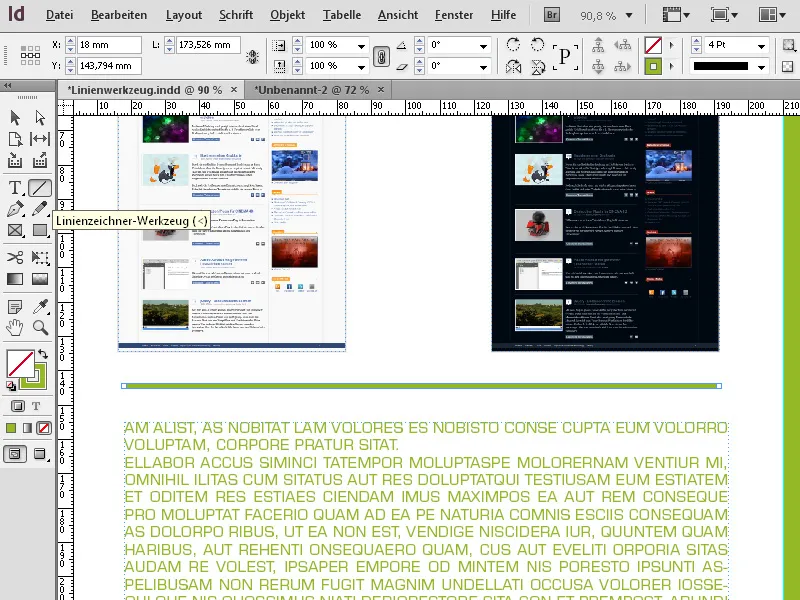
With the Line Tool (Shortcut <), you can draw straight lines. By simultaneously pressing the Shift key, these lines can be aligned horizontally, vertically, or at a 45° angle.
The exact formatting of the drawn line is then done with the Selection Tool.
An efficient working method involves using keyboard shortcuts. In this context, it is easiest to, with the chosen Selection Tool, simply press and hold the left angled bracket (lower left) on the keyboard to temporarily choose the Line Tool. By additionally pressing the Shift key, you can then draw a nice straight horizontal or vertical line.
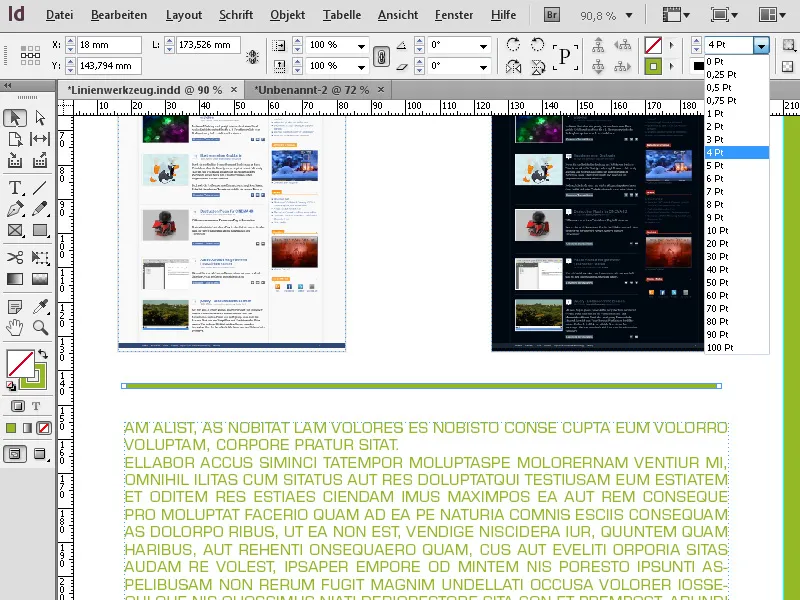
When you release the key, you are back to the Selection Tool, and you can then use the Control Panel to set the exact position, length, weight, and color of the line.

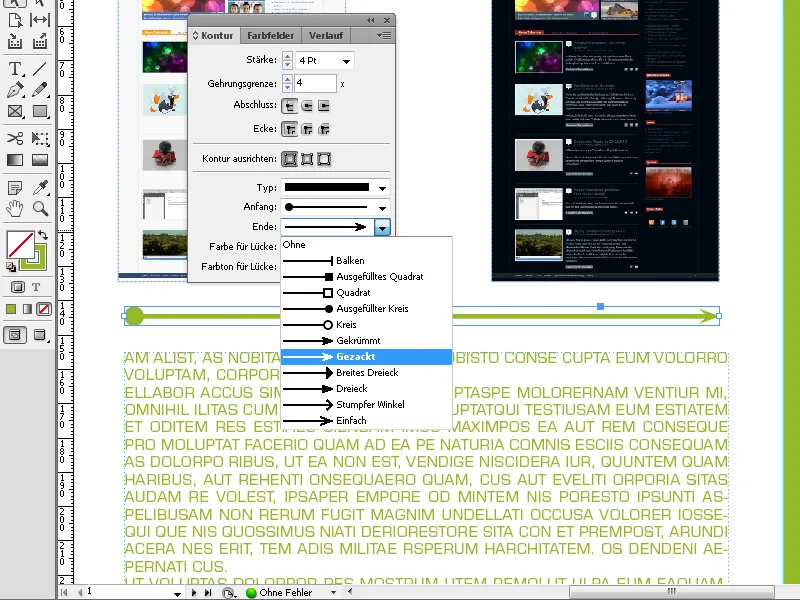
Using the Stroke Panel (F10), you can add endings to the line such as an arrowhead or a circle, etc. This can be set separately for each end.
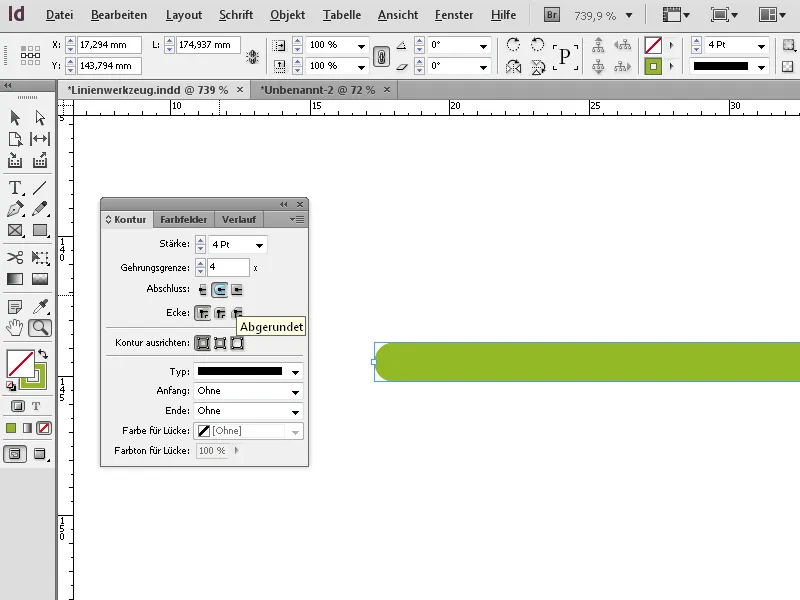
Also, the end of the line can be displayed as rounded.
Here are the three best tips to optimize the use of the Line Tool in Adobe InDesign:
1. Adjust Line Length and Angle Precisely
- Tip: Hold the Shift key while drawing a line to restrict it to fixed angles (0°, 45°, 90°).
- Advantage: This ensures that lines run perfectly straight or at an exact angle, ideal for designs with symmetrical layouts or technical drawings.
2. Personalize Lines with Styles and Effects
- Tip: Use the “Stroke” options in the Properties Panel to customize lines:
- Line Weight: Adjust the thickness of the line.
- Dash Pattern: Choose dashed or dotted lines.
- End Caps: Round, square, or extended ends make the line more versatile.
- Advantage: This allows you to use lines not only as dividers but also as design elements.
3. Smart Placement with Guides and Align Tool
- Tip: Activate the “Smart Guides” feature (View → Grids and Guides) to automatically align lines with other objects. Use the “Align” Tool to precisely position the line in the center of an object or between multiple elements.
- Advantage: This saves time and ensures a professional and harmonious layout.
These tips make working with the Line Tool easier, faster, and more creative.


