In this tutorial, I'll show you how to combine various Render Passes from ZBrush in Photoshop. This is particularly useful for creating complex designs with organic structures, such as skin, and further processing them in Photoshop. With the right techniques, you can achieve great effects and greatly expand your creative possibilities.
Key Takeaways:
- ZBrush offers various Render Passes that you can combine in Photoshop.
- Using lighting and shadow effects improves the visual depth of your models.
- Materials and their properties play a crucial role in the final look in Photoshop.
Step-by-Step Guide
Step 1: Make Basic Settings in ZBrush
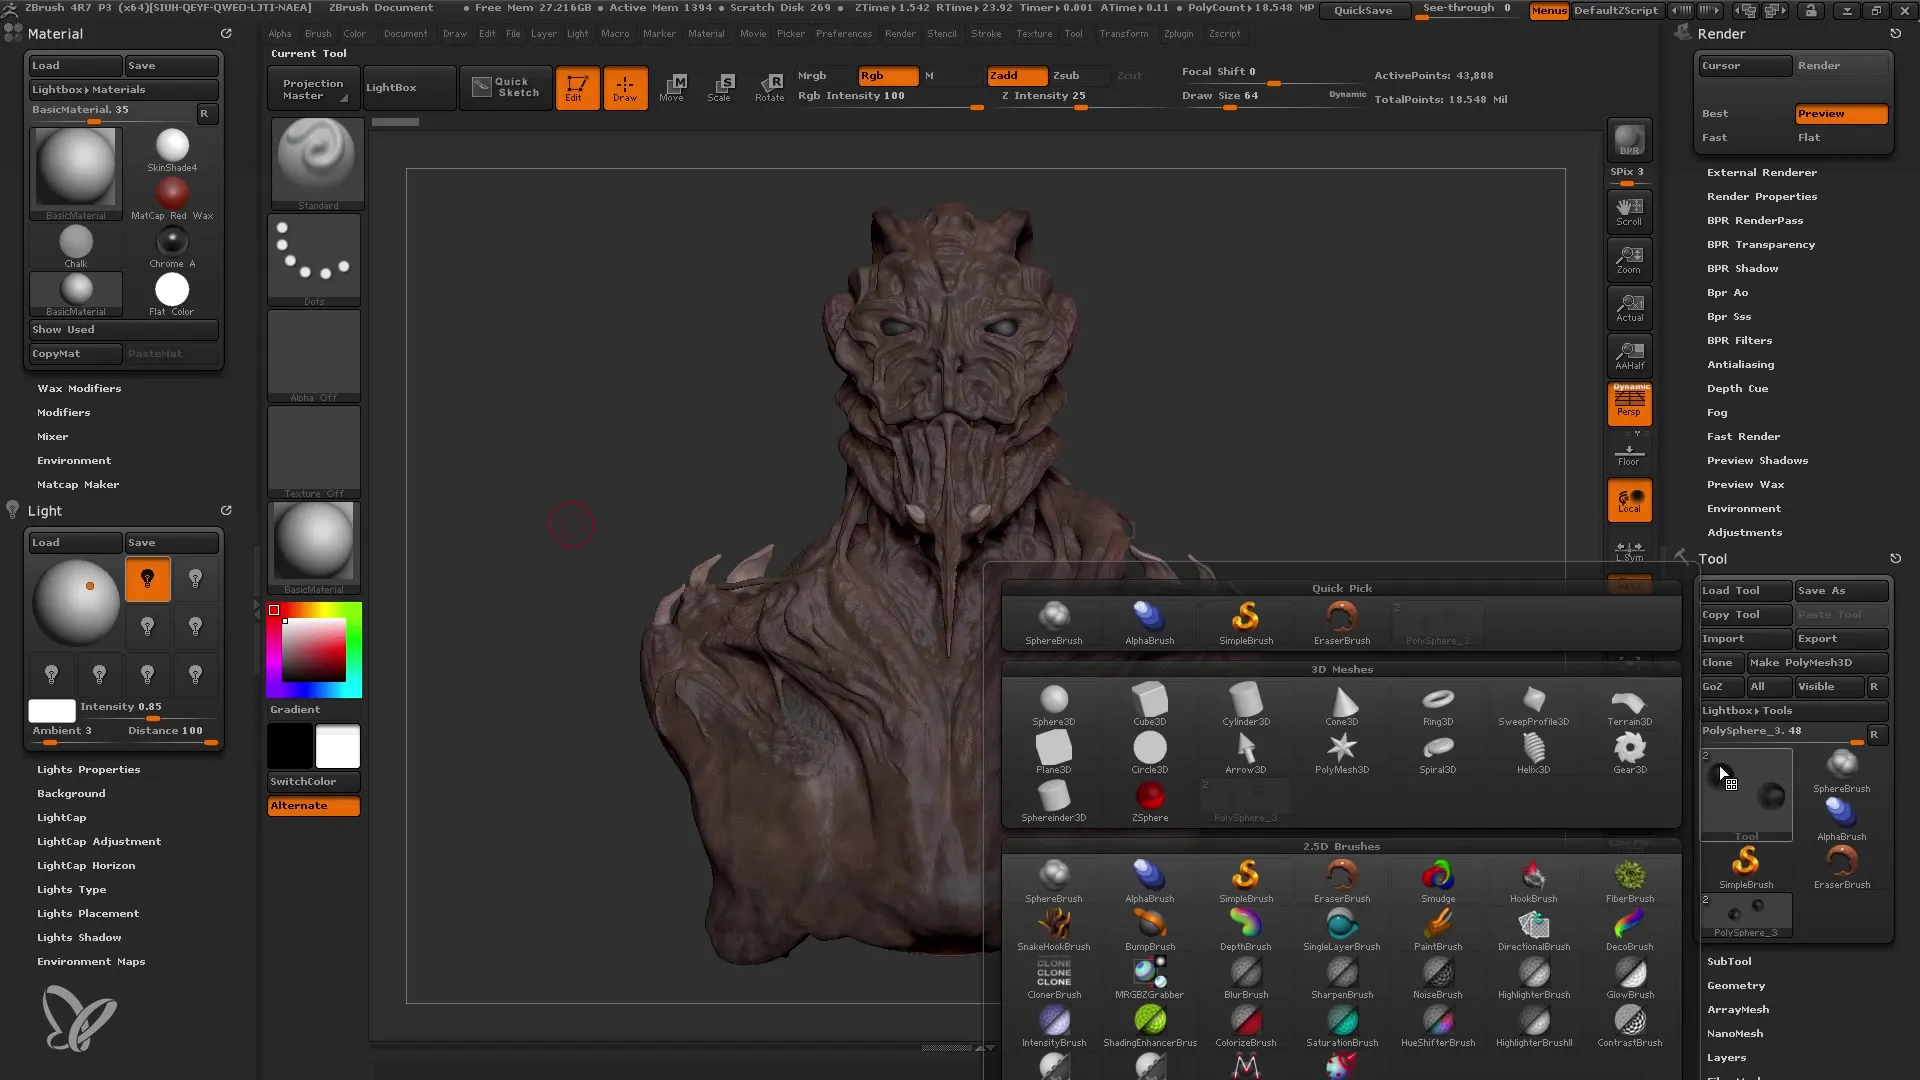
Start by launching ZBrush and loading your design. Make sure your document is sized at 1800x1800 pixels. Adjust this as needed using Control + N to change the document while in Edit Mode. Zoom out to see the entire figure. Ensure to set the perspective as desired.
Step 2: Adjust Lighting and Materials
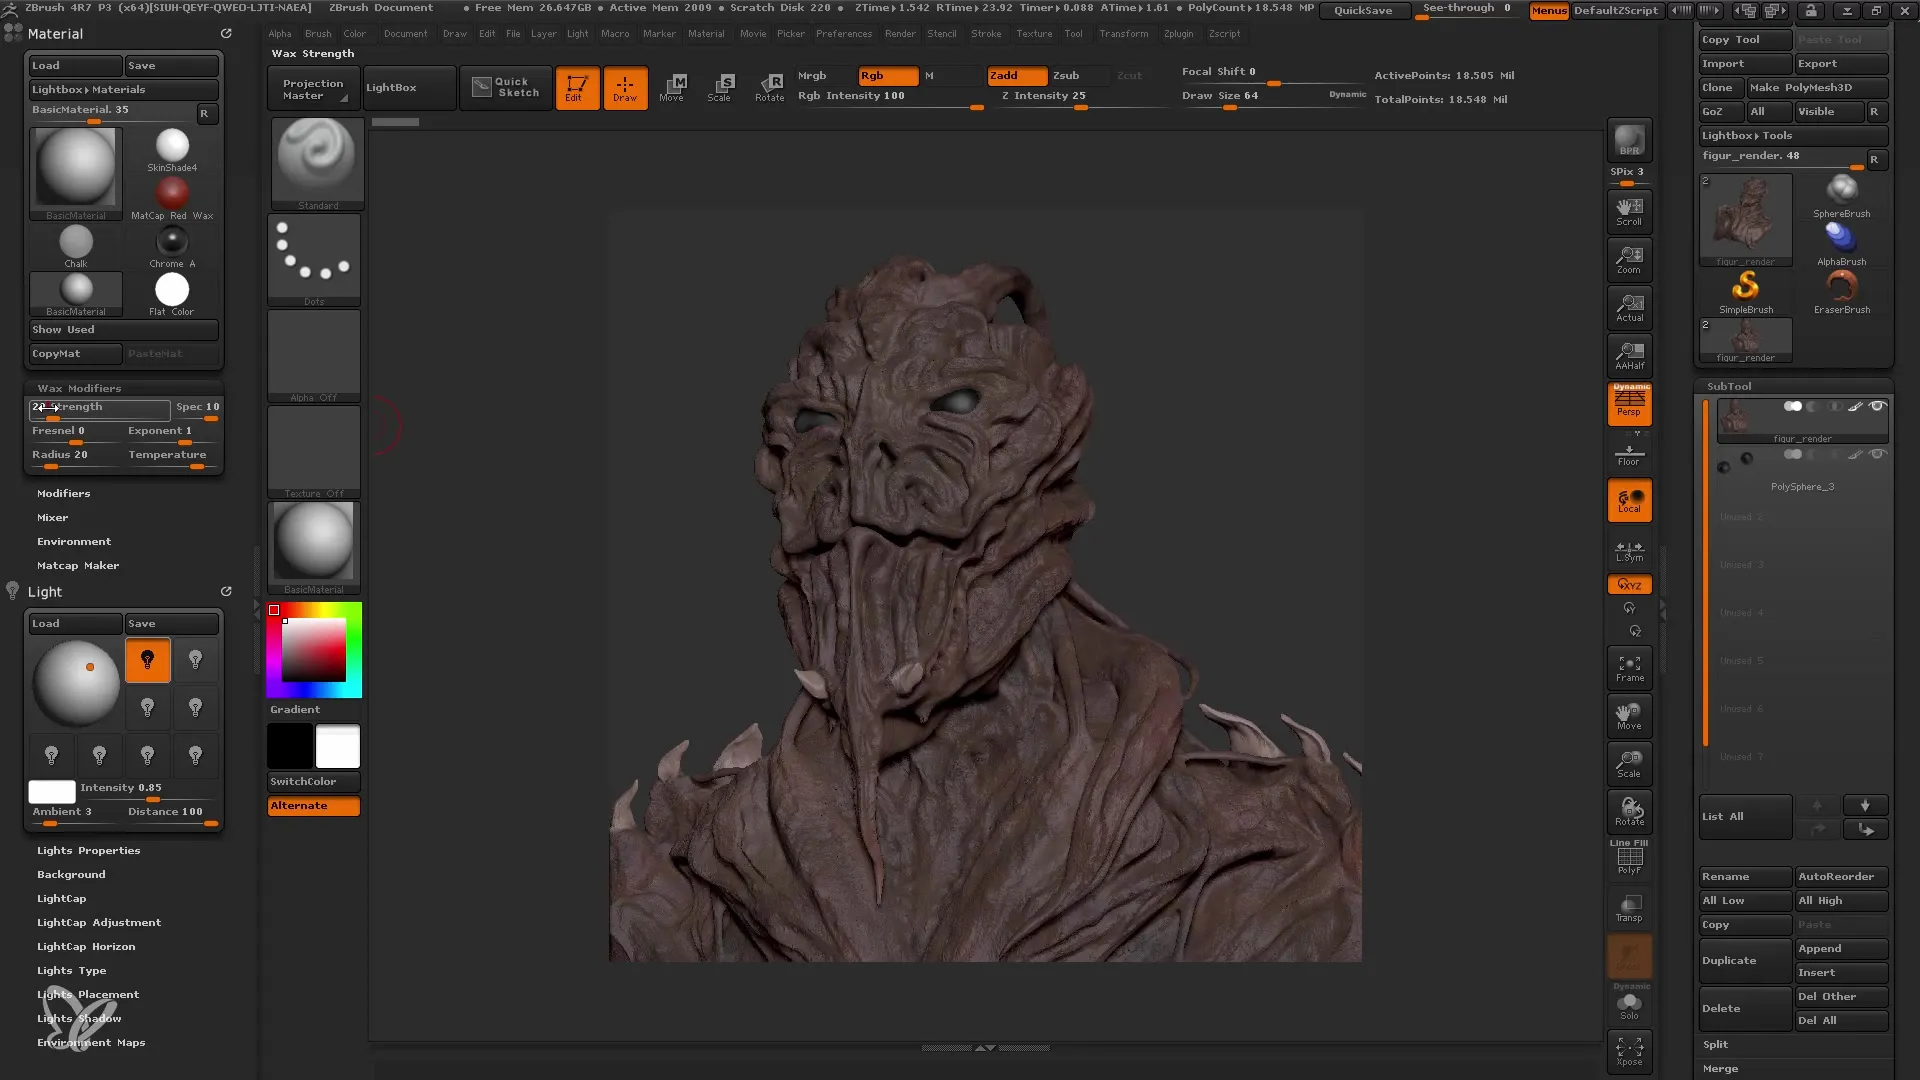
Set the shadow angles to around 30°. If the view appears pixelated, you can display at half-size. Then select the material that uses about 20% in the Wax Modifier to achieve a waxy effect. This enhances skin representation and provides a realistic finish.
Step 3: Configure Render Passes
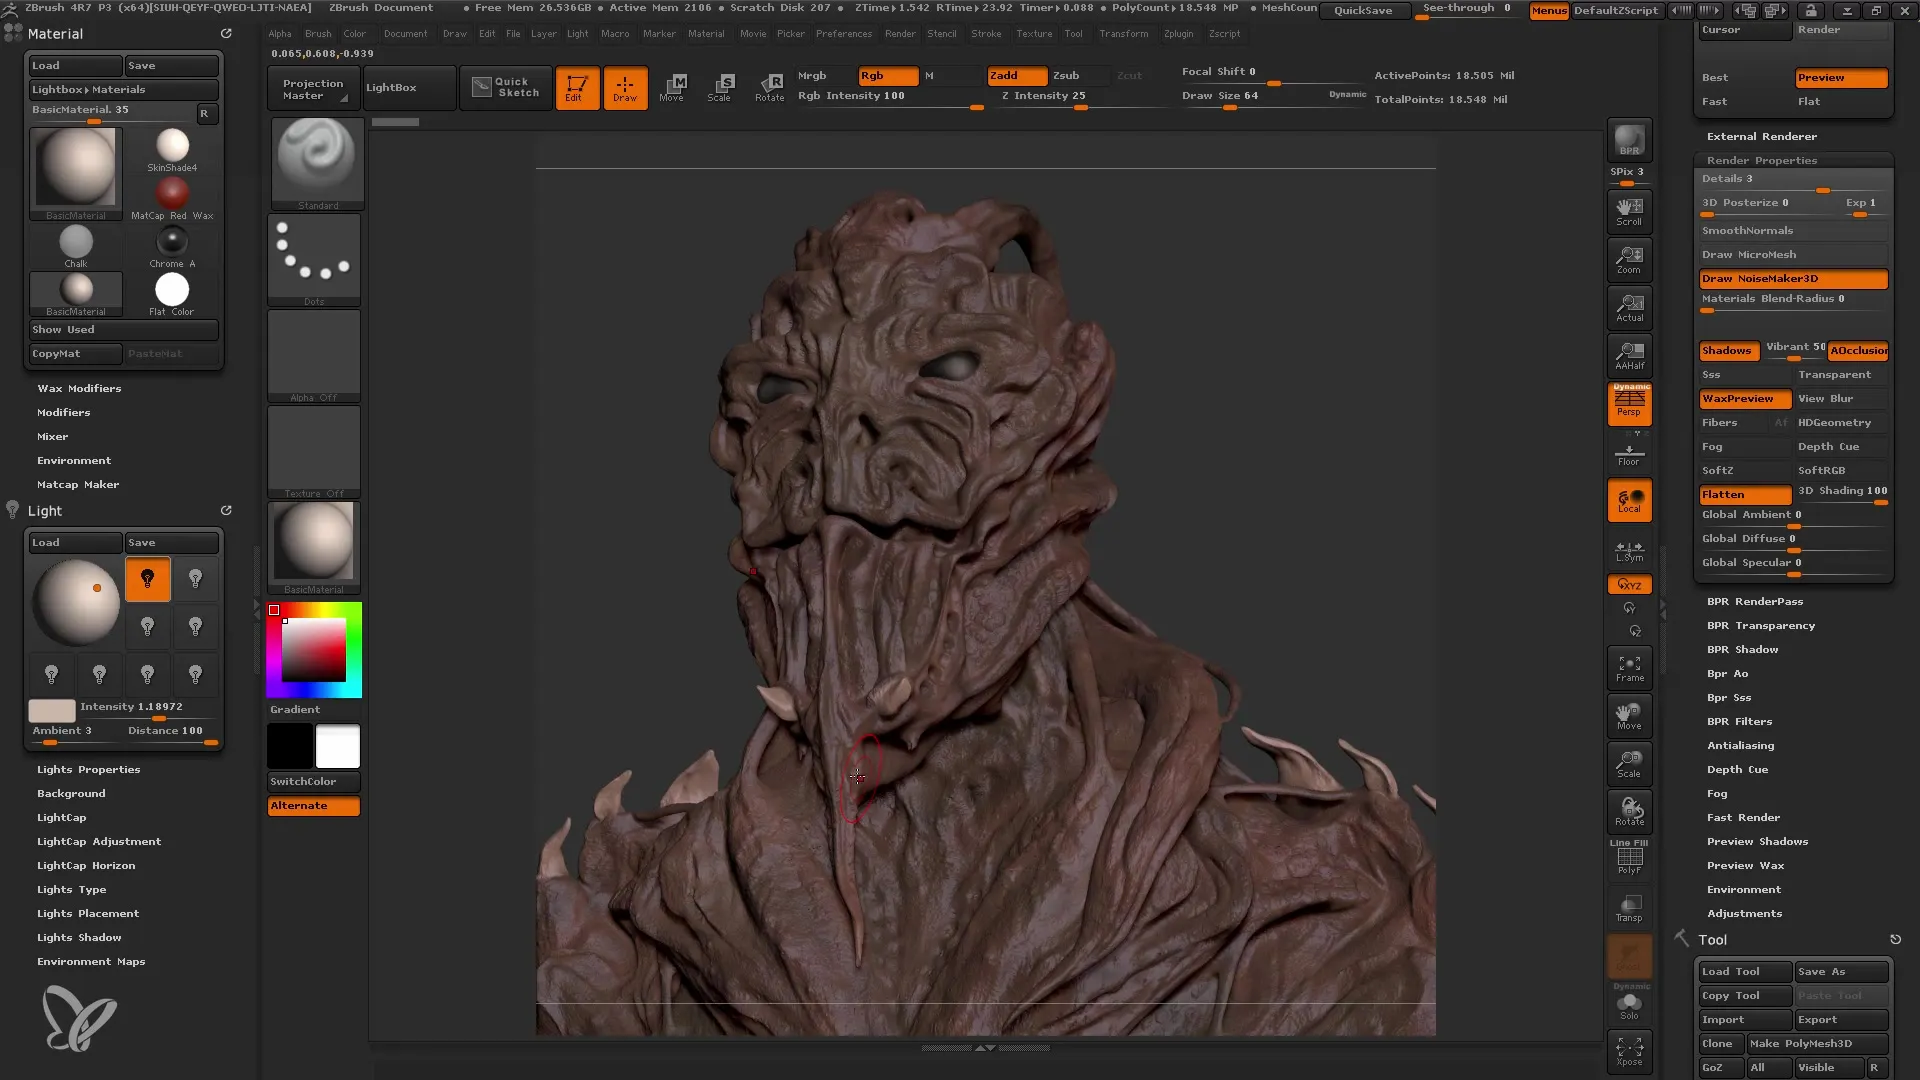
To set up the various Render Passes, go to the Properties. Activate the Shadow settings and use Ambient Occlusion for subtle shadows between elements. Additionally, you can enable Subsurface Scattering, which creates a light-translucent effect in the material.
Step 4: Render and Export
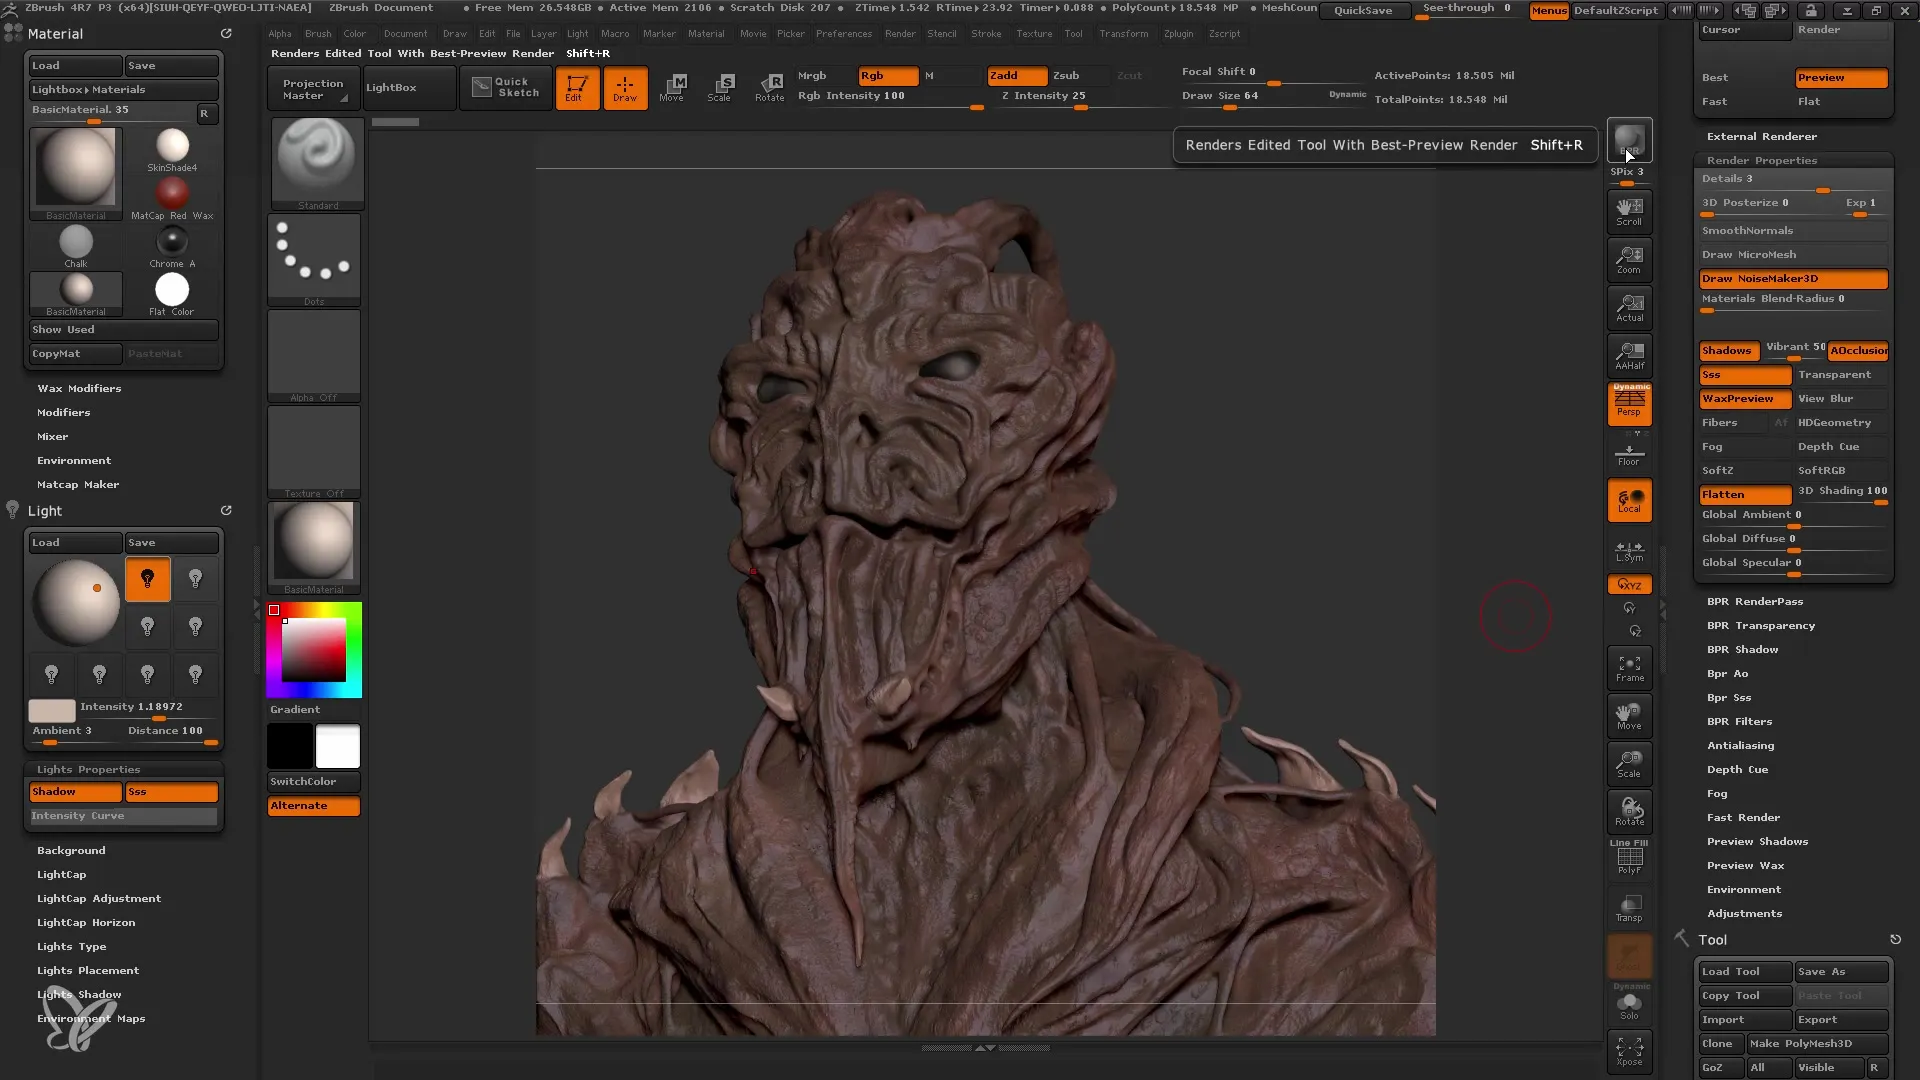
Initiate the ZBrush rendering; this is done via the BPR (Best Preview Render) button. Ensure to select all required Render Passes, such as the normal Shaded Pass, Depth Channel, Shadow Pass, and Subsurface Scattering. It's essential to export these Passes for later editing in Photoshop.
Step 5: Export the Render Passes
Simply click on the Passes to export them. A dialog box will open where you can choose the storage location. Create a specific folder to store all Render Passes. It is recommended to save the files in TIF format for better quality.
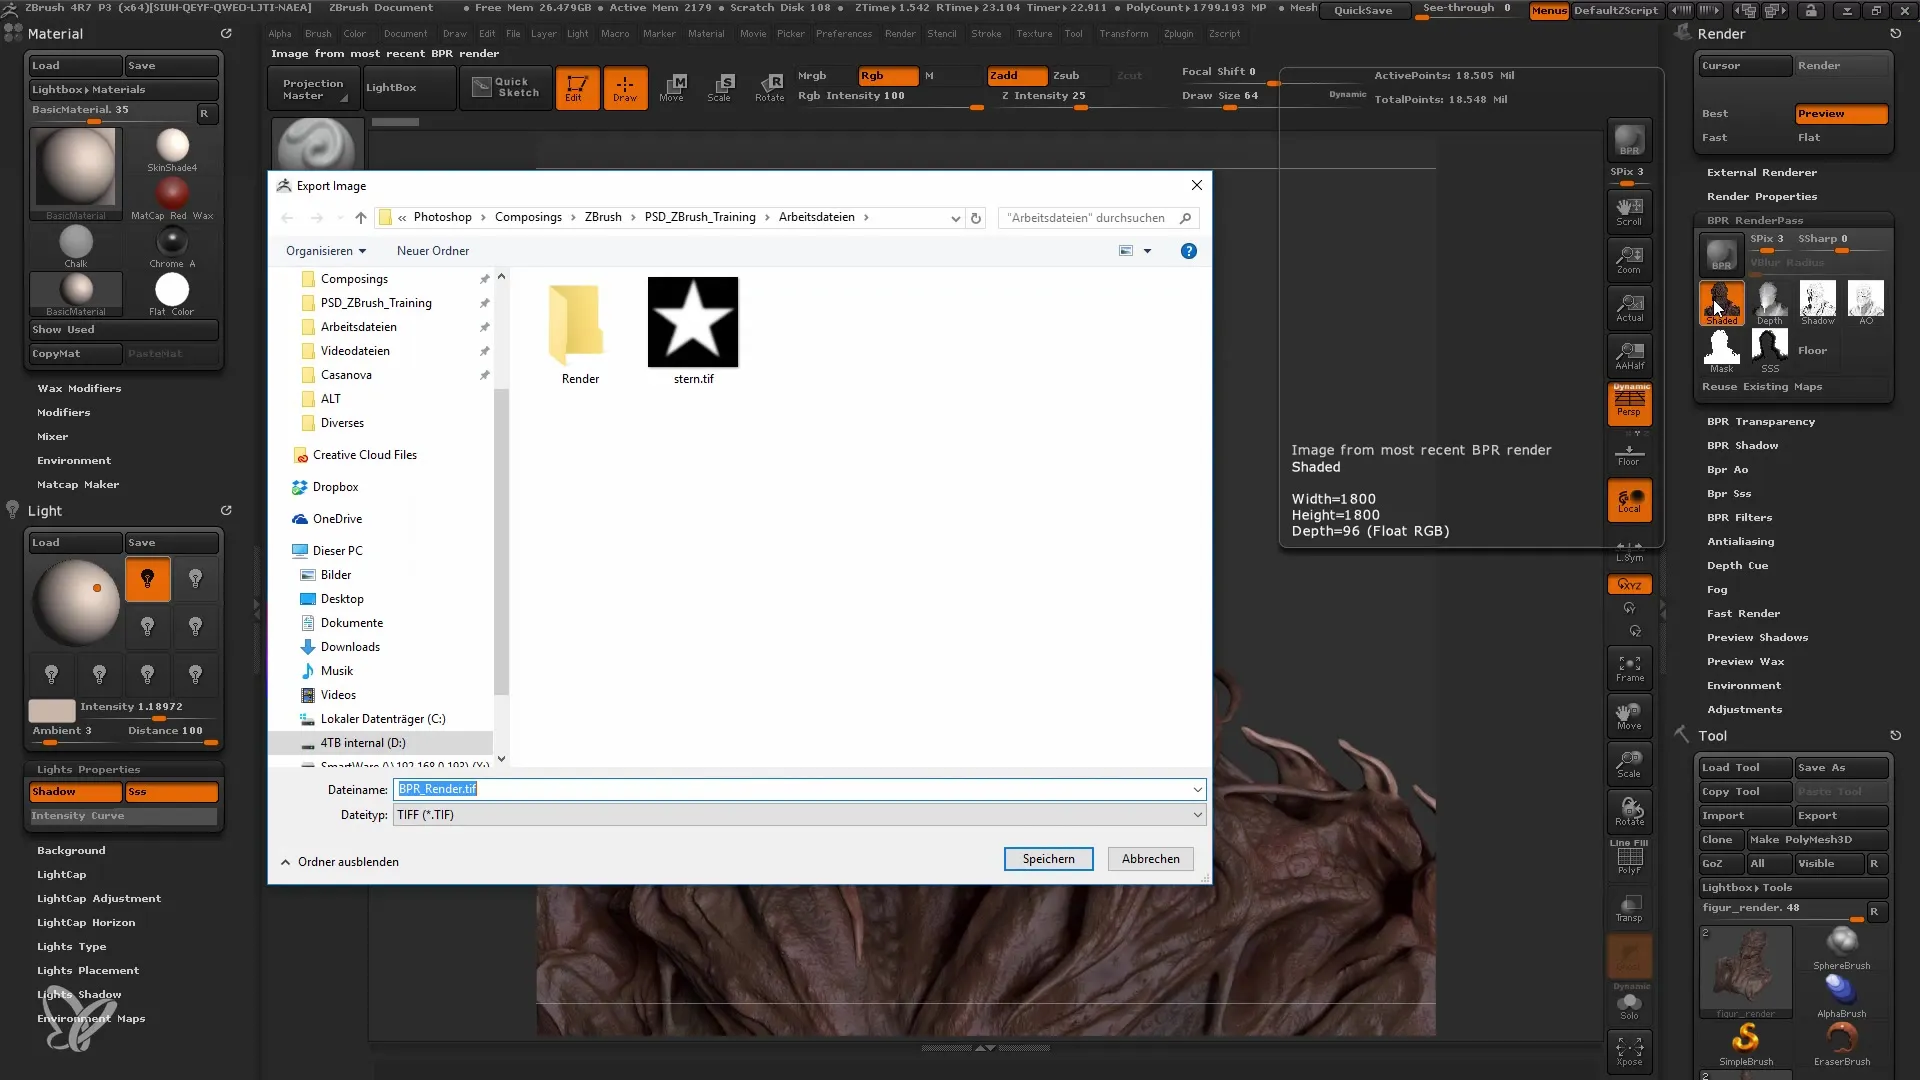
Step 6: Add More Light Sources
Go to the Properties to activate additional light sources. Reduce the intensity of the light sources you have already set, and then add a new light source via the rendering settings to further enhance your Render Pass.
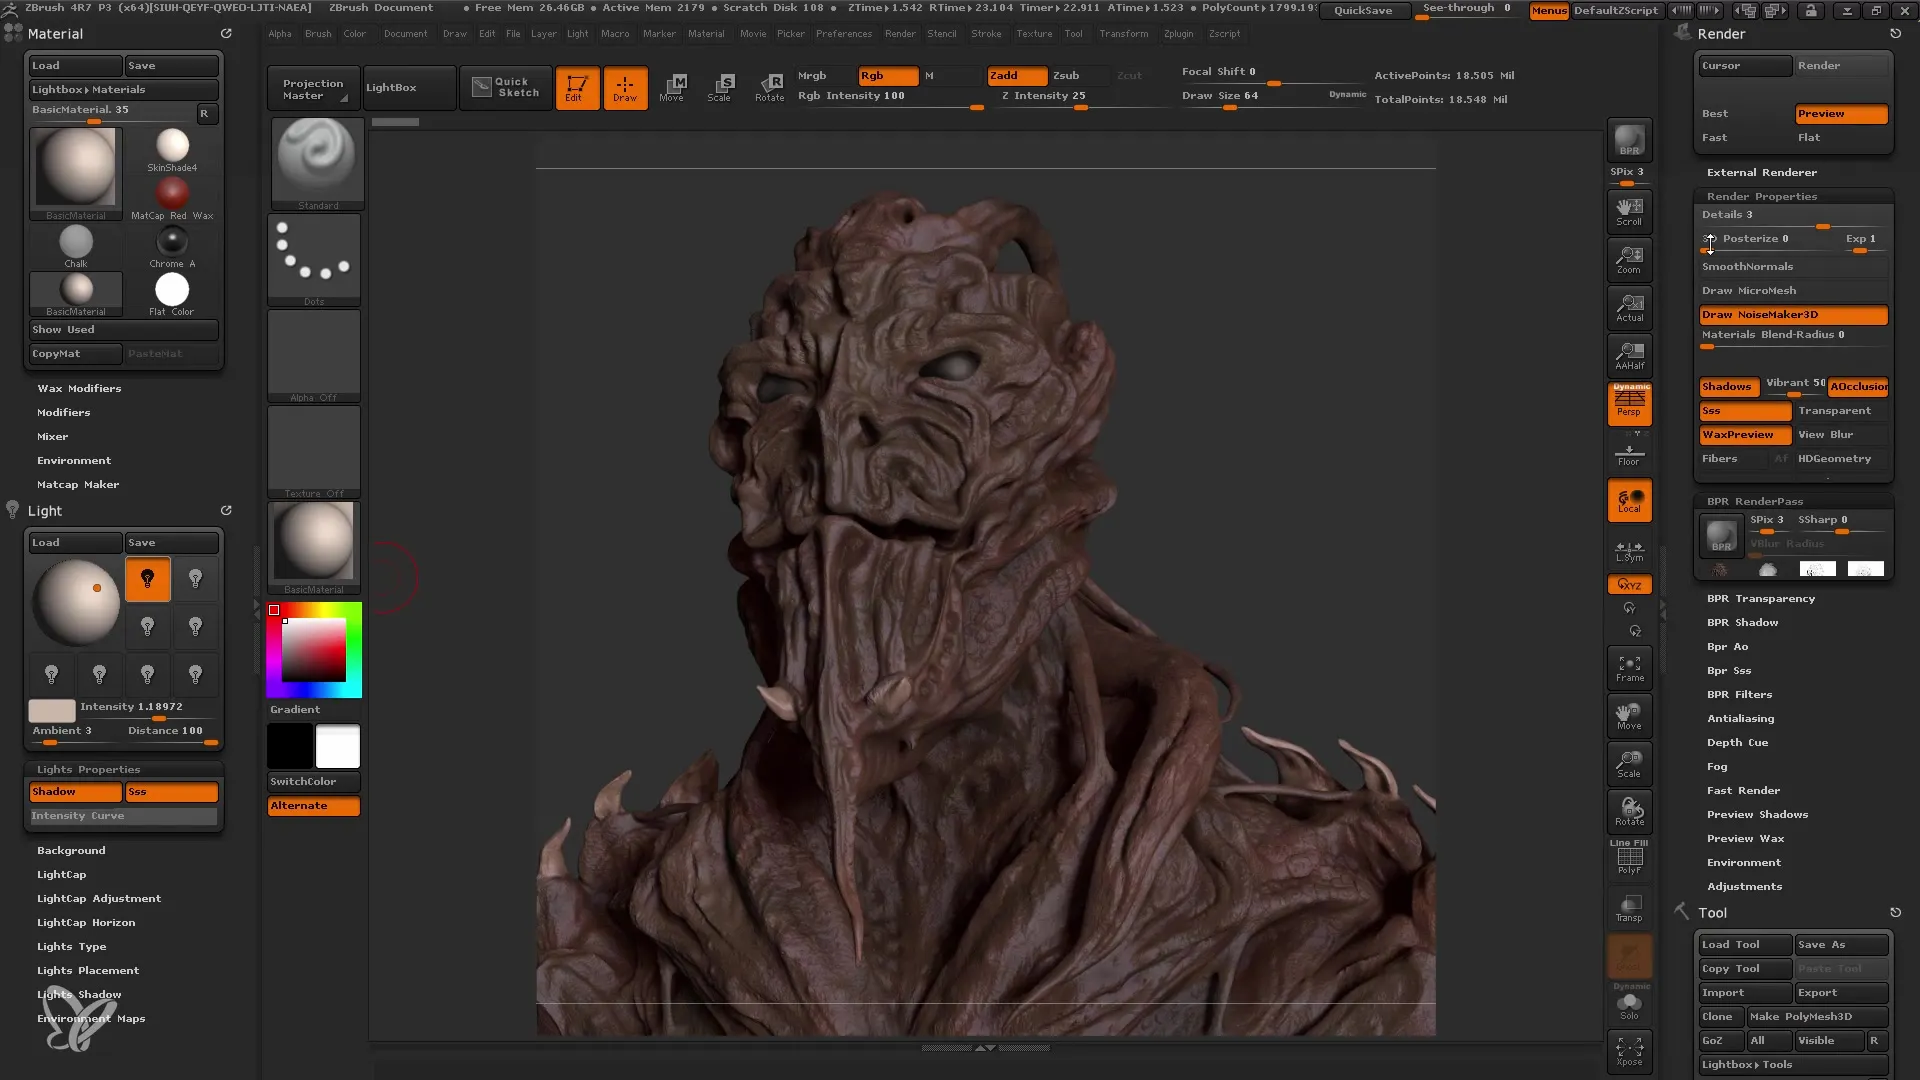
Step 7: Render with Various Light Sources
Execute the rendering again. This time, add different light sources to create additional dimensions. You can also experiment by adjusting the effects of light and shadow to achieve the desired effect.
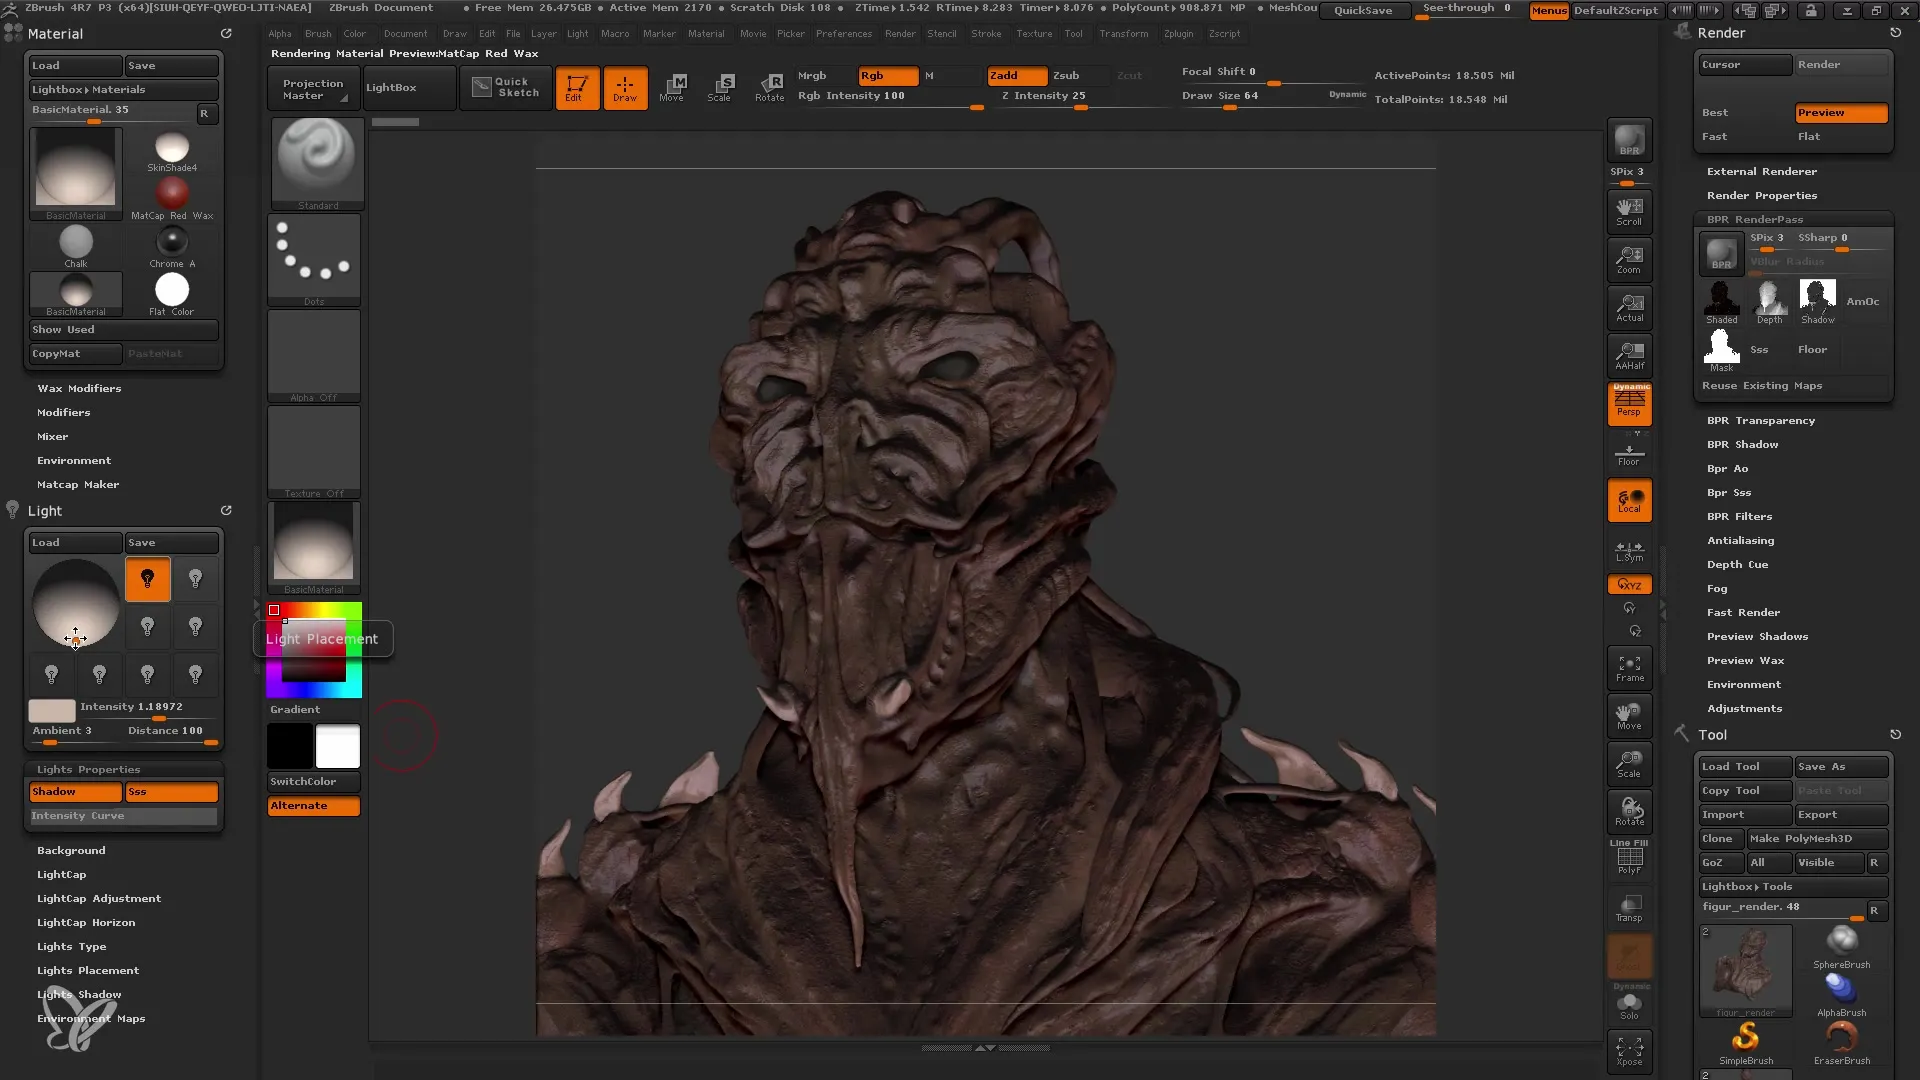
Step 8: Try Out Material Variations
Switch to other materials like Toy Plastic to achieve interesting effects on your model. It is advisable to turn off the polypaint information so that only the light reflections and material effect are visible.
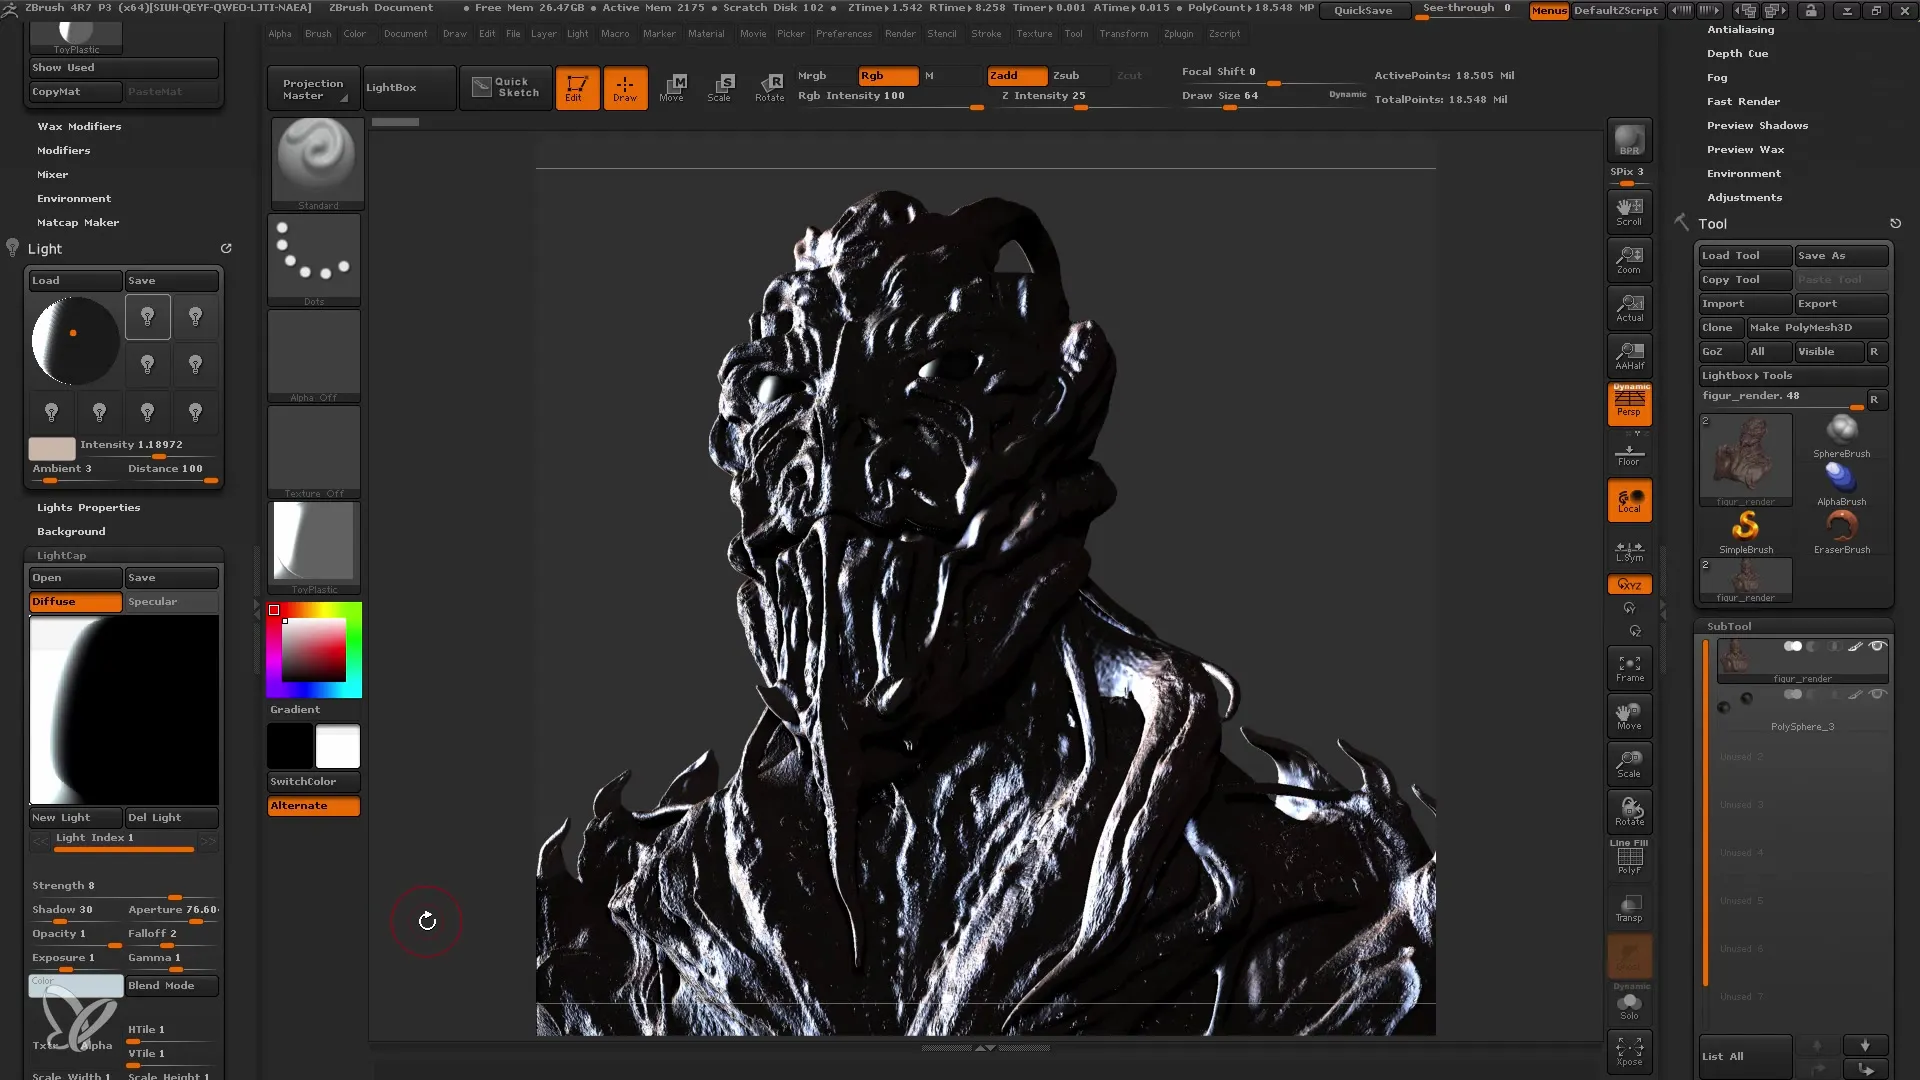
Step 9: Prepare for Photoshop
Now you are ready to import your render passes into Photoshop. Make sure that all files are in RGB mode. This is important because some render passes that are in grayscale mode may not be displayed correctly in Photoshop.
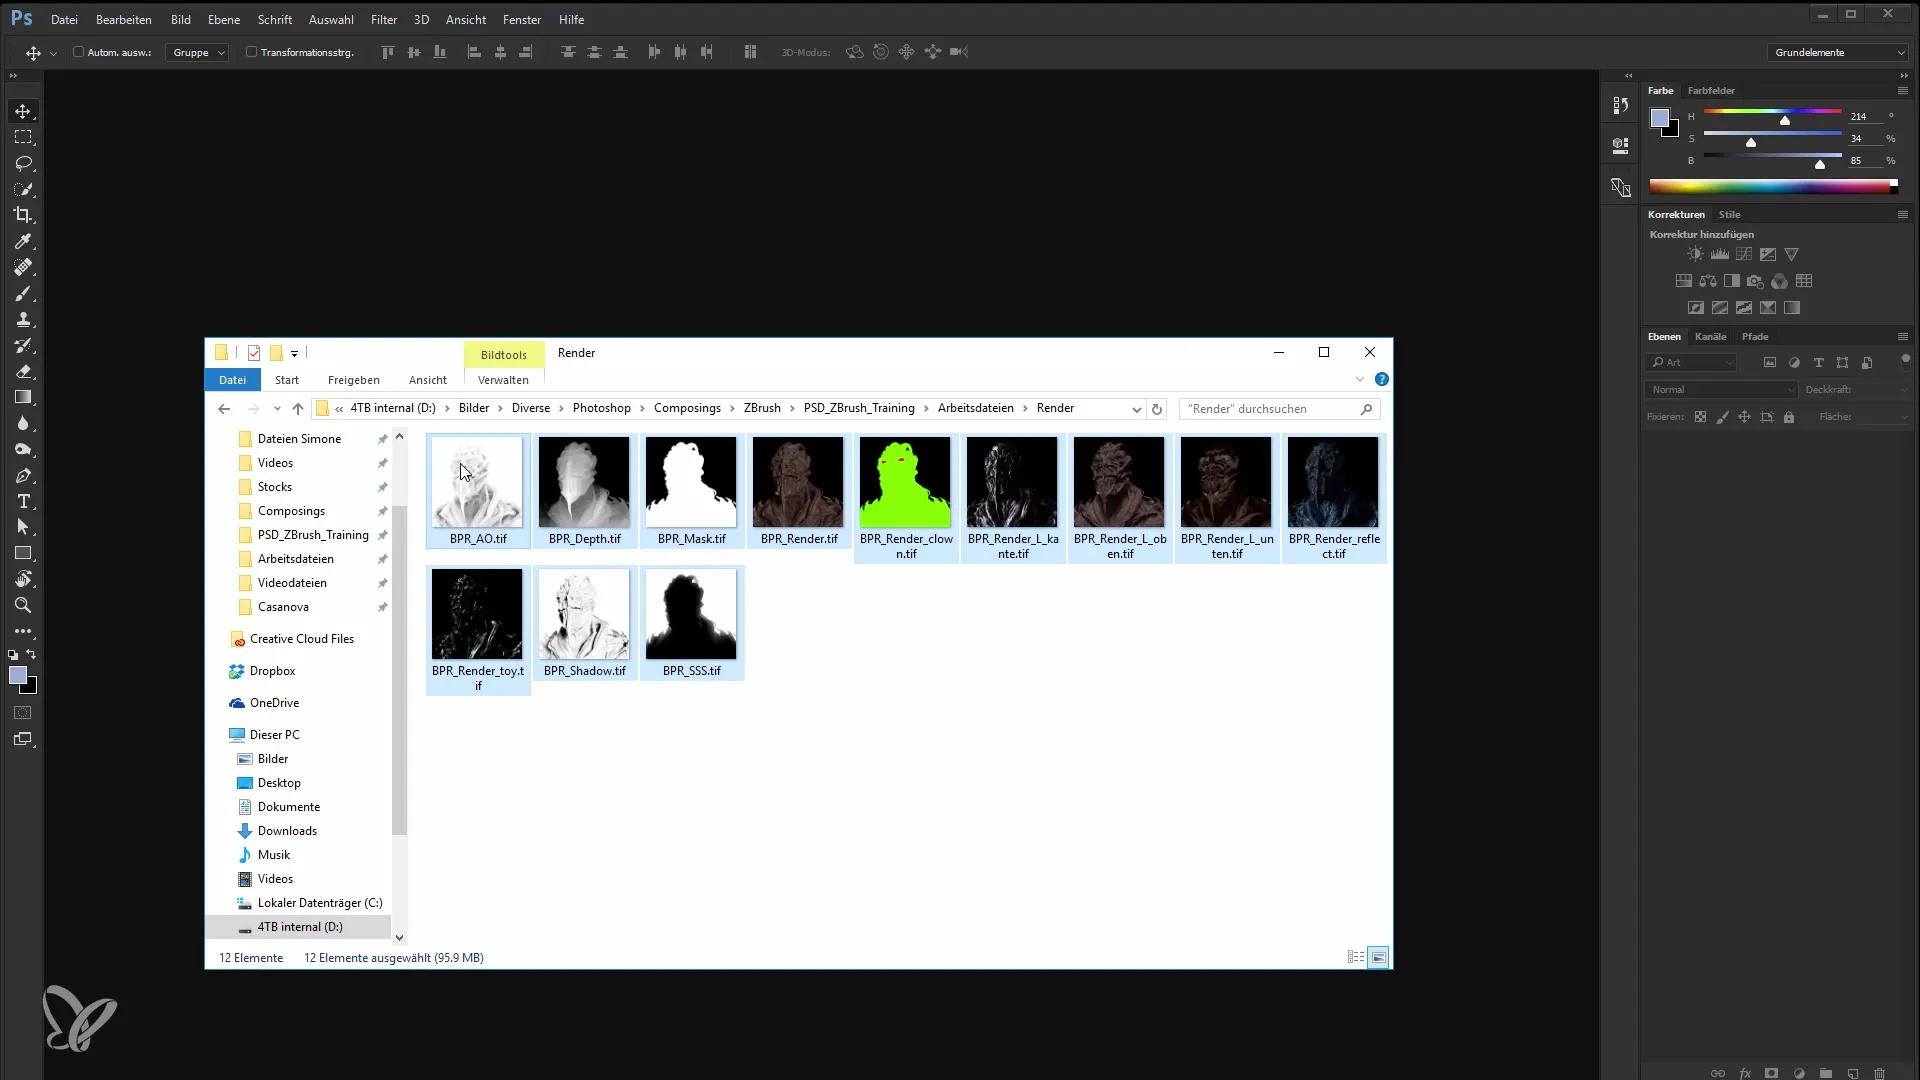
Step 10: Working in Photoshop
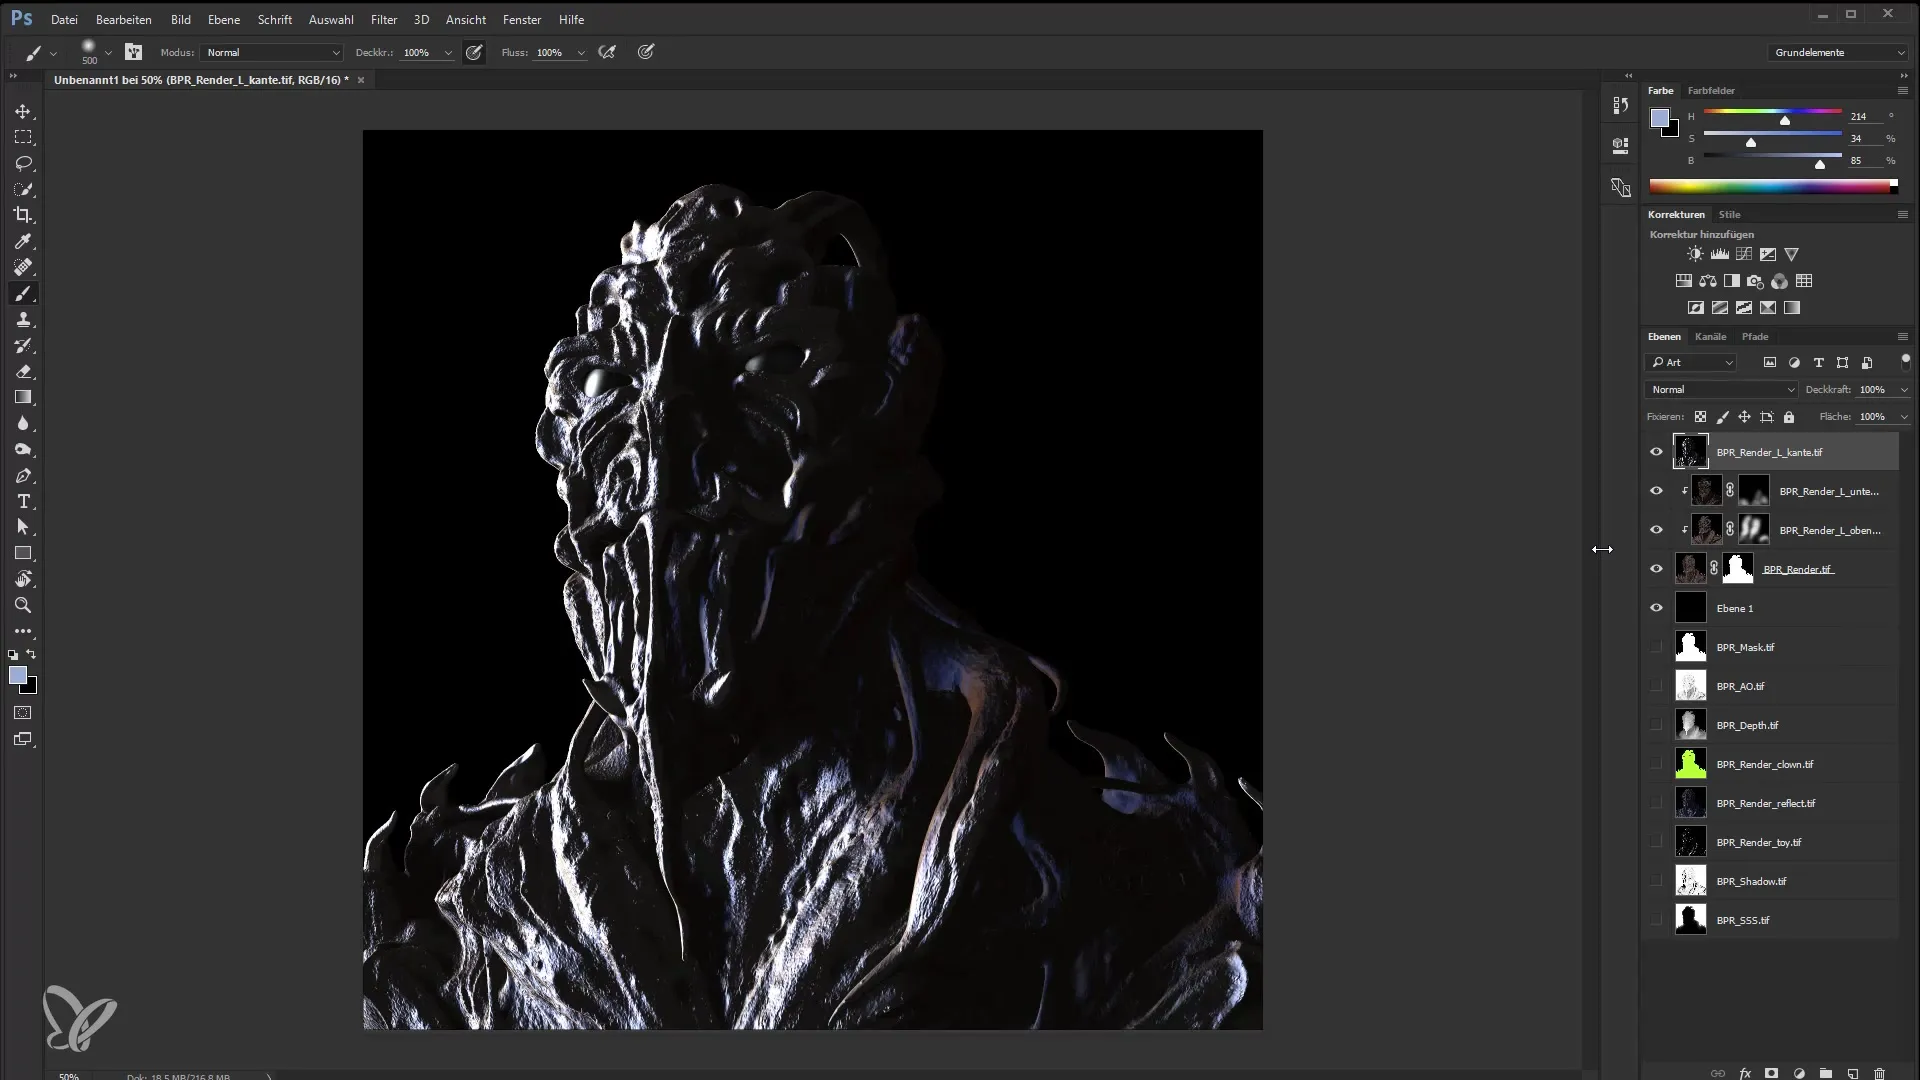
Open all render passes in Photoshop. You can import them as layers to control the individual effects and lighting conditions. Start with a simple black background and then add the render passes one by one. Use layer masks to cut out the motifs and adjust the lighting conditions.
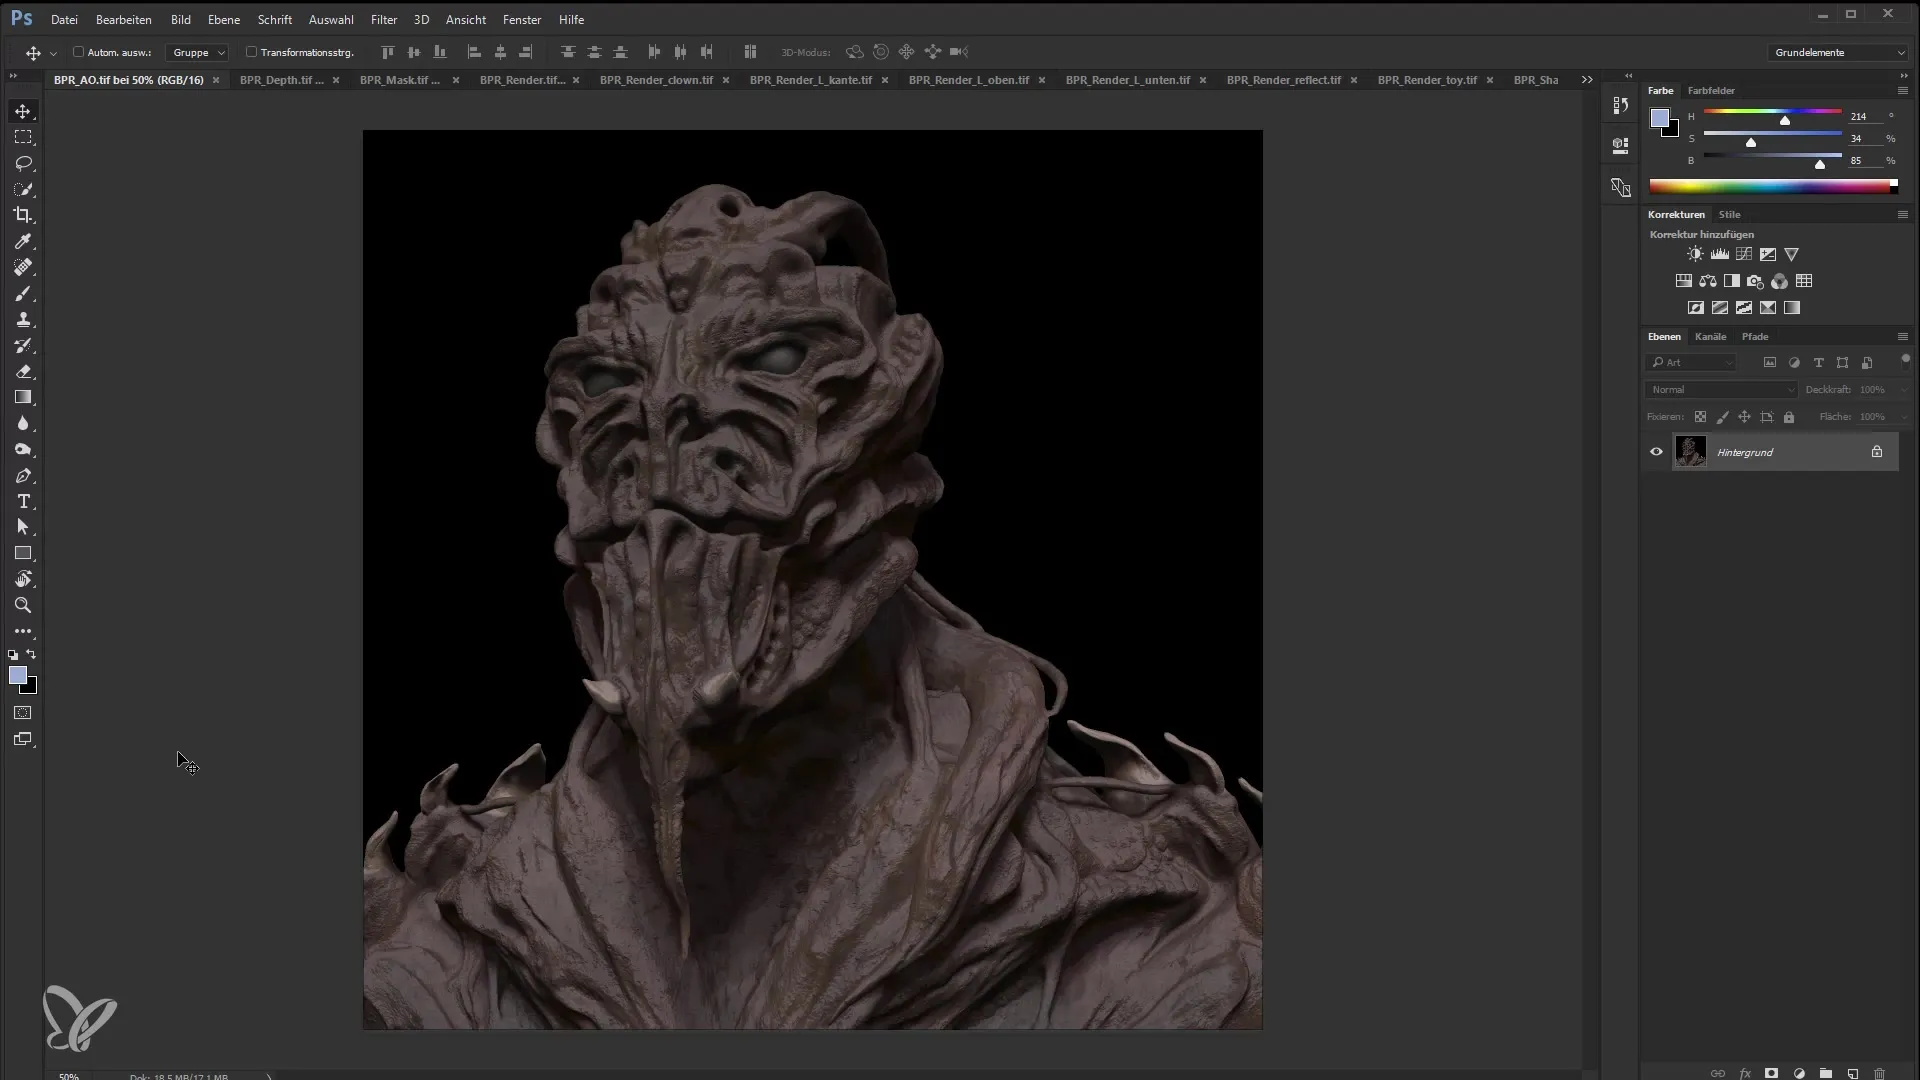
Step 11: Image Editing and Fine-Tuning
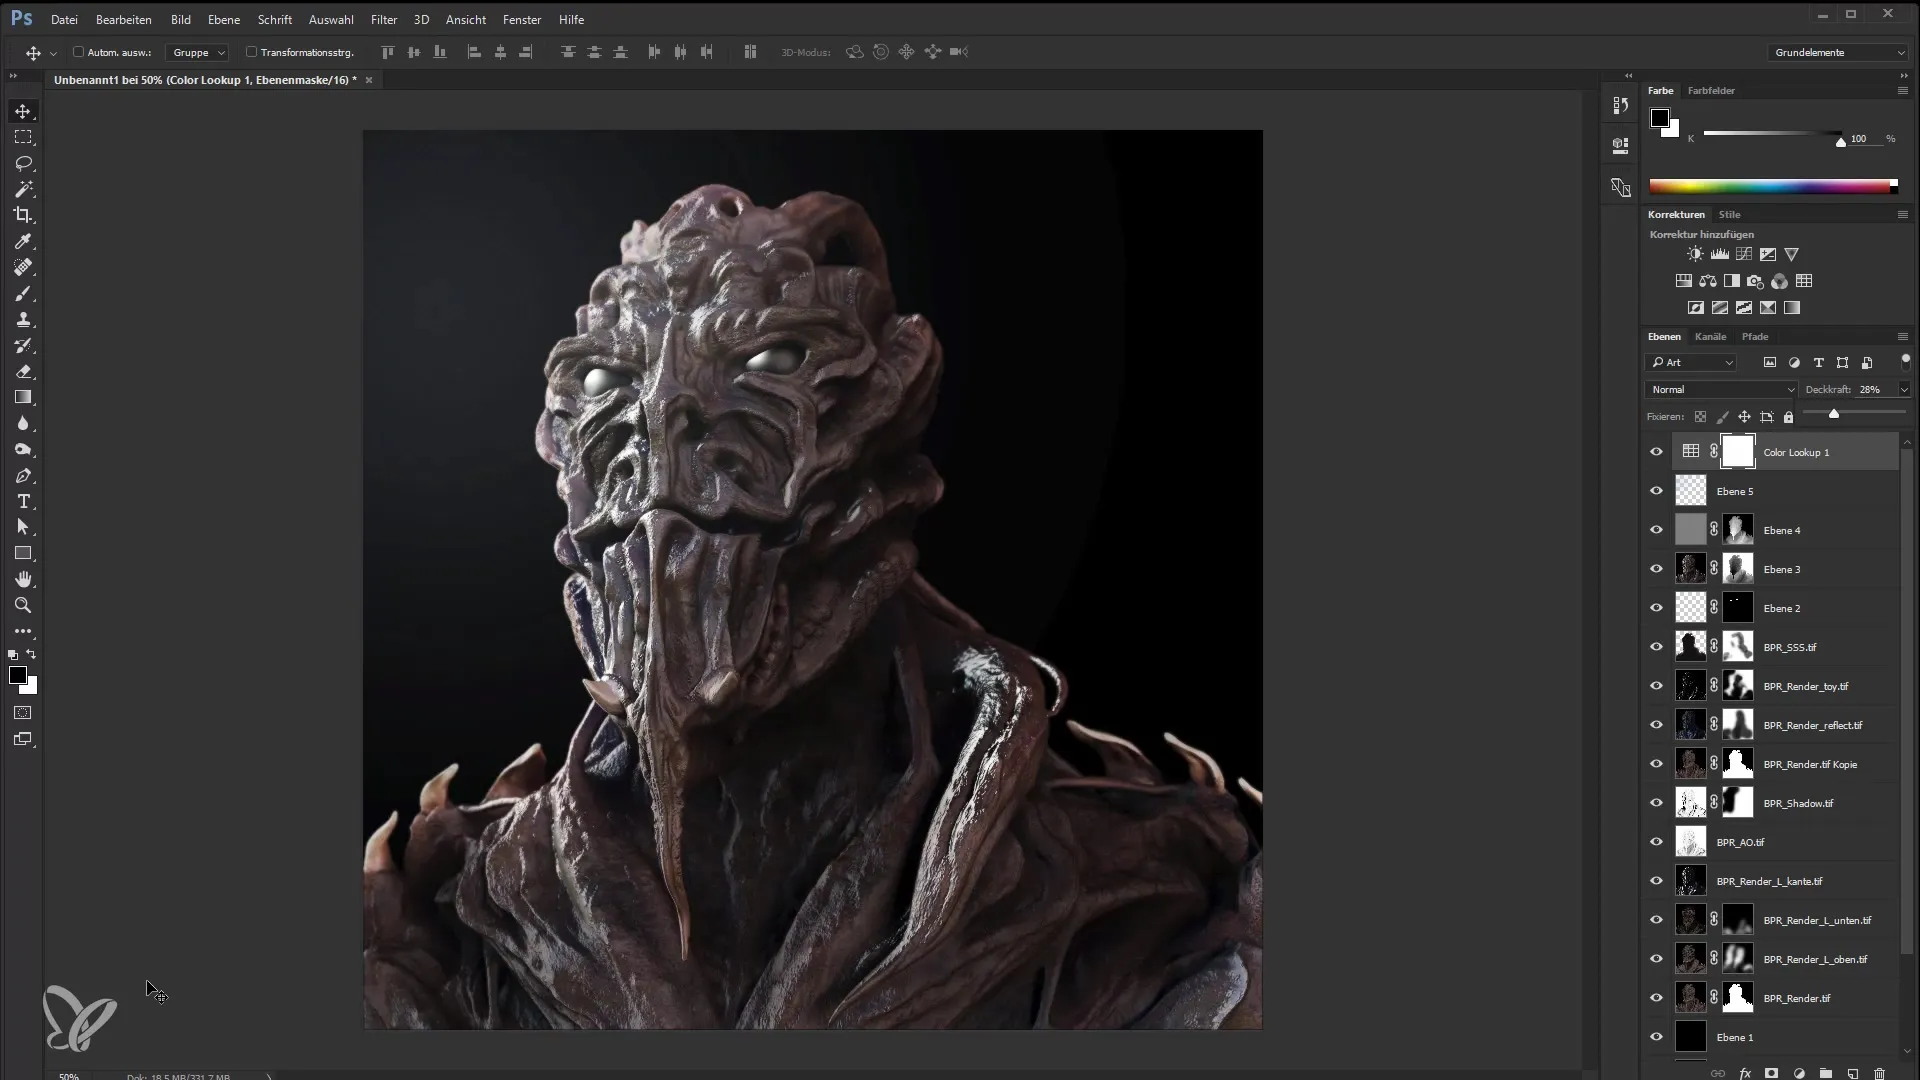
Now you can work with adjustment layers and filters to further refine the image. You can adjust exposure, contrasts, and hue/saturation, for example. Experiment with different blending modes to achieve the best effects.
Step 12: Finalization and Export
If you are satisfied with the editing in Photoshop, save your image in the storage format of your choice. Make sure to keep all layers in case you want to make changes in the future.
Summary
In this tutorial, you have learned how to import and combine render passes from ZBrush in Photoshop to achieve impressive visual effects. You now know how to adjust light and shadow effects and which materials work best. Experiment with these techniques to unleash the full potential of your 3D models.
Frequently Asked Questions
How do I create render passes in ZBrush?You can create render passes in ZBrush by activating the desired settings in the Properties and then using the Best Preview Render function.
Which file format should I choose for render passes?It is recommended to save the render passes in the TIF format as this ensures higher image quality.
How do I adjust lighting conditions in Photoshop?You can control lighting conditions in Photoshop by using adjustment layers and layer masks to achieve the desired look.
Can I use different materials in ZBrush?Yes, ZBrush offers a variety of materials for you to experiment with to achieve creative effects.
How can I merge the render passes in Photoshop?You import the render passes as separate layers in Photoshop and then use layer masks to combine and adjust the individual effects.


