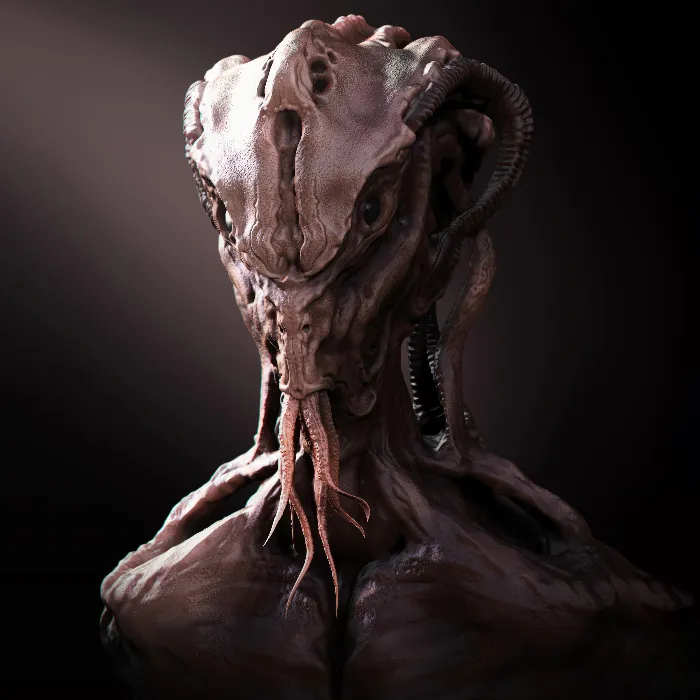
This tutorial introduces you to the seamless integration of ZBrush with the external renderer Keyshot. Keyshot is known for its outstanding image quality, especially with materials like metal and glass. The "ZBrush to Keyshot Bridge" allows you to quickly and efficiently render your ZBrush models in Keyshot without having to create complicated UV maps. This saves you time and effort while achieving high-quality render results.
Key Takeaways
- Keyshot is a powerful external renderer that is ideal for working with ZBrush.
- The "ZBrush to Keyshot Bridge" allows for a seamless transfer of your models.
- Keyshot offers a wide range of materials and rendering features that significantly enhance the image quality.
- You can make adjustments in ZBrush while the changes are live updated in Keyshot.
Step-by-Step Guide
1. Download Keyshot and the Bridge
First, you need to download Keyshot and the ZBrush Bridge. The Bridge is available for $349, and there is also a Pro option for $549. A limited-time demo version of the Bridge is also available.
2. Prepare Model in ZBrush
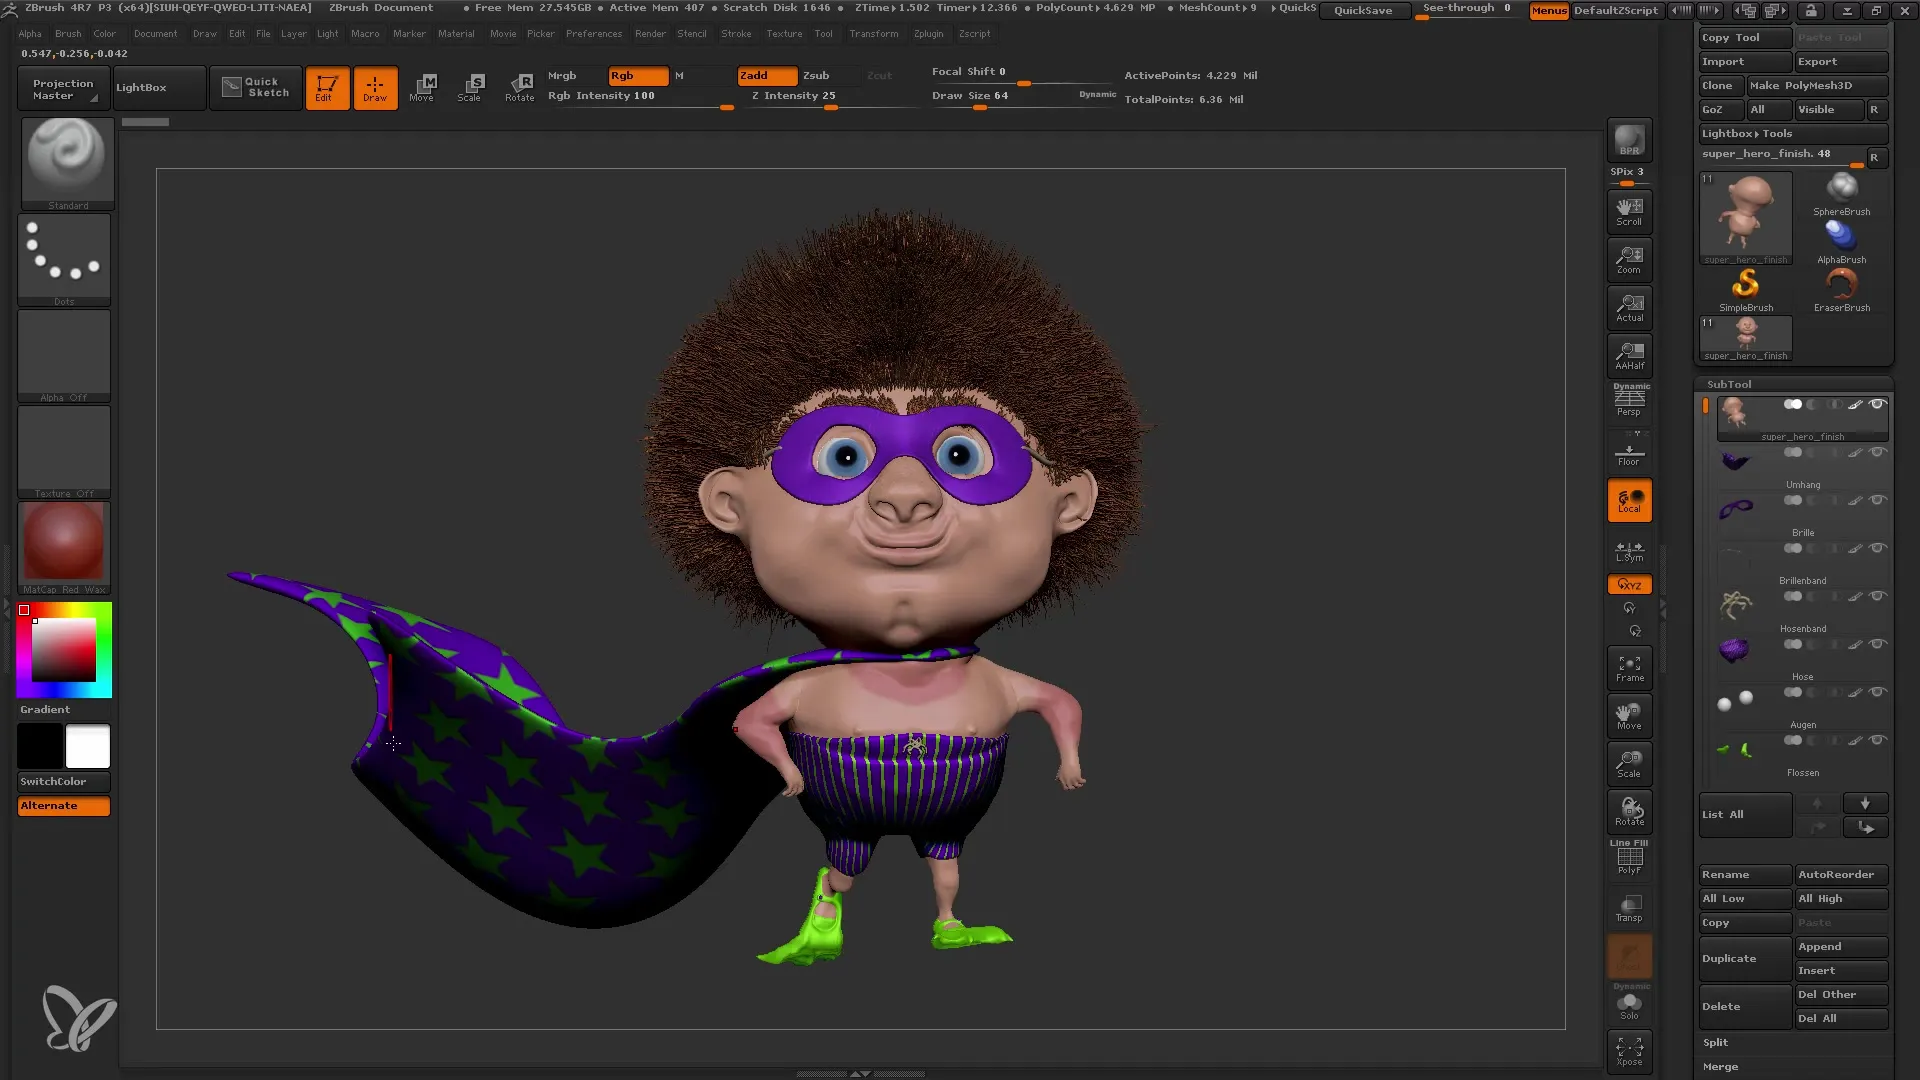
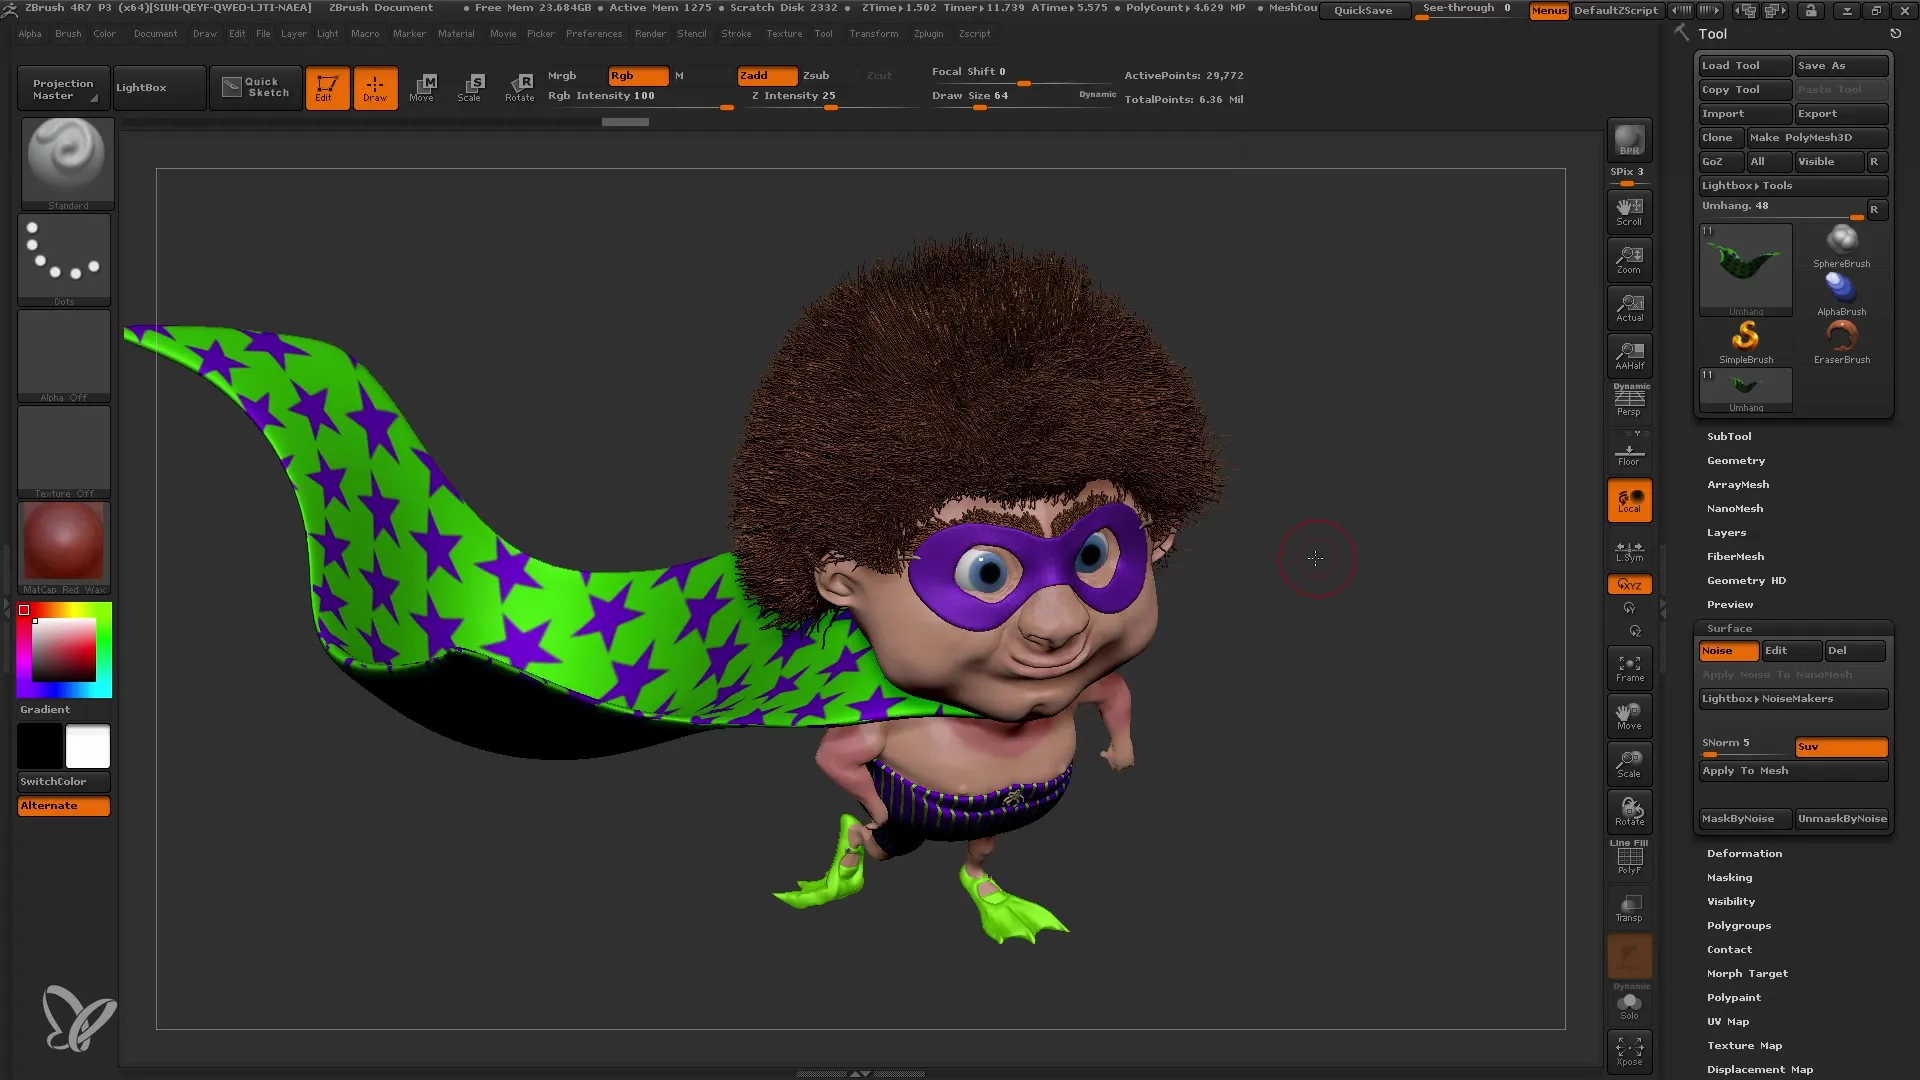
Launch ZBrush and load your model. Ensure that you have added the desired polypaint information and surface noise. This information will be retained when transferring to Keyshot.
3. Use the Bridge
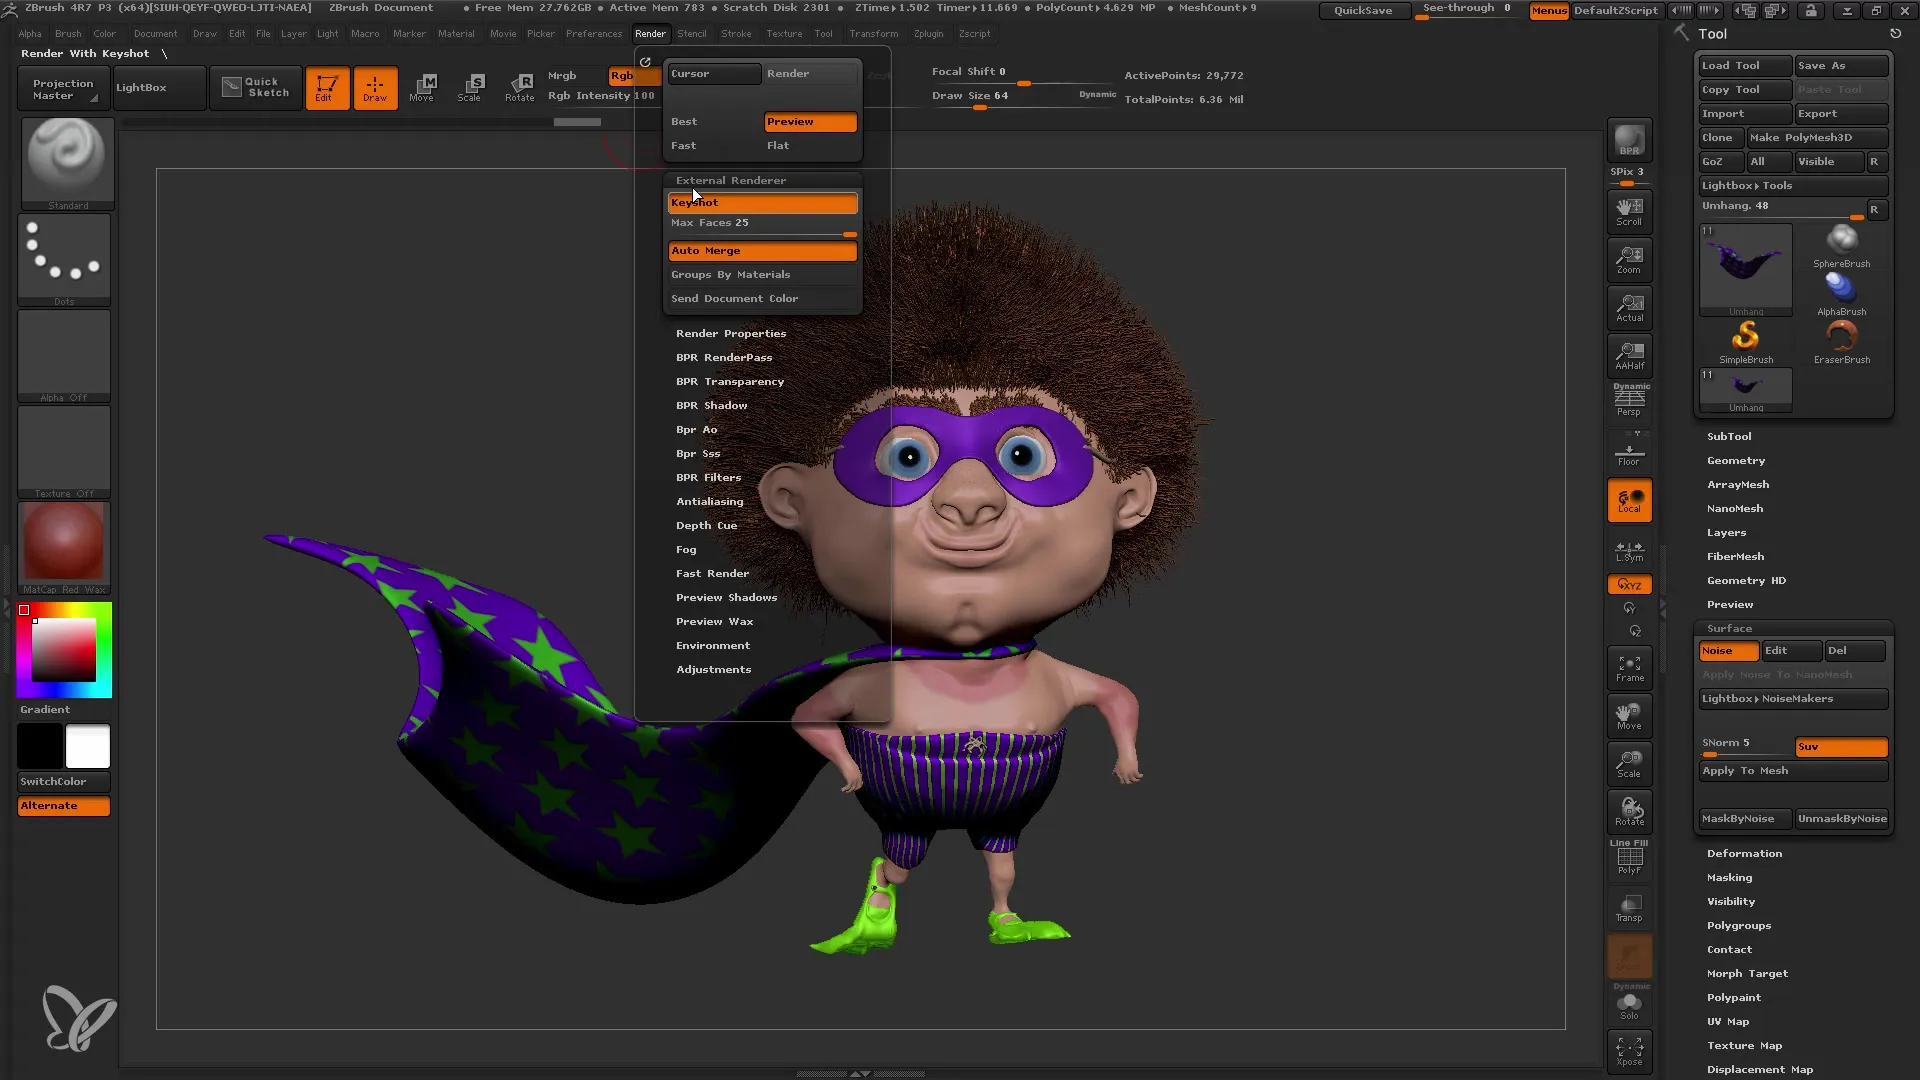
To transfer your model to Keyshot, select "External Renderer." Click on the "BPR" (Best Preview Render) button. This will open Keyshot, and your model along with all information will be transferred.
4. Navigation in Keyshot
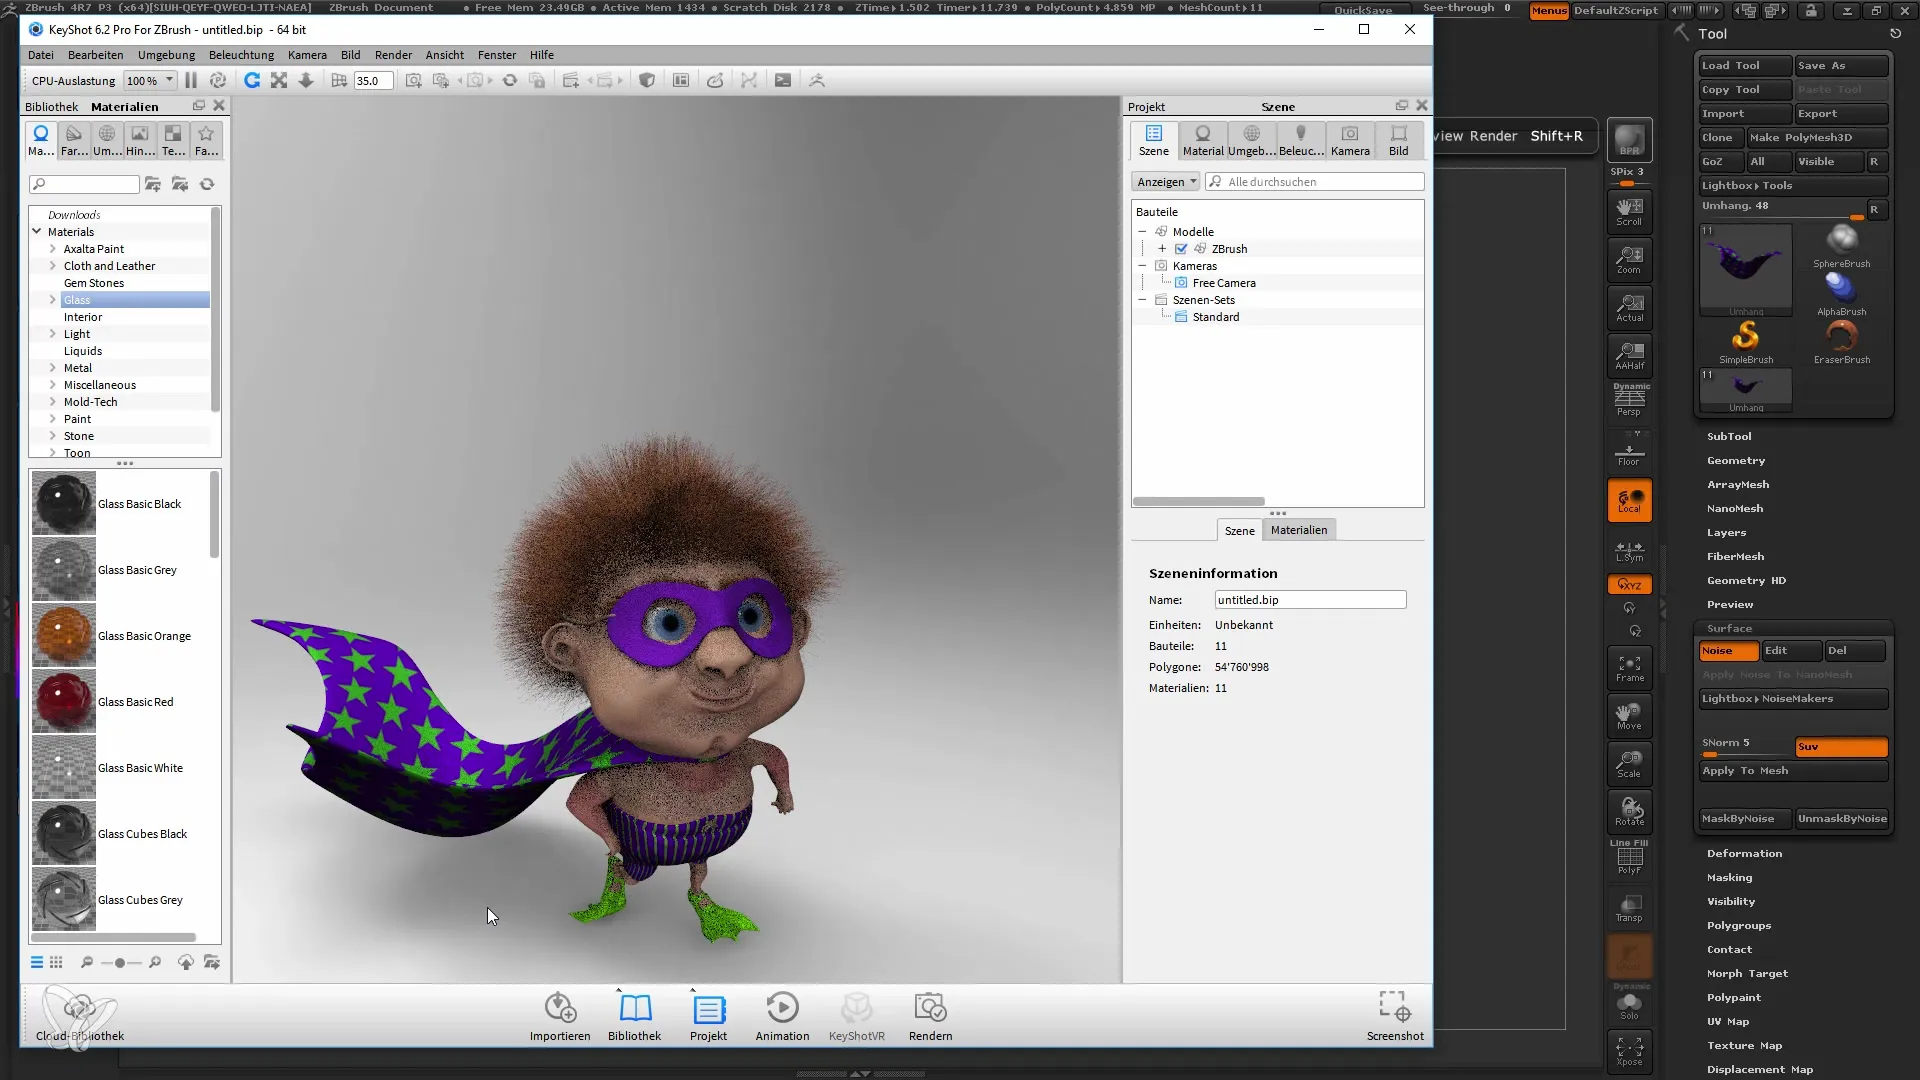
Once your model is loaded in Keyshot, you can navigate through the scene. You can change your view by holding the left mouse button or using the mouse wheel to zoom in or out.
5. Make Adjustments in ZBrush
If you want to make adjustments to your model, you can return to the ZBrush interface. For example, you can adjust the Color Blend option. Your changes will be automatically updated in Keyshot.
6. Select Materials
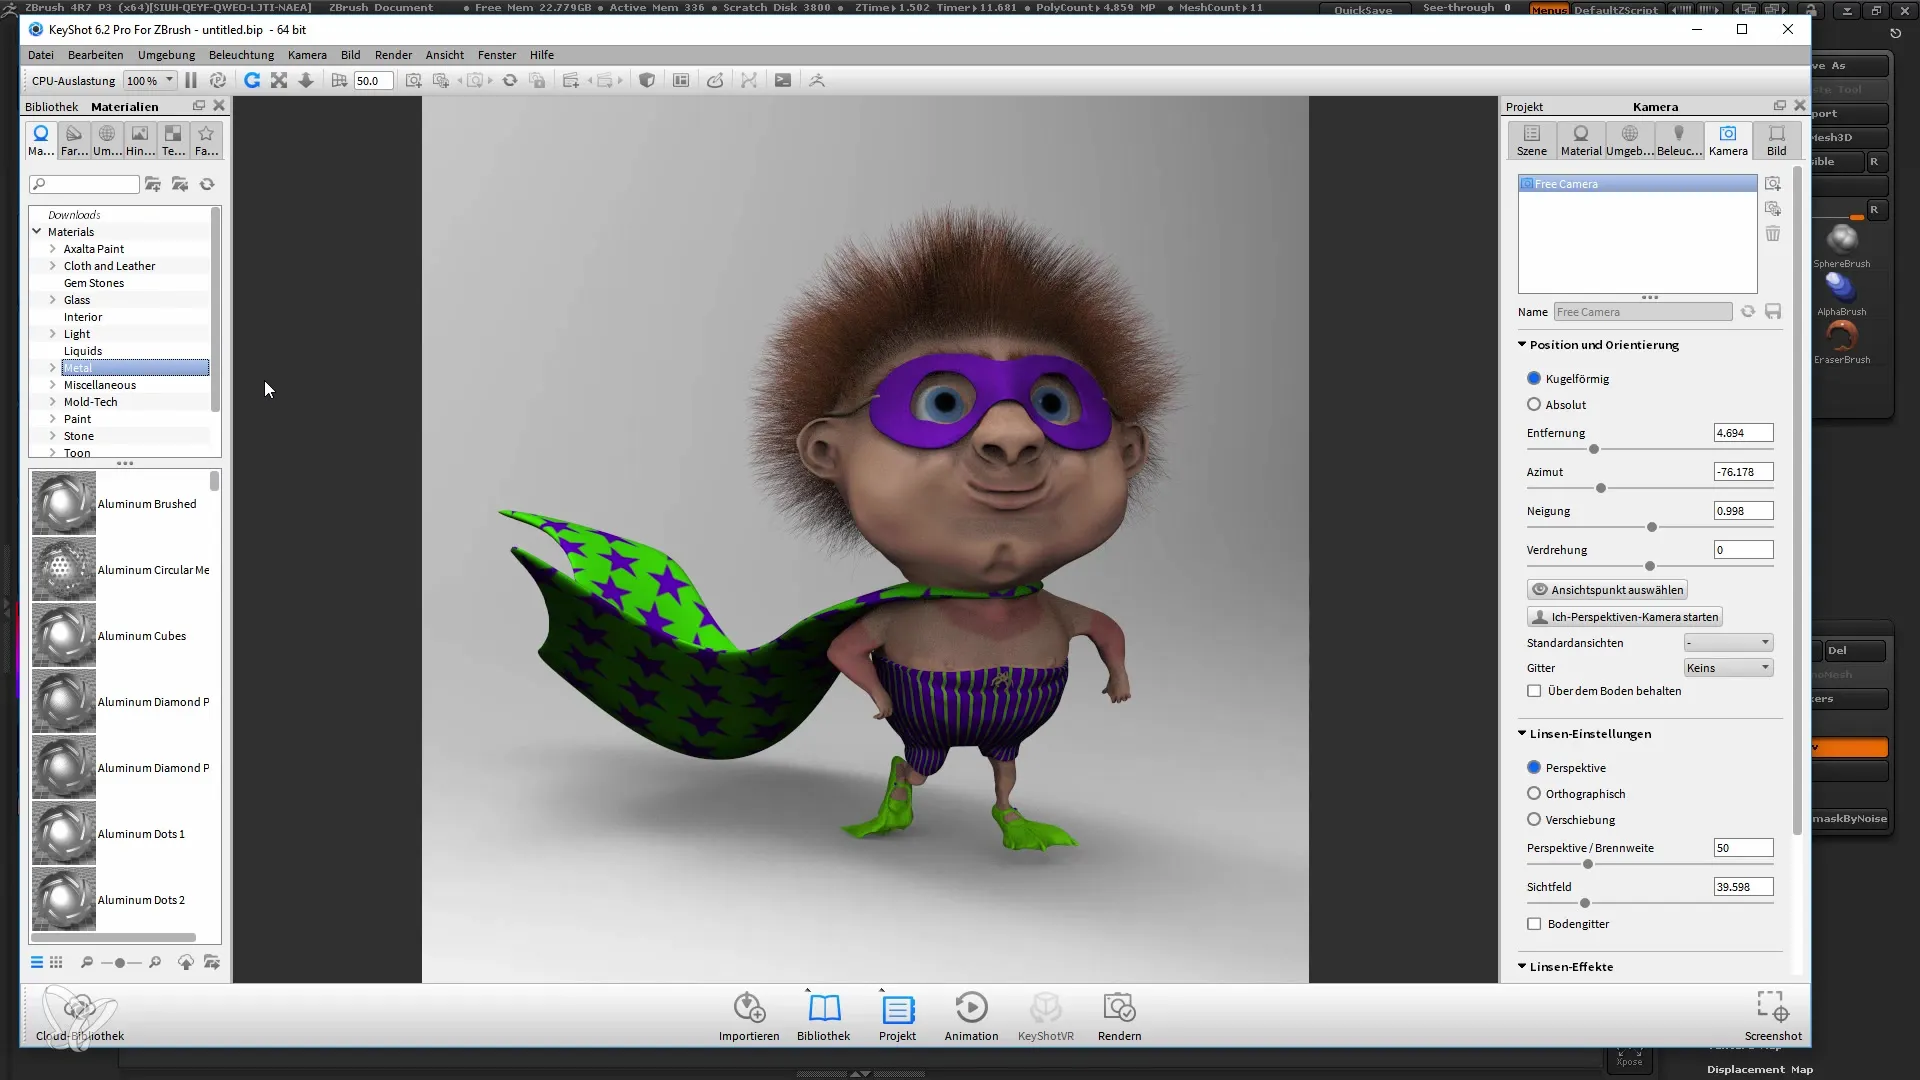
In Keyshot, you have access to a wide range of high-quality materials. These materials are more realistic than the standard materials in ZBrush. Choose materials that best suit your model.
7. Apply Materials
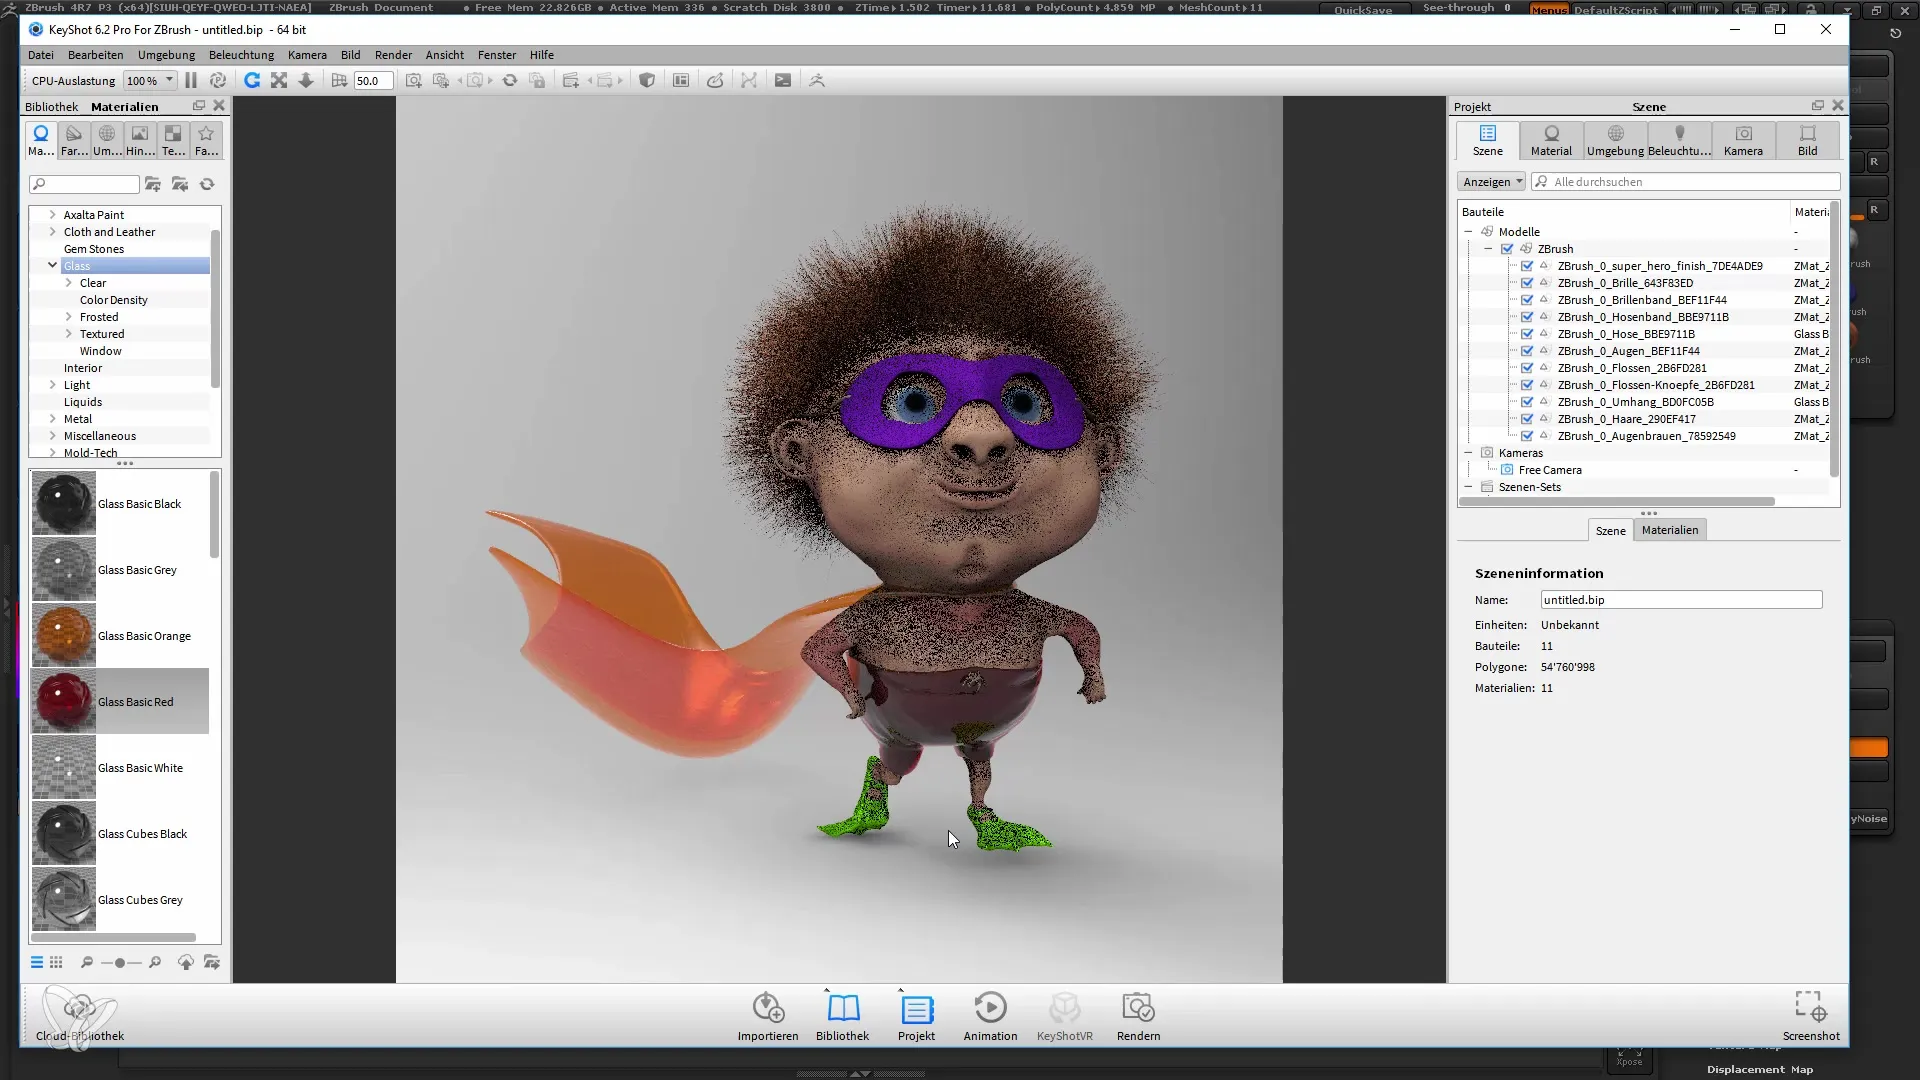
To apply materials, simply drag the desired material onto your model or specific subtool instance. This works quickly and allows for easy manipulation of your models.
8. Lighting and HDRI Settings
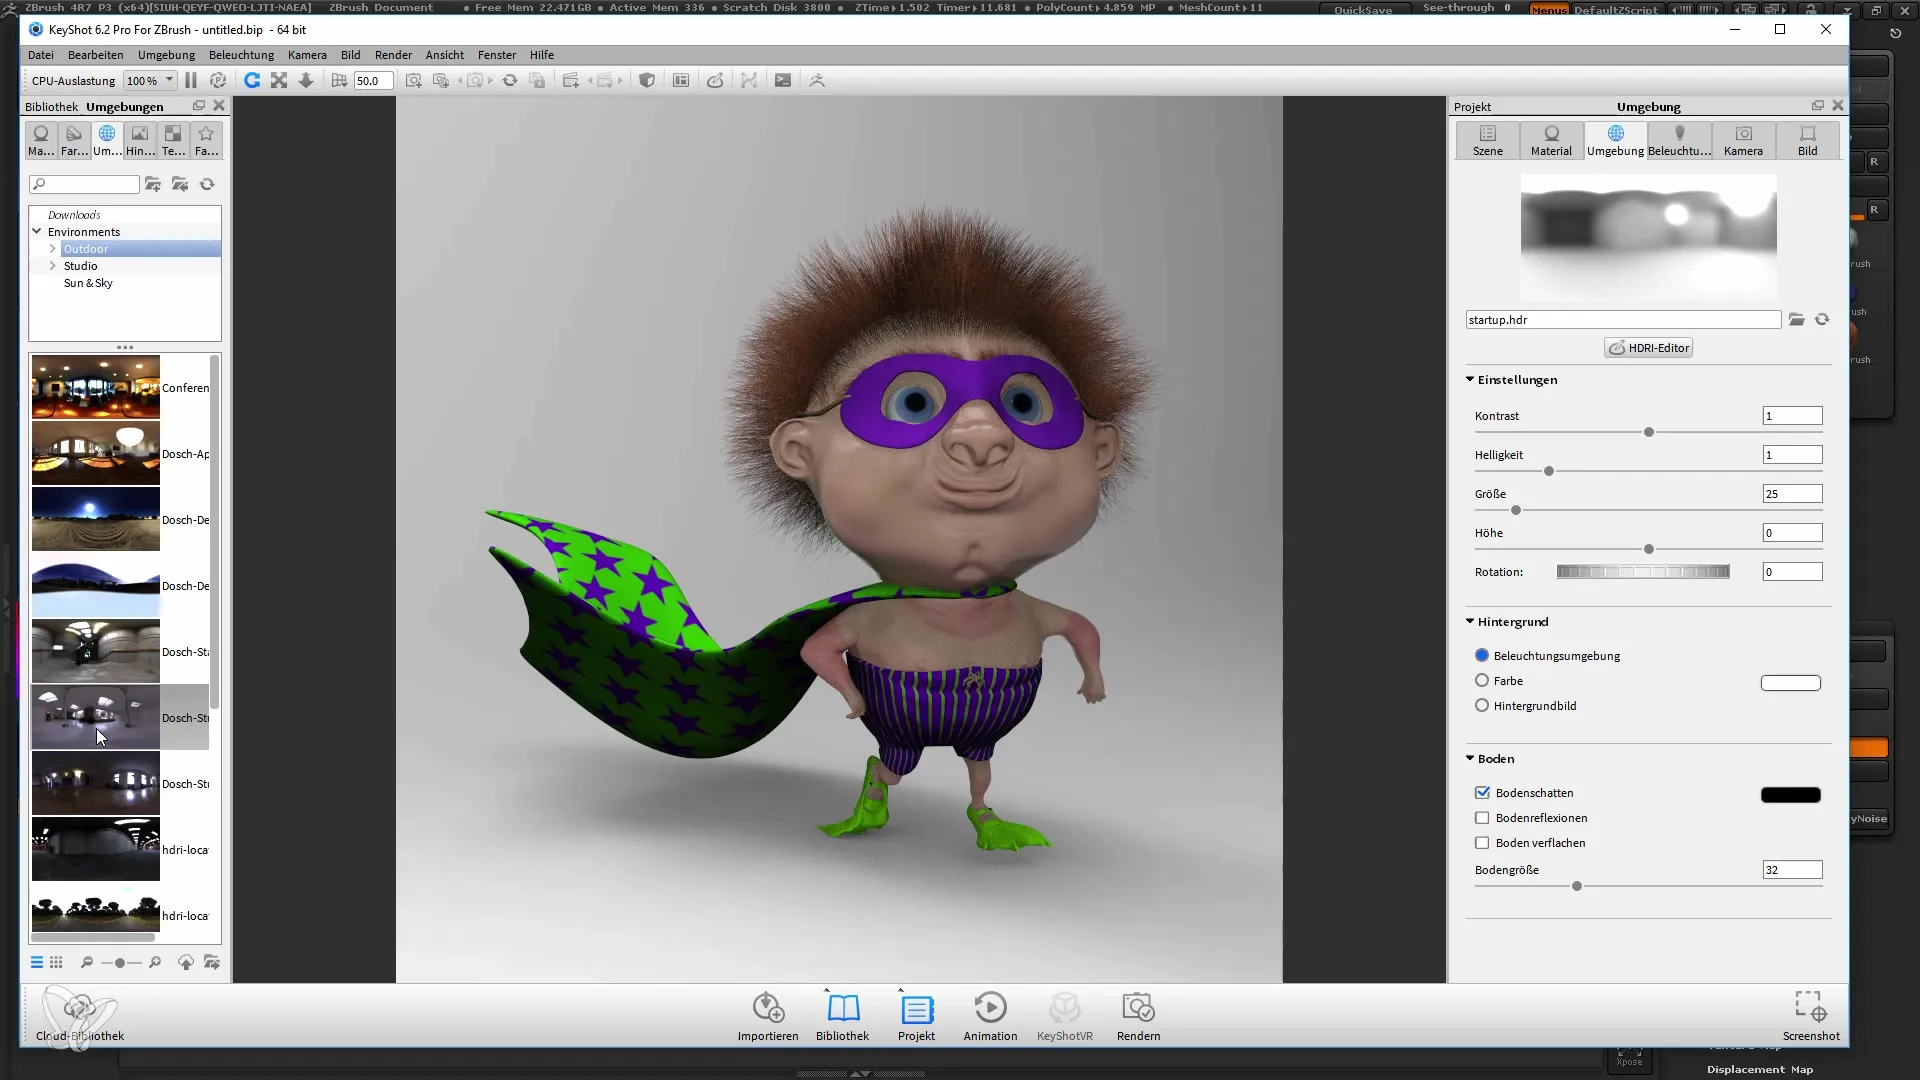
In Keyshot, lighting is controlled by HDRI images. You can try out different HDRI presets to optimize the lighting. Drag the HDRI preset into the scene and observe the changes in your model's lighting.
9. Adjust Rendering Settings
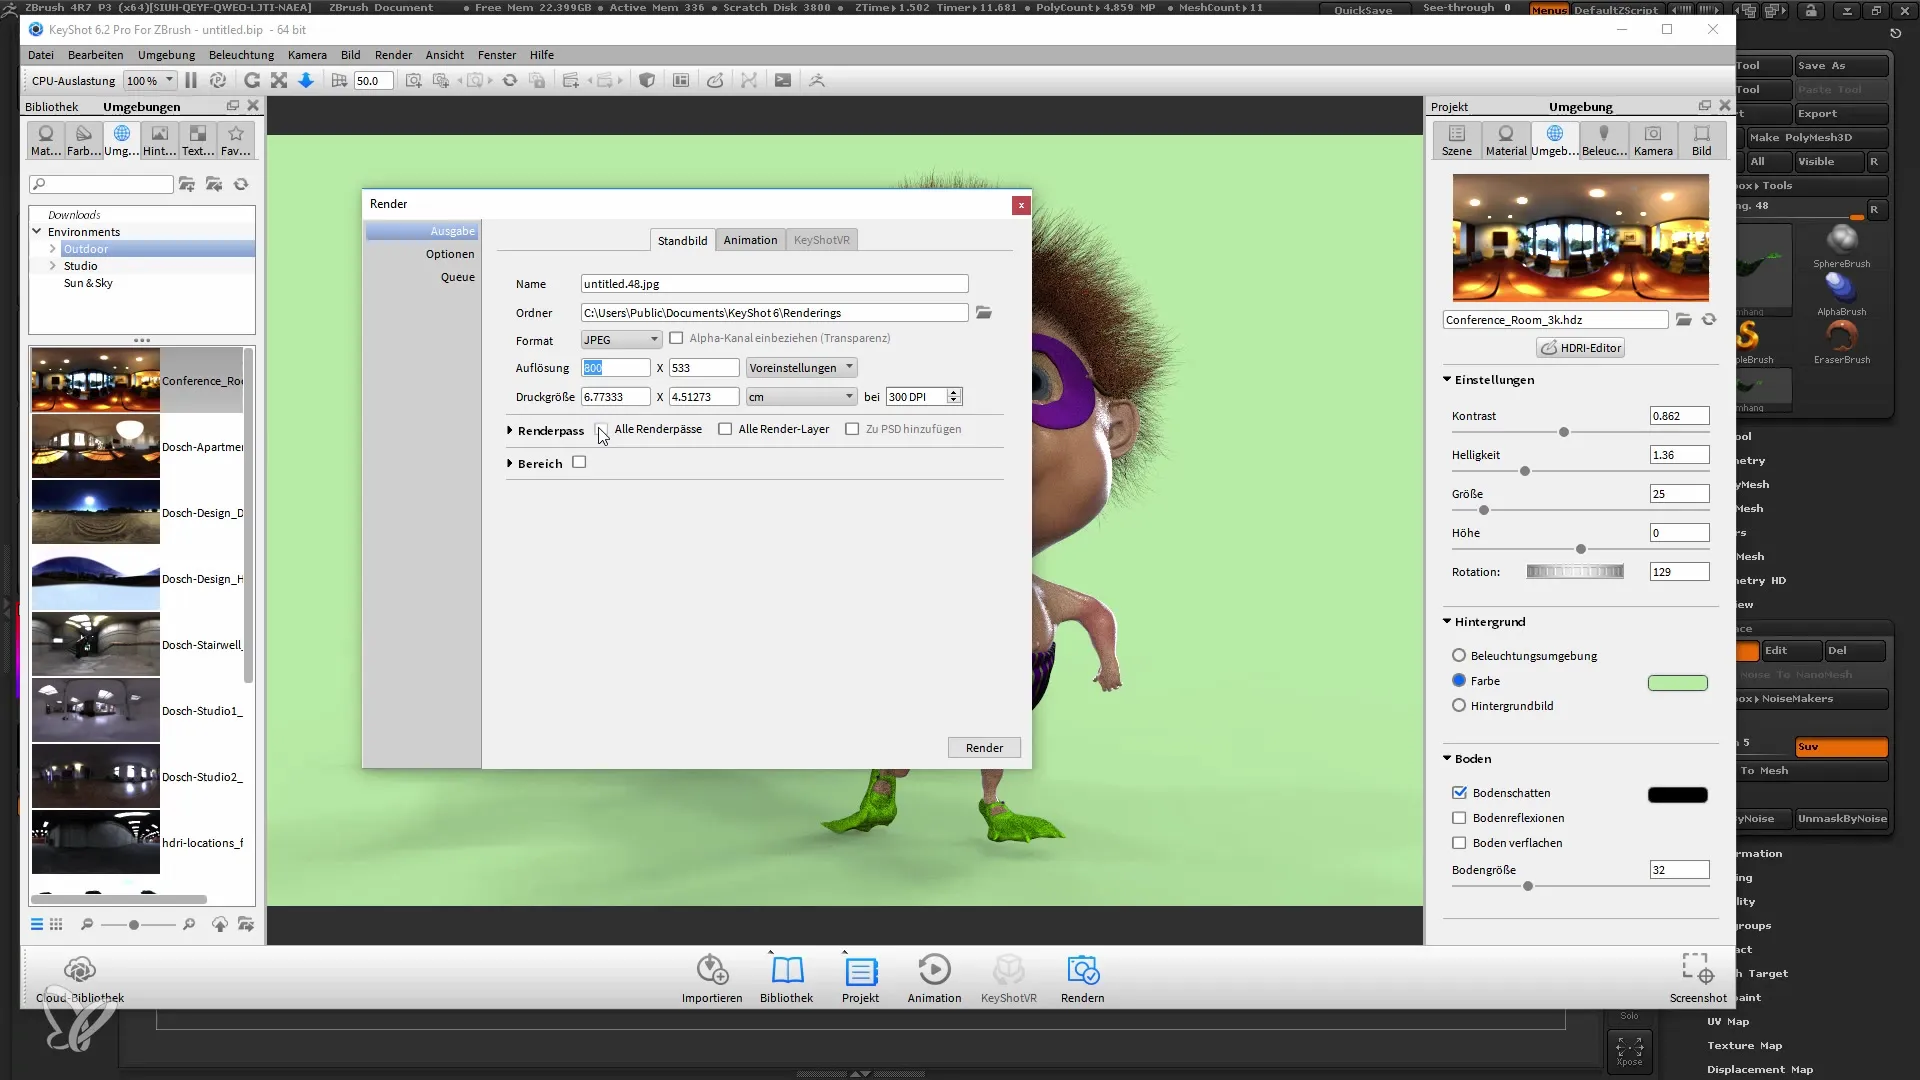
Before rendering your image, you can adjust the resolution and output formats. Make sure to choose the right settings for your image.
10. Render Image
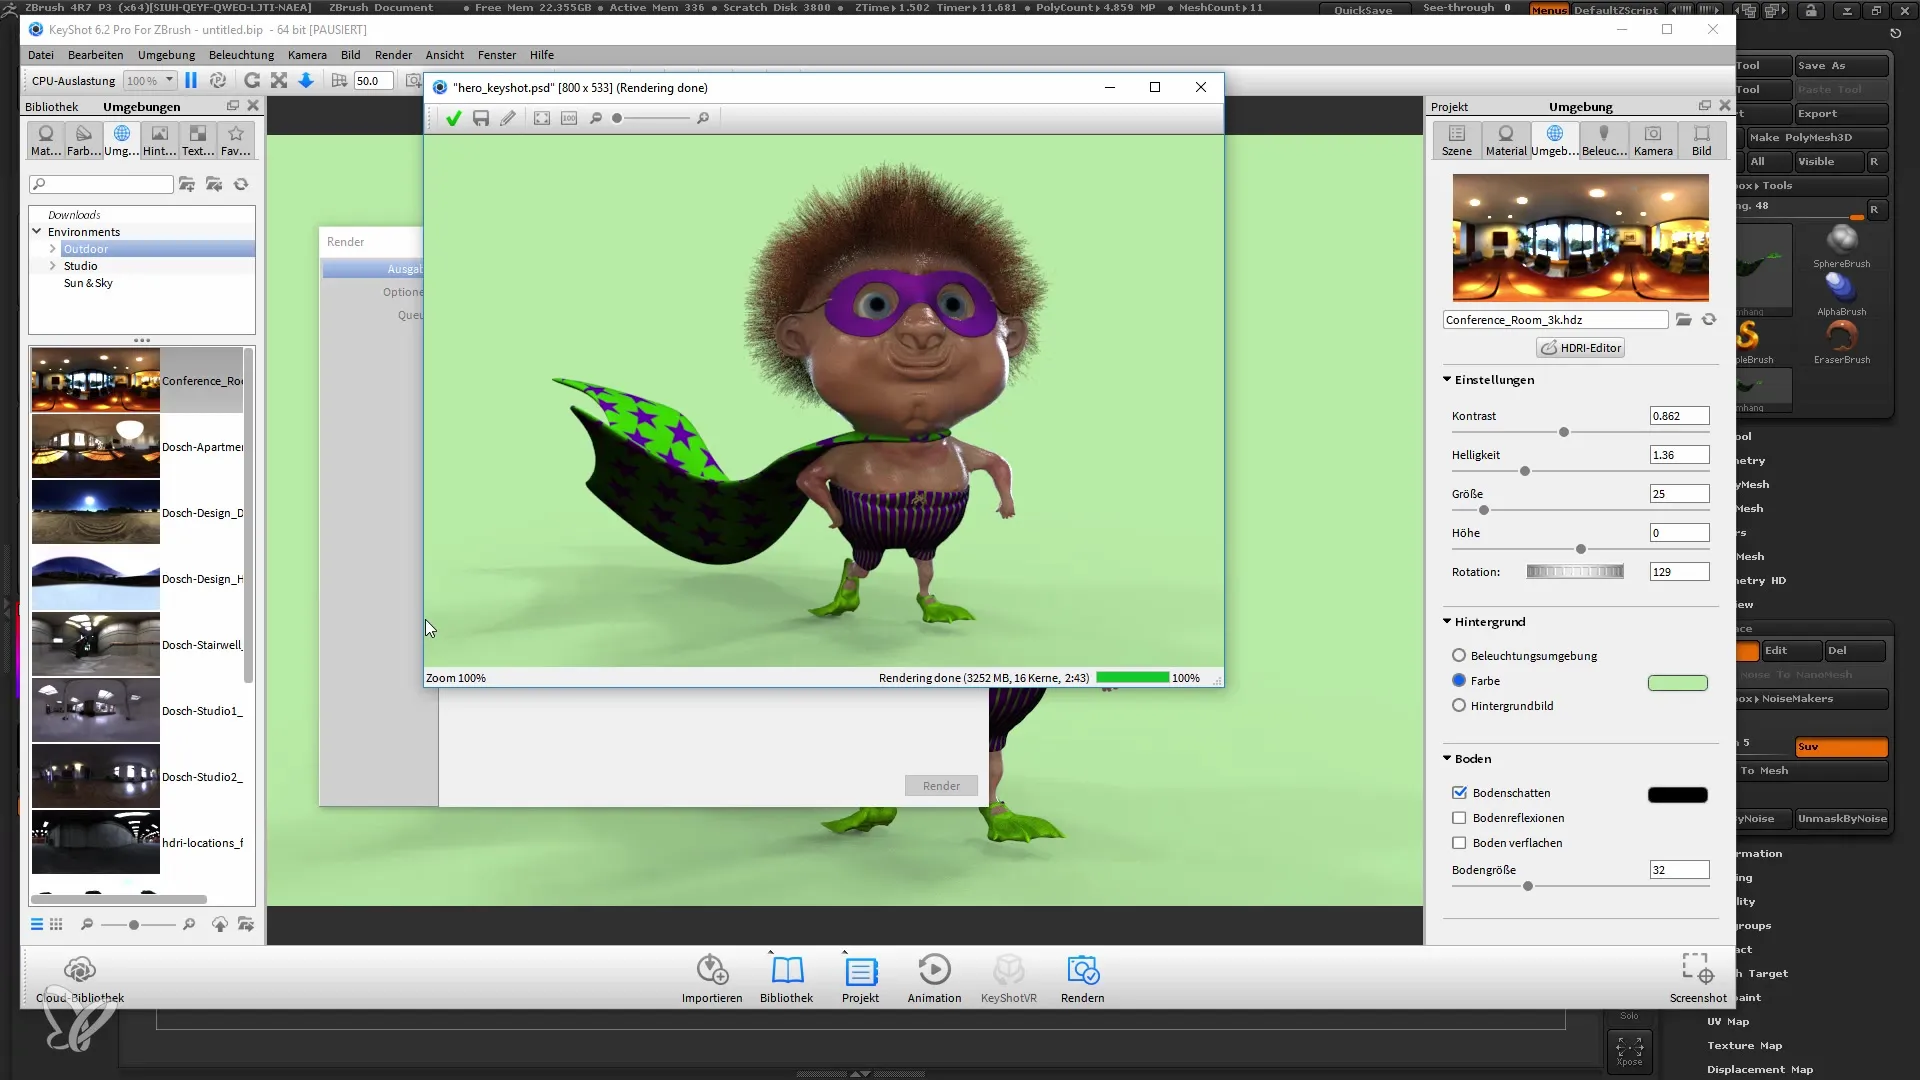
When you are satisfied with all settings, click on "Render." You can save the image as a PSD to work with layers later, or as a JPG if you want to use it immediately.
Summary
Rendering in Keyshot offers you a variety of options to enhance the image quality of your ZBrush models. By easily integrating the "ZBrush to Keyshot Bridge," you save time and achieve impressive results. You can edit your model in ZBrush and see the changes live in Keyshot. The possibilities for adjusting materials and lighting give you a high degree of creative freedom.
Frequently Asked Questions
How can I download Keyshot?You can download Keyshot from the official website. There is both a purchase and a demo version available.
Do I need UV maps to render in Keyshot?No, the "ZBrush to Keyshot Bridge" allows you to work without UV maps.
Can I edit models in Keyshot?Yes, you can edit your models in ZBrush, and changes will be automatically updated in Keyshot.
How do I save my rendered image?In rendering mode, you can choose different formats like PSD or JPG and save the image directly.
