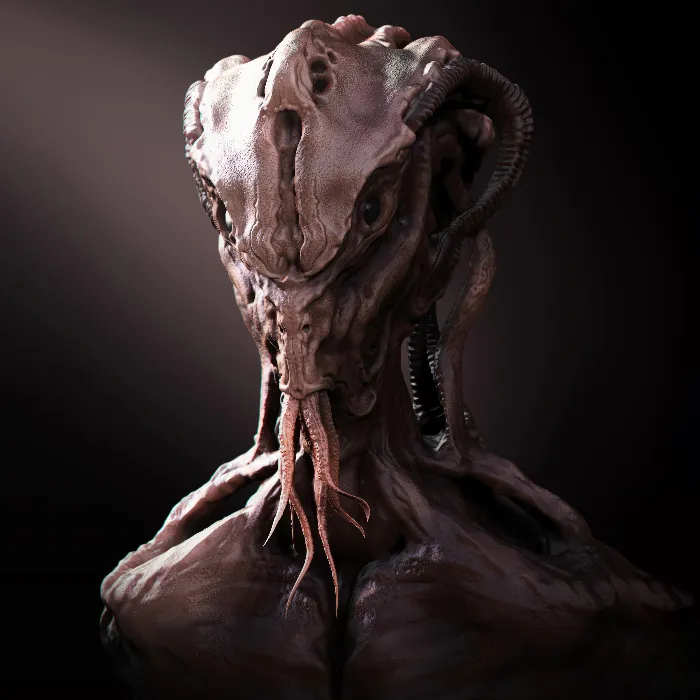
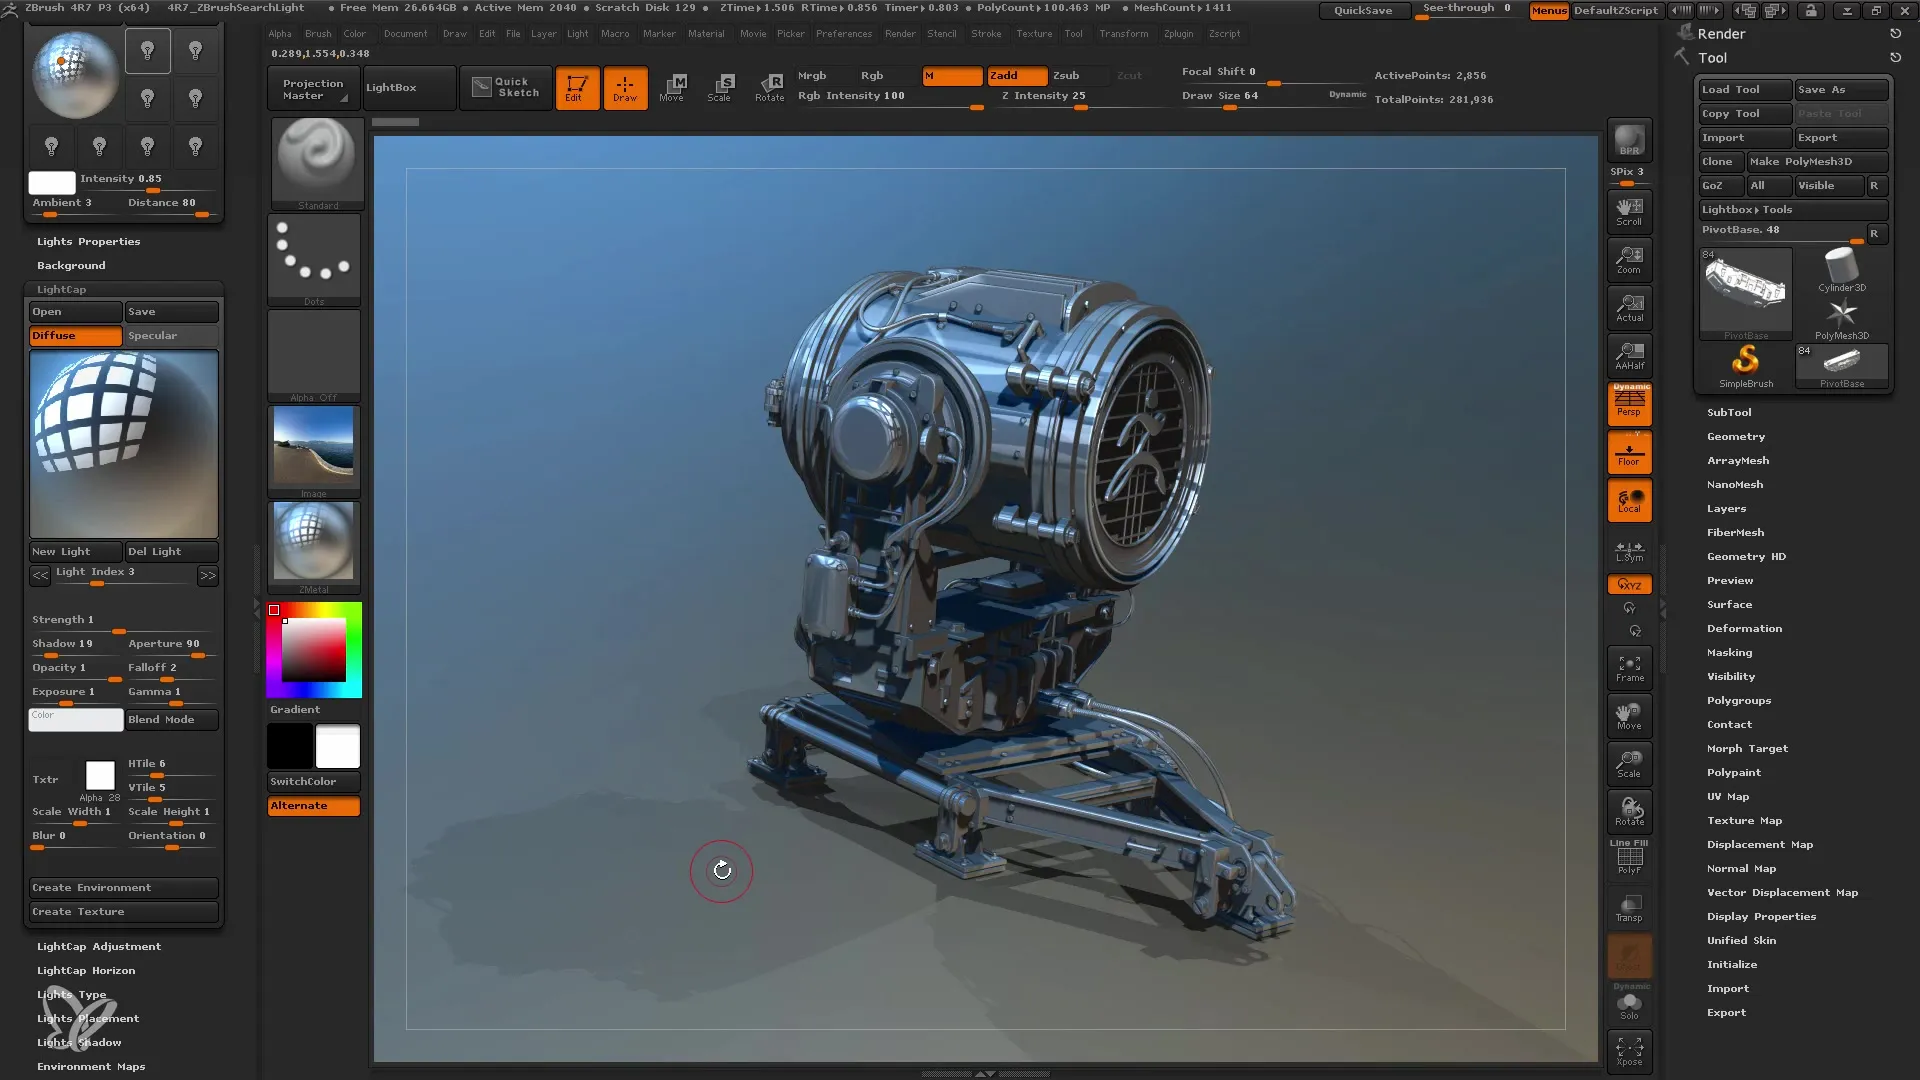
In this tutorial, you will learn how to make your lighting setup more interesting with Lightcaps in ZBrush. Lightcaps allow you to create complex lighting that will make your models shine in a new light. You will learn how to add different lights, adjust their properties, and even generate Lightcaps from HDR images. Whether you stay in ZBrush or later edit your models in Photoshop, this knowledge will help you achieve impressive results.
Key Takeaways
- Lightcaps are a powerful method for light control in ZBrush.
- You can add different light sources and customize their attributes individually.
- Creating Lightcaps from HDR images can significantly enhance your lighting.
- You can save the developed light setups and reuse them for other projects.
Step-by-Step Guide
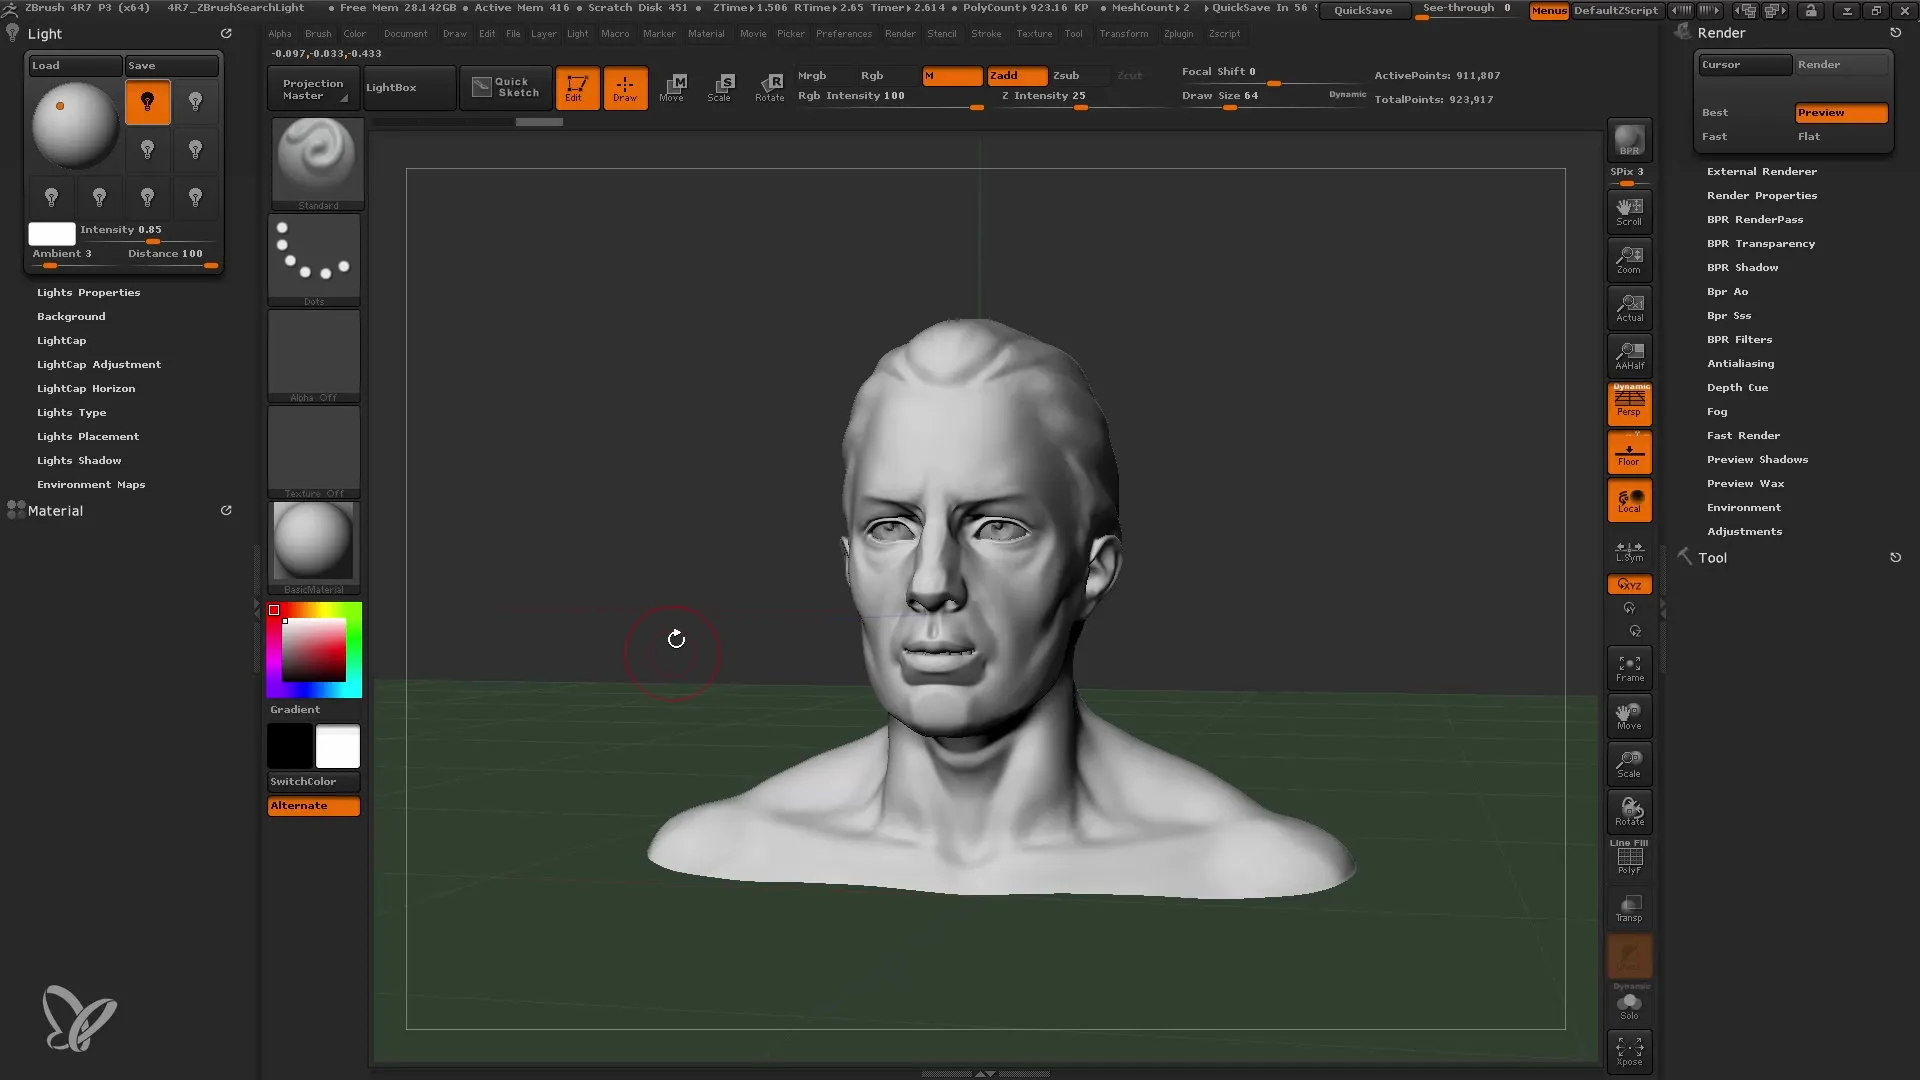
Step 1: Turn off Standard Light
Before working with Lightcaps, you should deactivate the standard light in ZBrush. This will give you a dark environment where you can strategically add new lights. Go to the Lightcaps menu and turn off the standard light.
Step 2: Add Diffuse Light
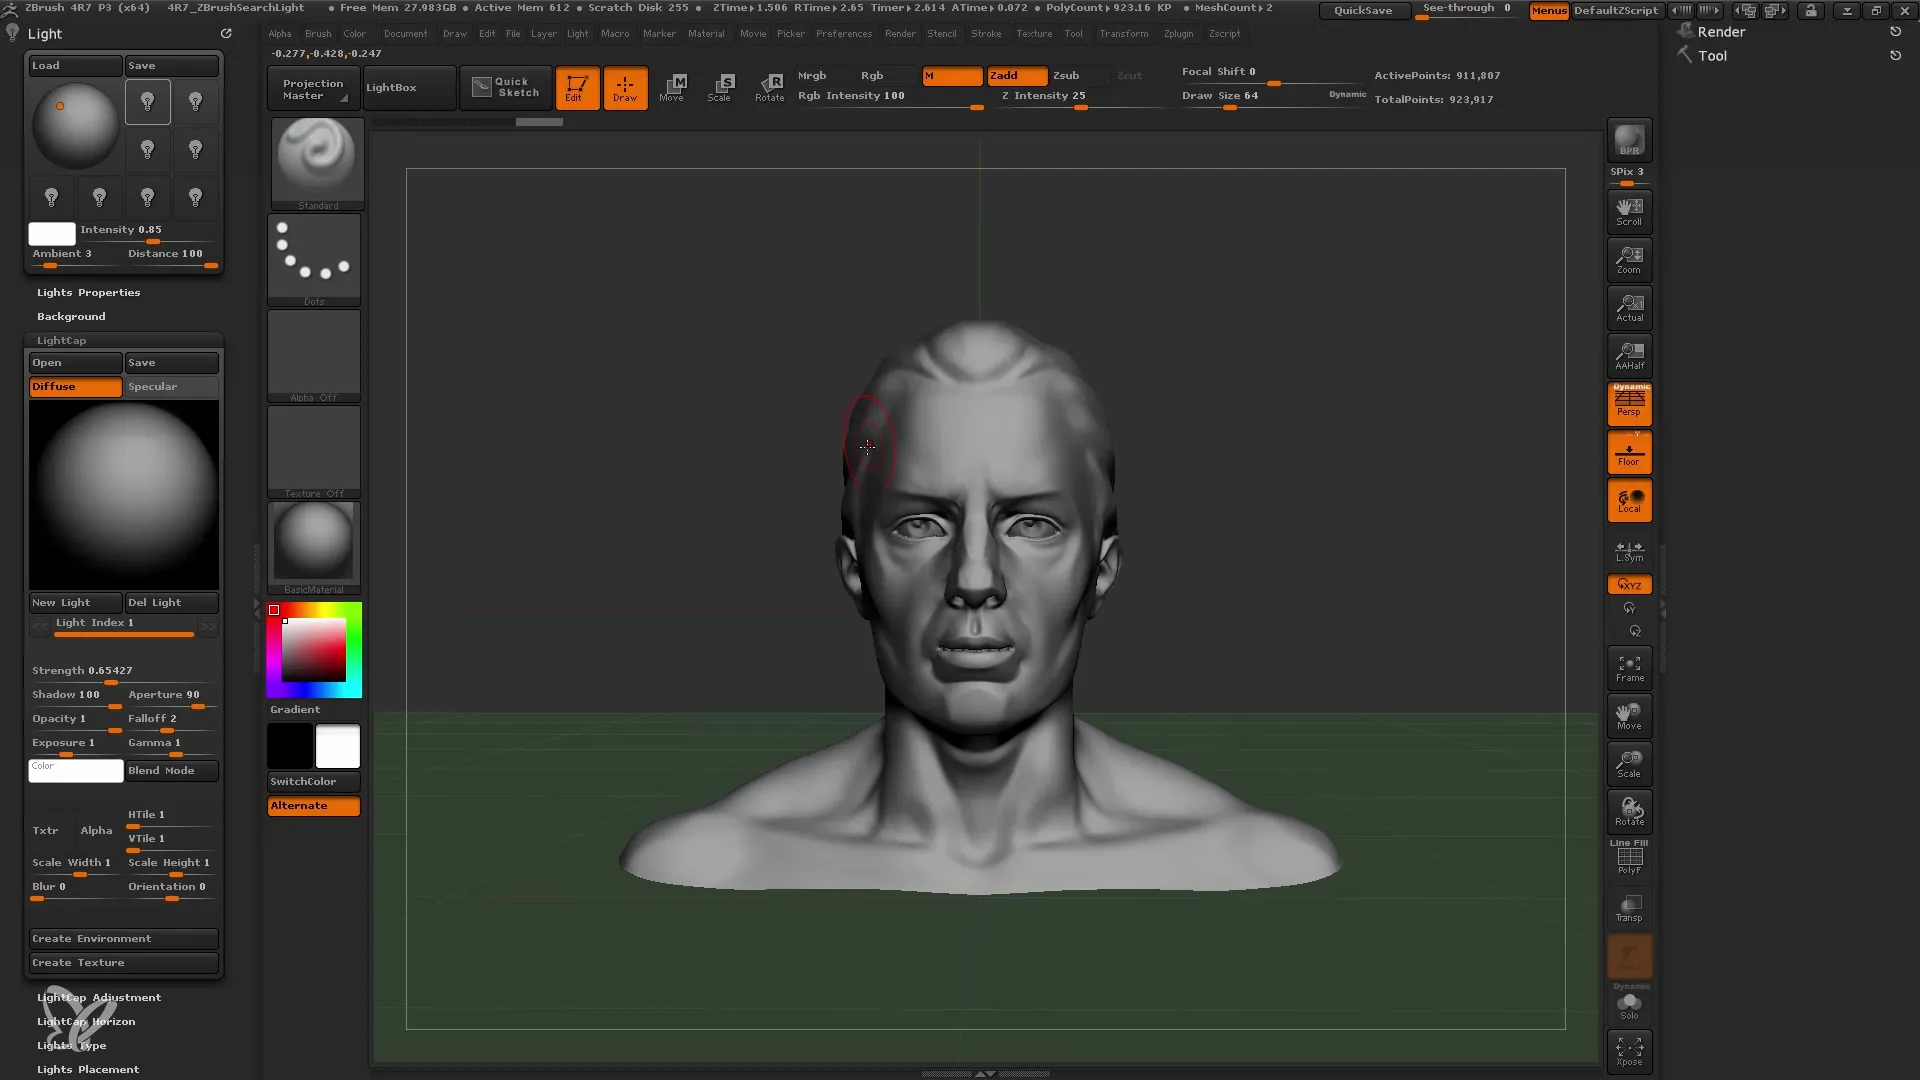
Now add a new light. You can do this in the Lightcaps menu by selecting the option for diffuse light. You can now customize the light source by changing its position and experimenting with different colors. Make sure to position the light in a way that illuminates your character or object effectively.
Step 3: Adjust Light Intensity and Shadows
After adding the diffuse light, you can change the intensity and shadow properties. You have the option to modify the light's intensity as well as shadow details. This helps you create the desired atmosphere and showcase your model optimally.
Step 4: Set Aperture and Falloff
An important element in light control is the aperture. You can set the aperture to be very small or large depending on the desired effect. Similarly, the falloff works to create transitions between light and shadows. Experiment with different values to see what effects you can achieve.
Step 5: Use Multiple Light Sources
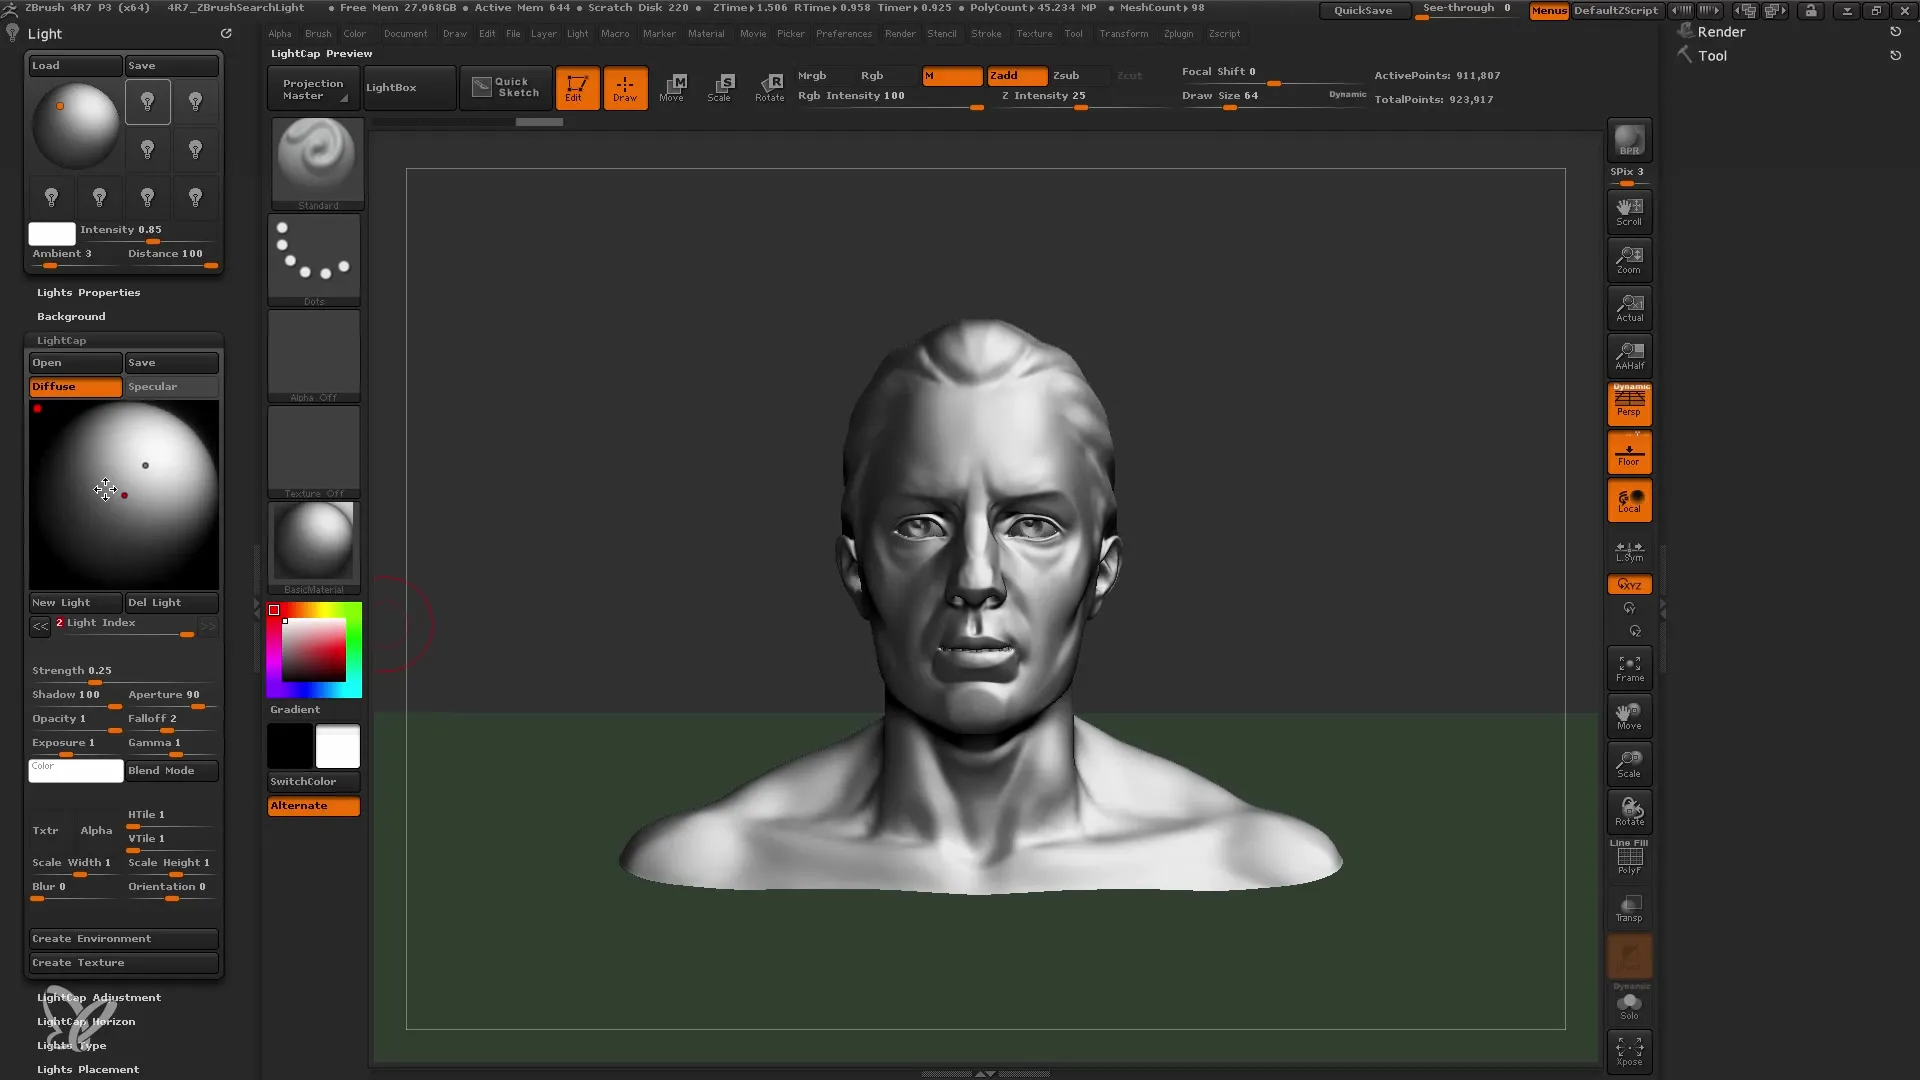
To create an interesting light setup, you can add multiple light sources. Each light has its own settings that you can adjust as needed. Pay attention to which light source is active so you don't lose track and know which light is responsible for which display.
Step 6: Add Rim Light
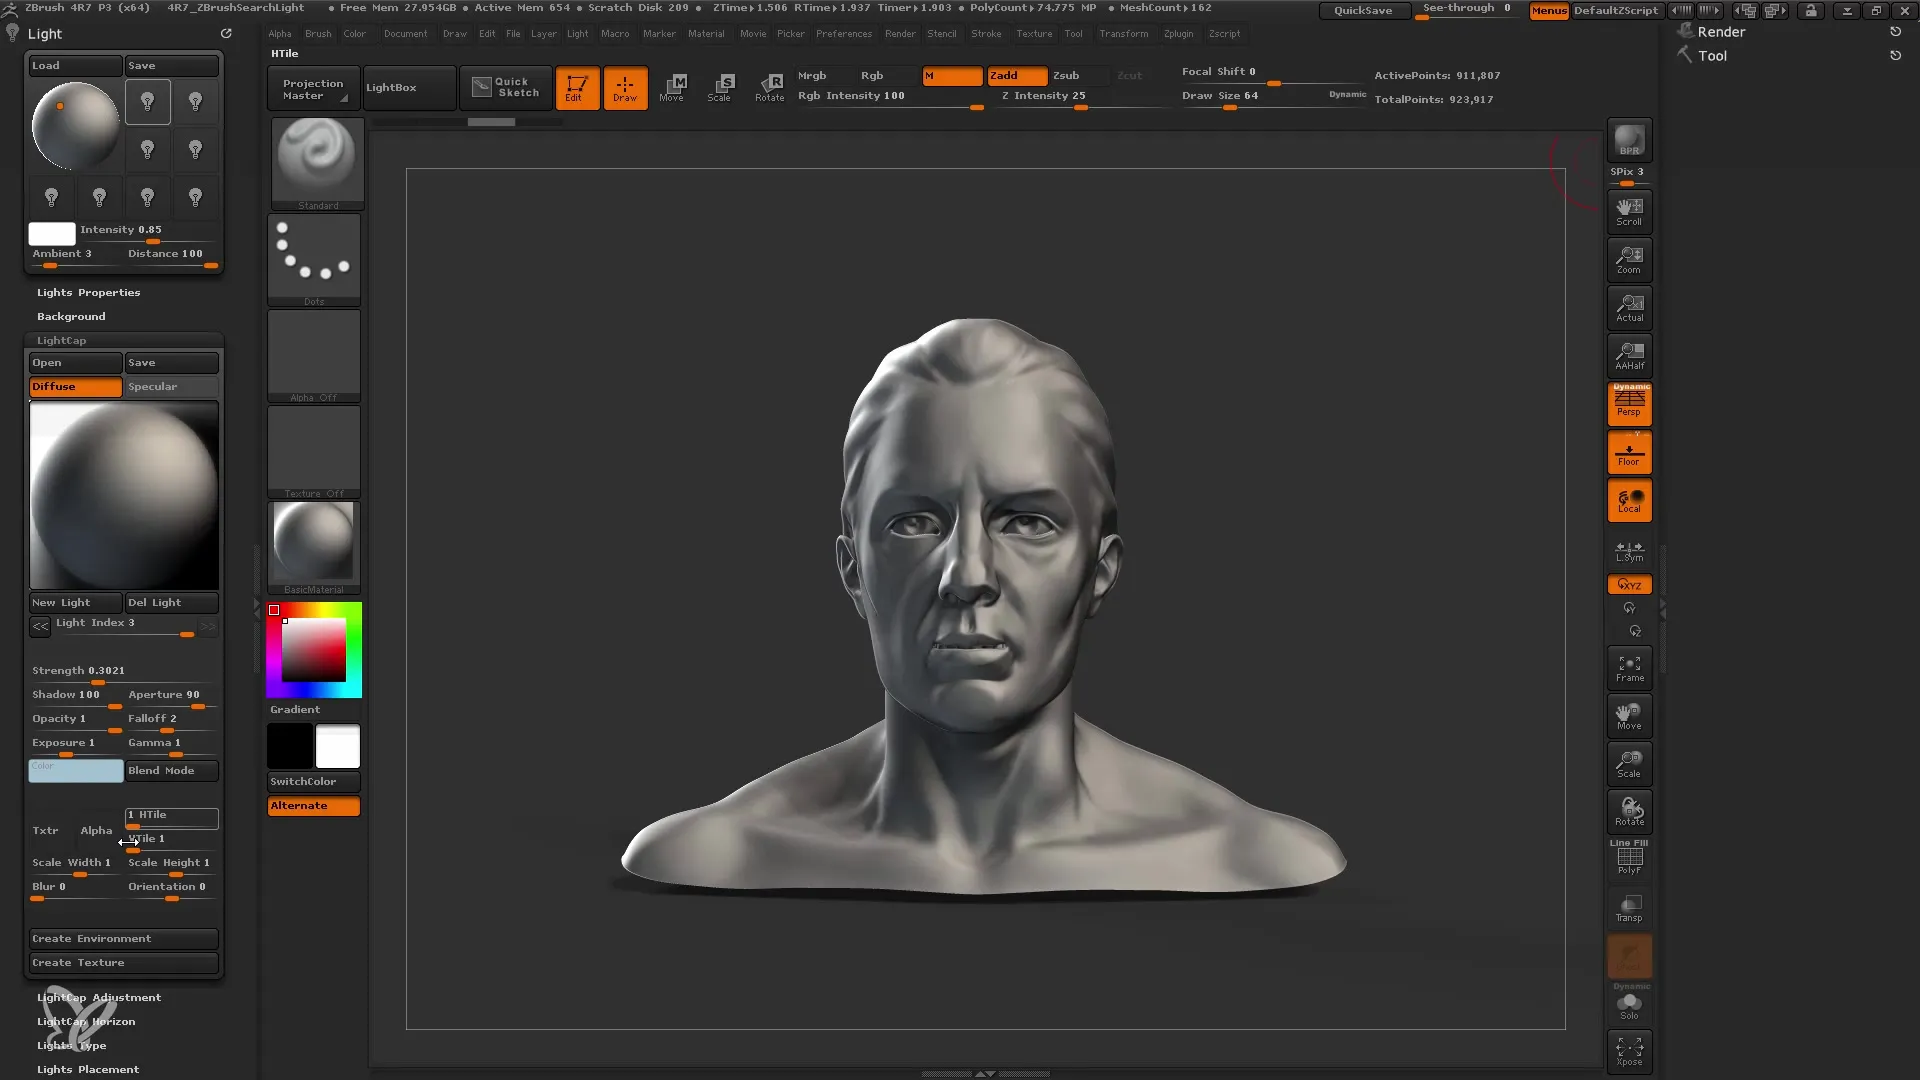
To add extra details to your model, include a rim light. This will accentuate the contours of your model and can significantly enhance the three-dimensional effect. Position the rim light strategically to create stronger highlights.
Step 7: Use Textured Light Source
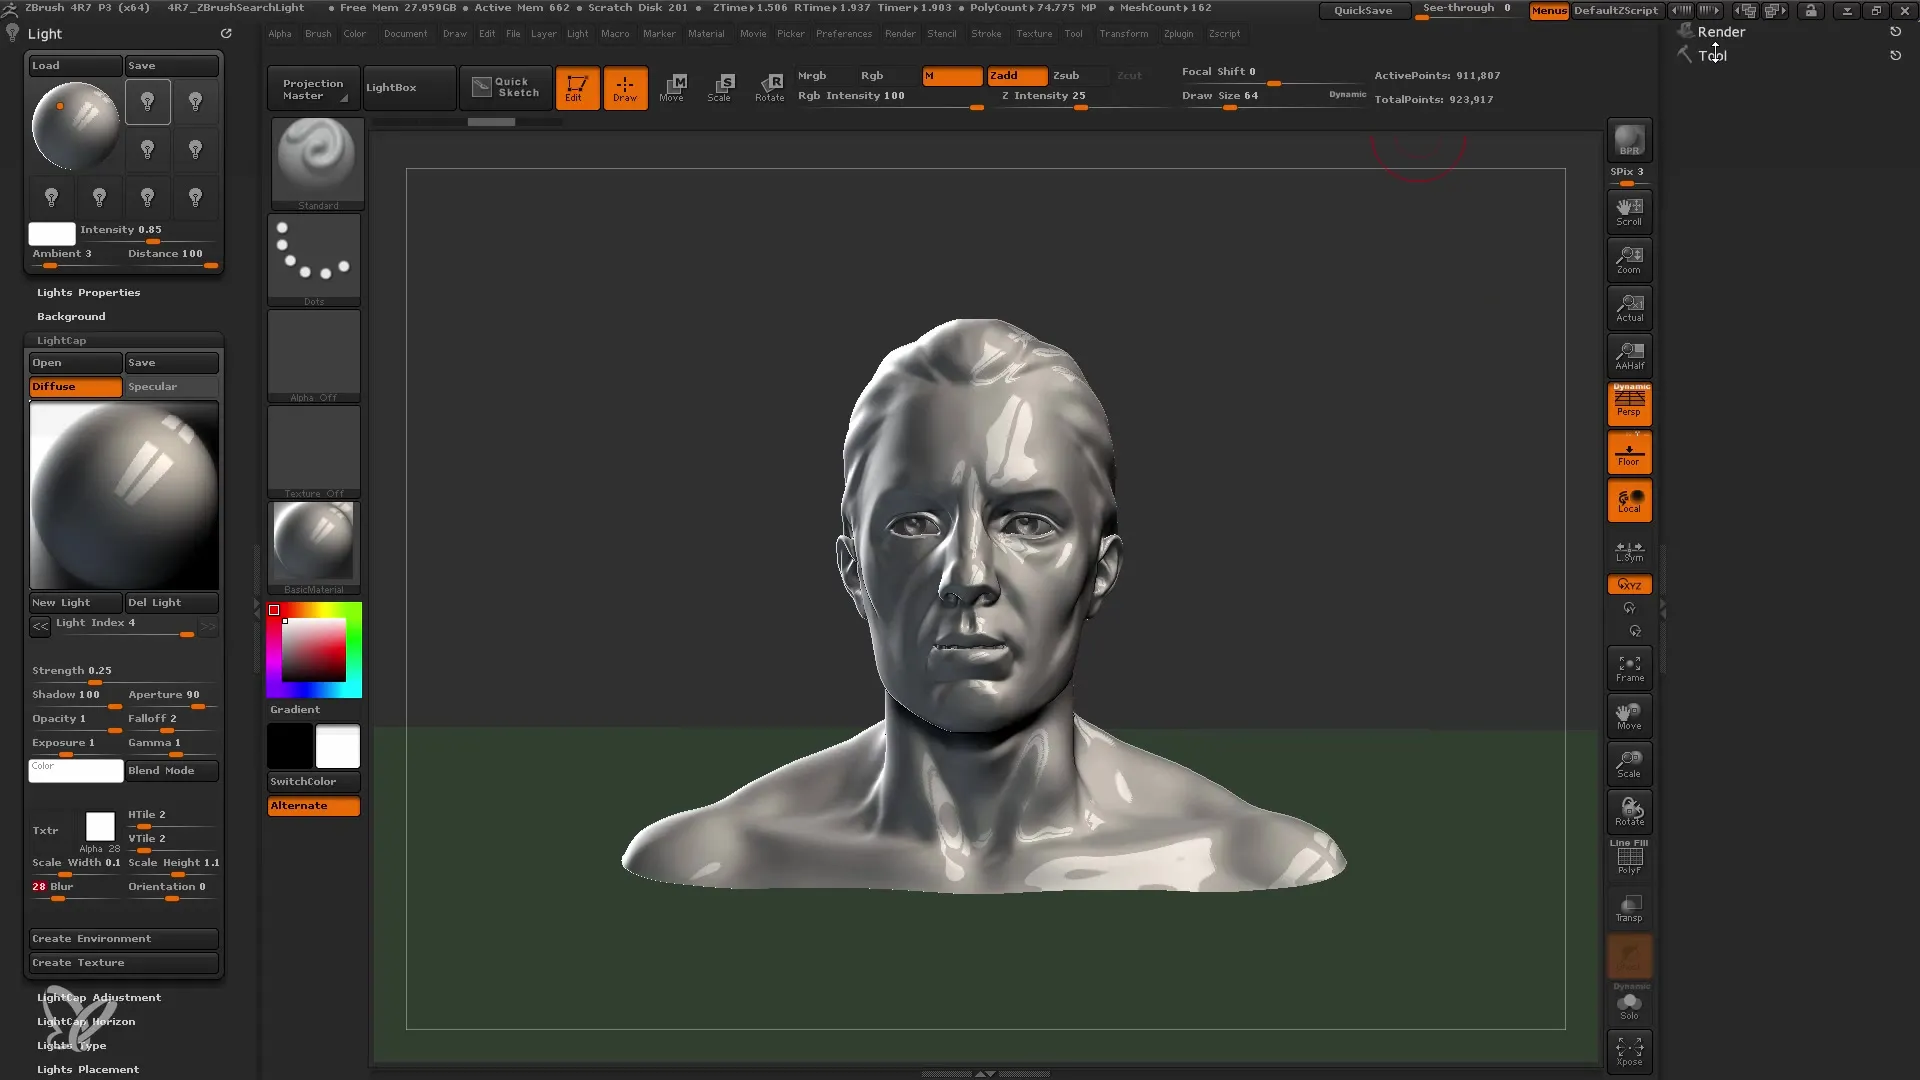
Another creative option is to combine a light source with a texture. You can use alphas or textures to create interesting specular effects. First, select the desired texture and apply it to your light. This will give you professional results that add depth to your lighting setup.
Step 8: Create Lightcaps from HDRI
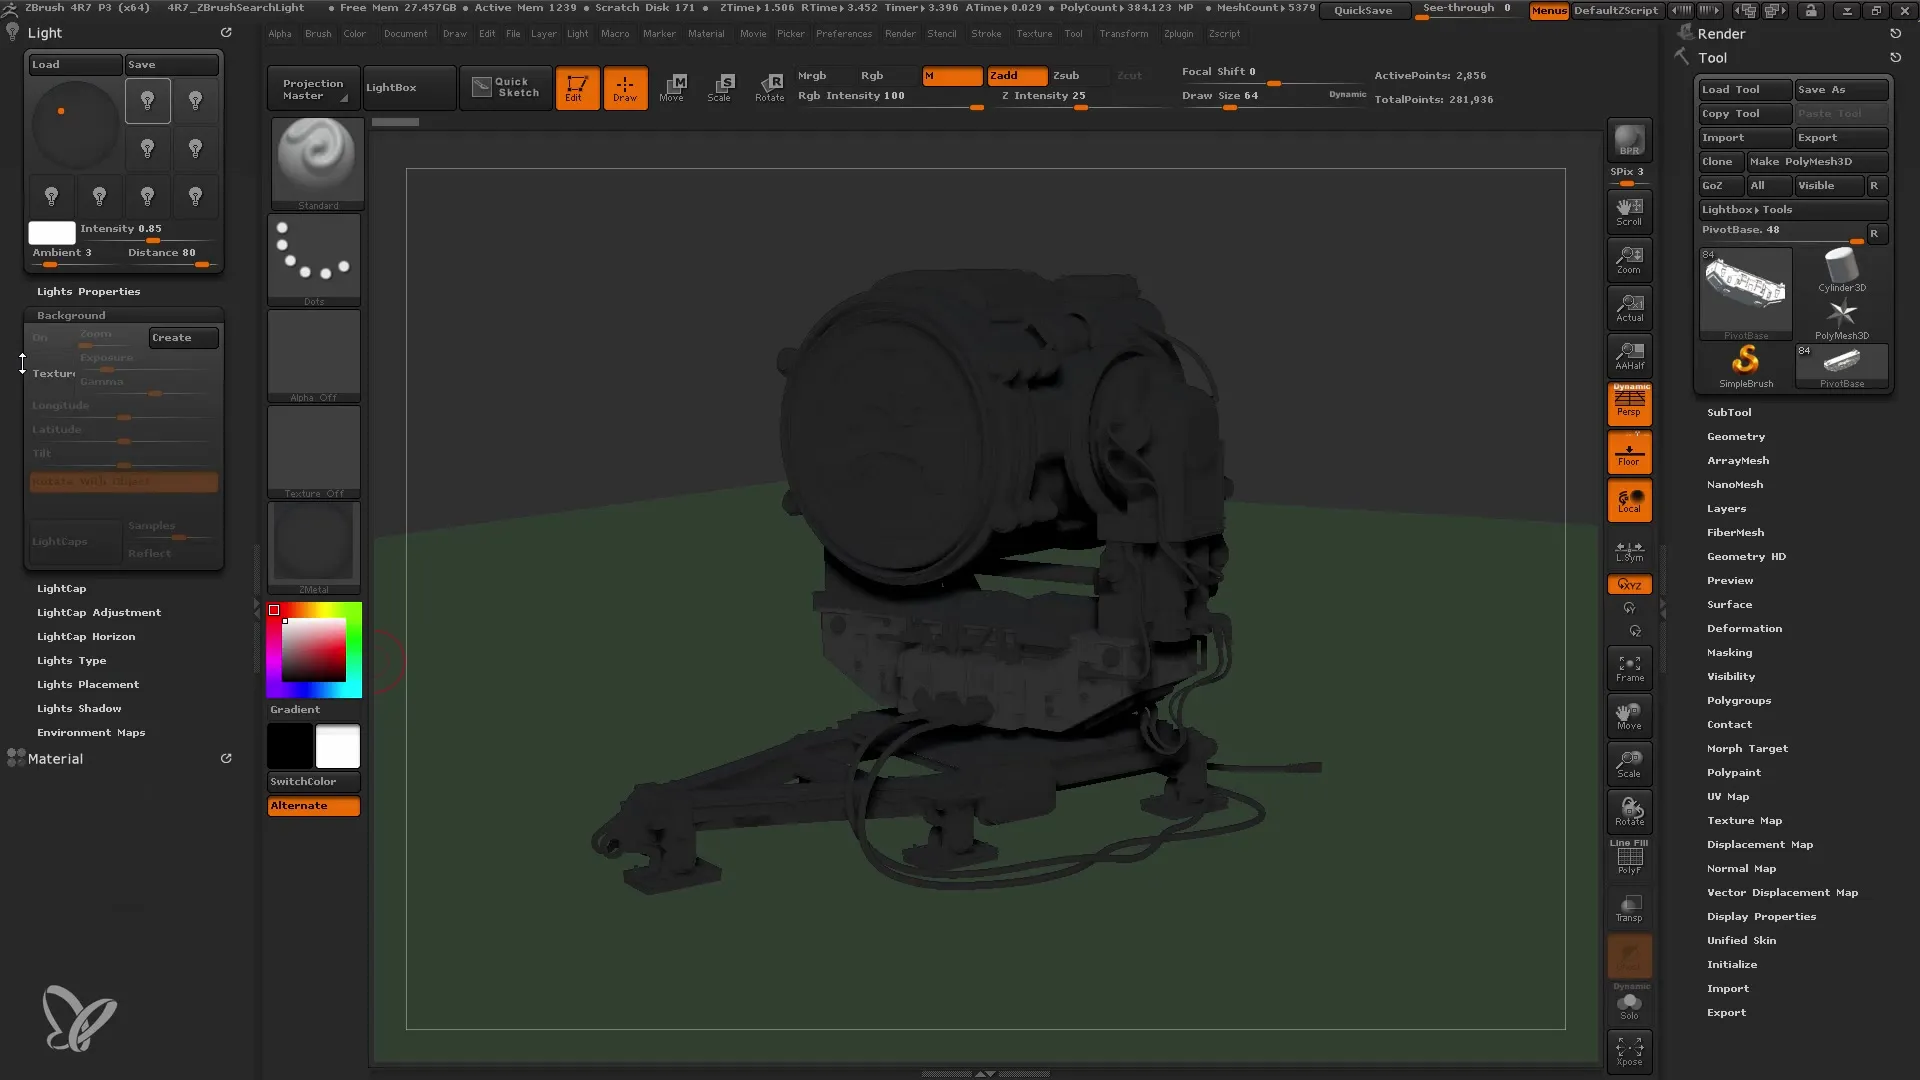
To achieve an even more professional lighting setup, you can generate Lightcaps from HDR images. Upload a suitable HDR image and convert it to Lightcaps. This technique provides you with many light sources that give your scene a more realistic illumination. Remember to adjust the sample count according to your needs.
Step 9: Adjust Environment
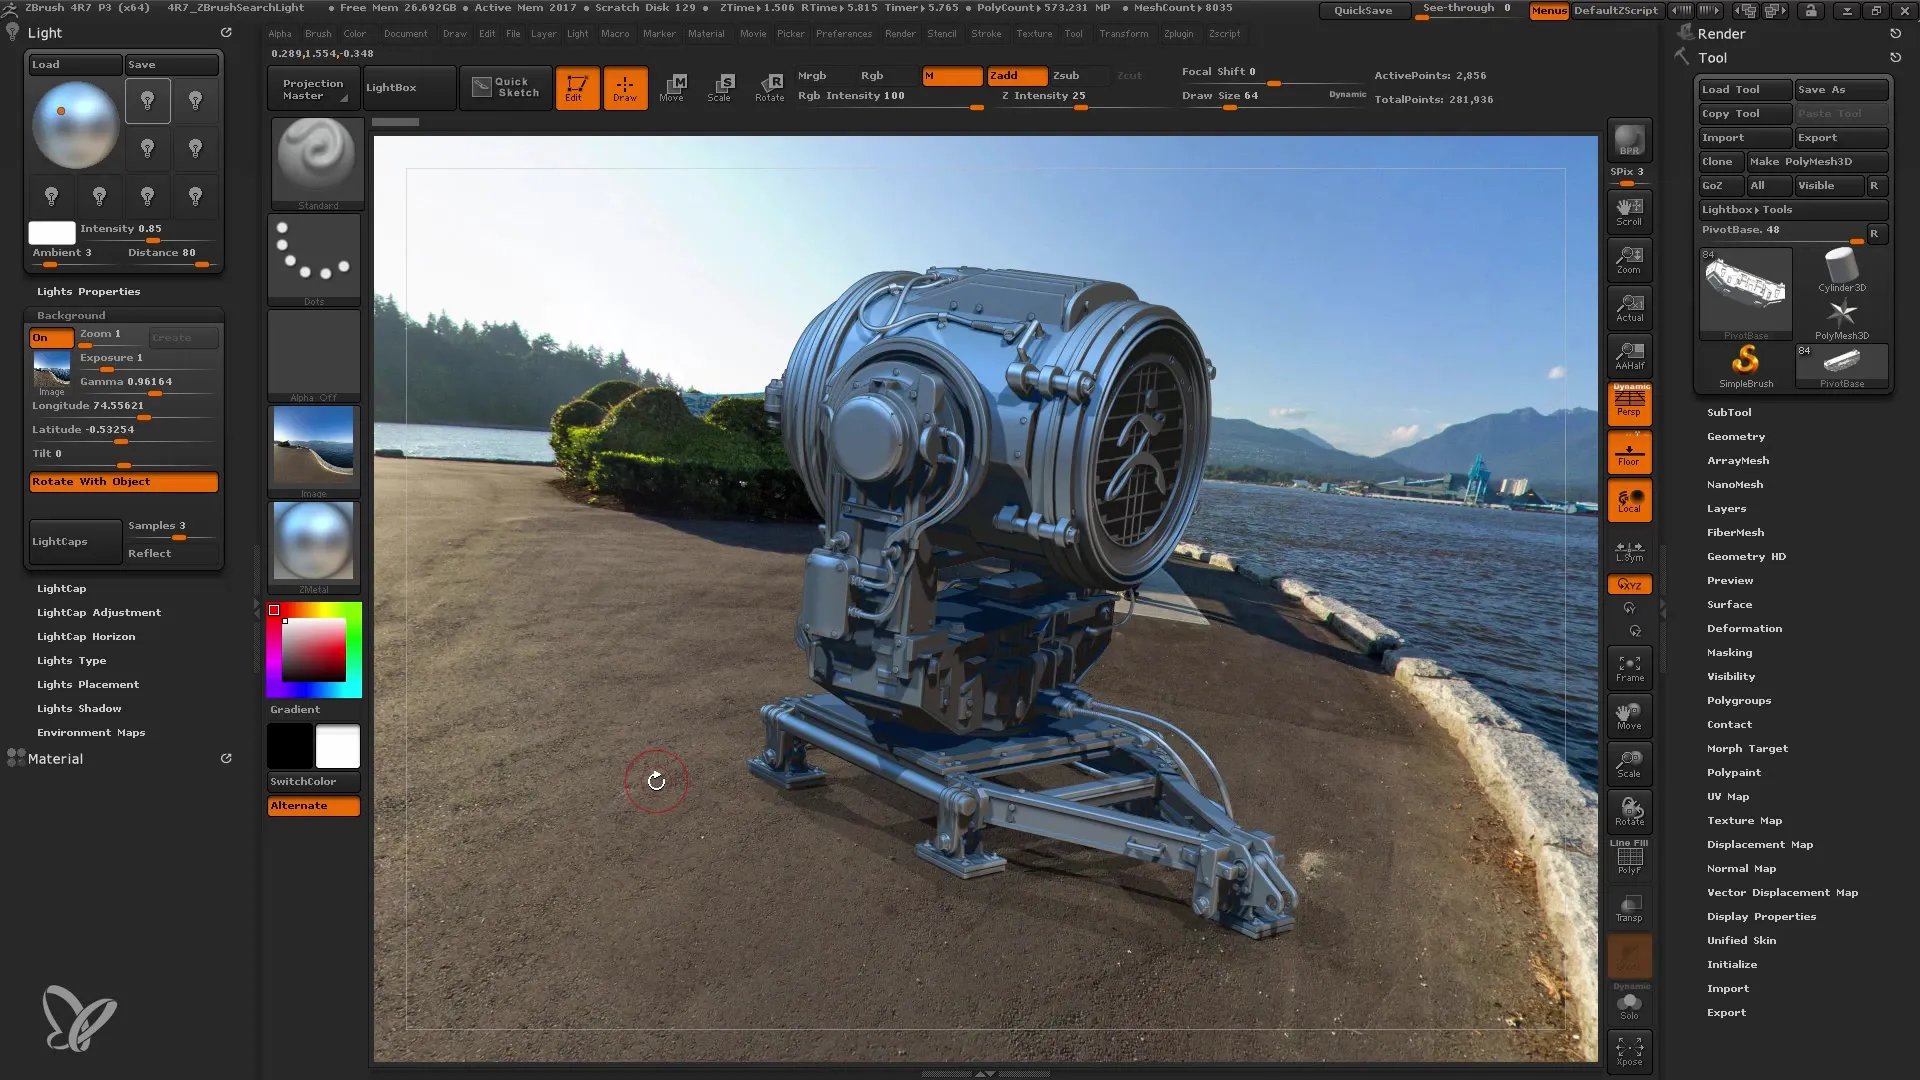
Once your lighting is set up, you can also adjust the background of your scene. Test how the lighting conditions change when you rotate or adjust the background. Place your background in such a way that the light sources look harmonious and fit well with the overall effect of your model.
Step 10: Save and Reuse Results
Once you are satisfied with your lighting setup, it is advisable to save this setup. This way, you can use it for future projects or share it with others without sending the entire project. Saving lighting setups can save you a lot of time in preparing future models.
Summary
In this tutorial, you have learned how to individually design your lighting setup with Lightcaps in ZBrush. You have understood the importance of each light source, experimented with their characteristics, and learned how to illuminate creations with HDR images. With these tools, you can present your models optimally and master both creative and technical challenges.
Frequently Asked Questions
How do I add a new light in ZBrush?Go to the Lightcaps menu and select the option for a new light.
What are Lightcaps?Lightcaps are special light sources in ZBrush that help you illuminate your models more interestingly.
How do I save my lighting setup in ZBrush?You can save your lighting setup in the Lightcaps menu and reuse it later.
How can I apply textures to light sources?Select a texture or an alpha and apply it to your light source to create effects.
Can I use HDRI images in ZBrush?Yes, you can use HDRI images to generate Lightcaps and optimize your lighting setup.
