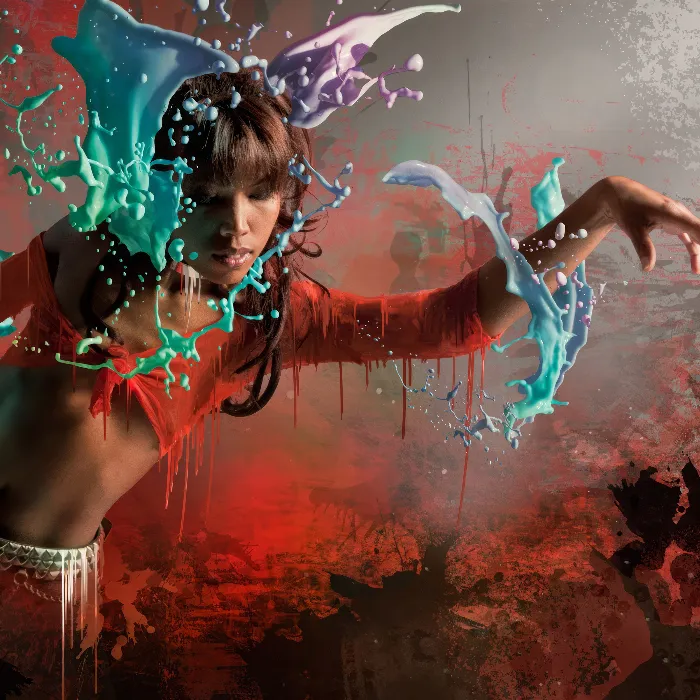
A luminous contour effect gives your designs a futuristic and radiant look. This effect is perfect for highlighting shapes, text or objects and giving them a dynamic look. With Photoshop , you can easily implement the glow effect by combining layer styles, glow effects and masks. In this tutorial, I'll show you step-by-step how to create a stunning glow contour effect that will make your designs shine. Let's get started and take your projects to the next level!
Opening the source image
First, I open the source image and apply a layer mask to it to remove the subject from the background. Once this step has been completed, I reduce the image so that my subject is cropped out on a black background.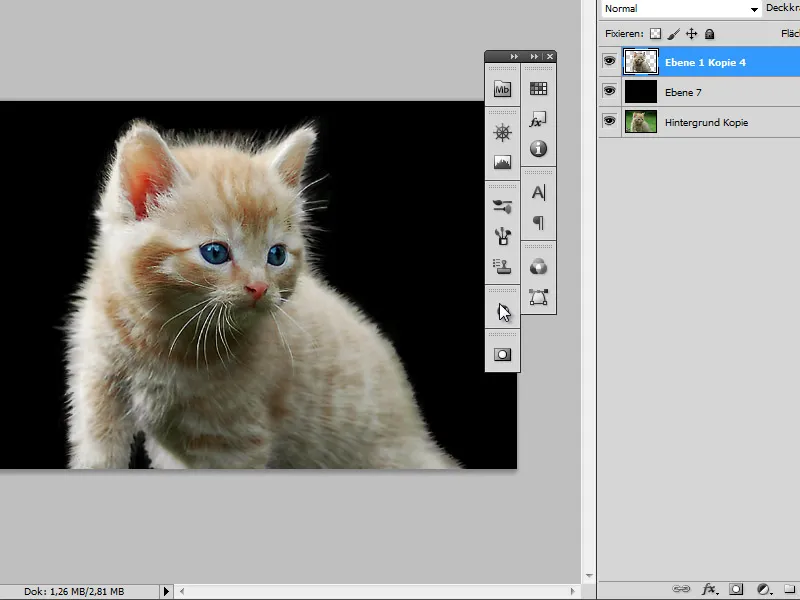
Depths/highlights
In the next step, I want to make additional optimizations to the image by using the Depth/Highlights correction. I call this up via the Image>Corrections menu. I want to lighten parts of the cat's fur in the lower belly area so that they stand out better.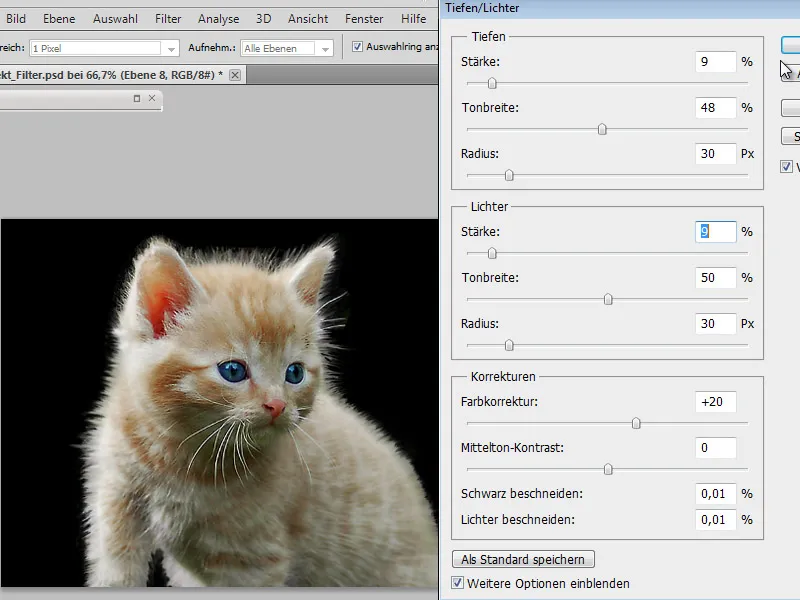
Selective sharpener
The layer optimized using Depth/Highlights is now duplicated and a sharpening filter is applied to it. I use the selective sharpener to bring out the fine fur structures that I will need later on.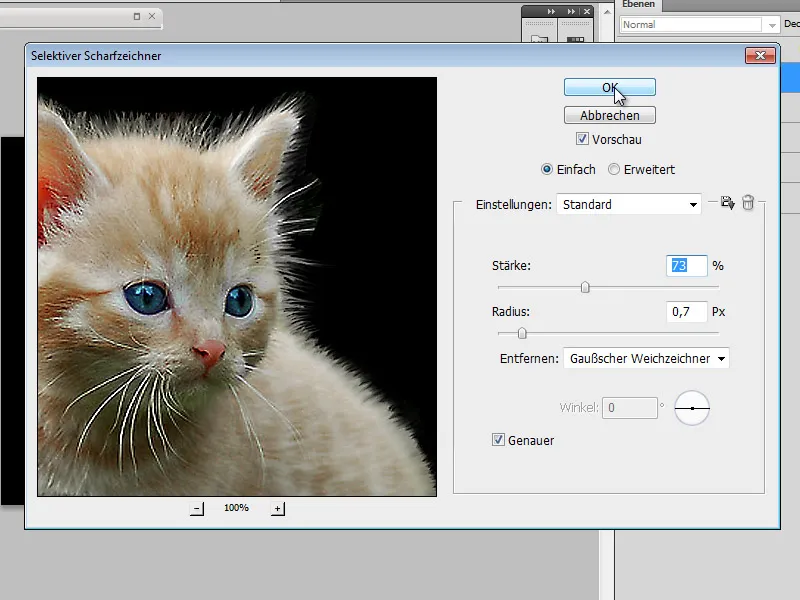
Mattening and creating a layer mask
Next, I create another copy of the layer I have just worked on and now soften it in the opposite direction to the previous step. To do this, I go to the Filter menu and use the blur option: Make Matter. This layer is fundamentally required for the effect to be depicted and should have a milky character after application.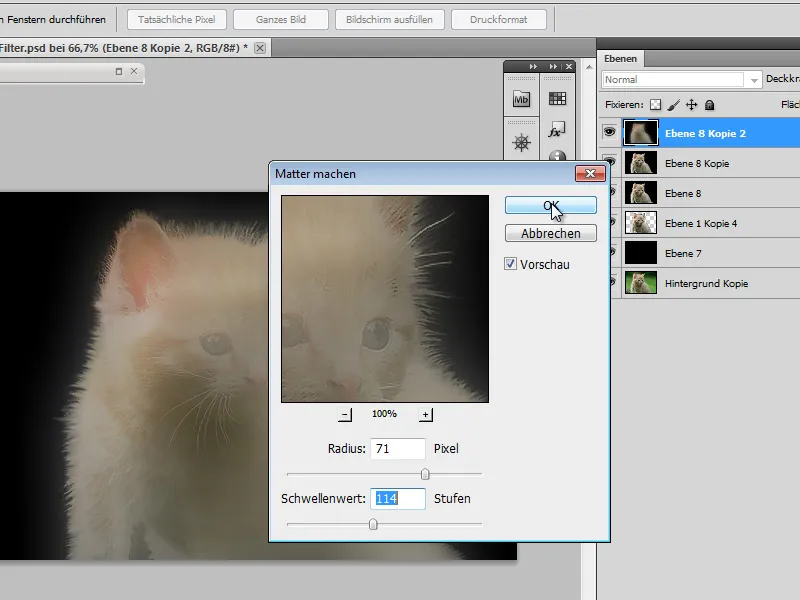
To ensure that only parts of the image that are relevant for later editing are visible, I now create a layer mask filled with white. This is used to cut out parts of the cat's face.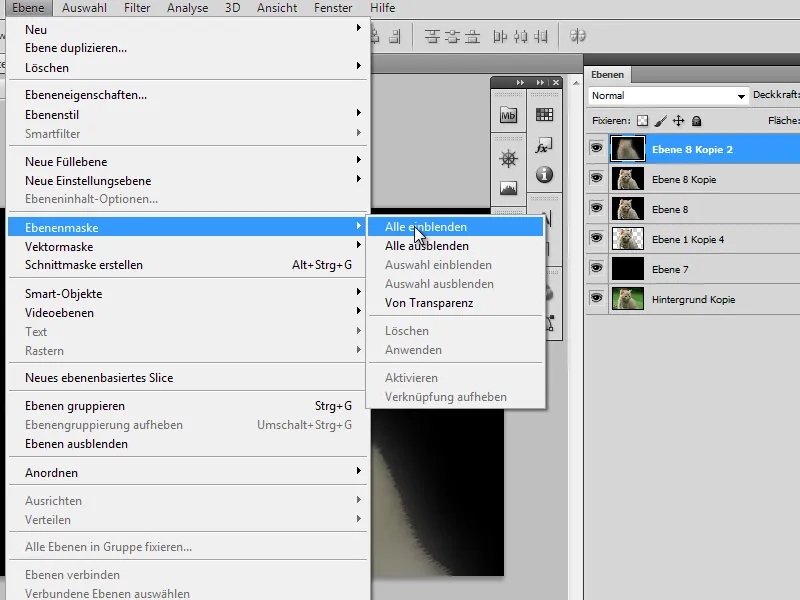
I use a medium-sized brush to leave out both the cat's eyes and nose in this mask.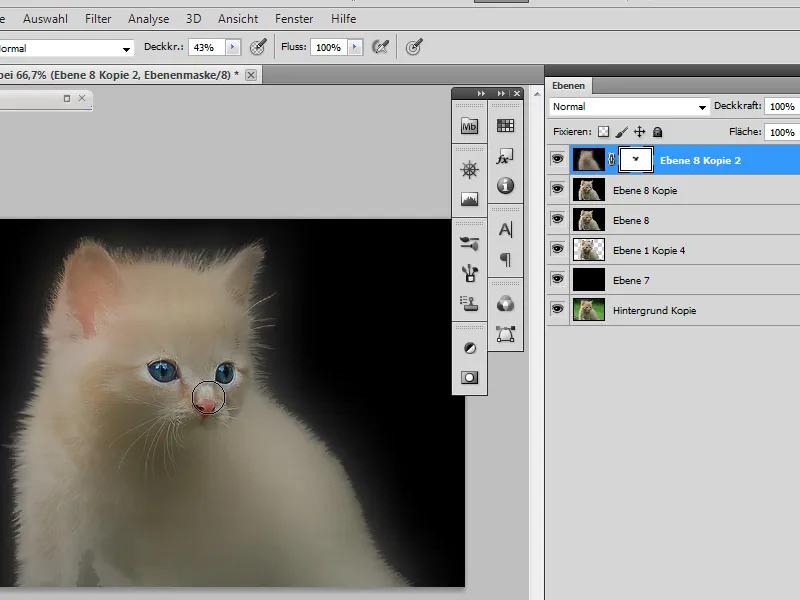
Hue/Saturation adjustment layer
To give the image to be edited more radiance, I create a Hue/Saturation adjustment layer to increase the saturation by approx. 25 %.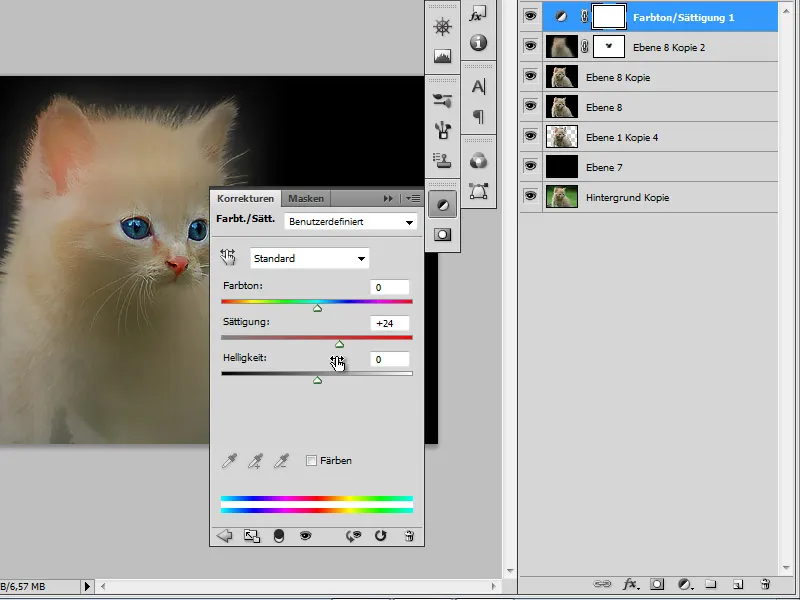
Gradation curves adjustment layer
To improve the overall contrast of the image, I also create another Gradation Curves adjustment layer. I reshape this into a slight S. This results in a significant increase in the contrast range of the image.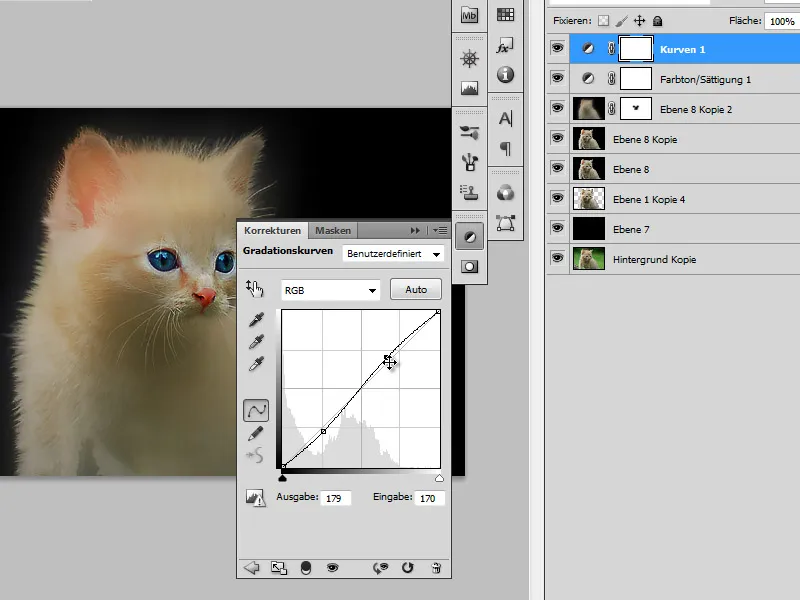
New layer 'Expose in color'
Now that the adjustment layers have been set up accordingly, the next step is to create a new layer with the layer mode ' Color Burn'. To do this, I create a new layer and set the layer mode accordingly.
On this layer, I use a dark brown tone and a large, soft brush tip to darken the edges of the cat motif. I concentrate mainly on the lower areas and leave the upper area in its original state.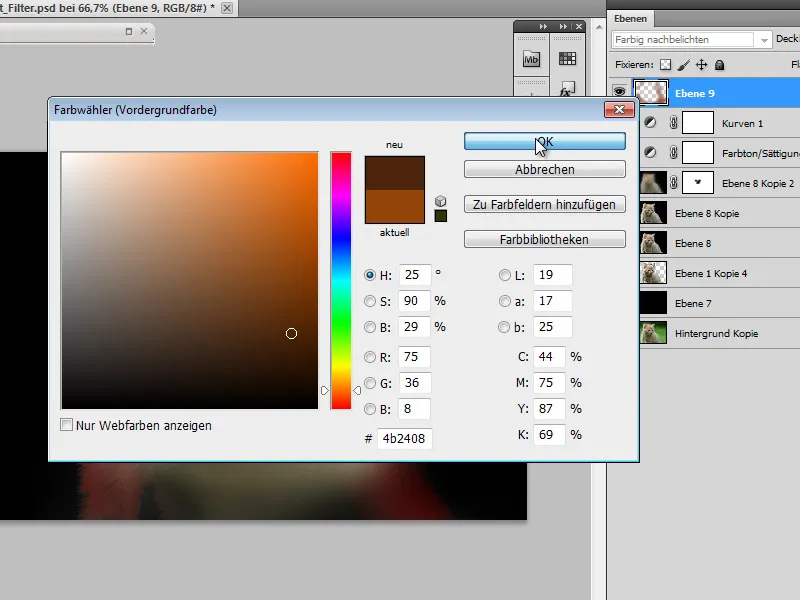
Create another layer and set up the layer style
The following layer is mainly responsible for the glow effect. It is first created as a new empty layer and given a layer style.
This layer style only includes the glow outwards function. I define a dark orange tone as the color for the glow effect: #c05405.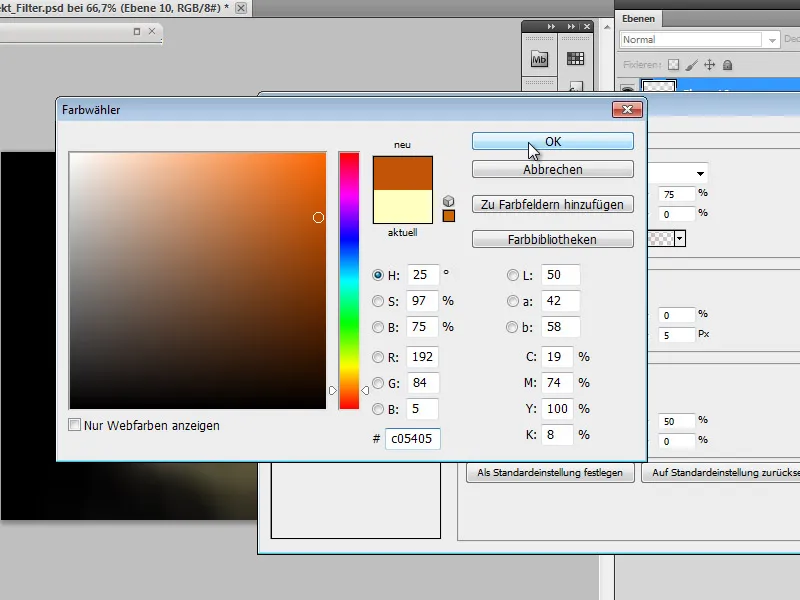
A radius of approx. 70-80 pixels is set as an additional parameter for trapping.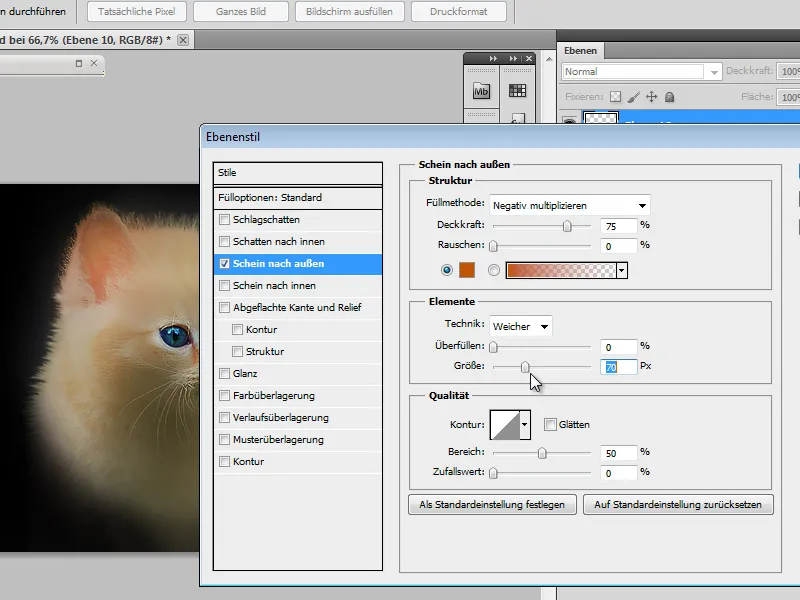
Drawing on the layer
Now it's time to draw on the layer I've just created to create the glowing contours. To do this, I need the appropriate brush tools. From the available brush sets, I select the brushes for dry colors and choose a small graphite pencil.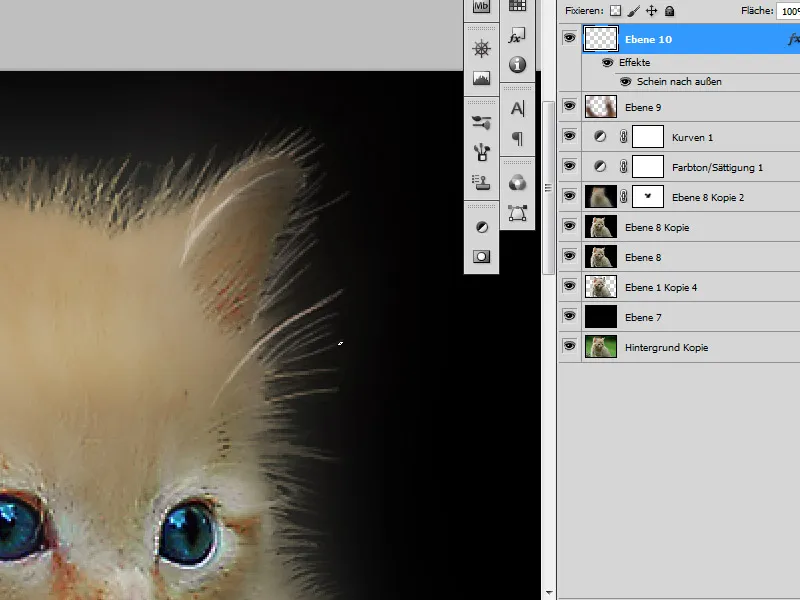
TIP:
The name of the pens is displayed as a hint dialog when you hover over the respective brush shape. I recommend using a graphics tablet for drawing, as this is better suited to intuitive drawing techniques than the computer mouse. Users without a drawing tablet can select the Fade mode in the Shape properties brush options.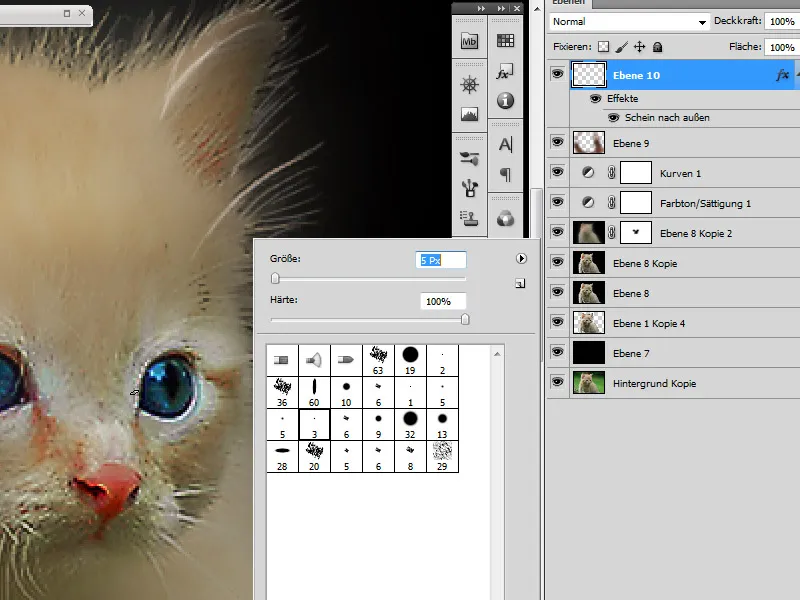
Now that I have decided on an appropriate brush tip, I can make additional settings via the Brushes dialog box. I leave the options as they are for now. I change the foreground color to white and reduce the brush opacity to a value less than 50 %.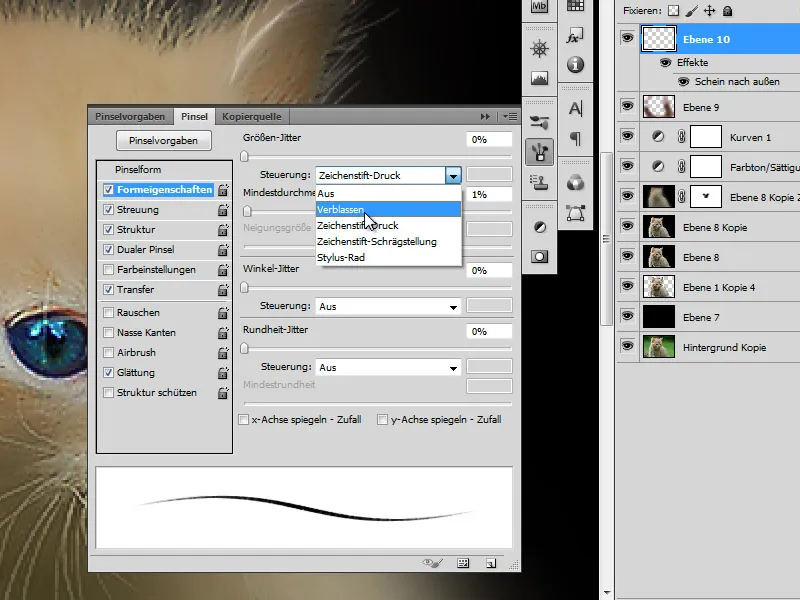
Now I draw the fur contours and the outline of the eyes and ears in layer mode. I decide for myself how pronounced the glow effect should be. The more often I draw over an area, the lighter and more opaque the brushstroke becomes. Here you should adjust the optimum settings according to the conditions of the respective picture by cleverly combining brush properties and opacity.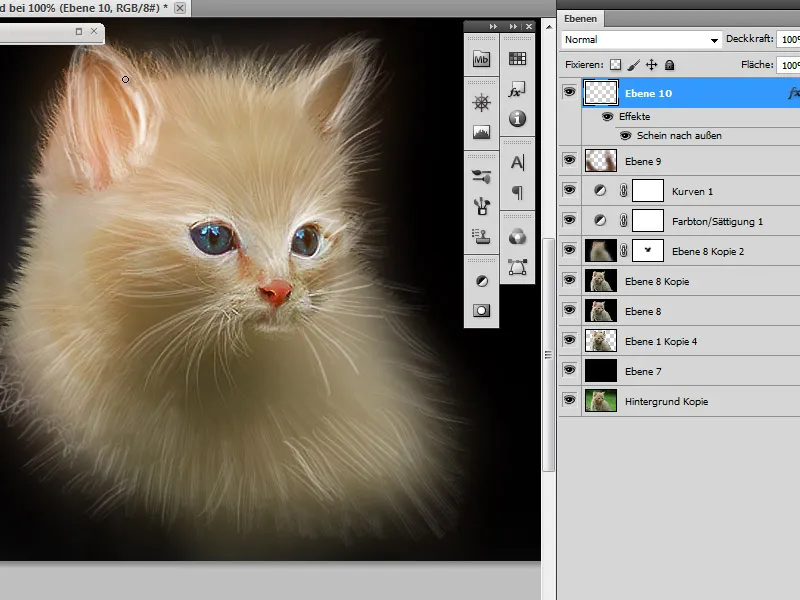
Optional: Copy the drawn layer and use the wipe finger tool
The fur contours at the edge of the motif do not yet meet my expectations and I correct them with the smudge finger tool. To do this, I copy the effect layer and set the wipe finger tool. I use a blunt brush tip from the brush set for dry colors and set the mode to fade in the brush options. With a medium opacity, I draw the fur contours from the inside outwards and let them fade into the dark space.
New 'Warm colors' layer as a clipping mask
I now create a new layer to be painted with warm colors. I set this layer to Hard light in layer mode so that these colors affect the layer below in such a way that the color intensity increases accordingly.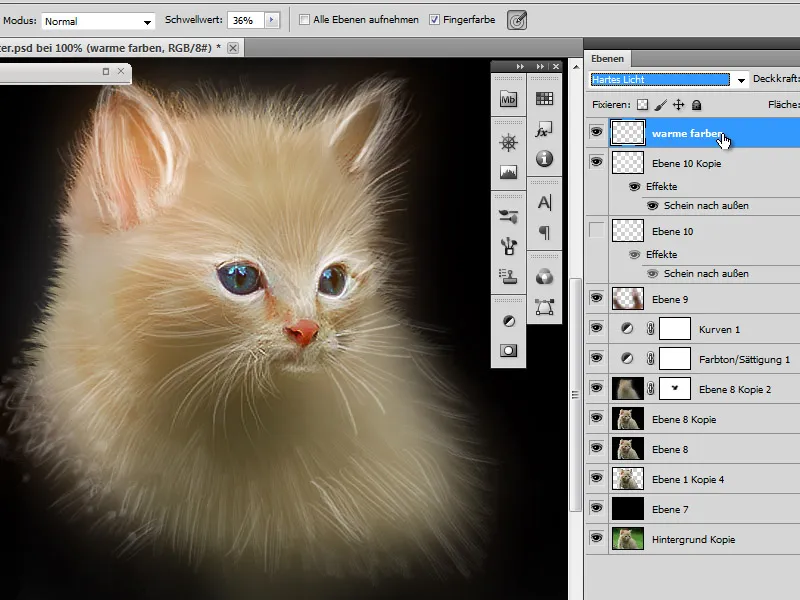
Using the context menu, I set the layer so that it acts as a clipping mask for the layer below. This means that only areas of this layer that are congruent with the layer below will be visible.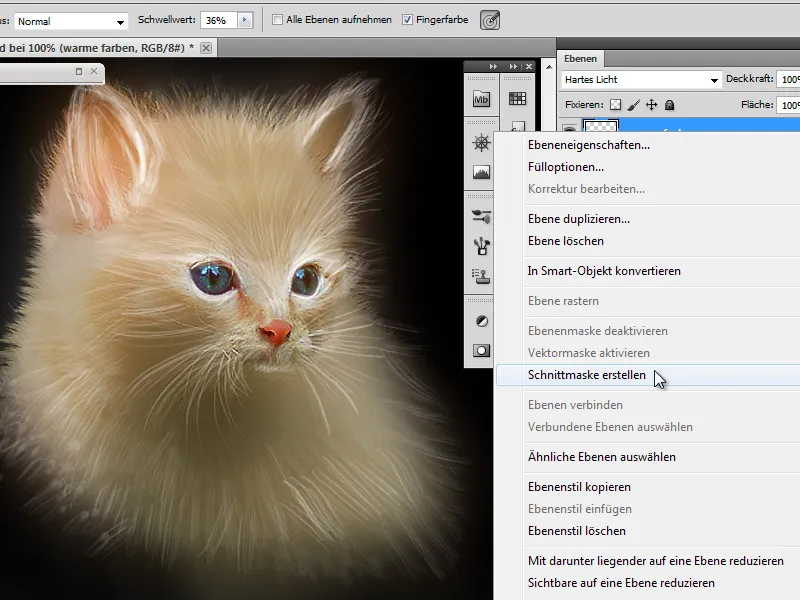
I first select a large, soft brush with medium to low opacity. I also choose a warm color from the color spectrum from yellow to red. Here, you should choose a suitable shade according to your own feelings. You can switch to a different color at any time while drawing. I then draw with the brush over the areas of the cheeks and forehead as well as the bridge of the nose to emphasize these areas.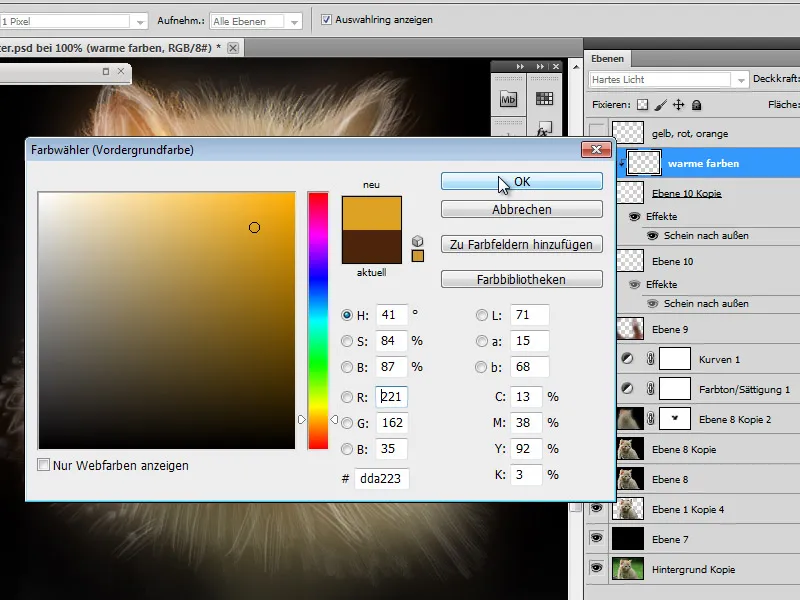
New layer - yellow, red, orange as a clipping mask
Once created, this layer works in the same way as the previous color layer and supports the coloring of the traced fur structure.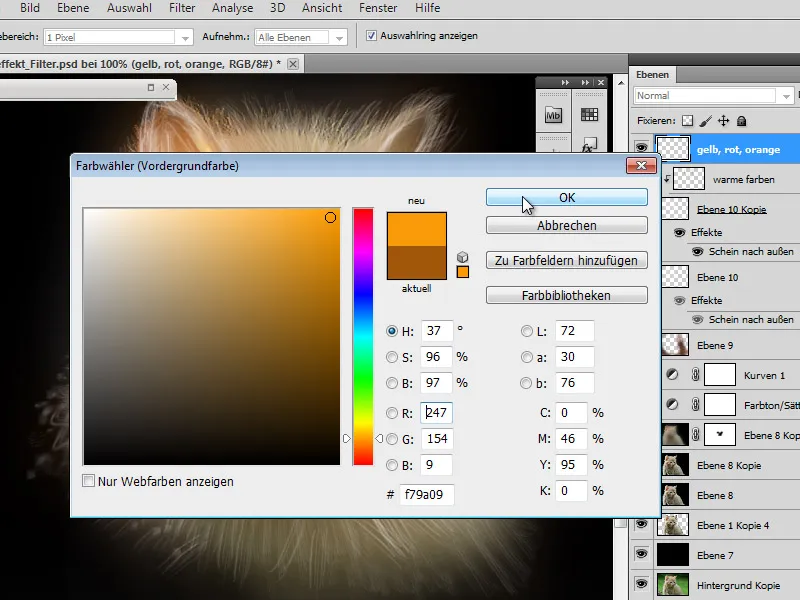
The use of color and brush remains the same. Once the areas have been traced - especially the outer areas of the fur - I am sometimes disturbed by the areas that are drawn past the subject.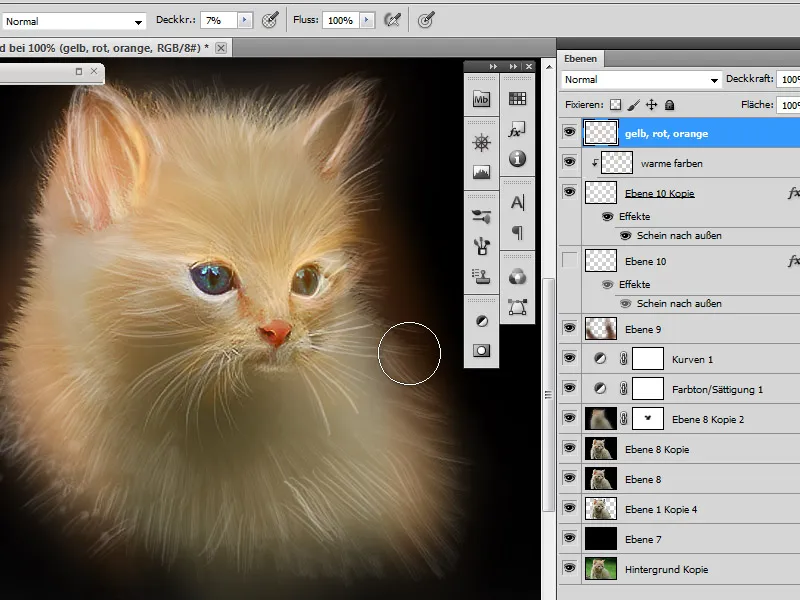
I fix this by using a clipping mask again. To do this, I hold down the Alt key and click on the dividing line between the two color layers in the layer palette. Alternatively, I can also use the context menu again and select the clipping mask menu item.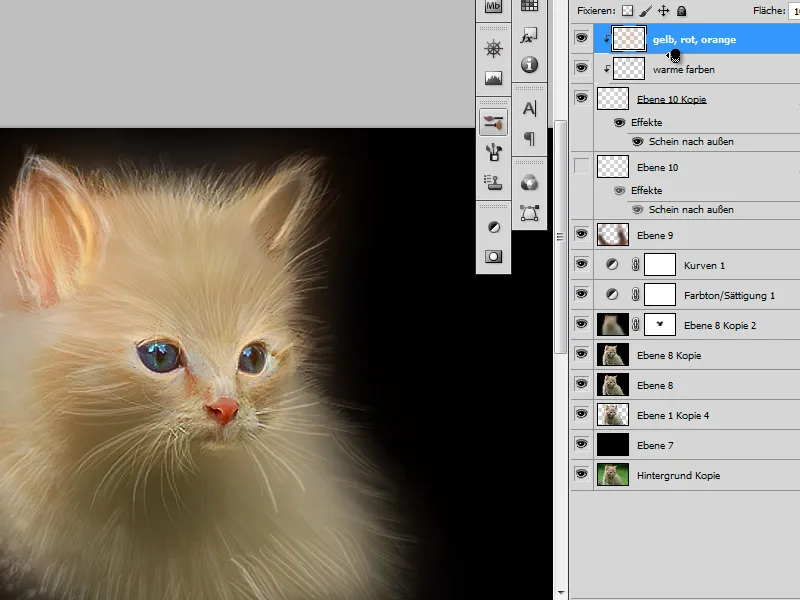
Hold the editing status and edit the tonal value, hue and saturation
I use Ctrl+Shift+Alt+E to save the current editing status on a new layer and edit the image again. To enhance the overall effect of the edited layer, I use the Tone Correction dialog box to change some parameters so that the midtones are more balanced and expressive.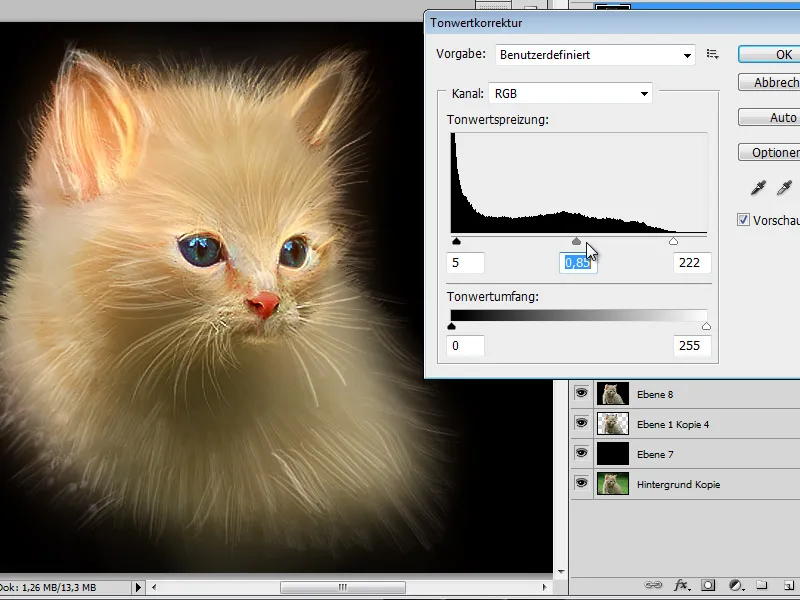
I also use the Image>Corrections>Hue/Saturation menu to intensify the color effect.
Note: So that I don't affect the underlying layers and the changes really only affect this layer, I don't use an adjustment layer at this point. Experienced users can, of course, use the adjustment layer as usual to obtain further correction options.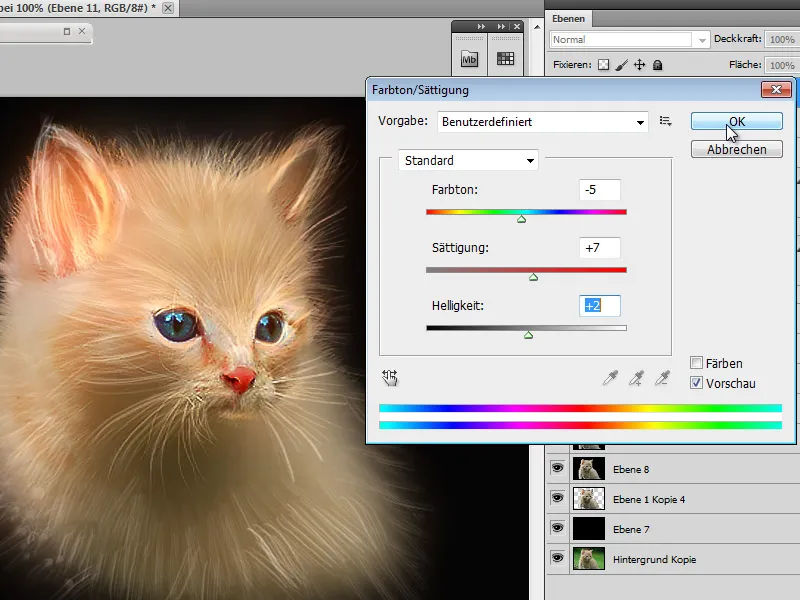
Sharpen a copy of the layer
As the drawn lines tend to be blurred and the overall result would suffer as a result, I decide to duplicate the last layer I worked on with a layer copy and use the Sharpen>Unsharp Mask filter to bring more sharpness into the image.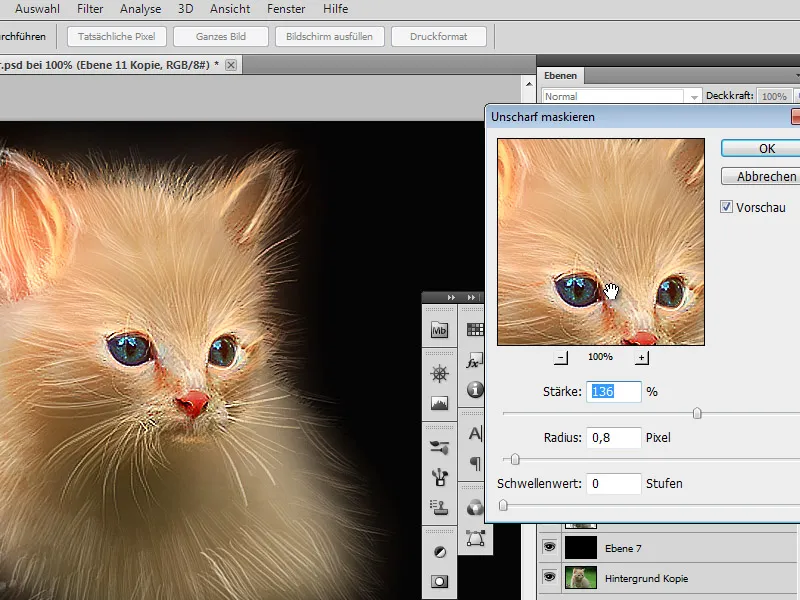
Create a new layer and darken the outer areas
As parts of the image do not blend perfectly into the dark background, I create a new layer and use a soft, black brush with medium opacity to draw the outer areas on this layer so that there is a smooth transition between the subject and the background. Once again, I limit myself to the side and bottom areas of the picture.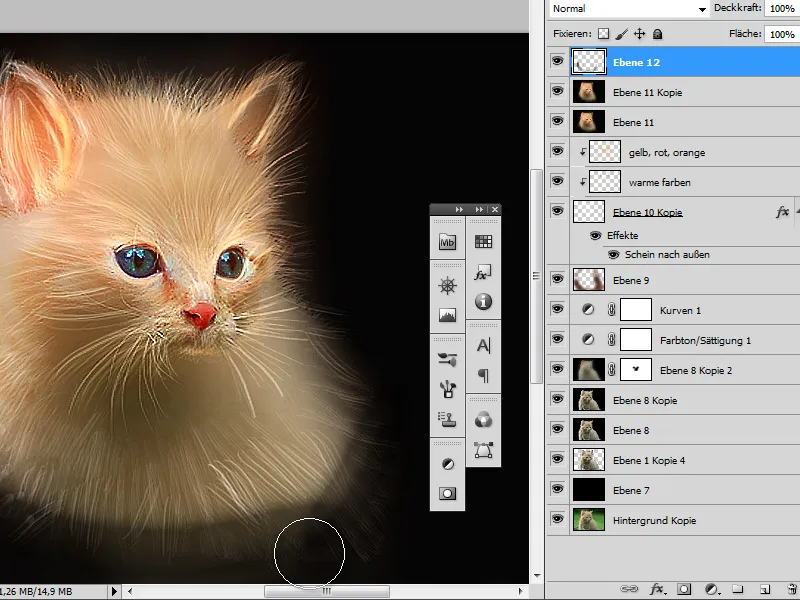
Select the eyes and bring them to the top of the layer stack
To further refine the resulting work, I consider it appropriate to bring parts of the original image to the top in order to soften the effects of the previous editing. To do this, I go to the bottom layers of the layer stack and go to the layer with the unedited or cropped cat. I use the rectangular selection tool to select the eyes and part of the cat's muzzle. Using Ctrl+C and Ctrl+V, I create a copy of the selection on a new layer and move this layer to the top of the layer stack.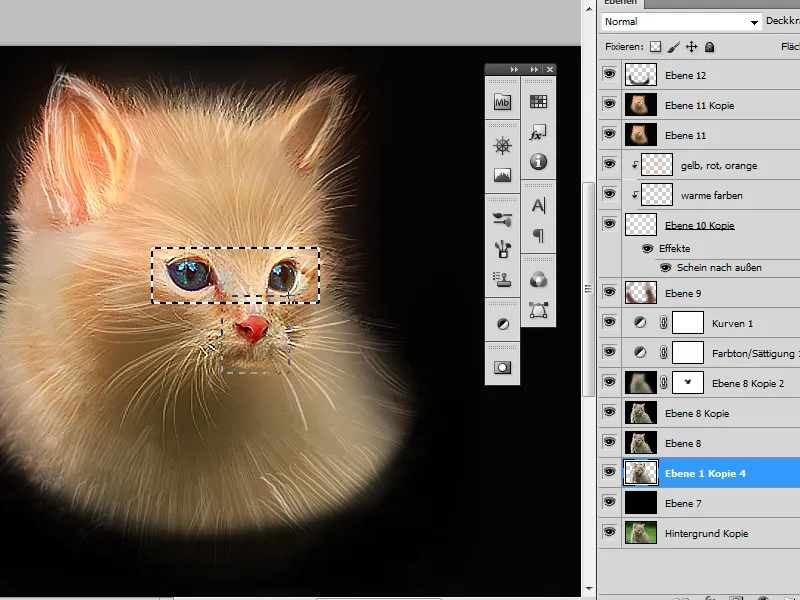
Apply a layer mask to this layer and change the layer mode
In its current form, the selected eye area looks very angular and does not fit into the image. I therefore create a layer mask and retouch out the parts of the image that are not needed. To do this, I use a medium-sized brush with a soft edge and low to medium opacity. I set the foreground color to black and draw around the eyes and nose. This removes the protruding, angular areas, so to speak.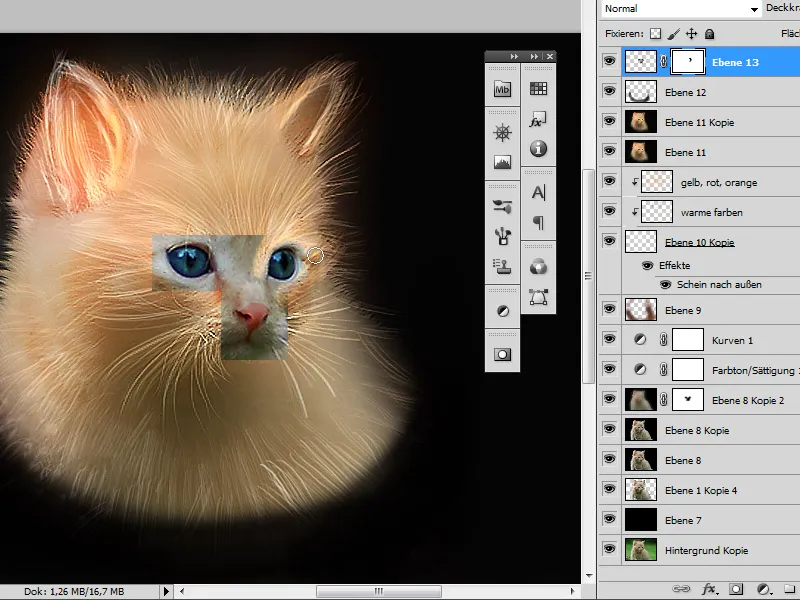
To check, I temporarily set the layer mode to Difference. This makes it easier to see whether I have actually removed all the unnecessary areas in this way.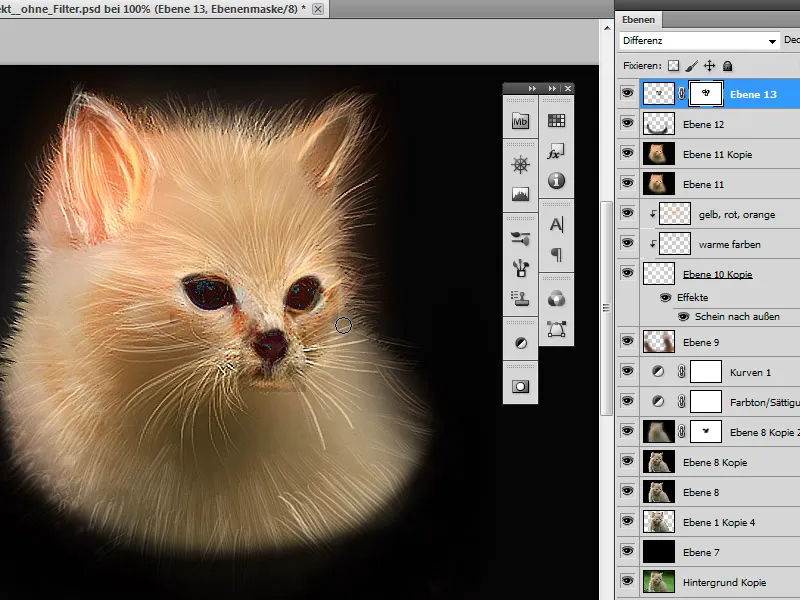
If the result matches my ideas, I can now switch the layer mode to Luminance and adjust the opacity if necessary.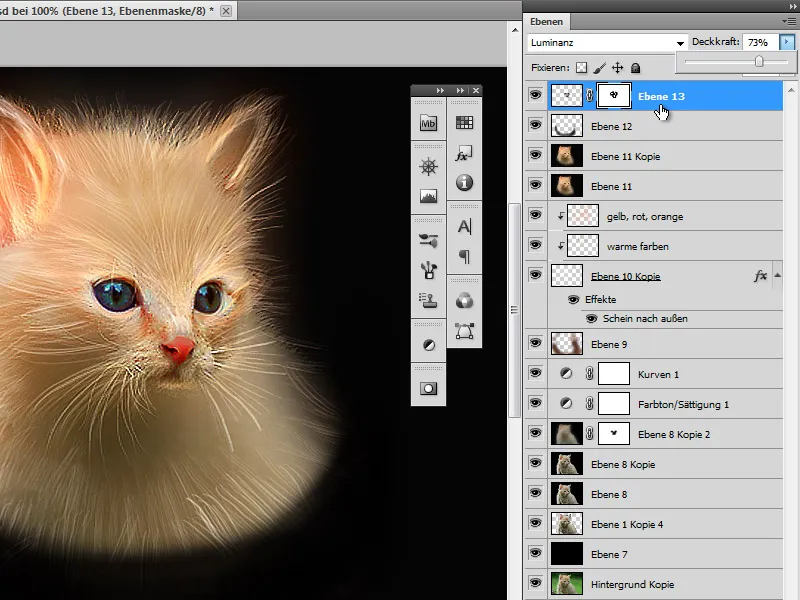
Editing the layer copy with the radial blur tool
I will now try to create a ray effect by first copying layer 11 in the layer palette and moving it to the top. I call up the radial blur filter via the Filter>Blur filter menu. I increase the strength considerably, set the option for a radial effect in very good quality and move the center slightly to the left in the dialog box. The aim is to create the ray effect starting from the center. I confirm my choice and let the filter calculate this effect.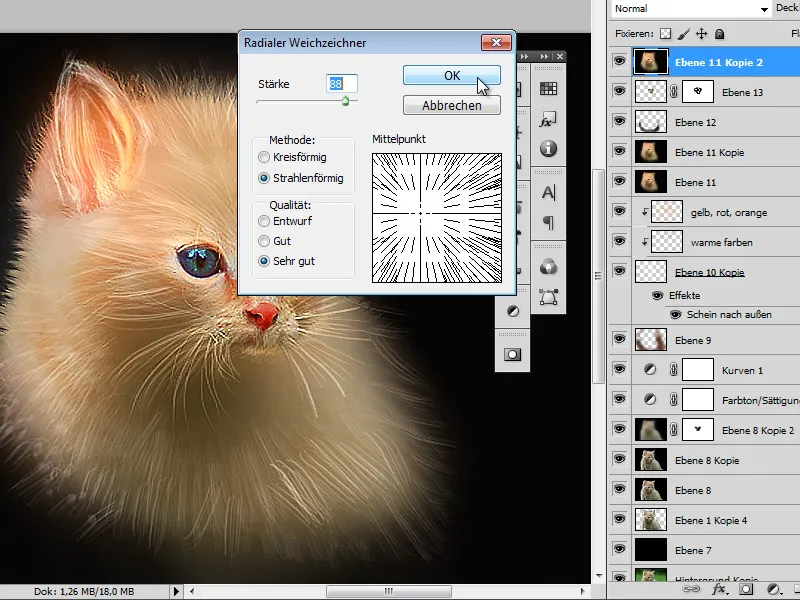
Once the effect has been calculated, I set the effect level to Lighten in layer mode. However, parts of the image now outshine relevant parts of the image and I have to cover them with a layer mask.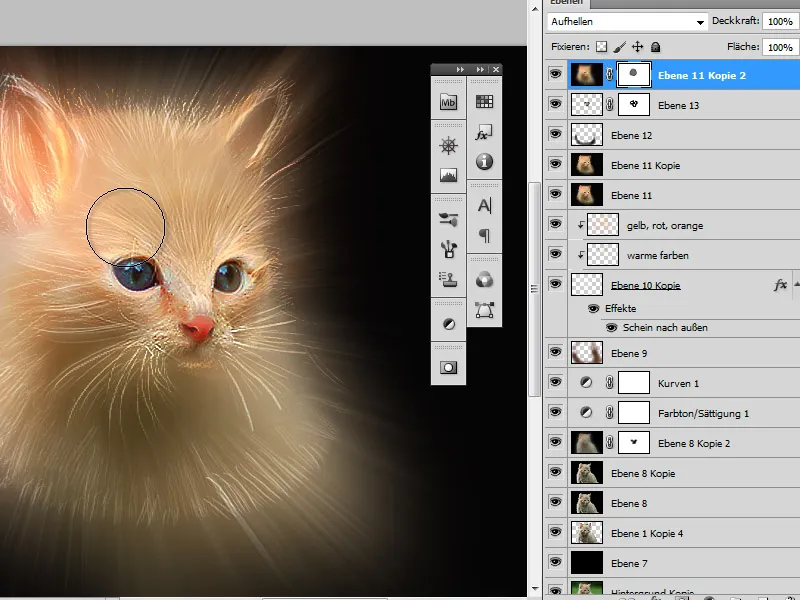
I also reduce the opacity of this layer. I now move it one layer down in the layer stack.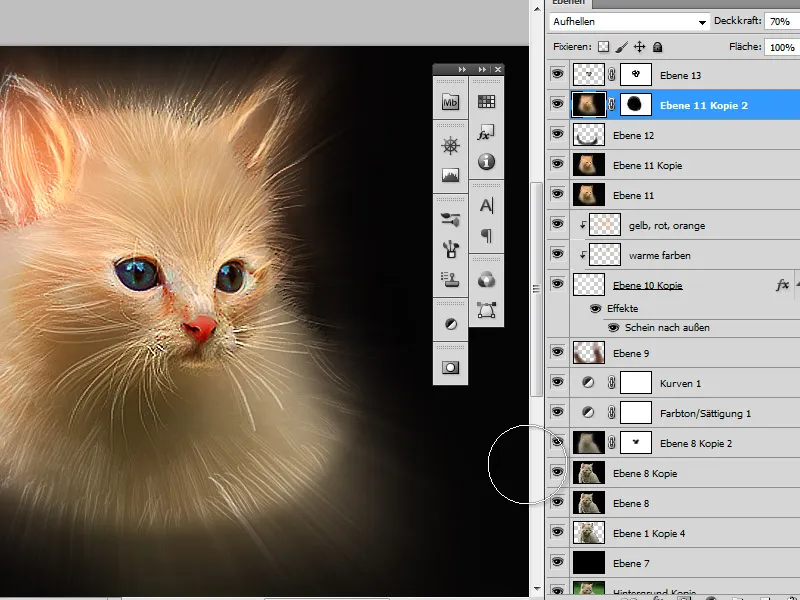
Adding another (fog) image
I open another image: Fotolia_18458681_M-© Stefan Kuhn - Fotolia.com and drag it into my editing window. I move this layer down in the layer stack and position it between layer 11 and layer 11 Copy. For my further editing, I temporarily hide all layers above this newly inserted layer.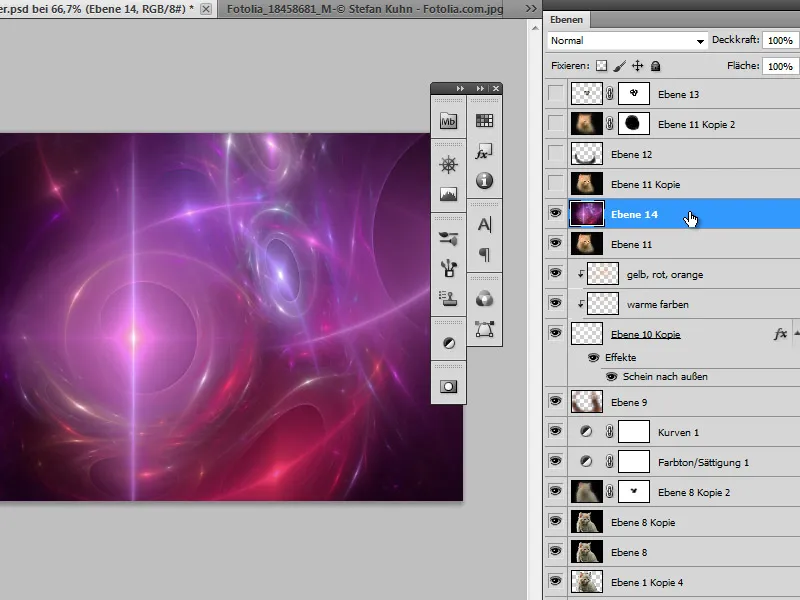
As this image now virtually covers my work, it makes sense to create an interaction using a suitable layer mode. Therefore, I set this new layer to the copy one into the other mode. Using the Move tool, I position this image so that one of the rays of light passes right through the right eye (as seen from our left).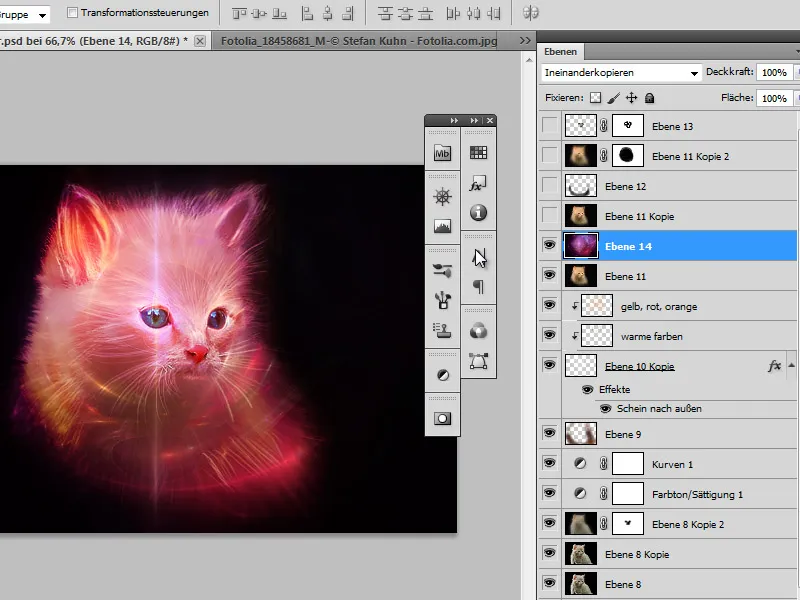
The image now looks a little reddish. However, this changes when I unhide the layer 11 copy above and set its layer mode to Color tone.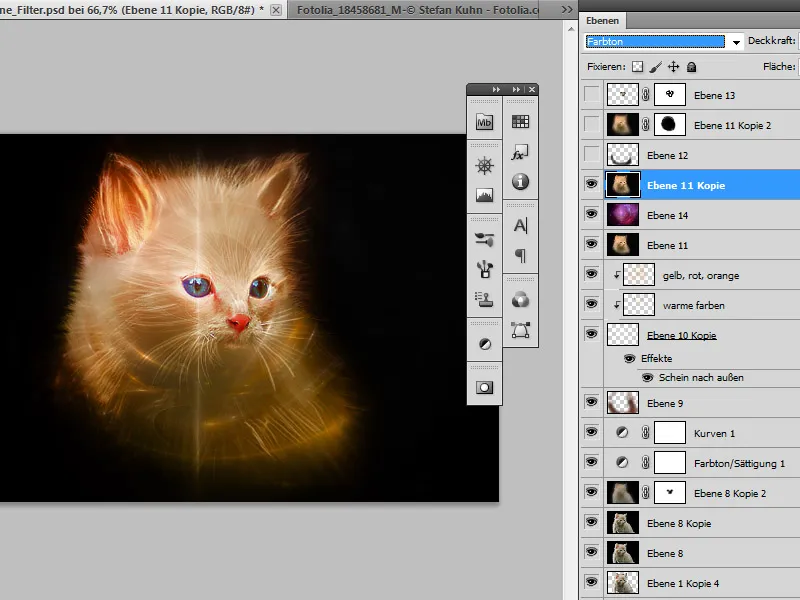
Transforming opaque areas
The layer 12 above with the covering color area no longer seems suitable to me. I therefore scale it using the Edit>Transform>Scale command and enlarge this area so that more details of the underlying layer become visible.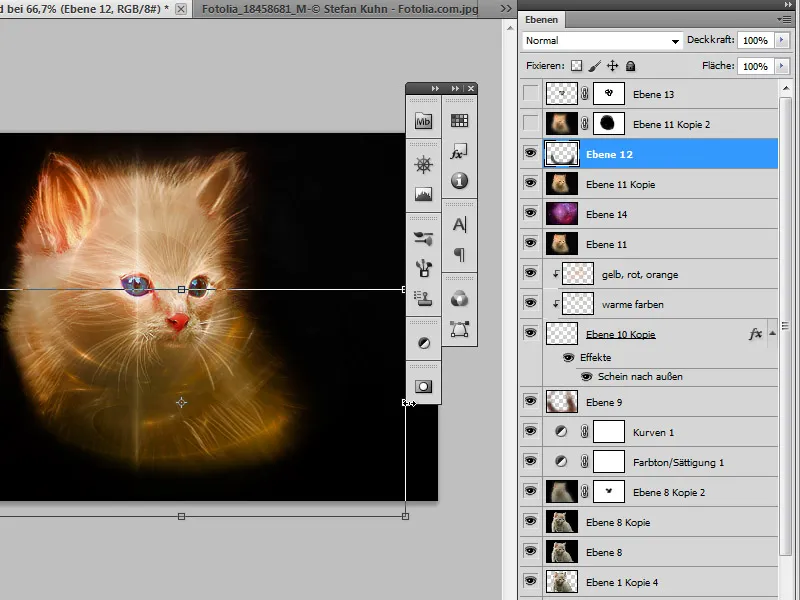
Final spurt
One last time, I adjust the opacity of the layer with the radial gradient (layer 11, copy 2). I reduce it by a few percent.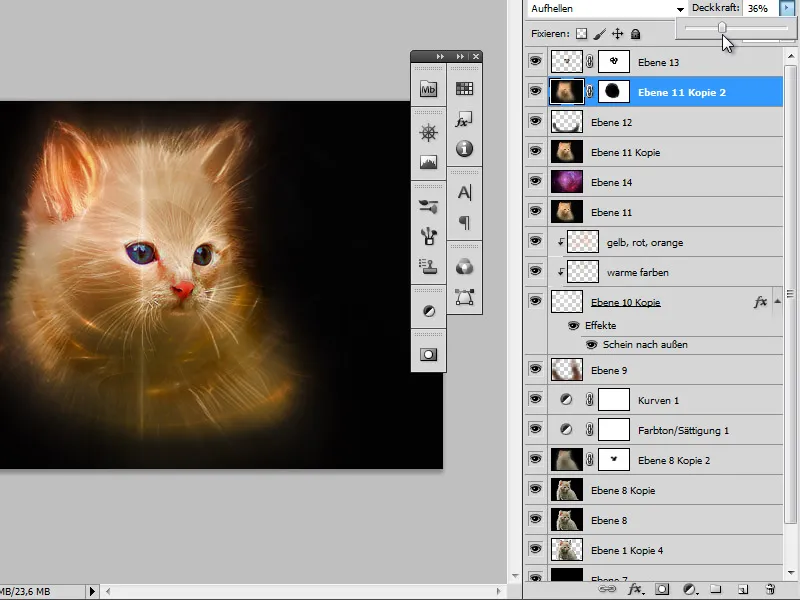
I also increase the opacity of the layer with the eyes slightly and reduce the size of the layer with the starry nebula to get more traces of light in my color area.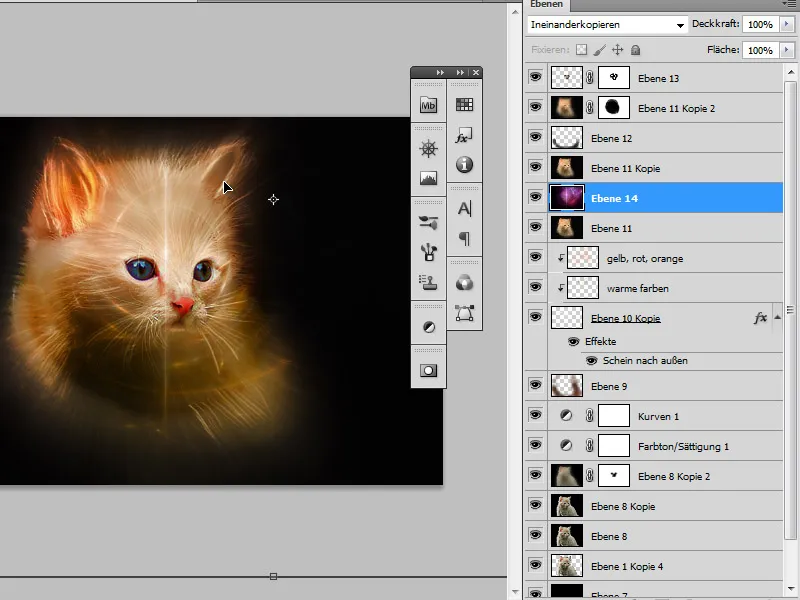
The work is now finished.
