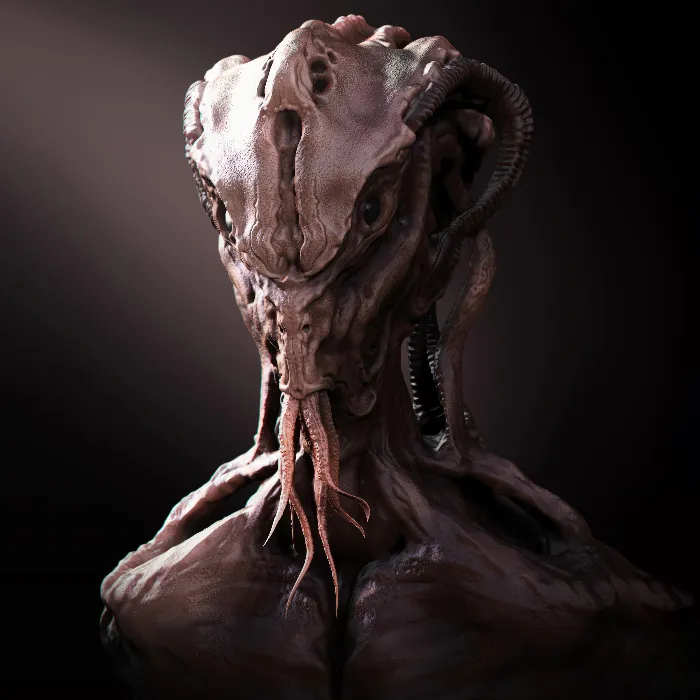
In this tutorial, we show you the basics of detailing in ZBrush using Alphas. This is a crucial step towards creating a more realistic 3D model. Alphas allow you to display various textures and details on your model while working non-destructively. This means you can make changes at any time without affecting the original model. We implement these techniques using Layers and the Morph Target.
Main Findings
- Using Alphas for detailing 3D models.
- Non-destructive work with Layers and Morph Targets.
- Practical approach to achieving realistic models.
Step-by-step Guide
Step 1: Introducing Alphas
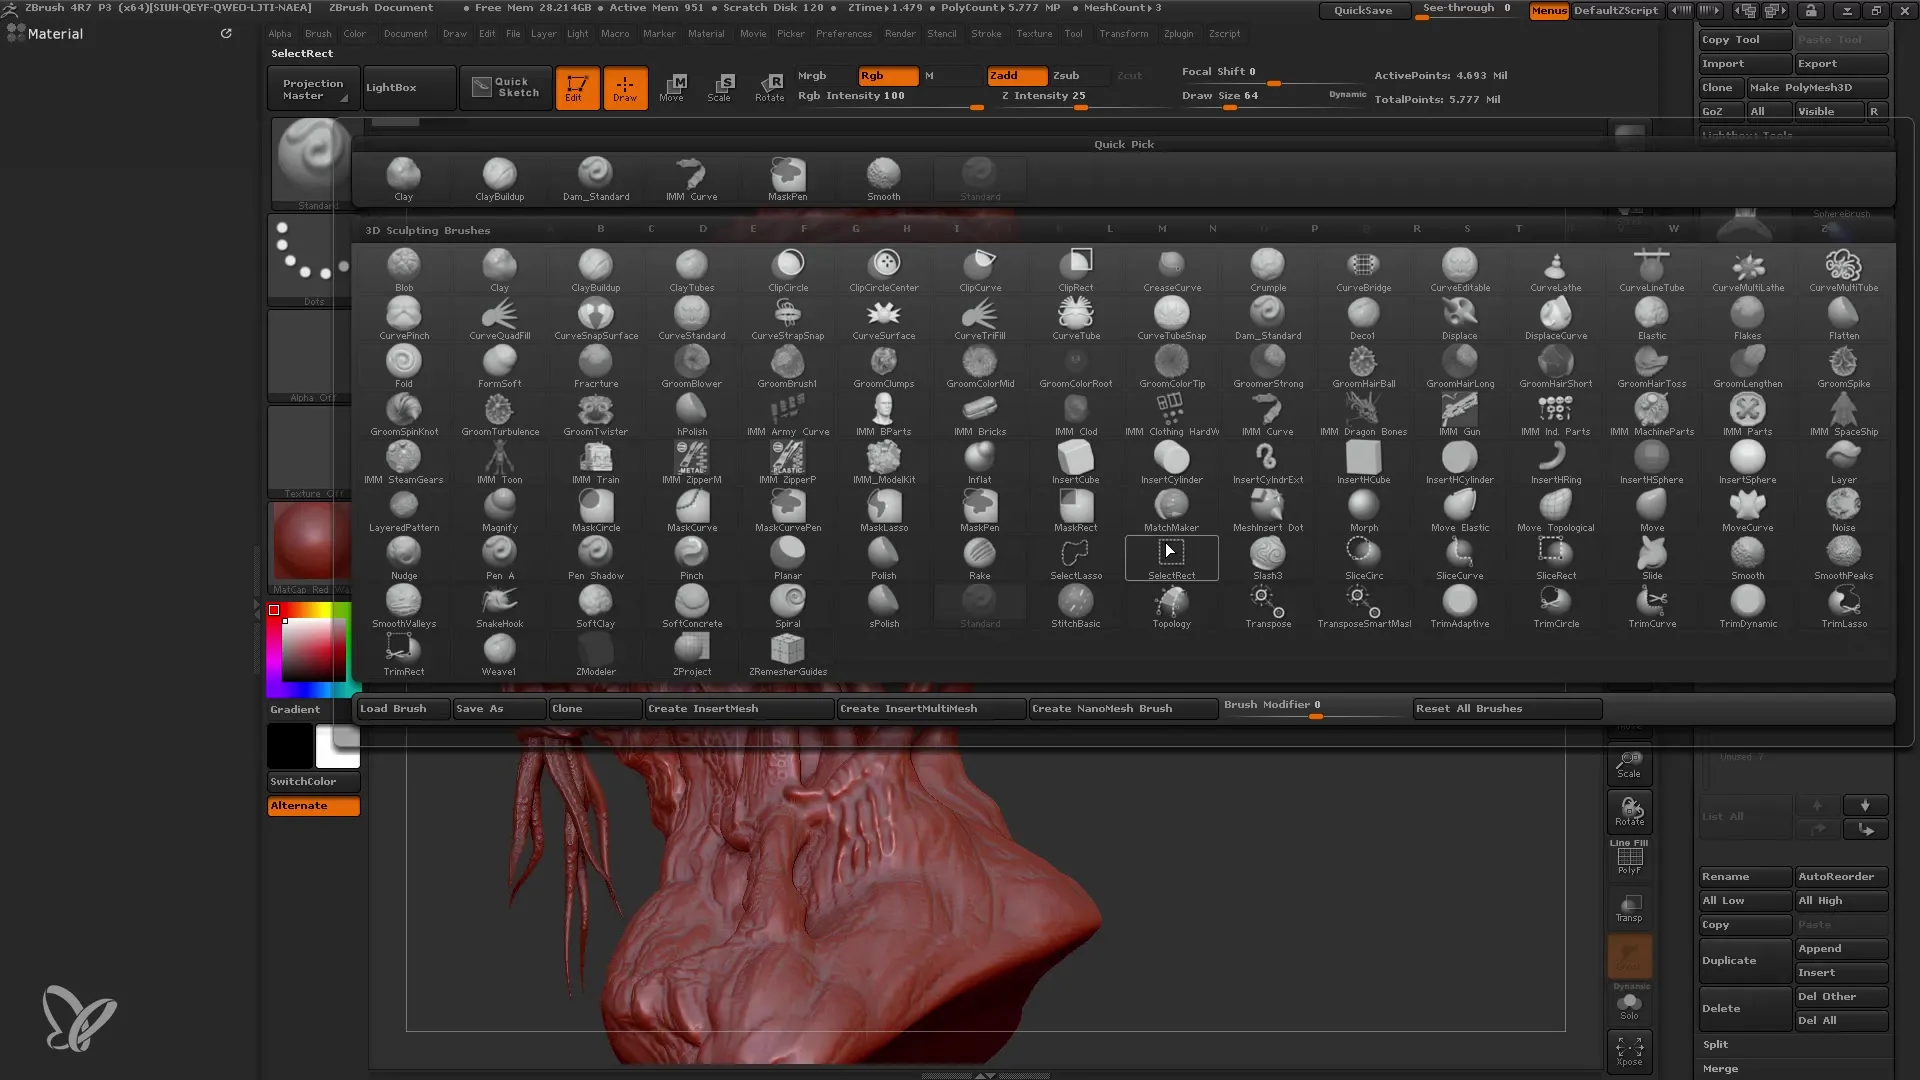
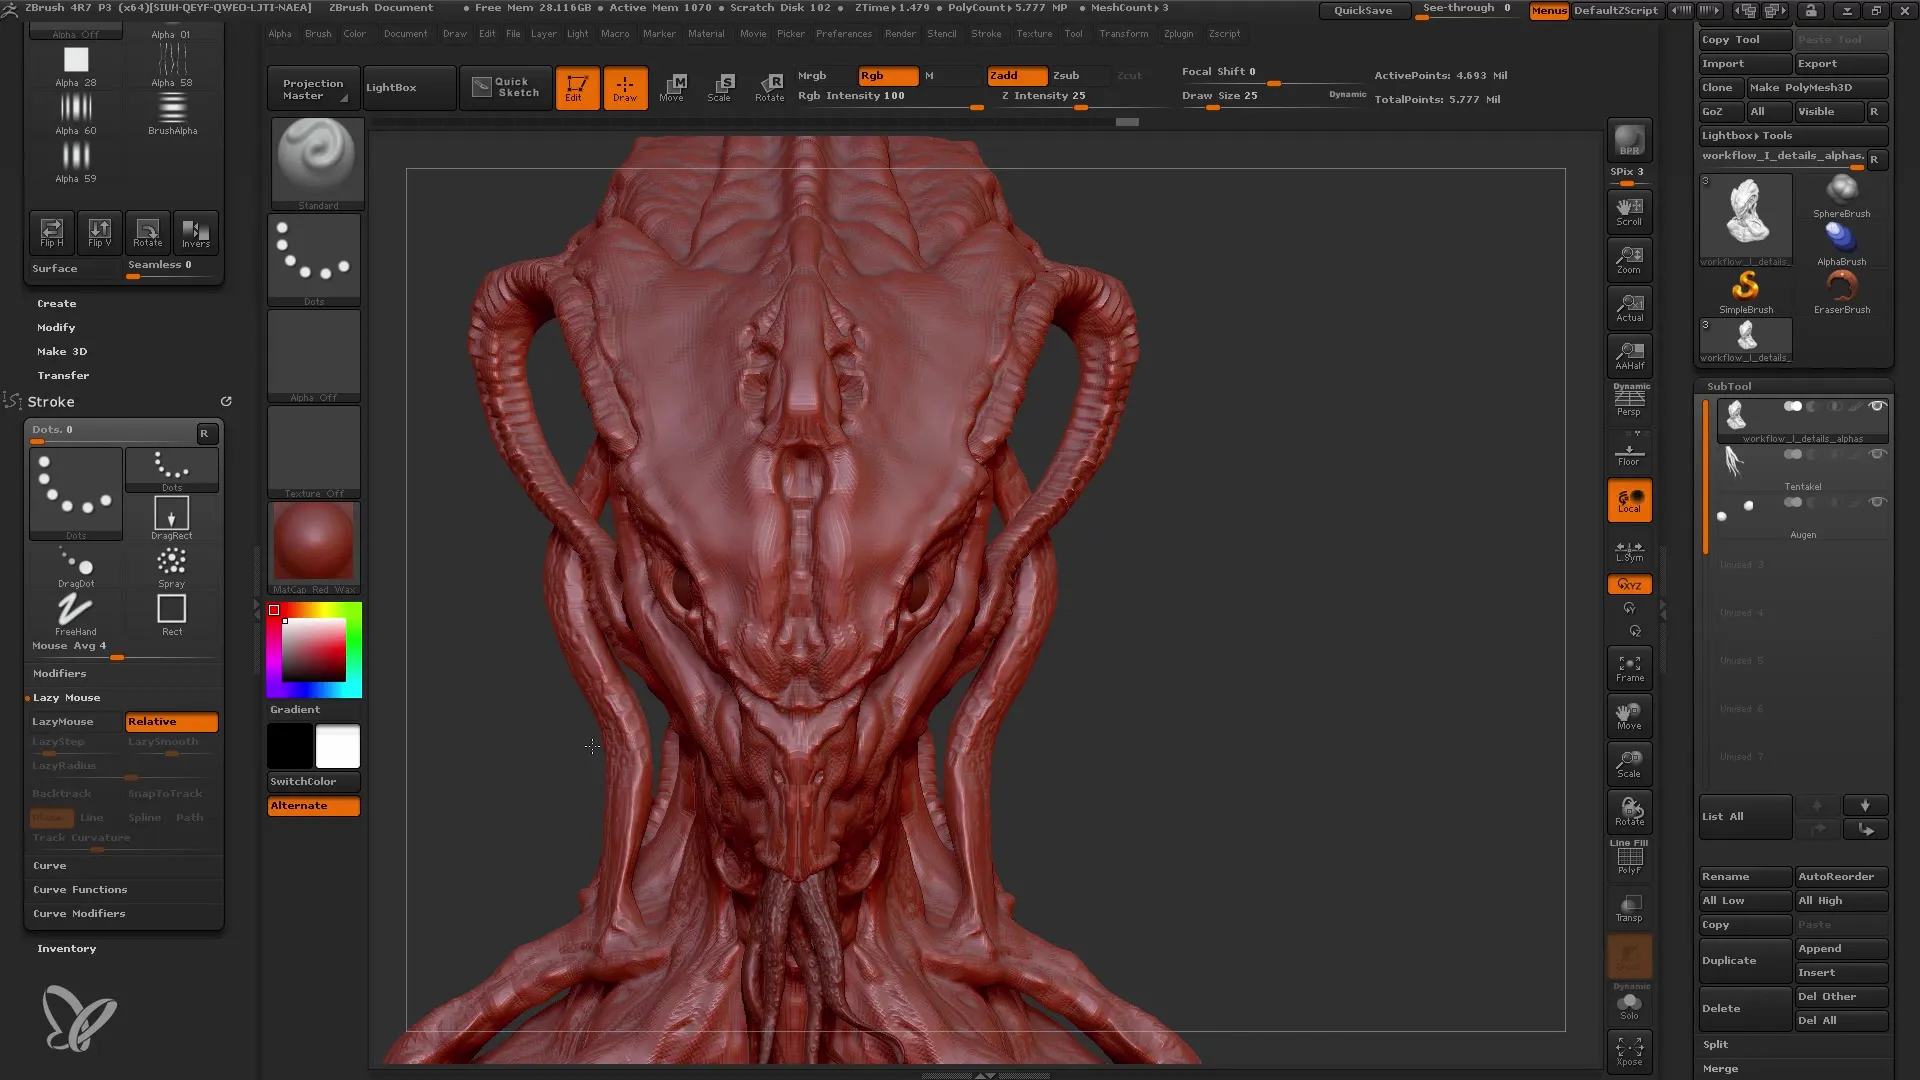
To start detailing, begin with the Standard Brush and open the Alpha and Stroke menu. Here, you can choose different Alphas to create specific textures.
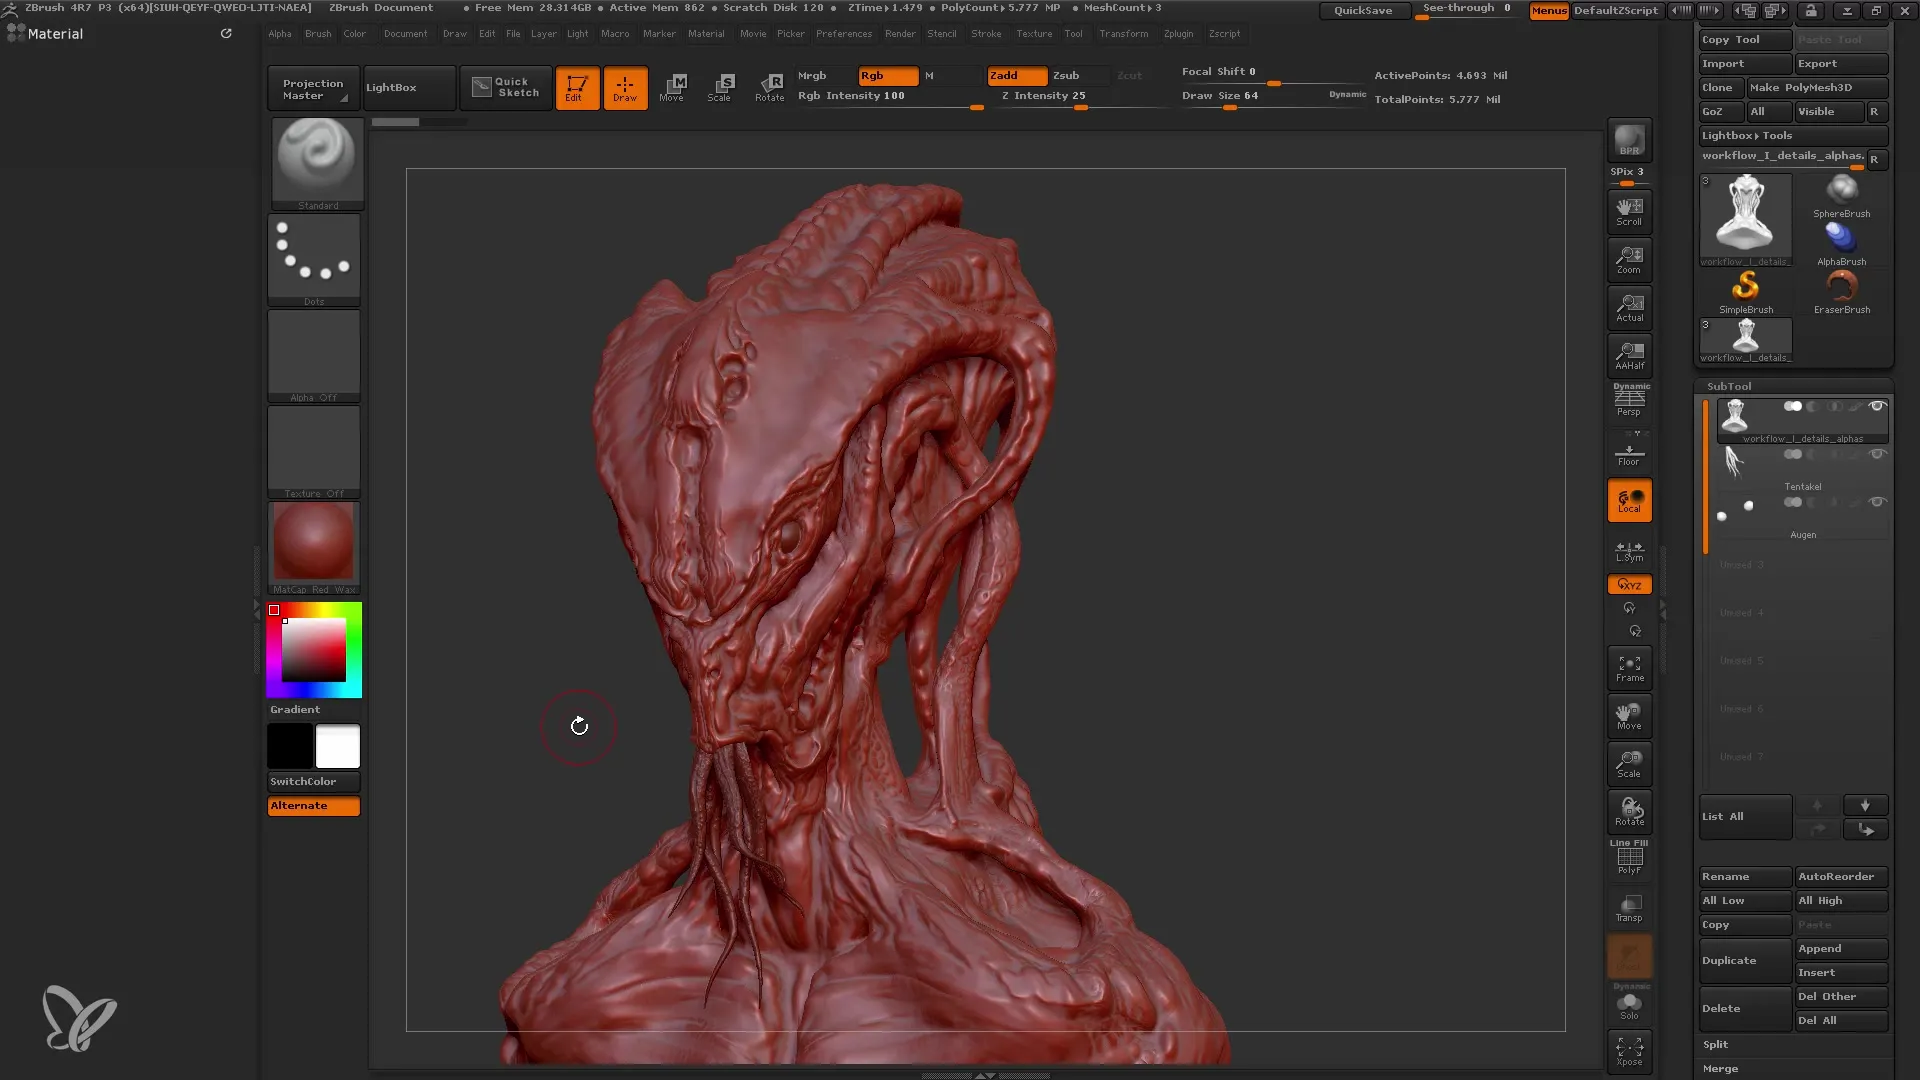
Step 2: Adjusting Alpha Alignment
Choose the Alpha that best suits your application, for example, Alpha 60. In this step, you may need to adjust the direction of the Alpha. You can rotate or mirror it to achieve the desired orientation.
Step 3: Using Lazy Steps
To have more control over the application of Alphas, you should activate the Lazy Step. Set it to a value that allows you to draw long, even lines. 25 is often a good starting point.
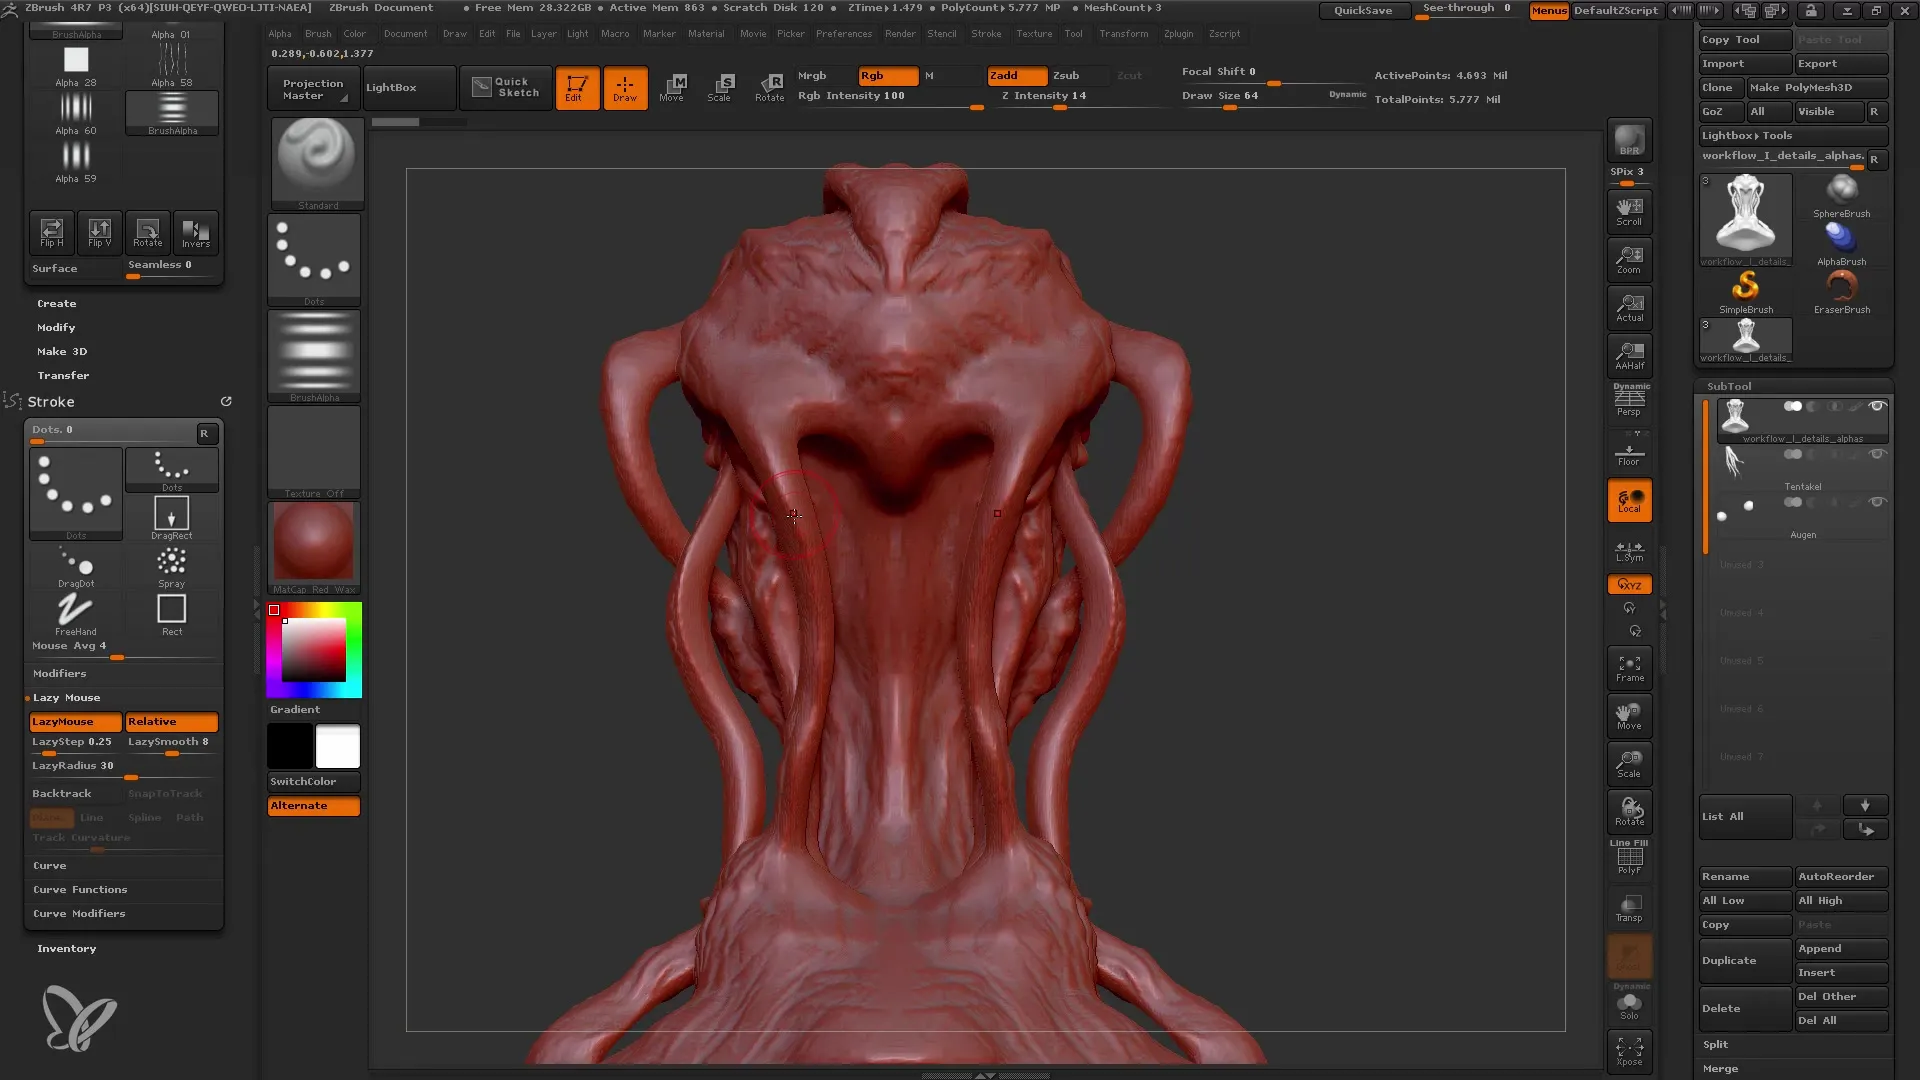
Step 4: Refining the Model
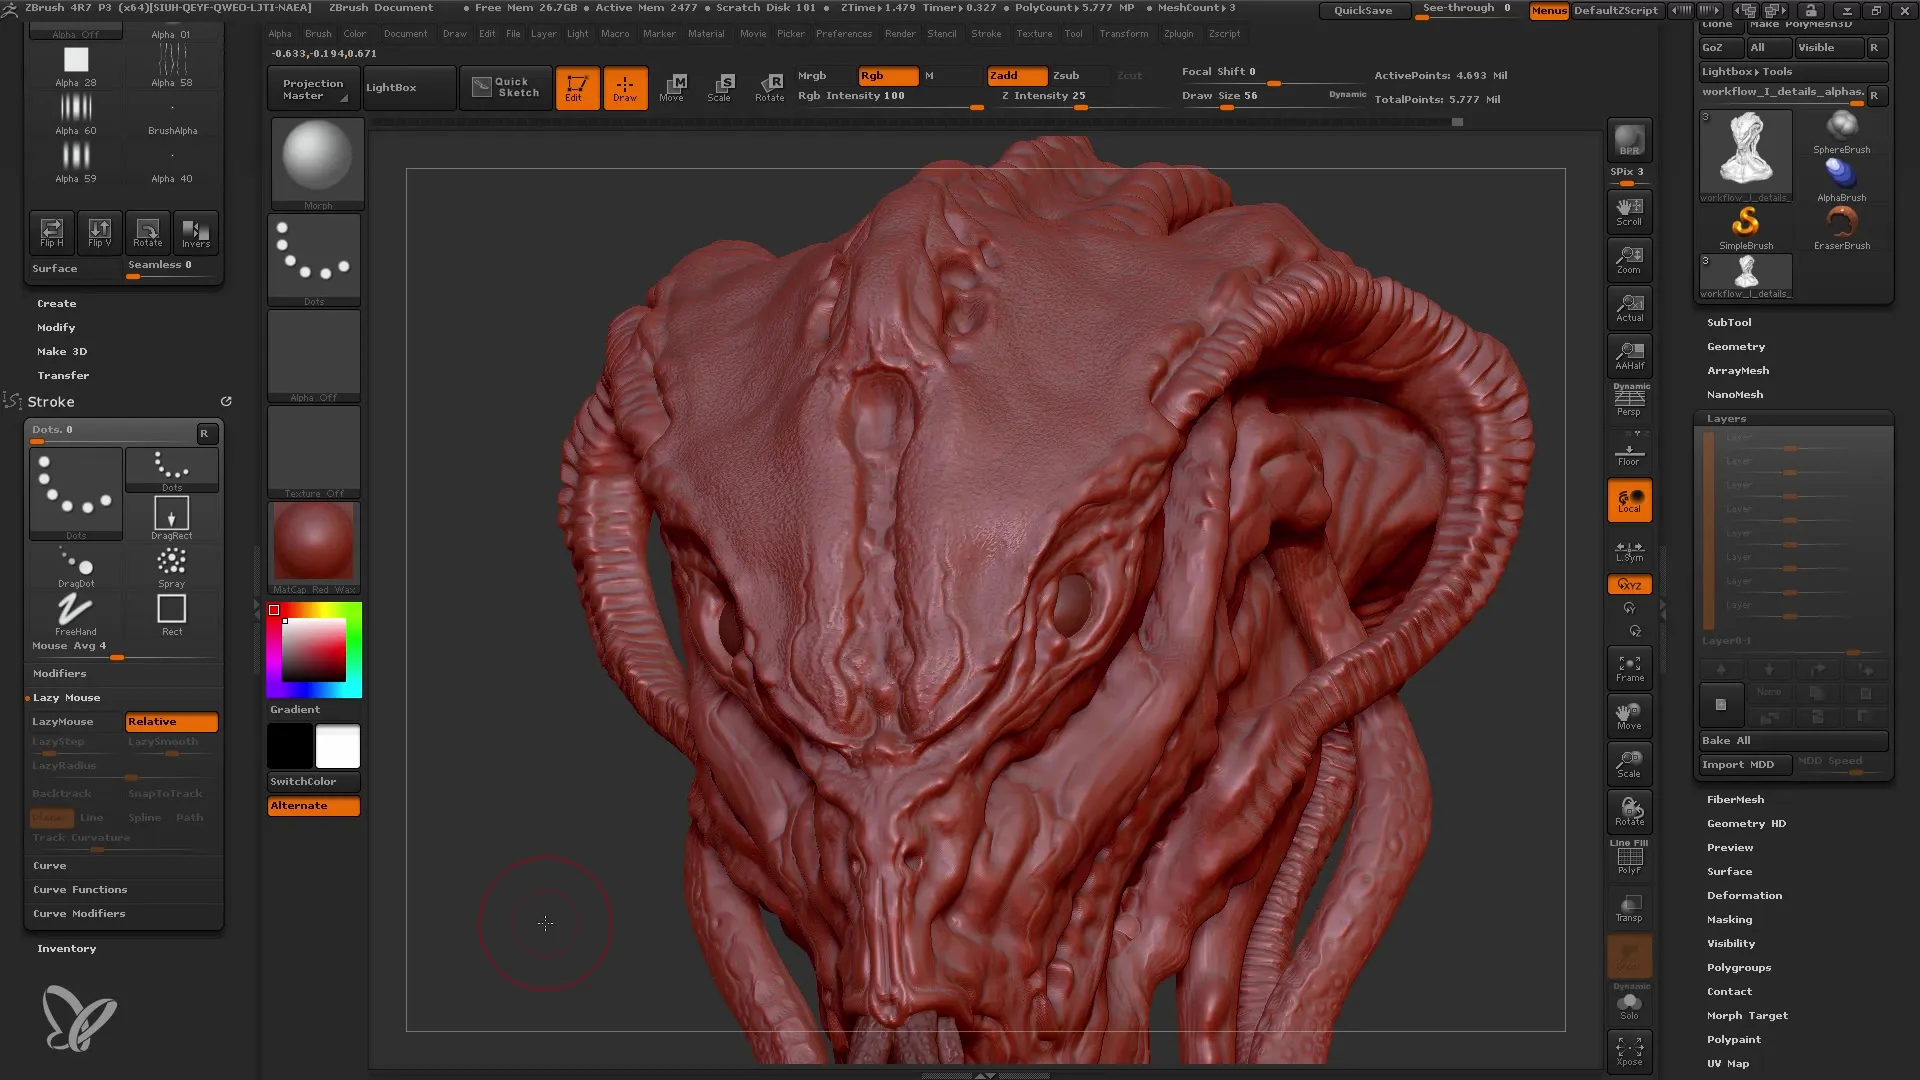
Now, use the Standard Brush for the finer details of your skull. Make sure to open a new Layer. This allows you to undo your changes and adjust the intensity of the added details.
Step 5: Using Morph Targets
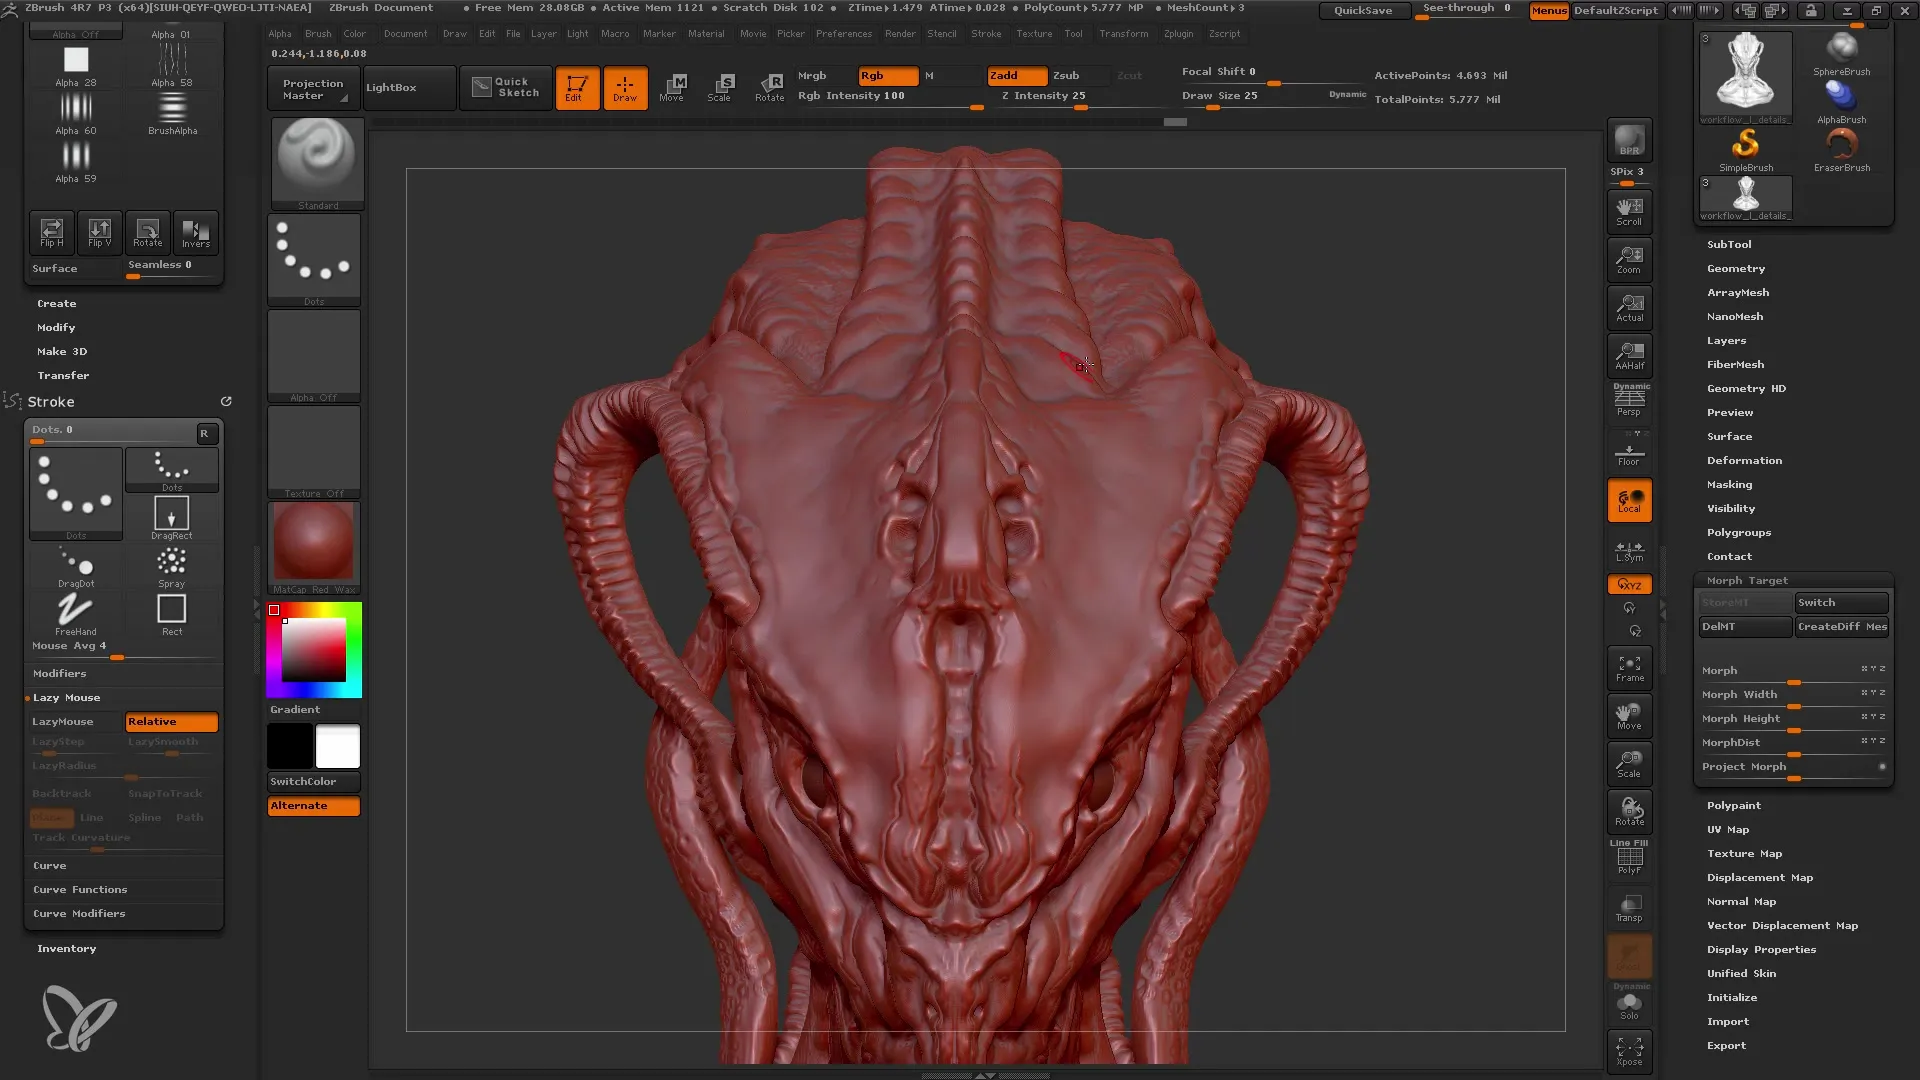
To remain flexible, start a Morph Target with "Store." This allows you to save the changes you make separately and adjust or undo them as needed.
Step 6: Detailing with Strokes
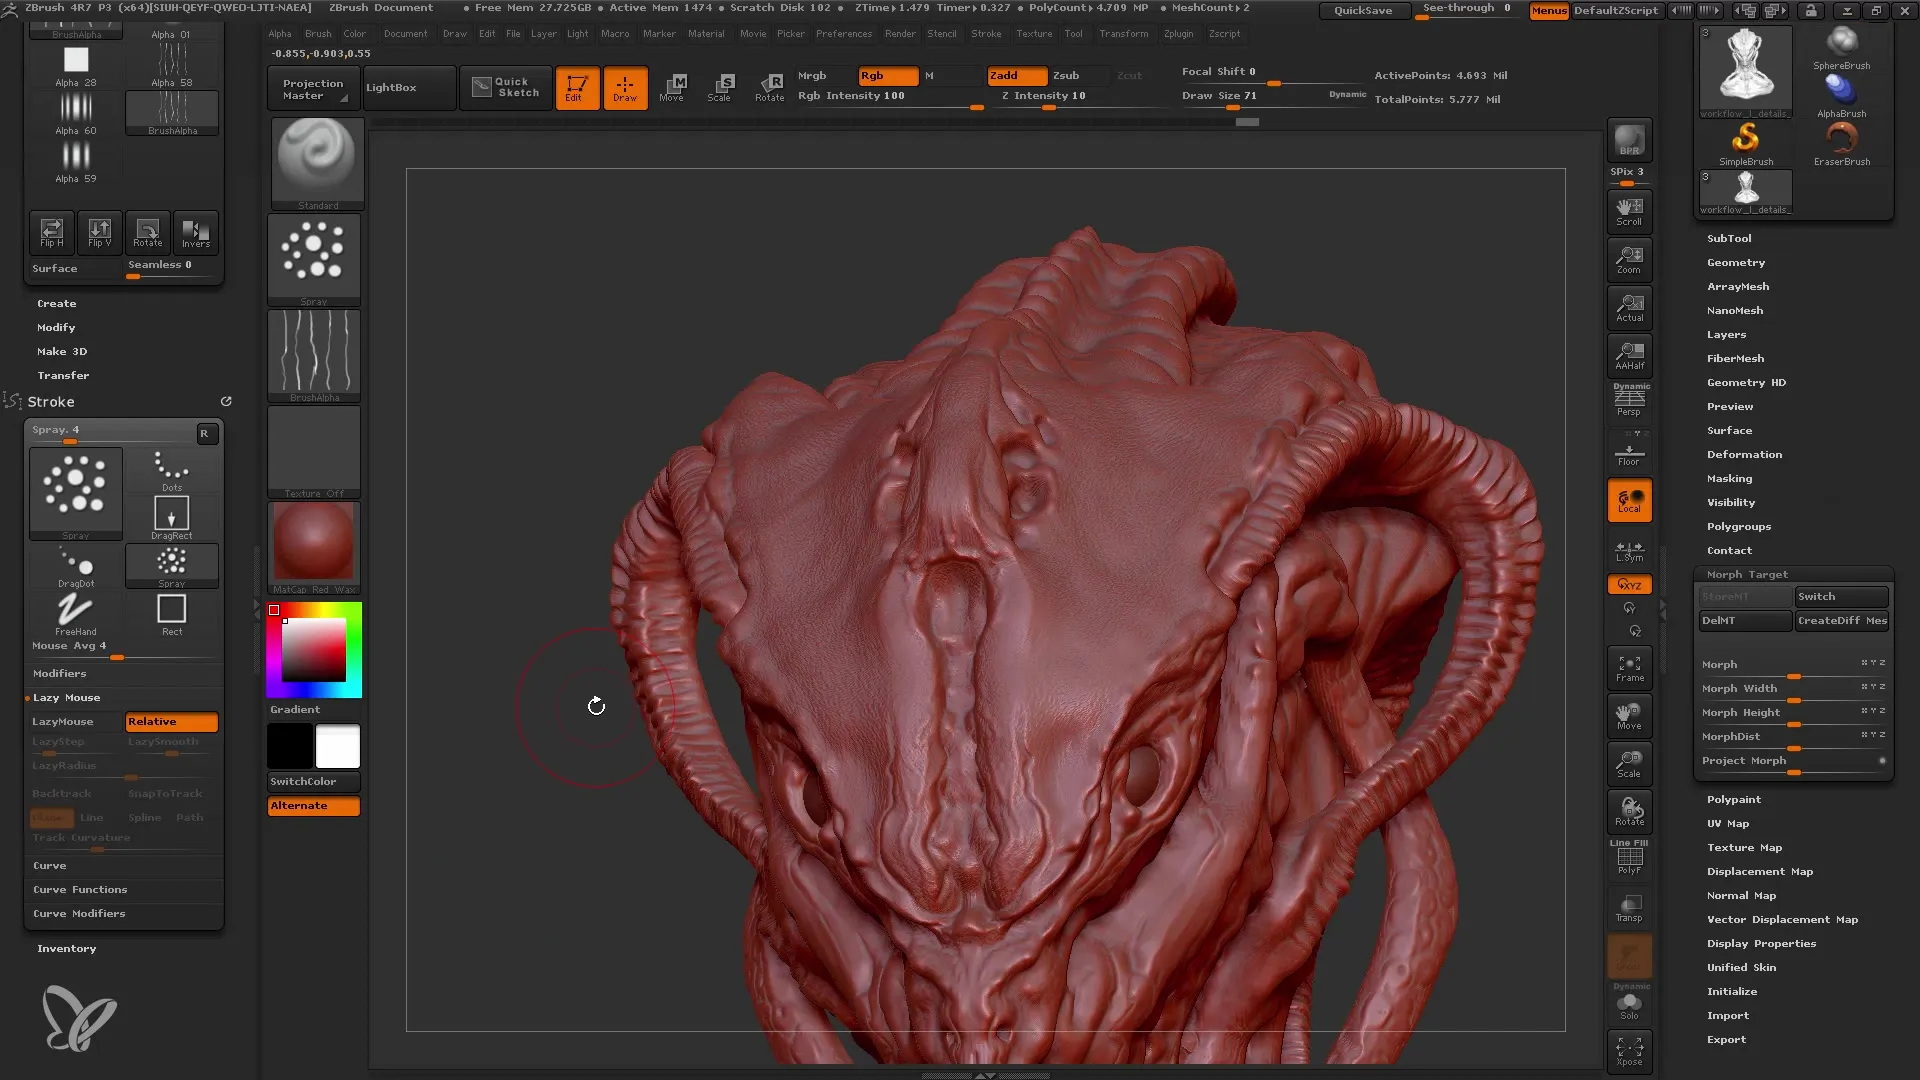
Now, add strokes with another Alpha to bring more structure and detail to your model. Make sure to regulate the intensity so it is not too dominant.
Step 7: Fine-tuning the Details
If you want to reduce details in certain areas, activate your Morph Target again and use the Morph Brush to remove details you are not satisfied with.
Step 8: Adding Additional Layers
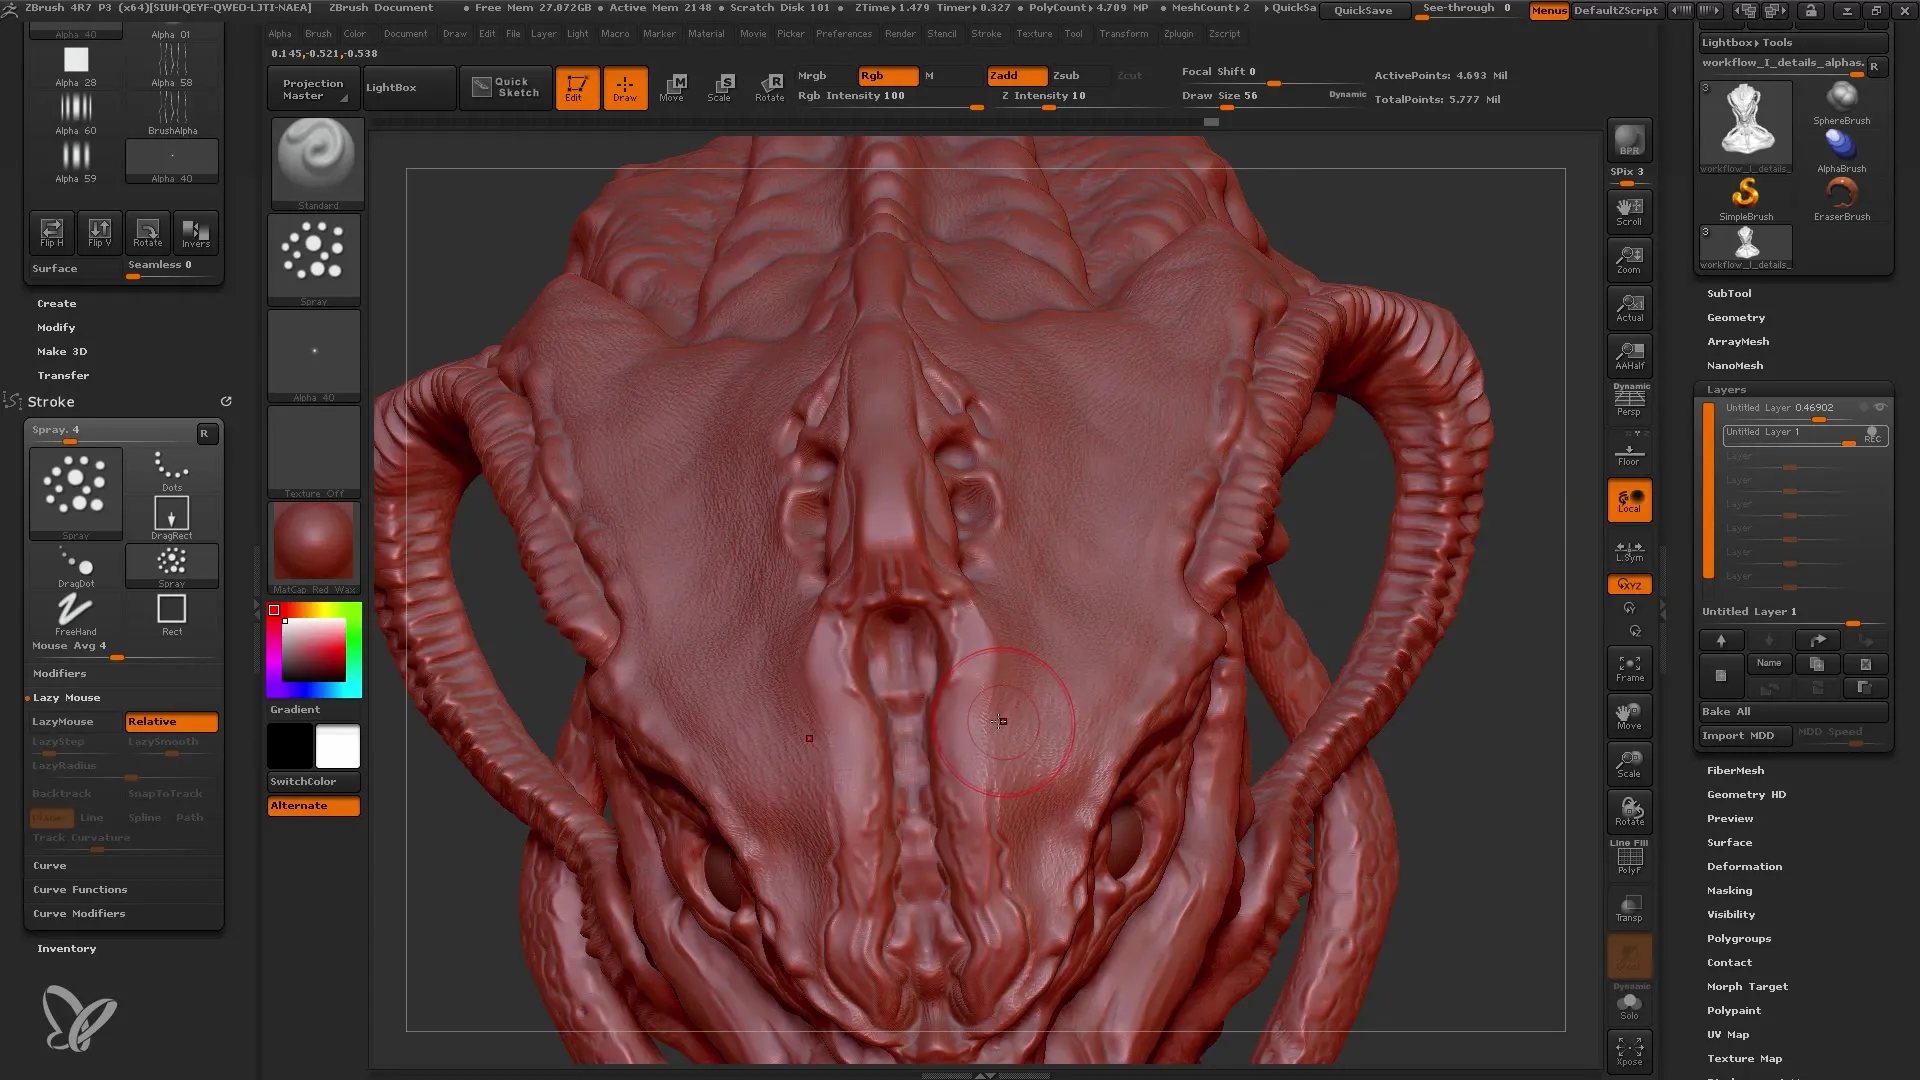
Create a new Layer to add more details, such as small holes and pimples. Make sure not to work in symmetry mode on the model to create natural variation in the details.
Step 9: Texturing and Final Details
After adding all desired details, view your model from different angles and add more details if necessary. Now you can "bake" the Layers and incorporate the changes into your mesh.
Step 10: Final Review
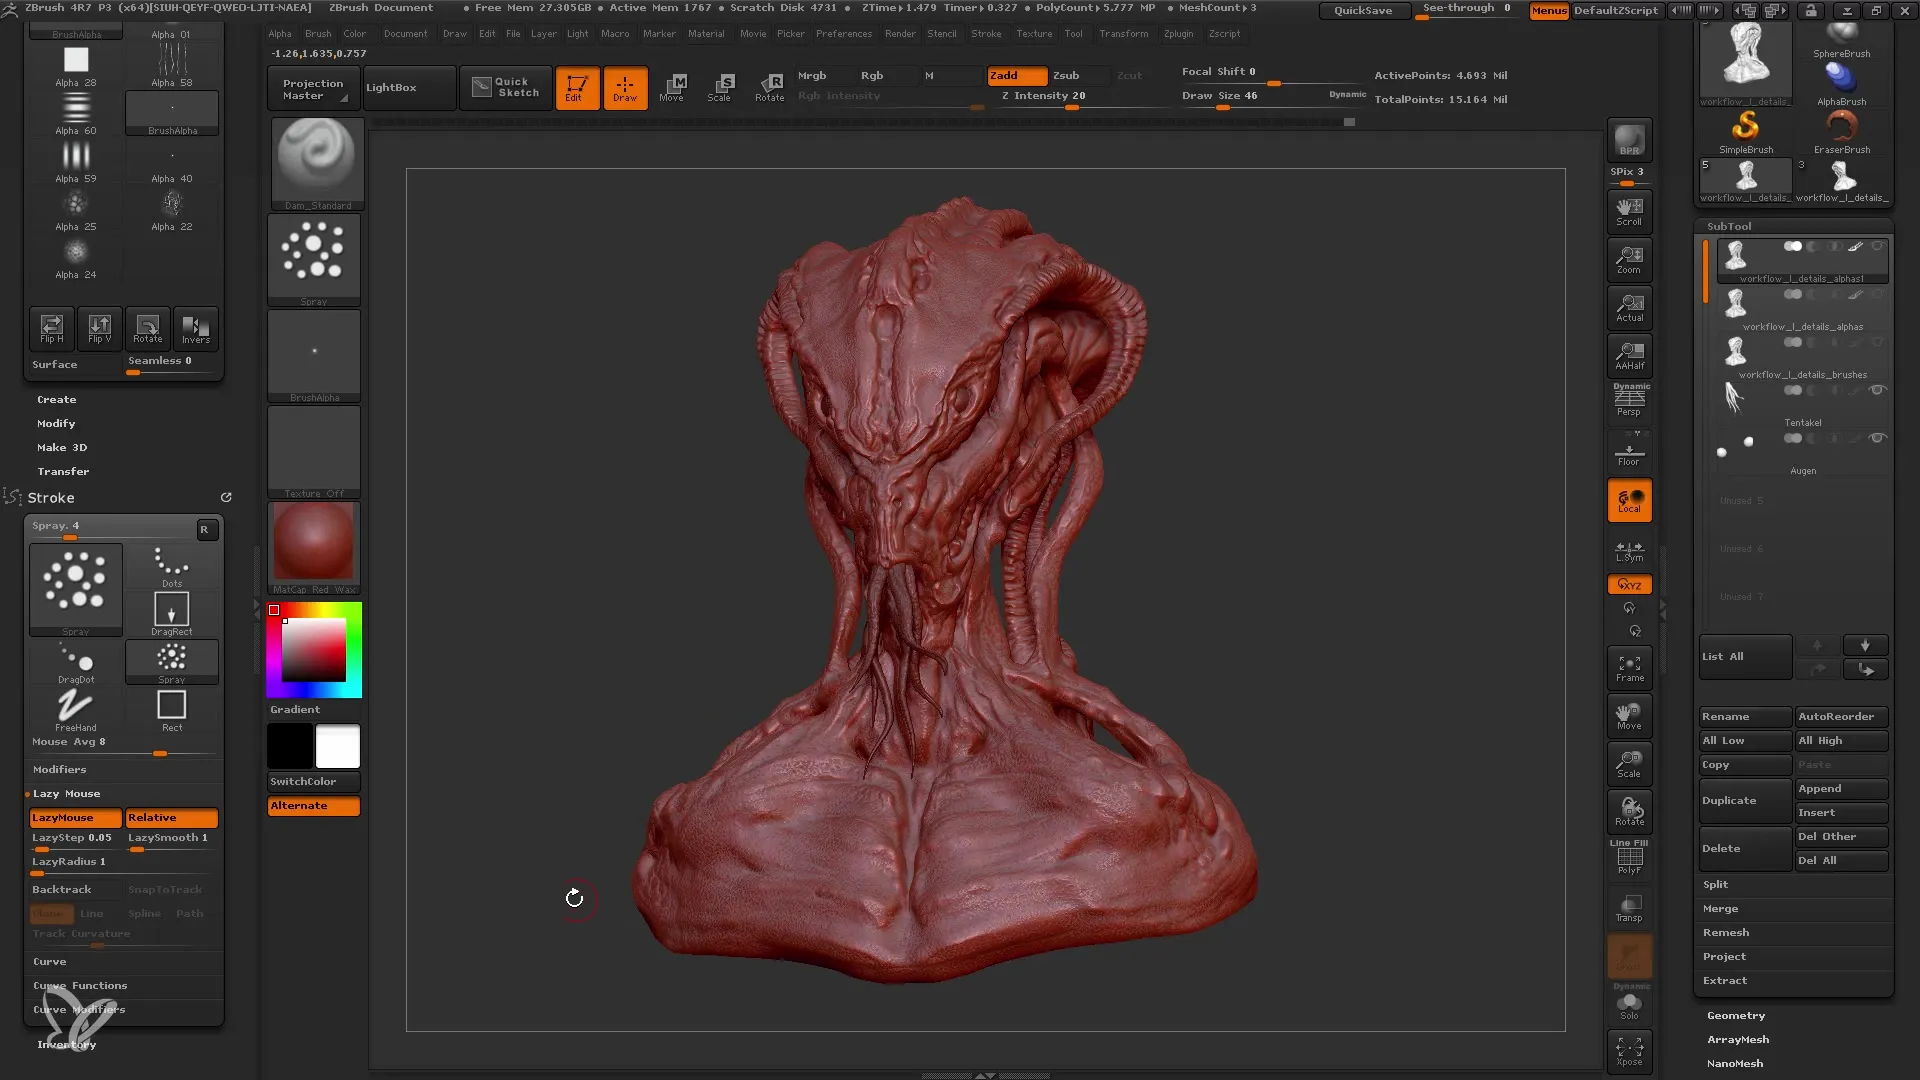
Finally, review your model in overall view and ensure all elements are in harmony. Since the model now contains realistic details, you can proceed with texturing and polypainting.
Summary
In this tutorial, you have learned how to effectively use alphas in ZBrush to detail your model. You have followed the steps from selecting the alphas to adjusting and applying them, and finally integrating the details into your mesh. Working with layers and morph targets not only gives you creative freedom but also precise control over the entire detailing process.
Frequently Asked Questions
What are alphas in ZBrush?Alphas are grayscale images used to create textures and details on 3D models.
How can I ensure my changes are non-destructive?By using layers and morph targets, you can make changes without affecting the original model.
Can I combine multiple alphas?Yes, you can use different alphas on separate layers to create complex structures.
Do I have to work in symmetry mode?It is not necessarily required to work in symmetry mode. Often, it is better to have natural variations in the details.
How can I undo my changes?By using morph targets, you can always revert back and remove or adjust previous detailing.
