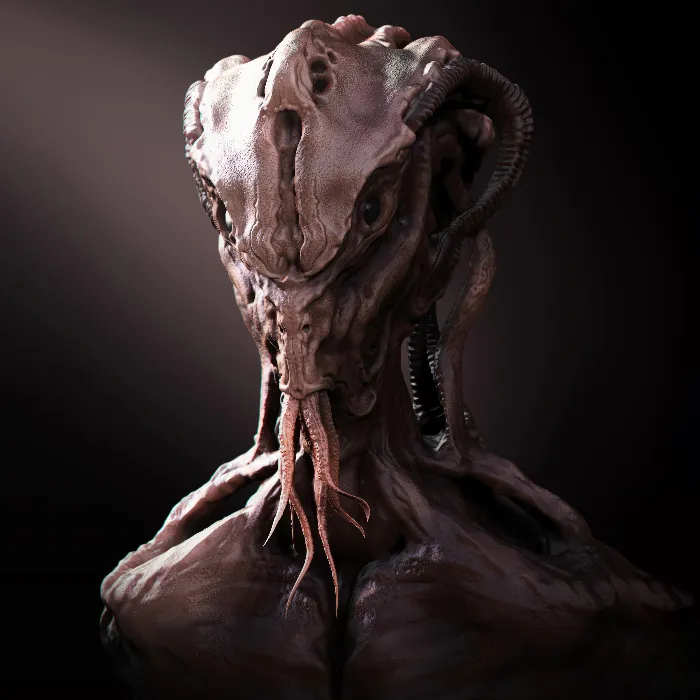
In this tutorial, you will learn how to create an interesting and creative head model using ZBrush. The focus here is on using Dynamesh to define the basic form of your model. This process is ideal for beginners as it guides you step by step from a simple base shape to a detailed character. You will learn to use various tools and techniques to give depth and personality to your models.
Main Takeaways
- Using Dynamesh allows you to work quickly and flexibly with the geometry of your model.
- Symmetry is an important tool for efficiently creating human and humanoid characters.
- Varying brush types can help you achieve different textures and details that bring your models to life.
- Working in different views is crucial for creating proportional and appealing shapes.
Step-by-Step Guide
First, start ZBrush and select a demo head to work with. You need this base to build upon and bring your creative ideas to life.
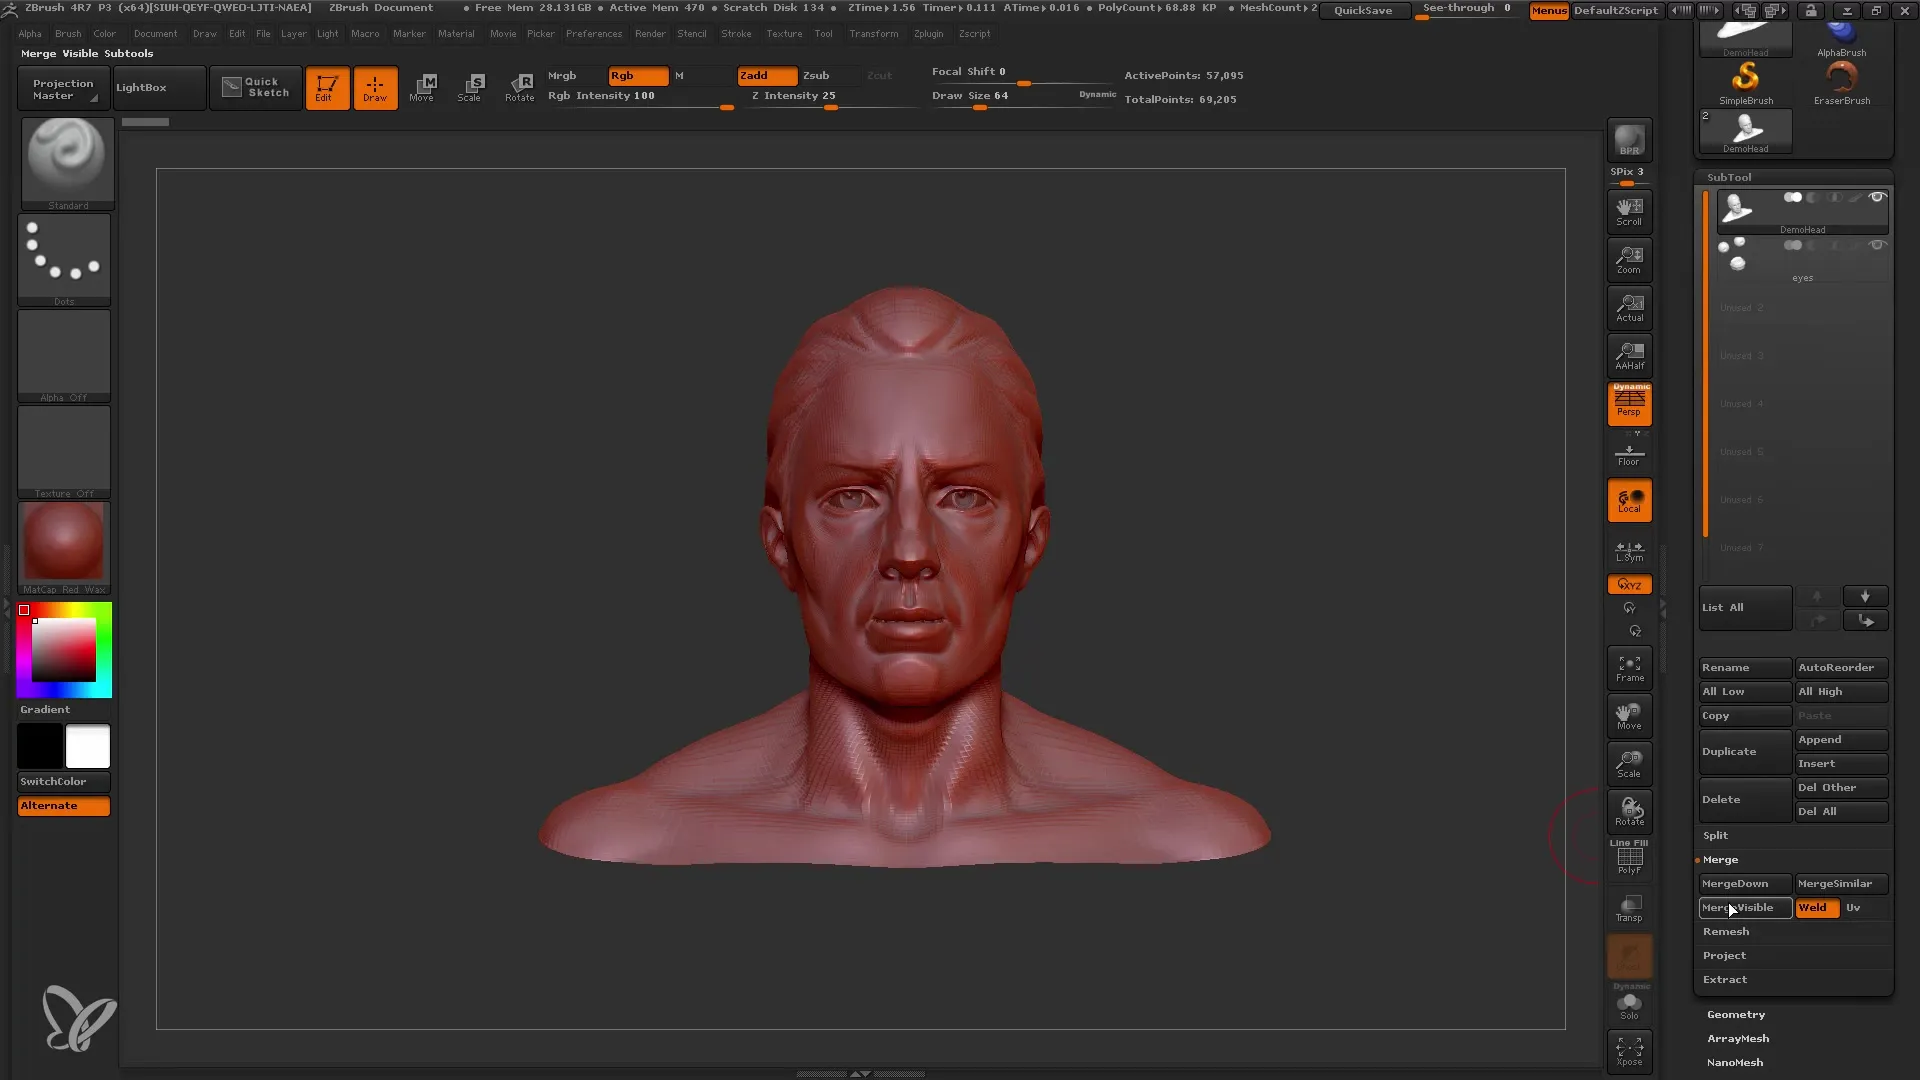
After importing the demo head, go to the subtool options and merge the layers so that you are working with only one subtool. This is important to improve clarity and manageability during the modeling process.
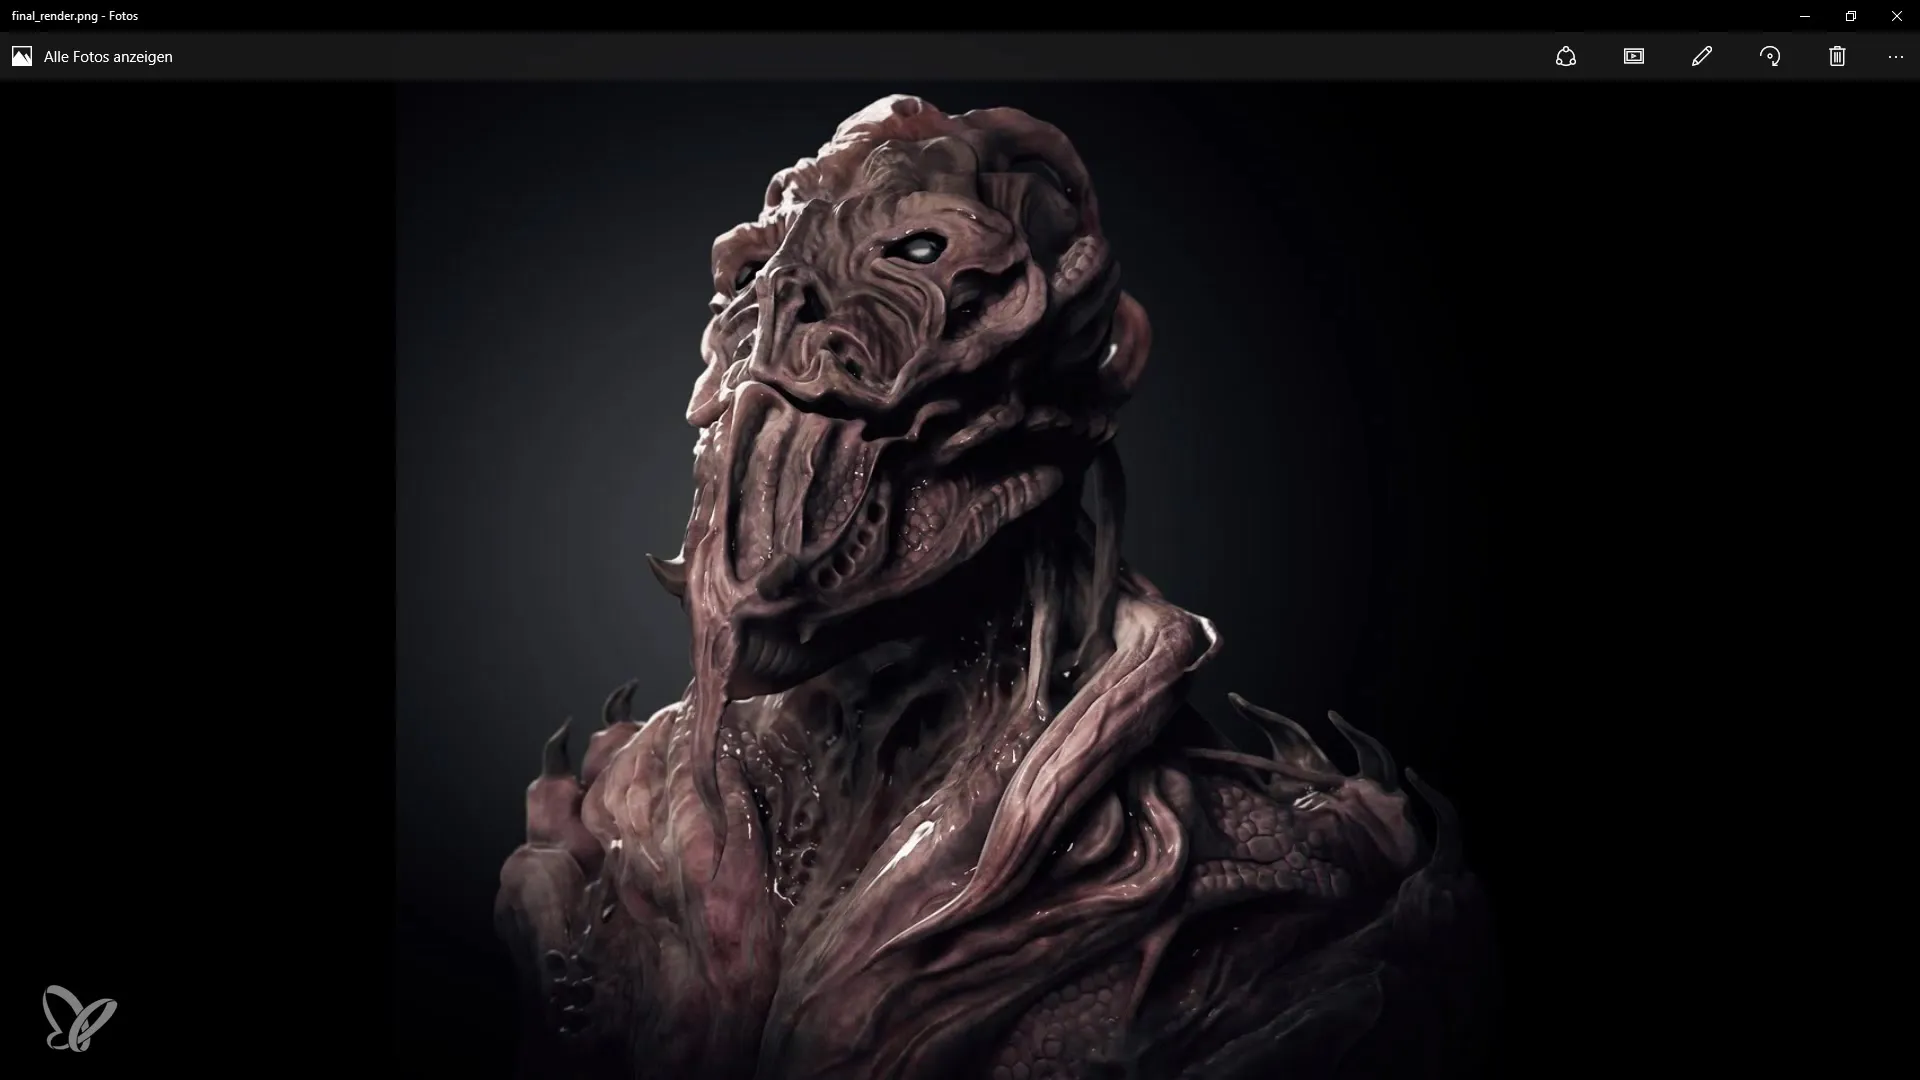
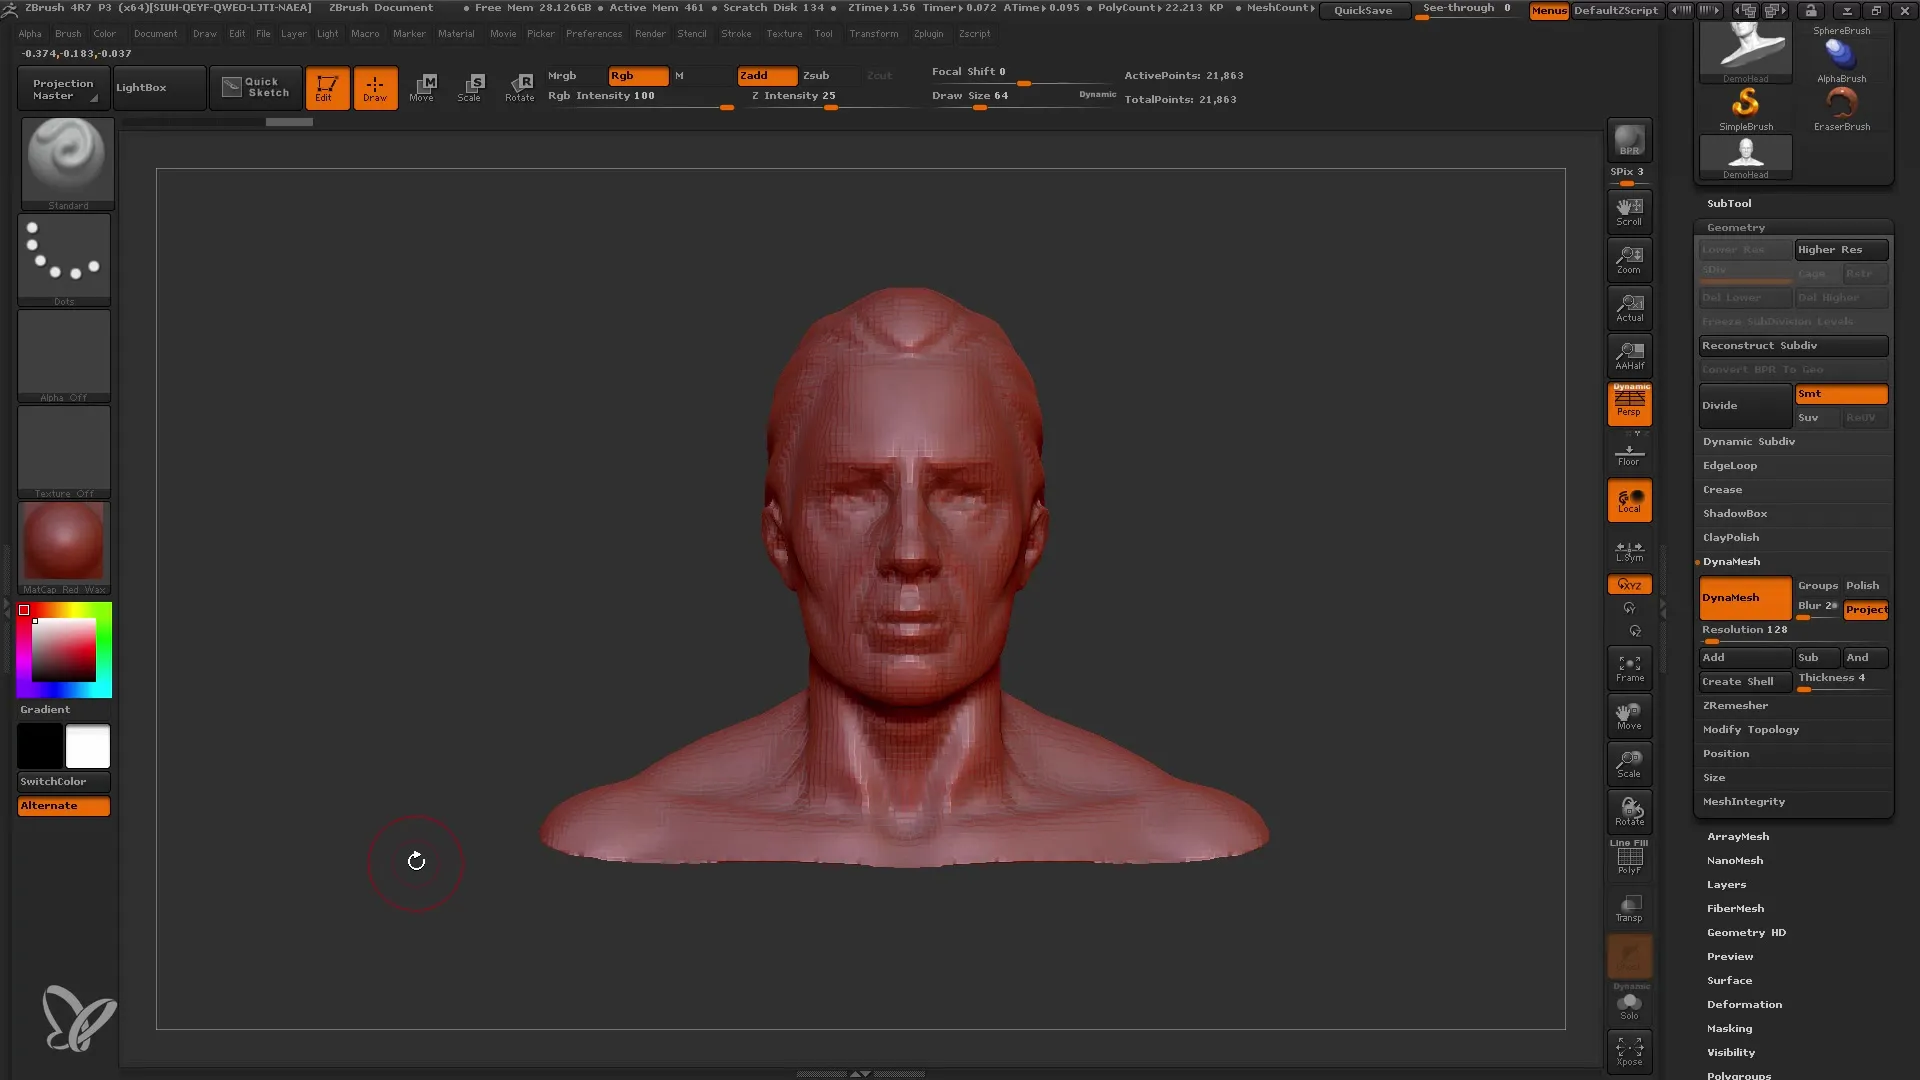
Next, disable the higher subdivision levels and switch to Dynamesh mode with a resolution of 128. This allows you to work uniformly without too much detail, focusing on the basic form.
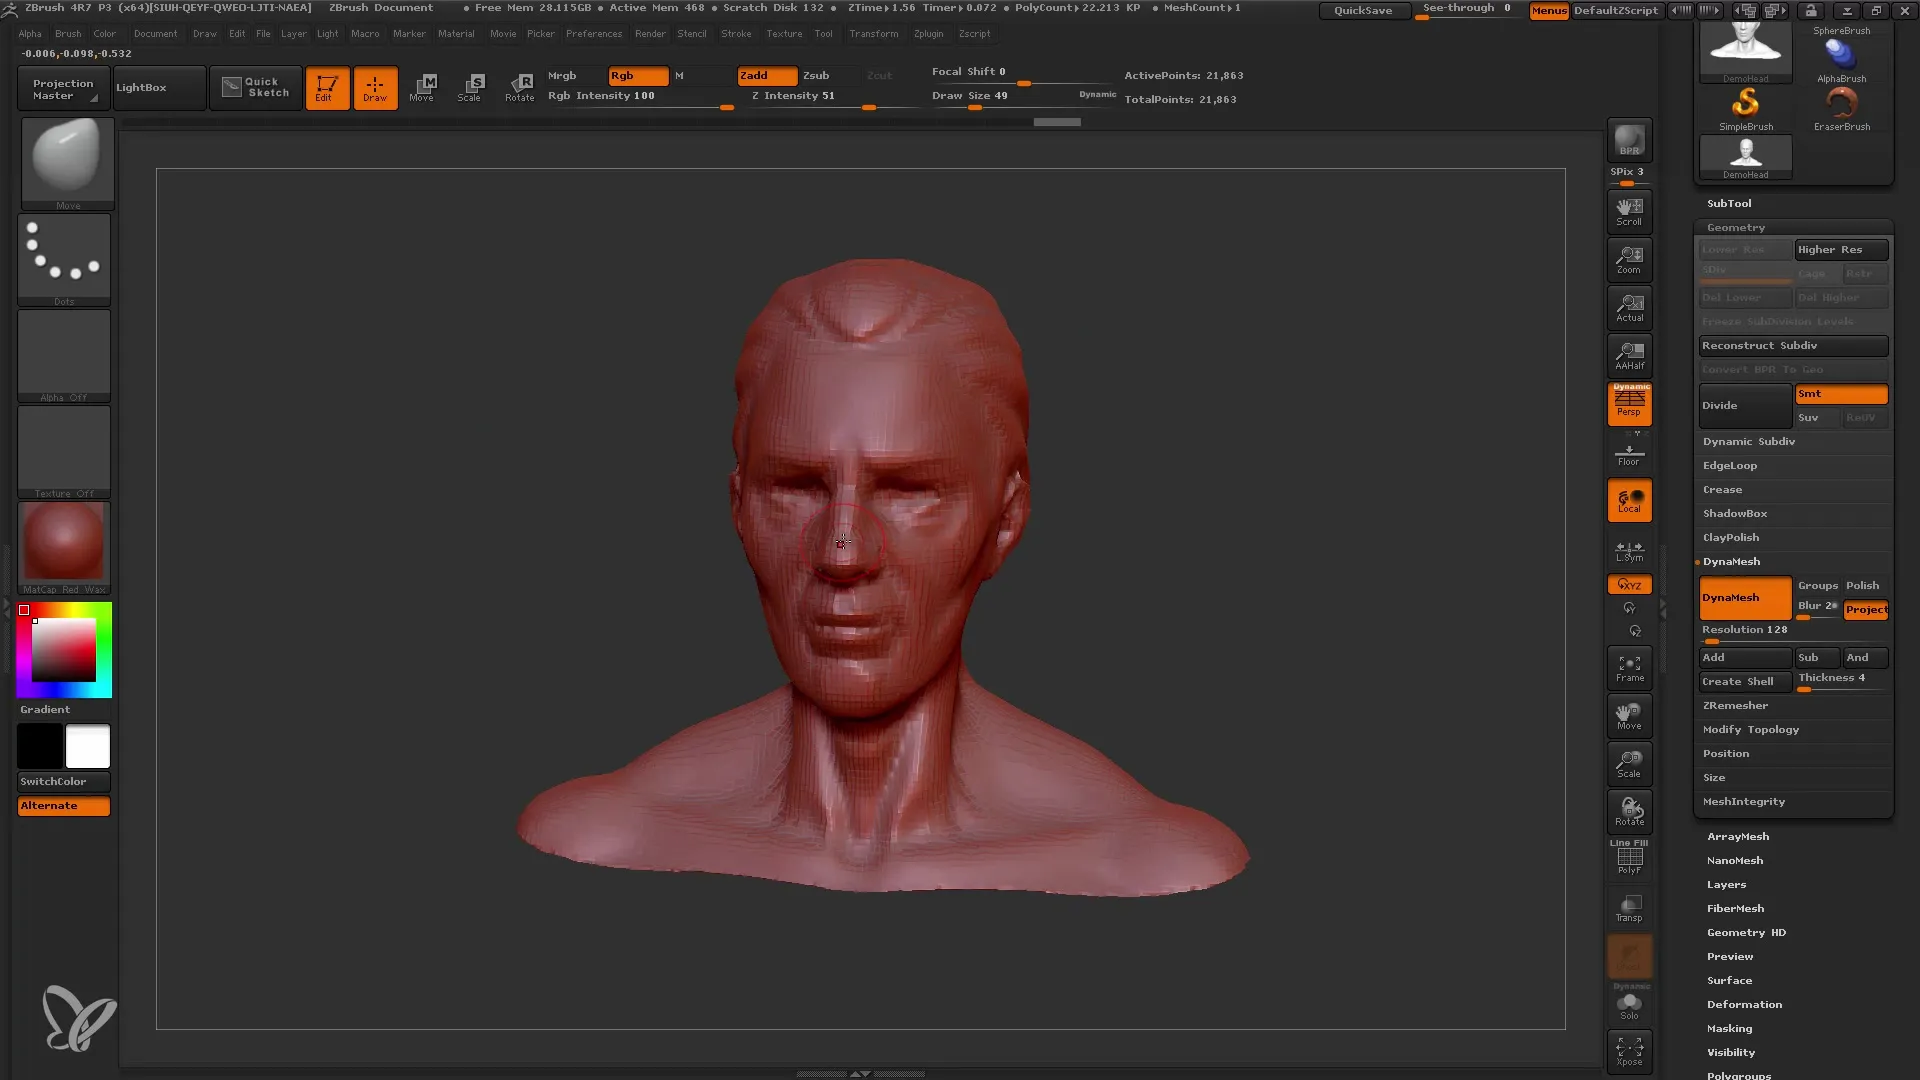
Now you can start shaping the basic form of your character using the Move Brush. Make sure to keep the symmetry option active to edit both sides of your model simultaneously. During this step, you will make initial rough changes and observe how the form evolves.
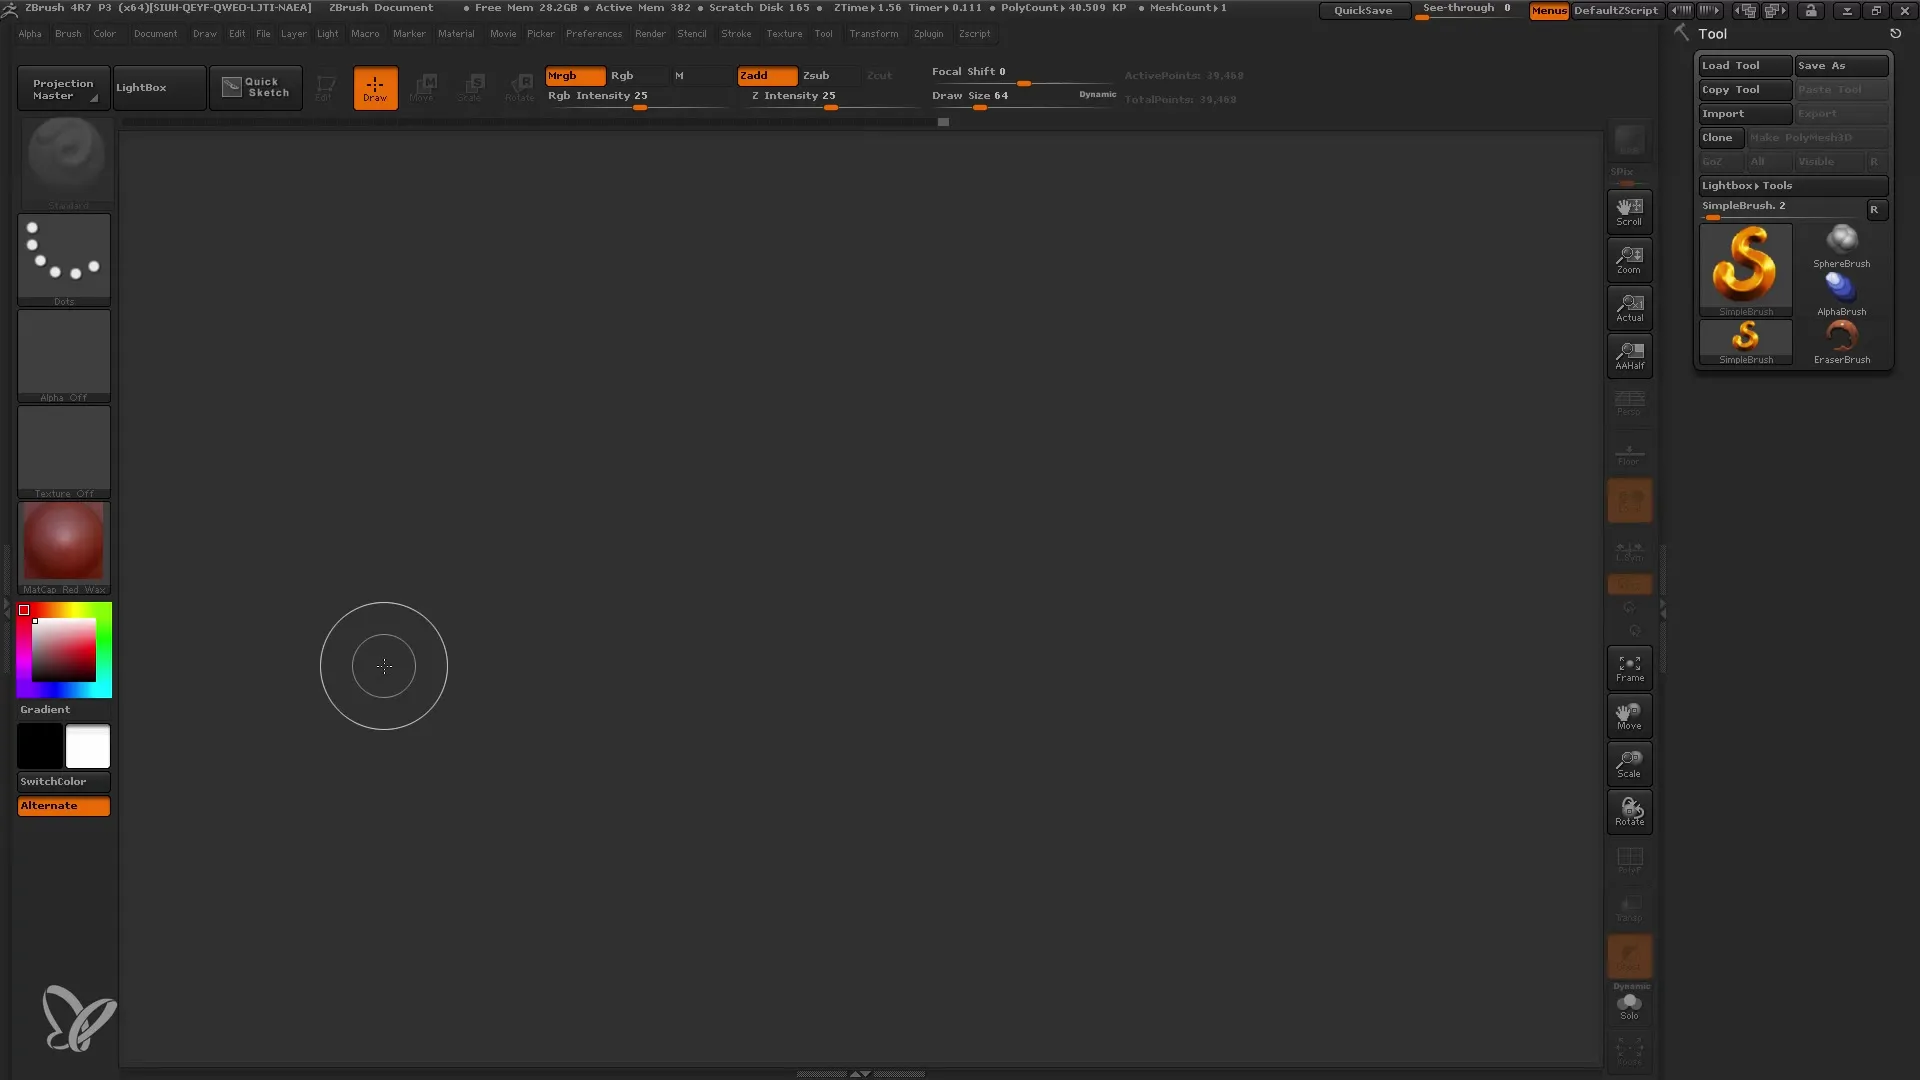
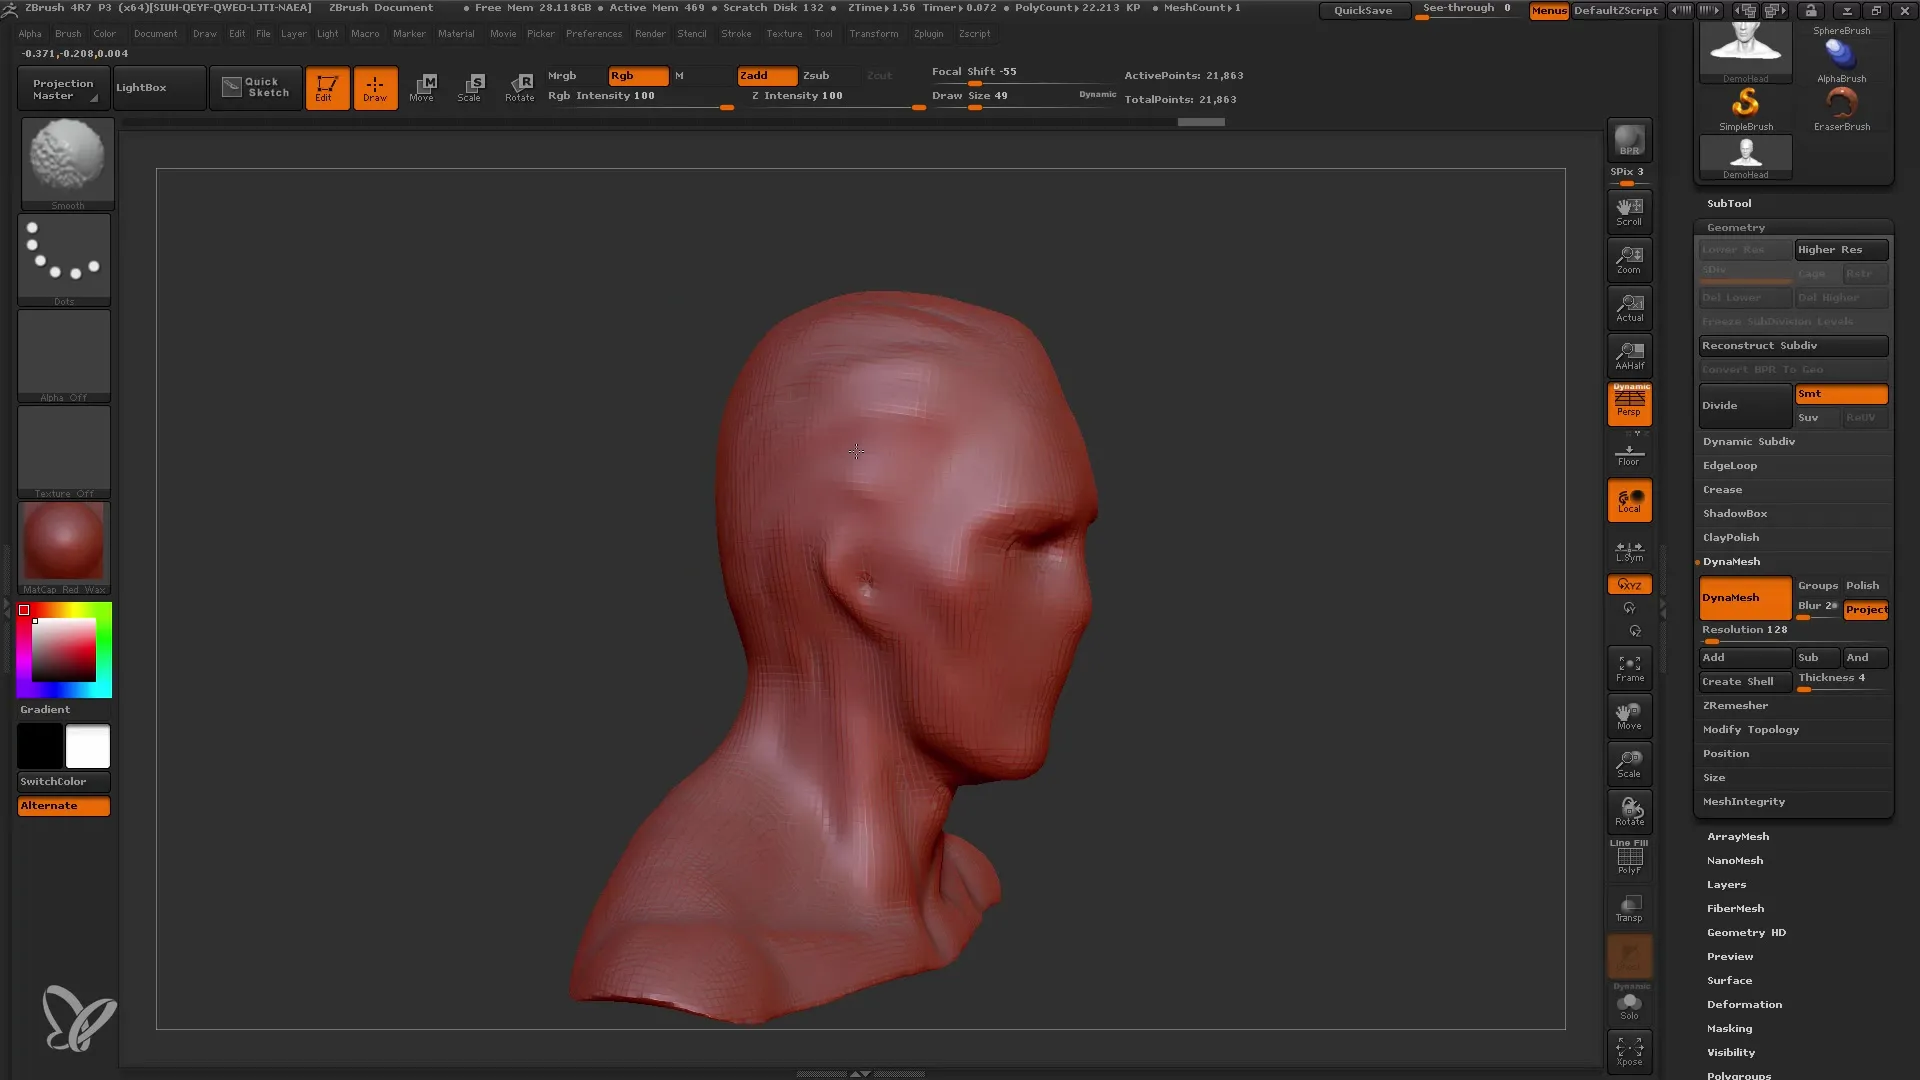
Once you have a sense of the proportions and basic form, you can use the Smooth Brush to smooth out unwanted areas and further refine the shape. Work spontaneously but make sure to maintain the connection to your original vision.
Now it's time to use the Trim Curve Brush to cut away unwanted areas. This allows you to adjust the design more precisely and make the head more interesting. Ensure that the overall profile looks appealing from different angles.
If you find that the local material is lacking, you can use the Clay Buildup tool to add more texture to the surface. Make sure the Backface Mask is activated to prevent accidental mesh penetration.
Continue with the Clay Buildup tool to further define the structures until an interesting design emerges. Remember we are at Dynamesh 128, so don't go overboard with details as you still have time for refinements.
Focus on giving the head an interesting silhouette. Add dimension and coherence to your model by incorporating curves that enhance the overall impression.
To add more volume, experiment with various brush variants again, such as the Snake Hook Tool, to create dynamic shapes. This is particularly useful for adding creative movements and lines to your work.
Finally, move on to the refinements - when you are satisfied with the head, review all the draft and add refinements as necessary. At this point, you have built the foundation of your character and are ready to delve into the detailing process.
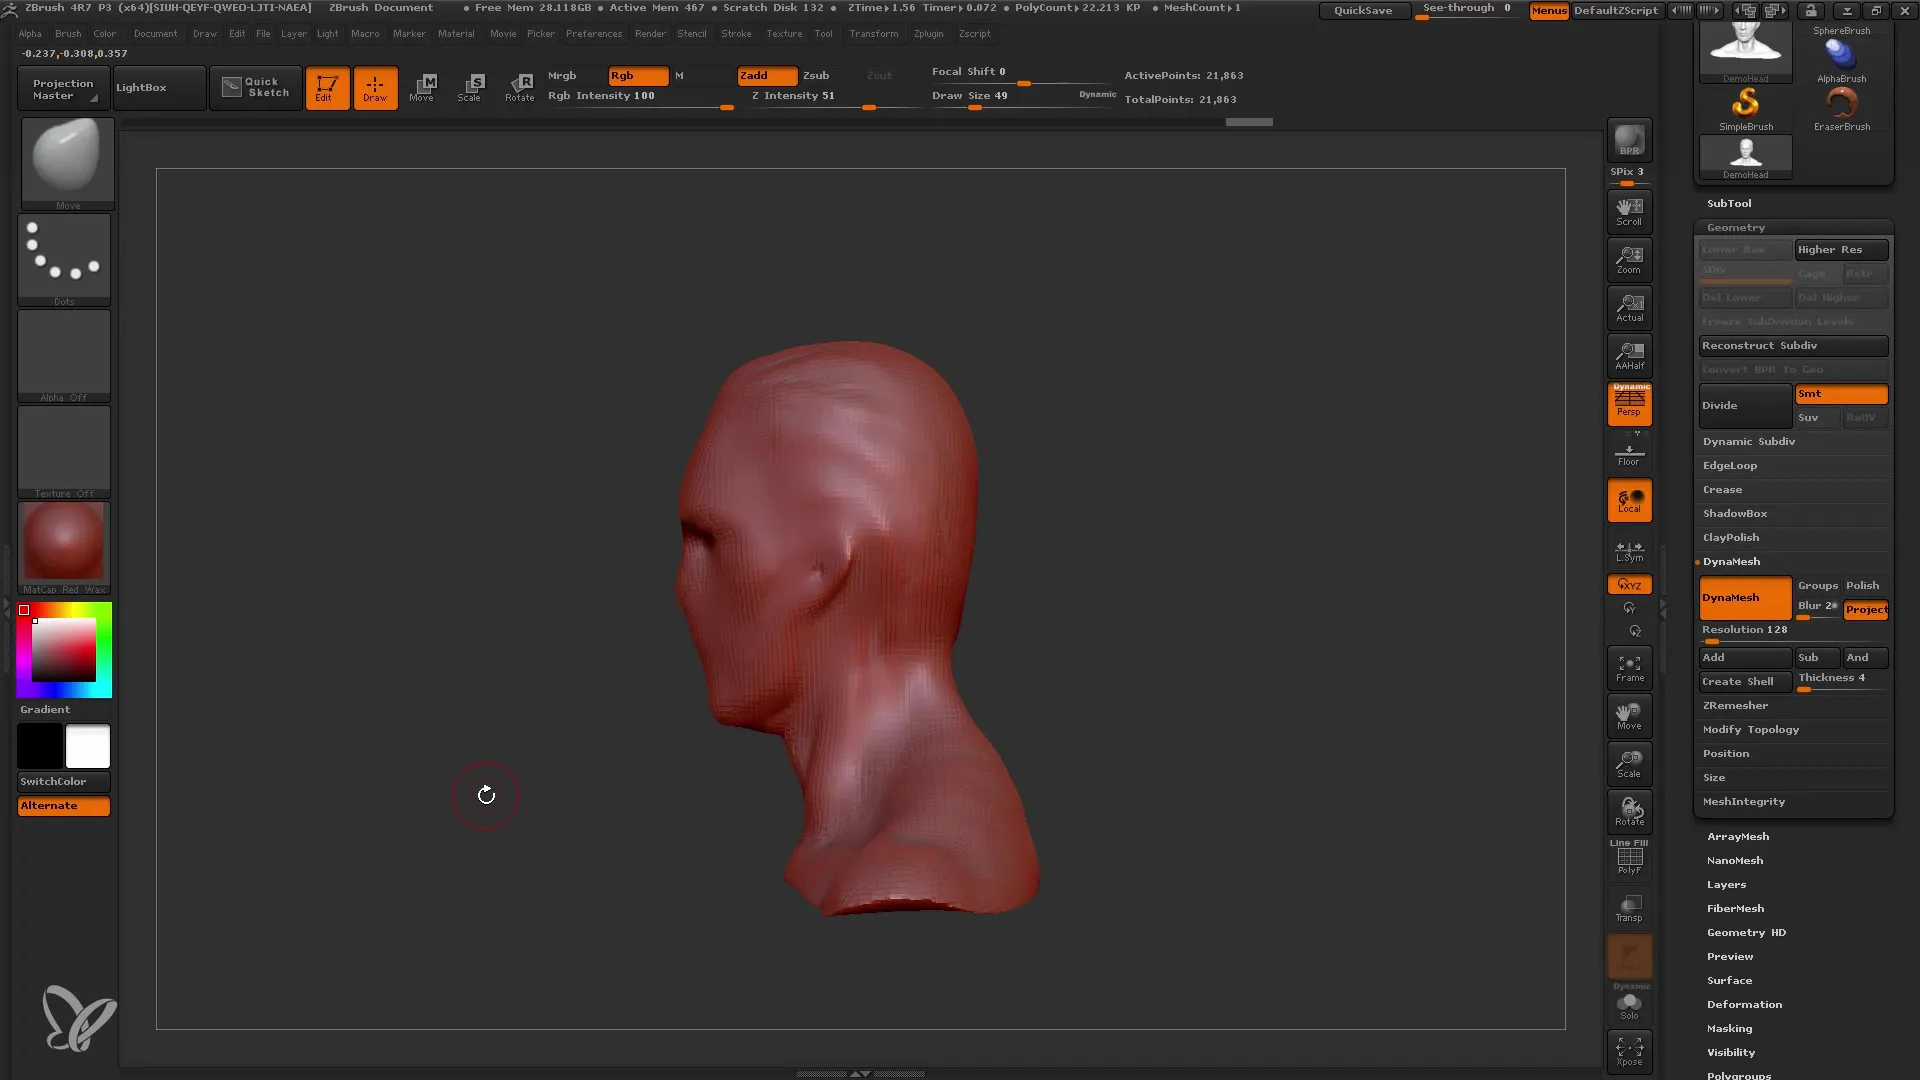
Create various copies of your model to be able to make different variations and adjustments in the next steps. You can also experiment with the Polygroups to selectively edit parts of your model and thus create structure and depth.
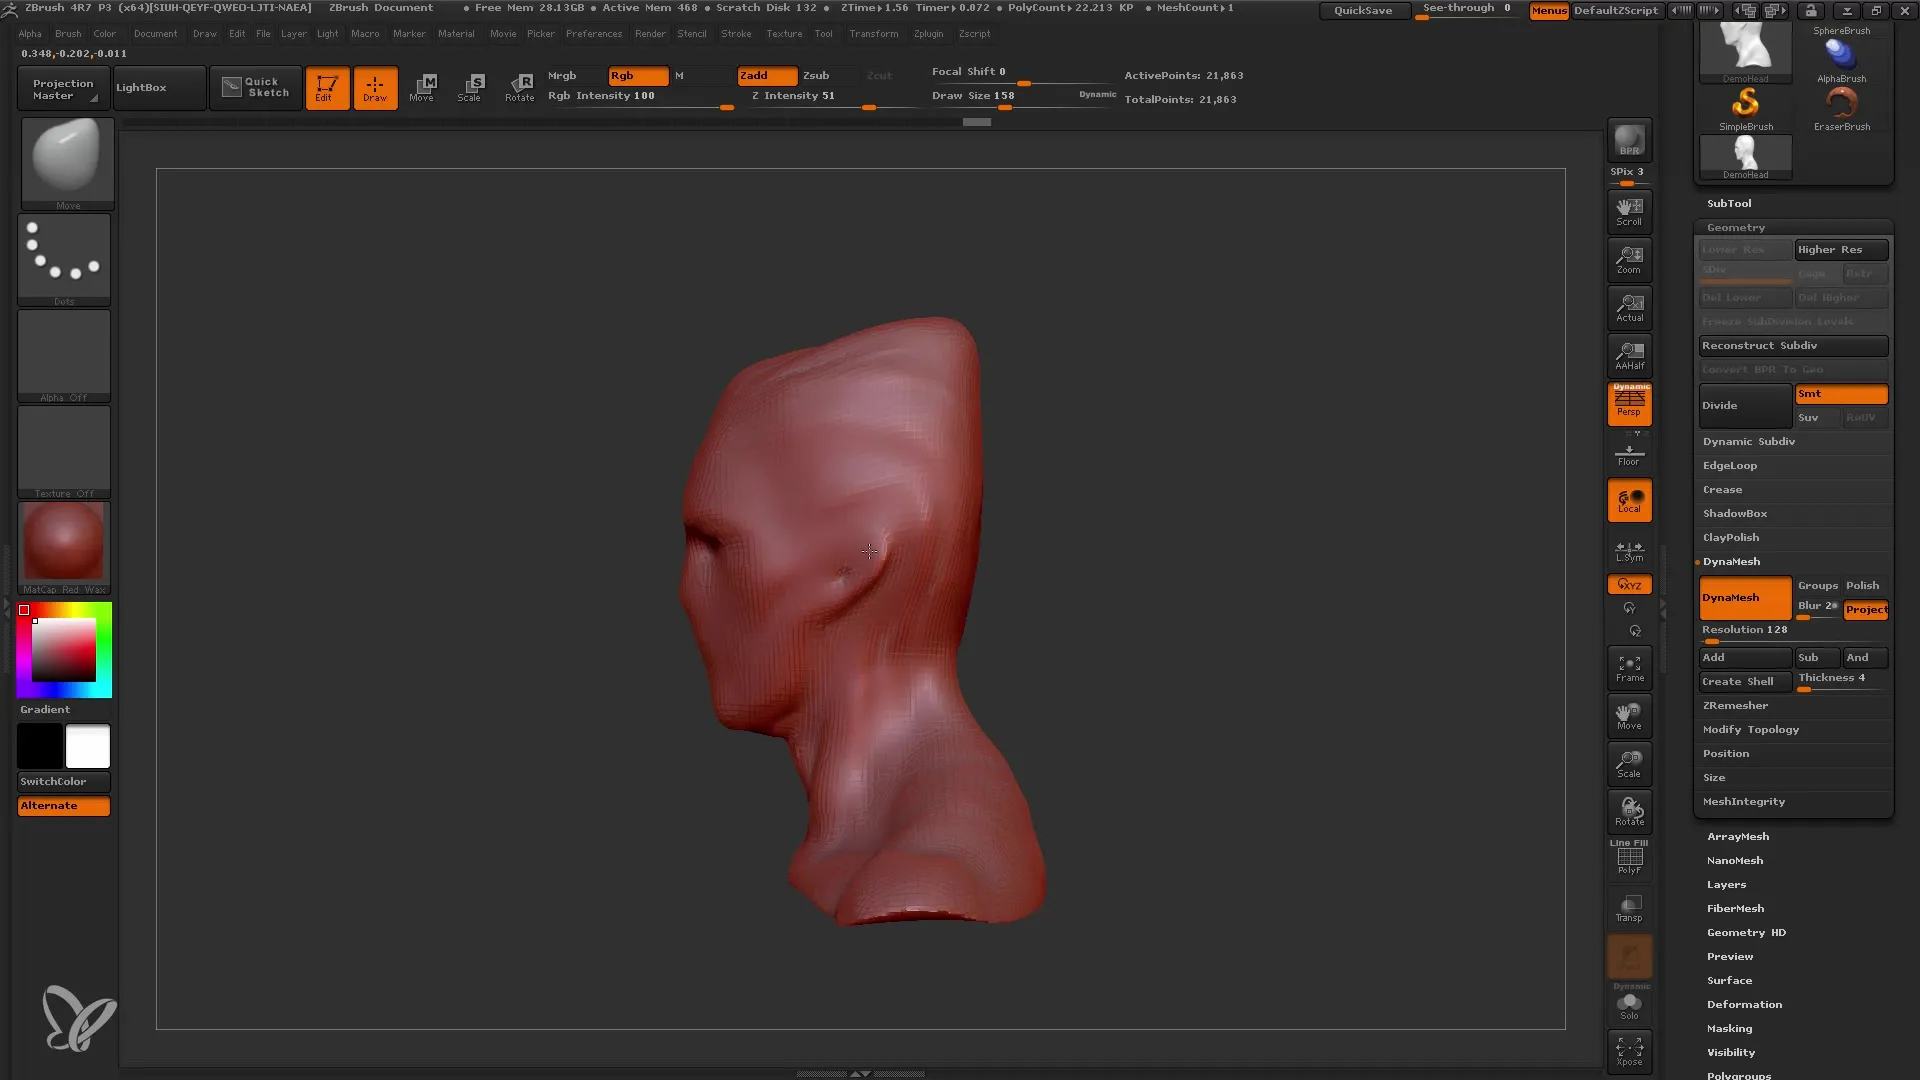
By creating multiple copies, you have the flexibility to continue experimenting without losing your original version. You are ready for the next step, where you can increase the level of detail and further refine your model.
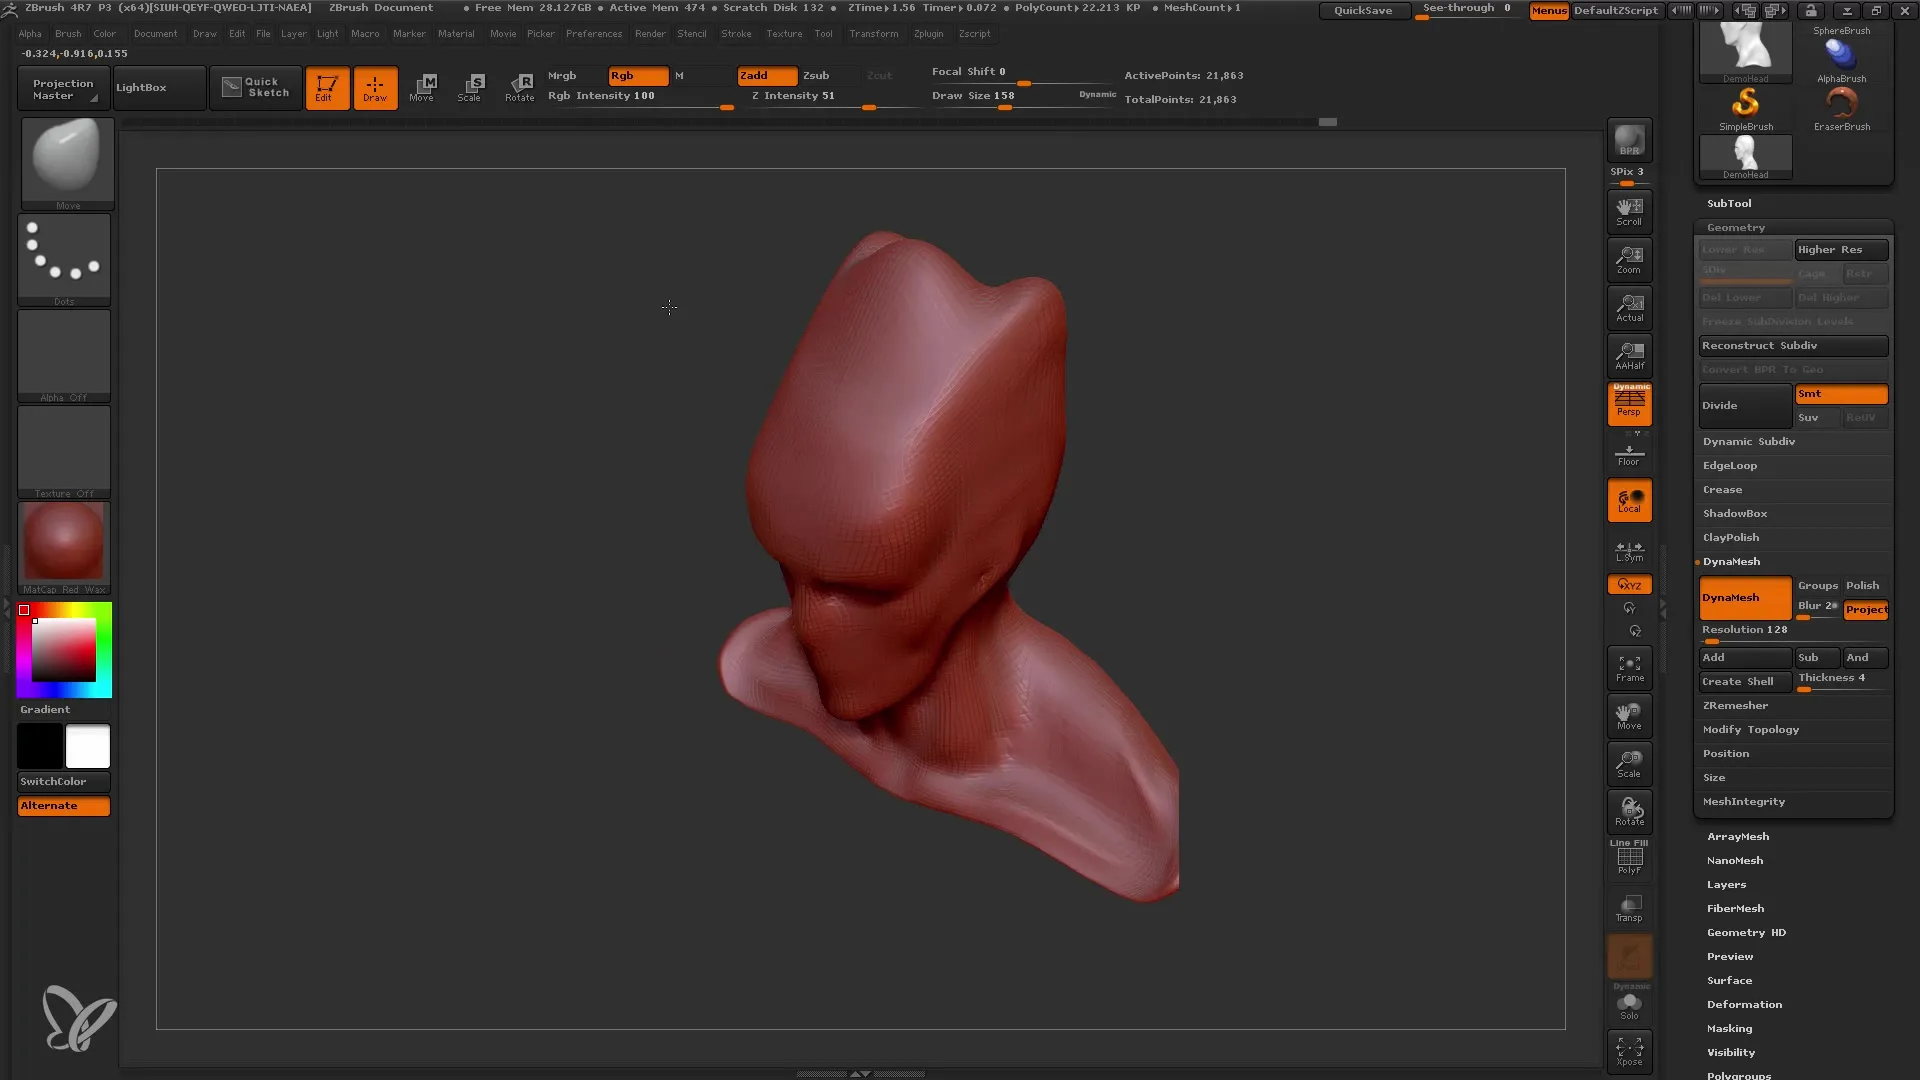
Summary
In this guide, you have learned how to go through a creative head modeling process with ZBrush, define the rough shape using Dynamesh, and use important techniques for editing meshes. You have learned the importance of using various brushes, working proportionately, and always sticking to your original vision.
Frequently Asked Questions
What is the advantage of Dynamesh?Dynamesh allows for flexible editing of meshes without loss of volume, allowing for quick shaping.
How can I use symmetry in my model?Activate the symmetry option to make changes on both sides of your model simultaneously and achieve a more consistent shape.
What is the difference between the Move Brush and the Clay Buildup Brush?The Move Brush is used to make large shape changes, while the Clay Buildup Brush adds volume and texture.
How often should I create copies of my model?It is advisable to create copies regularly to be able to edit various parts of your model without losing the original shape.
When should I start detailing?Start detailing after the rough shape is defined, ideally when you have reached at least the next level of Dynamesh.
