Welcome to this comprehensive guide on the different Brushes in ZBrush! If you are a beginner, you will find that the selection of brushes can be overwhelming. This guide will help you understand the most common brushes and how to effectively use them in your projects. We will familiarize ourselves step by step with the most important types of brushes so you can get the most out of ZBrush.
Main Takeaways
ZBrush offers a variety of brushes that allow you to create complex shapes and structures. You don't have to reinvent the wheel – the existing brushes are versatile. We will explore different brushes such as the Move Brush, Standard Brush, Clay Buildup, and many others, walking you through the process of using these tools step by step.
Step-by-Step Guide
1. Project Preparation
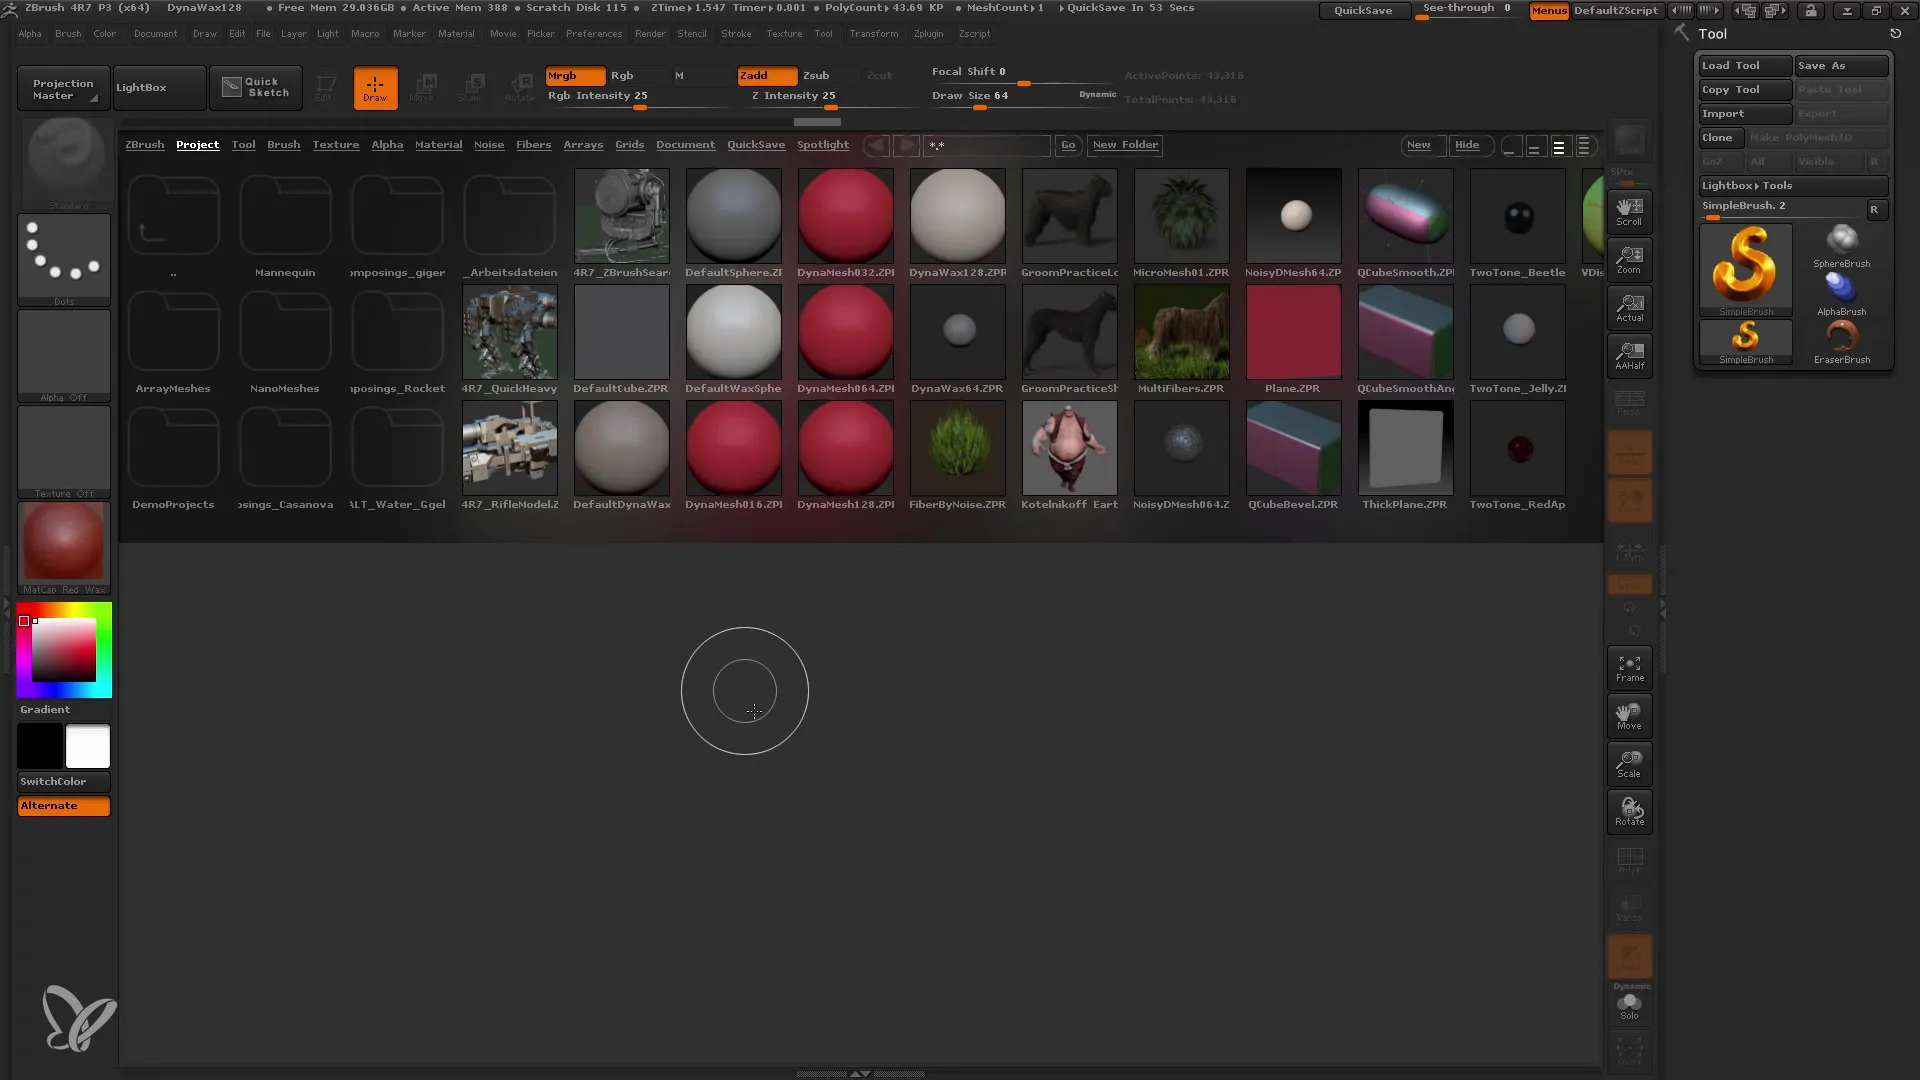
Before we start, you should create a new project in ZBrush and create a basic shape to work with. In this example, we will model a lower jaw with teeth. Start with a Dynamesh Sphere with a resolution of 128.
2. Choosing the Move Brushes
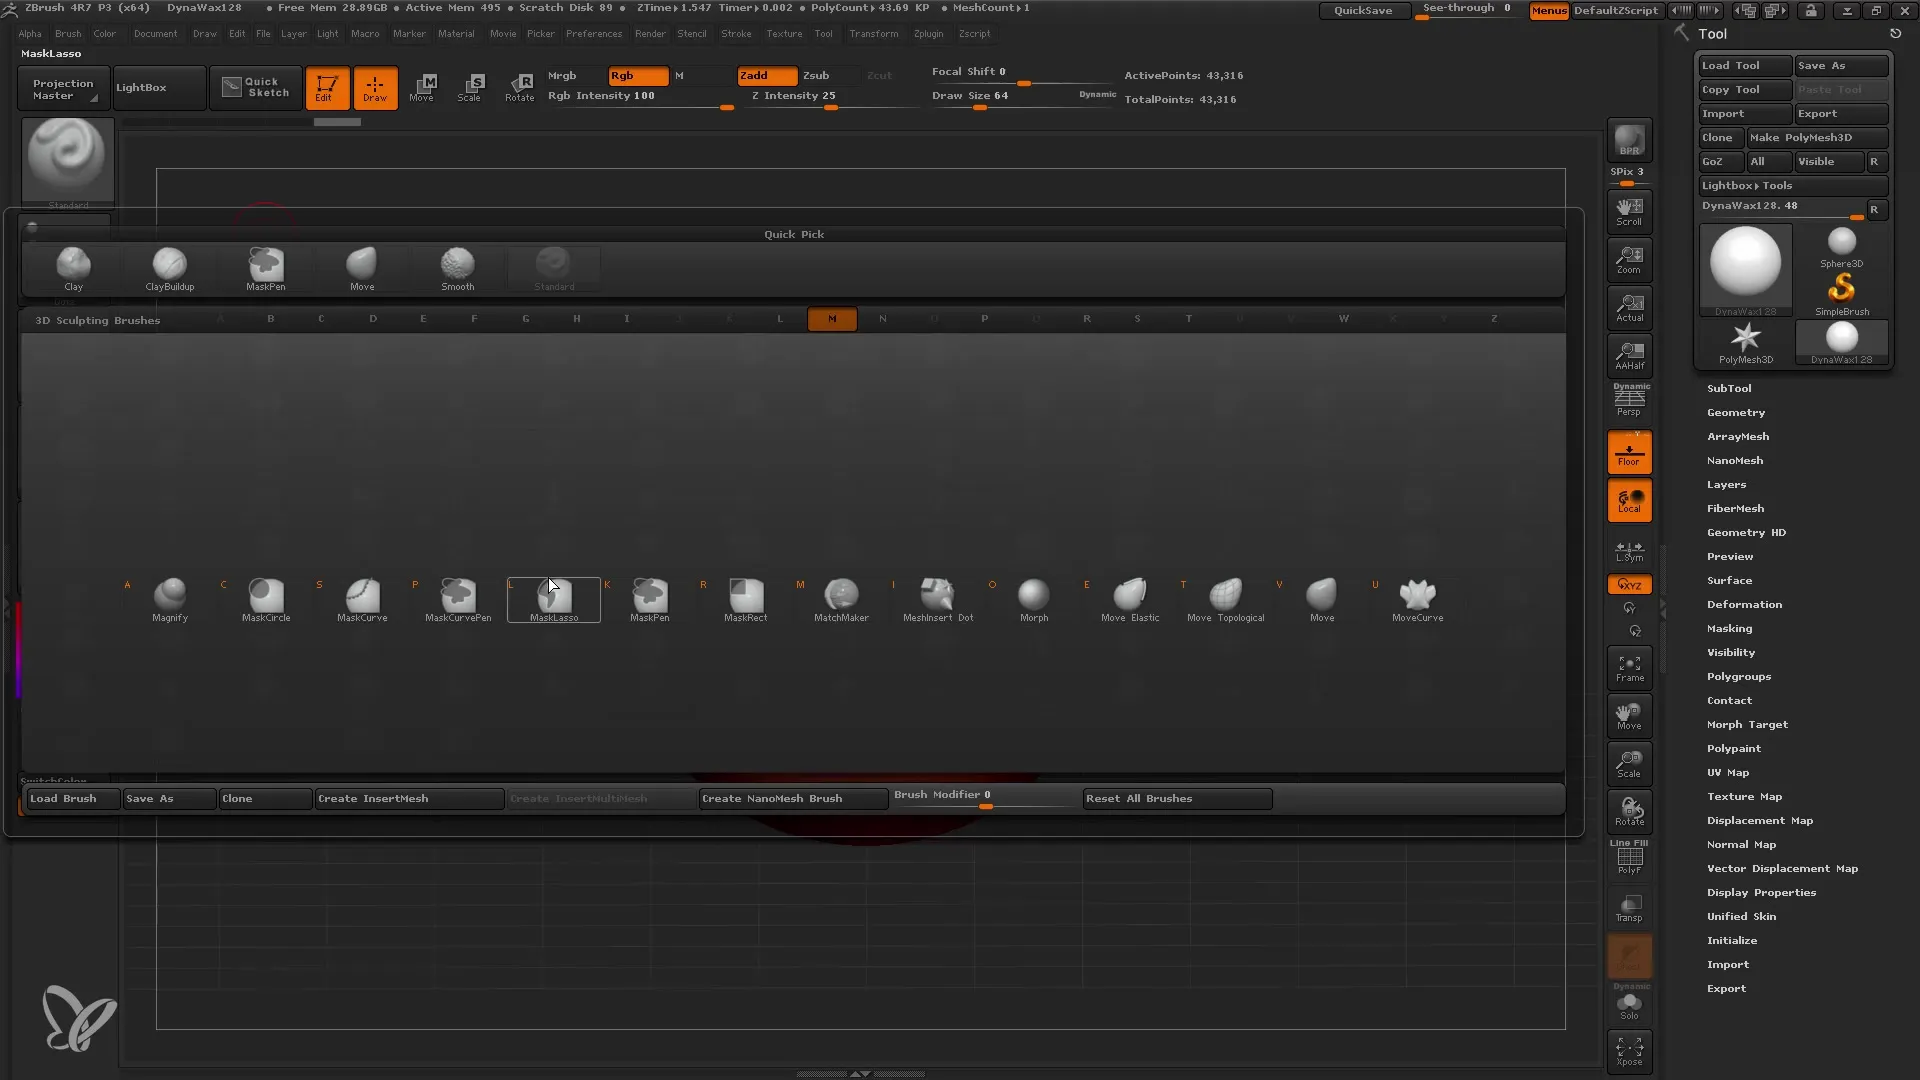
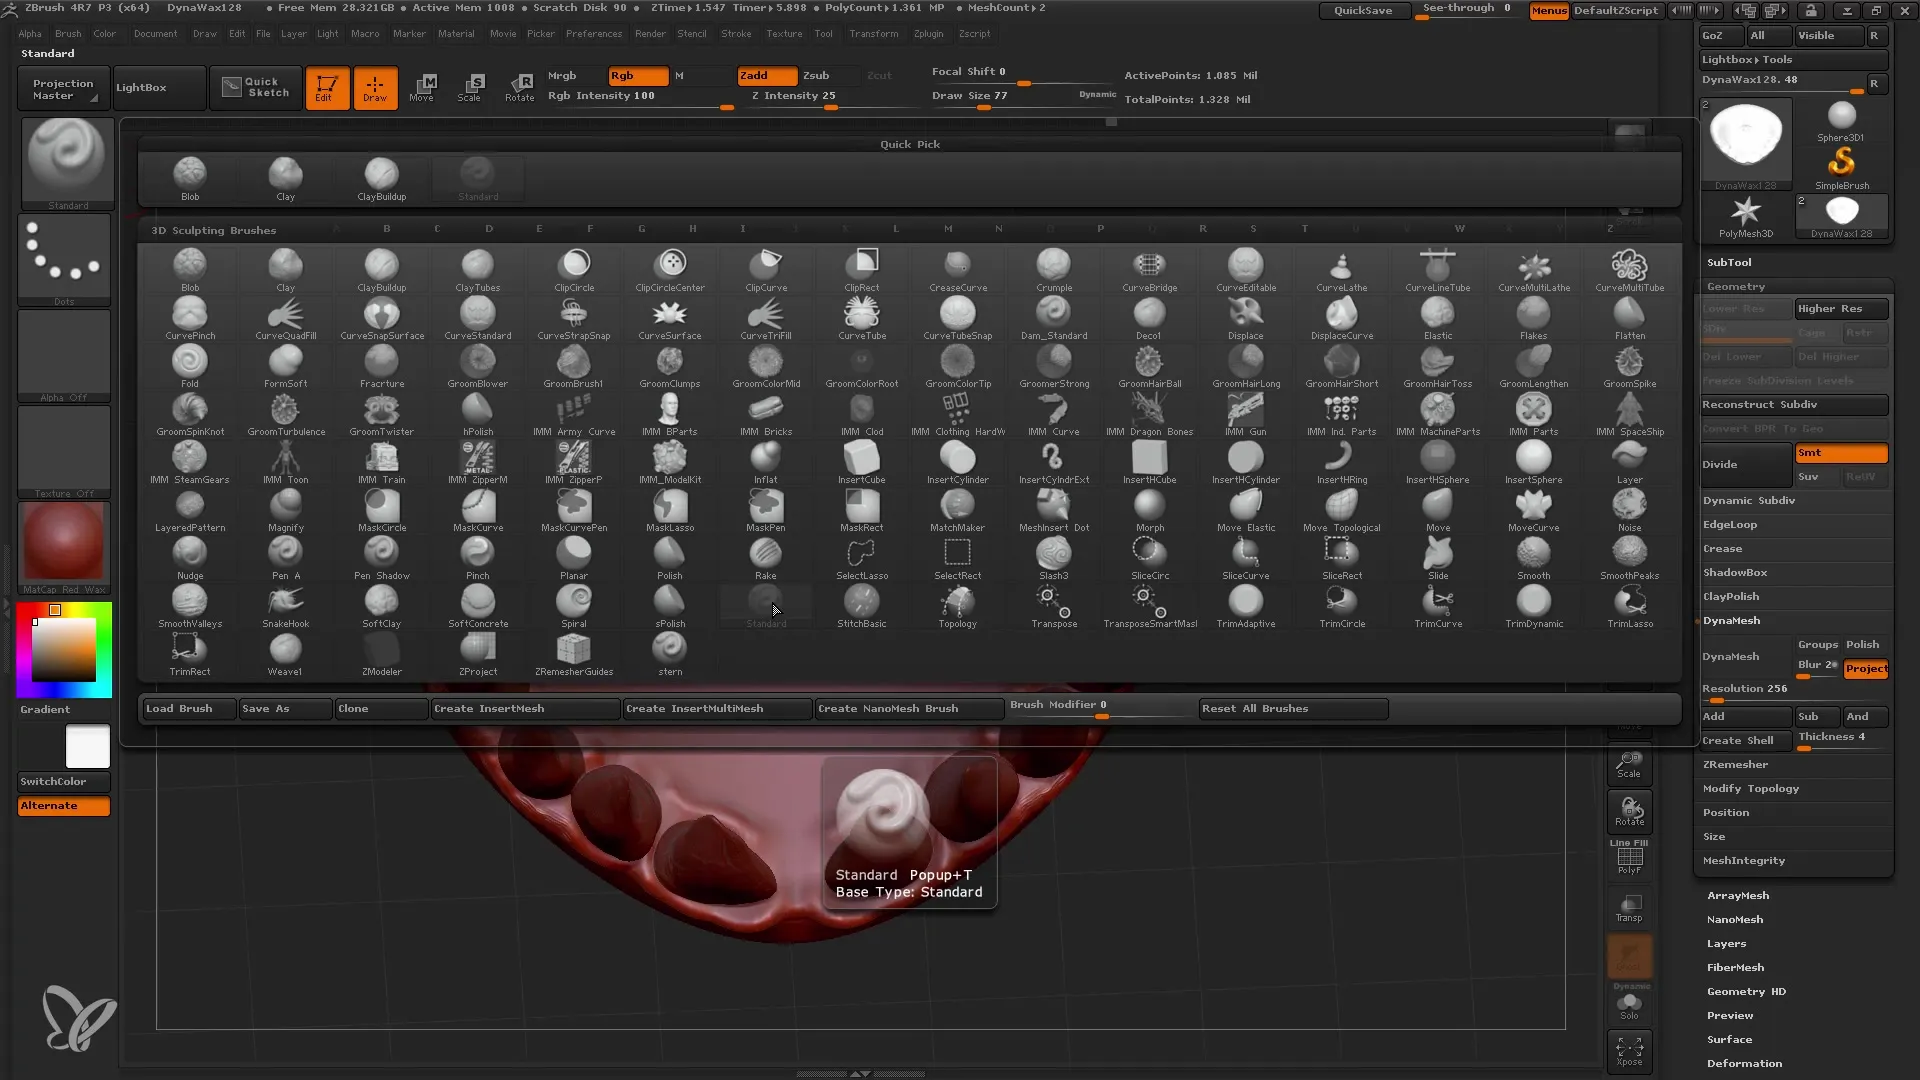
To shape your lower jaw, you can start with the Move Brush. Press the B key, followed by M, to select the Move Brushes. Choose the Standard Move Brush to create basic shapes.
3. Deforming the Basic Shape
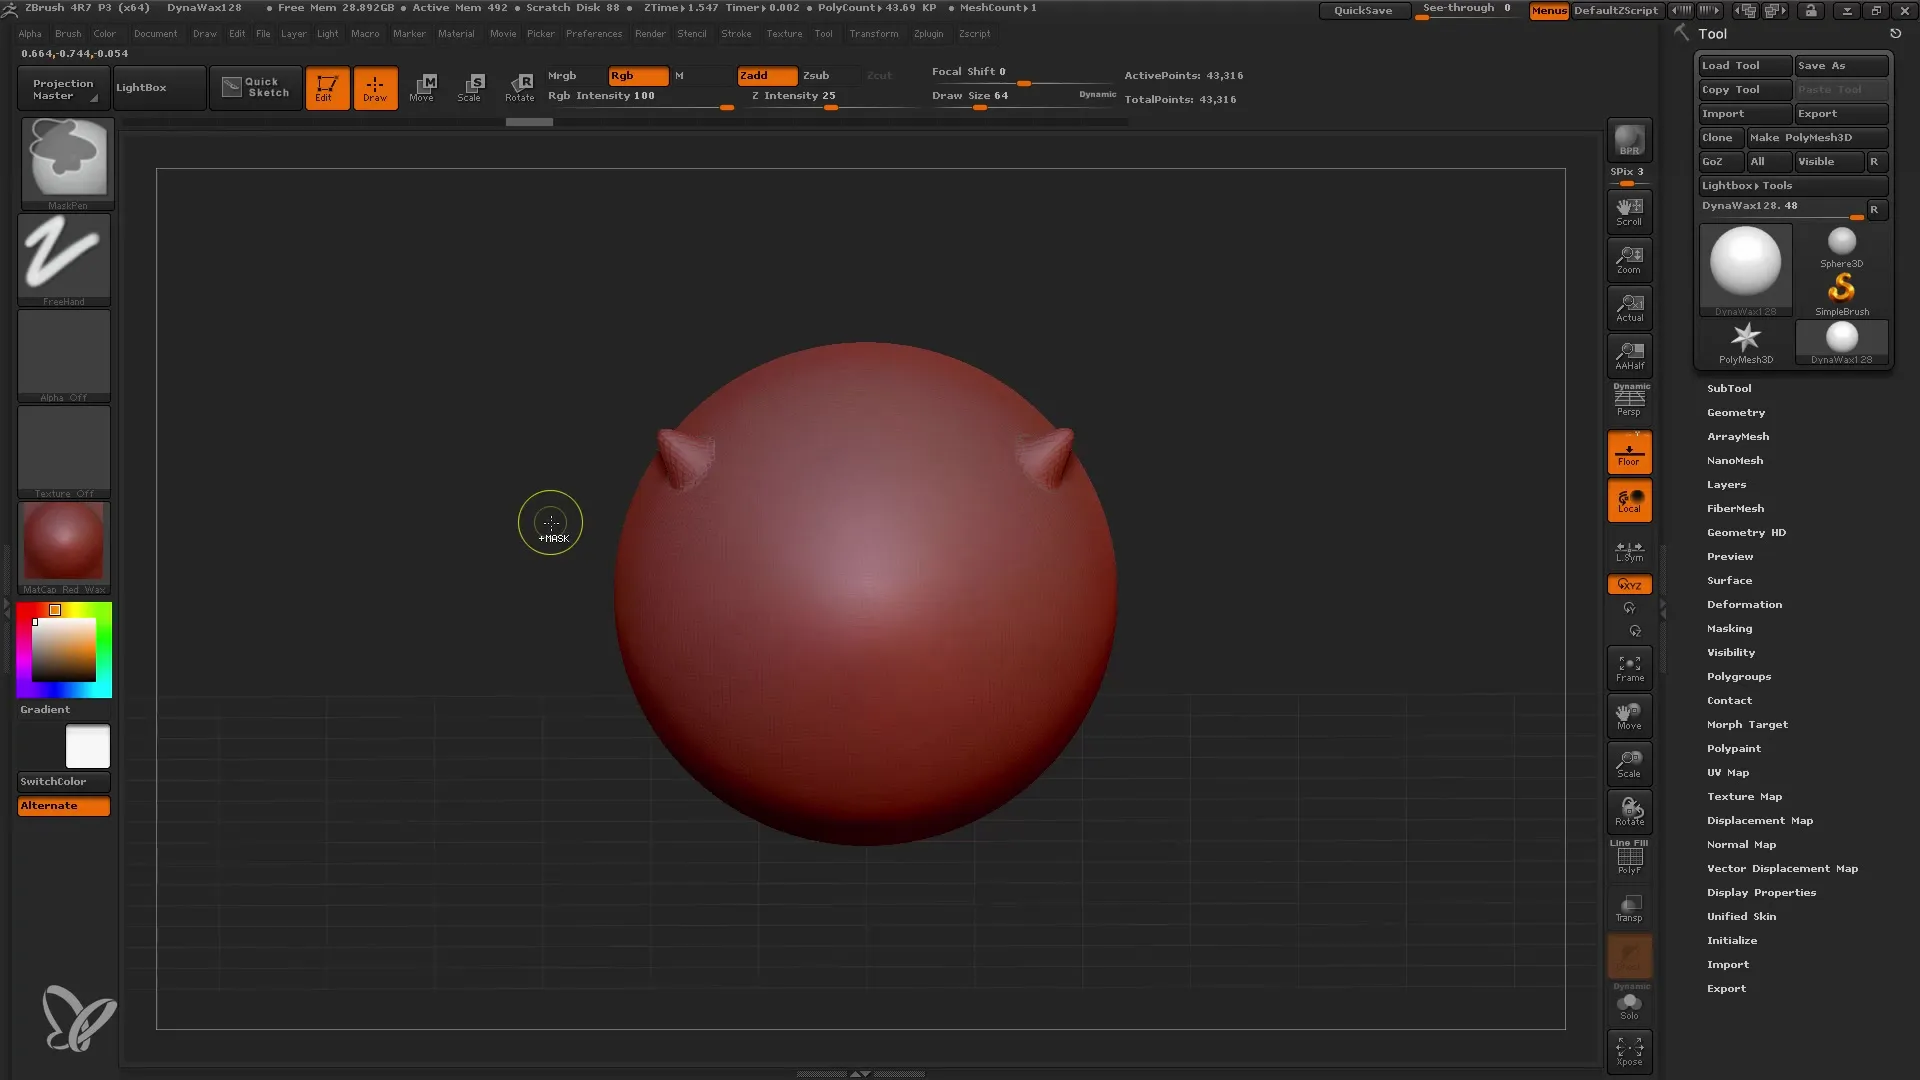
Use the Move Brush to deform the basic shape of your lower jaw as desired. Make sure to use the brush at an appropriate size to ensure efficiency in deforming.
4. Adding the Teeth
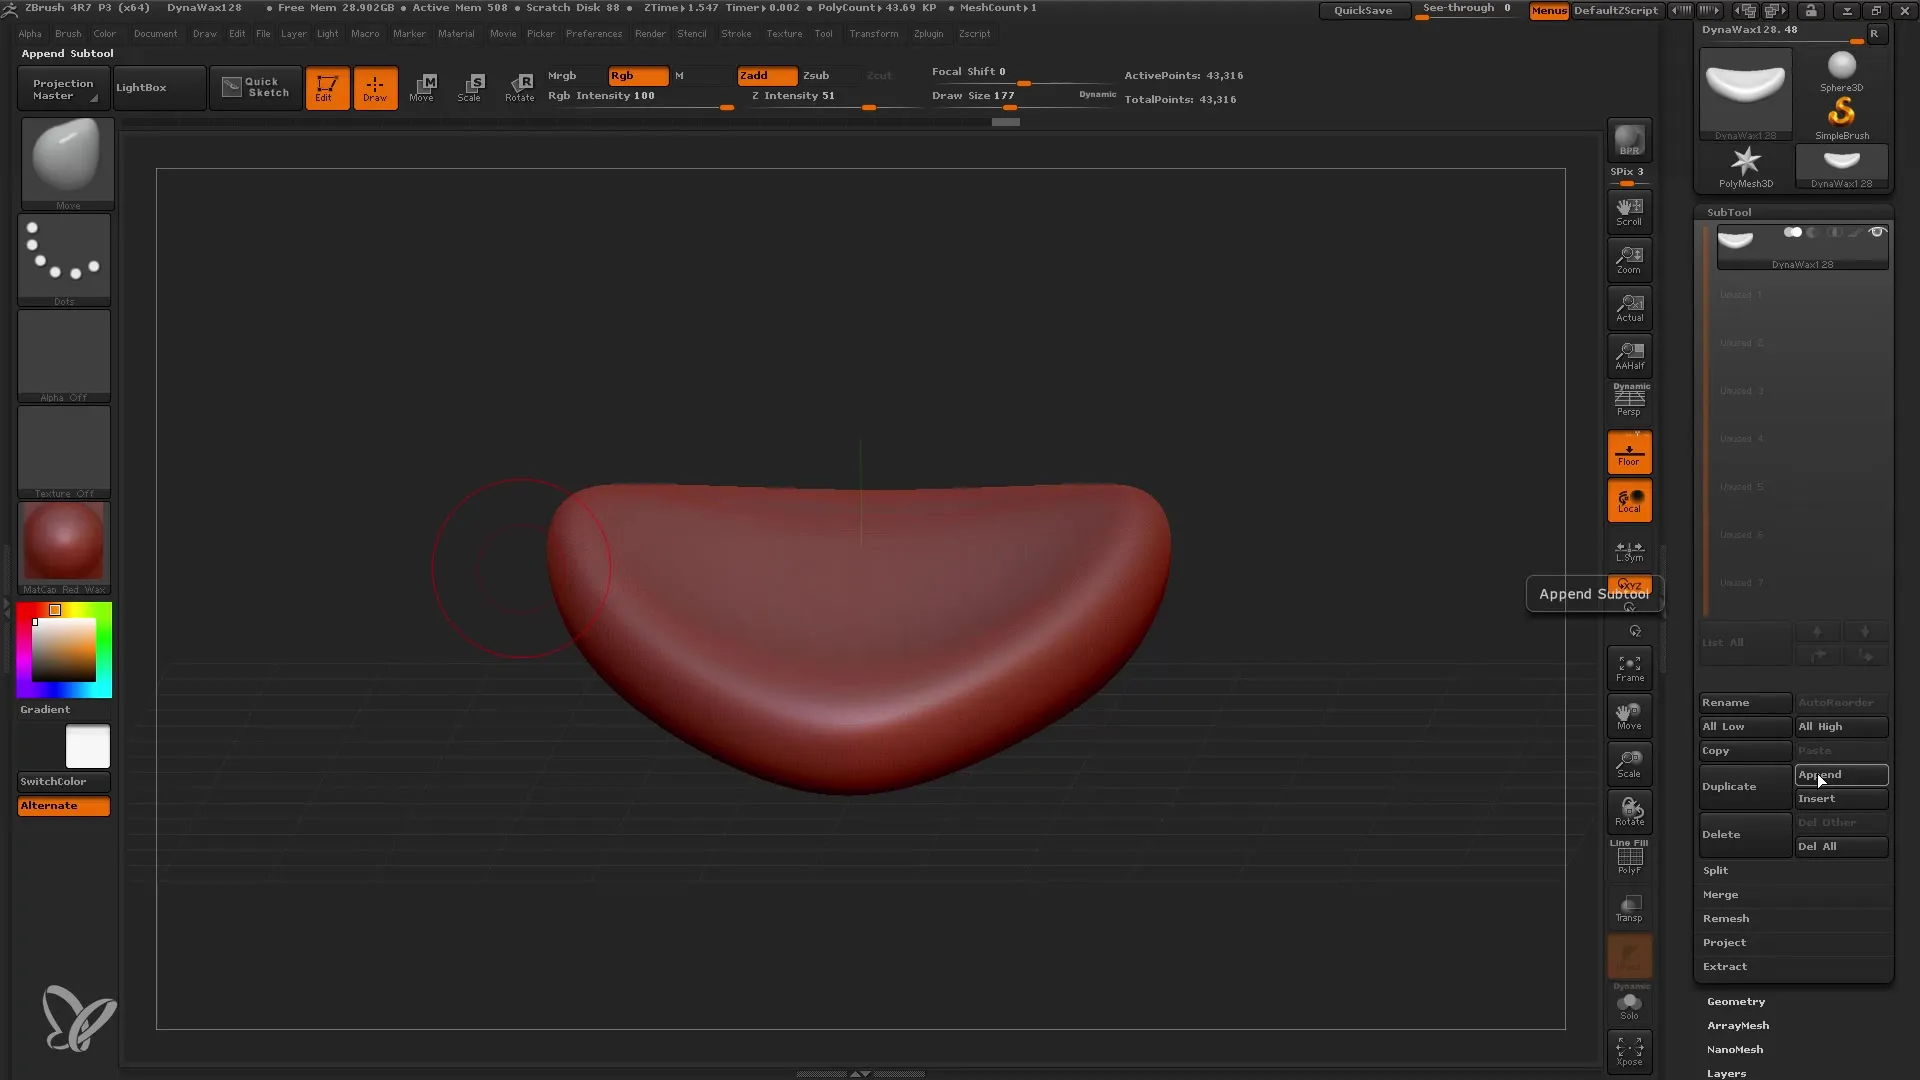
Instead of pulling the teeth out of the Dynamesh, add a new sphere as a subtool. Click on "Append" and choose a sphere to add it to your subtool.
5. Scaling and Adjusting the Sphere
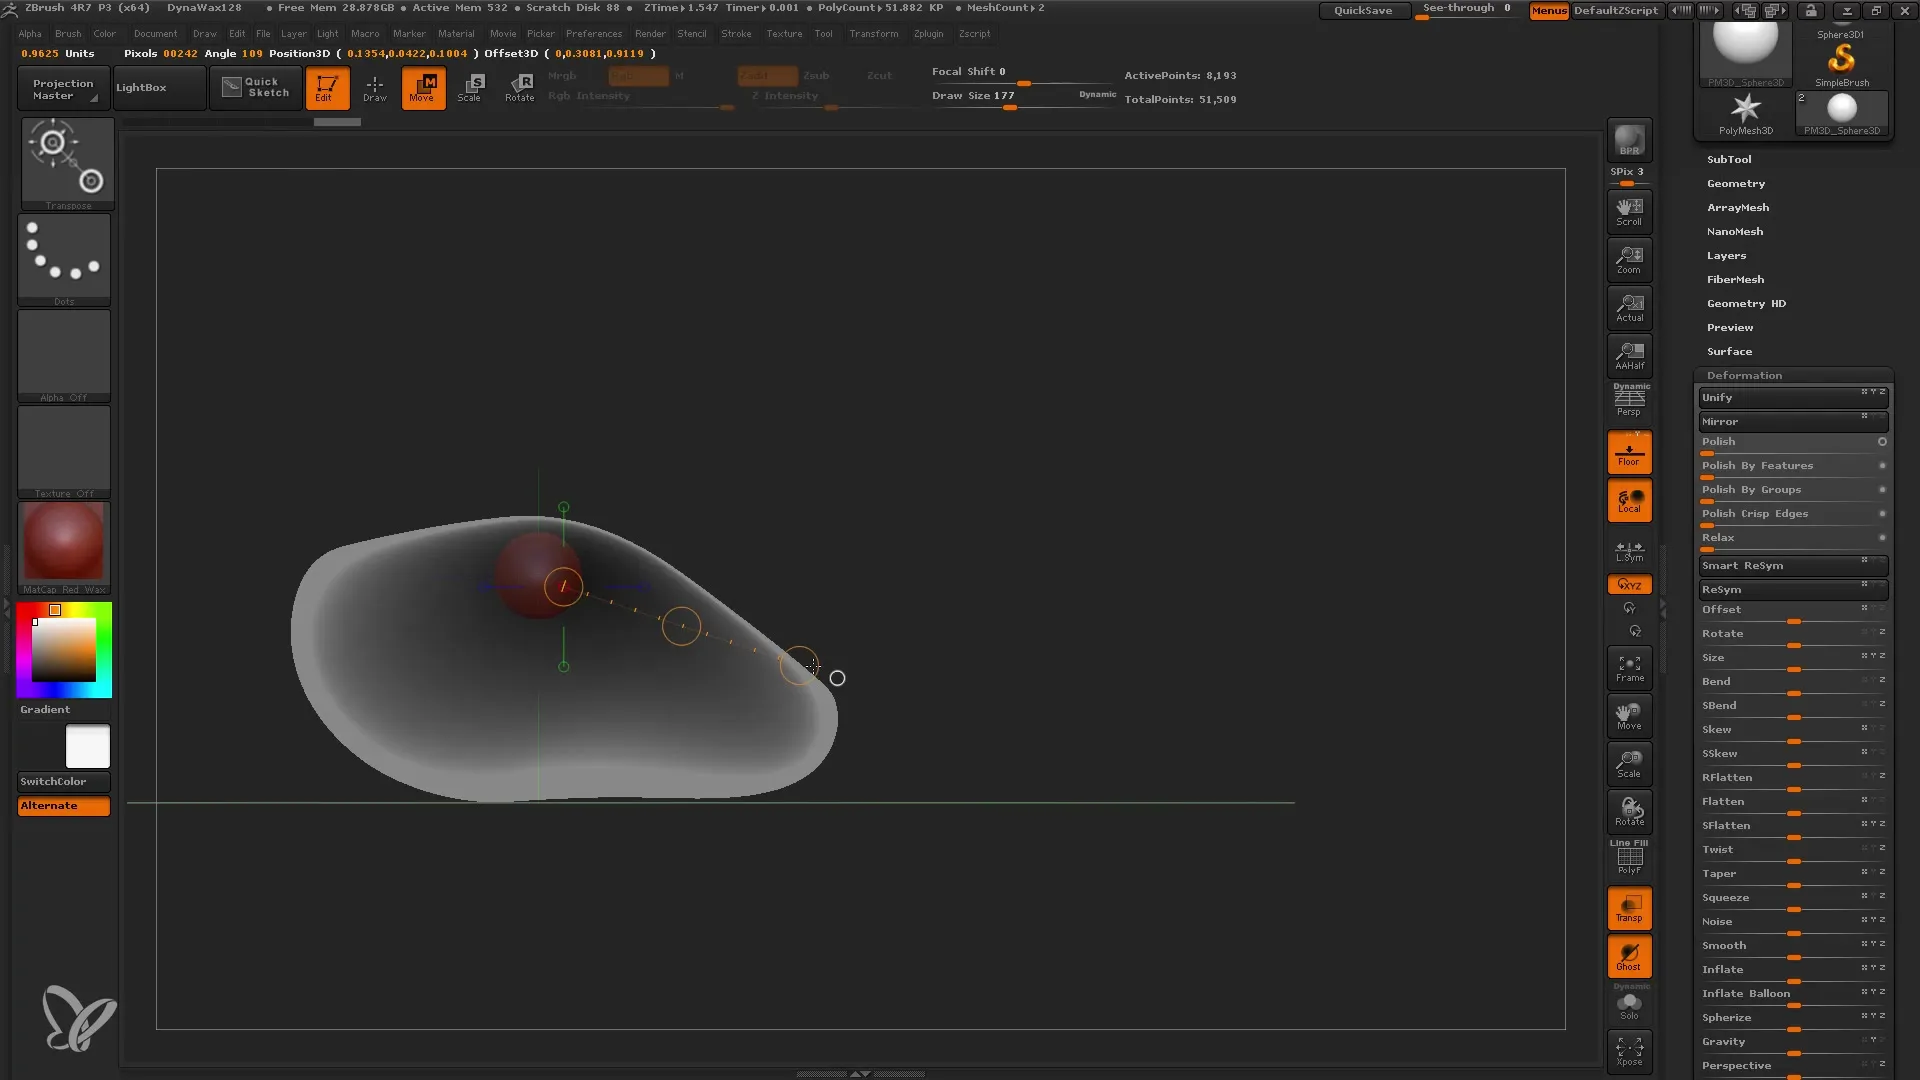
Scale down the sphere using deformation settings to adjust the size of the teeth to your requirements. Position the sphere using the Transpose Tool to the desired location.
6. Using the Elastic Move Brush
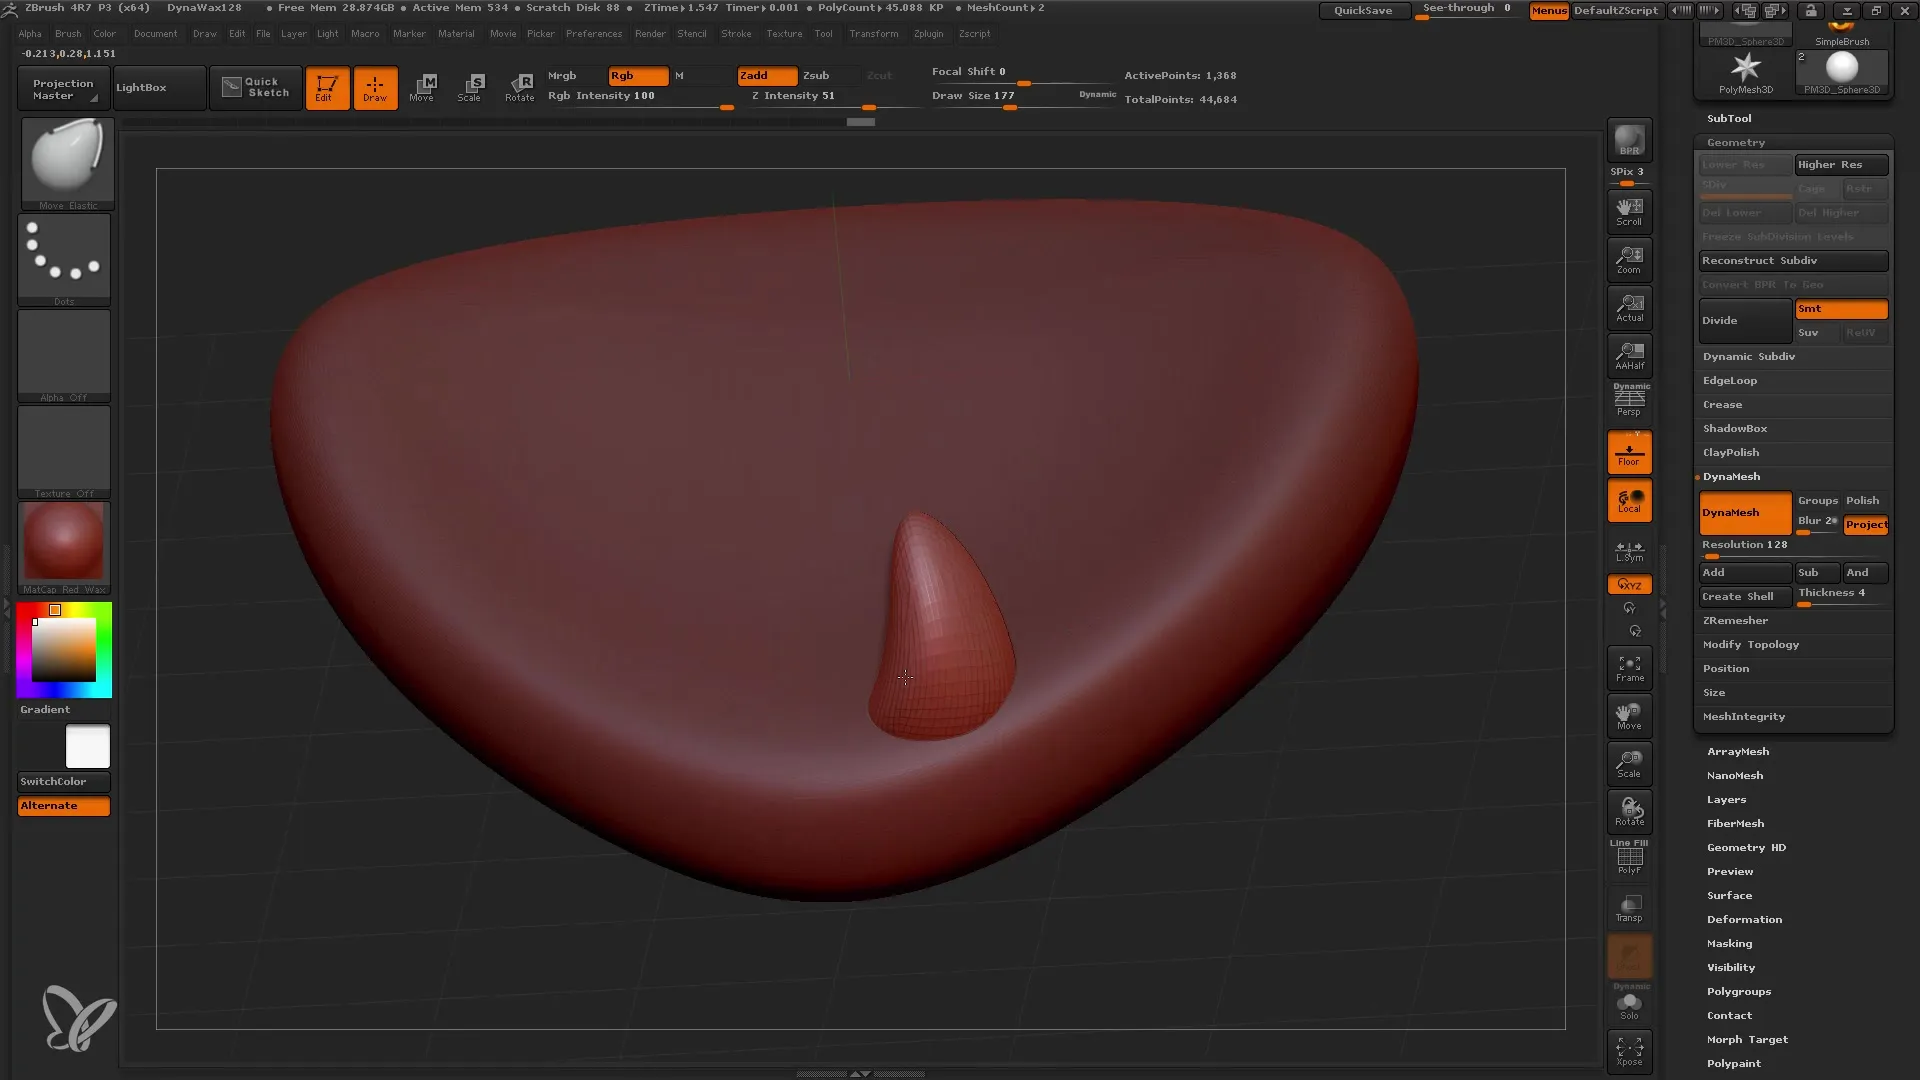
Switch to the Elastic Move Brush to deform the sphere and create a tooth-shaped structure. You will notice that the Elastic Move Brush behaves more smoothly and is better suited for organic shapes.
7. Duplicating the Teeth
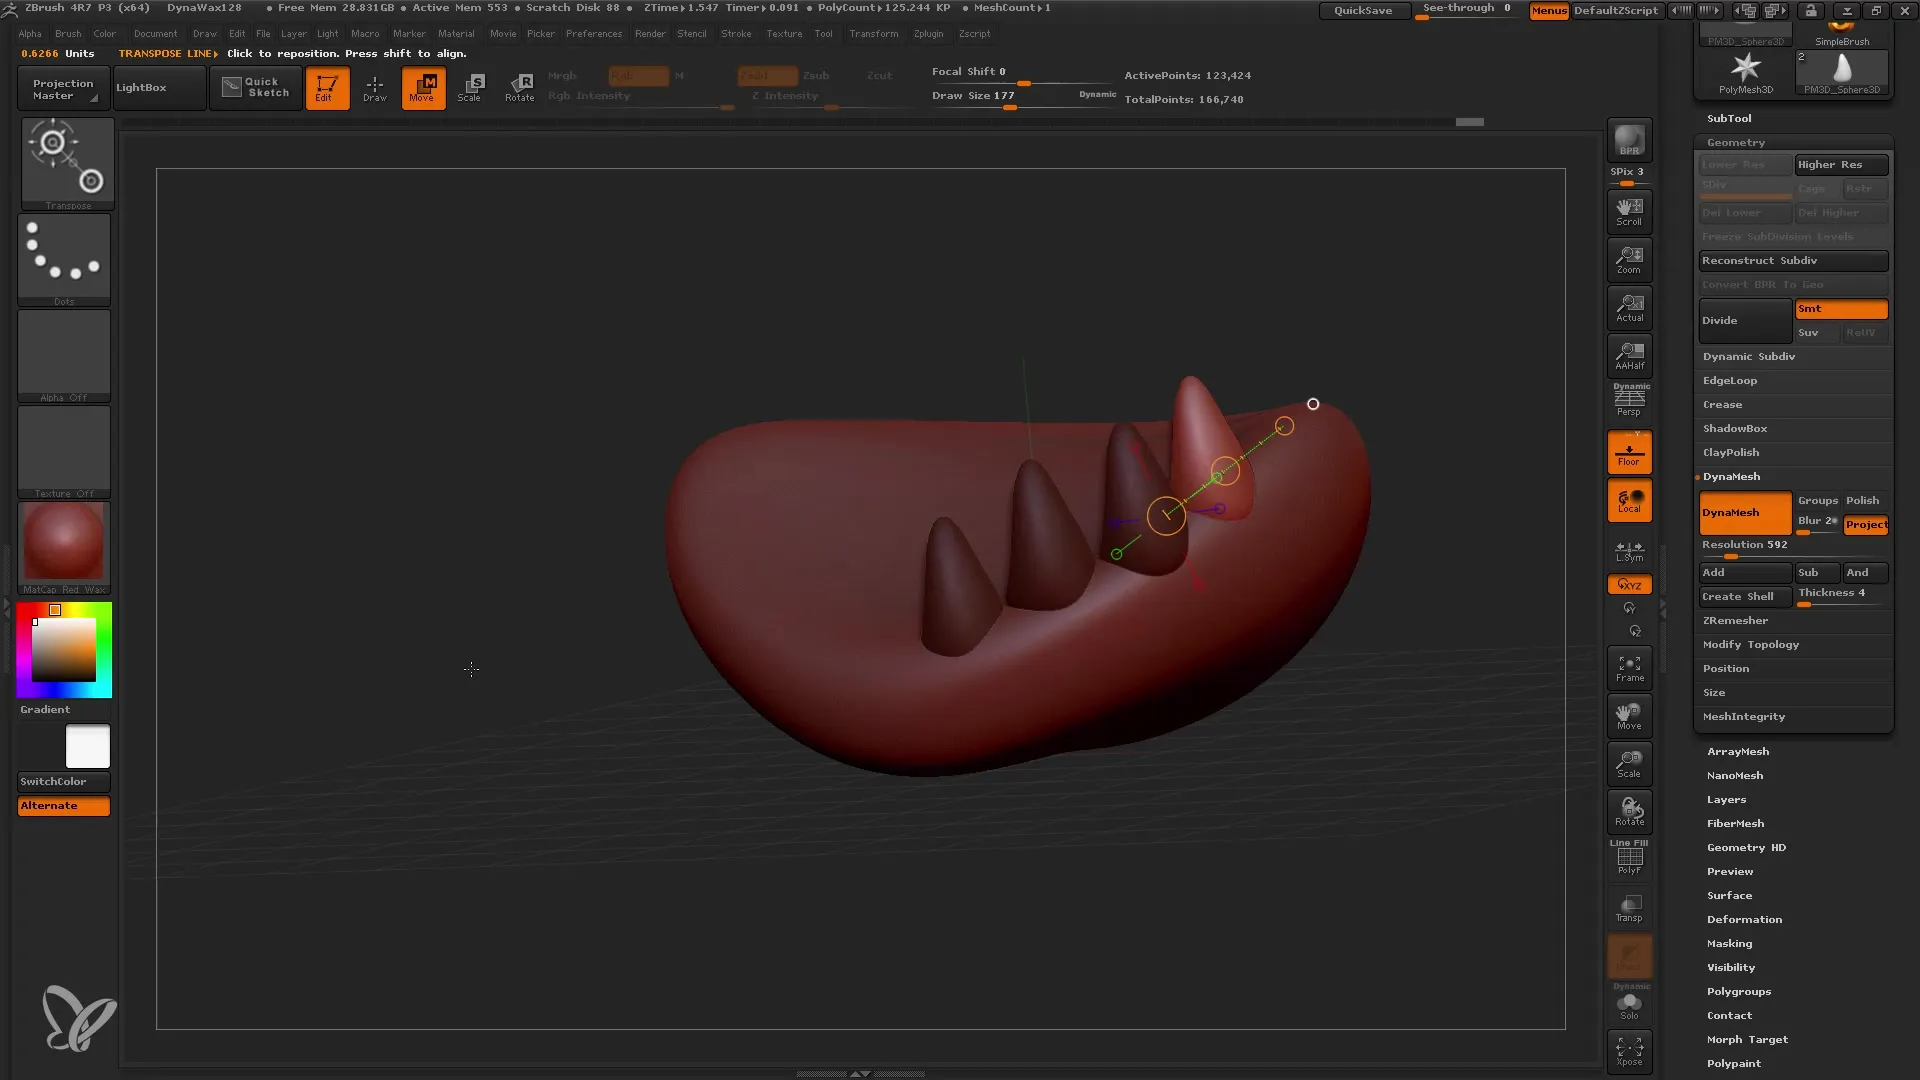
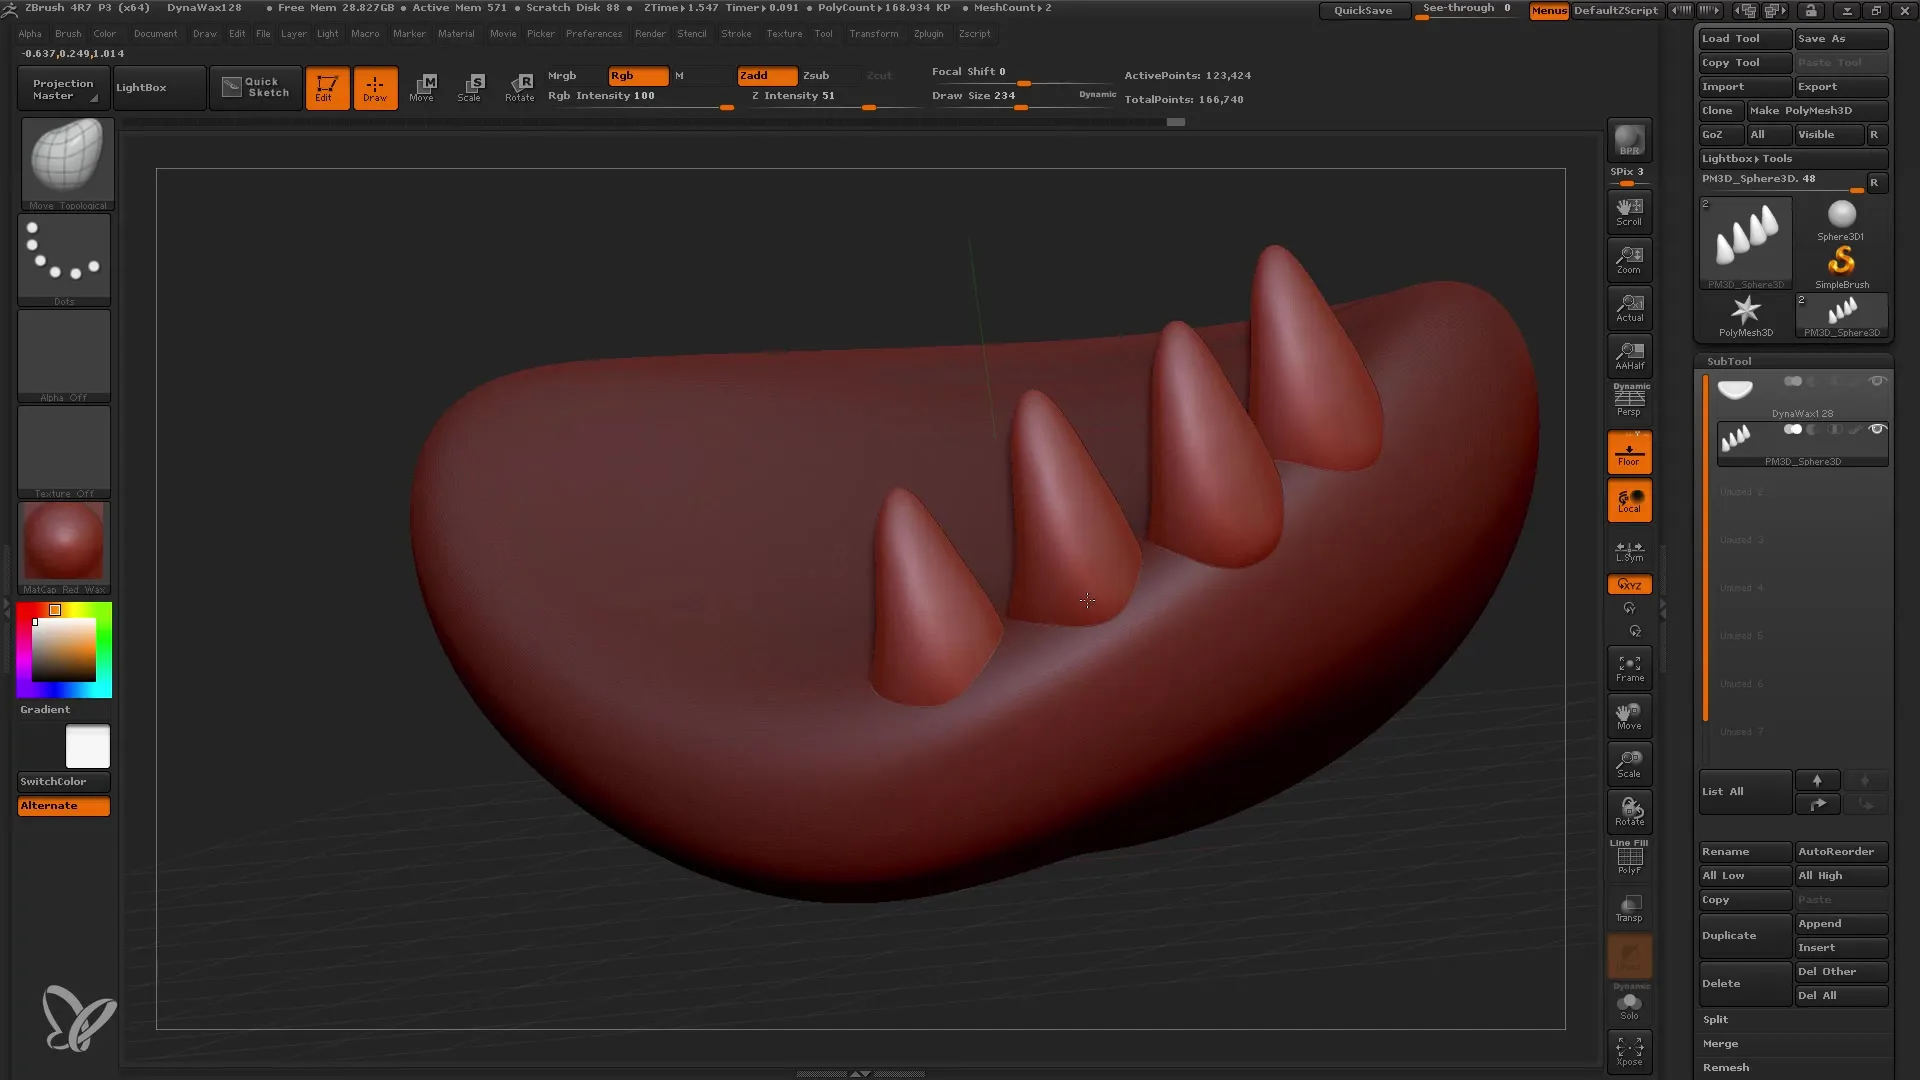
To create multiple teeth, you can hold the control key while dragging with the Move Transpose Tool to create copies of the teeth. Adjust the position of the teeth as needed.
8. Using the Move Topological Brush
The Move Topological Brush is ideal for moving individual teeth without affecting the others. Experiment with it to further adjust the position and shape of your teeth.
9. Activating Symmetry
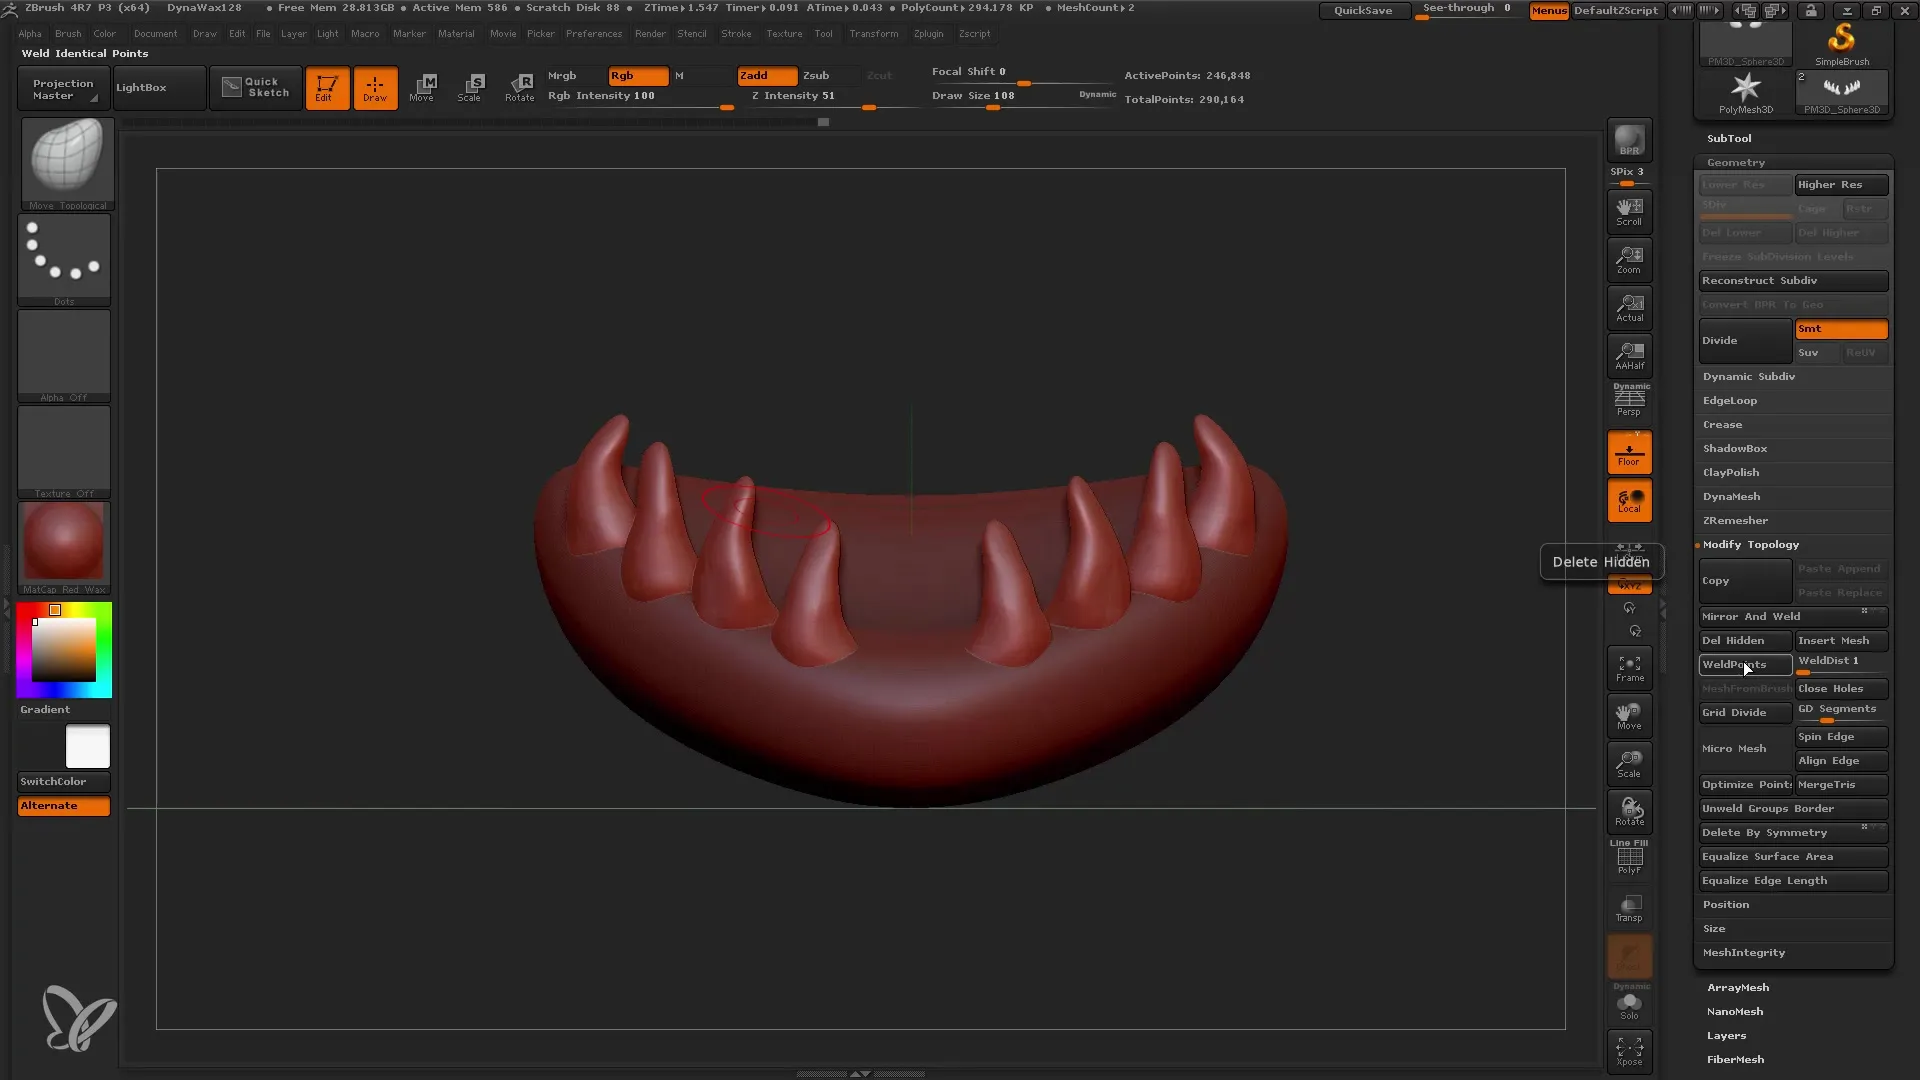
To ensure that your teeth are symmetrically positioned on both sides of the jaw, activate symmetry. Go to "Geometry" and then to "Modify Topology." Choose the option to mirror the teeth to the other side.
10. Detailing the Jaw
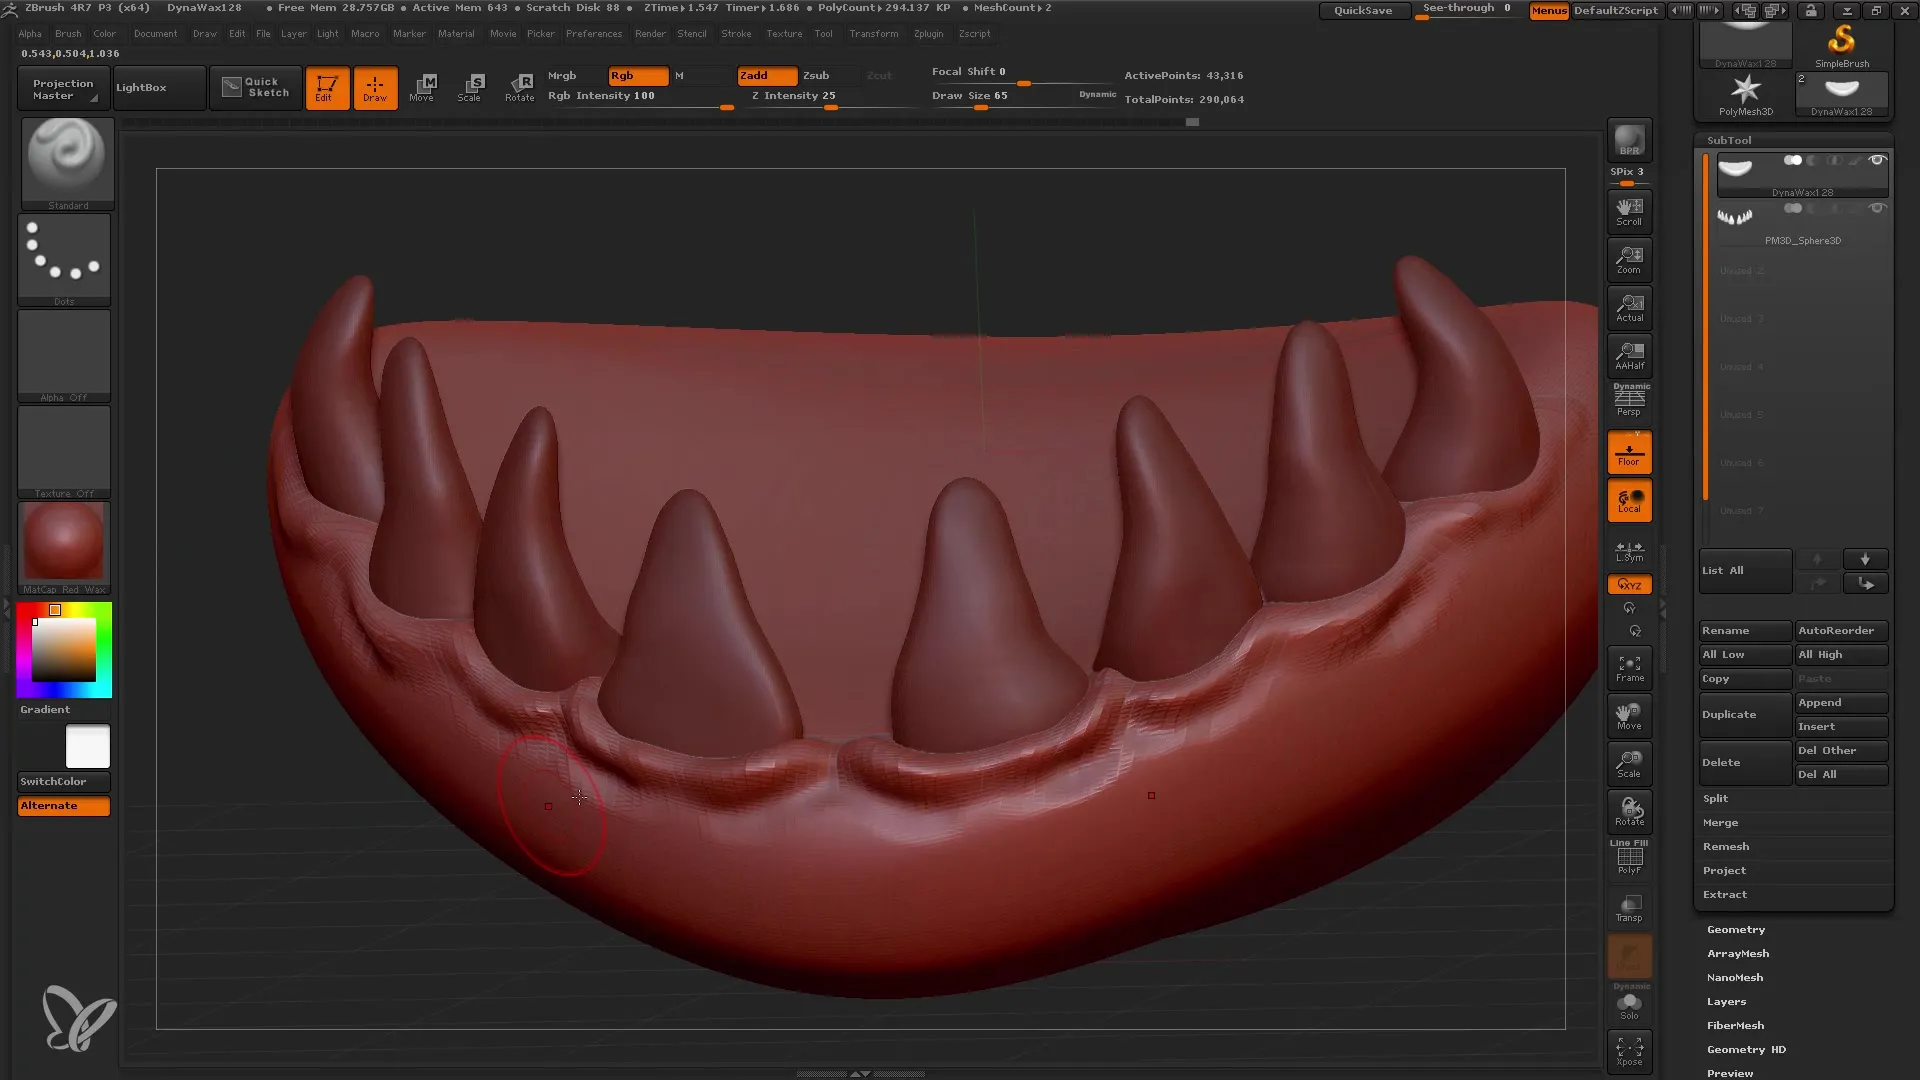
After creating the basic shape of your jaw and teeth, you can start with the Standard Brush. This brush offers many possibilities for detailing and is excellent for transitioning from basic to more detailed models.
11. Applying the Clay Buildup Brush
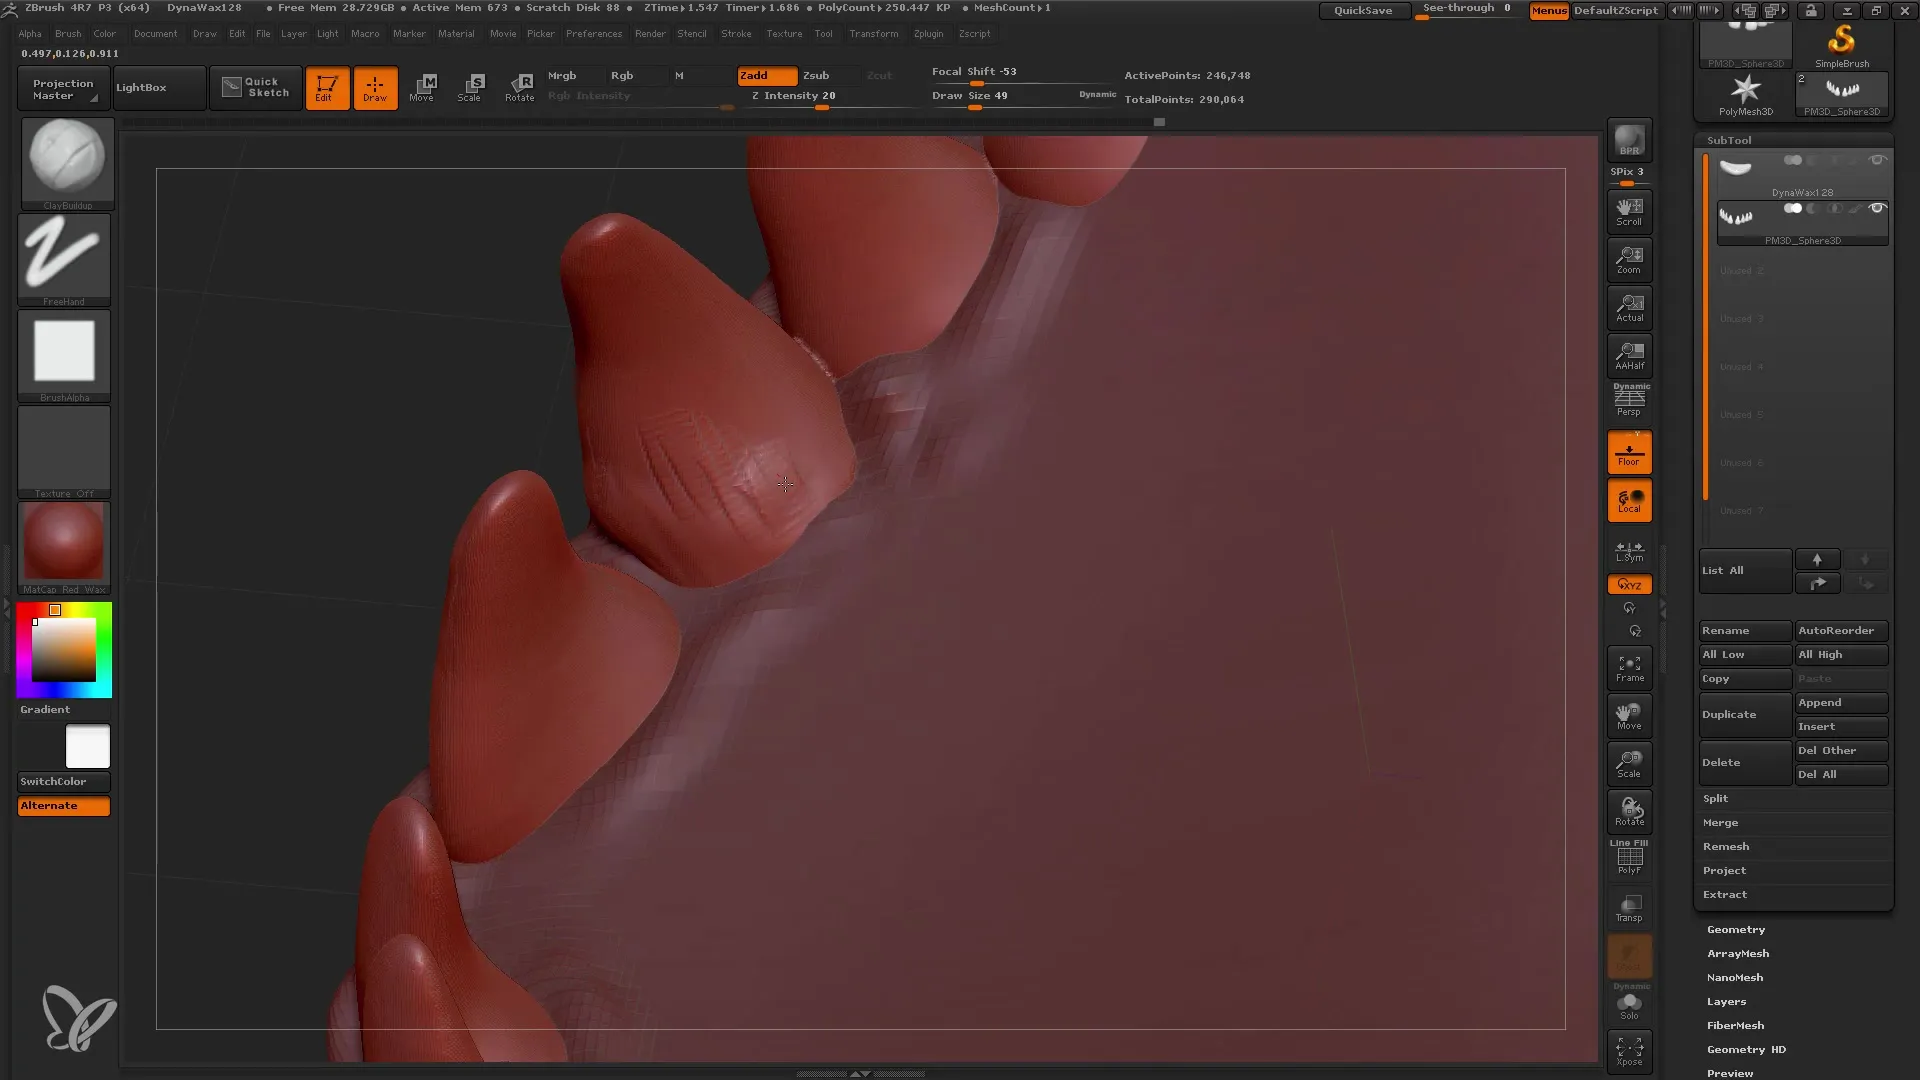
The Clay Buildup Brush is great for quickly adding textures and details. Use it to make the teeth look more realistic by applying a texture.
12. Using the Inflate Brush
The Inflate Brush allows you to inflate or enlarge areas, which is particularly useful in the gum area. Be careful with the strength of this tool to avoid distorting the mesh.
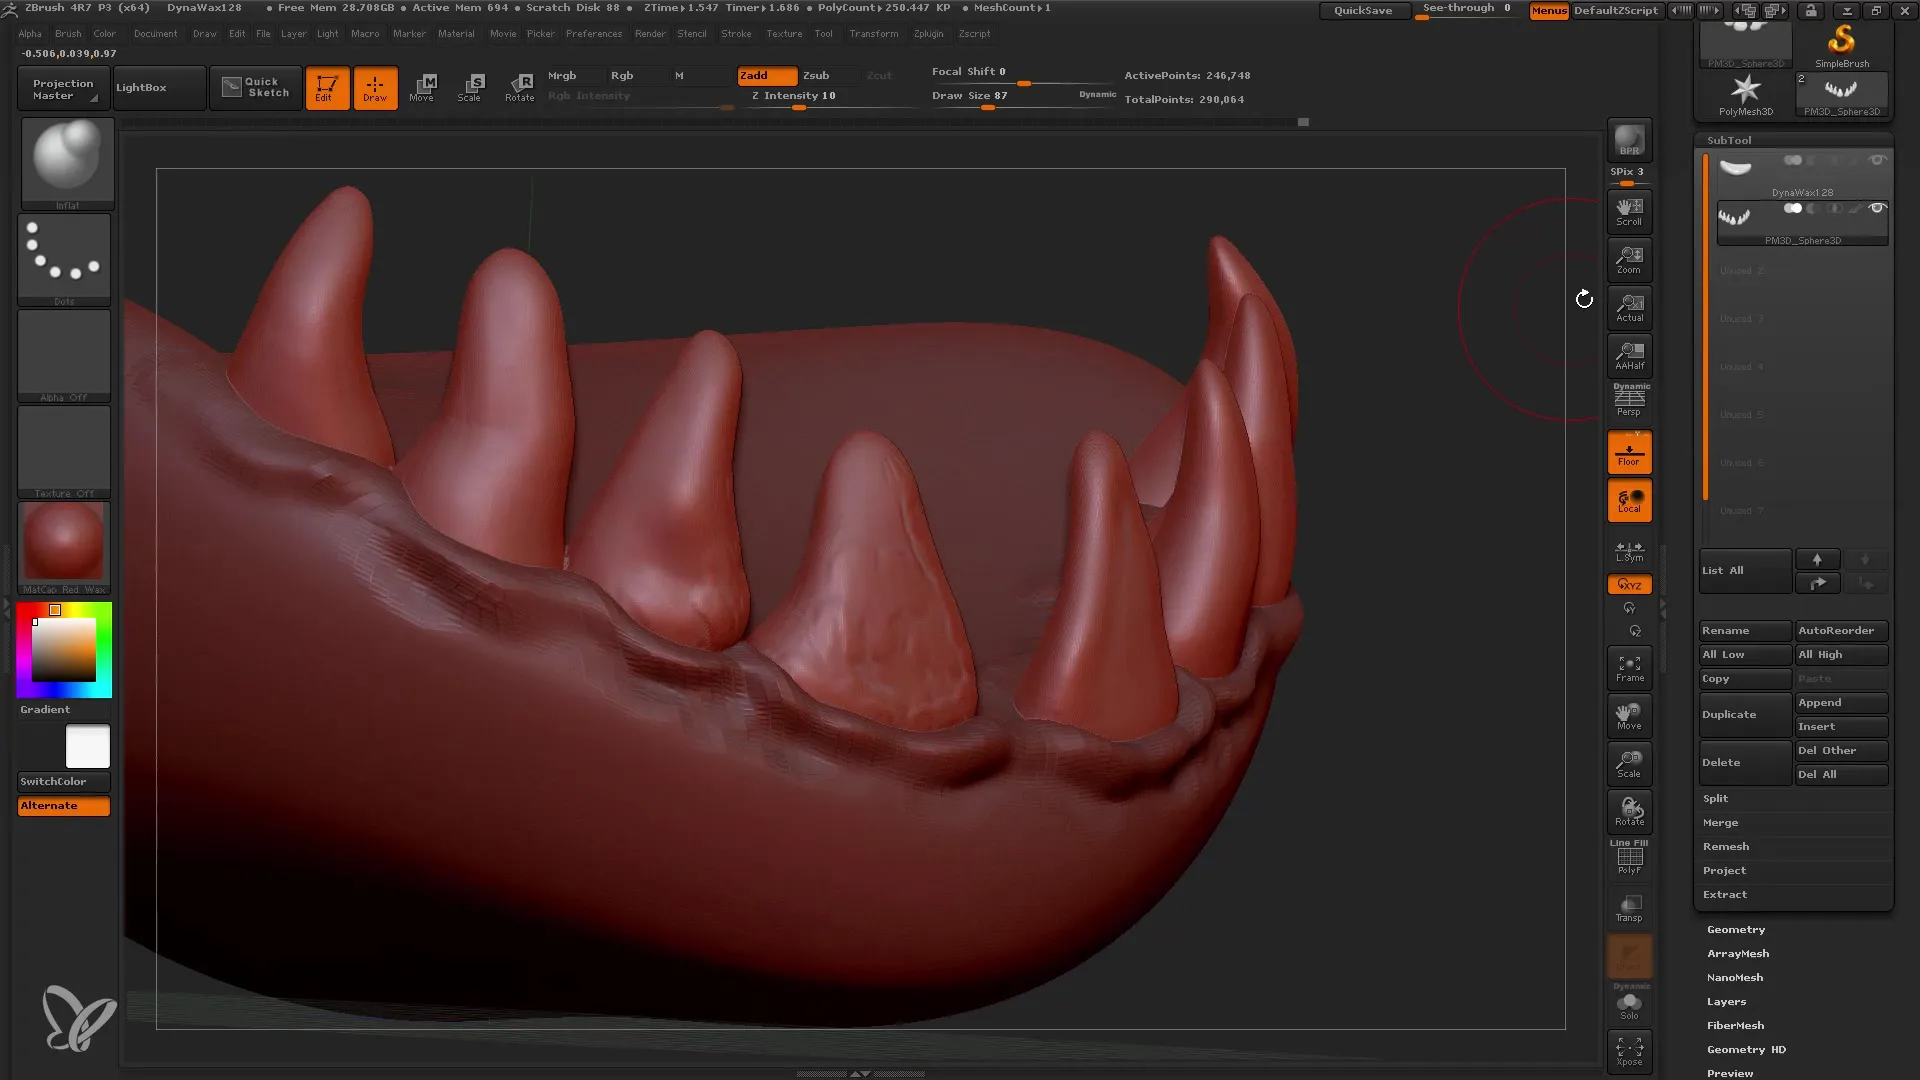
13. Fine Detailing with the Blob Brush
Use the Blob Brush to create small details like irregularities or bubbles in the gum. Make sure to set an appropriate resolution for your mesh to achieve the best results.
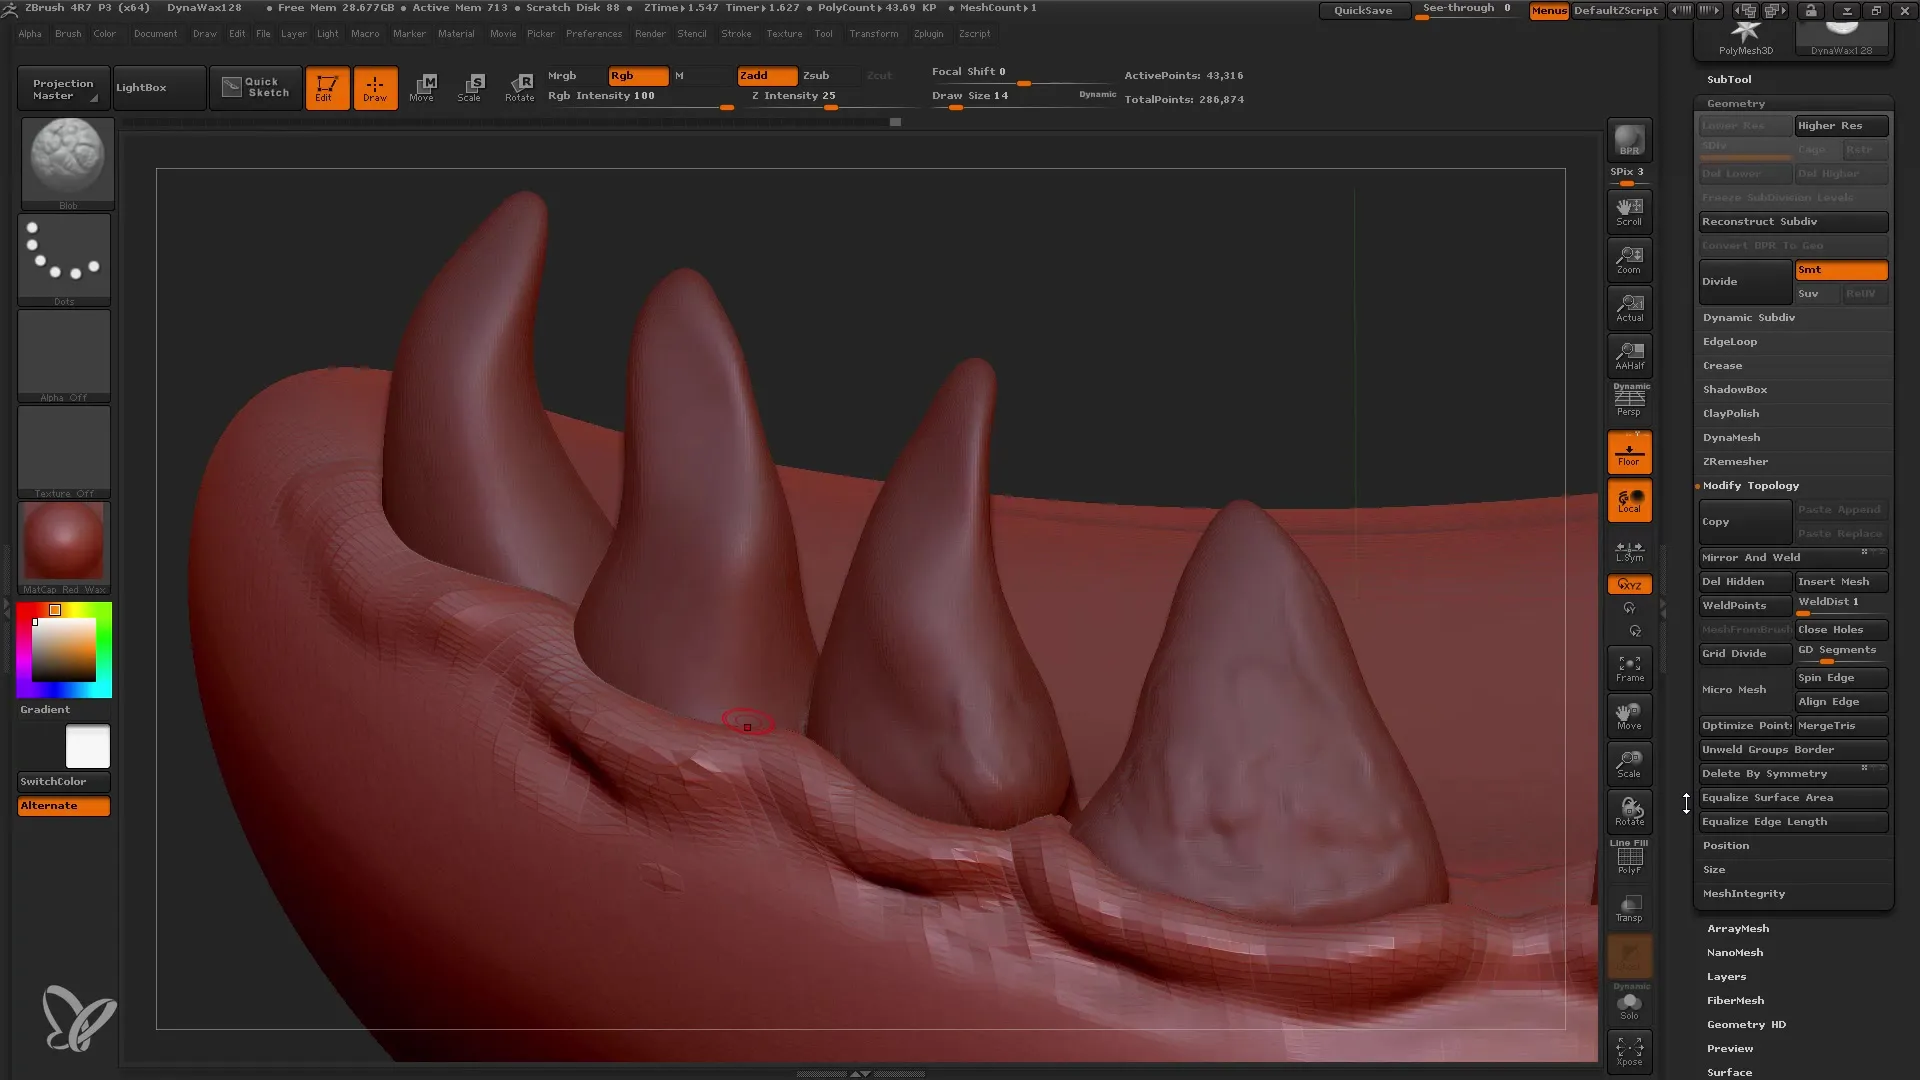
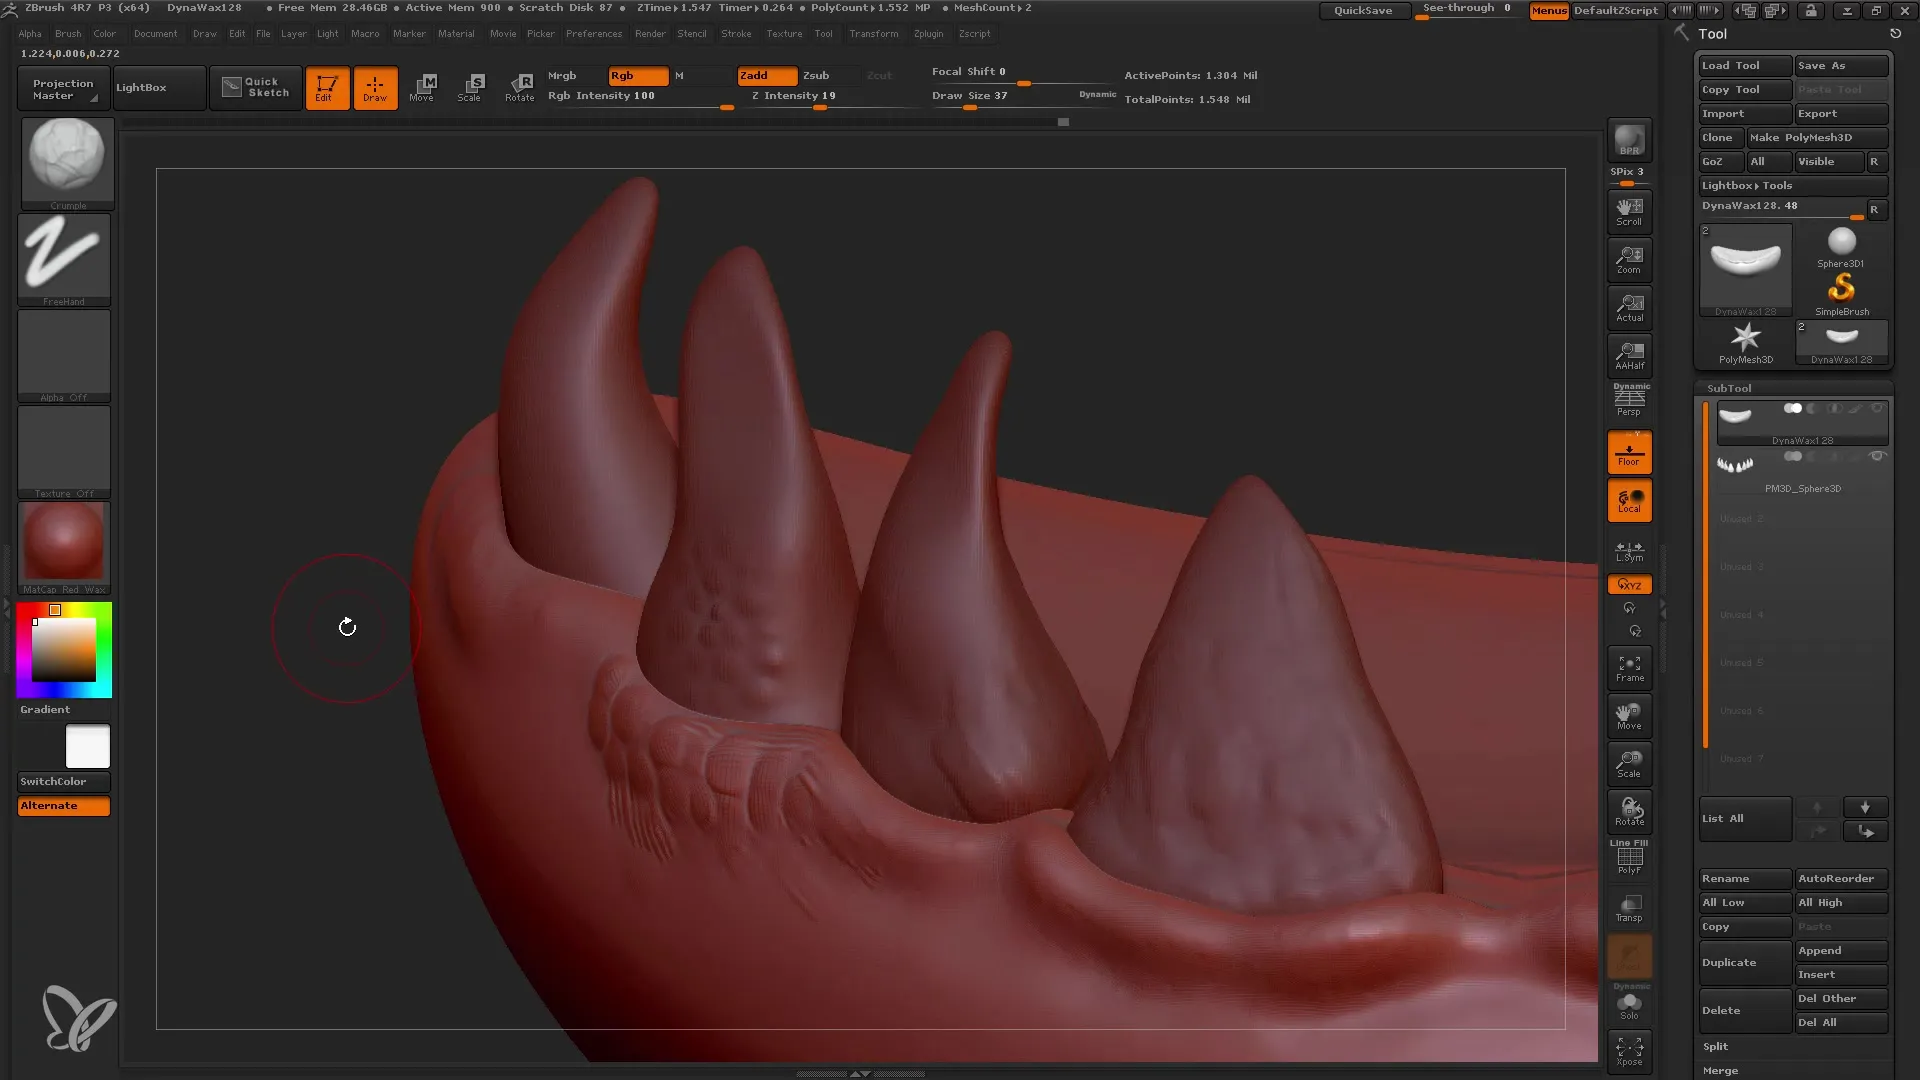
14. Final Details with the Rake and Crumple Brush
Use the Rake Brush to create fine, jagged details, and the Crumple Brush to create crumpled effects. These brushes are particularly effective for different textures and surfaces.
15. Conclusion and Export
Once you are satisfied with the modeling and detailing, you should export your project. Go to the export options and save your design in the desired file format.
Summary
In this tutorial, you have learned the basic functions of different brush types in ZBrush. You now know how to effectively use the Move Brush, Elastic Move Brush, and many others to develop and refine your 3D model.
