Welcome to your first crash course in ZBrush! In this tutorial, I will introduce you to the basic terms and functions that you can apply directly in your 3D modeling practice. ZBrush is an extremely versatile tool for 3D art and modeling, and it is important to understand the basic functions in order to fully unleash your creativity. Let's get started!
Main Insights
You will learn the basics of polygons, how to work with primitive shapes, and how to effectively use the various brush tools in ZBrush. Additionally, you will become familiar with managing subdivisions and editing meshes.
Step-by-Step Guide
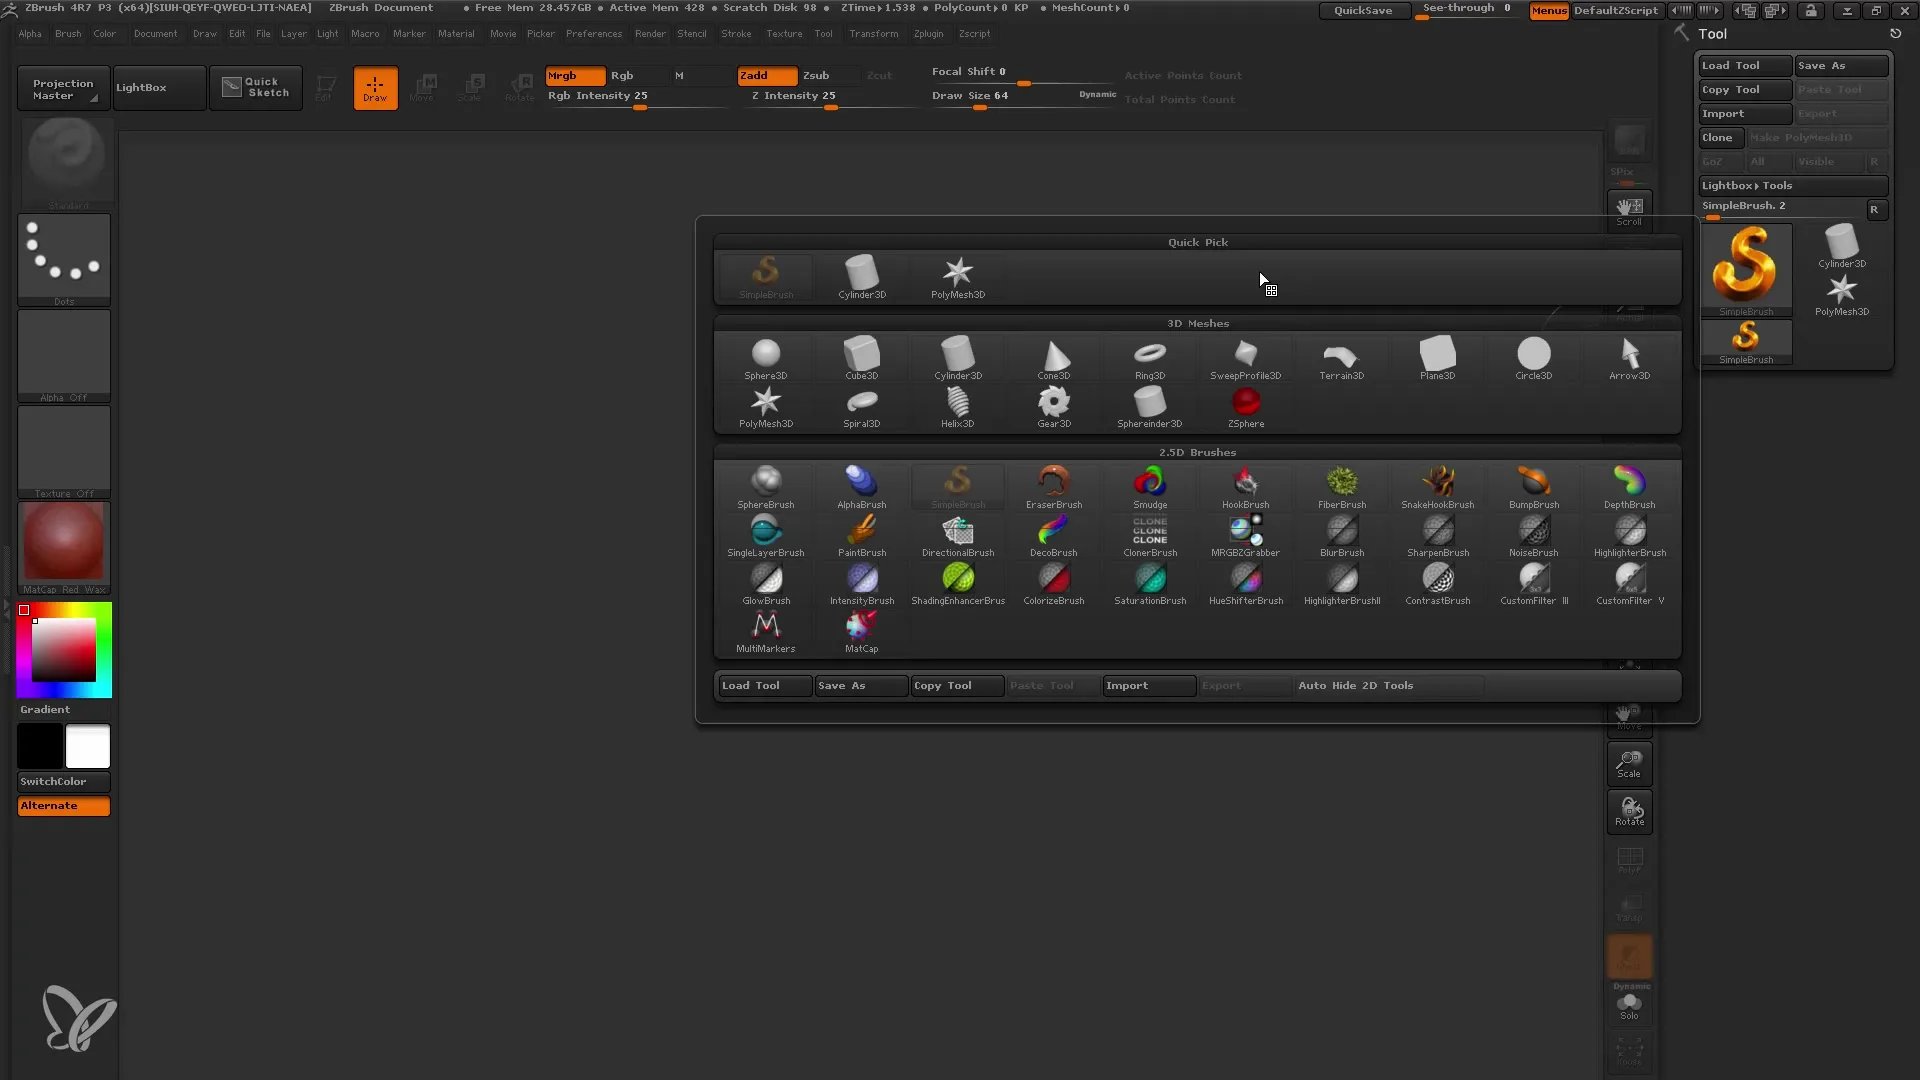
First, we'll open ZBrush and start by creating a sphere that will serve as our base shape.
To start with the sphere, simply select the Sphere Tool from the tool palette. You can drag out the sphere to place it in the 3D space. Pressing the (T) key will put you in Edit mode to make the sphere editable.
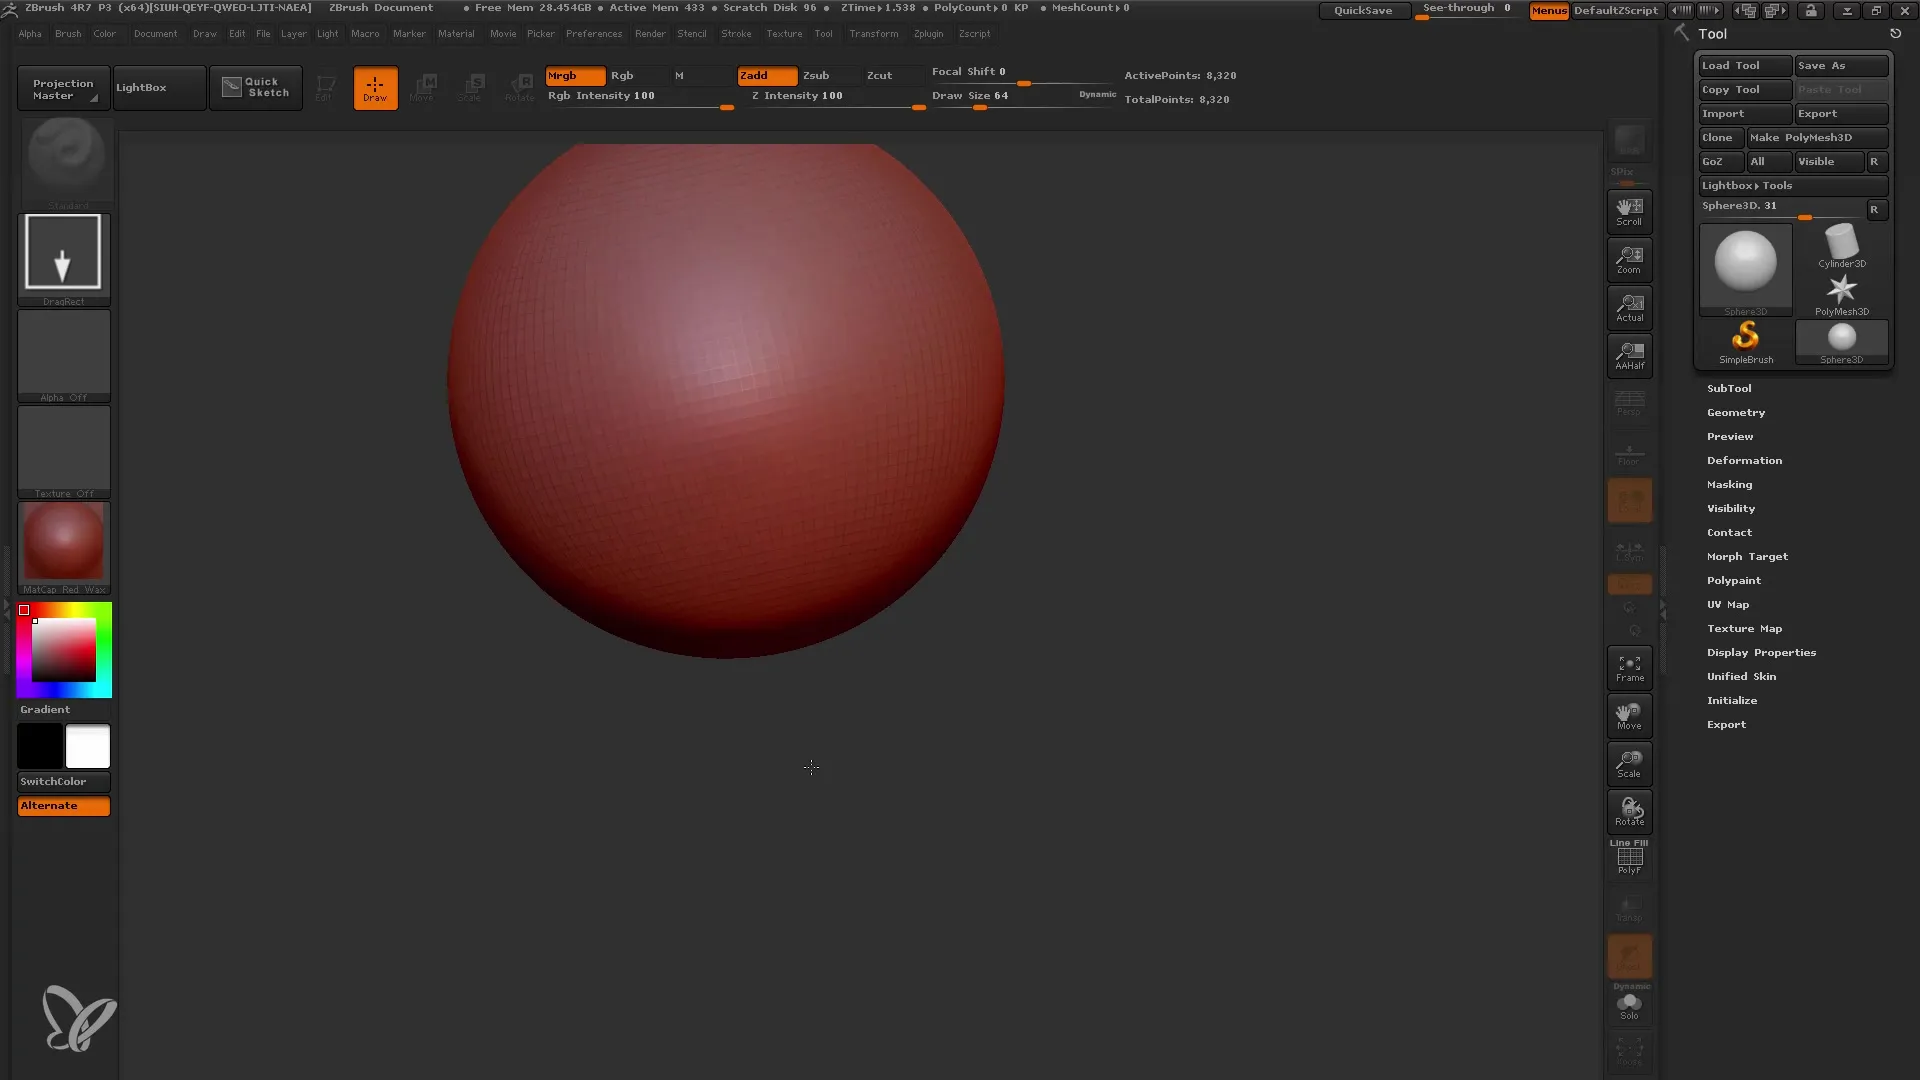
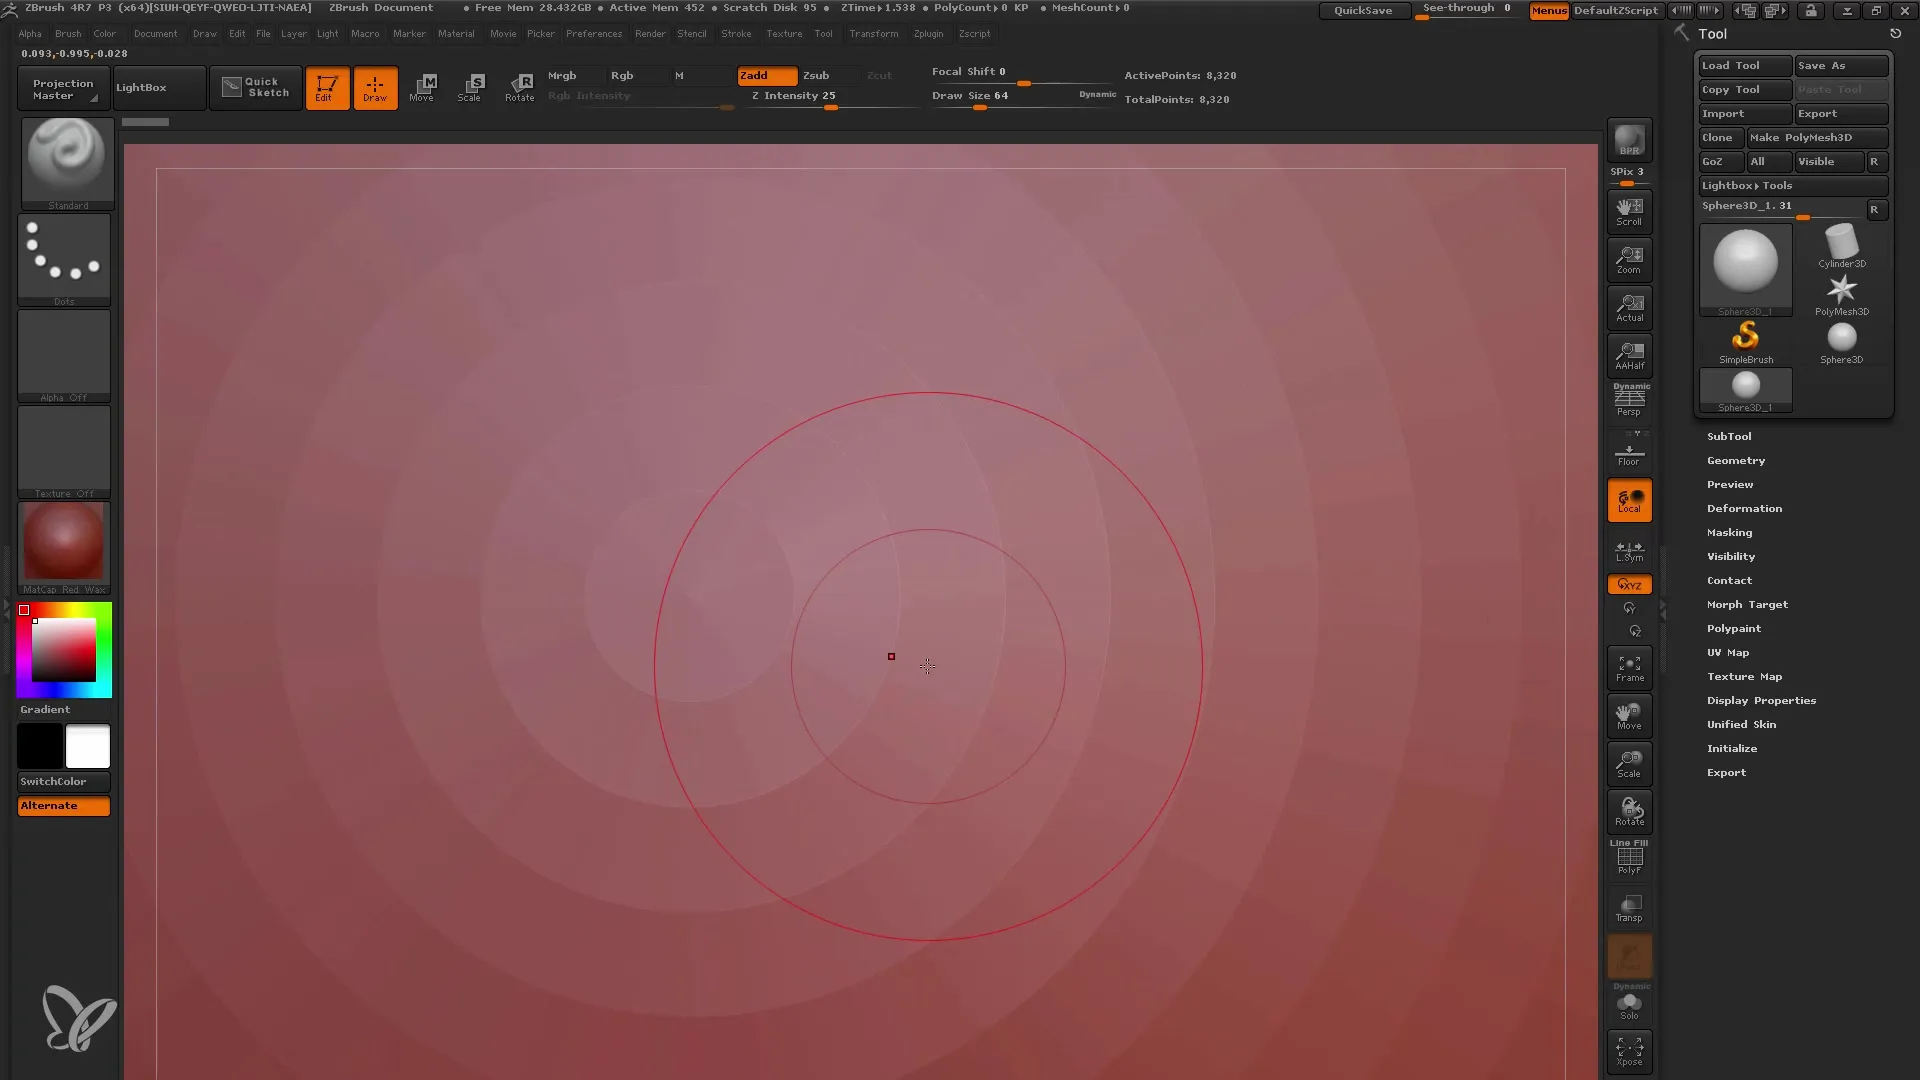
If we look at the sphere, you'll notice that it is made up of many individual squares, called polygons. Various polygon types are visible, including triangles and squares. A polygon is nothing more than a polygon, and depending on the view, the polygons may look different.
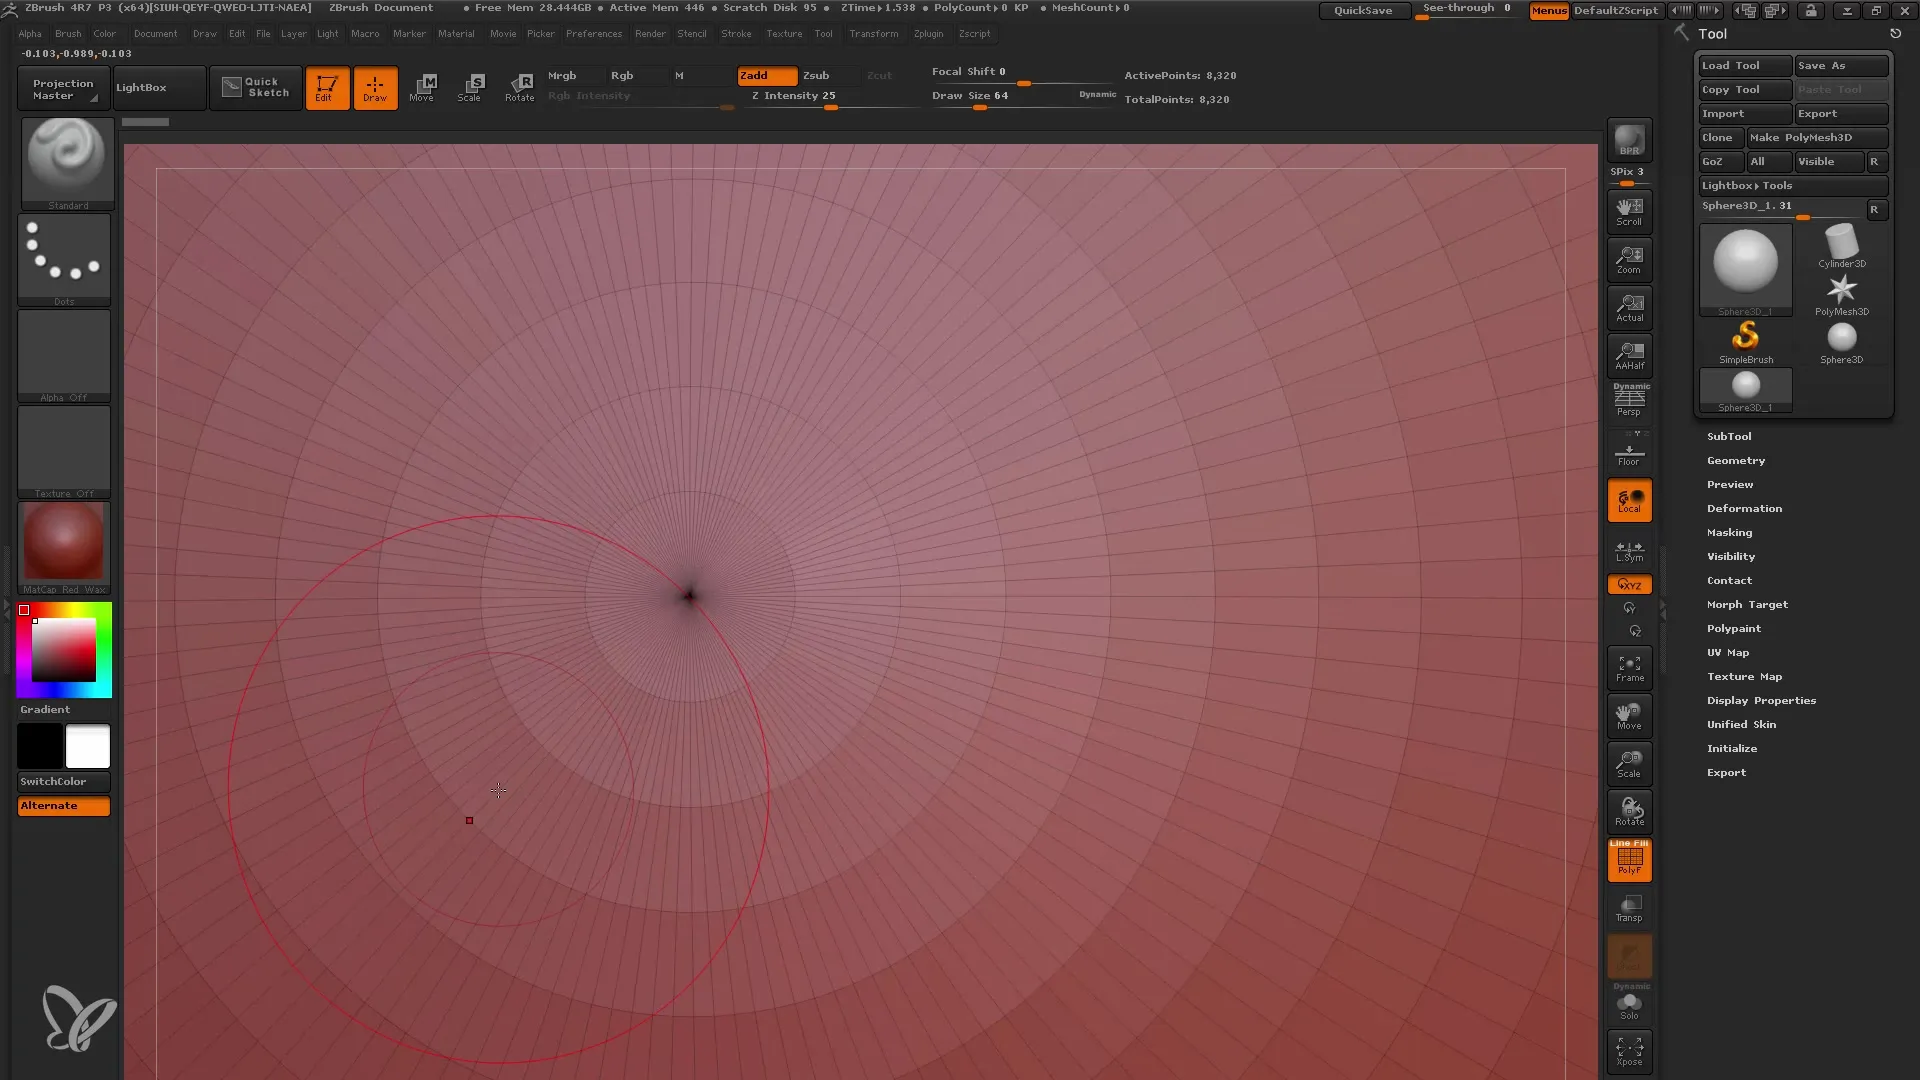
Next, I will activate the Polyframe option to display the sphere's structure more clearly. This will show you the frames around the polygons, helping you understand the structure of your shape.
Your sphere has 8000 points by default, which corresponds to about 8000 polygons. Each point has four polygons in its environment, which is a pretty good starting point.
However, to work meaningfully with the sphere, I want to convert it into a polymesh. A polymesh is a grid that allows you to work efficiently. To do this, choose the "Make Polymesh 3D" option from the menu.
The great thing about converting the sphere to a polymesh is that I can now flexibly move the individual points. I can use the Move Elasticity (MVE) brush, which is specifically designed to manipulate the points.
So now we can continue editing the sphere and create a more interesting shape. But the real goal of editing is to make the mesh appear more organic. To achieve this, we need to increase the number of polygons.
To do this, go to the Geometry tab and select Divide. This will subdivide each polygon into smaller ones, creating a smoother structure.
If we do this again, the sphere will become even more complex and organic. From now on, I can work with different brushes to add details. We can adjust the brush tip size and already achieve interesting changes in shape with the Move Brush.
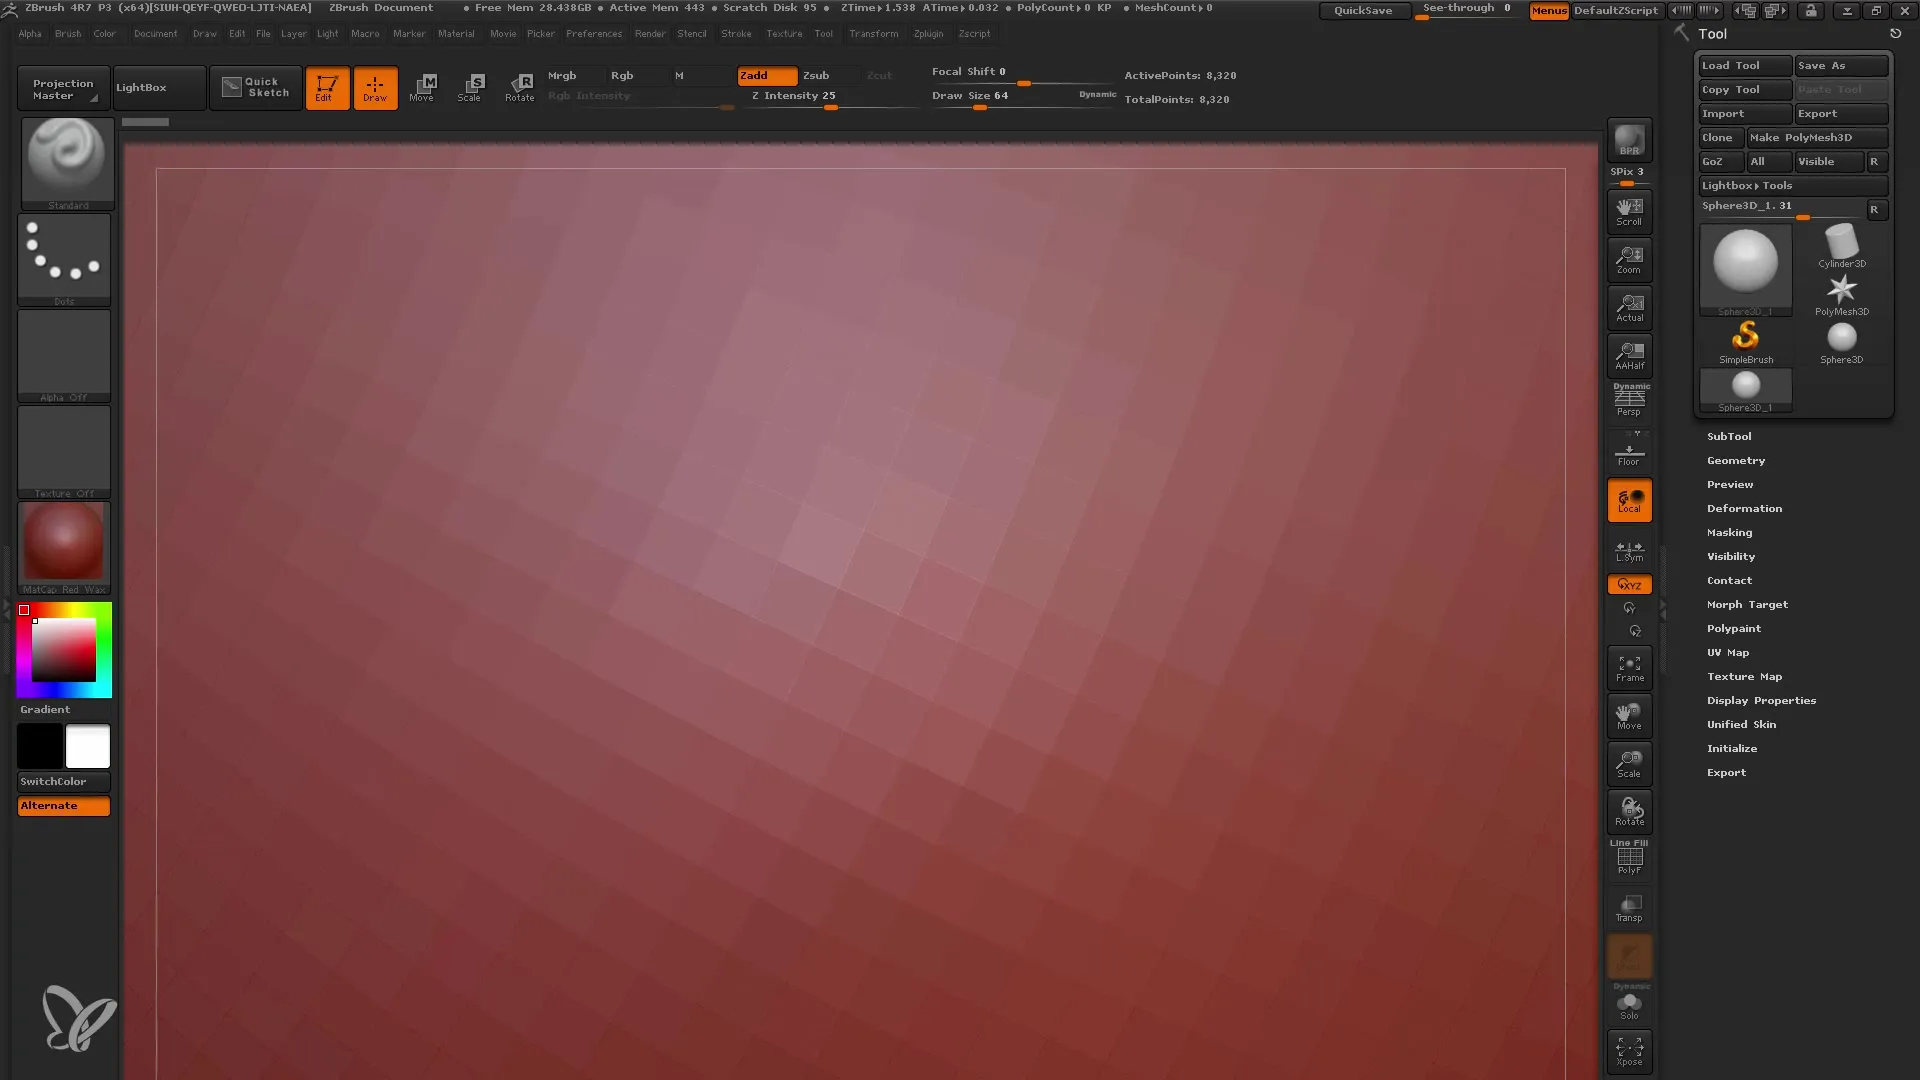
Keep in mind that working with few polygons is limited – this means that if the number is too low, you will have difficulty creating fine details.
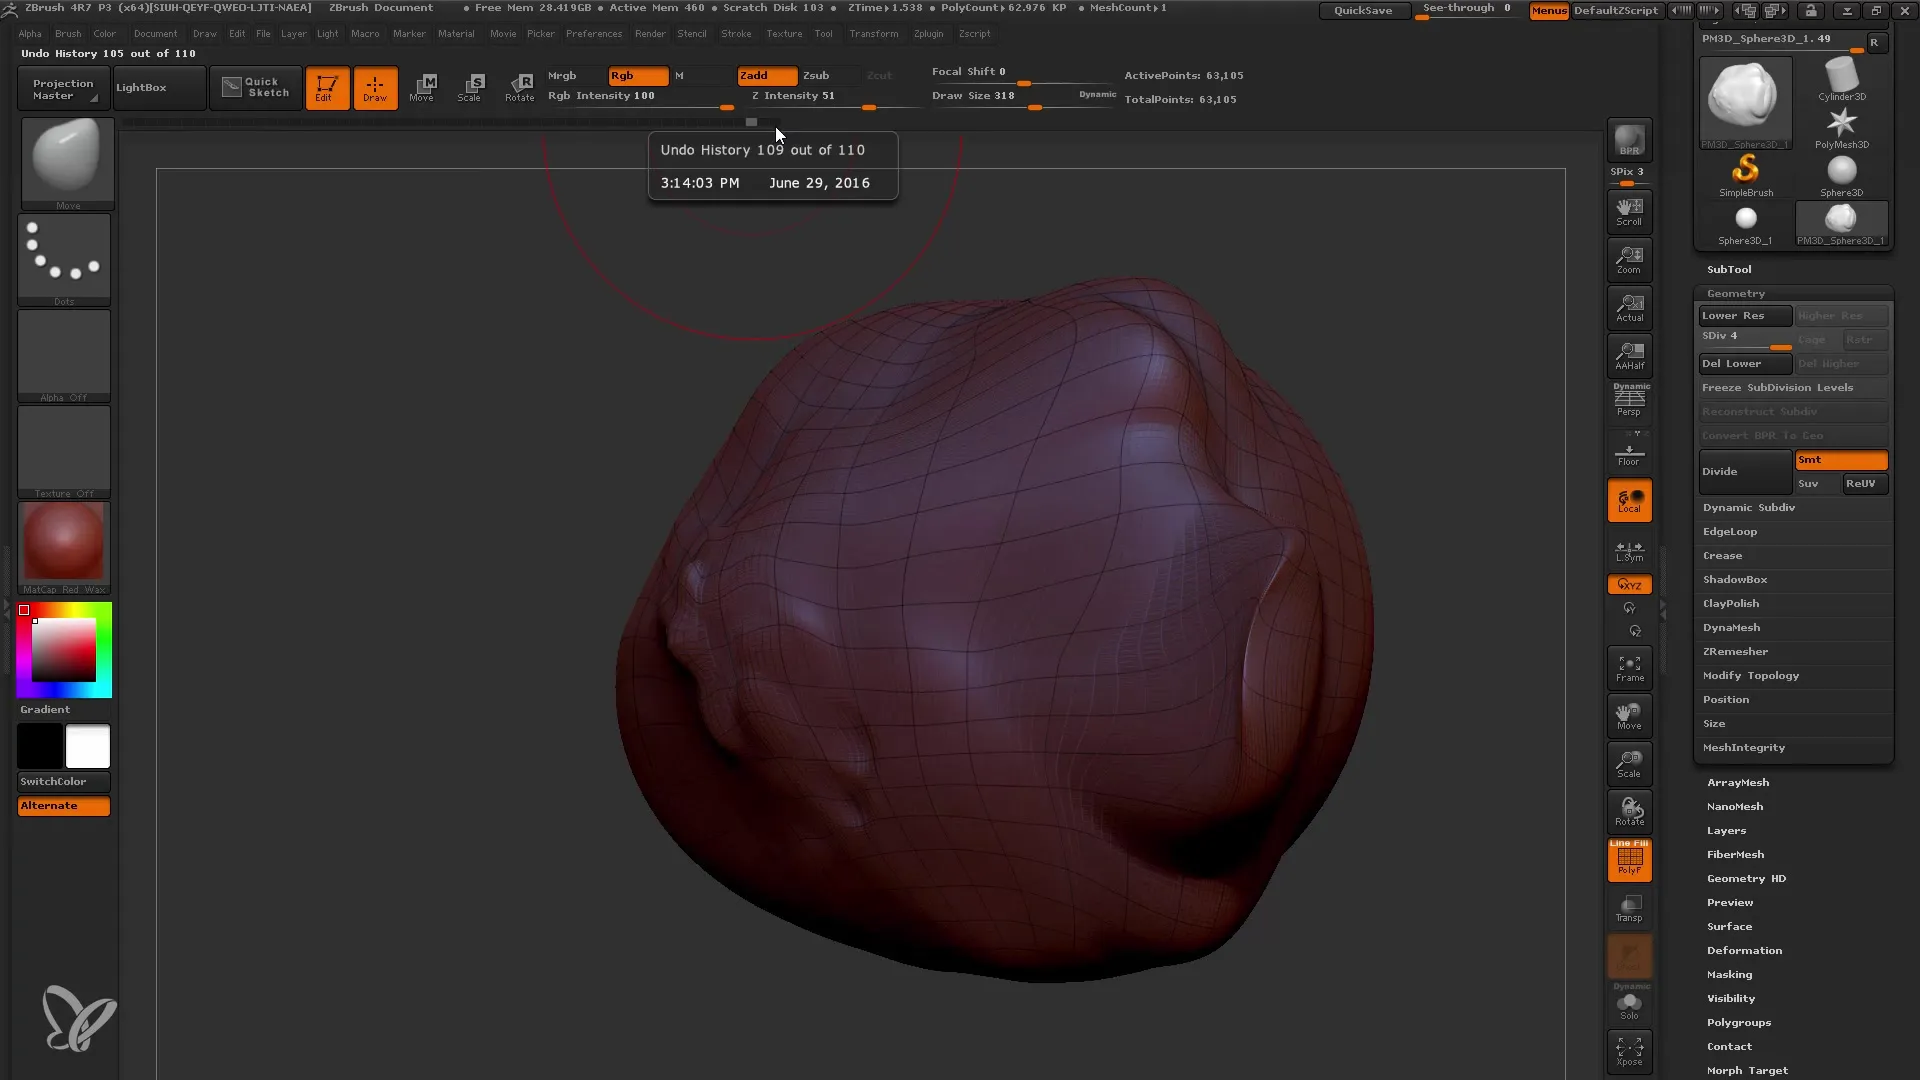
Now, as the details progress, I can undo edited steps by pressing CTRL+Z. ZBrush saves all your steps, so you can always restore the previous version of your design. The History Line shows the number of steps you have saved.
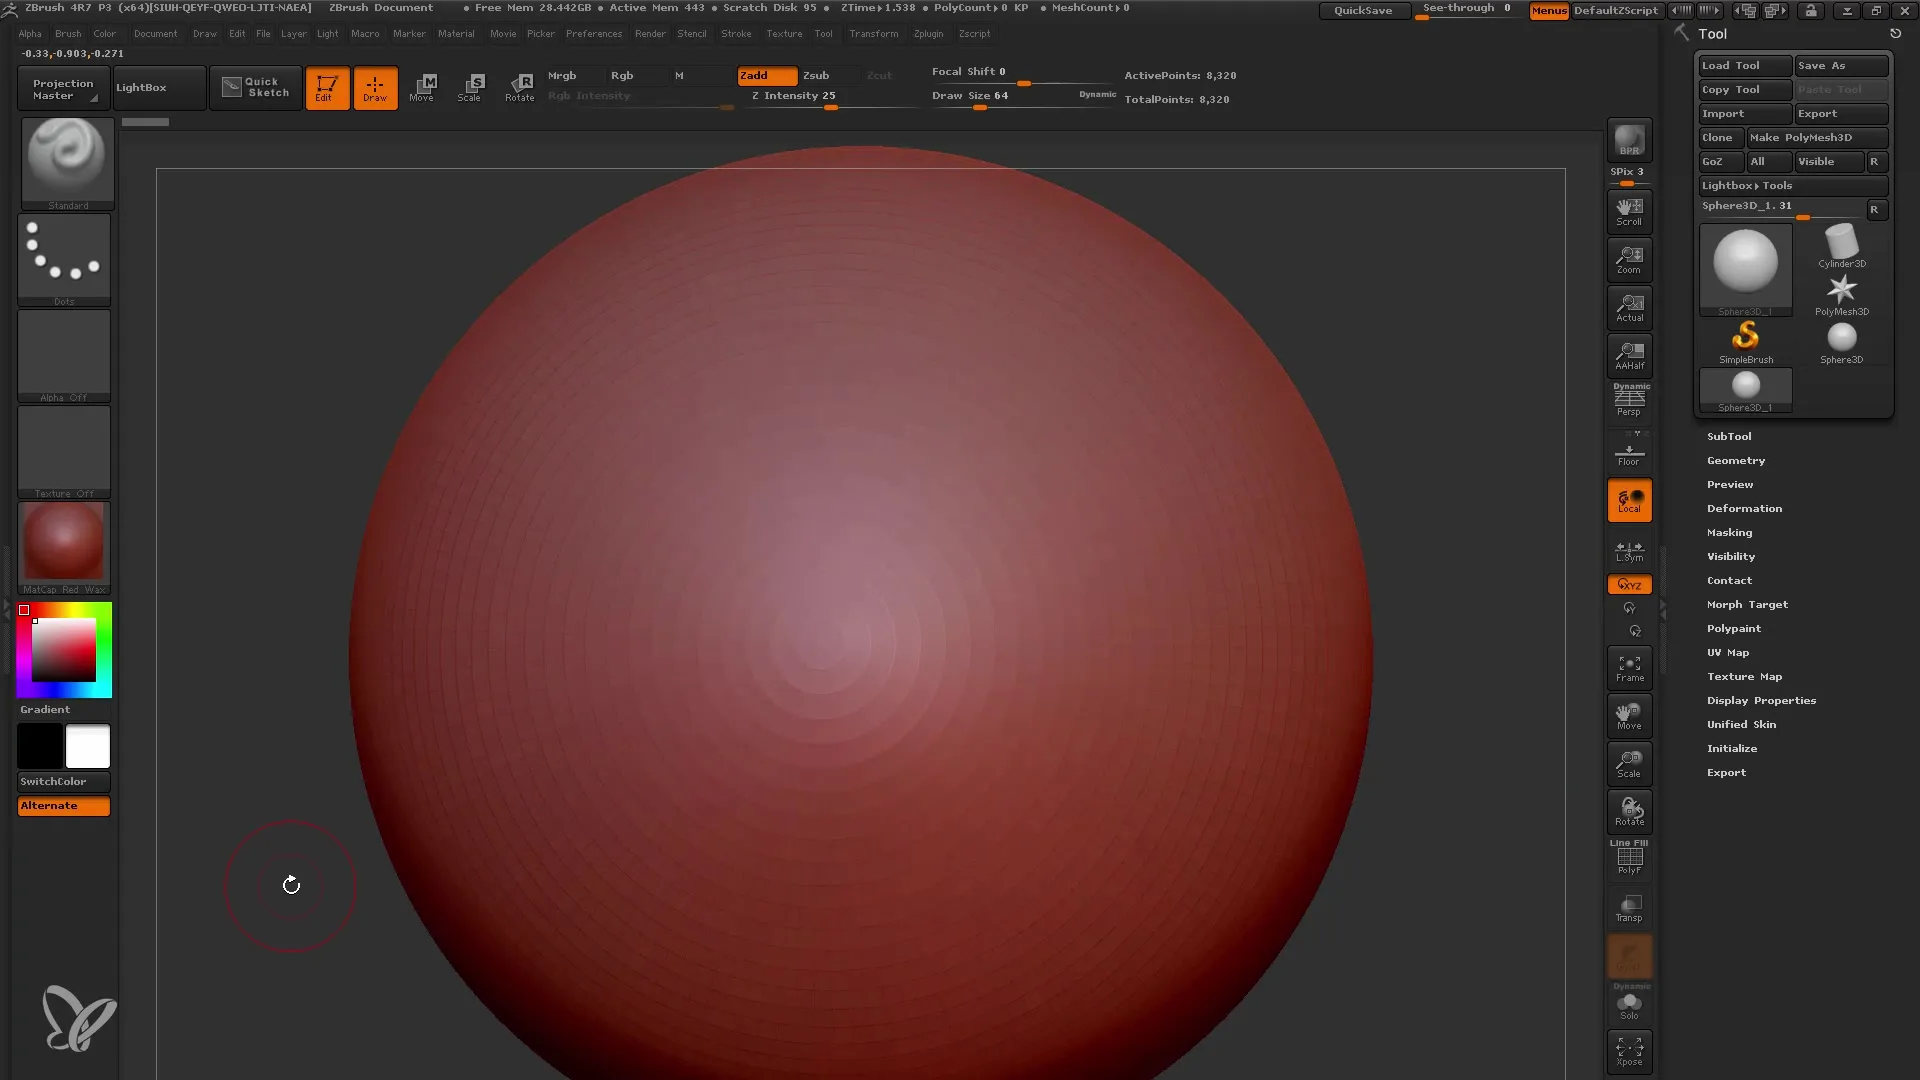
If I save the project via File, the History Line will also be saved. But be cautious with quick saves, as not all data is stored.
If you want to further increase the subdivisions, you can use the Divide function again. By mastering these basics, you will learn how to find the right balance between the number of polygons and the level of detail.
In the next phase, you could experiment with different brush types, such as the Standard Brush or the Clay Buildup, to achieve different textures and effects. The Clay Buildup brush helps create built-up matter and further develop the structure of your model.
Always make sure to consider the changes from different perspectives. This will help you ensure that all sides of your model look good, which is especially important for animations.
When you're done with your model, also make sure to possibly smooth any unpleasant edges by holding down the Shift key. This will help you soften the edges and achieve a more appealing result.
Summary
In this guide, you learned the basics of ZBrush, starting from creating primitive shapes to using various brush tools and the importance of polygons and their subdivisions. These techniques form the foundation for your future 3D projects in ZBrush.
Frequently Asked Questions
How can I change the polygons of my sphere?You can do that in the initialization options of the sphere by adjusting the number of polygons there.
How do I save my progress in ZBrush?Save through the "File" menu and make sure to save the history line along with it.
What should I do if my mesh looks too angular?Increase the number of subdivisions via the Geometry tab and choose the Divide option.
How can I apply different brushes?You can find different brushes in the brush bar; simply select the desired brush and work with it.
How can I undo my steps?You can undo by pressing CTRL+Z.
