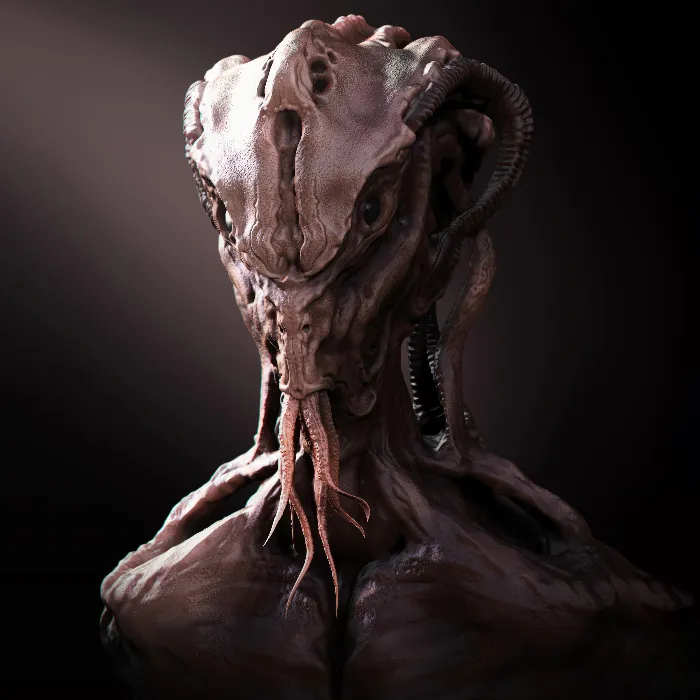
In this tutorial, I will show you how to effectively light your models in ZBrush using the standard light. Light plays a crucial role in the presentation of 3D models and influences how details and structures are perceived. Understanding light and shadow can significantly enhance your artworks. In the following steps, you will learn how to create different light sources, adjust their intensity and color, and control the shadows. Let's get started!
Key Takeaways
- The light material and render settings must work in harmony to achieve optimal results.
- You can position and adjust the light sources to achieve different lighting effects.
- Shadows can be made soft or hard based on the settings of the light source.
Step-by-Step Guide
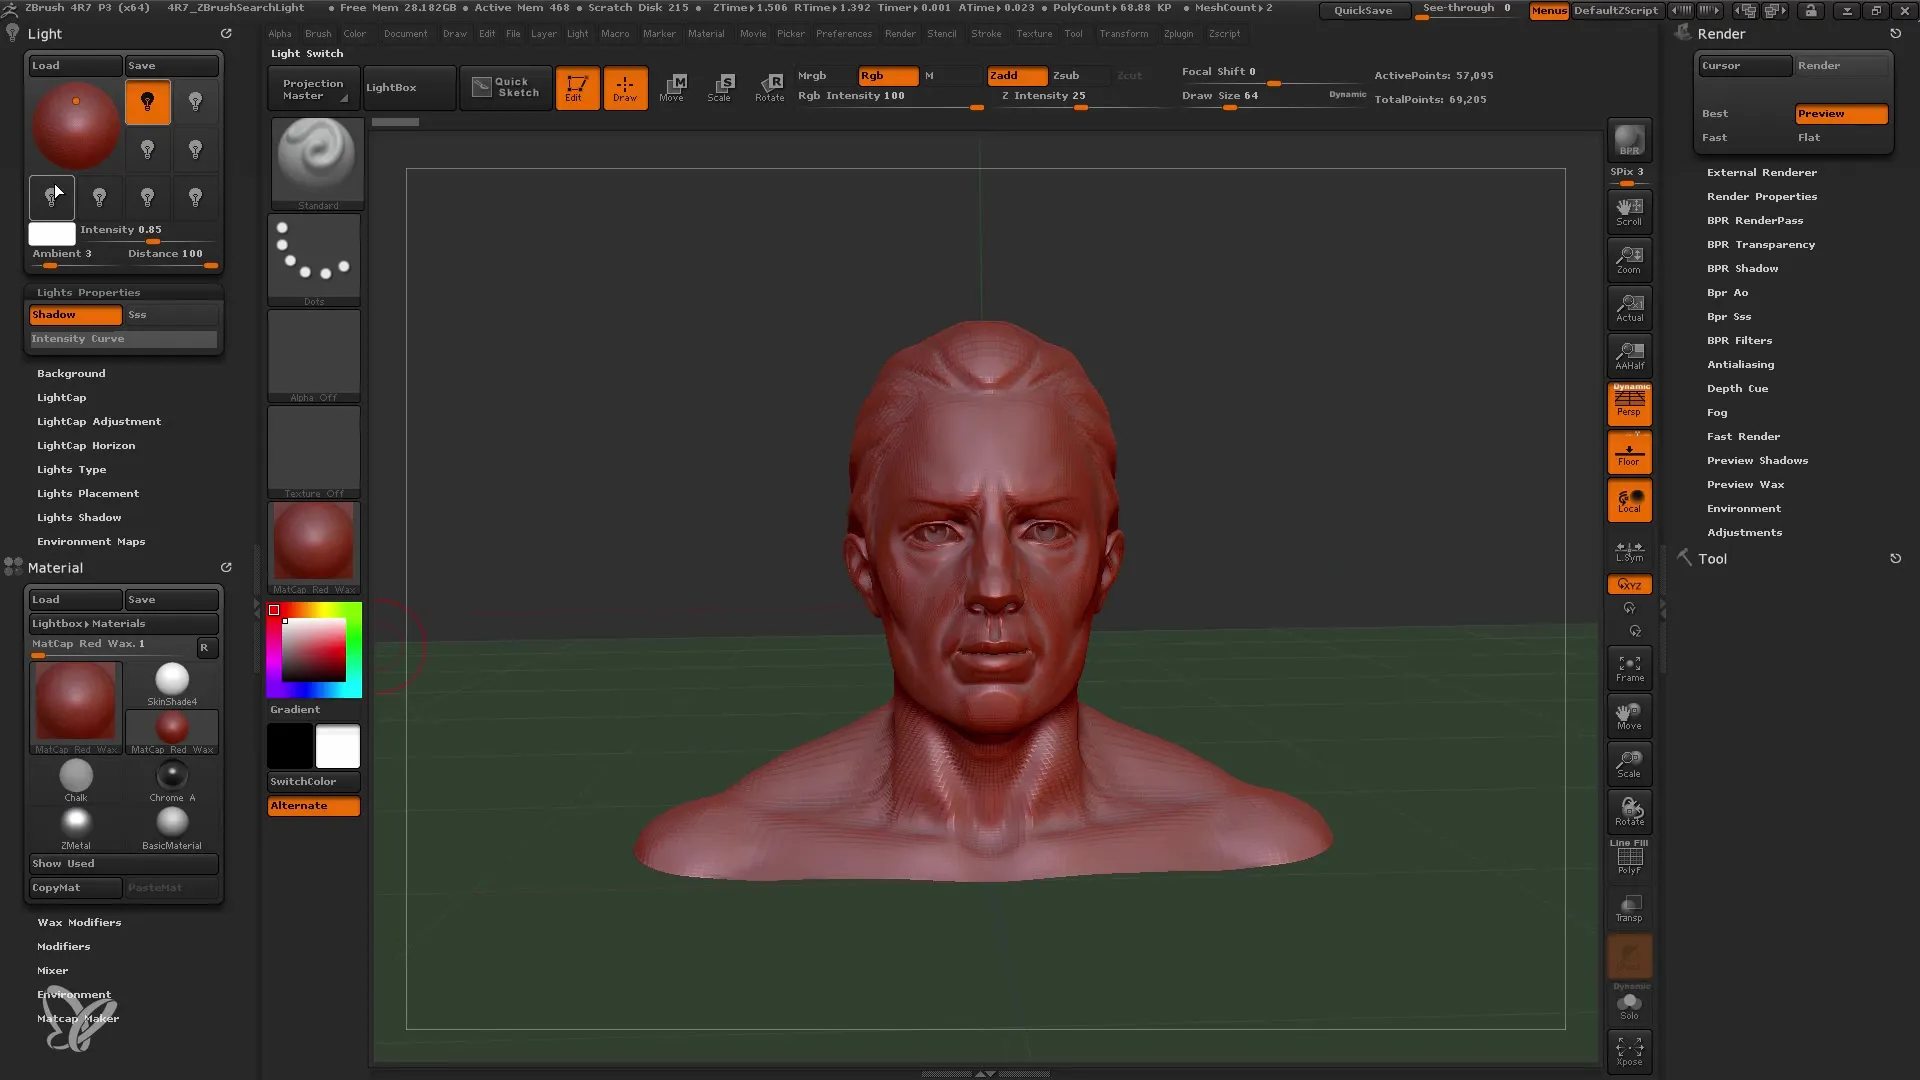
First, open the light menu in ZBrush and the material menu to make the key settings.
In the light menu, you have the option to work with different light sources. Each light source can be adjusted in intensity and color.
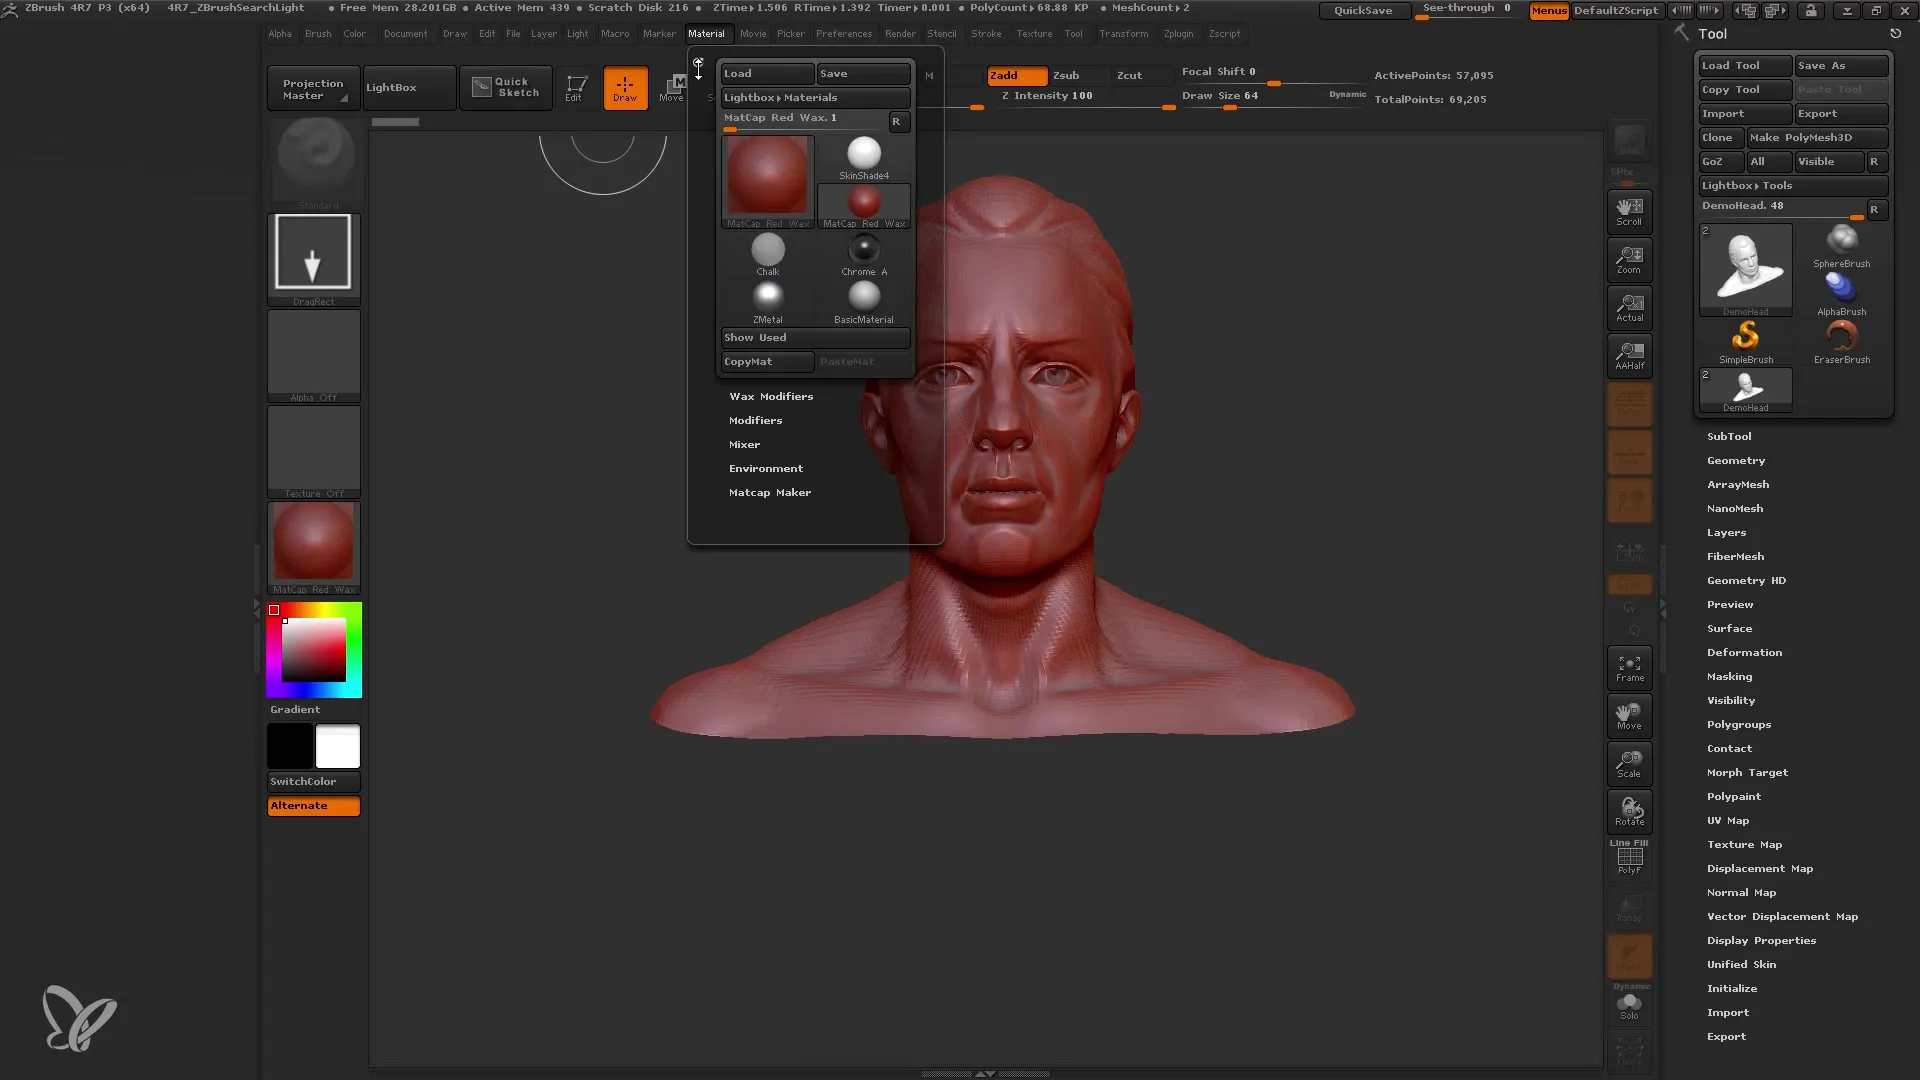
To ensure that the light effects are visible, I recommend working with a basic material. The basic material shows the effects of light much more clearly than other materials with preset light effects.
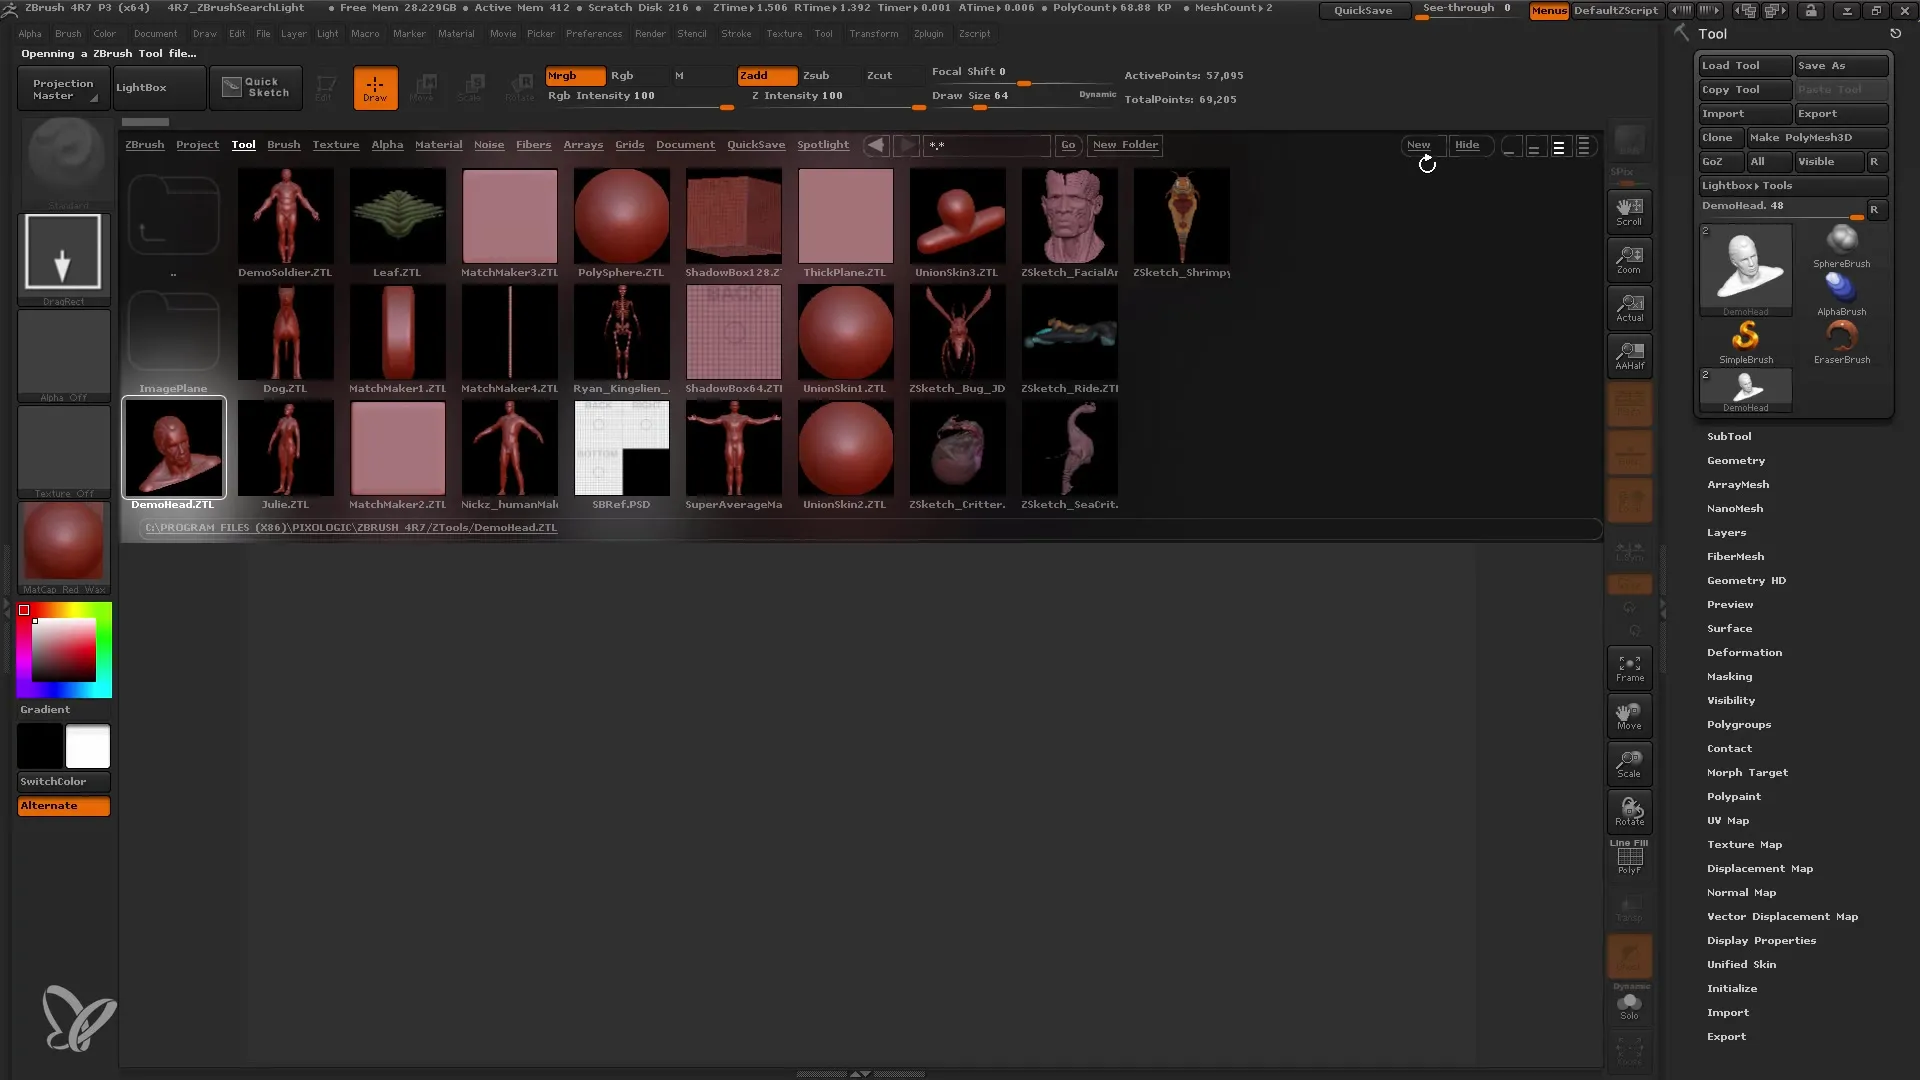
Once you have applied the basic material, you can start positioning the light sources. Through the light menu, you can manually move and adjust these sources. Experiment with different positions to see how the light affects the surface of your model.
If you want to preview the lighting, press BPR for Best Preview Render. This will give you an idea of how the final image will look with your current light settings.
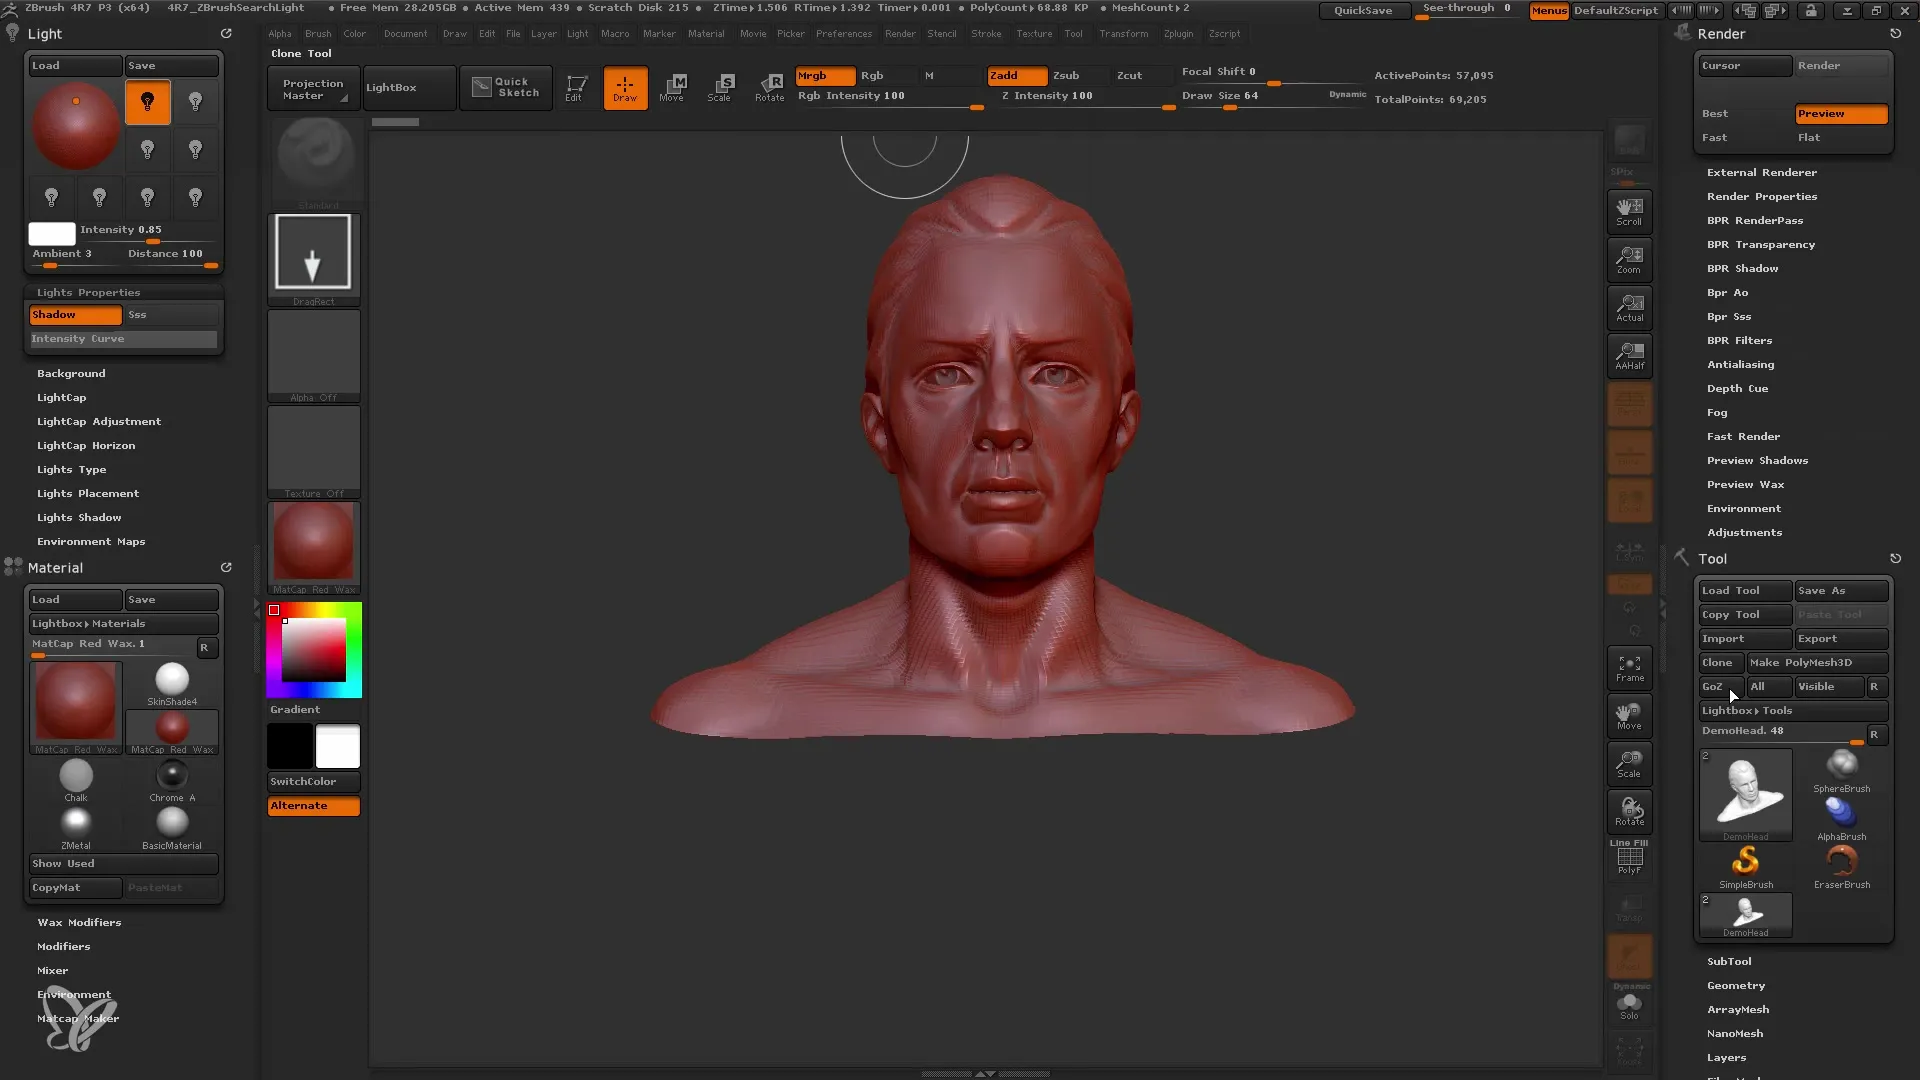
Make sure you like the shadow created by the light source. High angle and god settings of shadows can affect the appearance of the model.
To change the quality of shadows, go to the render menu and adjust the shadow settings. A lower angle can result in softer shadows, while strong angles create harder shadows.
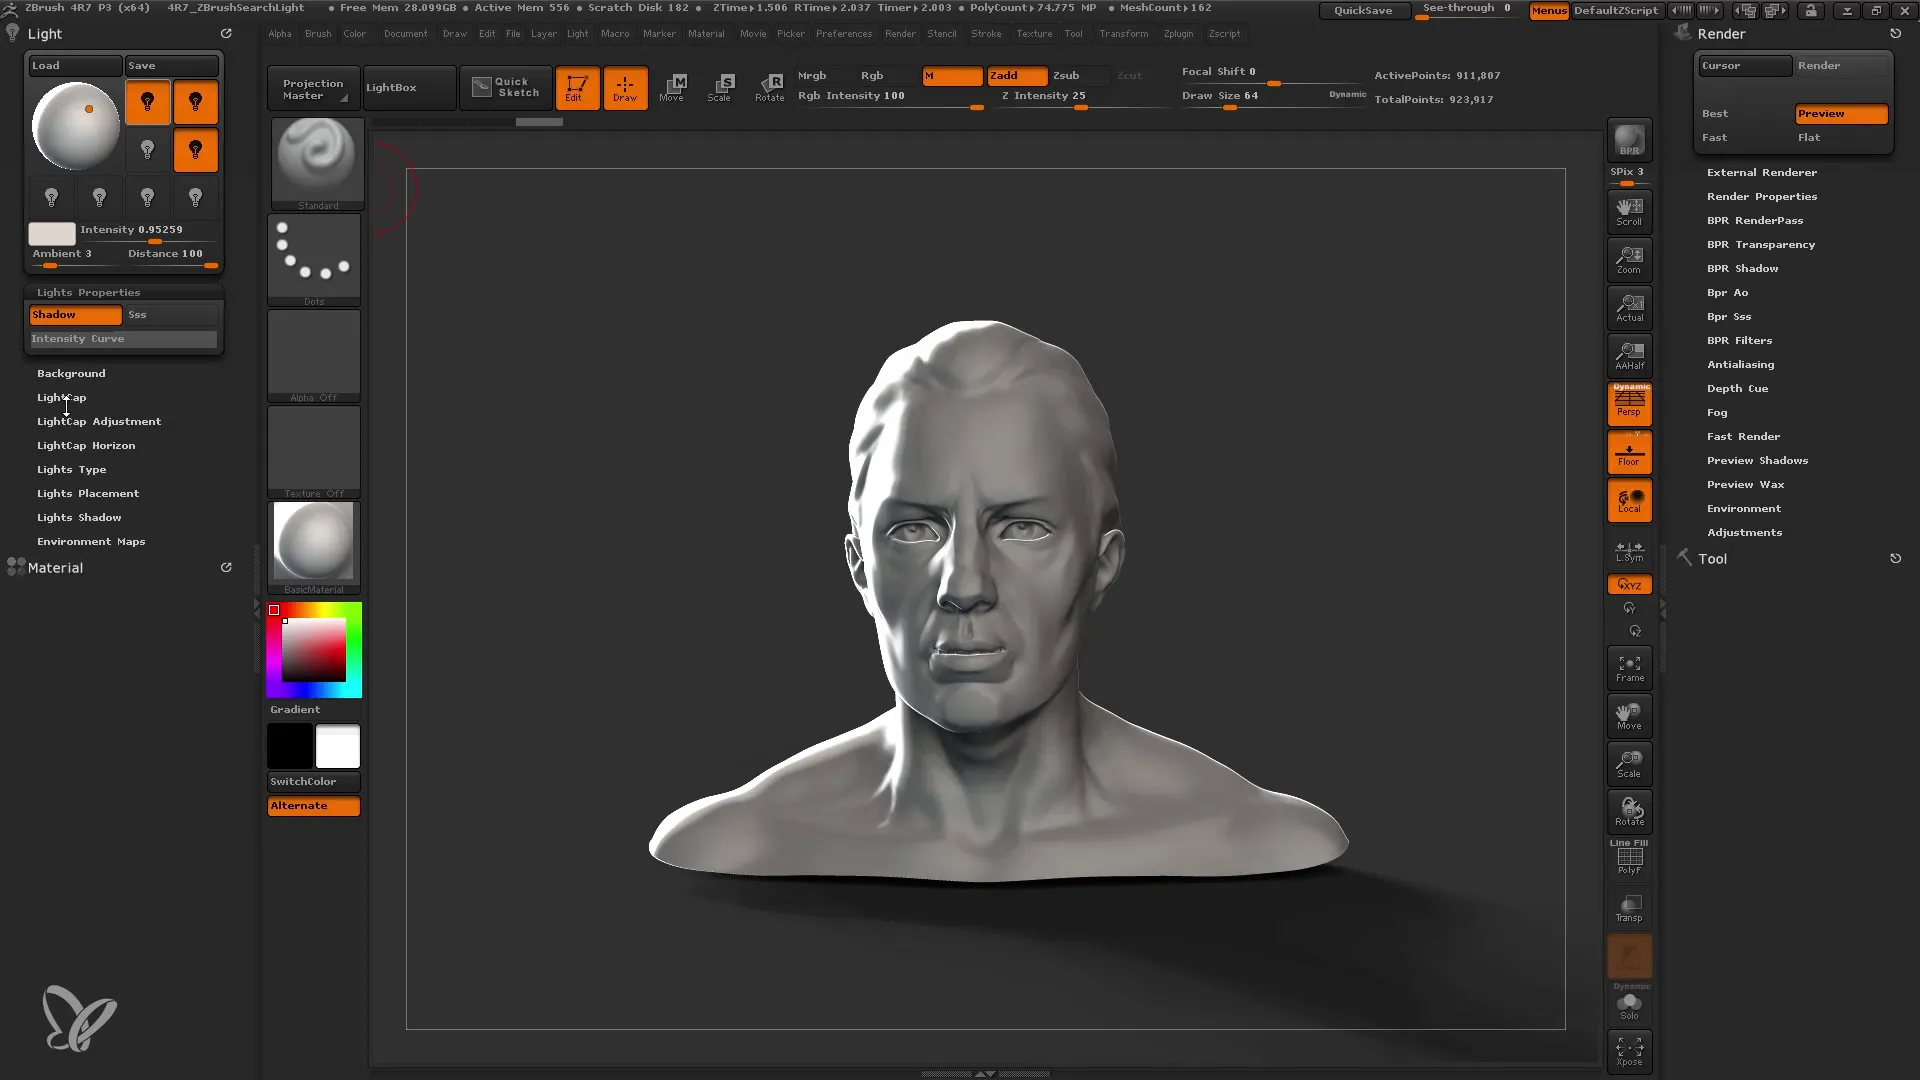
Next, you can add a second light source. It is important to select the new source by clicking on it while the white frame is visible in the light menu.
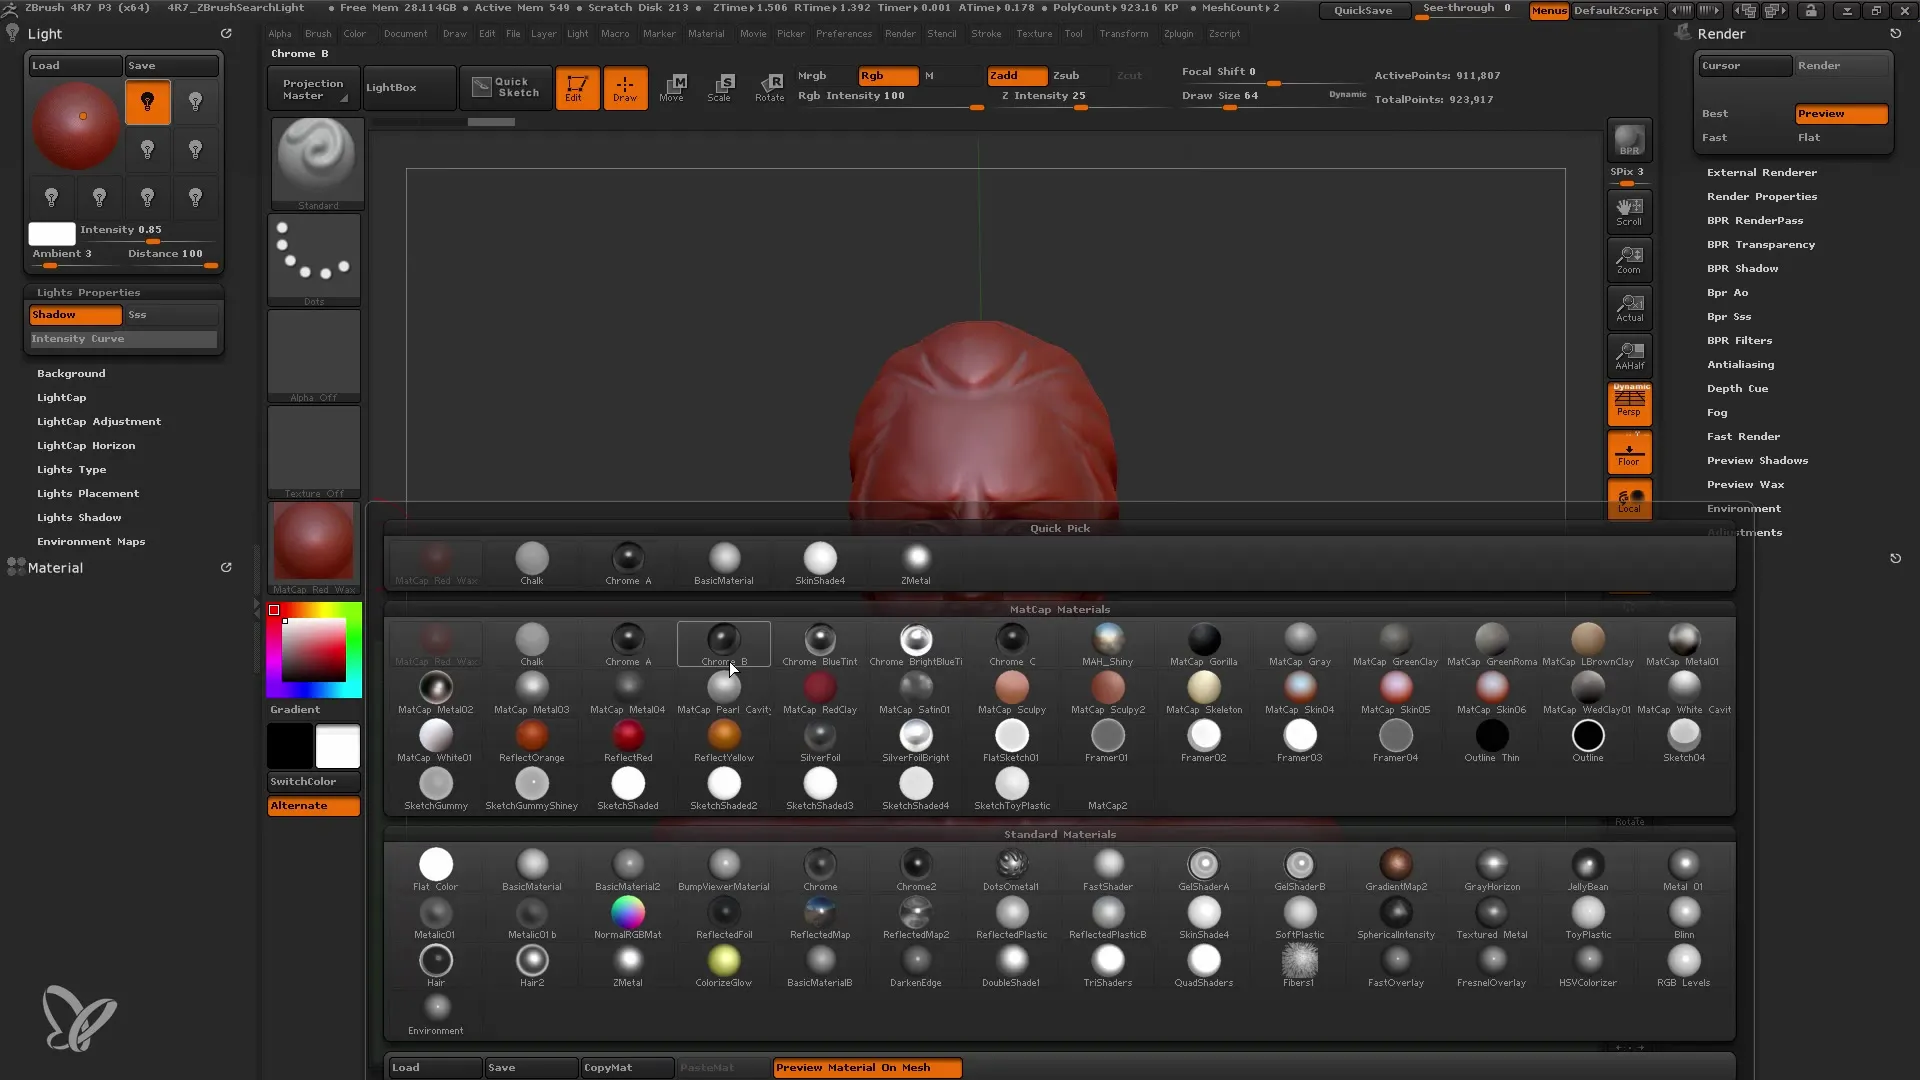
If you want to create a fill light additionally, go back to the new light source and set a different color - maybe a cooler tone - that can give more depth to the model.
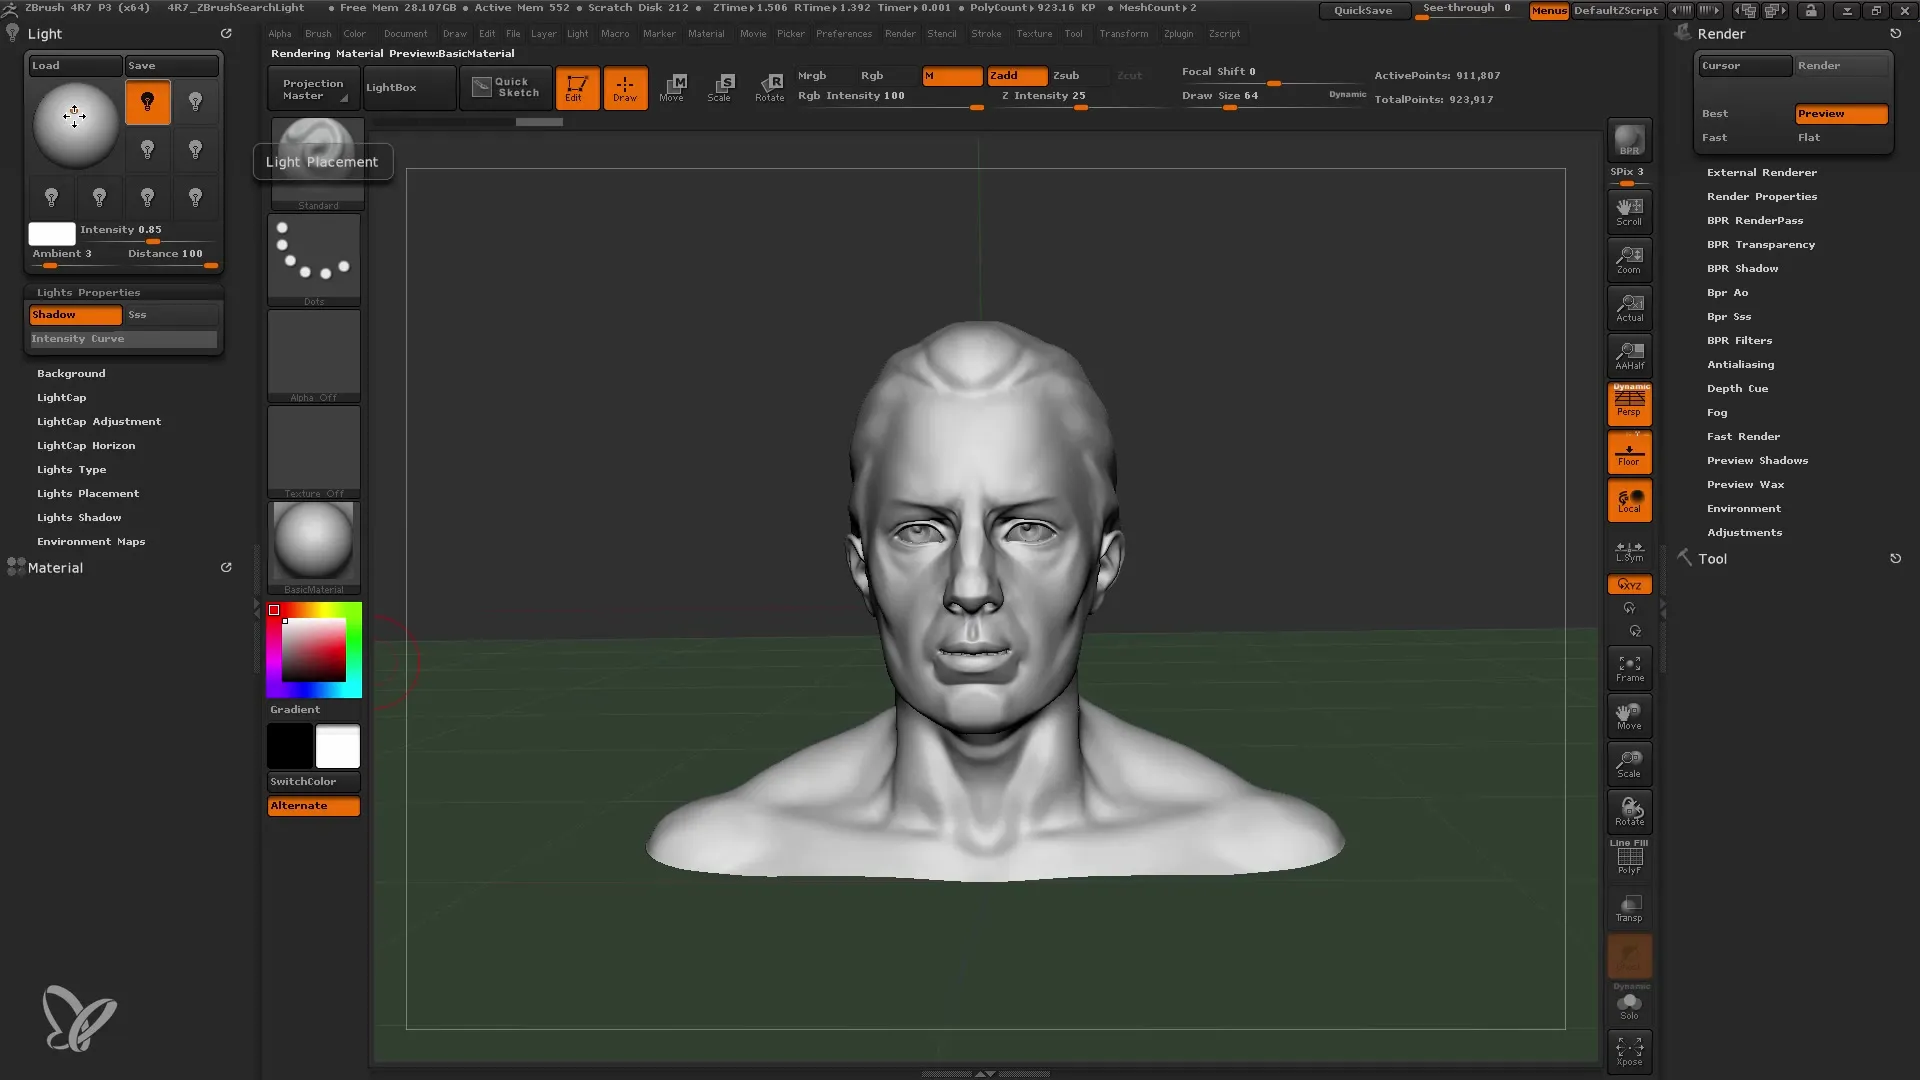
Then you can add a third light to highlight specific parts of the model. Position this light at a slightly different angle to achieve interesting effects.
Another important point is that you can move the light sources at any time and adjust their intensity. This gives you a lot of flexibility in creative design planning.
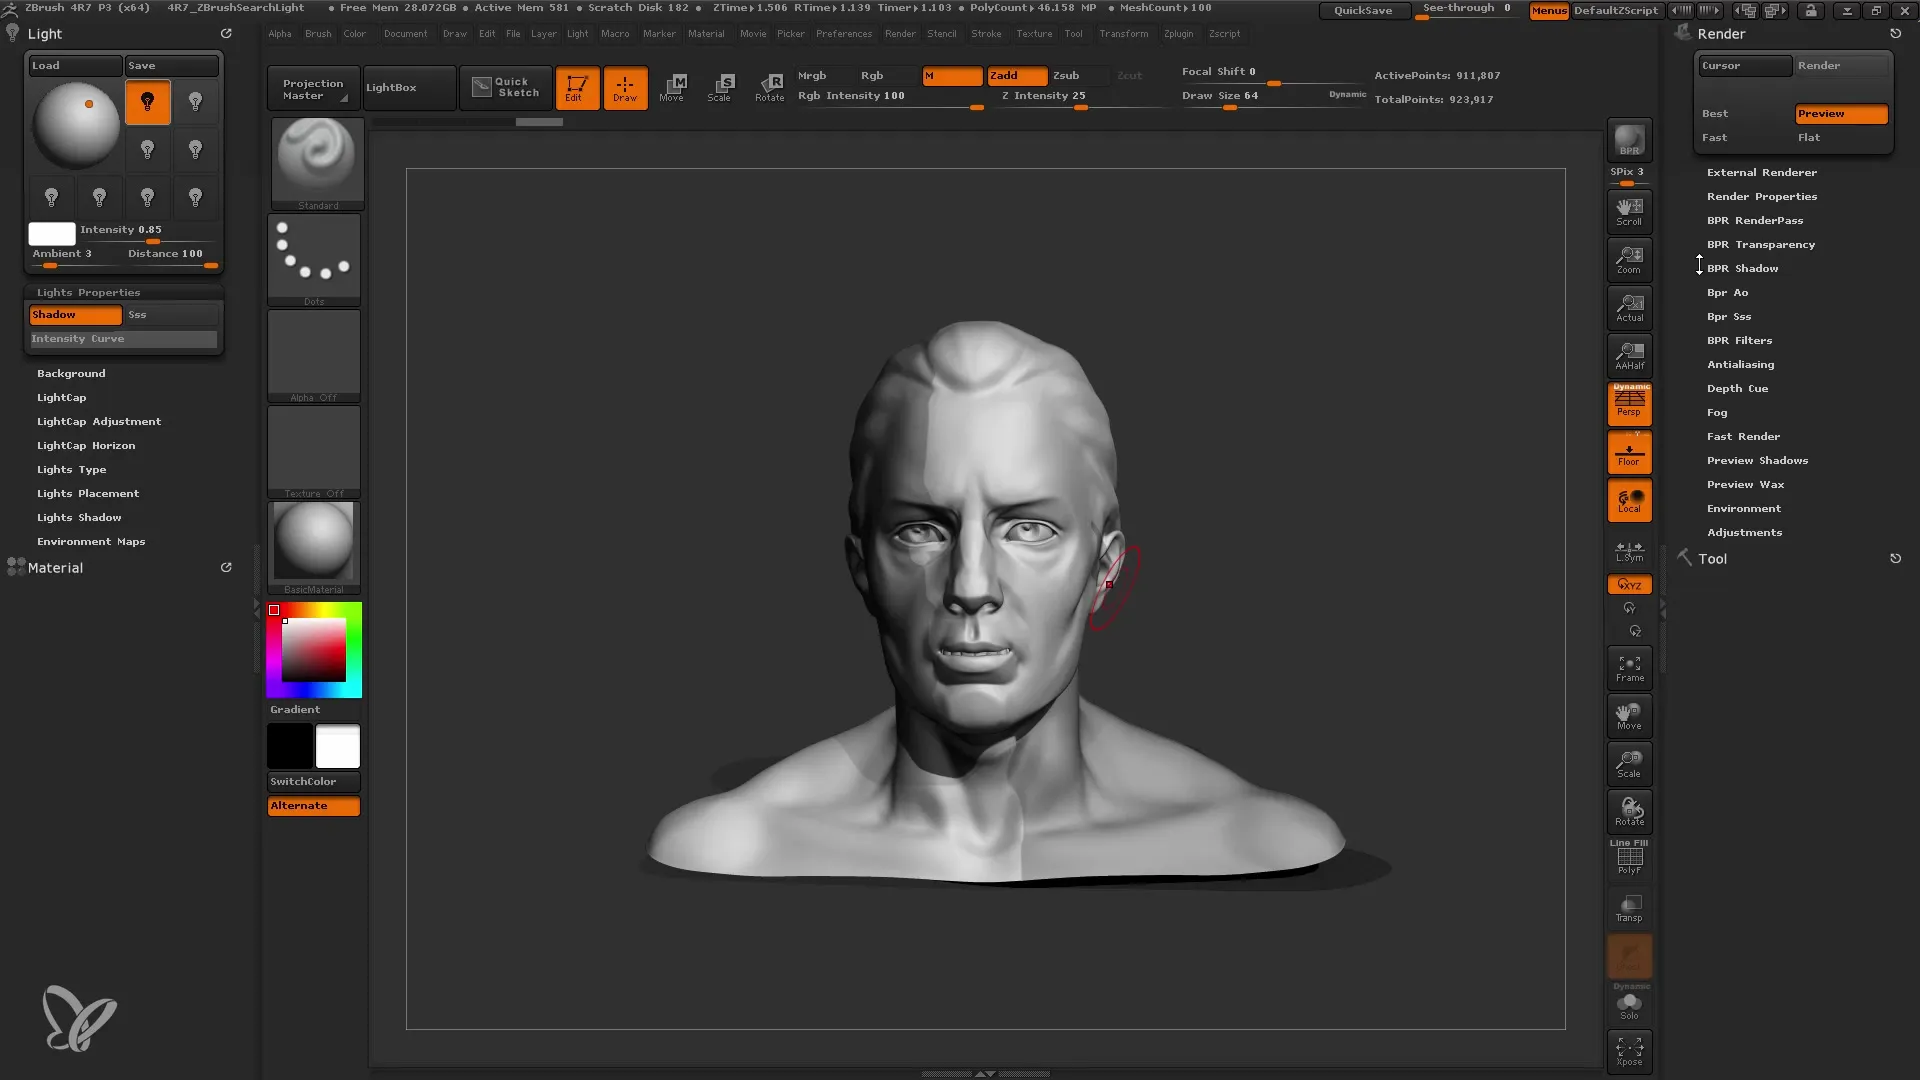
If you are using a very strong key light, pay attention to how strong the shadow setting is. An overly strong key light can overwhelm the overall look of the model and mask the other light sources.
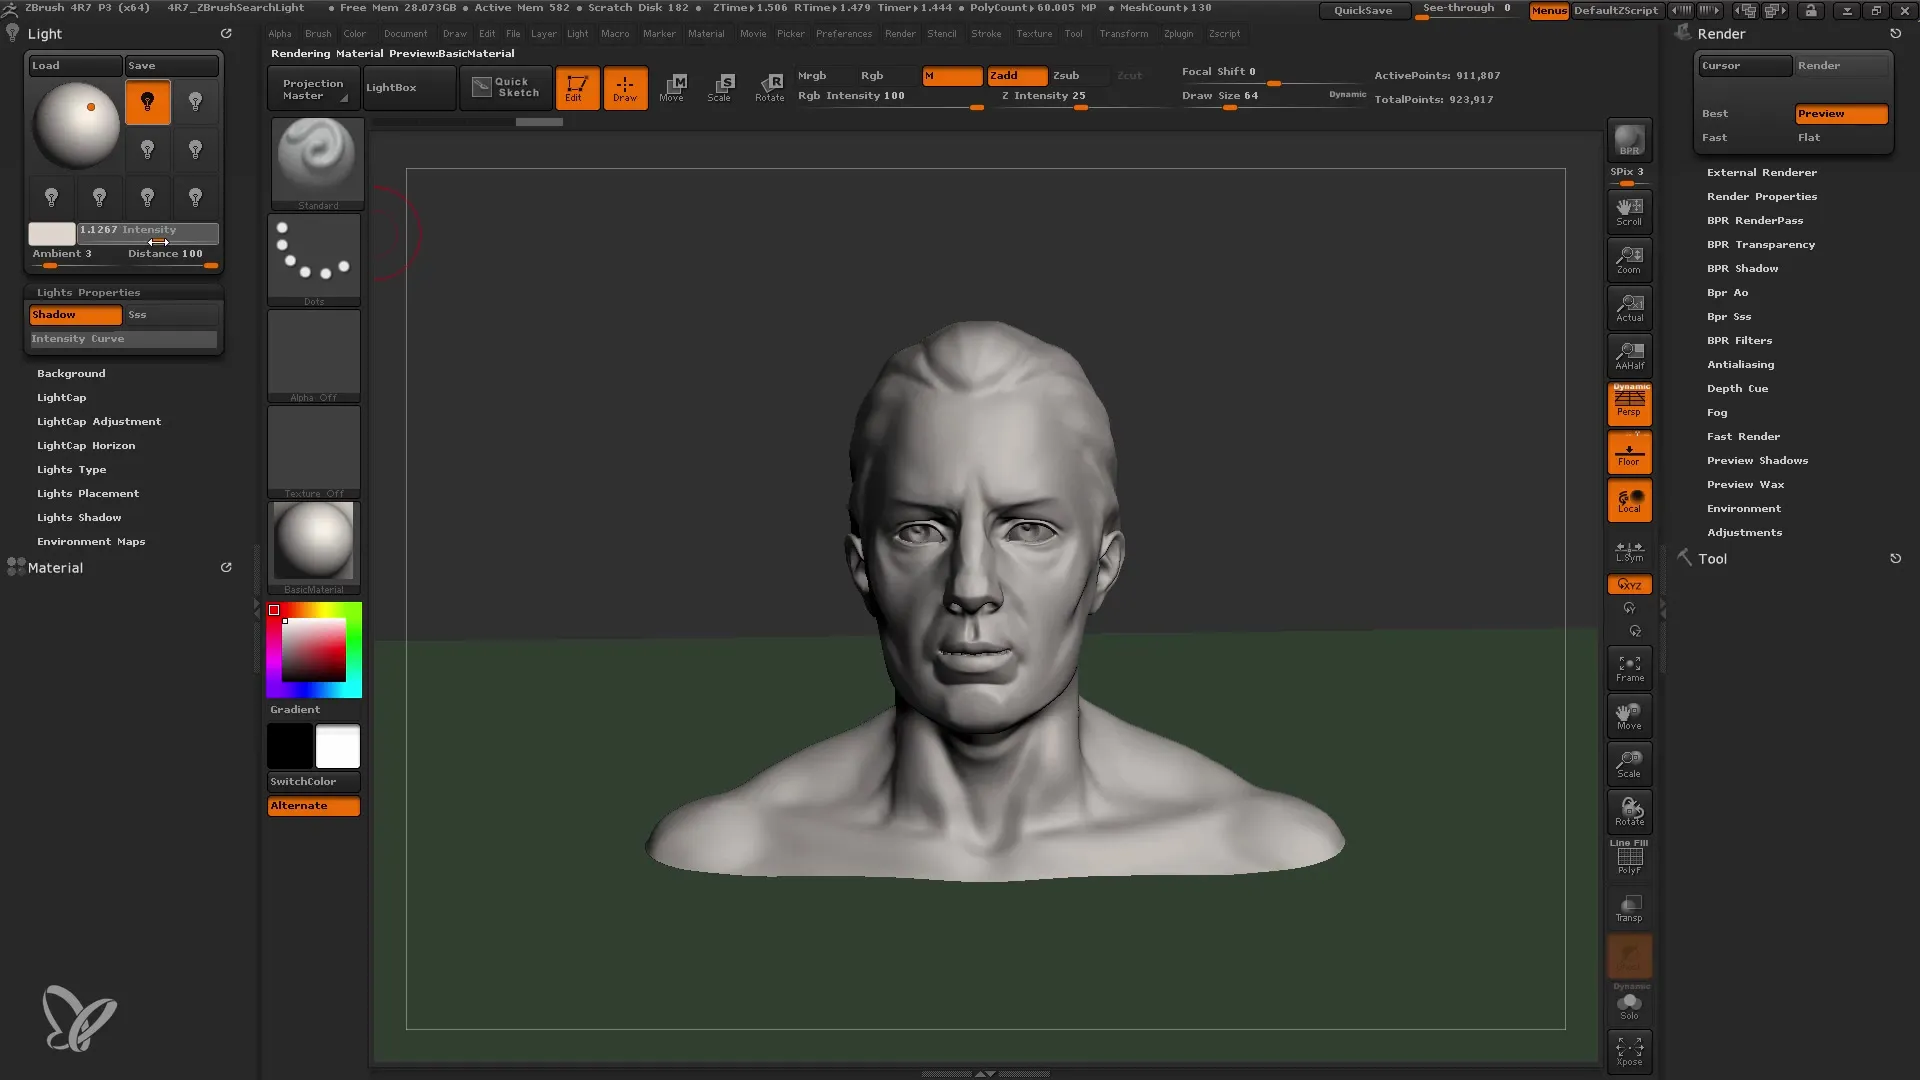
You can also completely turn off the shadows of the lights or reduce their intensity to achieve a balanced overall image.
Once everything is set, mirror the different light sources in a pre-set light cap if you want to build a sophisticated lighting setup.
Summary
In this tutorial, you have learned how to selectively illuminate your models in ZBrush using the standard light function. Control over light and shadow extends to the selection of light sources, their placement, and adjustment. Use these principles to create dynamic and appealing 3D representations.
Frequently Asked Questions
How can I change the intensity of the light?You can adjust the intensity in the light menu by moving the slider for each light source.
Why does my model look strange with certain light sources?It may be that the shadows are too strong or the light source is not positioned well. Experiment with their placement and intensity.
Can I use multiple light sources in one model?Yes, you can combine multiple light sources to illuminate your models in various ways.
How can I influence the shadows?The shadows can be manipulated in the render settings by changing the angle and strength of the shadows.
