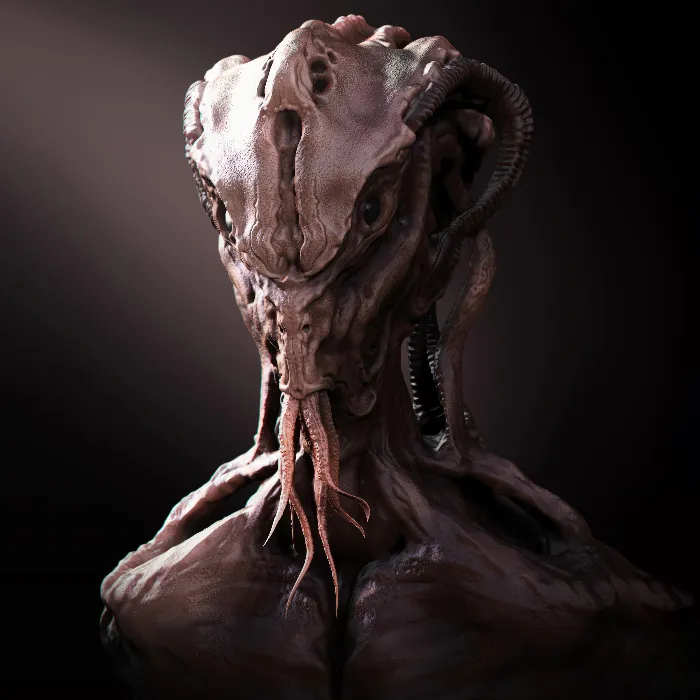
In this tutorial, I'll show you how to quickly and efficiently create low-poly models with ZModeler in ZBrush. The ZModeler is a powerful tool that allows you to edit polygons, edges, and points, opening up new possibilities in hard surface modeling. Whether you're a beginner in ZBrush or have basic knowledge, this guide will help you understand and apply the key features of the ZModeler.
Main Takeaways
- The ZModeler is ideal for low-poly modeling.
- You can edit polygons, edges, and points.
- Dynamic Subdivision enhances your modeling capabilities.
- Experiment with the different functions to get the most out of ZBrush.
Step-by-Step Guide
1. Introduction to the User Interface
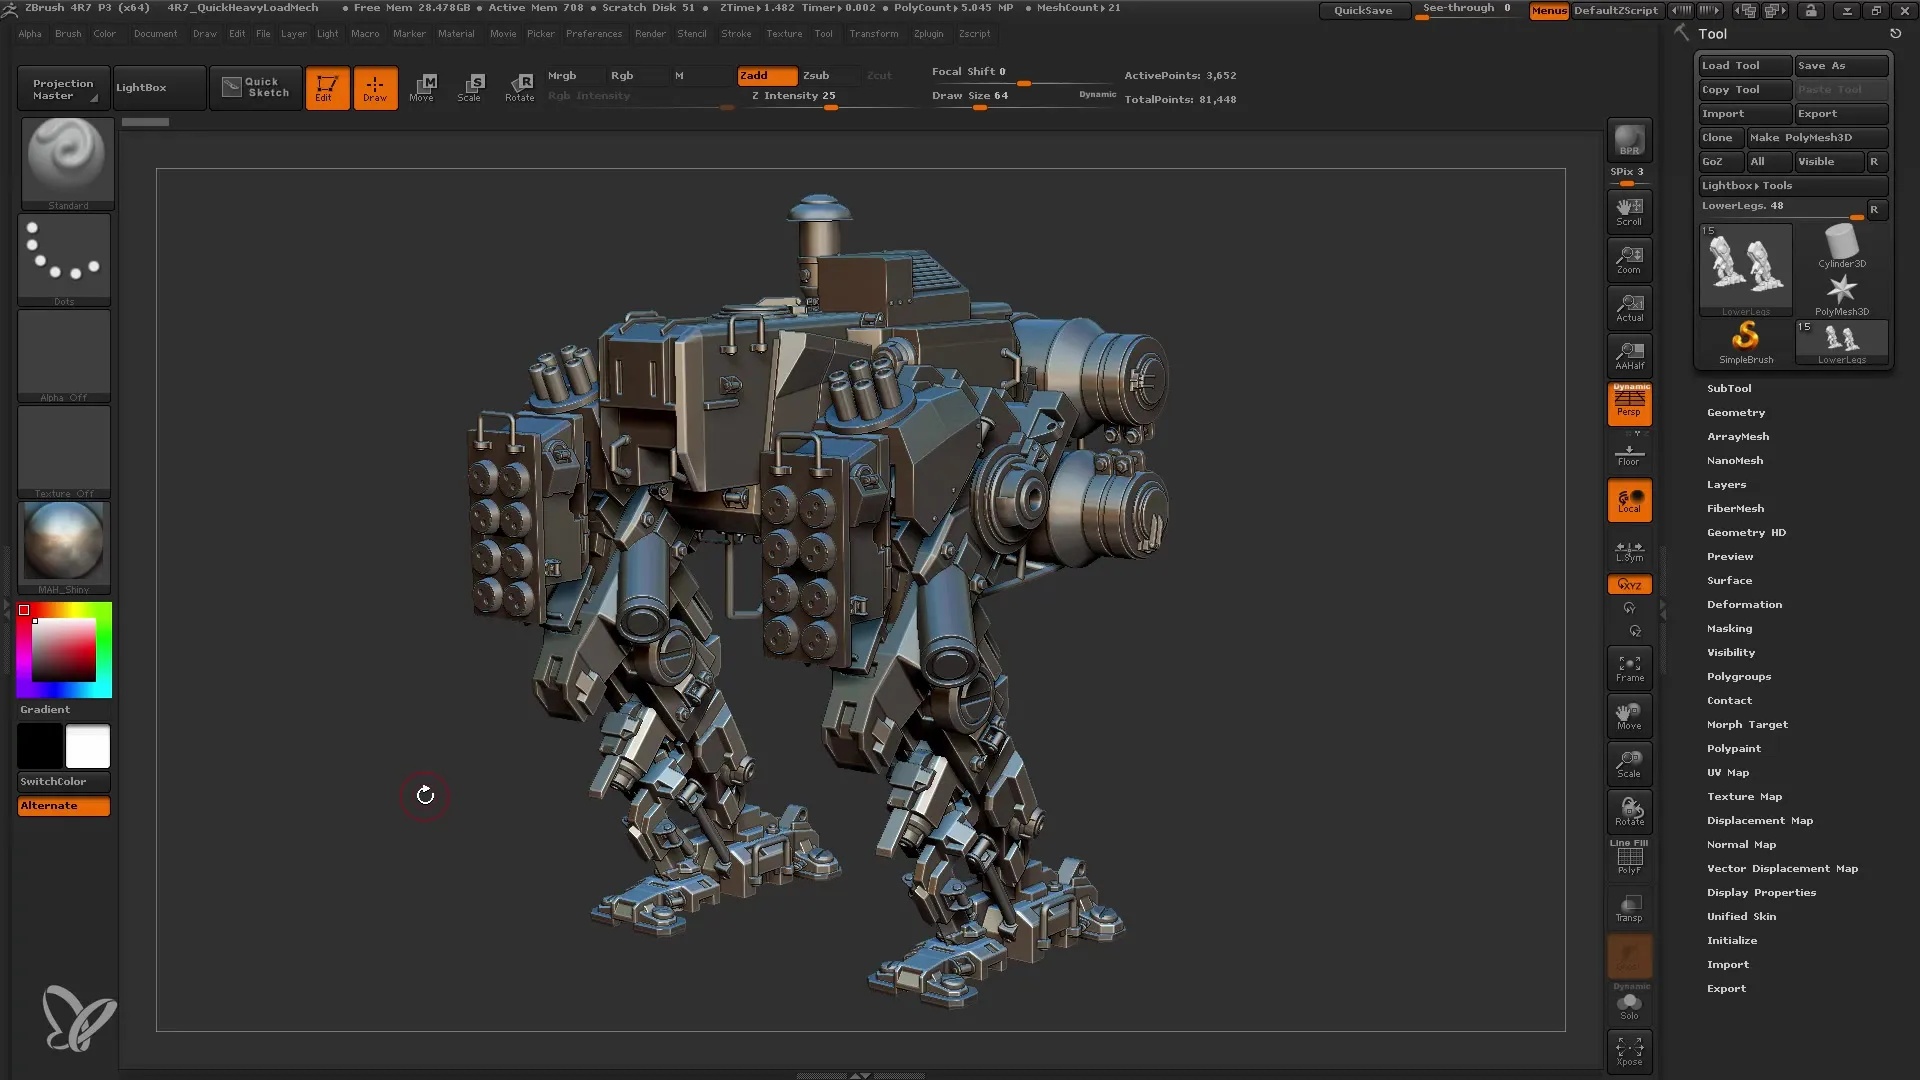
Start by opening ZBrush and initiating a new project. In the main window, you'll see various options and tools. To work with ZModeler, select a simple primitive like a cube or a star.
2. Creating a Base Object
To create a base object, go to "Lightbox" and select a polygon. I recommend starting with a cube as it has a simple shape. This will give you enough surface to experiment with ZModeler. Click "Initialize" and ensure you choose the polygon settings to have the desired number of points and faces on your object.
3. Selecting the ZModeler
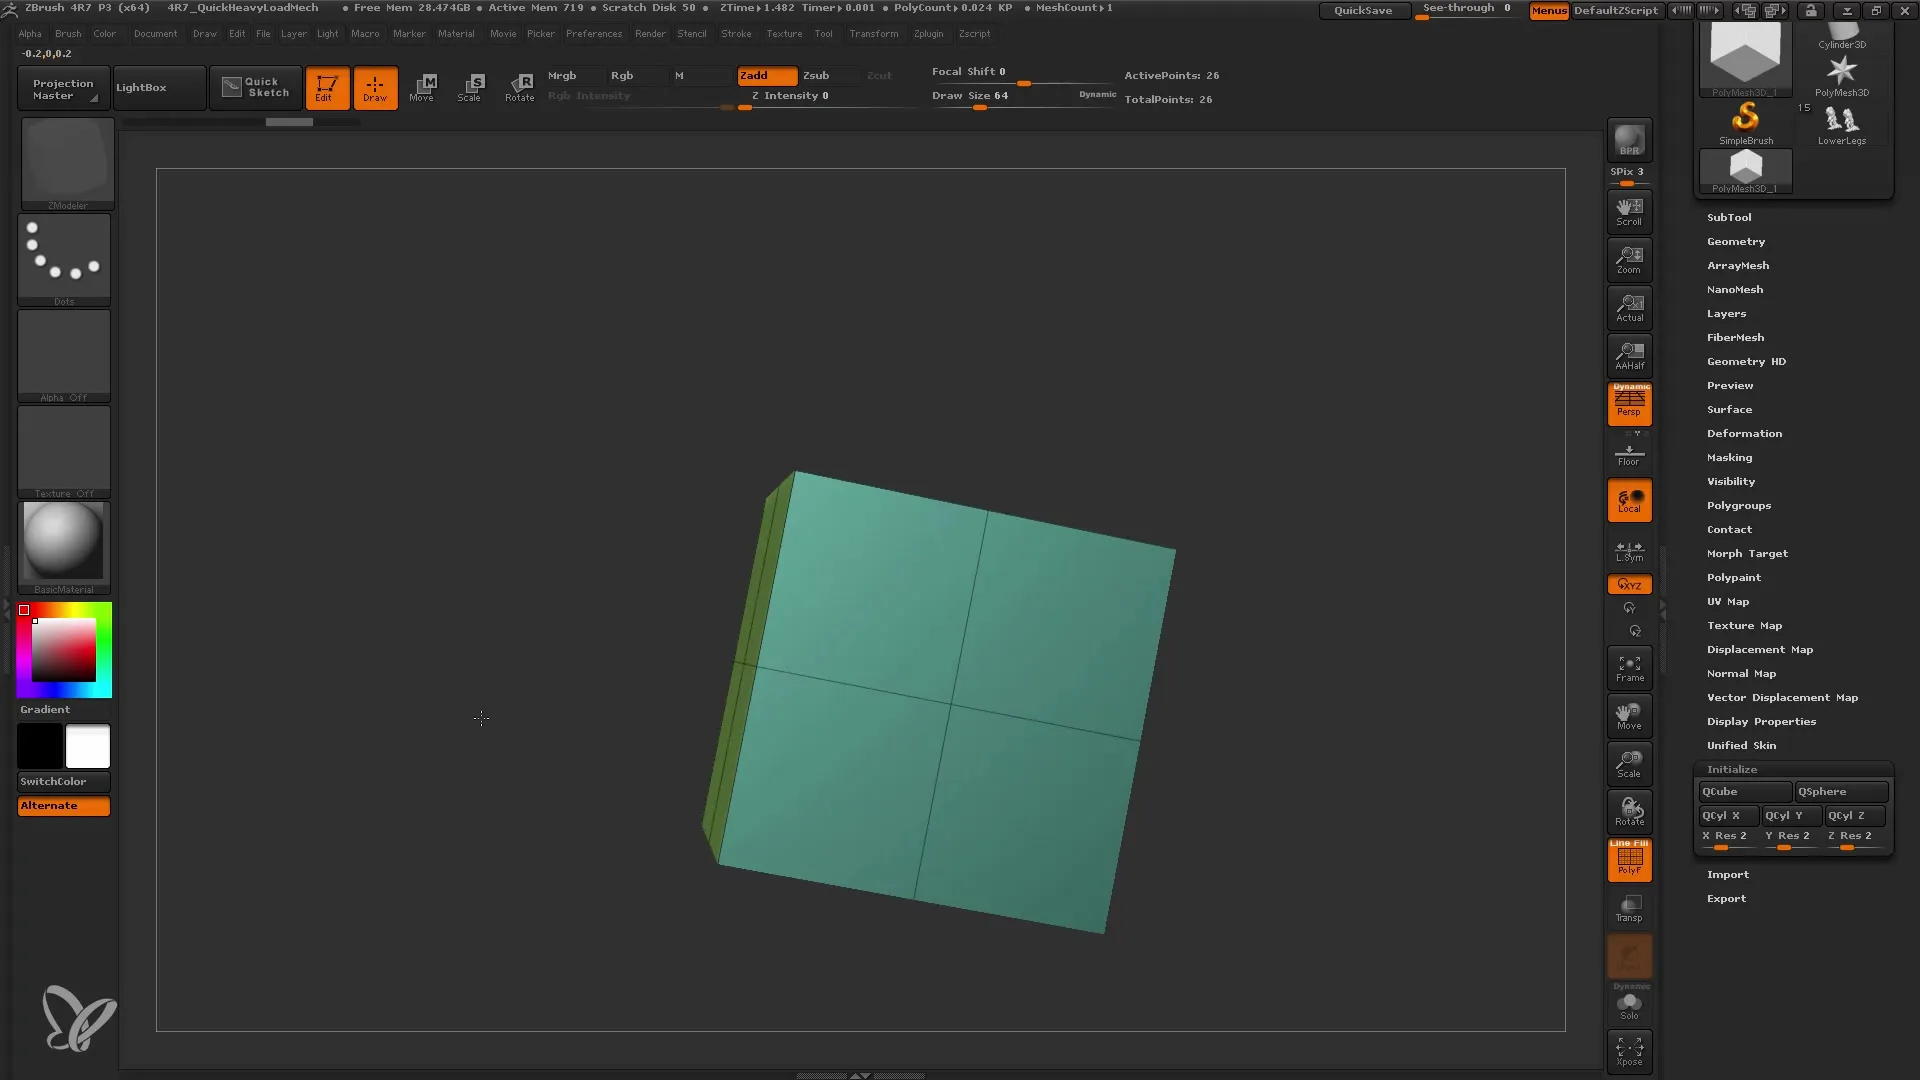
Once you have your base object, you need to select the ZModeler. Go to the Brushes and choose "ZModeler." A gray menu will appear, offering you various editing functions to manipulate polygons, edges, and points.
4. Polygon Editing
Now you can edit your first polygon. Hover the mouse over the polygon to see the respective options. For example, clicking on a polygon allows you to apply the "QMesh" function to extrude it to the next face. This is similar to extrusion in other programs.
5. Experimenting with Edge Editing
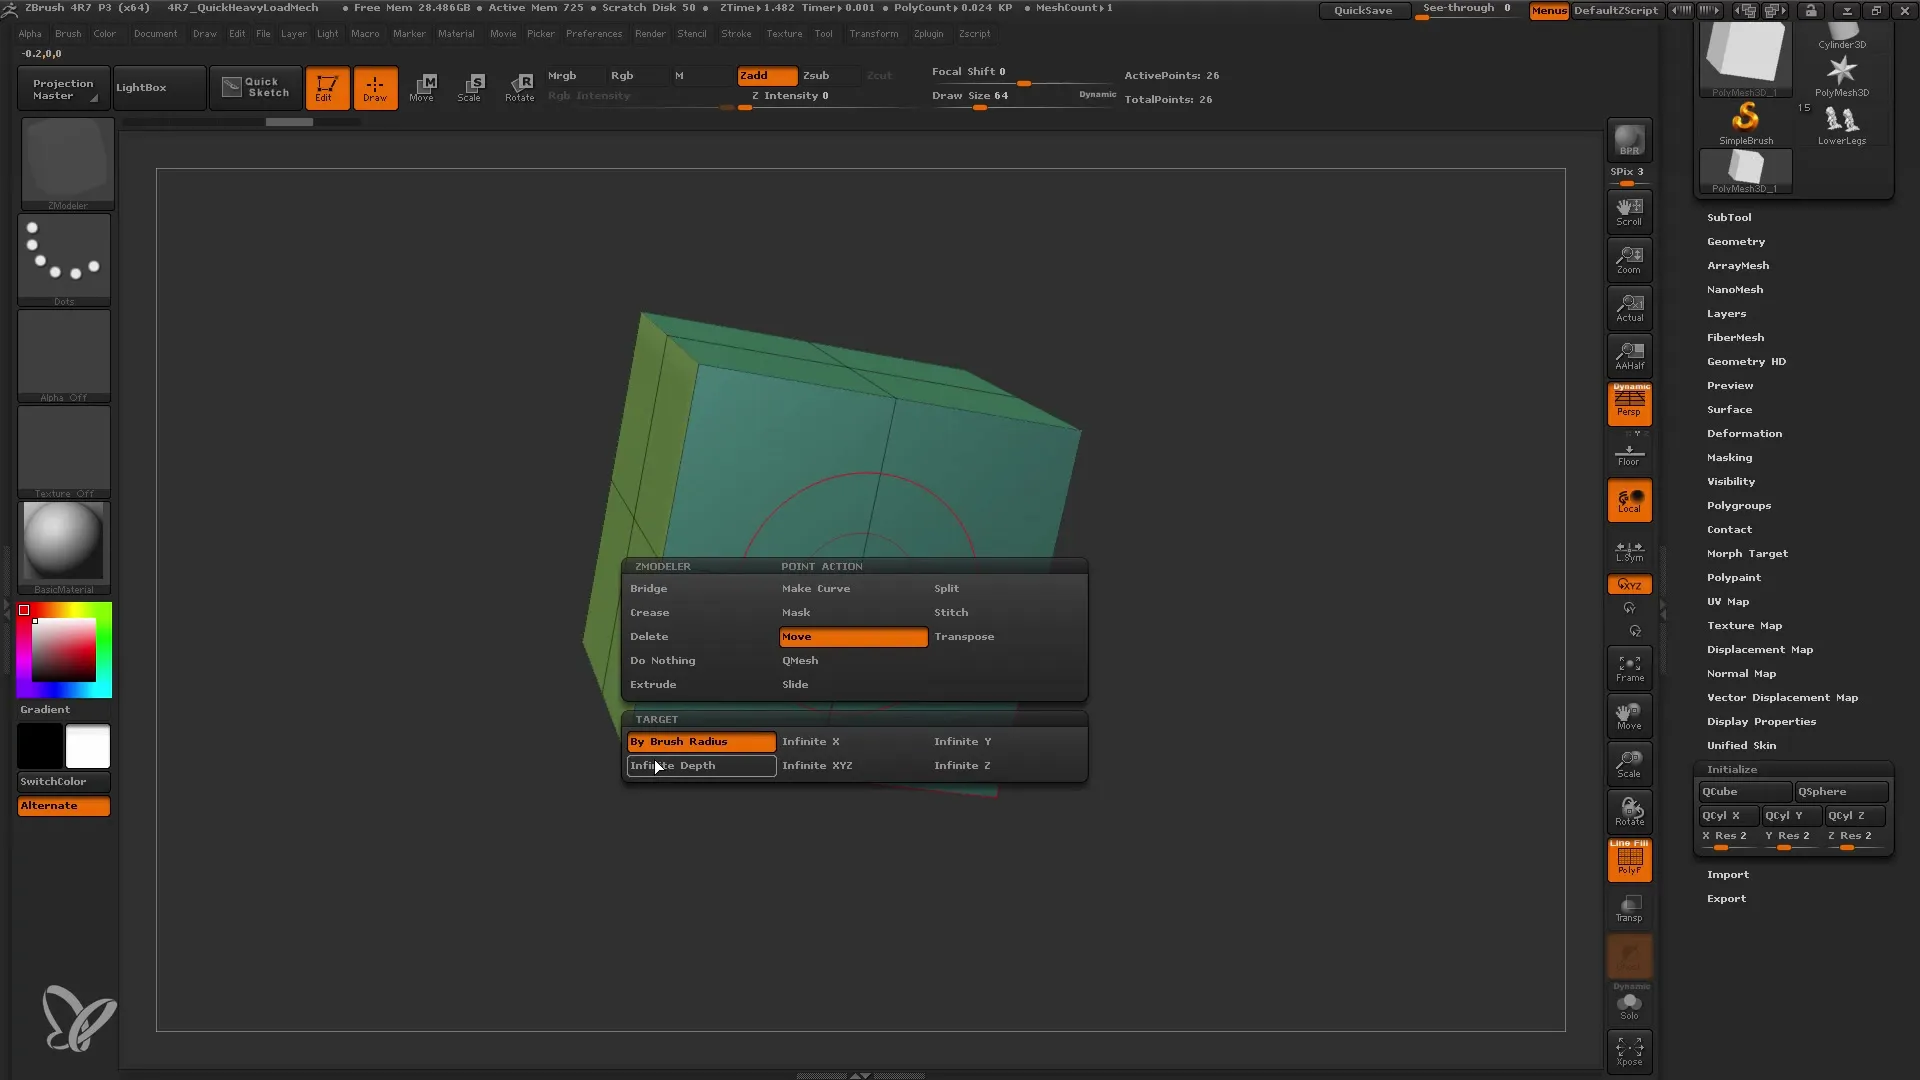
Return to your object and experiment with the edges. You can select edges and perform various actions such as inserting or moving them. Use the "Insert" function to create an edge loop, which is particularly useful when you want to change or subdivide your model's shape.
6. Working with Points
The next step involves working with points. You can select individual points and move them to further refine your model. This function is useful for making precise adjustments to the geometry. Especially when combined with the "Split" function, you can create interesting geometric effects.
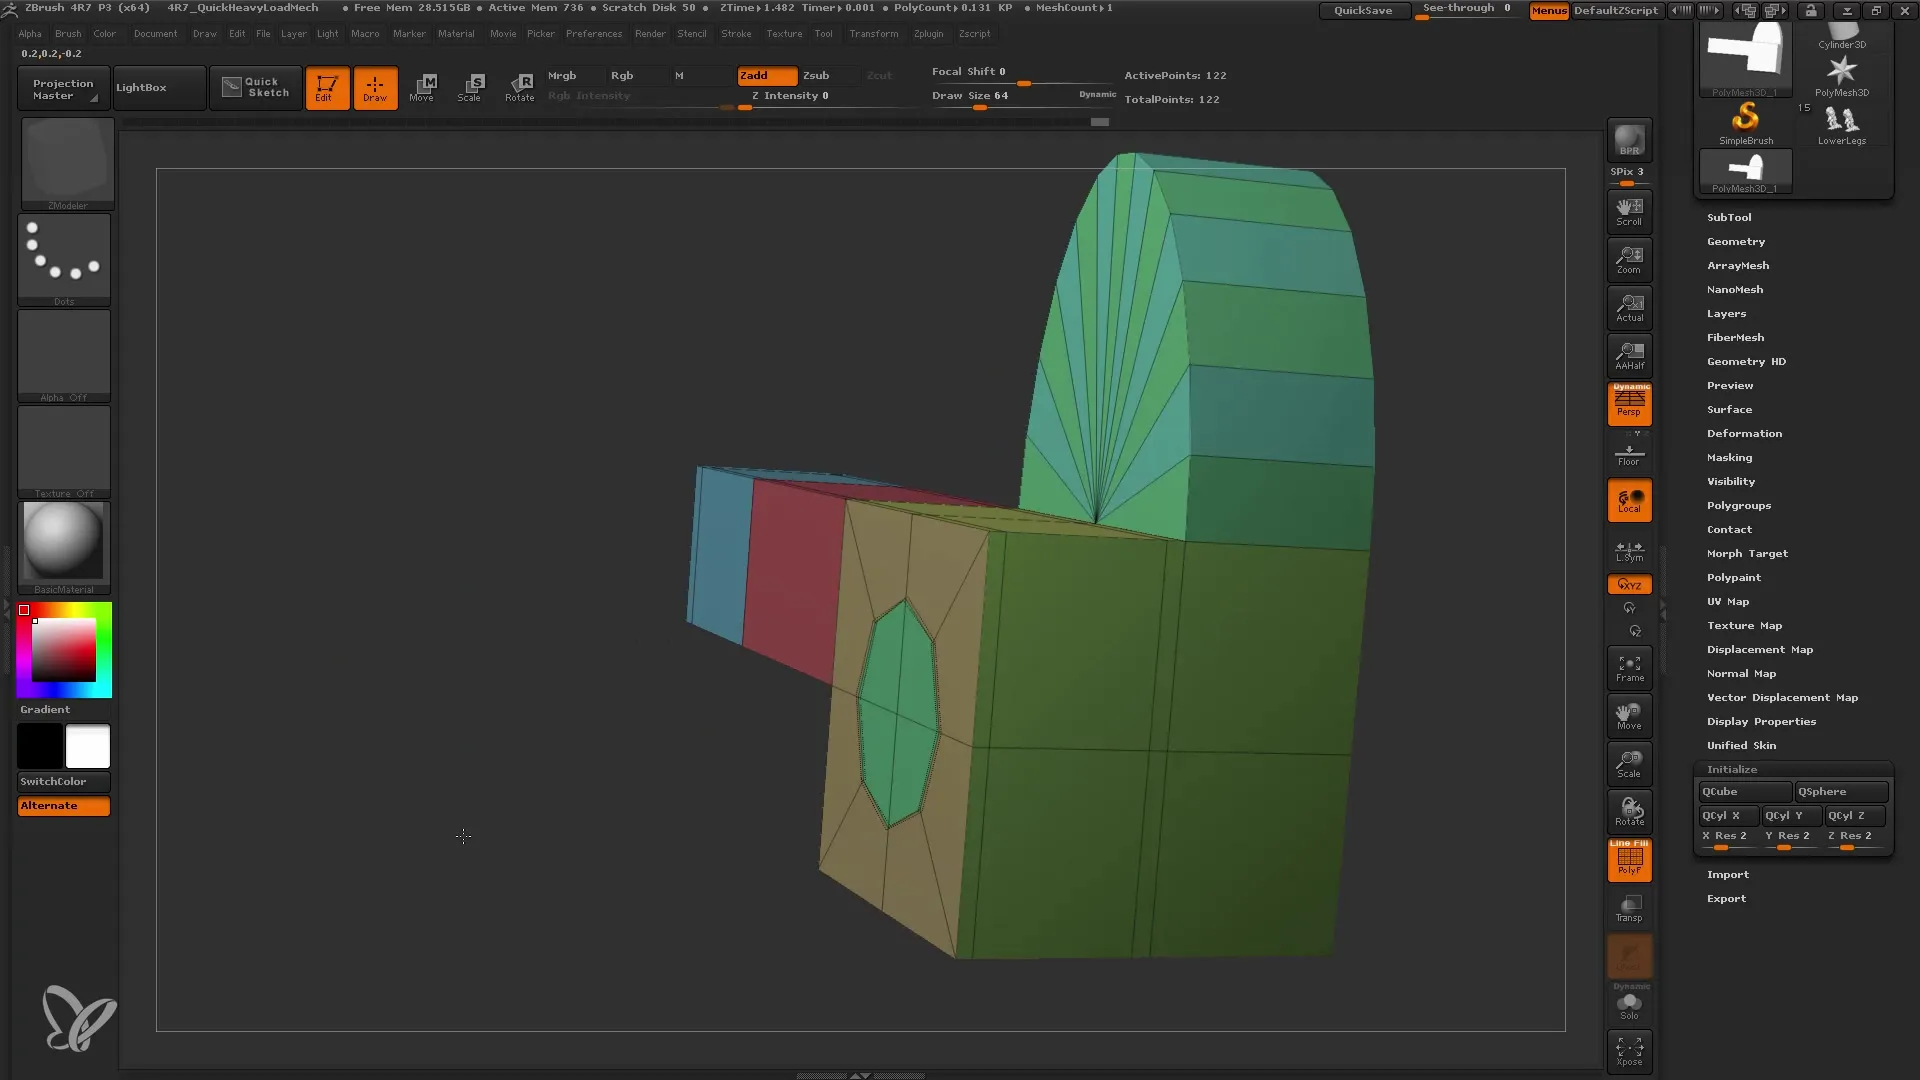
7. Using Dynamic Subdivision
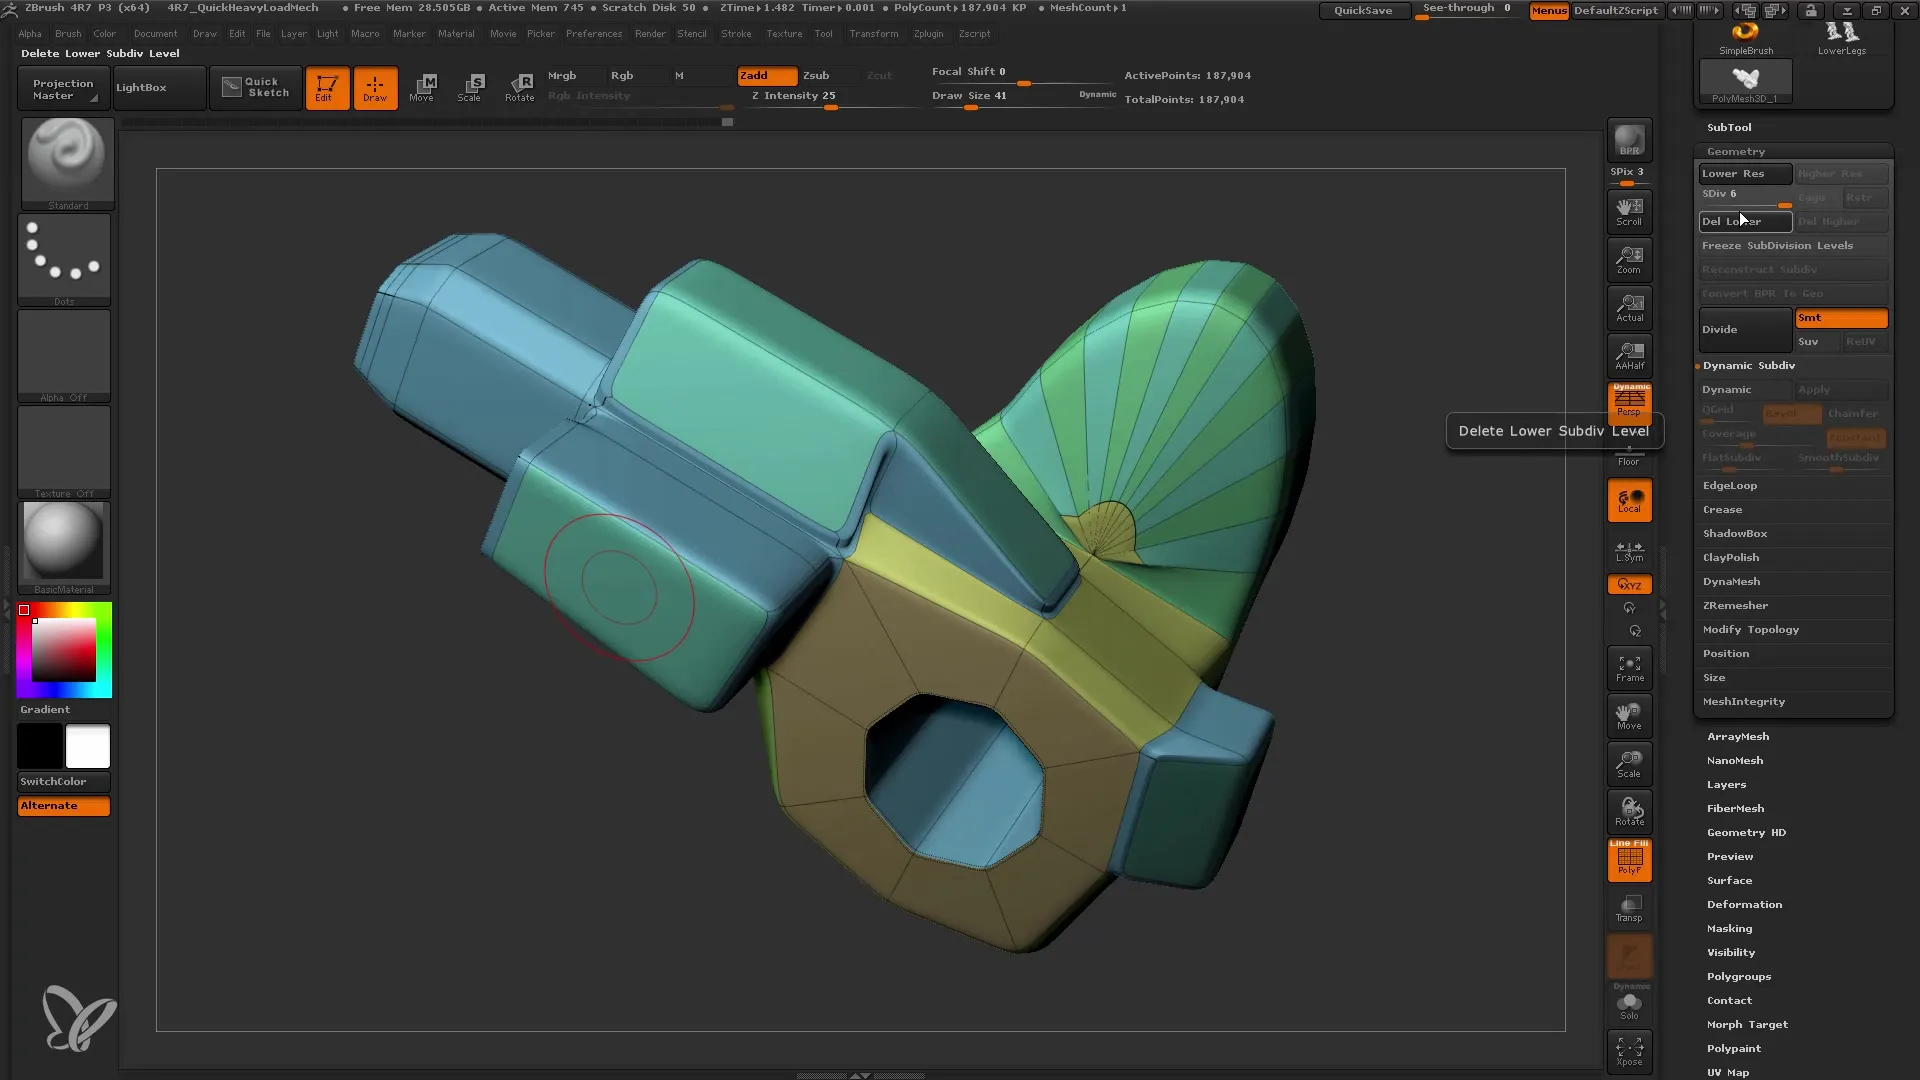
A particularly powerful feature of the ZModeler is dynamic subdivision, which you can enable to display your model in a smoother and more detailed view. Simply go to the settings and activate "Dynamic." This allows you to change the model's display without affecting the original geometry.
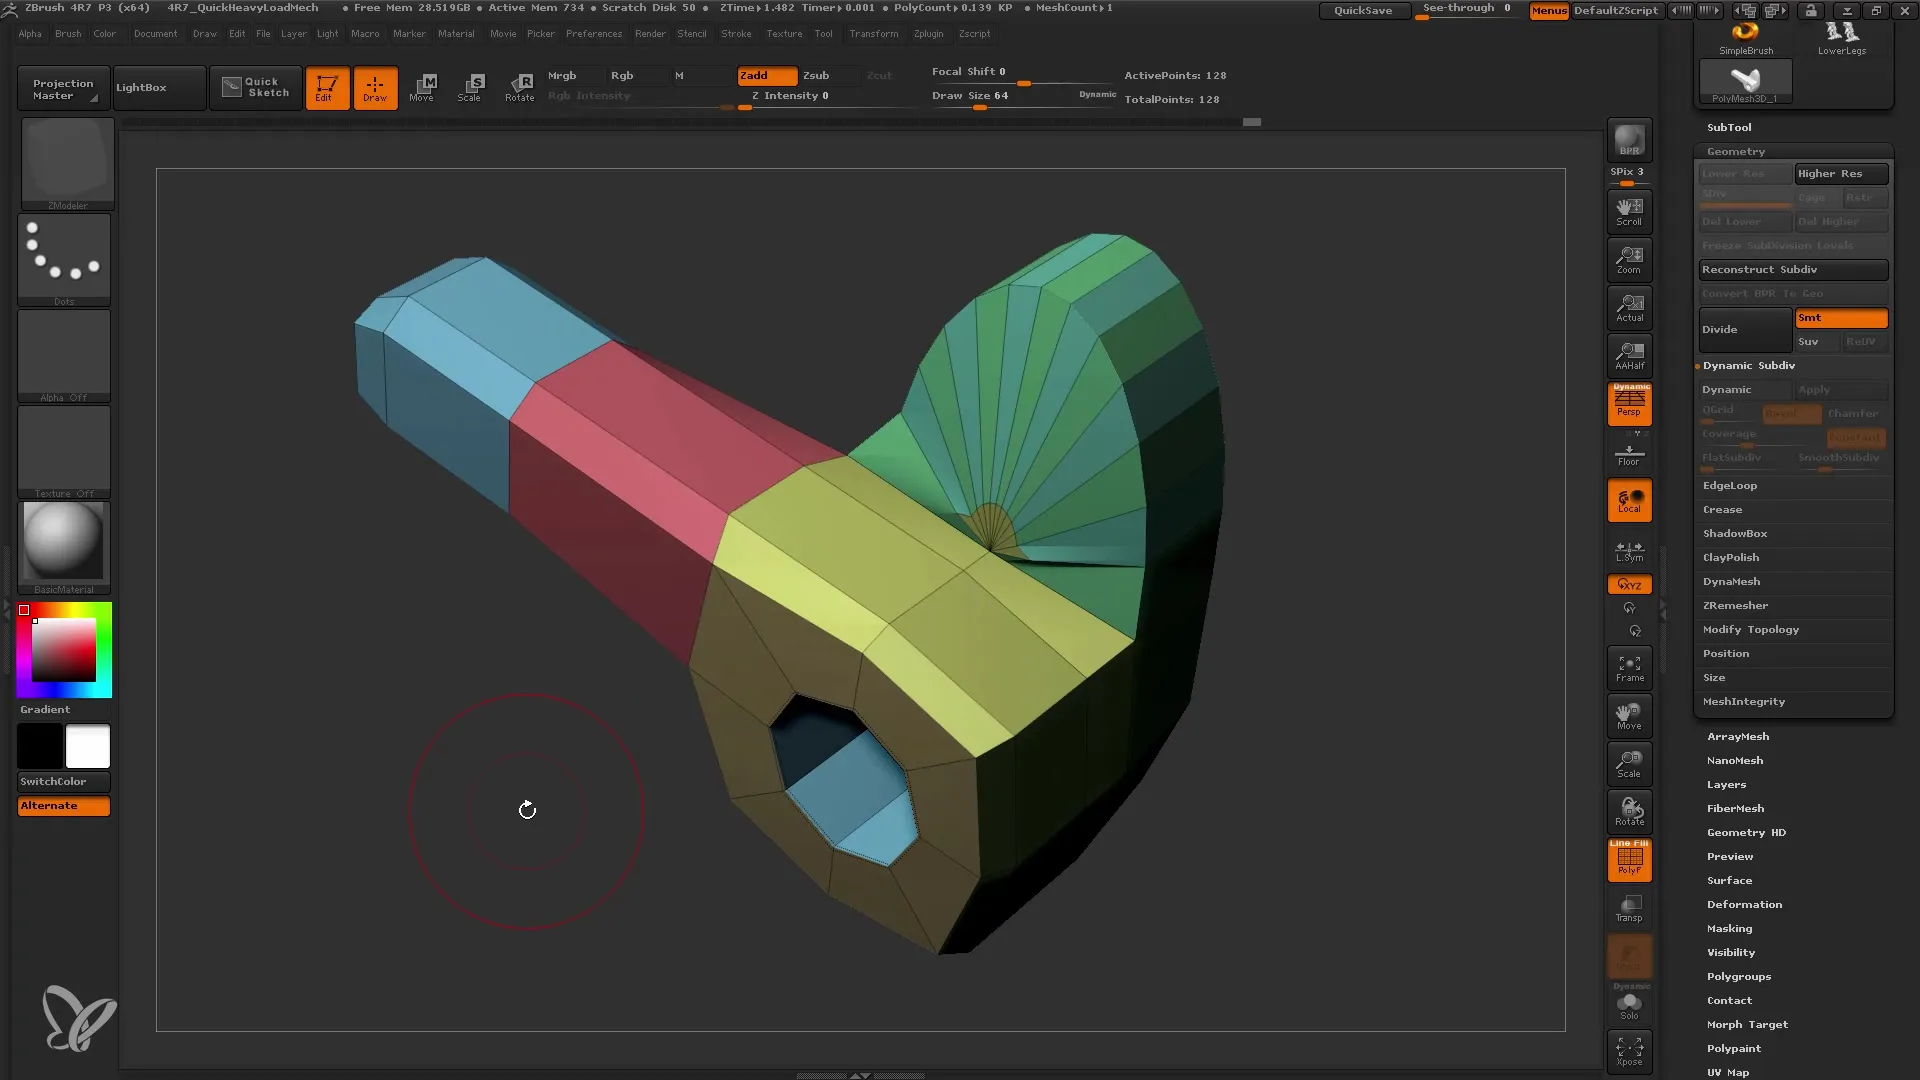
8. Applying Additional Functions
After dynamic subdivision, you can continue to experiment with functions like "Bridge" and "Inset" to add more details to your model, such as in the frame of a chair or a robot. These functions help you establish connections between different faces and make the model more complex.
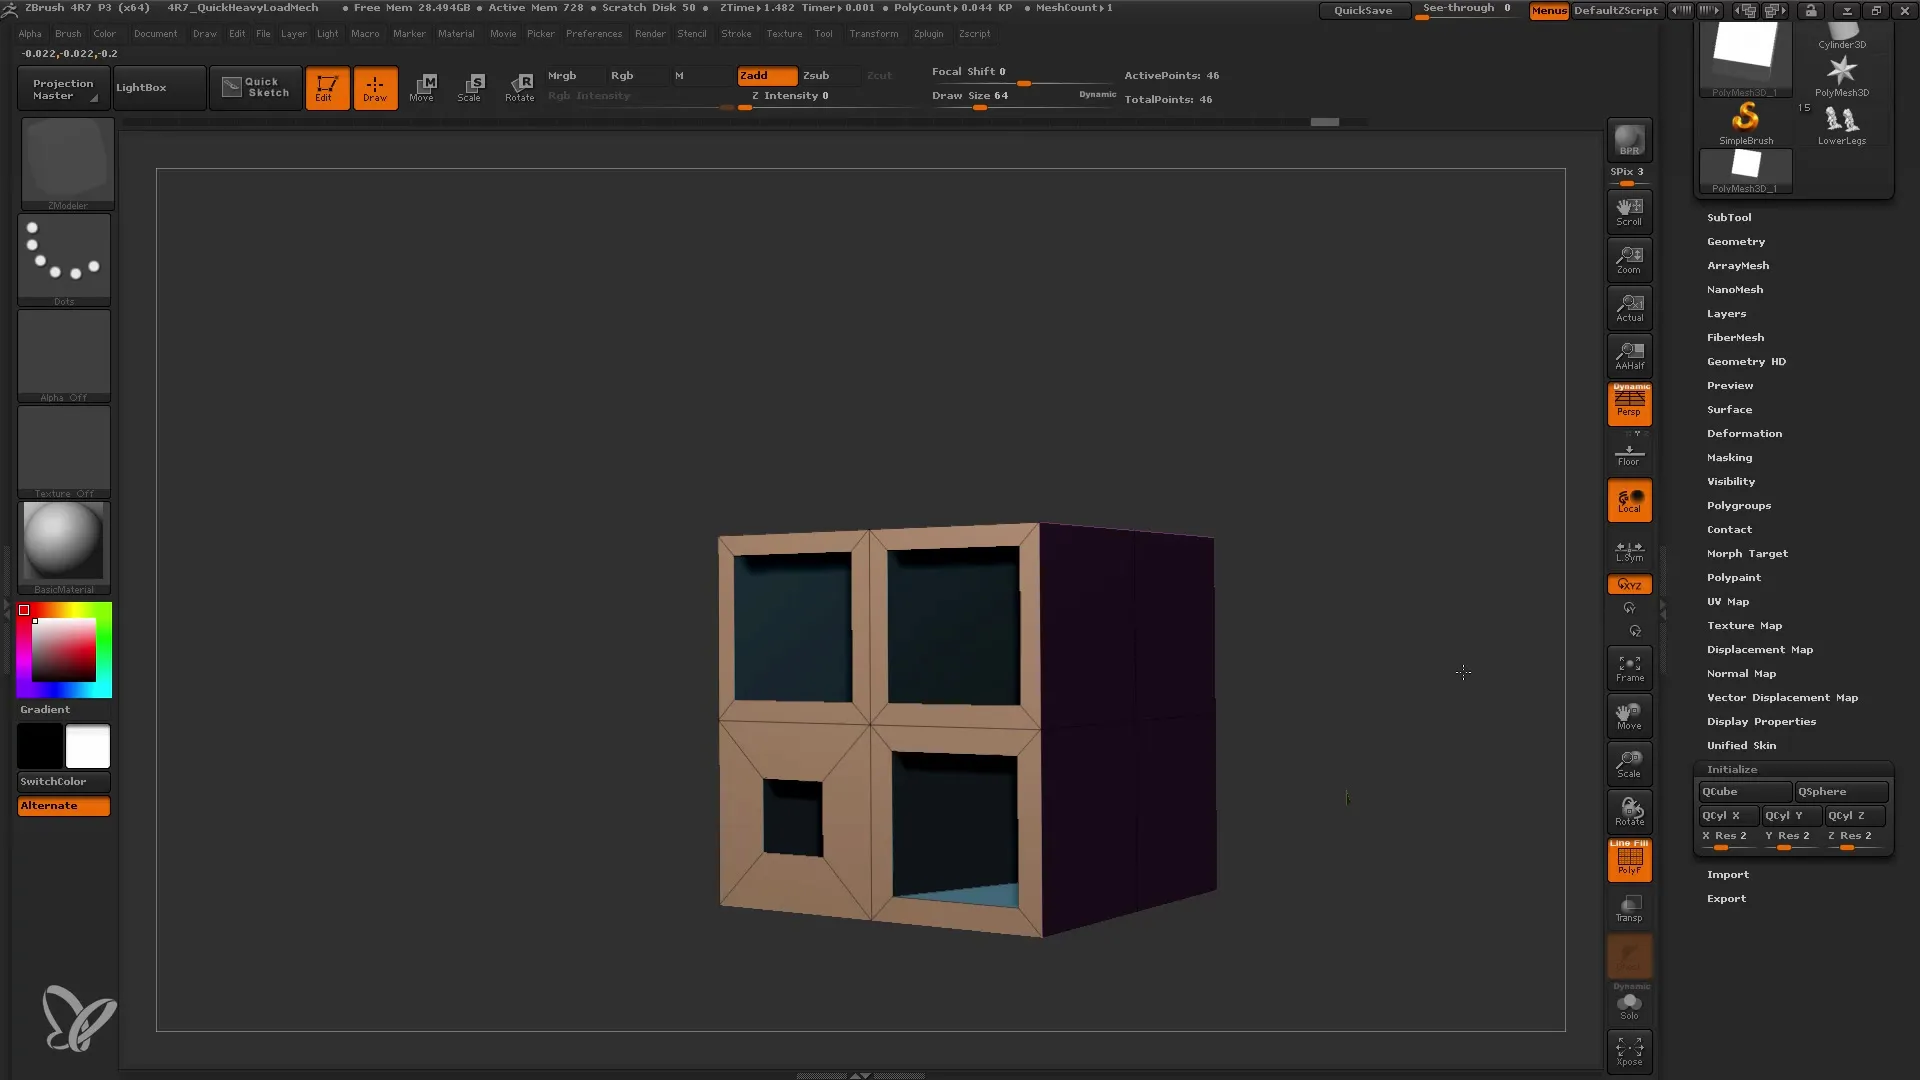
9. Final Actions
Once you are satisfied with your model, it is important to apply your changes to ensure they are saved. You can use the "Apply" function to transfer the dynamic subdivision to the final model.
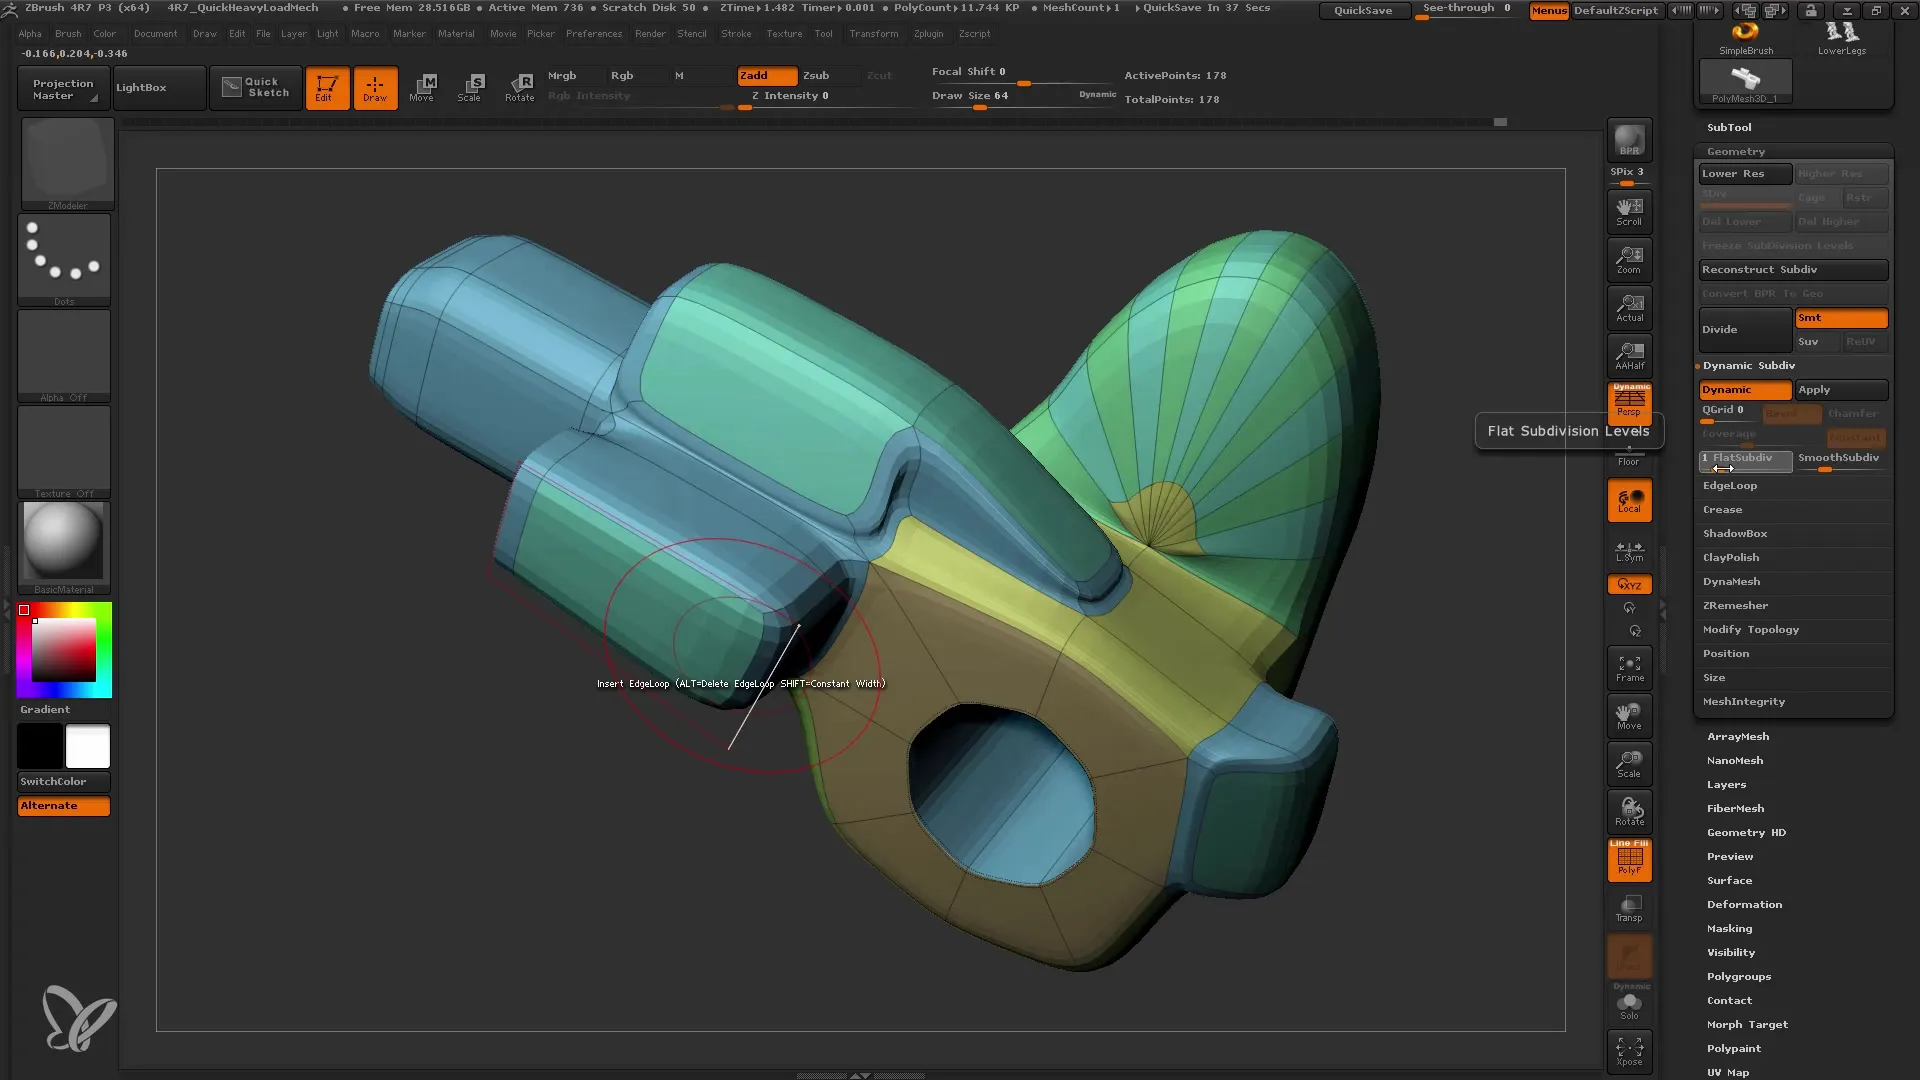
10. Continuing to Edit the Model
Now that your model is complete, you can make additional adjustments or prepare it for texturing and rendering. Use the various tools in ZBrush to refine your model and give it the final touches.
Summary
In this tutorial, you have learned how to work with ZModeler in ZBrush to efficiently create low-poly models. By editing polygons, edges, and points, you have gained valuable skills that will help you in future projects. Continue experimenting with the various functions of ZModeler to improve your skills and generate creative designs.
Frequently Asked Questions
What is ZModeler?ZModeler is a tool in ZBrush used for low-poly modeling.
How can I edit polygons in ZModeler?You can select polygons and apply various actions like QMesh, Inset, or Bridge.
What is dynamic subdivision?Dynamic subdivision allows you to see your models in a smoother view without altering the original geometry.
Can I use ZModeler for organic models as well?No, ZModeler is mainly designed for hard surface models and low-poly models.
How can I start using ZModeler?Simply launch ZBrush, select a basic object, and activate ZModeler to start editing.
