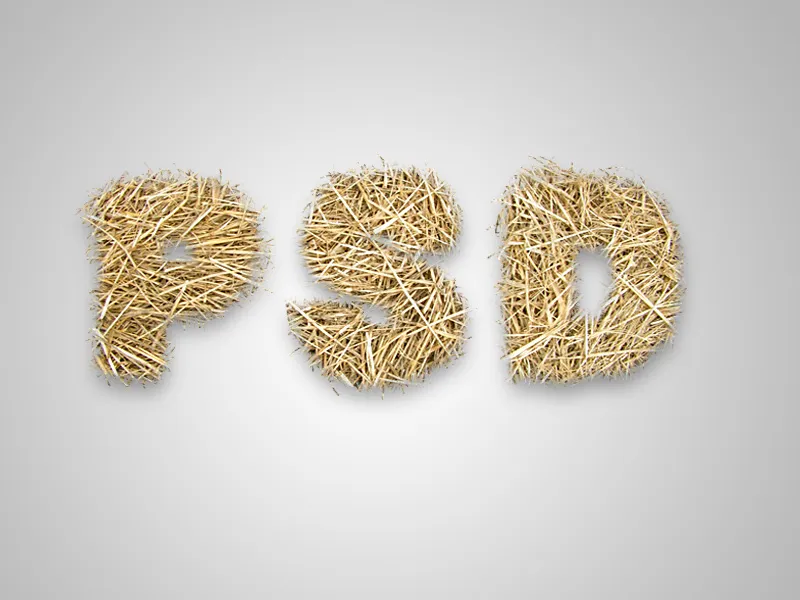
Grass text in Photoshop is a versatile and creative effect that brings nature into your designs. With Photoshop, you can achieve this look in just a few clicks. In this tutorial, I'll show you two exciting variations: a realistic grass text with a textured 3D look and a simplified version for quick results. Whether you're working on a poster, an invitation, or a social media post - with these techniques, you'll create a natural and vibrant effect in no time.
Step 1:
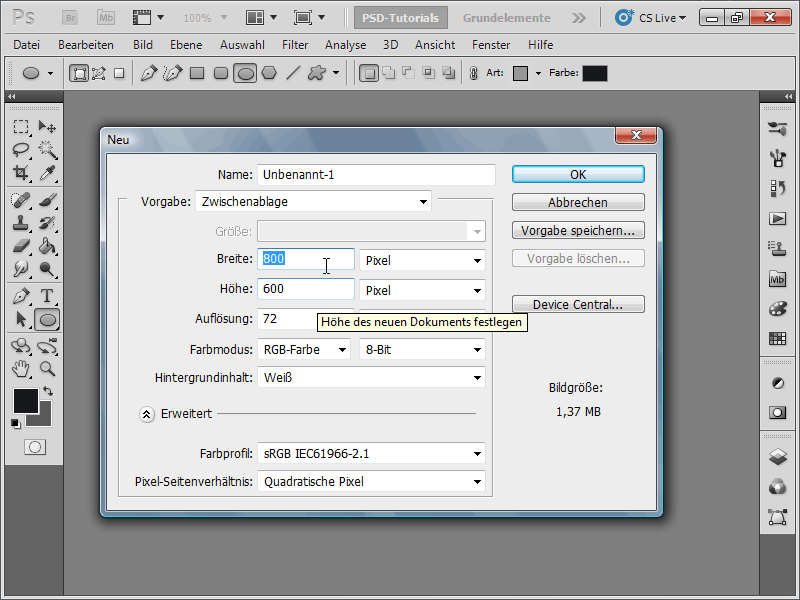
First, I create a new document; the size doesn't matter at all. I choose a very small size of 800x600 pixels. If you want to print this effect, the unit should be changed from pixels to cm and the resolution from 72 to 300 pixels/inch.
Step 2:
Now I create a text with thick letters and turn it into a work path (right-click on the text layer in the Layers panel).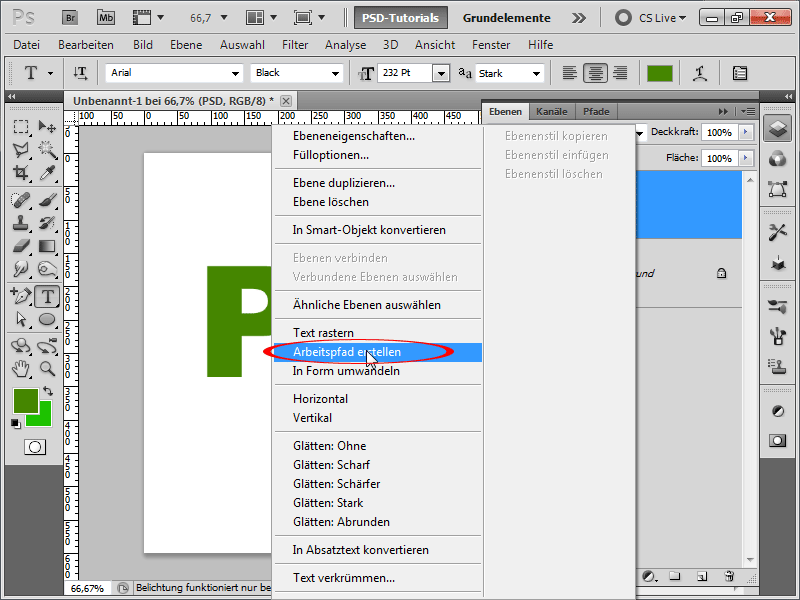
Step 3:
Next, I create a new layer, grab the brush, and choose the dune grass tip as the brush tip. I set the foreground and background colors to two different shades of green.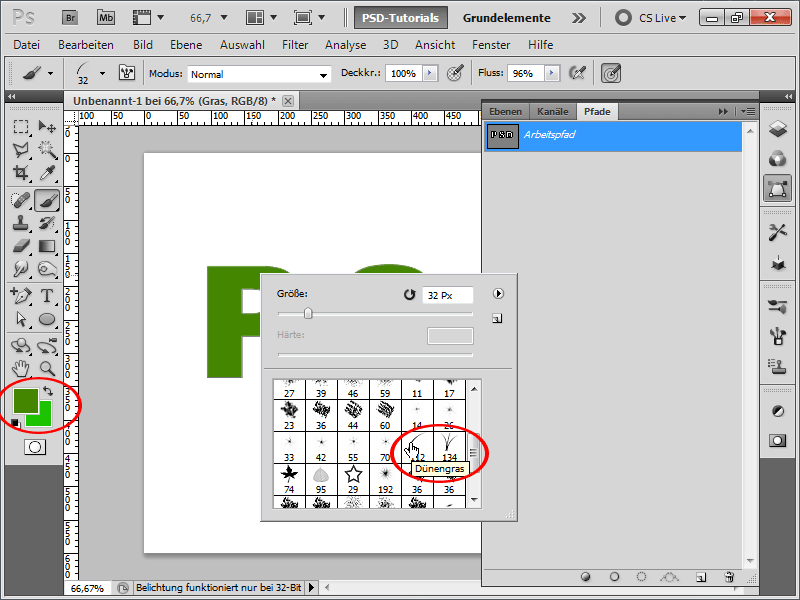
Step 4:
Then, in the Paths panel, I right-click on my work path and then click on Stroke Path. A dialog box will appear, where I uncheck Simulate Pressure.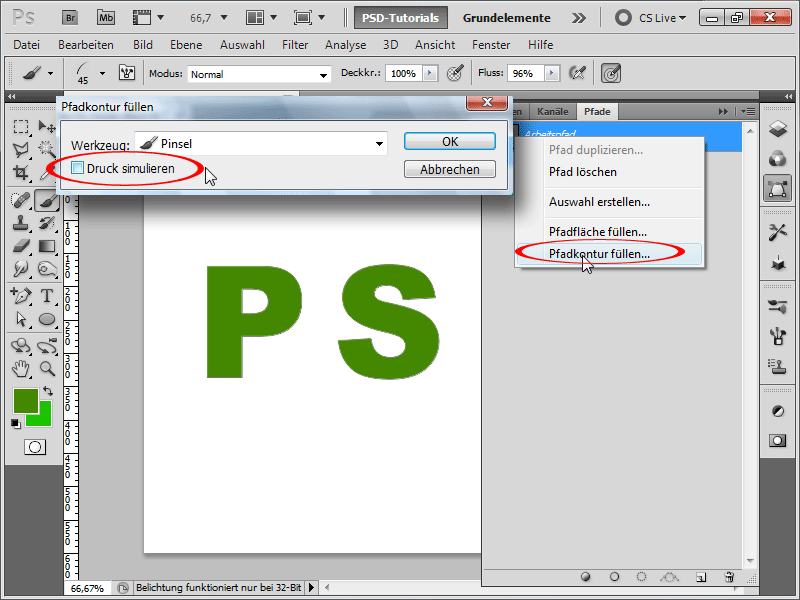
Step 5:
The result will then look like this: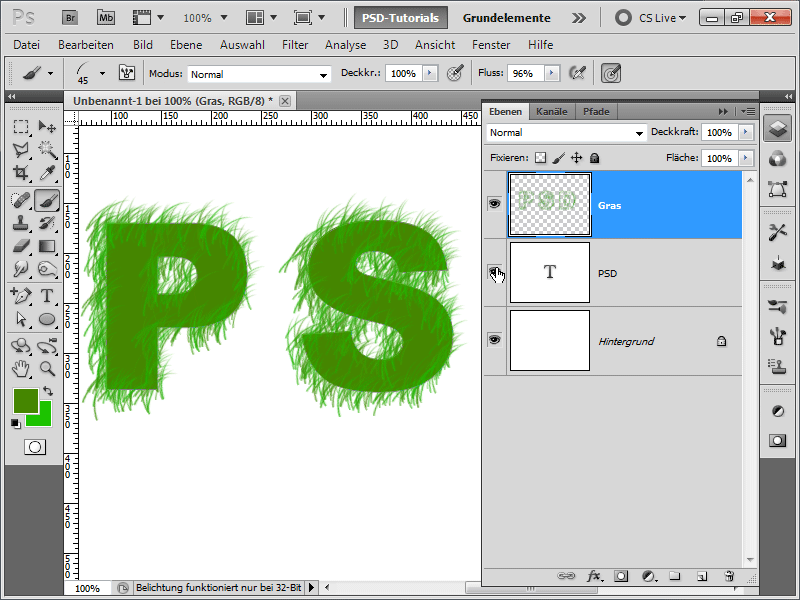
Step 6:
When I hide the text layer, only the grass brush structure remains. I can even fill it in myself with the brush.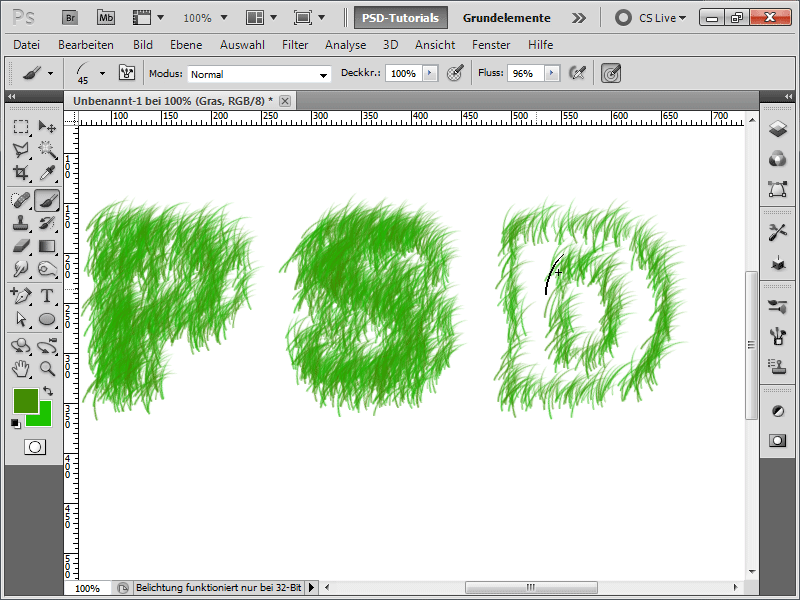
Step 7:
With a mask or the eraser, I could remove areas with the grass tip again. But it's not really convincing, especially because I prefer to have the grass tip always on the outside, which is not the case.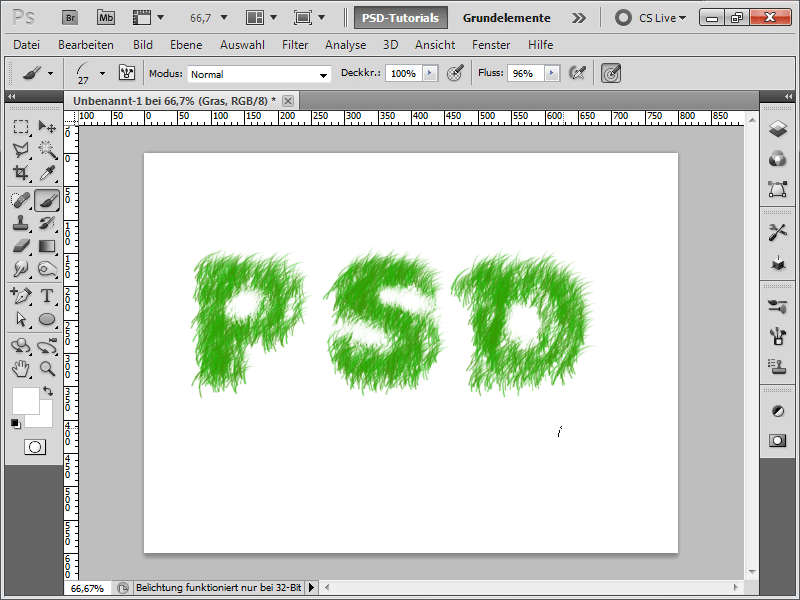
Step 8:
So here comes my favorite method: First, I only paint the upper areas above my text layer with my brush.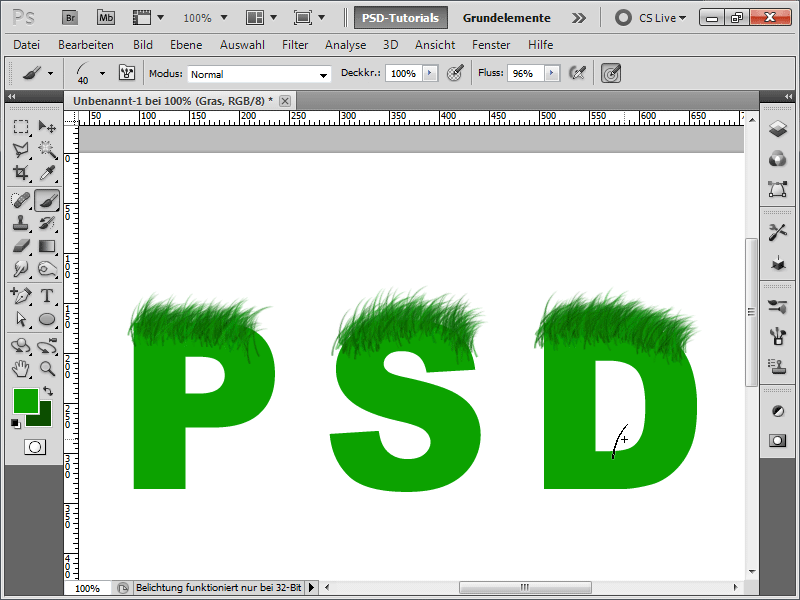
Step 9:
Next, I reduce the brush size and fill in the lower areas: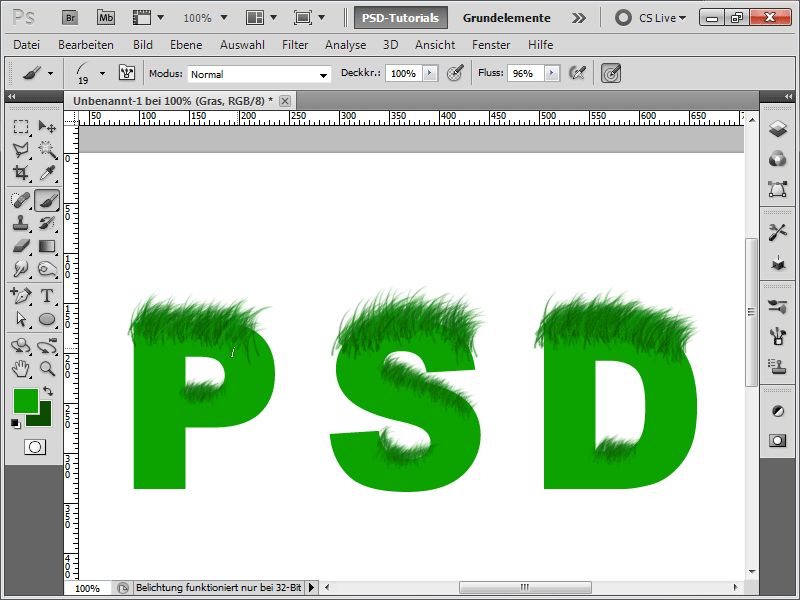
Step 10:
Pressing F5 opens my Brush panel, and I continue rotating the brush to the right.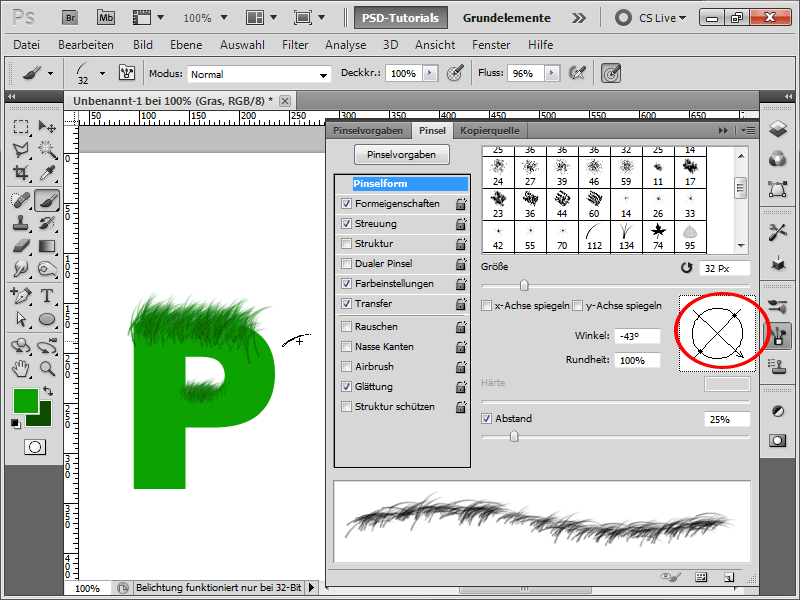
Step 11:
Now I paint all the areas with the brush that are aligned to the right.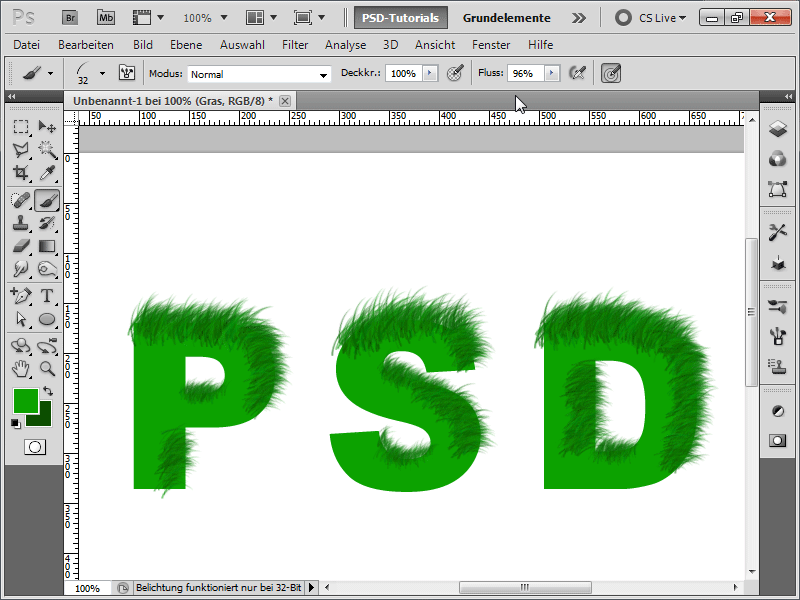
Step 12:
Then rotate the brush slightly and paint the areas that are aligned downwards: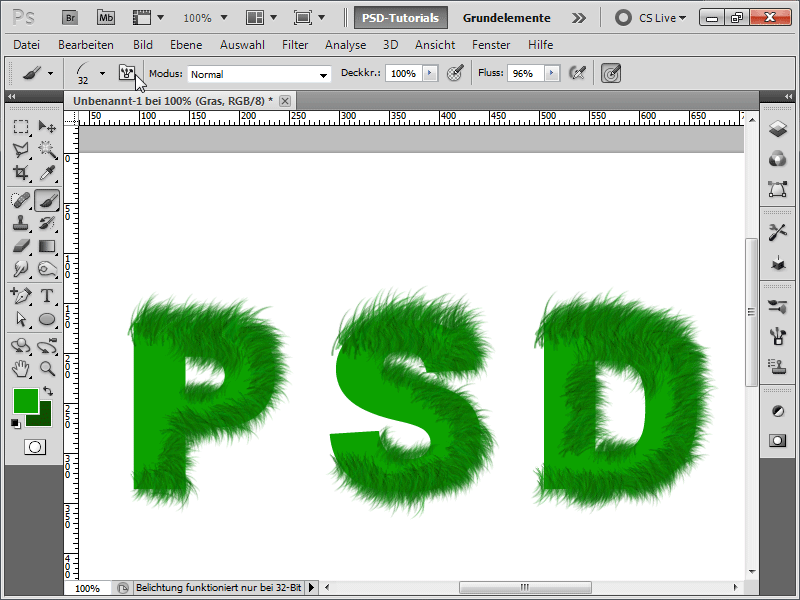
Step 13:
So, rotated again, and my letters are almost done. At least the outlines are perfectly painted. Now only the inner part is missing.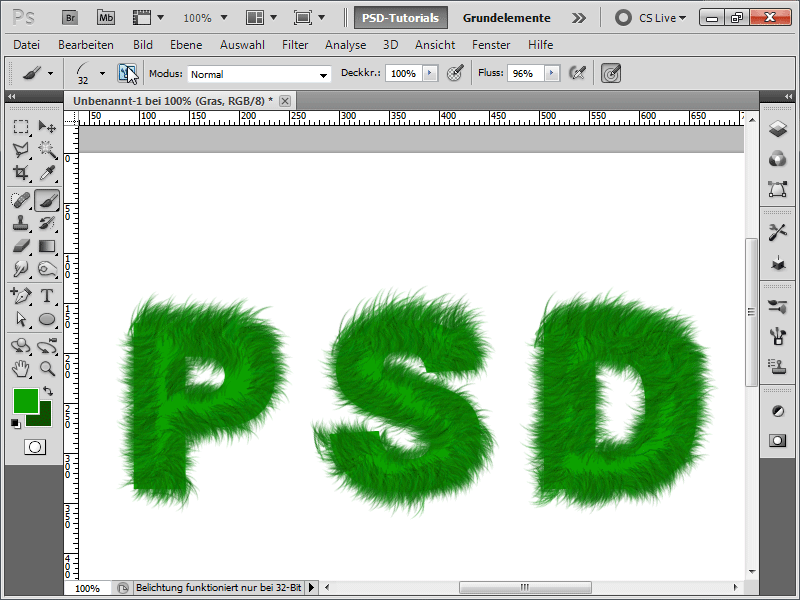
Step 14:
So that the grass in the inner part does not have just one direction, I set the Angle Jitter to 100% in the Brush panel under Shape Dynamics.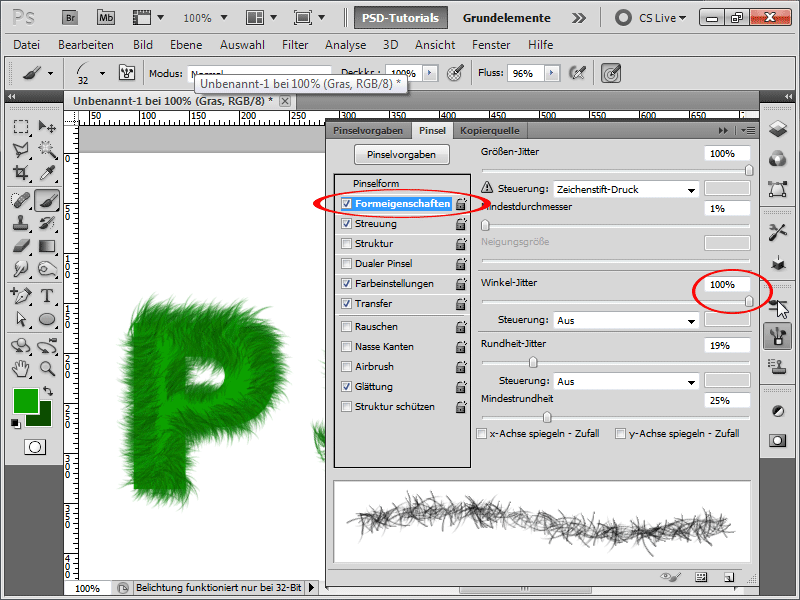
Step 15:
The result now looks like this: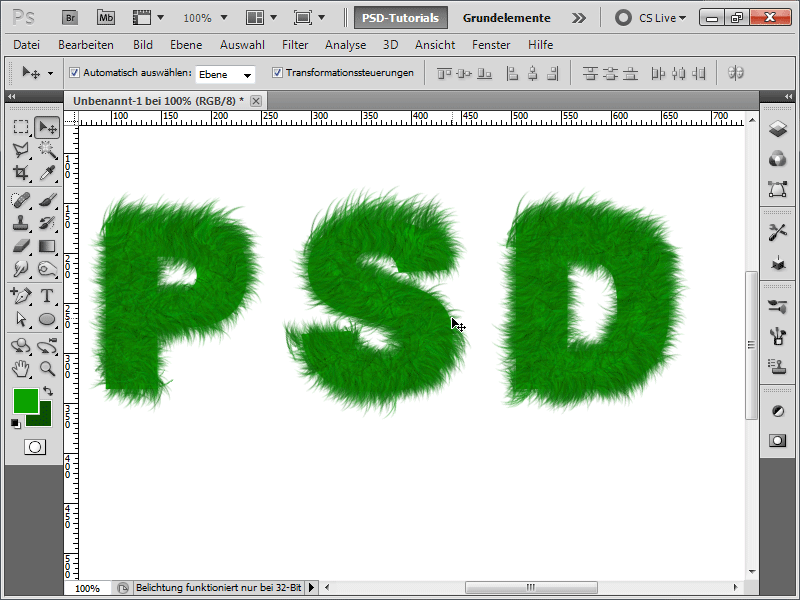
Step 16:
If that's too unrealistic for you, I have the following approach: I first load a grass photo. I insert it directly above my grass layer and click in between with the Alt key pressed.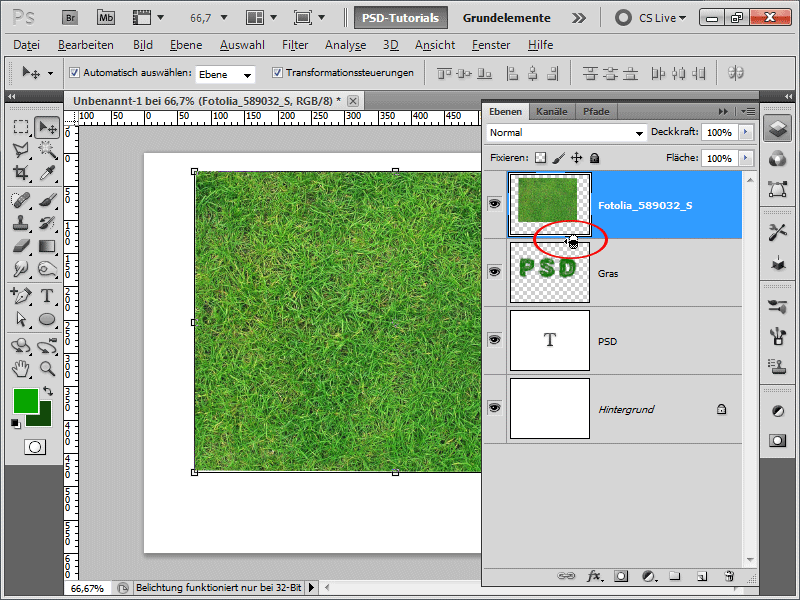
Step 17:
Now a clipping mask is created, and the photo only affects the underlying layer. Looks much more realistic, doesn't it?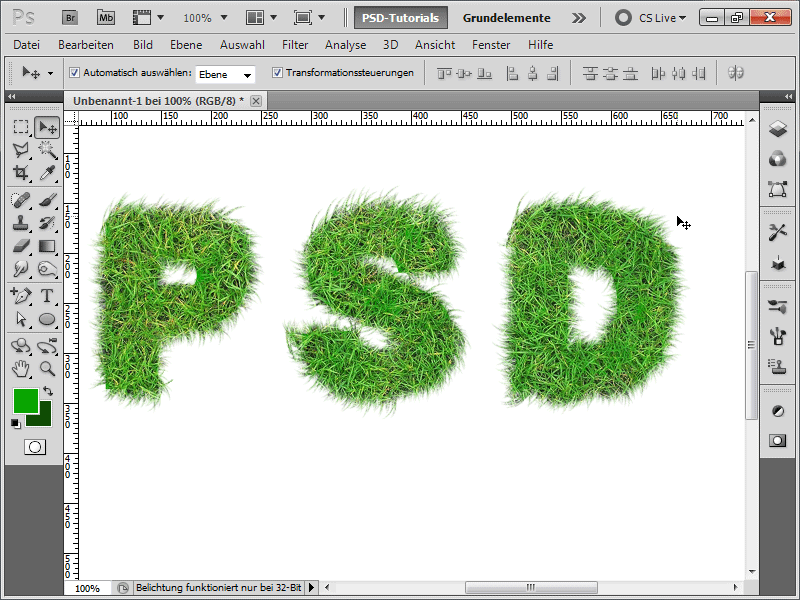
Step 18:
By the way, this works with any photo. Here, I'll simply take a straw photo.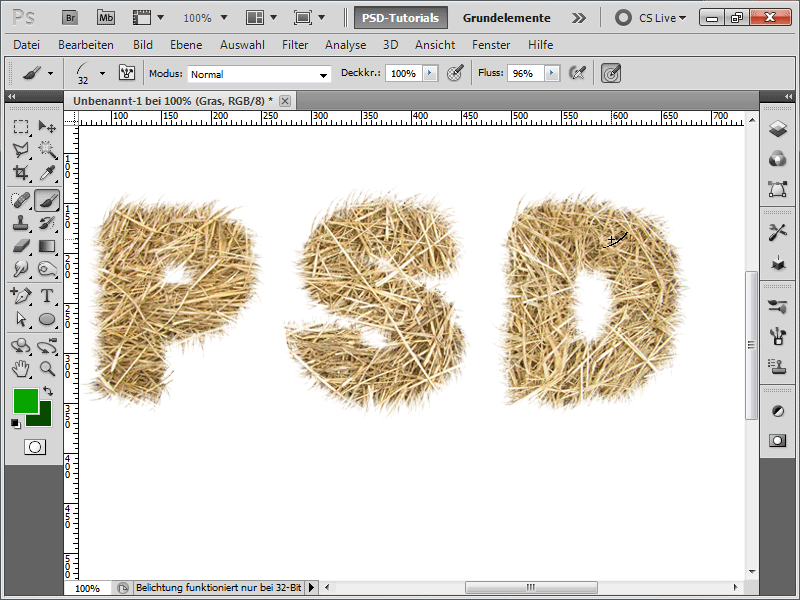
Step 19:
If I hide the photos and instead add a drop shadow to my grass layer and then apply a color overlay, I quickly turn it into a monster fluff text.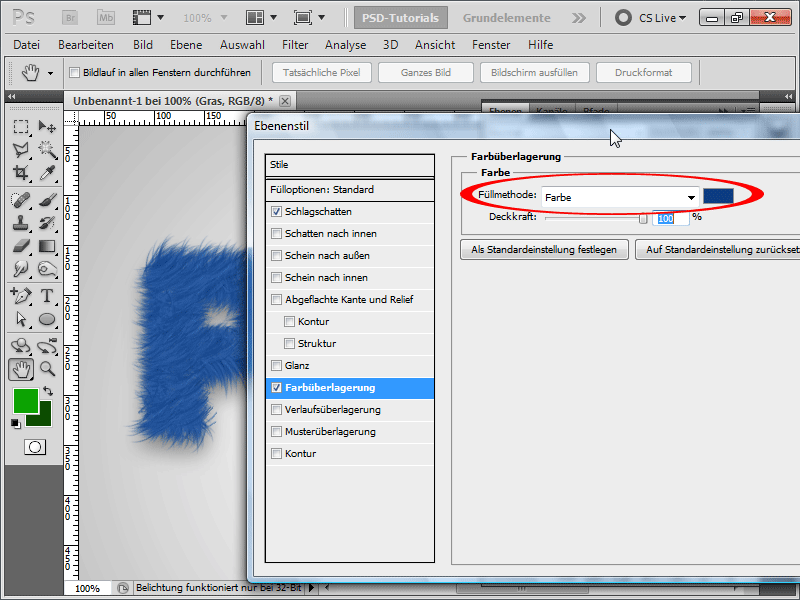
Step 20:
After that, I add a gray-to-white radial gradient in the background, and it already looks quite nice: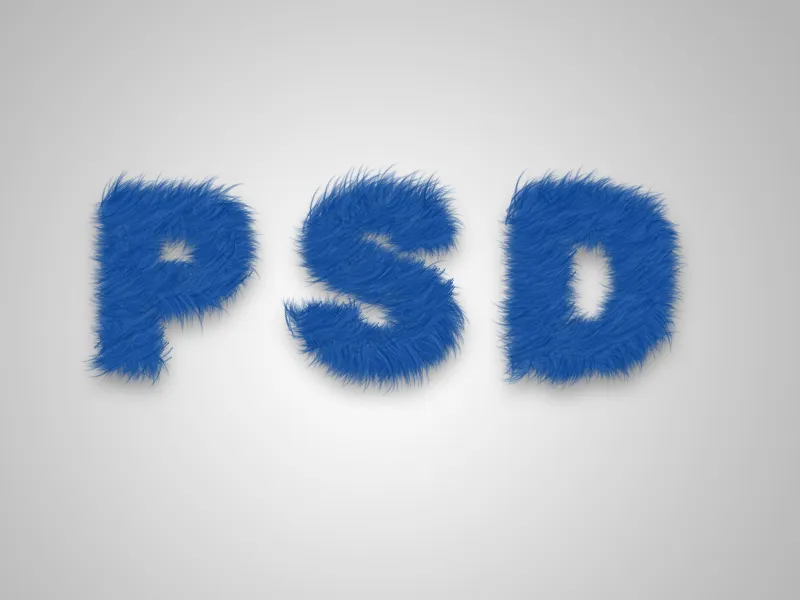
Step 21:
The good thing is that I can still add new strokes at any time with my grass brush in the grass layer.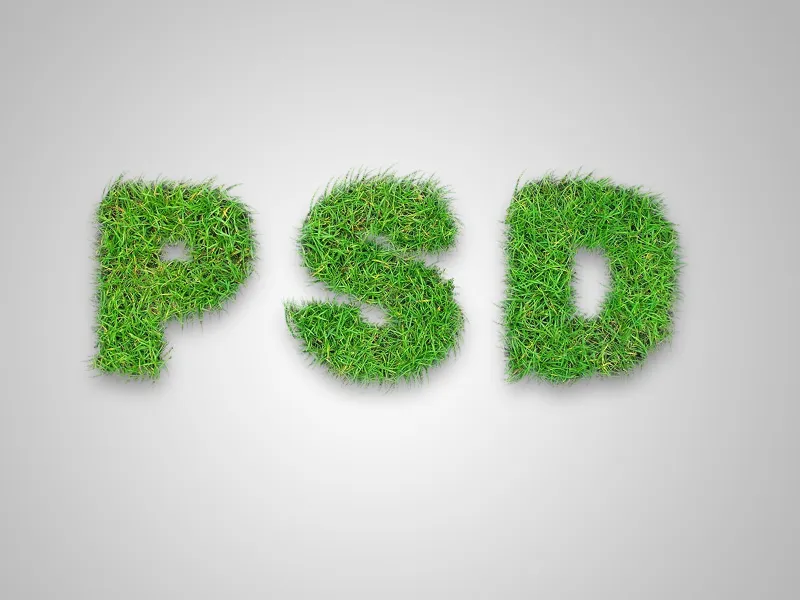
Step 22:
And here is the whole thing in the straw variant: