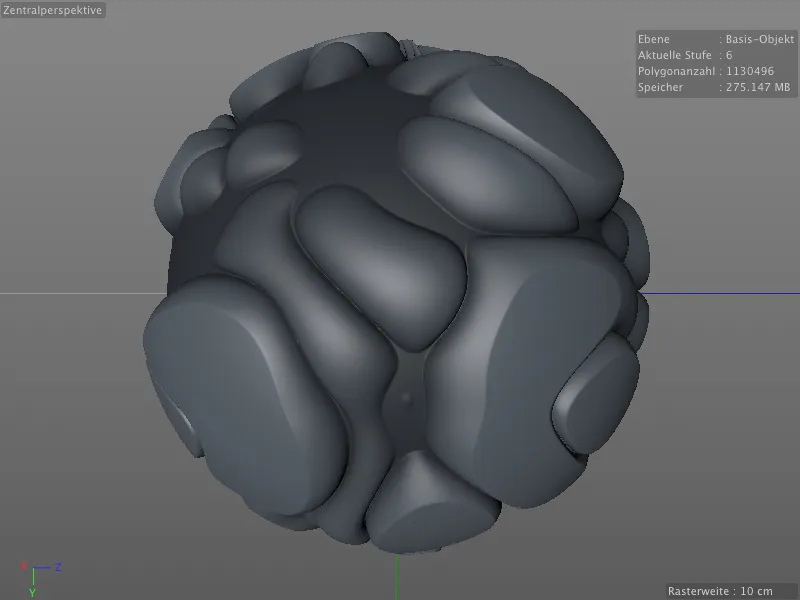
Many small improvements and additional options for sculpting are included in every new version of Cinema 4D. For this tutorial, I have picked out the two - in my opinion - most interesting new features.
You can find both the source and final documents for the two functions in the working files for this tutorial.
Spline snapping for brush tools
The starting point for our spline snapping exampleis a polygonal sphere object and a spline object, which was created using the improved gear spline object from Cinema 4D.
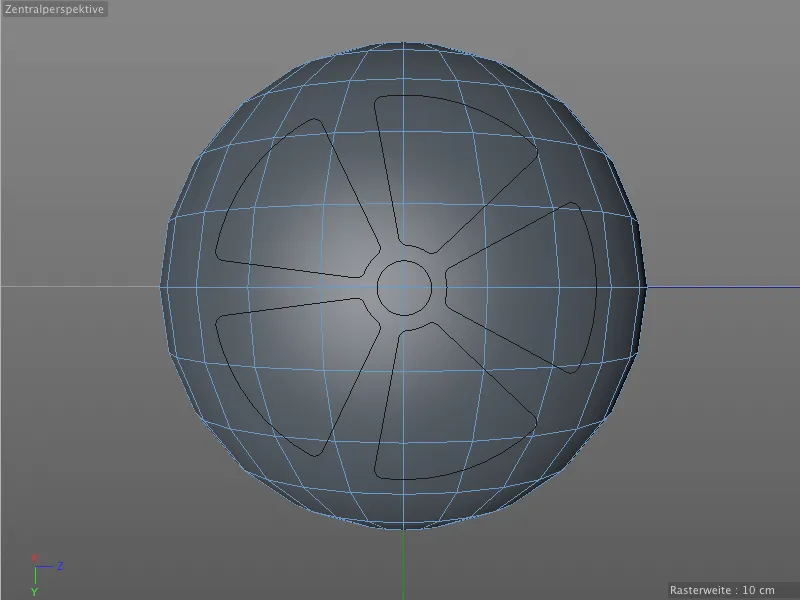
Of course, you can use any other polygon or spline object for this tutorial. By the way, the gear lost its teeth by deactivating the generation of teeth on the teeth page. You can see the other parameters used in the settings dialog of the gear object.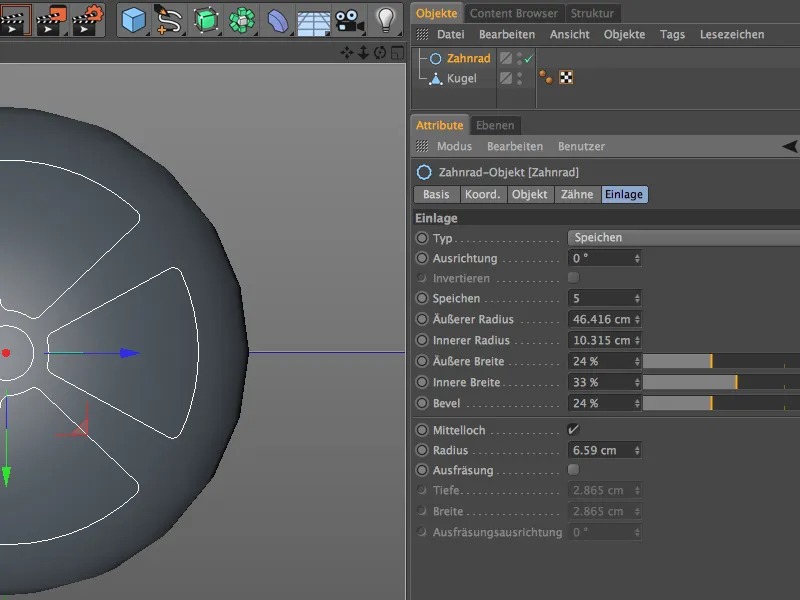
The spline object, which we want to use to guide a sculpting brush, is located in front of the sphere object. For snapping, we can therefore set the view to how the spline should be drawn on the object.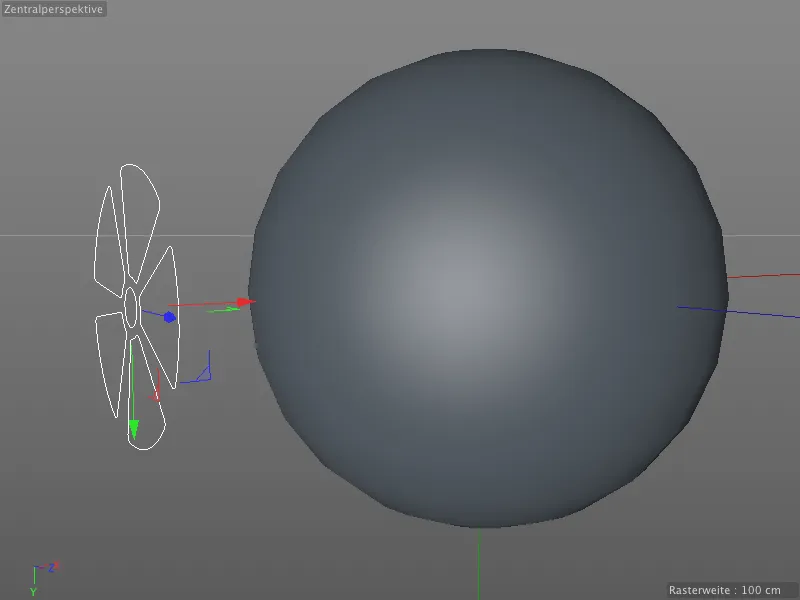
To be able to edit the sphere object with sculpting tools, it requires a sculpting tagand a corresponding number of subdivisions. We do both using the Subdivide command in the Sculpting menu.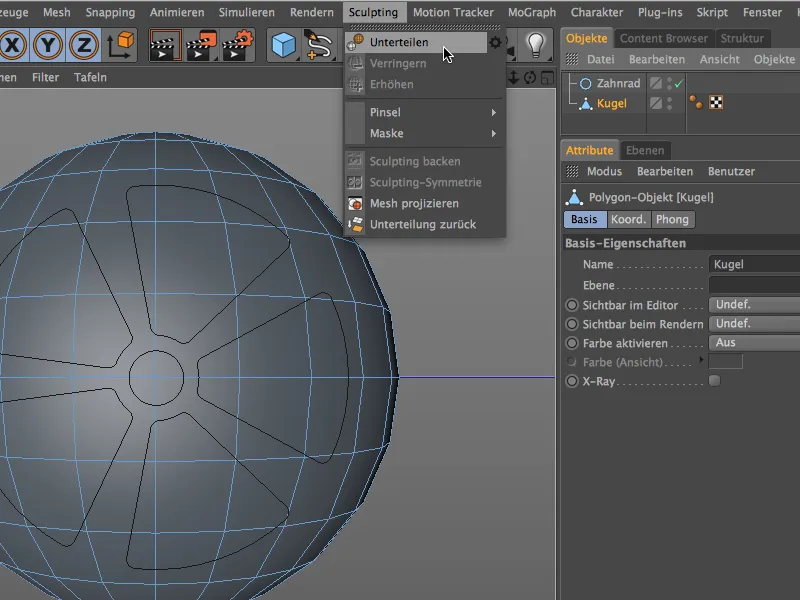
We execute this Subdivide commandseveral times until we have reached a sufficient number of polygons. In the example shown, subdivision level 5 generates almost 300,000 polygons.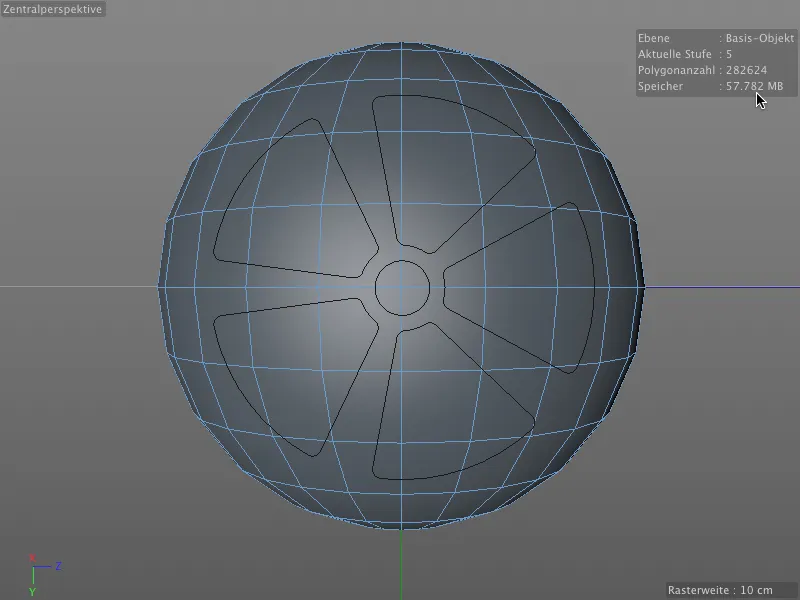
We don't even need to switch to the Sculpting environmentbecause we can also find the commands and tools in the Sculpting menu. In the Brush submenu, you will find the Inflate brush, which is best suited for our purposes.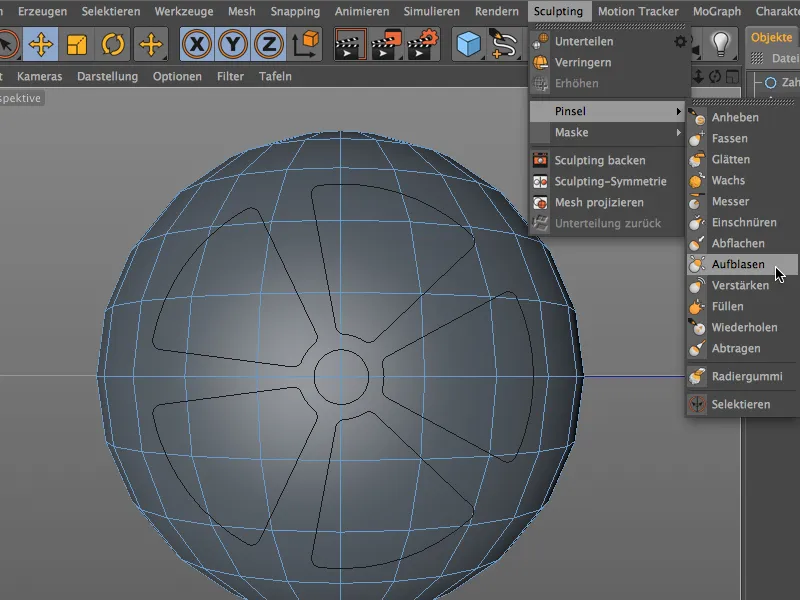
To ensure that the sculpting brush we have just selected actually snaps onto the spline object, we need to activate snapping via the left-hand palette of the working modes.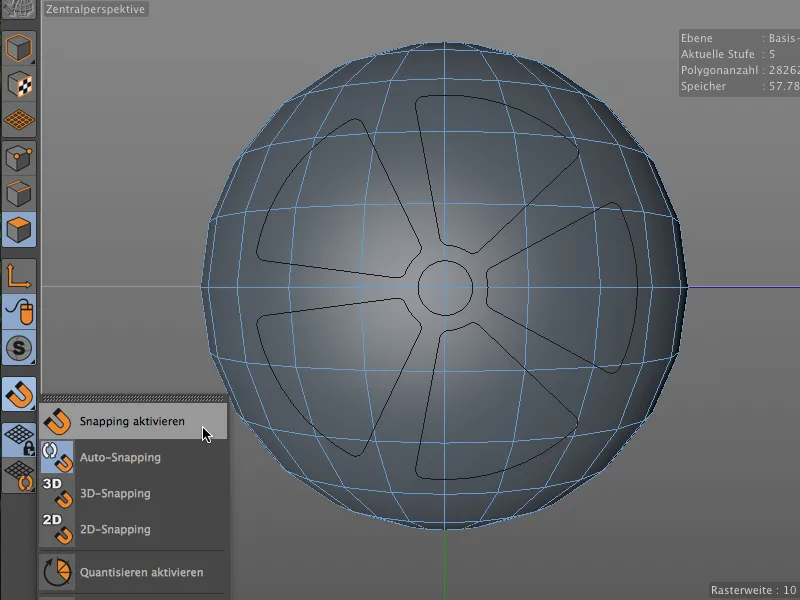
Make sure that only spline snapping is activated in the long list of snapping elements so that our sculpting brush does not accidentally snap onto other elements and disturb our brushstroke.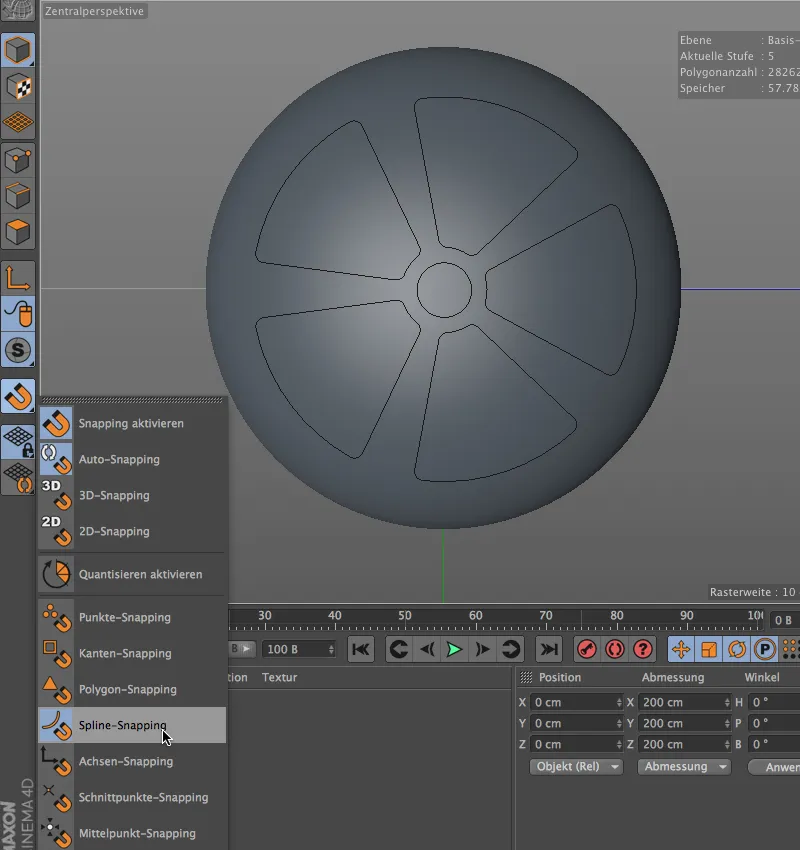
Now we just need to select a suitable size and hardness in the settings dialog of the blow-up brush.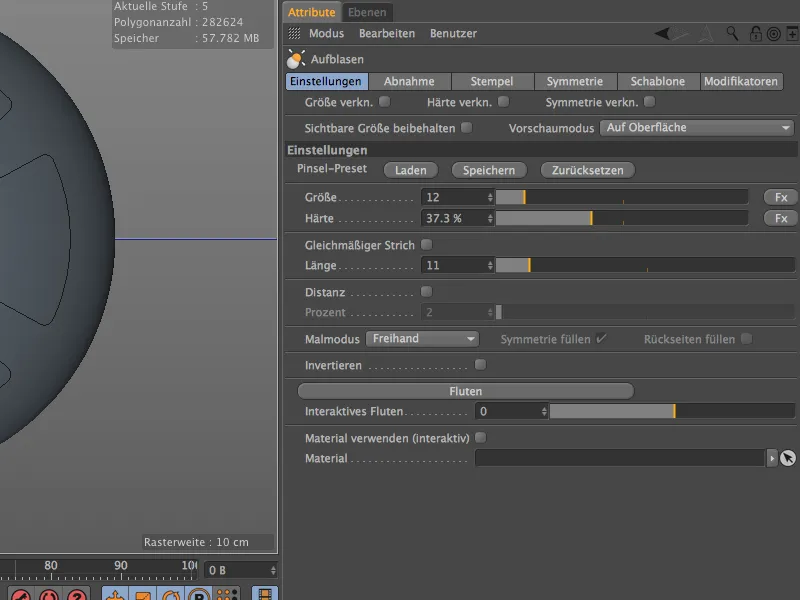
As soon as we are in the editor viewwith the sculpting brush over the spline object, the HUD shows us that spline snapping is recognized and active. We can now easily move the sculpting brush along the spline curve.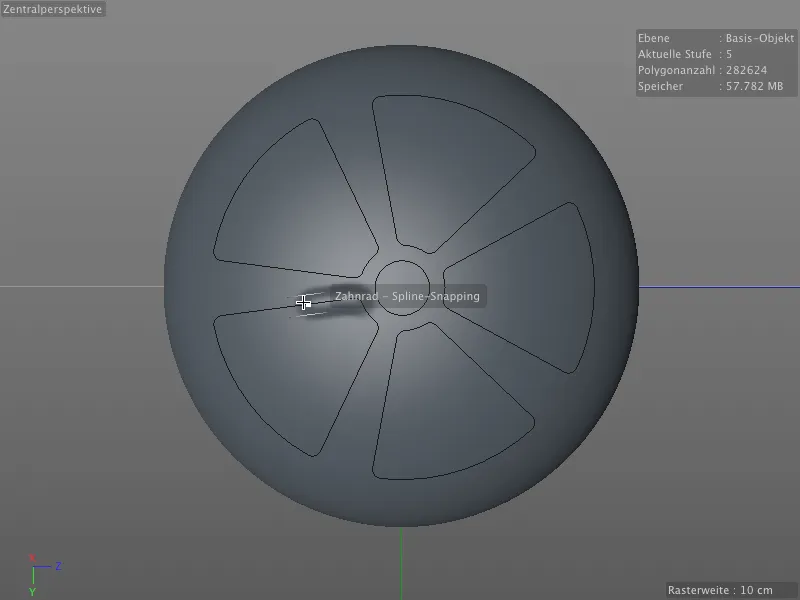
Make sure that you move the blow-up brush quickly and do not overlap it if possible, otherwise the surface will build up too much at this point.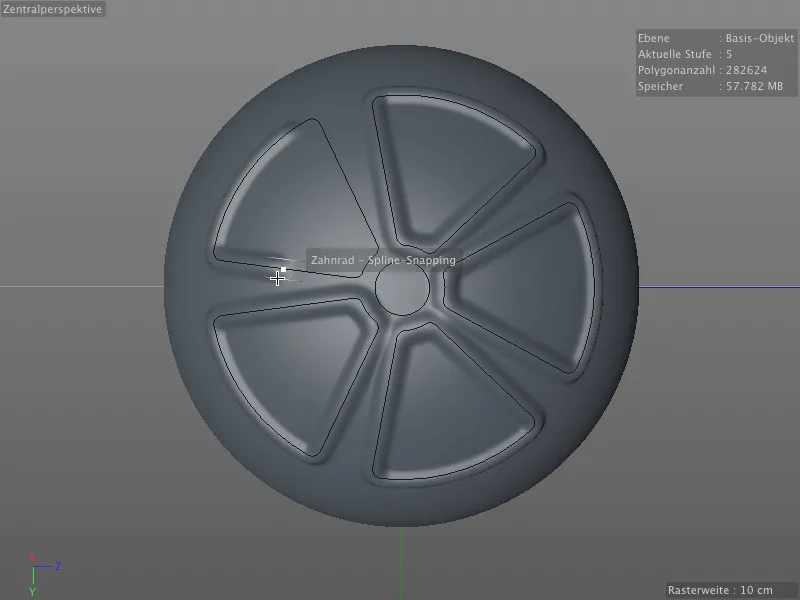
For the middle ring of the spline object, I have chosen the ablate brush. It should smooth out the drawing on the sphere object towards the middle.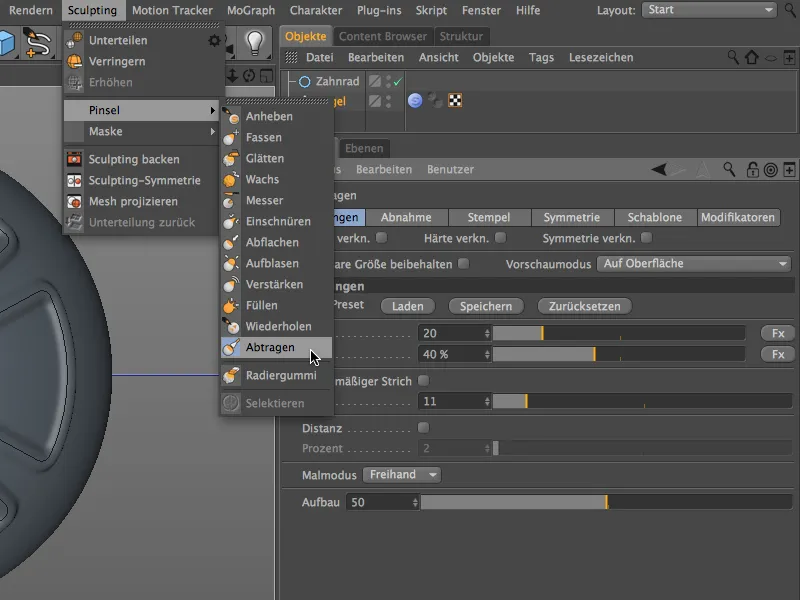
On the right of the image you can see the parameters for the removal brush. We briefly sweep the circle inside the spline object once to taper the drawing applied to the sphereobject.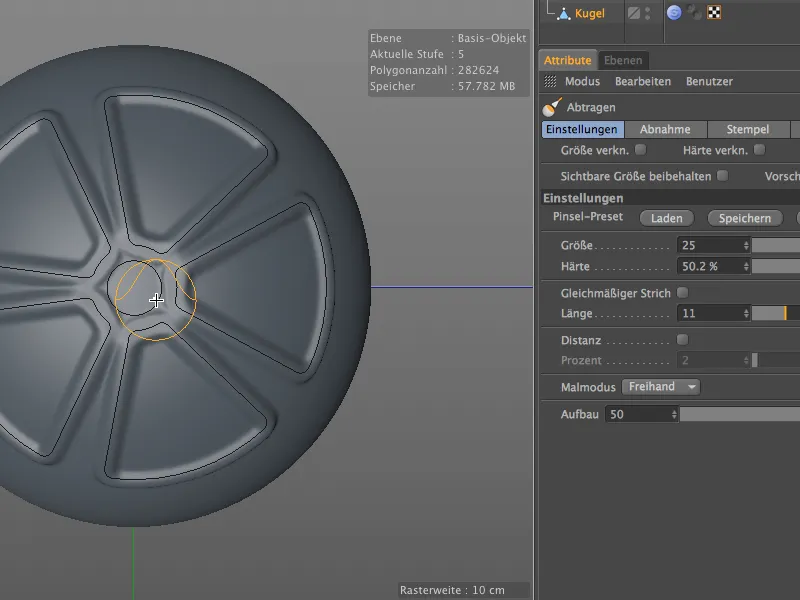
Thanks to the new spline snapping propertiesof the sculpting brushes, it is therefore very easy to use spline pathsto shape the surface.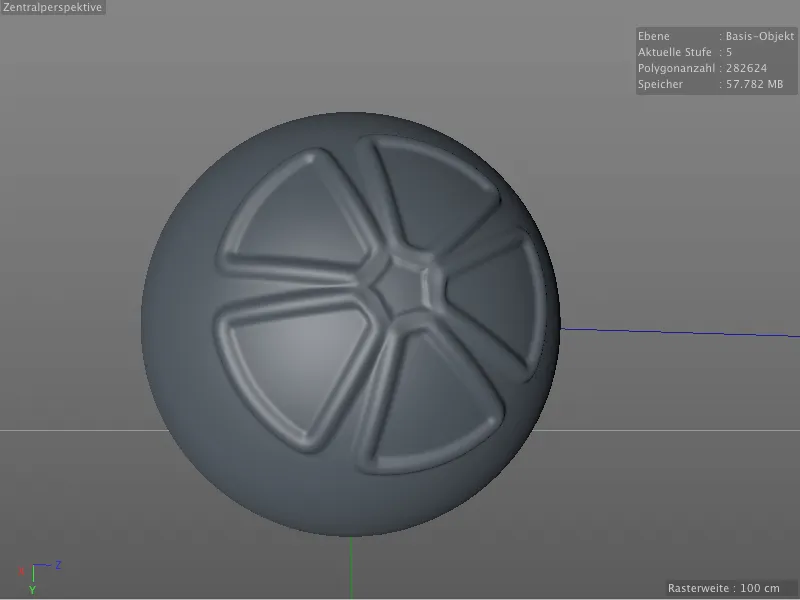
Material shaders as masks
In the next example, we will look at how we can use textures or shaders as masks for editing with sculpting tools.
We start with a new sphere object, but this time we increase the number of subdivision levels to 6 because the drawing on the surface will be even more intricate this time.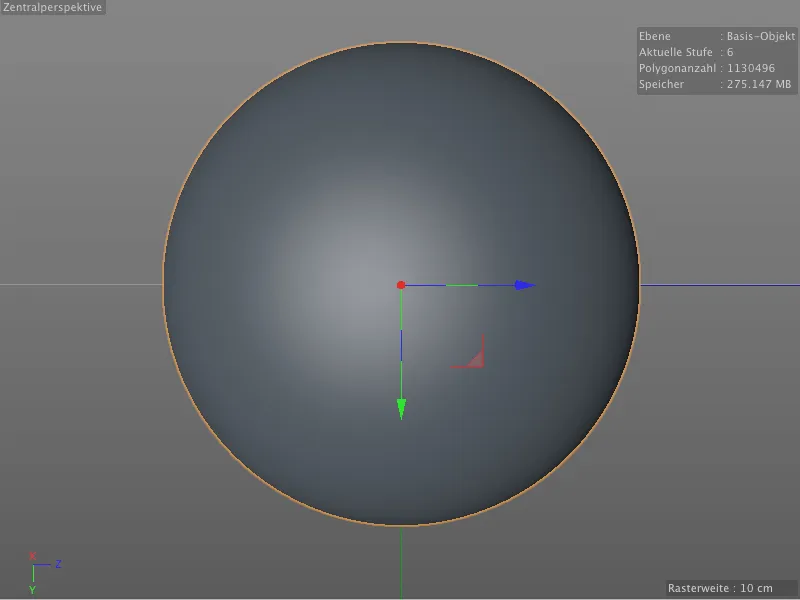
Let's now prepare a material with a corresponding texture or shader for the subsequent mask. To do this, we create a new material by double-clicking on it in the Material Manager and restrict it to the Color channel; that's all we need here.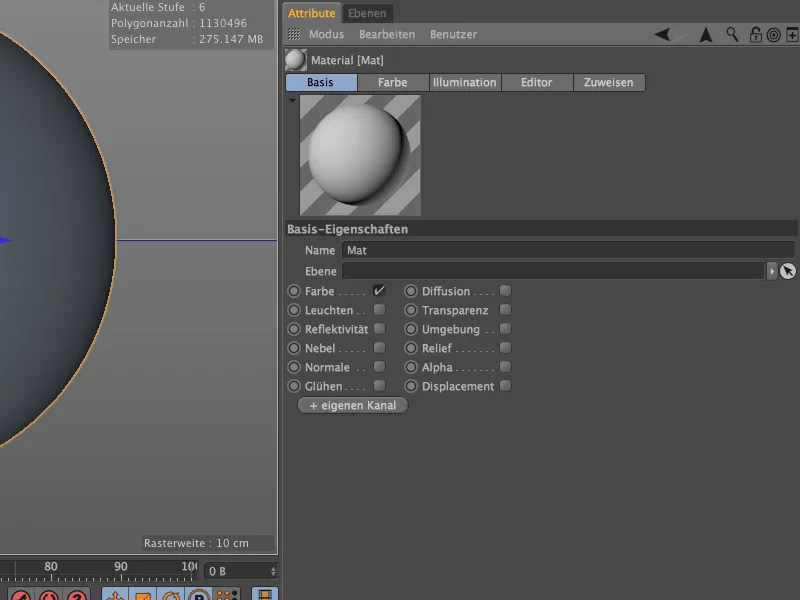
In the Color channel, we click on the arrow button next to the Texture entry and add a noise shader via the menu.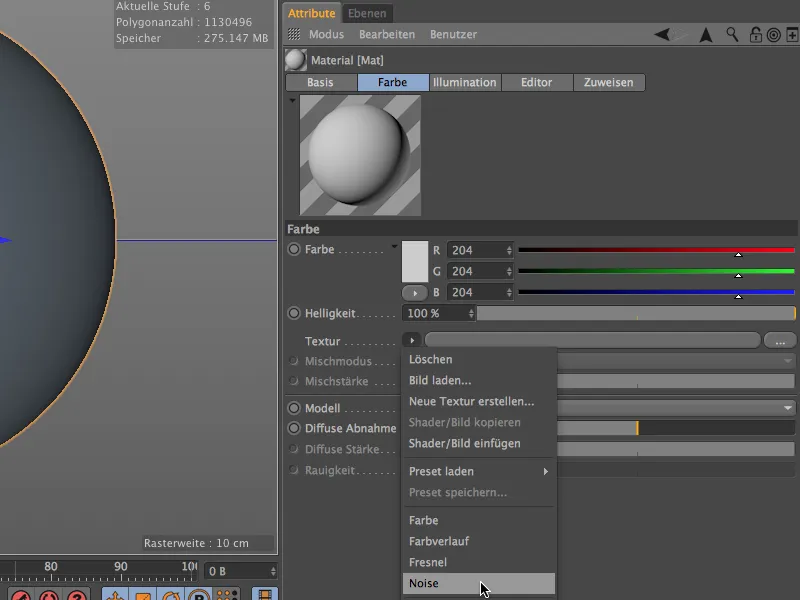
You have complete freedom when selecting and designing the noise shader. I decided on Cranal Noise, scaled its size globally to 300% and reduced the mids slightly using the clipping parameters.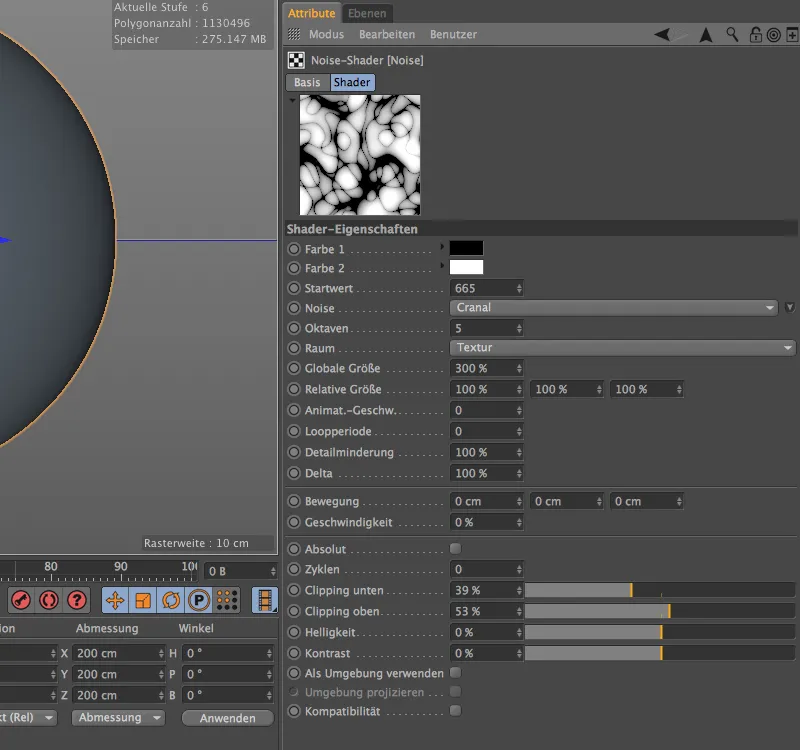
We now have our material for the mask. Now we just have to integrate it into the mask, which we can find in the Sculpting menu in the Mask submenu.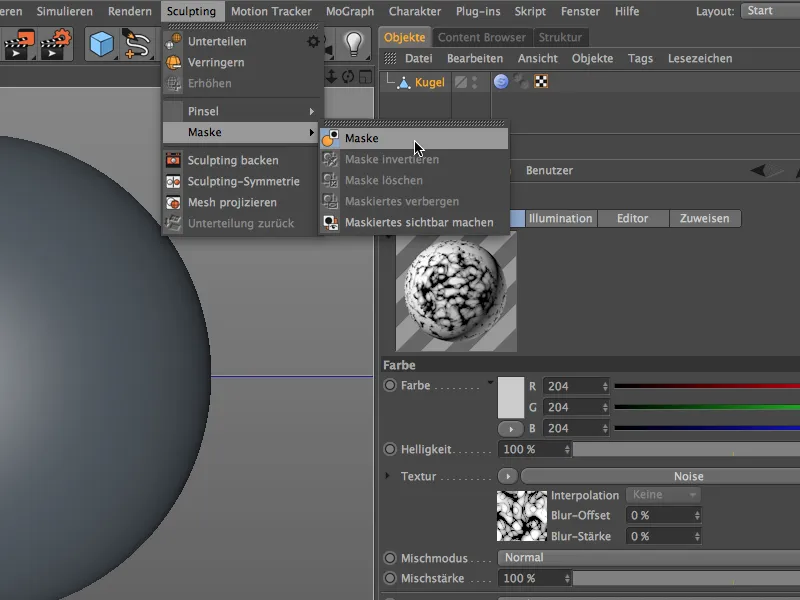
In the settings dialog of the mask, at the bottom of the settings page, you will find the Material sample field. We now drag our material with the noise shader into this field , which I renamed "Mask" beforehand.
Now click on the Sample button to the right of it ...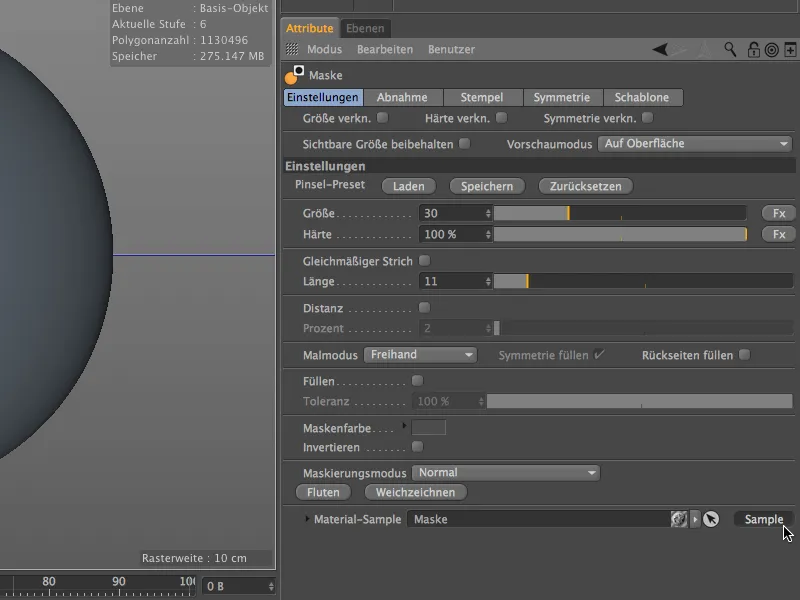
... and our material with the noise shader will appear as a mask on the sphere object as desired.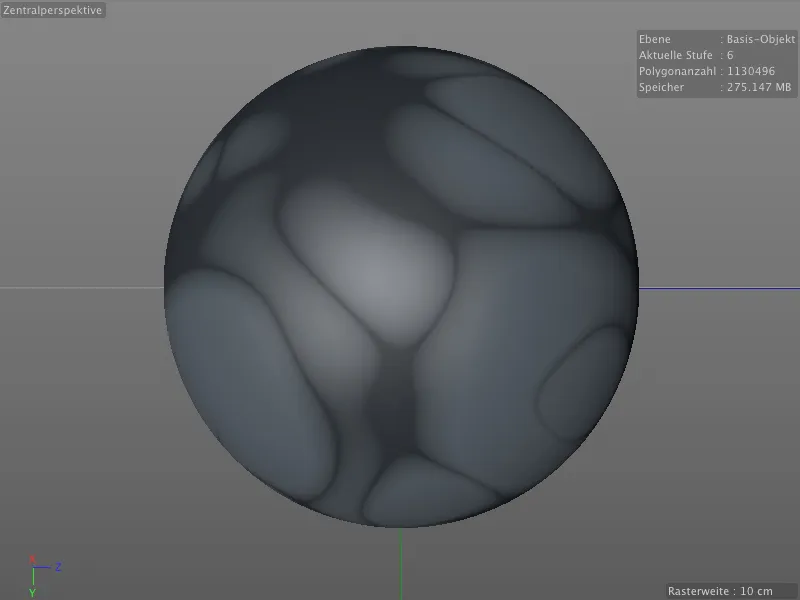
The mask is of course already active, so we can edit the unmasked areas with any suitable sculpting brush, for example the Inflate brush. For this example, we will make our work a little easier by simply flooding the areas interactively.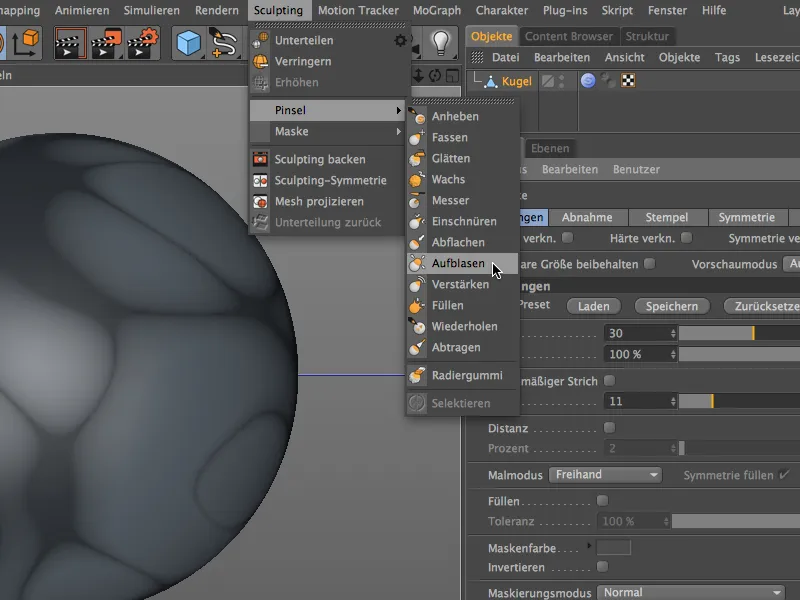
In the settings dialog of the Inflate brush, we find the Interactive flooding slider in the lower section of the settings page, which we can use to apply the effect of the brush to all unmasked areas.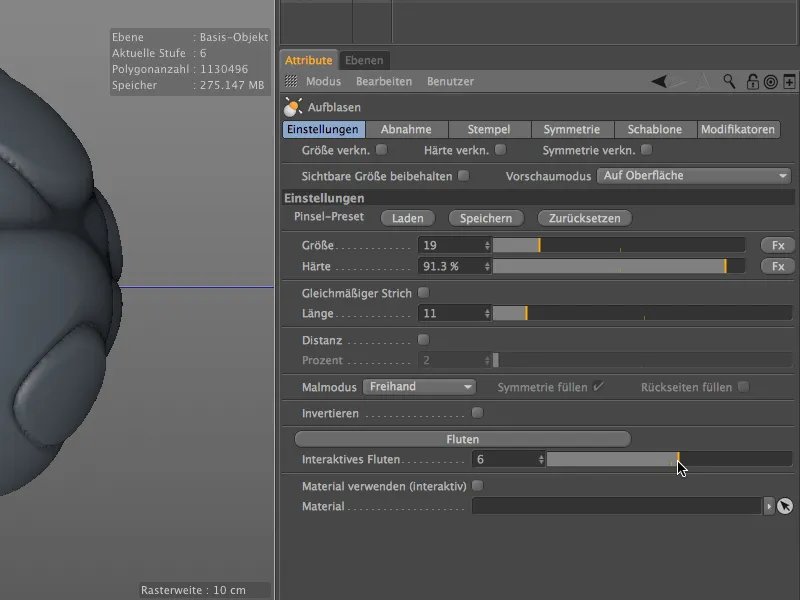
In the final result, we can see that the high number of subdivisions mentioned at the beginning was definitely justified. The areas covered by the blowing brush could be softly shaped.