File attachments
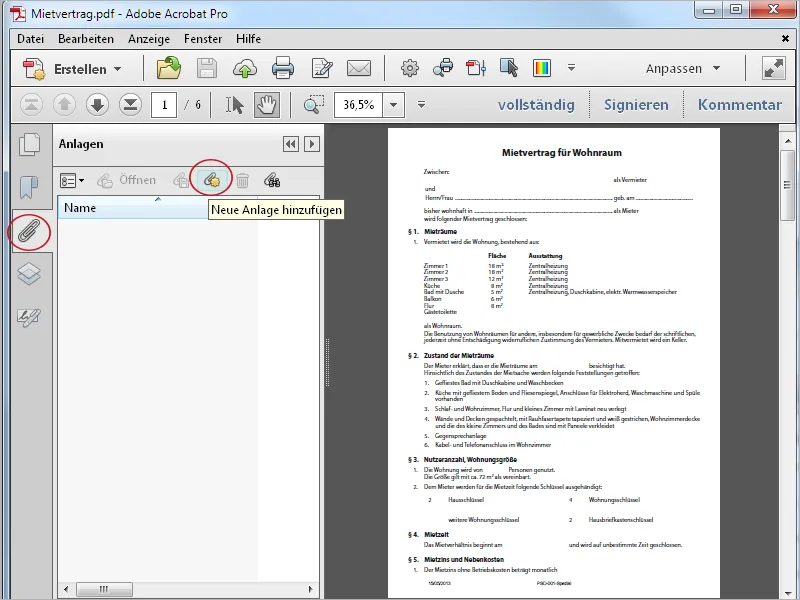
In certain cases, it can be useful to add an attachment to a PDF file, for example so that the recipient can edit the original (e.g. a Word file). To add an attachment, click on the button of the same name in the navigation bar on the left-hand side. The attachment bar opens. Now click on the Add new attachment icon at the top and select the desired file in the file explorer that opens.
The attachment then appears in the bar and can be opened by double-clicking on it.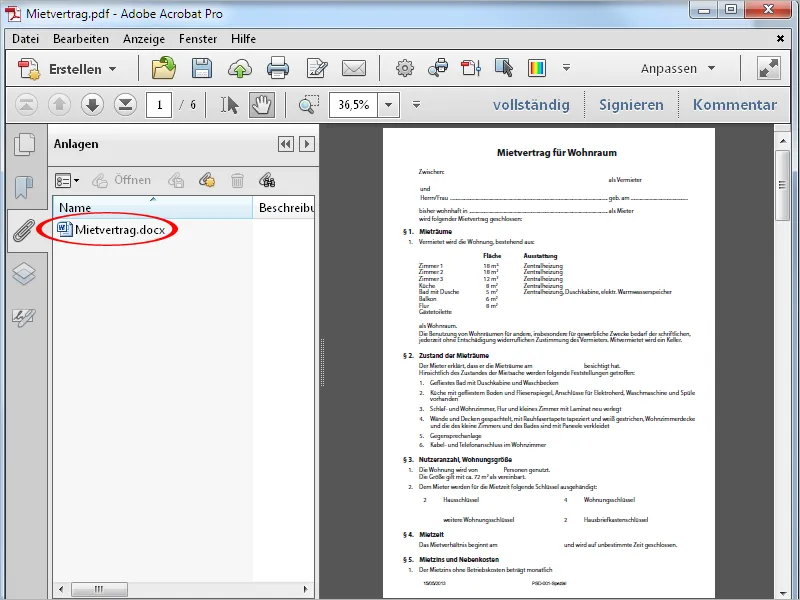
To remove an attachment from a PDF file, select it in the attachment bar and then click on the trash can icon.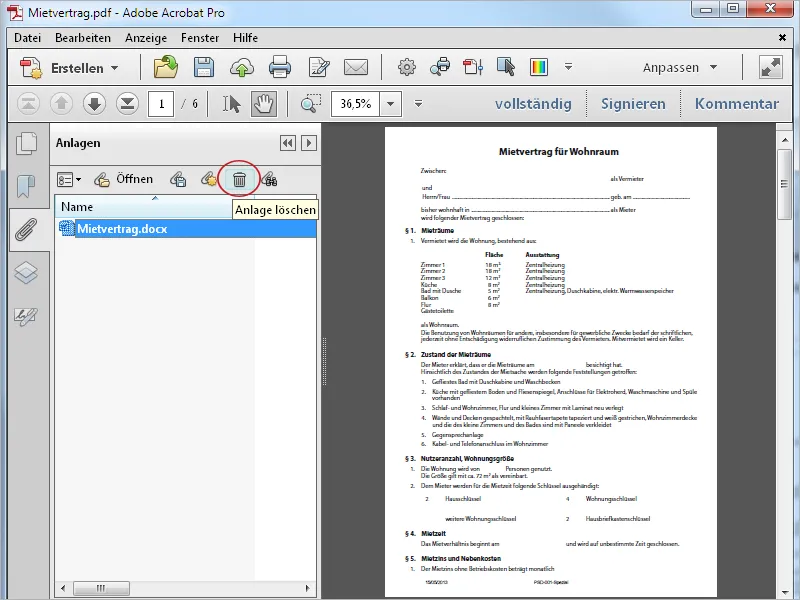
Inserting audio files
In addition to adding file attachments, Acrobat also offers options for adding multimedia content directly to a document. First, I will show you how to add an audio file to a PDF.
First open the Interactive objects category in the toolbar and then click on the Add audio tool.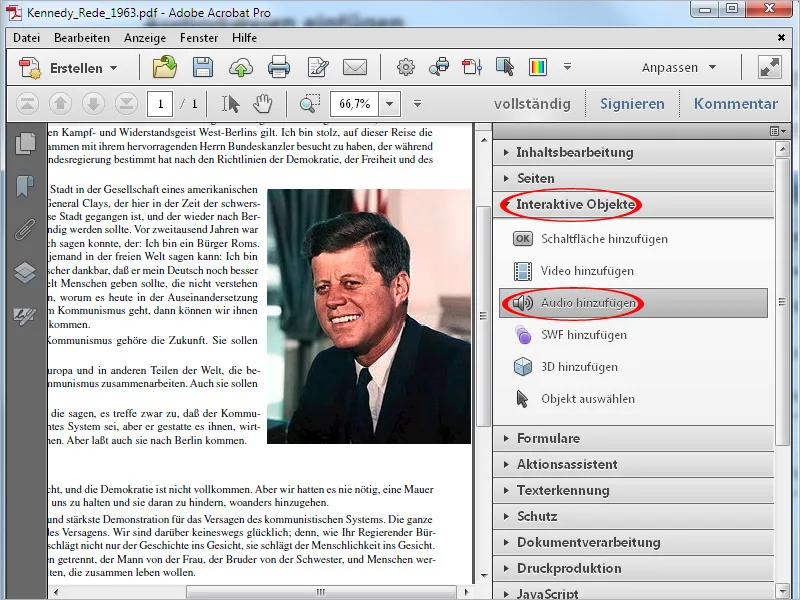
Now use the mouse to draw a rectangle that should contain the bar with the controls (play, pause, etc.). Ideally, space has already been provided for this in the layout. When you have dragged the rectangle and released the mouse, a window opens to search for the audio source file. Acrobat expects an MP3 file here.
A click in the Show advanced options checkbox allows you to make further settings for activating, deactivating, type of playback, margin width etc.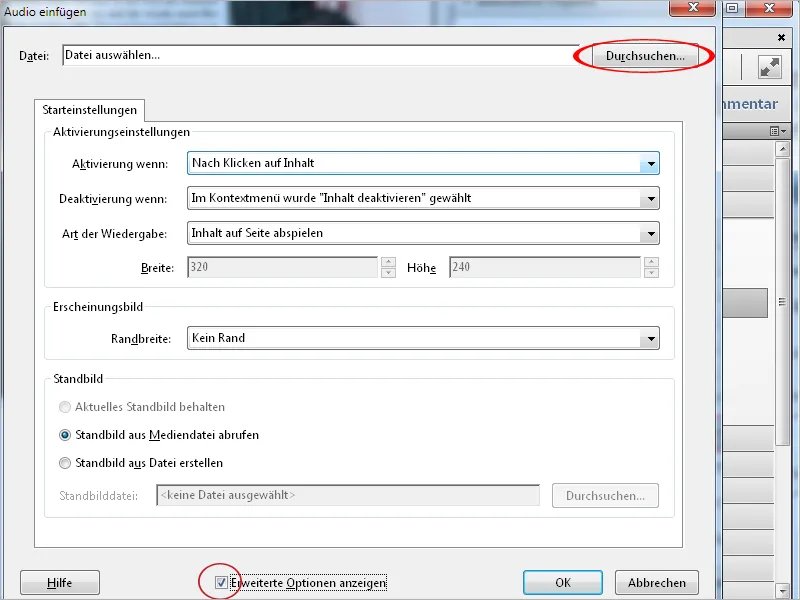
After clicking OK, the audio file is inserted and the bar with the control elements is displayed in a position frame. The PDF file is enlarged by the value of the audio file.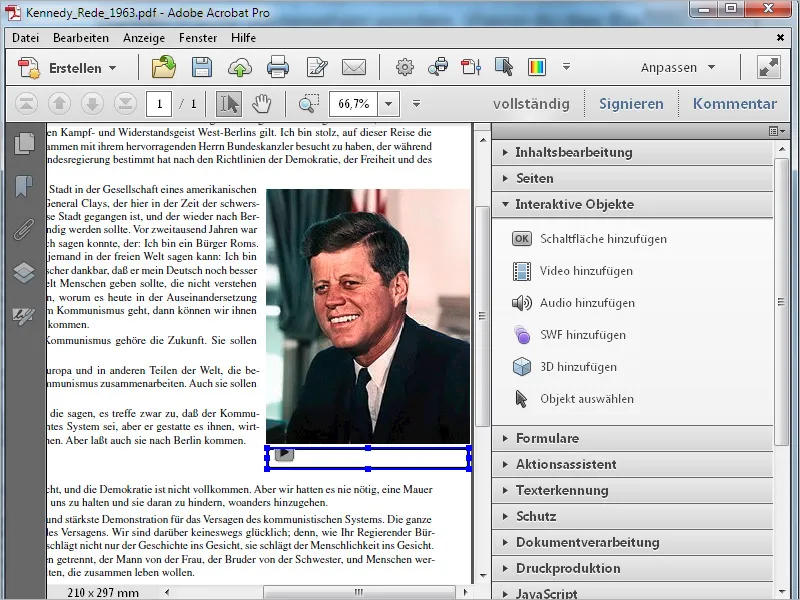
After clicking on the Play button, the file is played and the control bar is displayed correctly. In addition to Play, Pause, Forward and Back, the volume can also be adjusted on the right-hand side.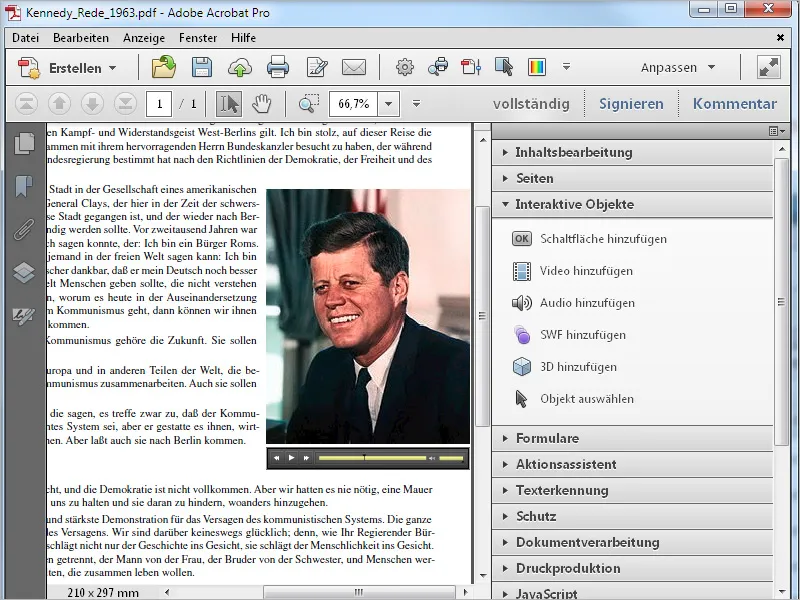
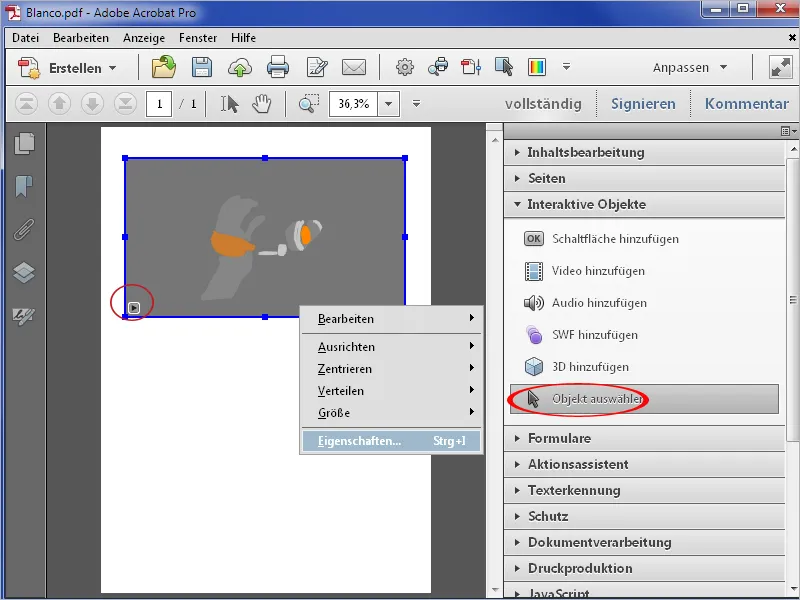
To edit the control bar later, use the Select object tool. Click on it and open the properties via the right mouse button context menu to make changes.
To remove the audio file and the control bar from the PDF, select them and press the Delete key.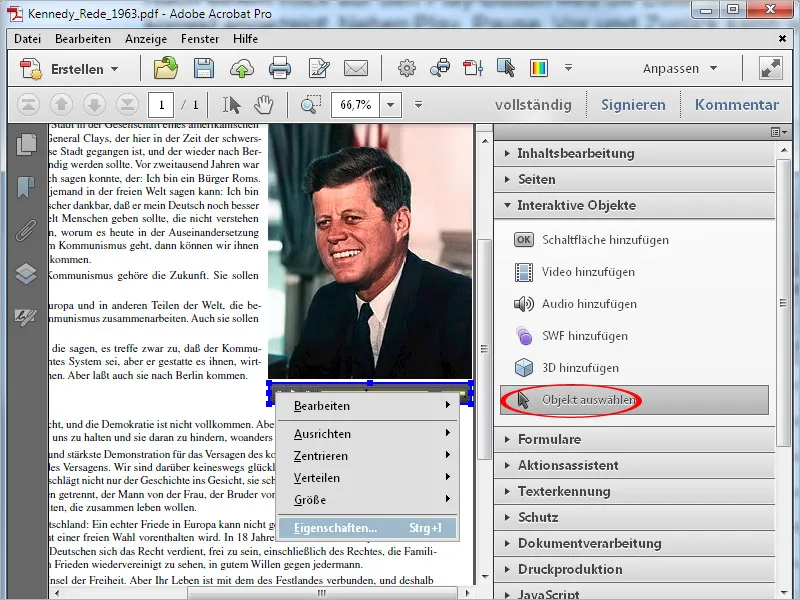
Embed video files
Go one step further by embedding video files. The procedure is the same as the embedding of audio files described above. When activating the advanced options, two further tabs appear in addition to the start settings. Here you can specify which controls are to be displayed with which opacity. You can also adjust them to the background color using a color picker.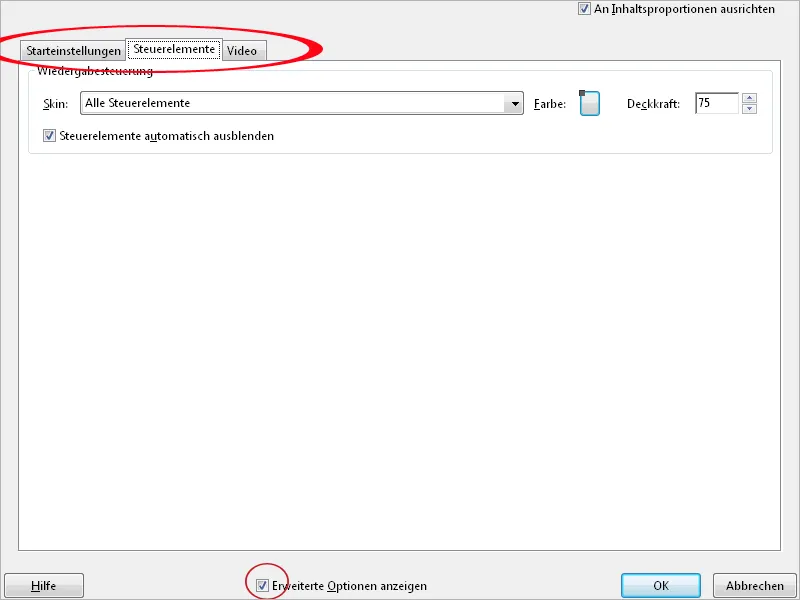
After clicking on OK, the video file is inserted into the drawn frame and can be started by clicking on the Play button. The control bar disappears when you move the mouse away.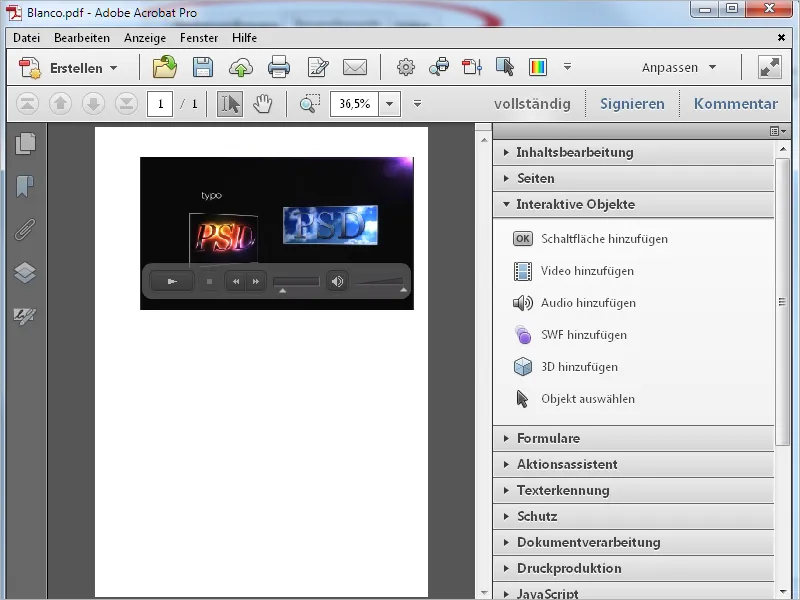
You can also add a button to start playing a video. This is sometimes clearer for the reader, as the corresponding hint can be placed on it.
To do this, click on Add button in the toolbar under the Interactive elements category and draw a rectangle with the mouse at the desired position. Enter a name in the properties window and possibly a text as a tooltip on mouseover.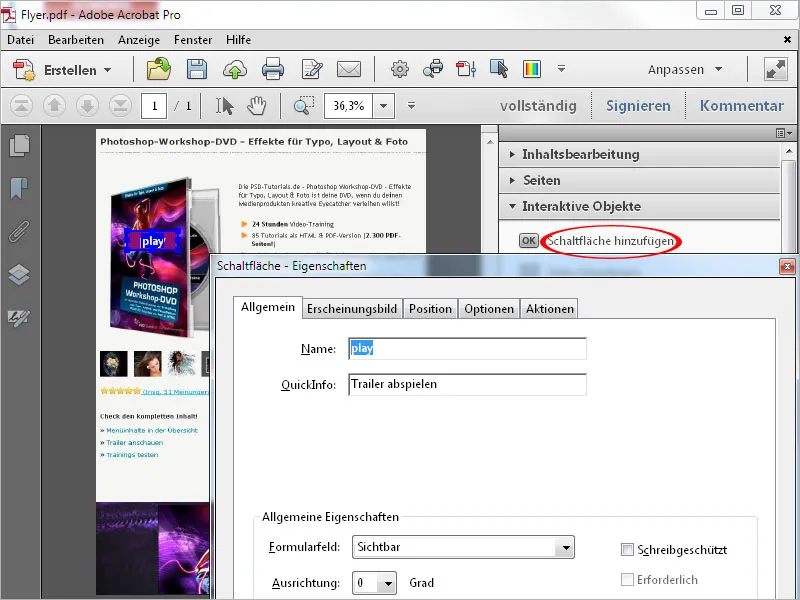
On the Appearance tab, you can set the colors, line thickness and line style as well as the settings for the font display of the button.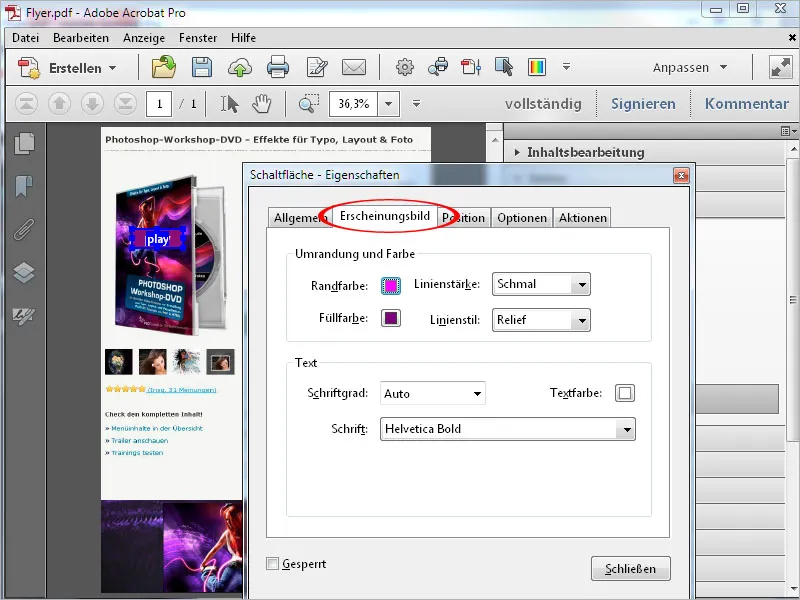
On the Actions tab, you must now select the trigger for the event (release mouse button) and the action (Acrobat 9 and newer multimedia process).
Then click on the Add button.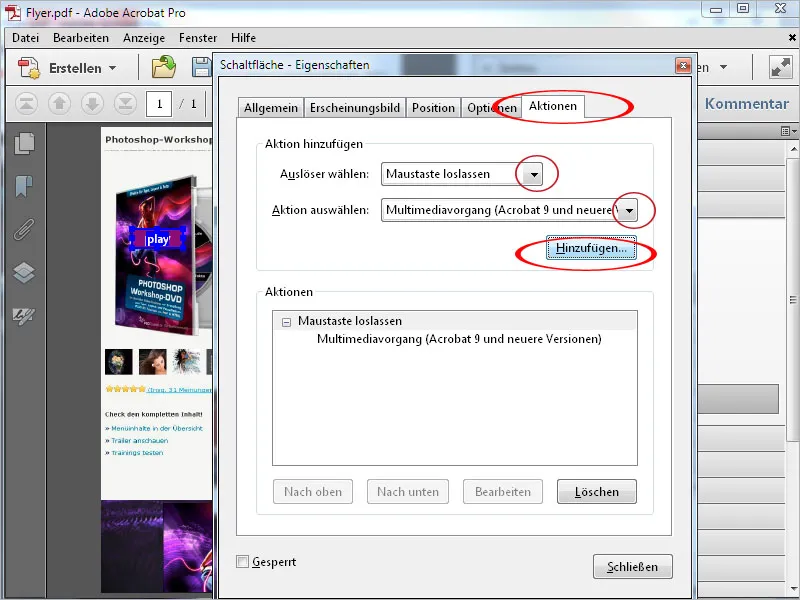
The already embedded video file is now displayed. If several are embedded, they will also be displayed here. Select the file and choose Play from the Action drop-down list.
After clicking OK, you are back in the properties window, which you can now close.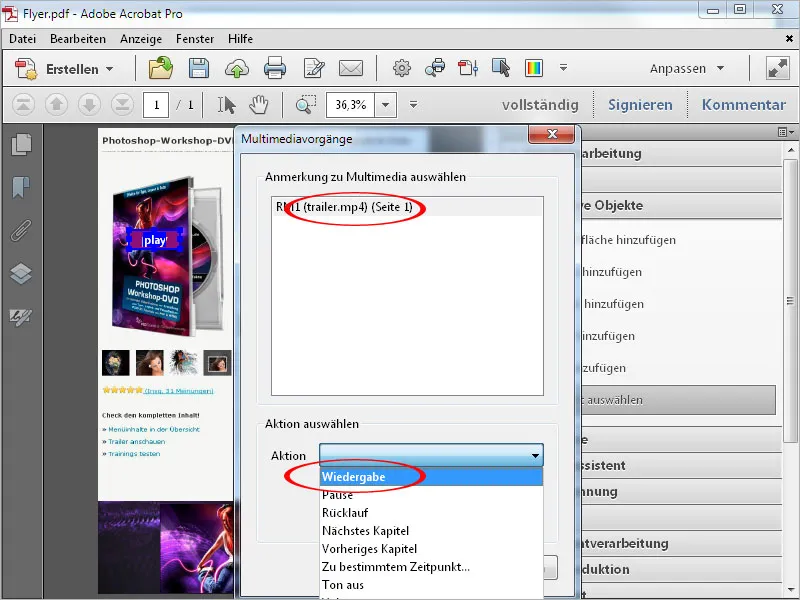
The button now has its function and the movie is started by clicking on it.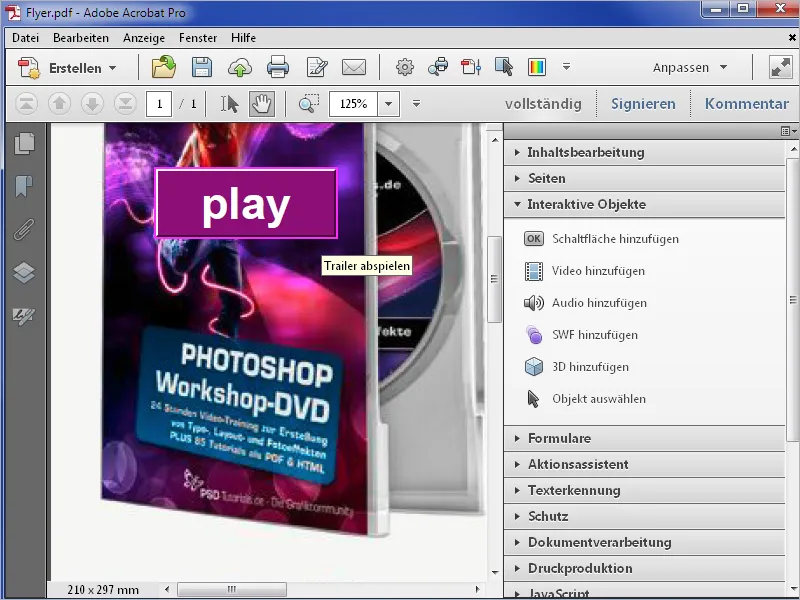
3D files
Your PDF file can also be enriched with 3D files. To do this, click on Add 3D in the toolbar and draw a rectangle of the desired size with the mouse.
When you release the mouse button, a window for selecting the 3D file appears. Acrobat expects *.u3d (Universal 3D) or *.prc (Product Representation Compact Format) files at this point.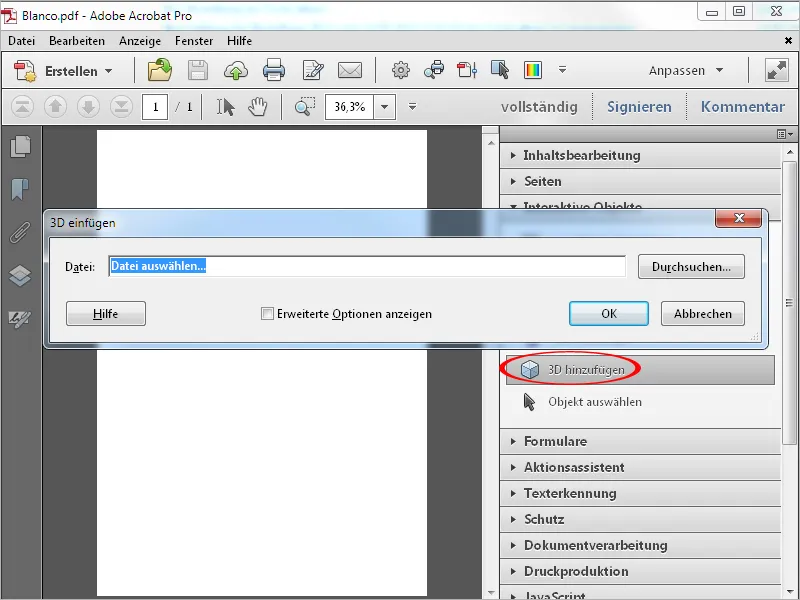
If you also display the advanced options, you can make further settings for the display of the 3D object such as a background color, lighting scheme and render style on the 3D tab.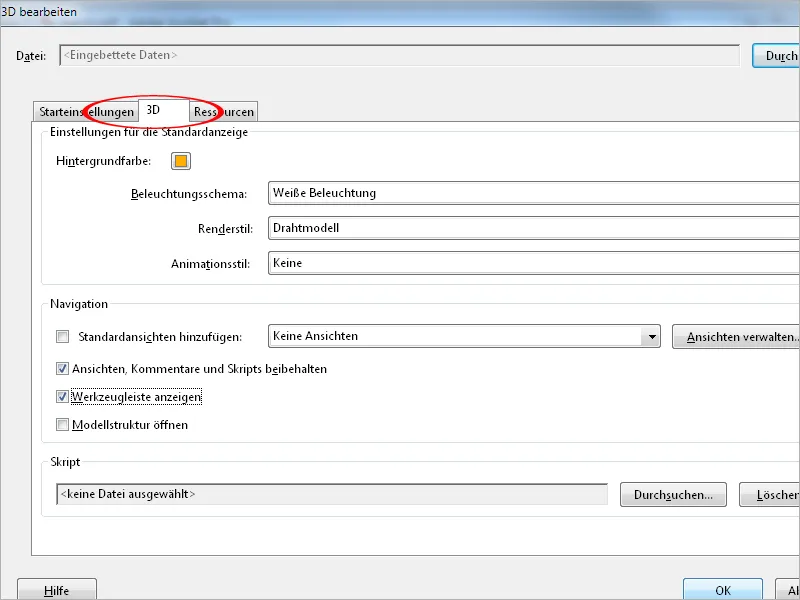
After clicking OK, the 3D object is inserted into the file. Here you can activate it with a click and rotate the model by holding down the mouse button. If you have activated it in the advanced options, a 3D toolbar will also be displayed above it, which the user can use to adjust various details such as the background color, display of the model, etc.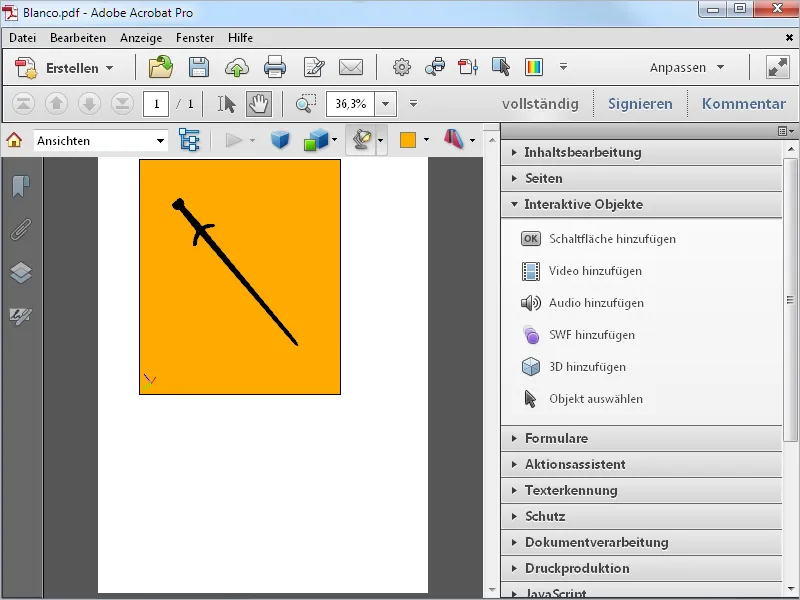
Inserting Flash files
Just like 3D files, you can also insert Flash files into a PDF. To do this, click on Add SWF in the toolbar, draw a frame with the mouse and select the desired Flash file. Acrobat expects SWF files here.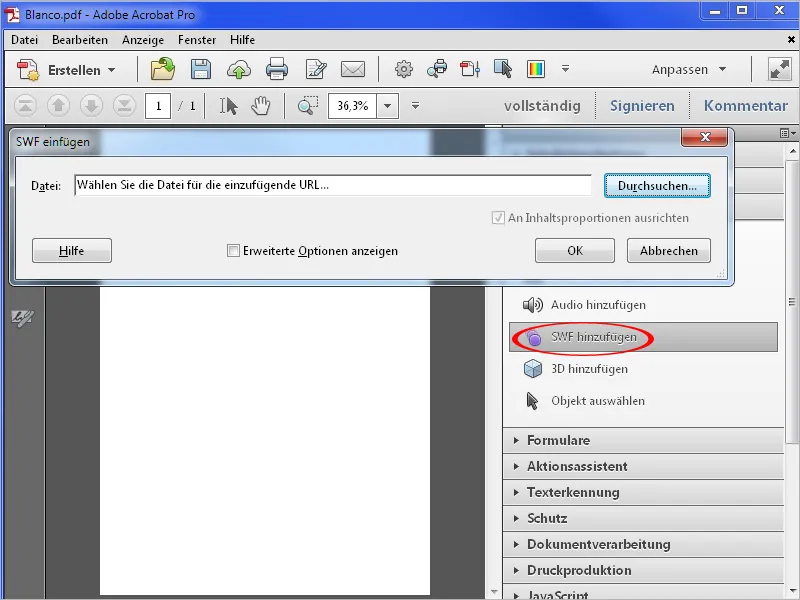
The file is now placed and can be activated with a click. A play button is available to play the animation.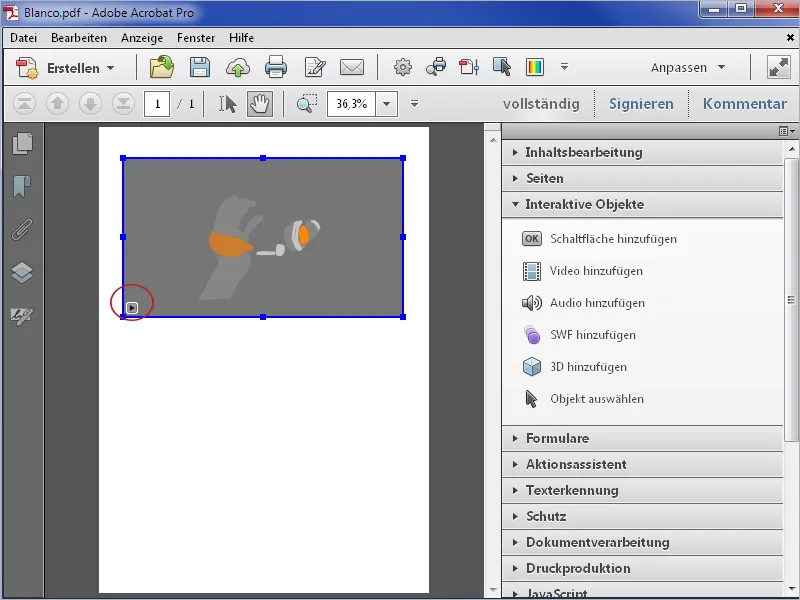
All placed multimedia content can be subsequently edited or removed. To do this, click on Select object in the toolbar and then select the object in question. You can now delete it using the Delete key or call up the properties via the context menu with the right mouse button and make subsequent changes.