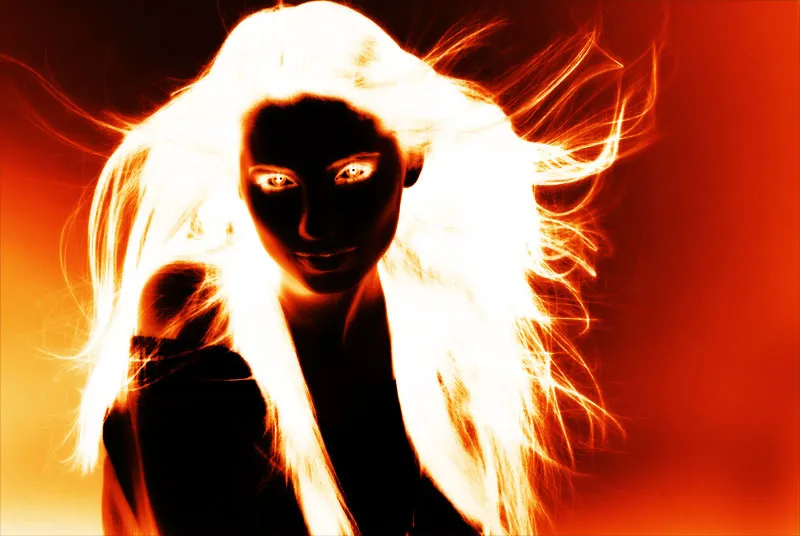
The Hellfire Effect brings fire, glow, and dramatic highlights to your images. This effect gives your photos a dark, fiery atmosphere, perfect for posters, digital art, or creative projects. With Photoshop, you can quickly and easily create this look and save it as an Action to apply to more images with just one click. In this tutorial, I'll show you step by step how to achieve the Hellfire Effect and save it as an action for future designs. Let's get started and set your photo on fire!
Step 1:
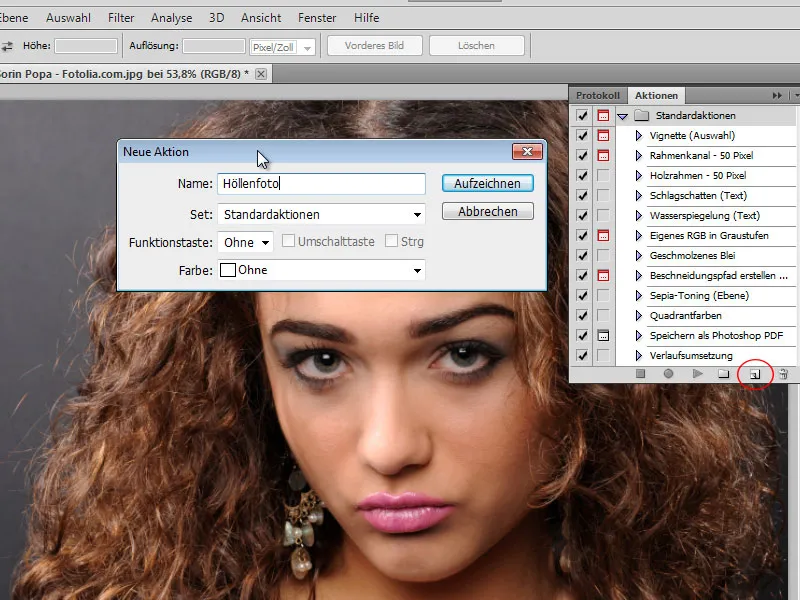
First, I open a photo of my choice and record the effect as an action. To do this, I click F9 to display the Actions panel. Then, I click the New Symbol to create a new action. I will name it "Hellfire" now.
Step 2:
With Ctrl+U, I open the Hue/Saturation dialog box and set the following parameters: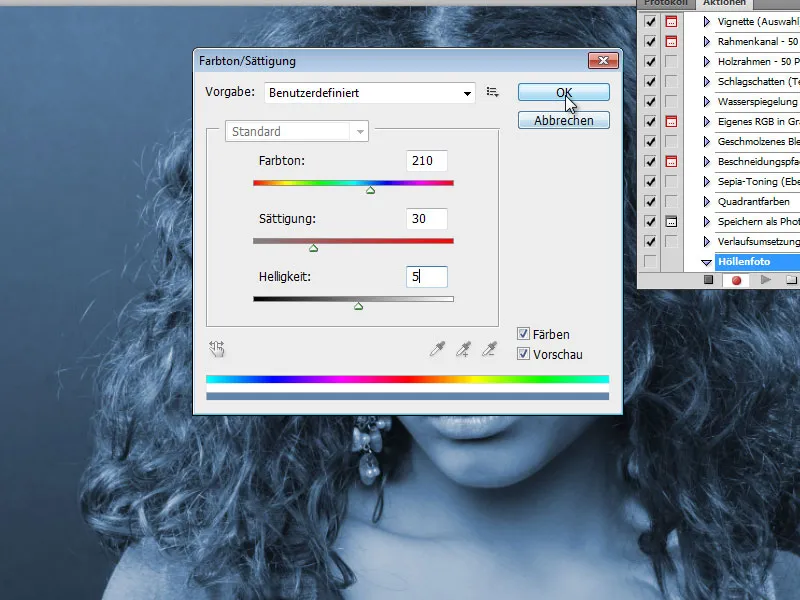
Step 3:
Using Ctrl+J, I duplicate my background layer (click on it in the Layers panel first). Then, I open the Gaussian Blur and set the Radius to 2.5 pixels (depending on the photo's resolution, more or less Radius may need to be defined).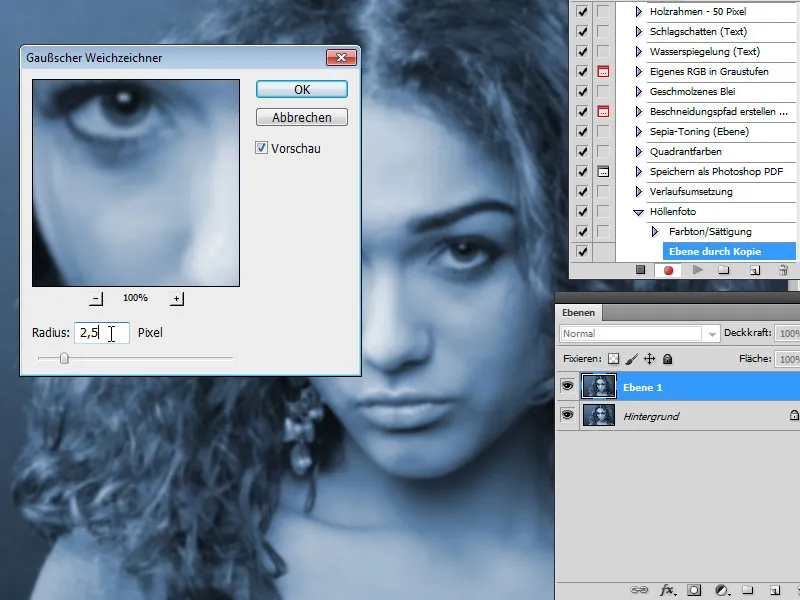
Step 4:
I change the blending mode to Linear Light.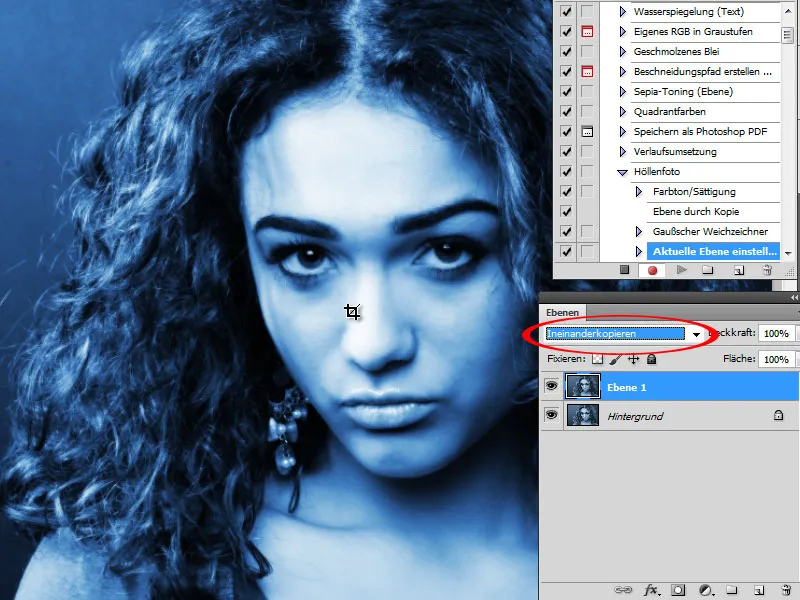
Step 5:
Using Ctrl+E, I merge the layer with the background layer. Then, I duplicate the background layer with Ctrl+J. Now, I apply the Motion Blur filter and set the following parameters: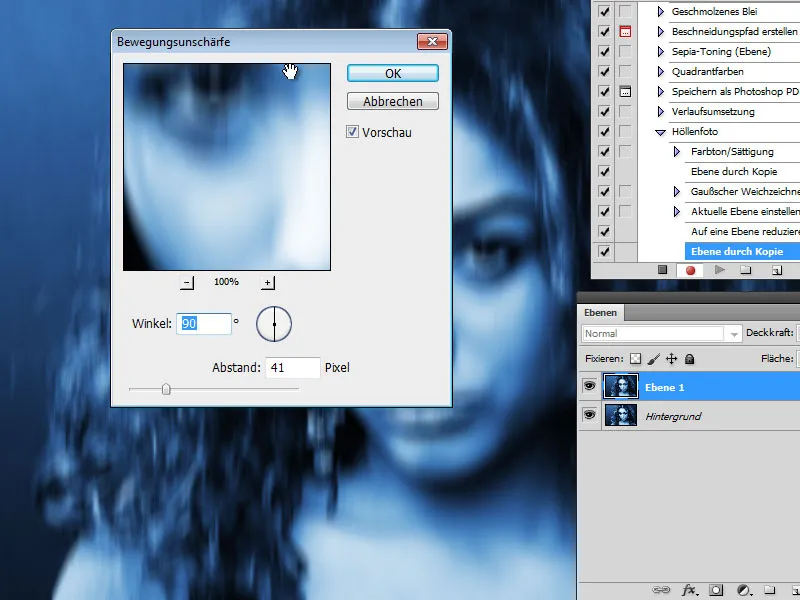
Step 6:
Once again, I change the blending mode to Linear Light, then I merge the layer with Ctrl+E with the background layer.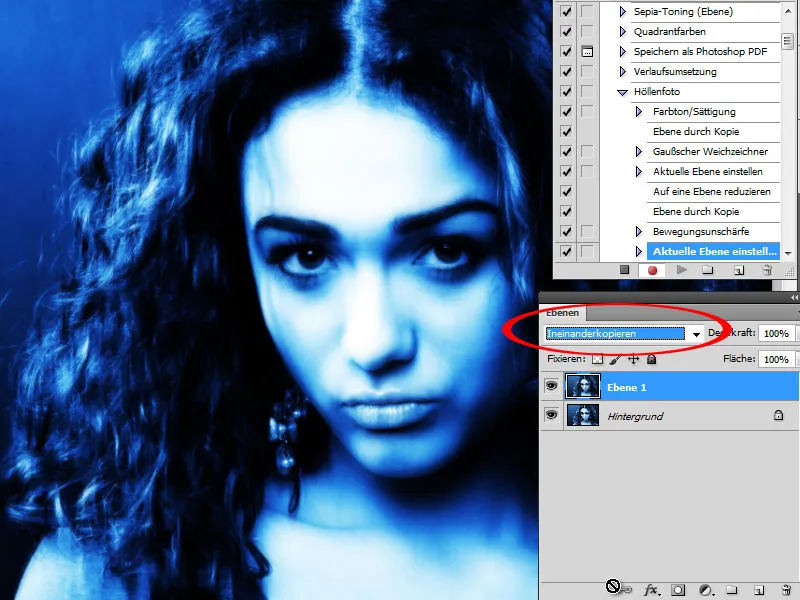
Step 7:
Now, I create a new layer and fill it with white color. I set the blending mode to Subtract.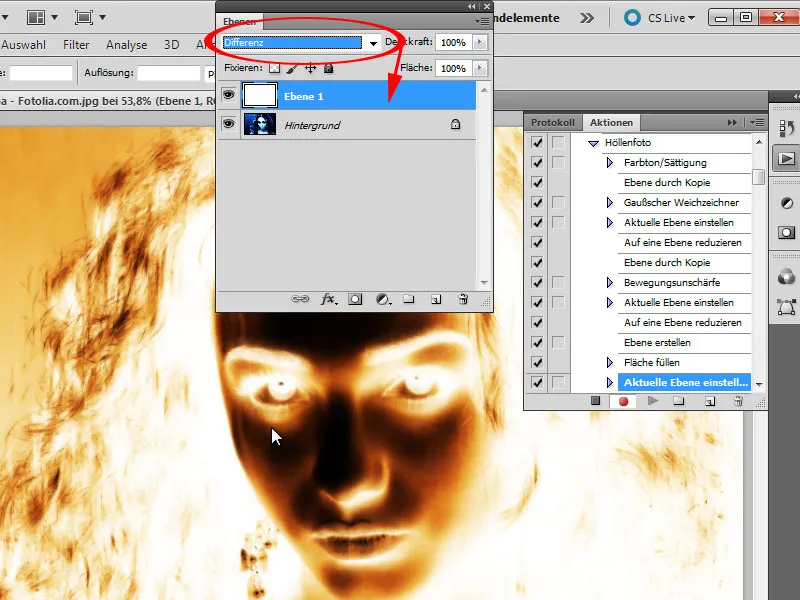
Step 8:
To intensify the effect, I add a Curves adjustment layer where I slightly pull the curve down.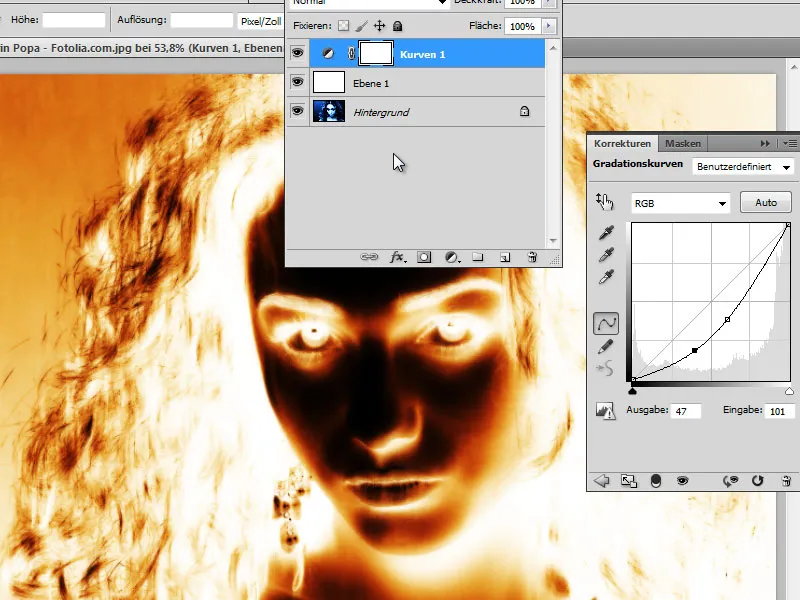
Step 9:
To enhance the colors further, I add a Hue/Saturation adjustment layer, where I set the Opacity to 59% and the blending mode to Linear Light.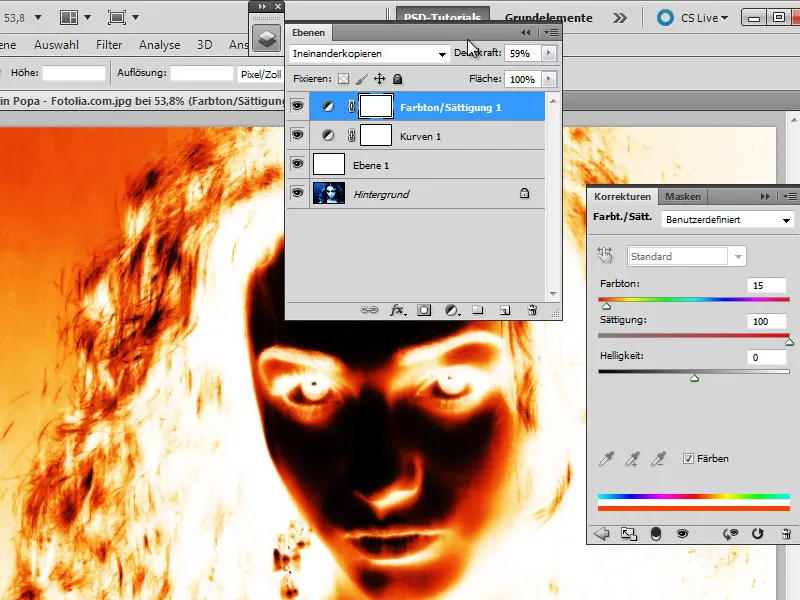
Step 10:
I now finish the action by clicking on the Stop icon. After that, I can apply this action to any photo. For example, I'll use this one: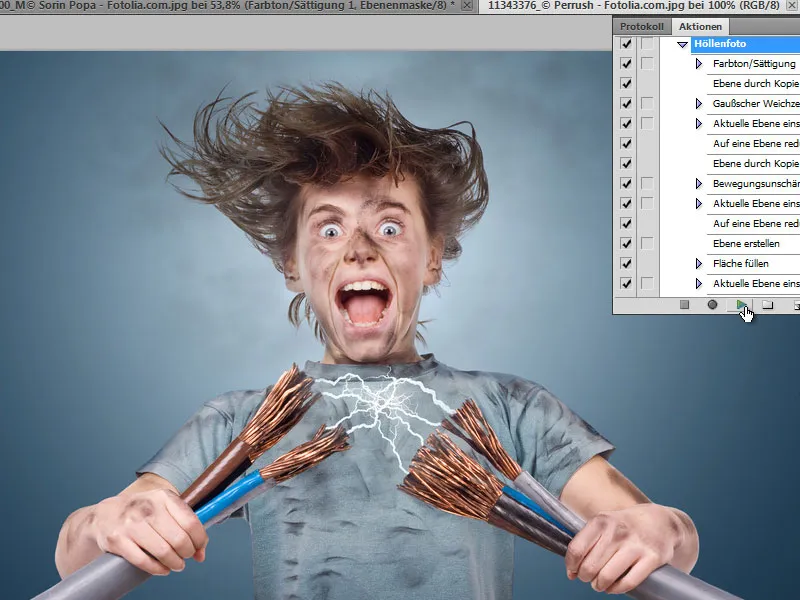
Step 11:
Which then transforms into this fiery devil: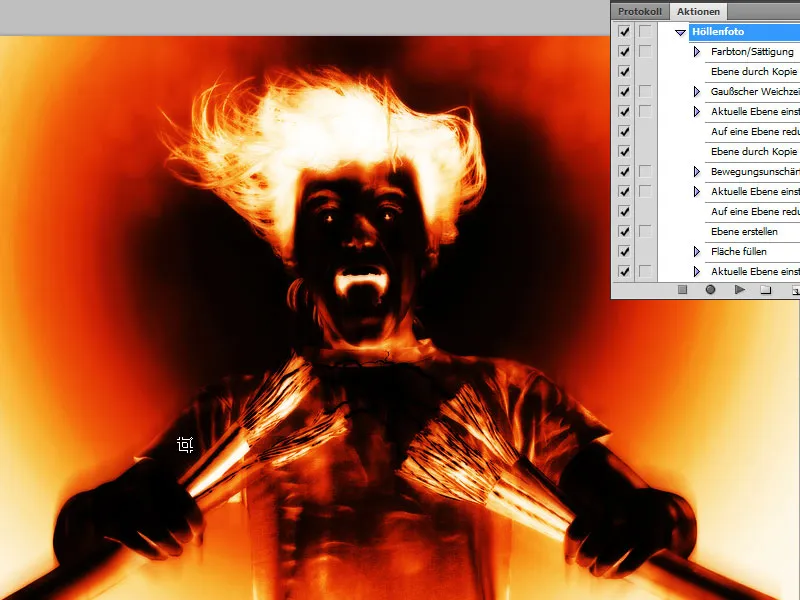
Step 12:
Here's another example: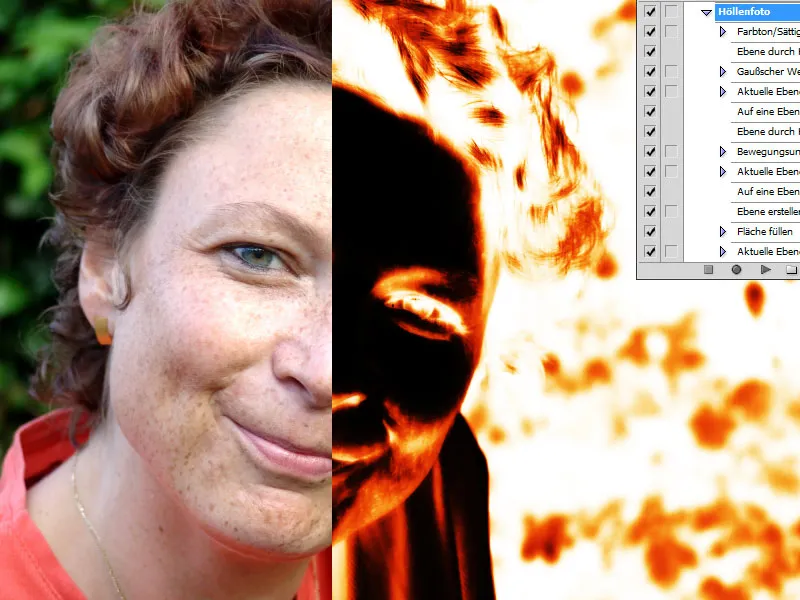
Step 13:
And yet another example: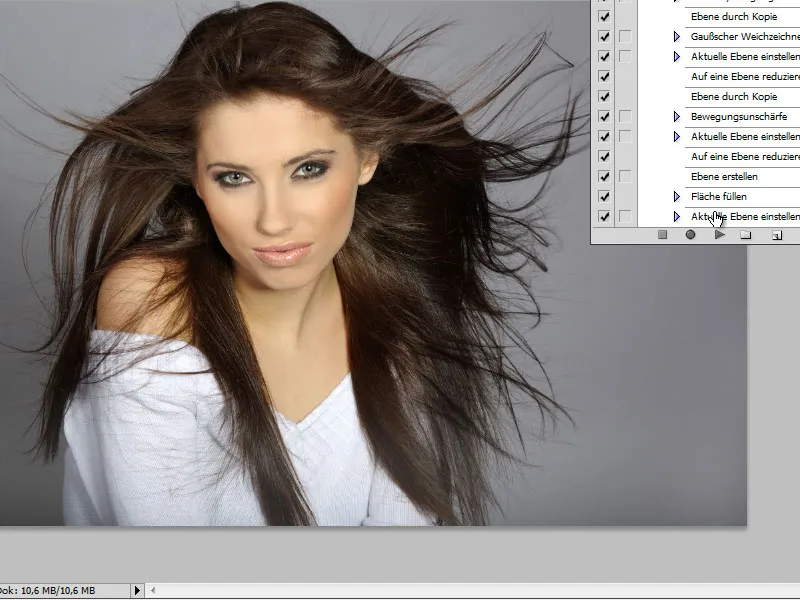
Step 14:
And this is how the result looks like: