Excel is one of the essential tools for many people, whether in the office or in private settings. The ability to save and reopen files effectively is one of the basics you should master. By acquiring these skills, you not only make your work easier but also prevent data loss. In this guide, you will learn step by step how to create, save Excel files, and use the AutoRecover feature.
Key Insights
- Saving Excel files is essential to avoid data loss.
- You can choose different storage locations, including local drives and cloud services.
- The AutoRecover feature helps to secure your work in case of a crash.
- Regular manual saving is advisable, especially for extensive changes.
Step-by-Step Guide
Creating a New Excel File
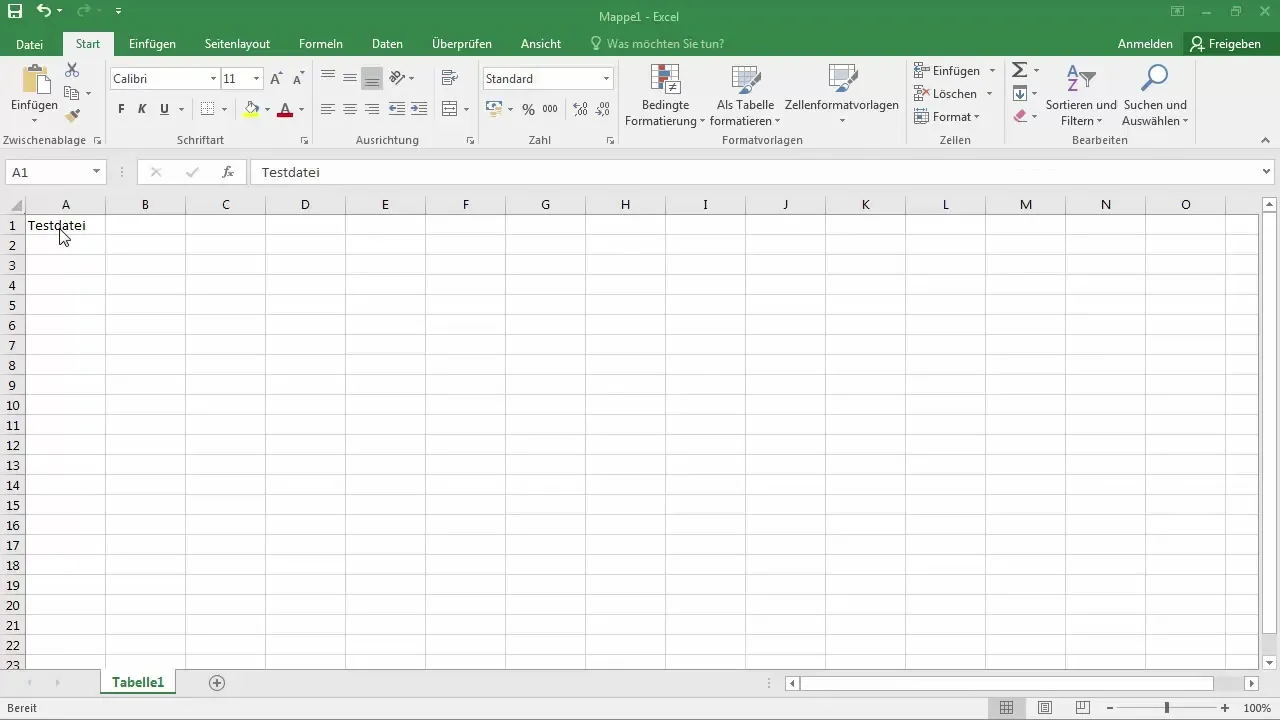
You start with a new, blank Excel file. Open Excel and create a new document. In the blank file, you can now, for example, enter the title "Test file" and add some data.
Saving the File
To save your work, click on "File" in the upper left corner of the Excel interface. Here you will find the options "Save" and "Save As." Choose "Save As" to select the storage location.
Choosing the Storage Location
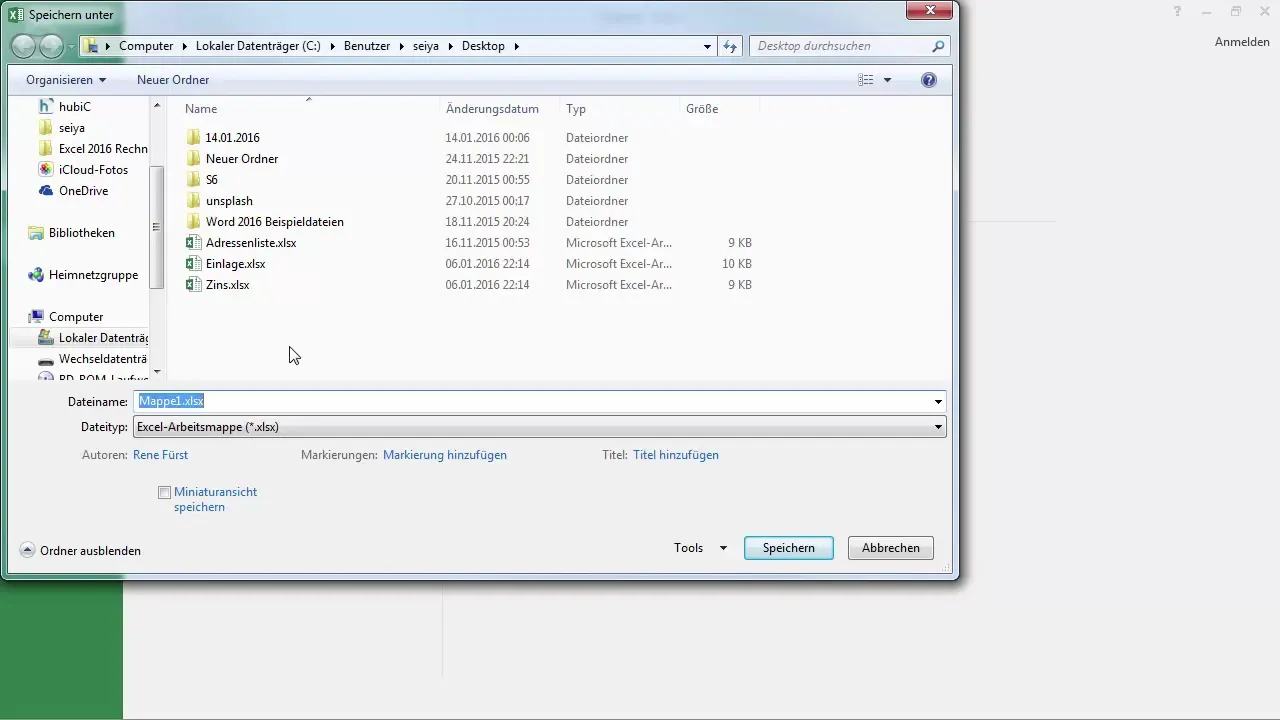
When you choose "Save As," a window opens where you can select the desired storage location. You have the option to save the file locally on your PC or in the cloud, such as OneDrive. For this guide, choose the storage location "This PC" and then "Desktop."

Naming the File
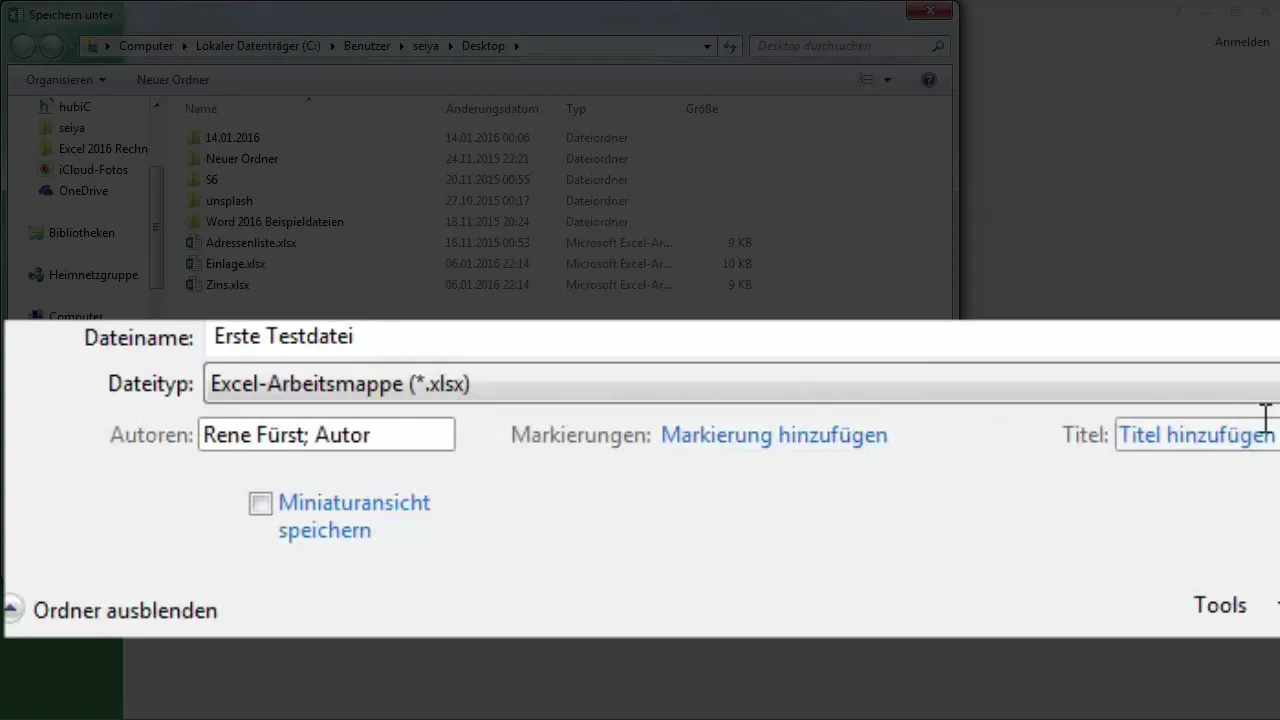
Now you will be prompted to give your file a name. For example, you can name it "First test file." This ensures that you can easily find the file later.
Choosing the File Type
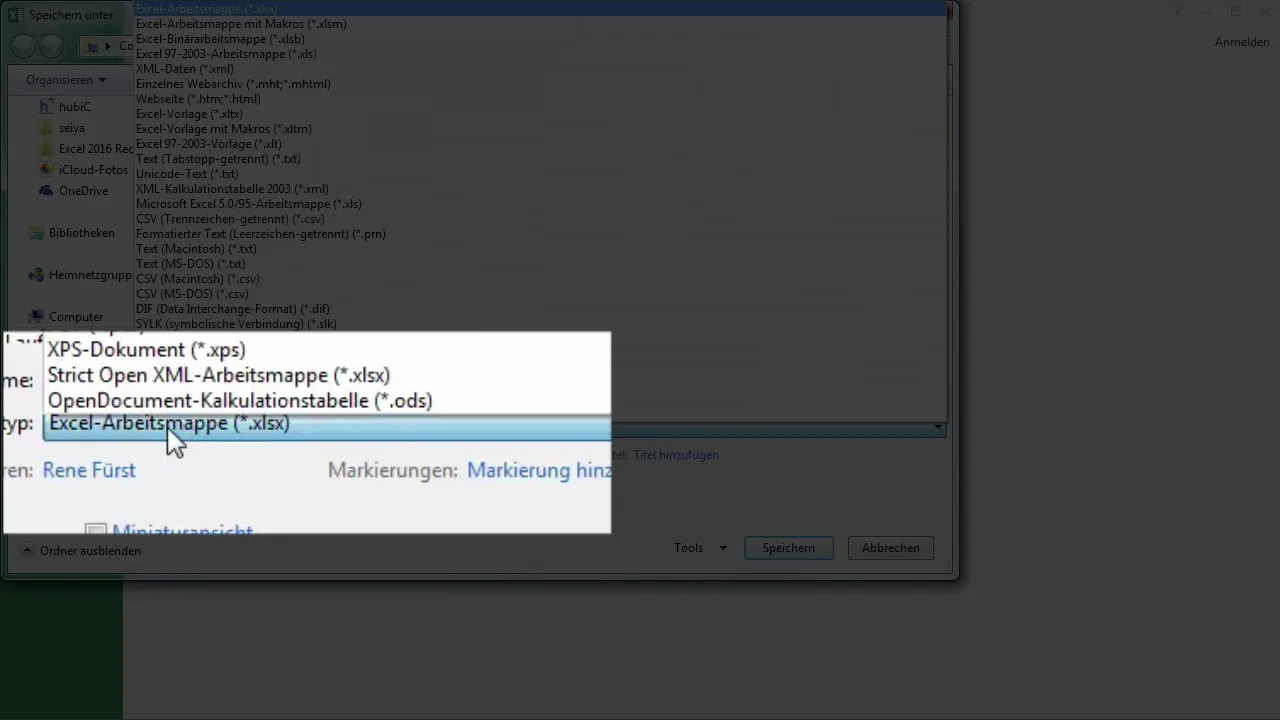
In this step, you also have the option to choose the file type. It is recommended to keep the current standard, which is the Excel workbook (.xlsx). The other options are mainly for special applications that you as a beginner may not need.
Author and Additional Options
You can also specify the author and additional metadata such as title and tags to categorize the file more easily. This information is particularly useful when many files are in circulation.
Checking the AutoSave
Now let's check the automatic save function. Go back to "File" and choose "Options." There you will find the "Save" option, which allows you to define the intervals for automatic saving. You can set Excel to create a save point every 10 minutes.
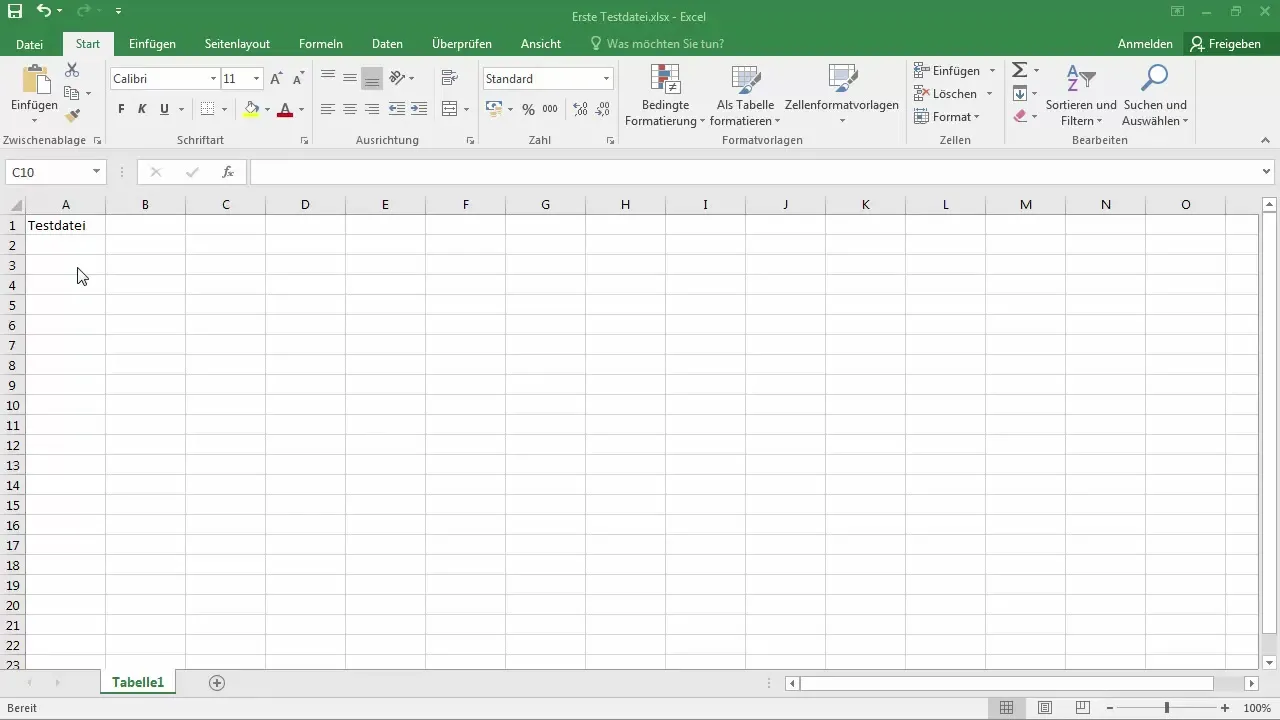
Manual Saving
For extensive changes, you should regularly save manually. There is a small quick access symbol in the toolbar that you can use to save the file with a single click. This is quick and efficient, ensuring that you always have the latest changes saved.

Summary
By correctly saving and managing Excel files, you can not only prevent data loss but also boost your productivity. Utilize the described tips for saving and learn how to use AutoRecover to protect your work optimally.
Frequently Asked Questions
How do I save an Excel file correctly?Click on "File" and then on "Save" or "Save As". Choose the desired location and give the file a name.
Where can I find the AutoRecover options?Go to "File", then select "Options" and go to the "Save" settings.
How can I save my file manually?Use the Quick Access Toolbar icon in the top bar to save your changes with one click.
How often should I save my file?It is recommended to save regularly, especially after major changes or during long work sessions.


