Working with Excel can be challenging, especially when dealing with extensive spreadsheets. The Zoom mode is a useful feature to enhance readability and gain a better overview of your data. In this guide, I will show you how to quickly and easily adjust the Zoom mode in Excel so that you can work more effectively with your data.
Main Insights
- The Zoom mode allows you to magnify or reduce the view of worksheets.
- You can adjust the Zoom via the status bar, the Zoom window, or the View menu options.
- Using the "Enlarge selection" feature allows you to zoom in on specific areas intentionally.
Step-by-Step Guide
Begin by opening Excel and selecting your worksheet. The Zoom mode is usually well-hidden but can be found in the bottom right corner of the Excel window.
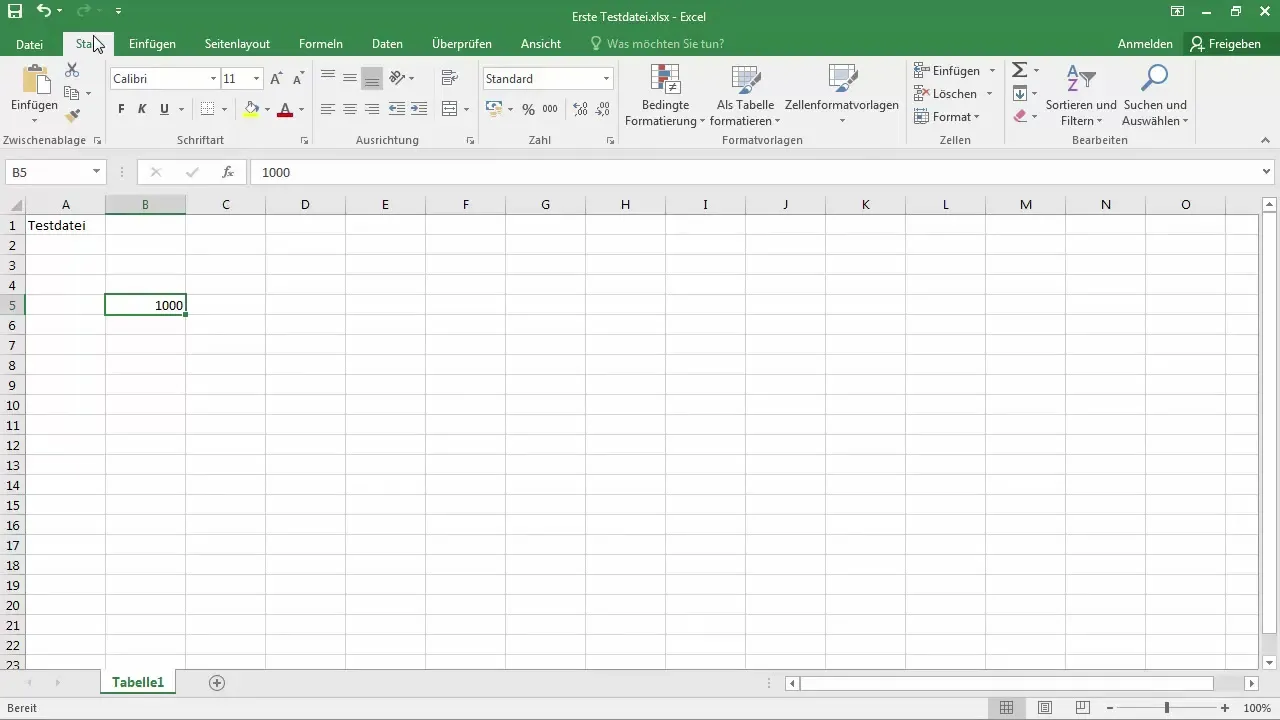
In this area, you will see a minus and a plus symbol next to the current Zoom level. Typically, this is set to 100%. When dealing with extensive workbooks, it often makes sense to zoom out slightly to gain a better overall perspective.
Click on the plus symbol to zoom in on the worksheet. You will immediately notice that the entire workbook is displayed larger. The advantage here is that you can better discern the content within the cells.
Keep an eye on the Zoom area. You will notice the zoom level quickly increasing, for example, to 220%. This significantly facilitates working with large amounts of data.
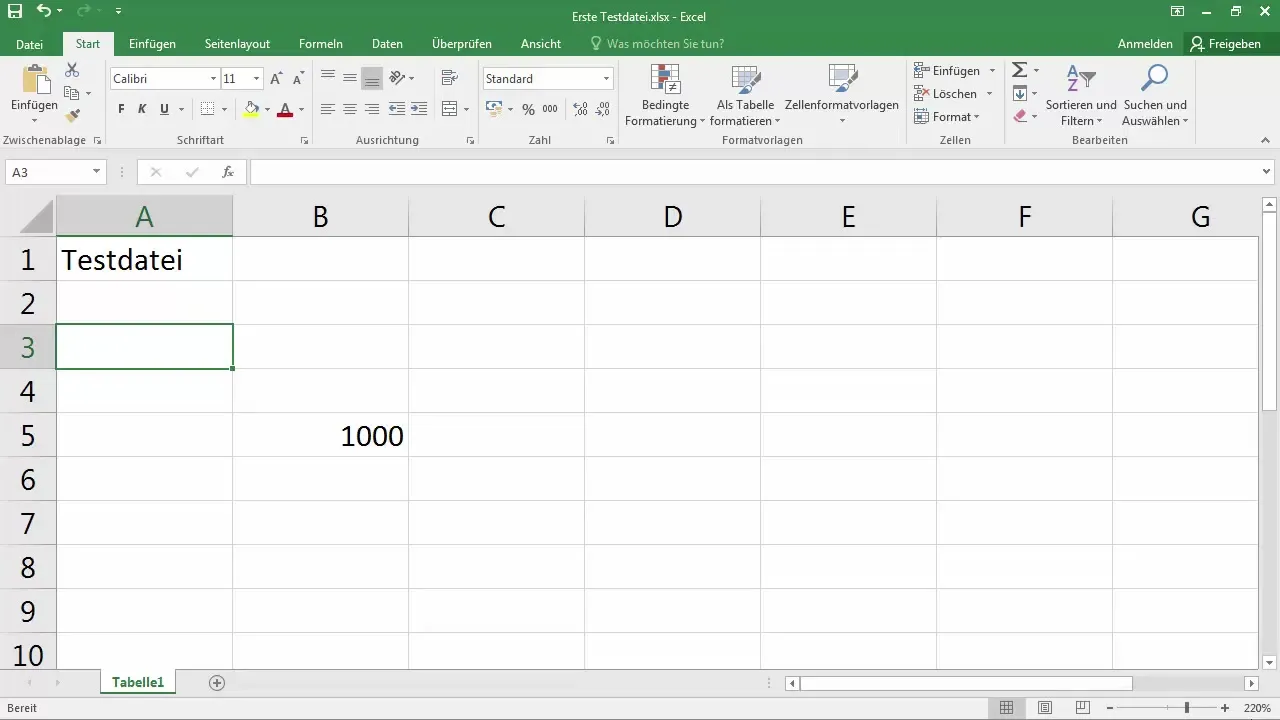
To set a specific zoom level, click on the current Zoom number. This will open a new window where you can customize the zoom level to your preferences.
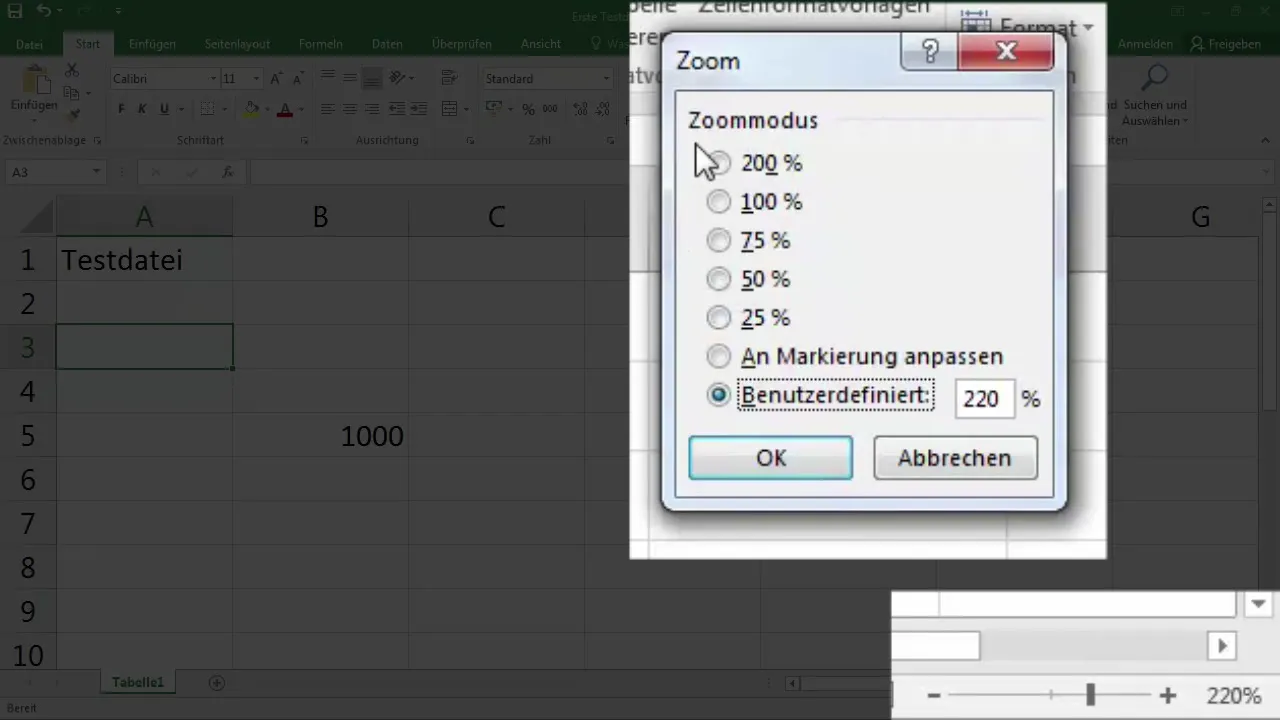
Here, you can also directly select a preset value like 200%. At a zoom level of this size, reading and editing cells becomes significantly easier for you.
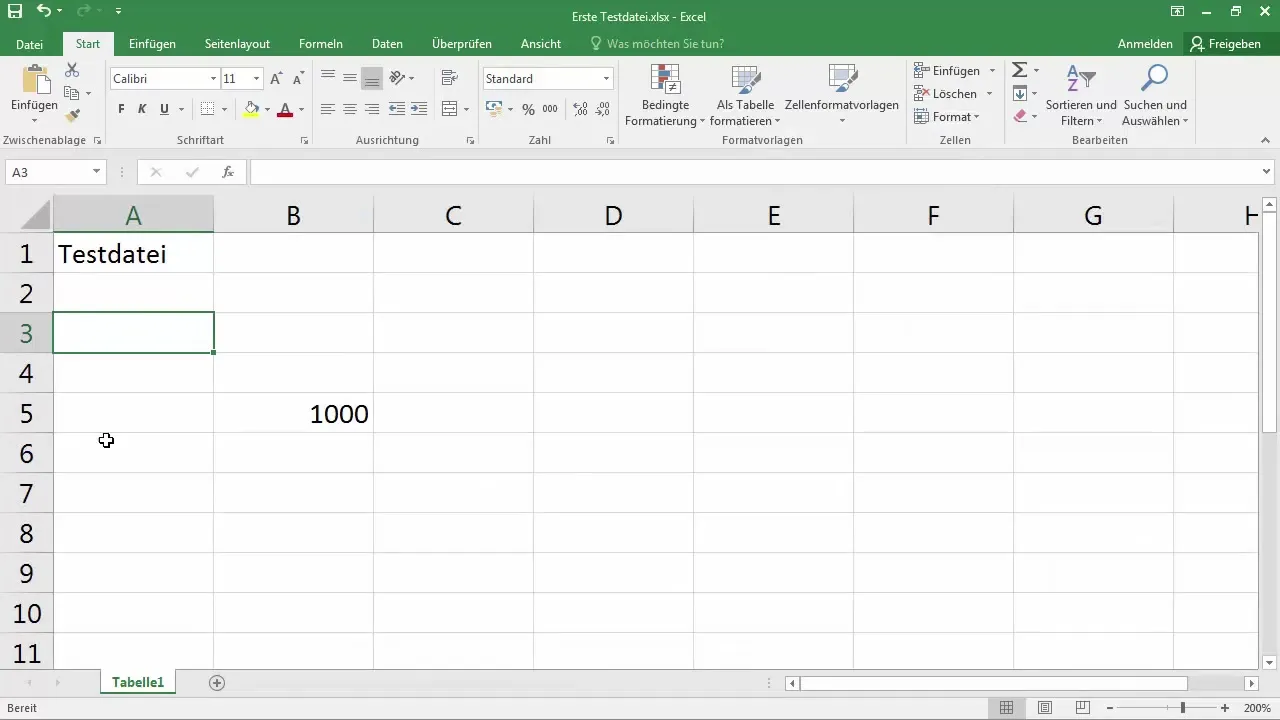
If the workflow brings you back to the standard view, you can simply click on the "View" menu at the top. Among the view options, you also have the possibility to reset your document back to 100% directly in the Zoom area.
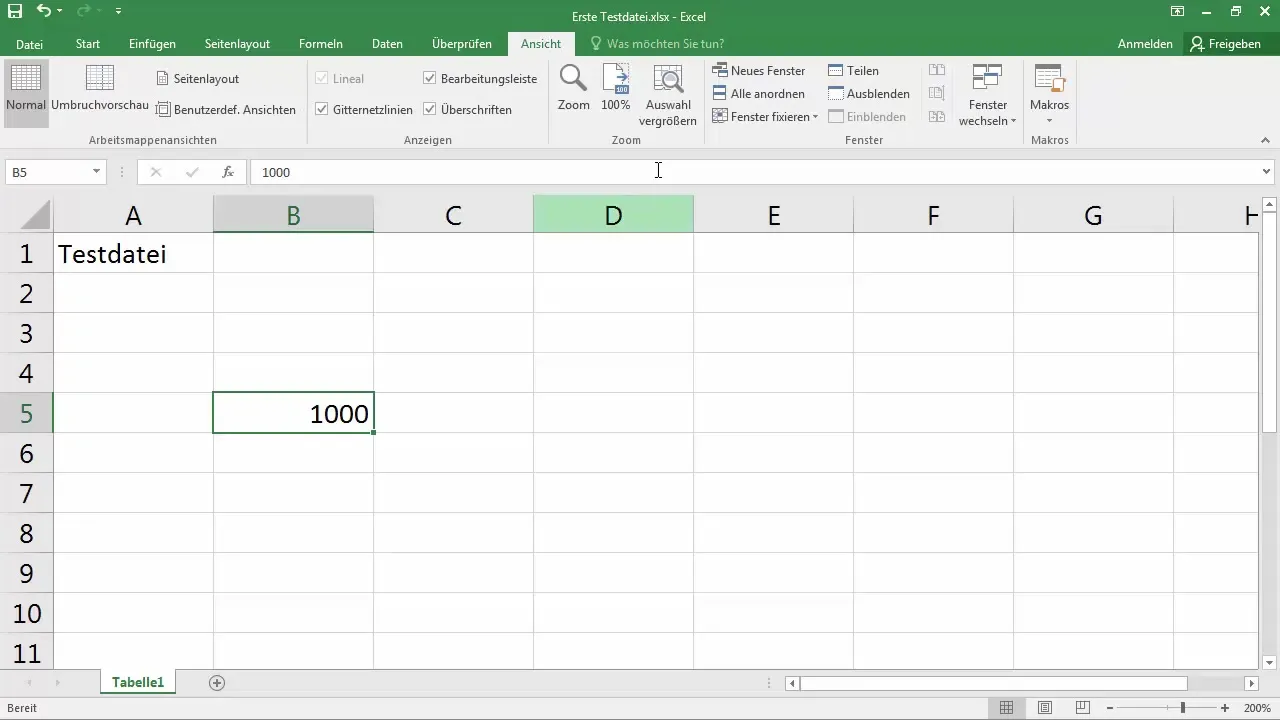
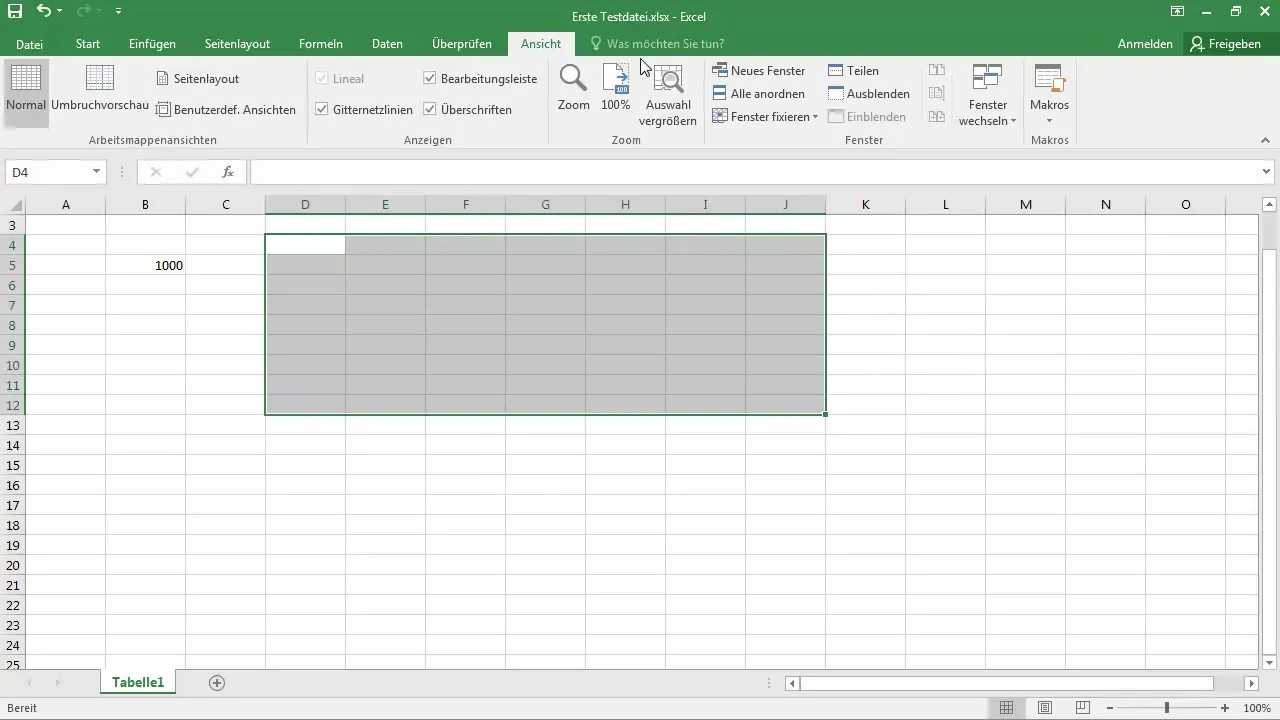
You can also utilize the selection enlargement function. Highlight a specific area of your worksheet before applying this special function. This will adjust only the highlighted area accordingly.
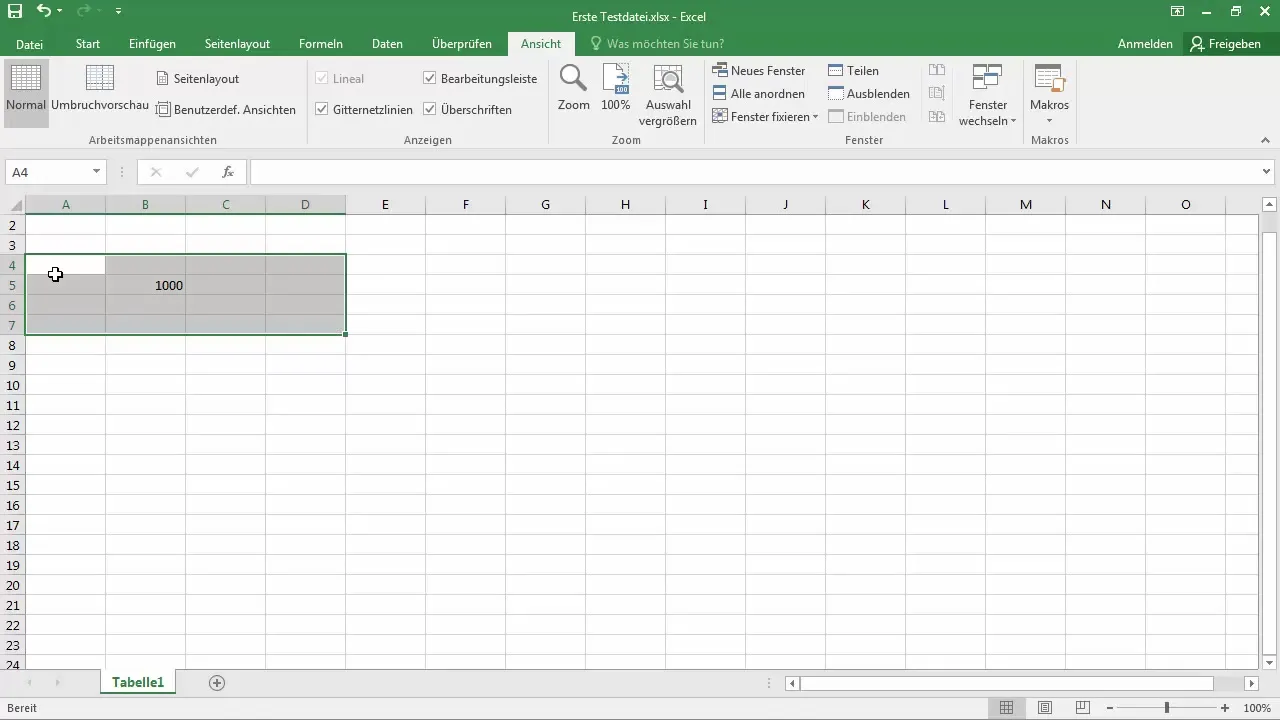
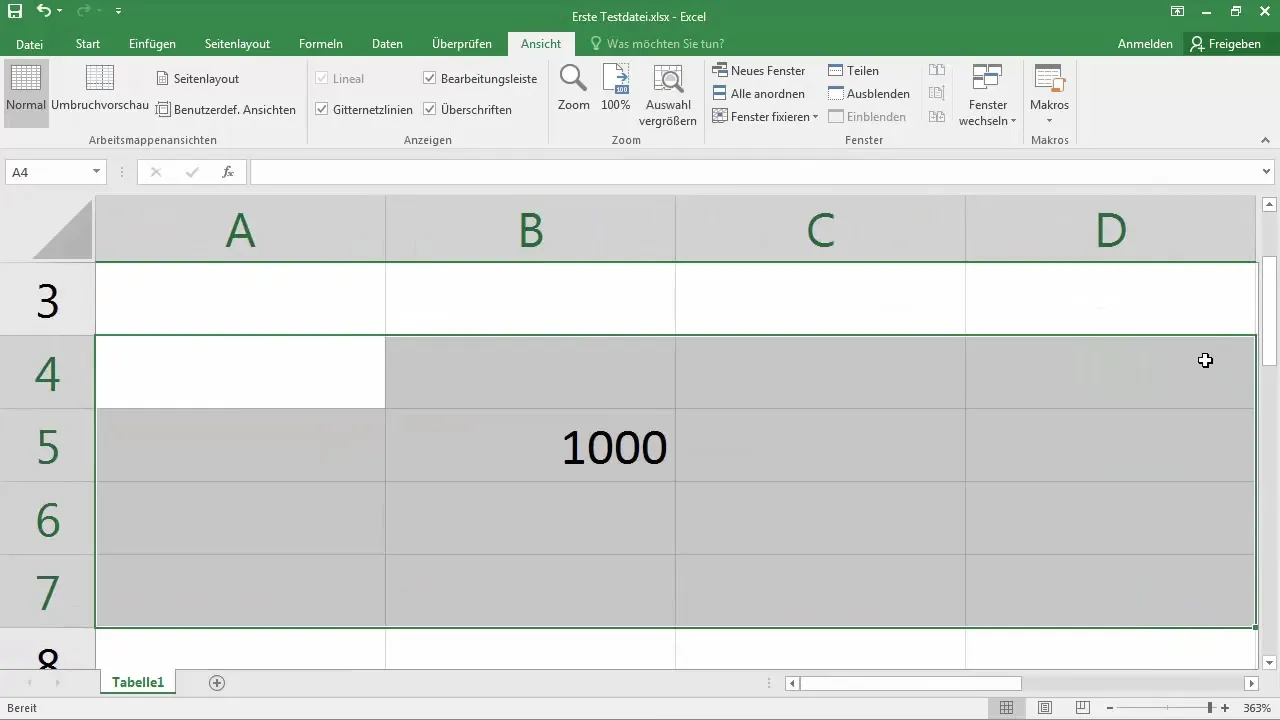
For instance, if you select four cells and then click on "Enlarge selection," you will see that only these cells are optimally displayed on your screen.
If you select a larger area, for example, 12 rows and multiple columns, and then apply the zoom function, you can easily keep track of the entire dataset.
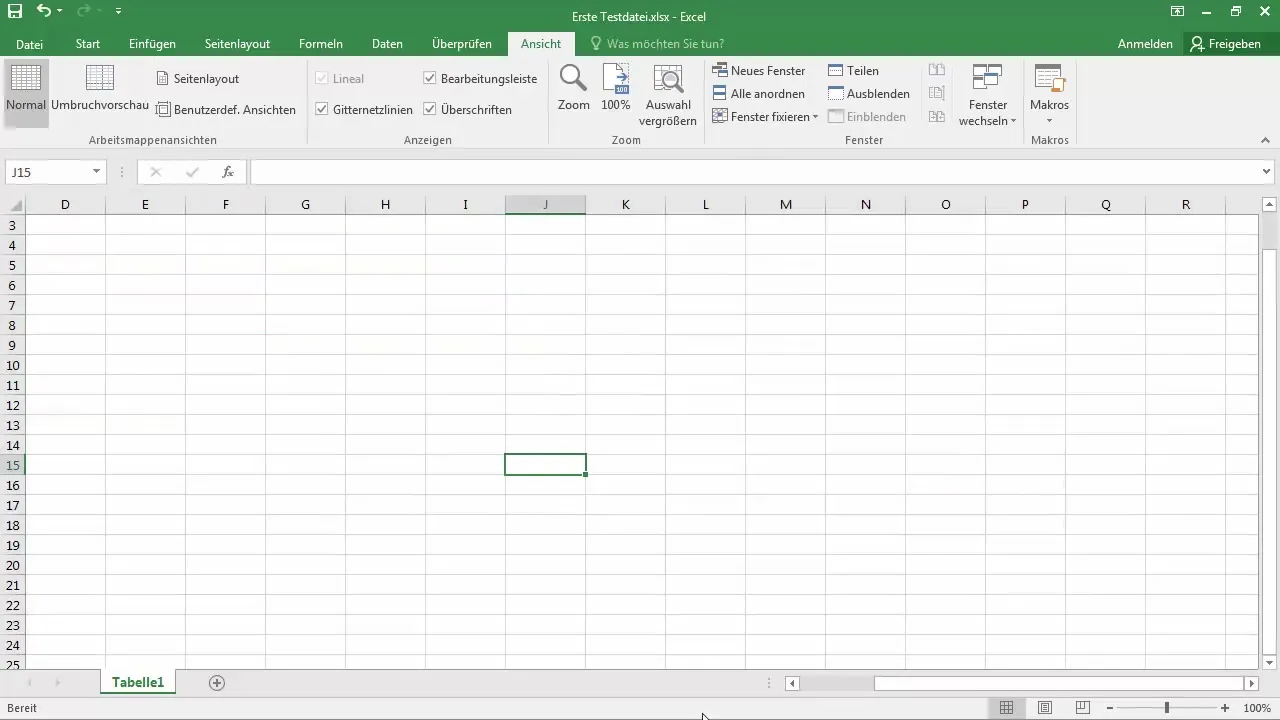
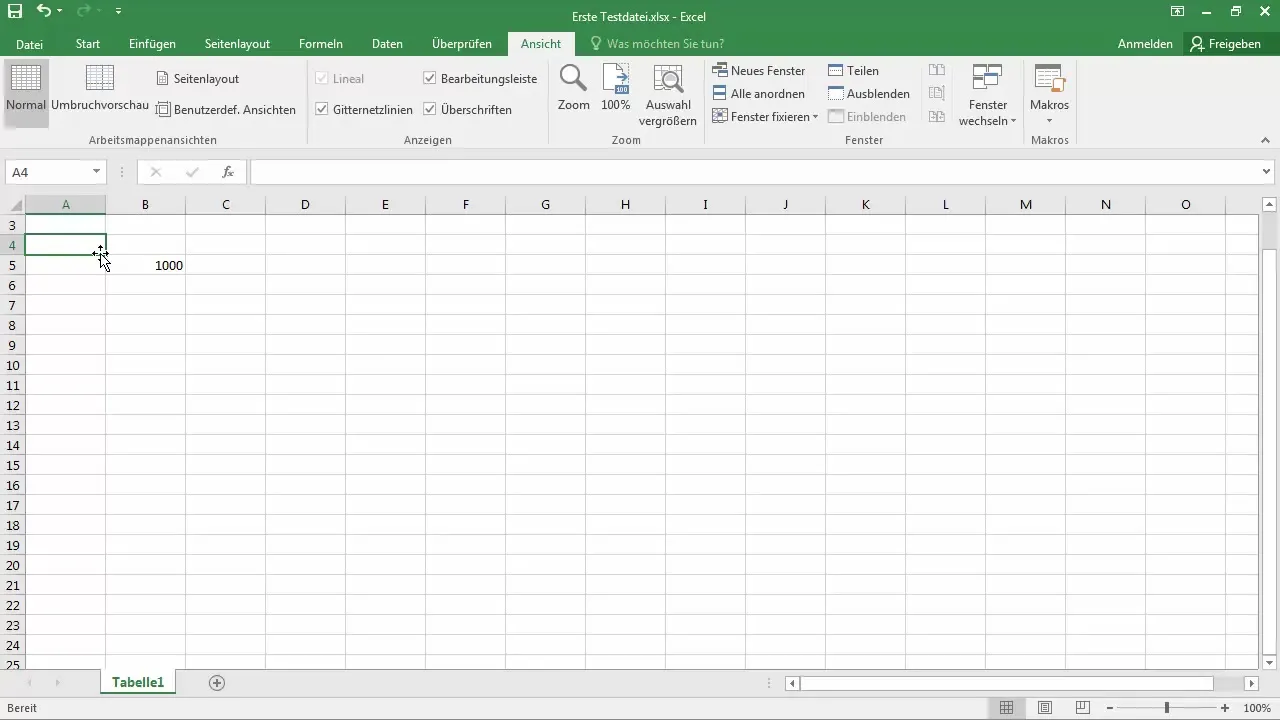
This method allows you to zoom in specifically on the contents of your worksheet without disrupting the entire view. Finally, you can always return to 100% to have your standard view back.
These adjustments in the Zoom mode are important for working efficiently in Excel. You now have the ability to change your data's perspective as needed.
Summary
Adjusting the Zoom mode in Excel allows you to work more precisely and comfortably with your data. From simple use through the status bar to special functions like "Enlarge selection," you have all the tools you need to excel in achieving excellent results.
Frequently Asked Questions
How do I adjust the zoom level in Excel?You can adjust the zoom level by using the status bar in the bottom right corner or by navigating through the "View" menu.
Can I zoom in on a specific area only?Yes, select the desired area and use the "Zoom to Selection" feature.
How do I reset the zoom to 100%?Either click on the zoom percentage in the status bar or choose the 100% option from the "View" menu.


