Excel is an indispensable tool when it comes to efficiently organizing and managing data. However, manually entering information for regularly recurring tasks can quickly become time-consuming and error-prone. If you frequently have to enter the same information, such as member names or city names, it makes sense to create your own fill lists. In this guide, you will learn how to create your own fill lists in Excel in a few steps to significantly facilitate your work.
Key Findings
- Creating your own fill lists in Excel saves time and minimizes errors.
- Creating fill lists is done through the Excel options under "Custom Lists".
- The fill lists can be added, edited, or deleted at any time.
Step 1: Open Excel and Create a List
First, open Excel and consider which data you will frequently need in the future. In this example, we will use a list of members consisting of the names: Anna, Peter, Bettina, Jennifer, René, Heinz, and David. You will use this list later to test the fill function.
Step 2: Customize Excel Options
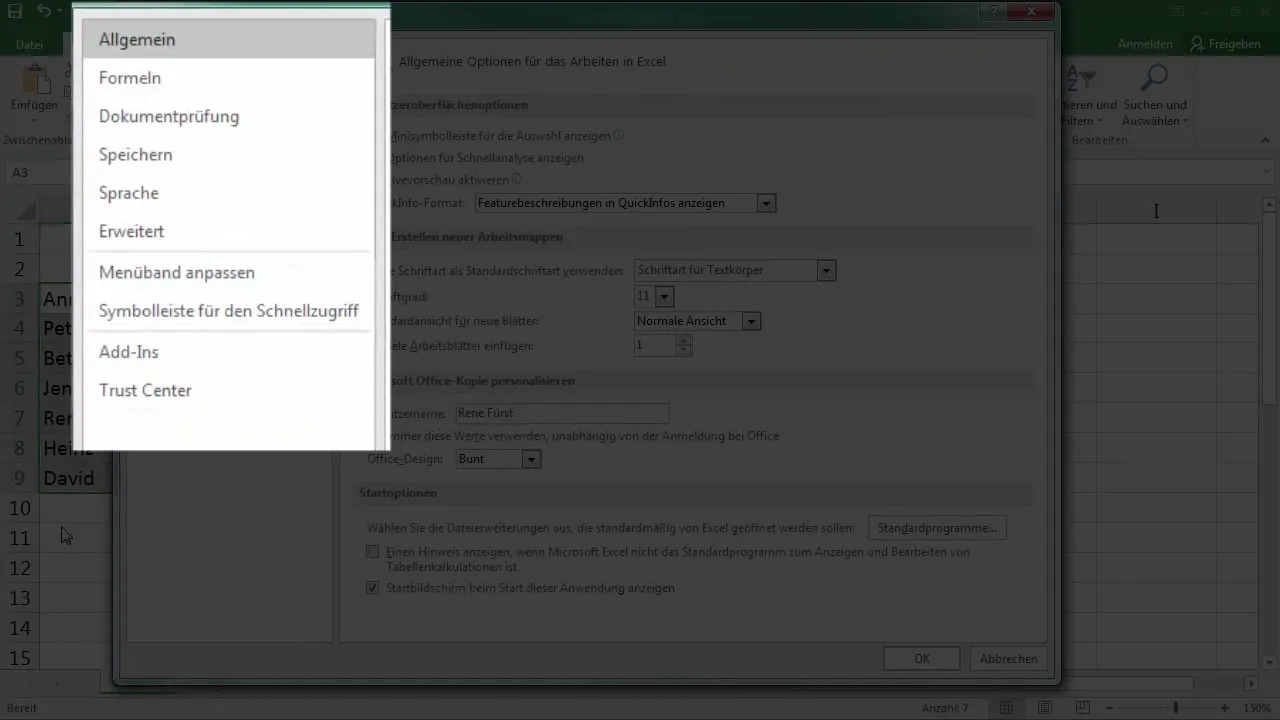
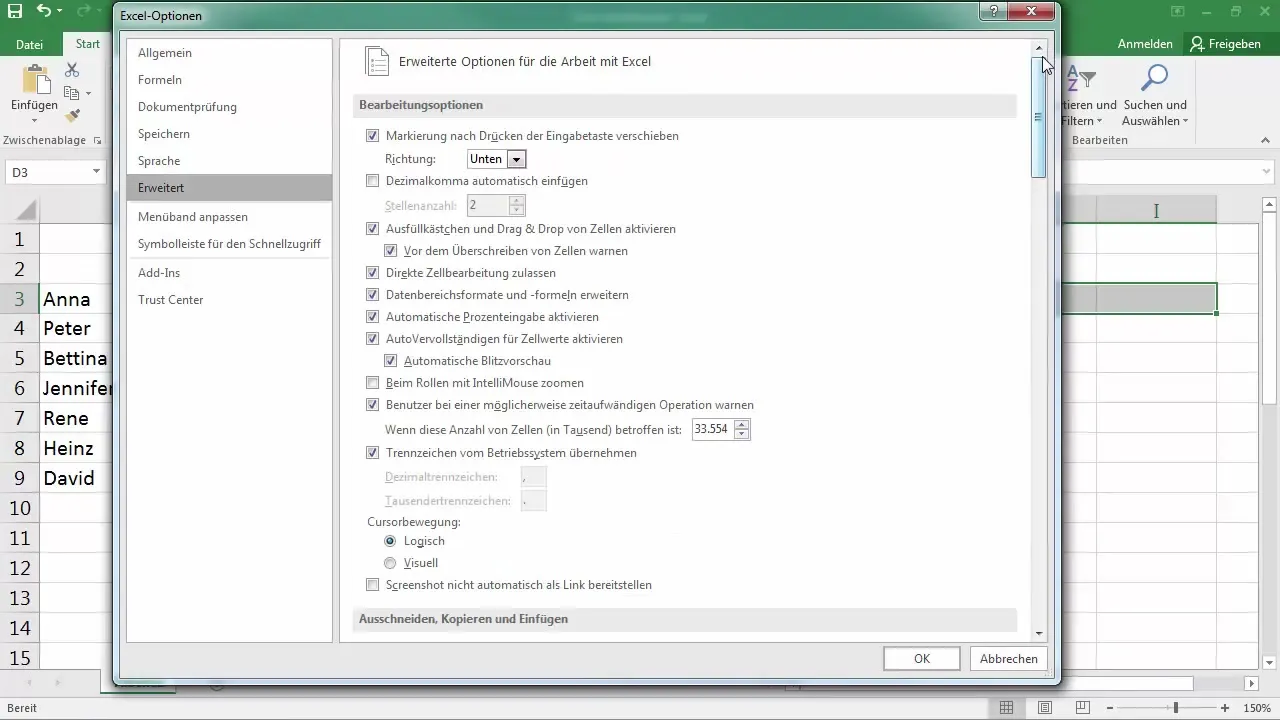
To create the fill lists, go to the Excel options. Click on "File" in the upper left corner and select "Options". A new window will open where you can customize the full features of Excel.
Step 3: Find Custom Lists
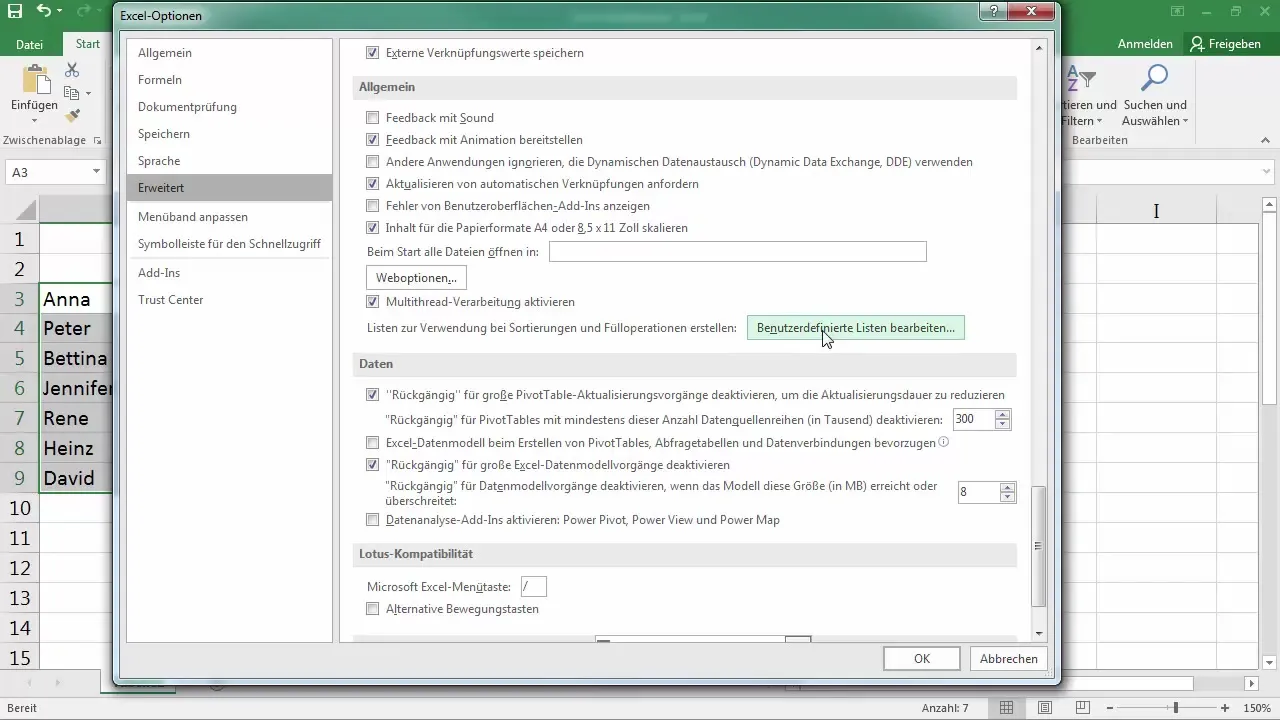
In the Options window, you will find a variety of categories on the left side. Click on "Advanced". Then scroll all the way down to the section "Custom Lists". This category is often a bit hidden, but that's where you will find the necessary settings for your fill lists.
Step 4: Add a New List
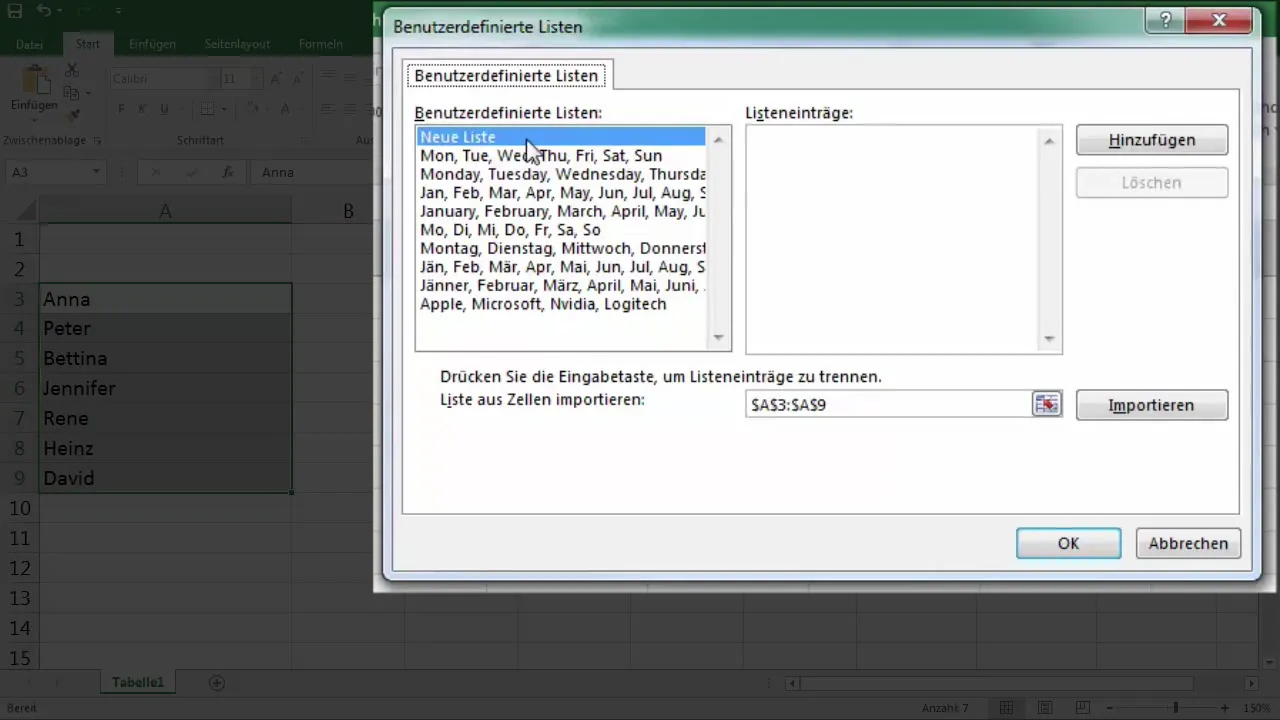
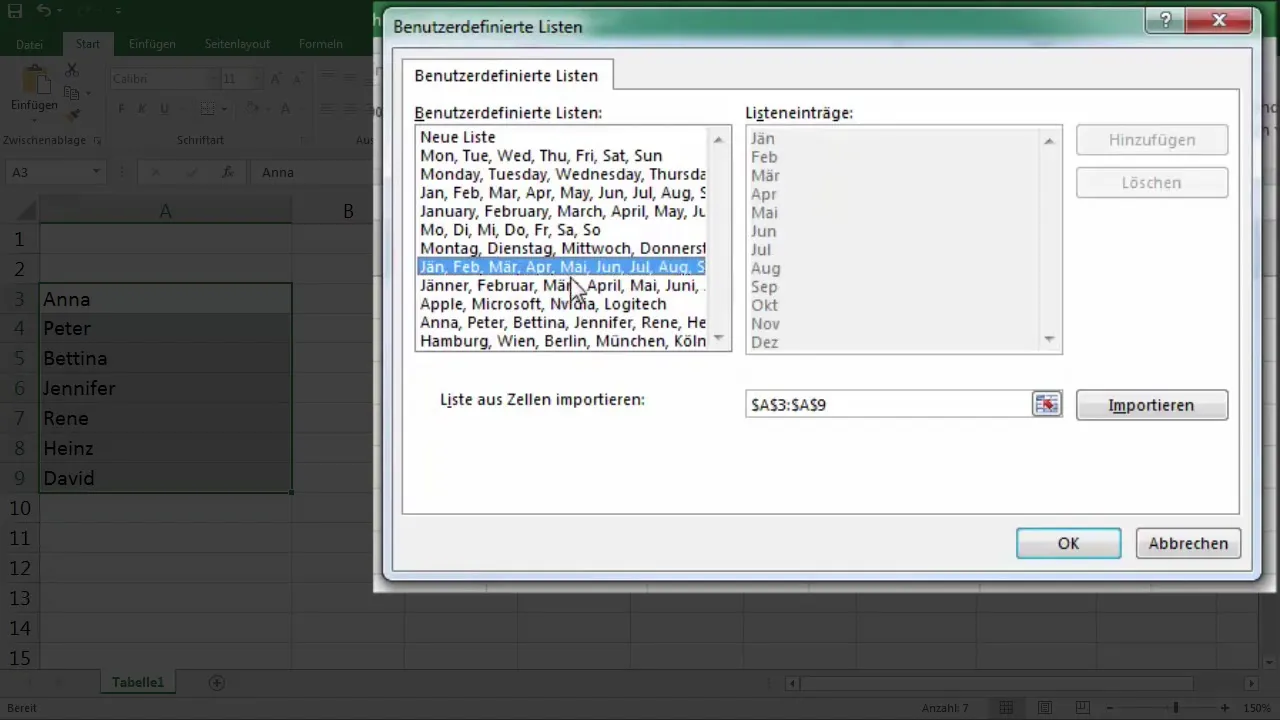
Now it's time to add your list. Click on "Add New Entry". Here you can enter the names of your members that you wrote down earlier into the text field. Make sure to enter them in the same order as you want to use them.
Step 5: Import the List
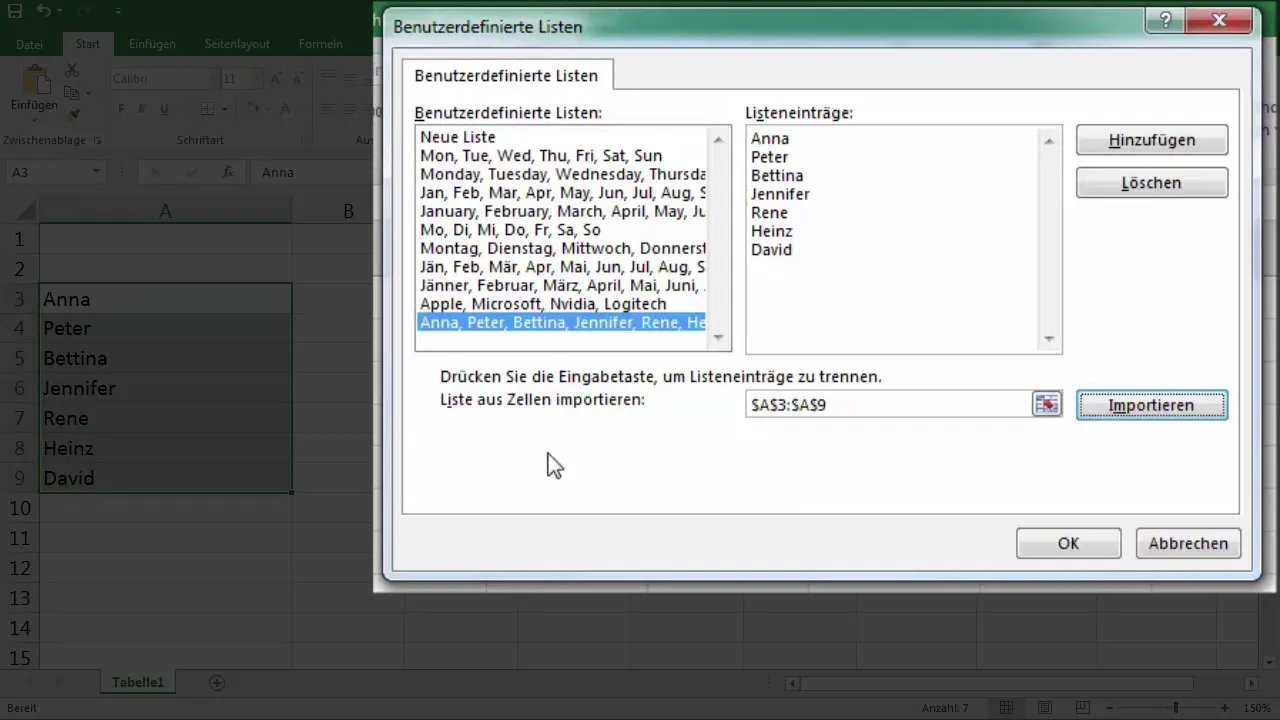
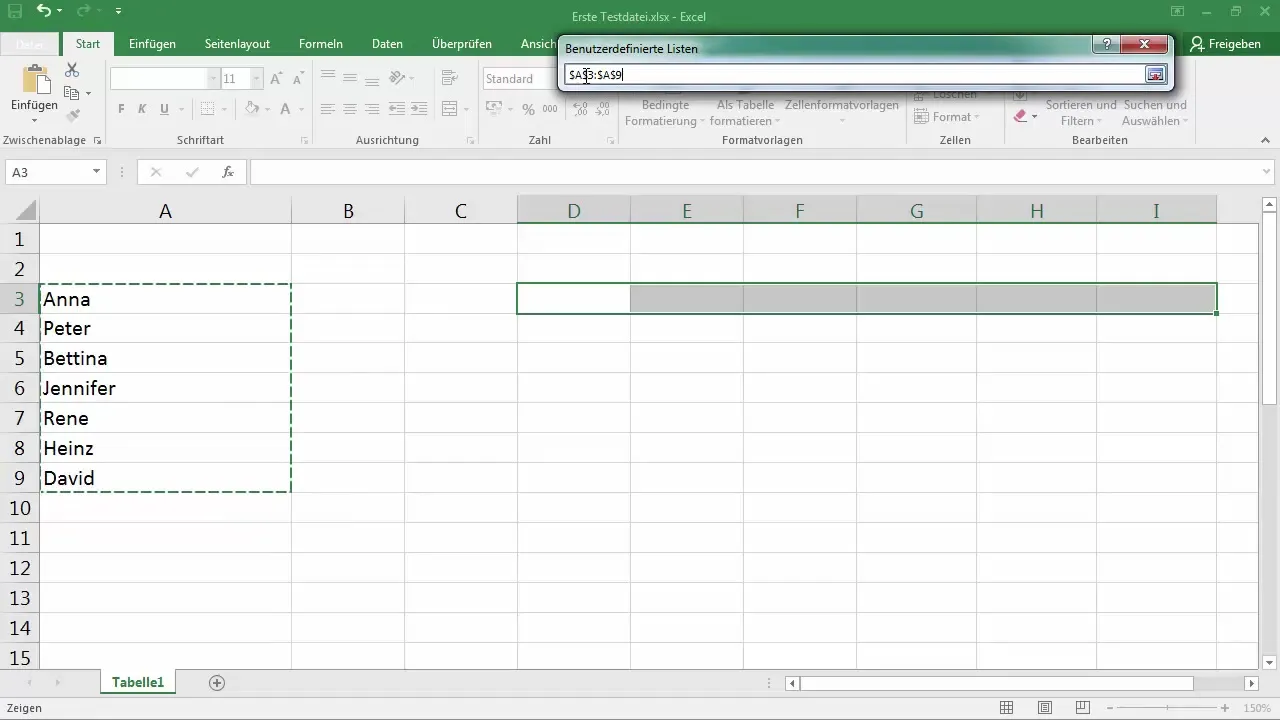
To import the list, select the range where the names of your members are located (e.g., A3 to A9) and click on "Add". You will see that the list now appears in the overview. If you want to add more members, you can also paste them into the text field and click "Add" again.
Step 6: Use the Fill List
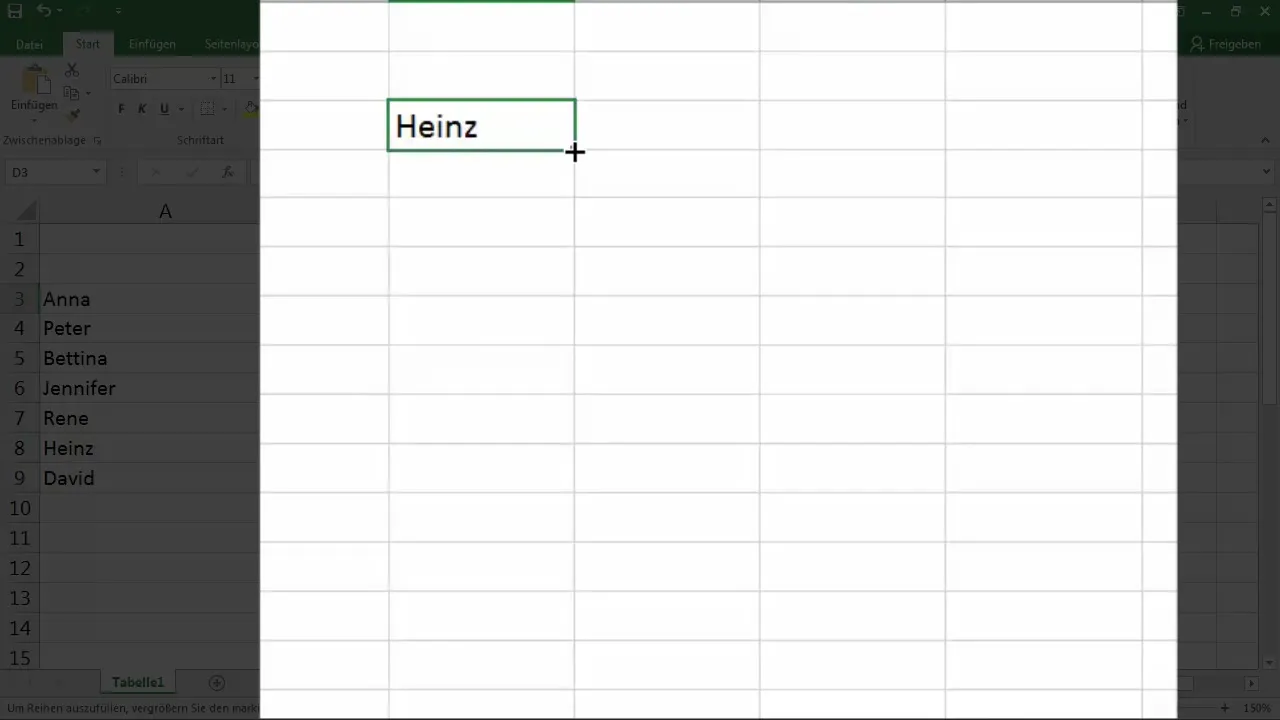
Now that you have added your fill list, you can directly use it in Excel. For example, when you enter the name "Heinz" in a cell, Excel will automatically provide the next names from your fill list. You can quickly transfer them to other cells by dragging the small rectangle in the bottom right corner of the cell.
Step 7: Editing and Deleting the List
If you ever need to update or delete the list, go back to "File" - "Options" - "Advanced" and scroll to "Custom Lists". Select the list you want to edit and click "Delete" if you no longer need it.
Step 8: Reimporting the List
If you need the list again in the future, that's not a problem. You can go back to the Custom Lists and, after selecting range A3 to A9 again, you can also reimport the list at any time.
Step 9: Applying to Additional Data
In addition to member names, you can also convert other data such as city names or products into a list. The process remains the same, and you can create numerous fill lists for various purposes.
Summary
Creating custom fill lists in Excel is an efficient way to quickly input recurring data and increase productivity. With the steps described in this guide, you can easily create, edit, or delete fill lists as needed.
Frequently Asked Questions
How do I add a new fill list?You need to go to Excel options, select the "Custom Lists" section, and insert your new list there.
Can I delete a list?Yes, that is possible. Just go back to "Custom Lists" and delete the desired list.
How many fill lists can I create?There is no fixed limit, you can create as many lists as you need.
Can I edit existing lists?Yes, you can adjust existing lists at any time through the Excel options.


