Excel is a powerful tool that allows you to efficiently manage your data. Inserting and deleting rows and columns is a common task that you should master as a beginner. In this guide, you will learn how to easily add and delete rows and columns in Excel to organize and customize your tables.
Key Takeaways: Inserting and deleting rows and columns in Excel is straightforward. You can do this through the context menu, the ribbon, or by using keyboard shortcuts. Additionally, you have various options for further editing content if needed.
Step-by-Step Guide
Inserting a Row
The first step is to click where you want to add a new row. You can insert a row by simply right-clicking on any row header and selecting "Insert Cells." Excel will then create a new row above the selected row.
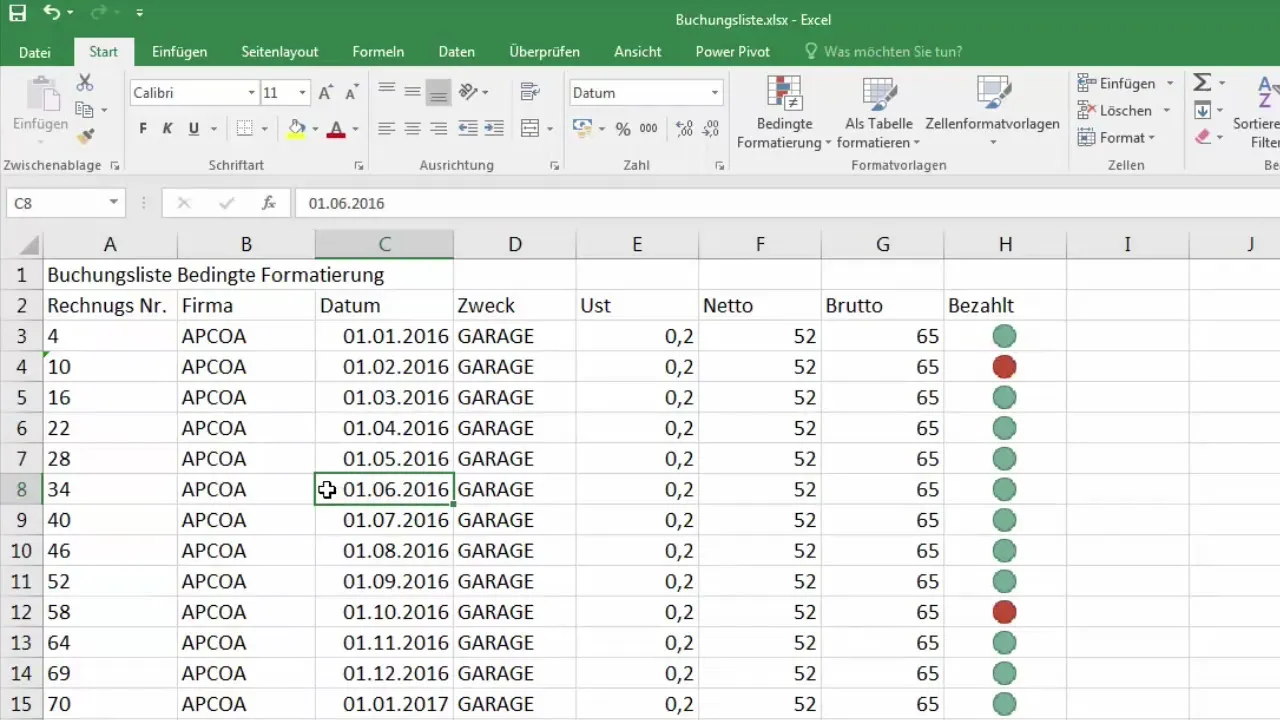
It is important to mention that when adding the row, the content of the current row will automatically shift down. This means you can seamlessly enter new data without losing existing information.
Deleting a Row
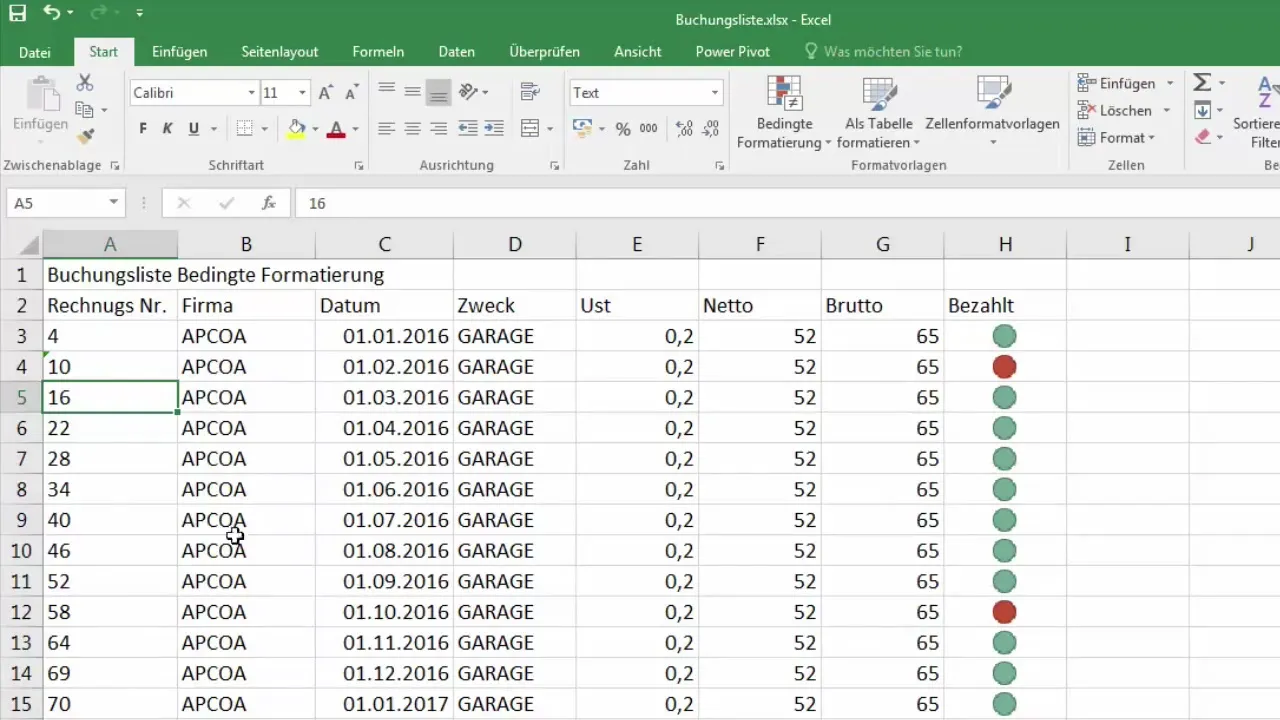
To delete a row, simply select it by clicking on the respective row and right-click on the row header. Then choose "Delete Cells." This will remove the entire row without leaving any information behind.
Inserting a Column
Inserting a column works similarly to inserting a row. Click on the header of the column next to where you want to add a new column, and again choose the "Insert Cells" option from the context menu. Excel will create a new column to the left of the selected column.
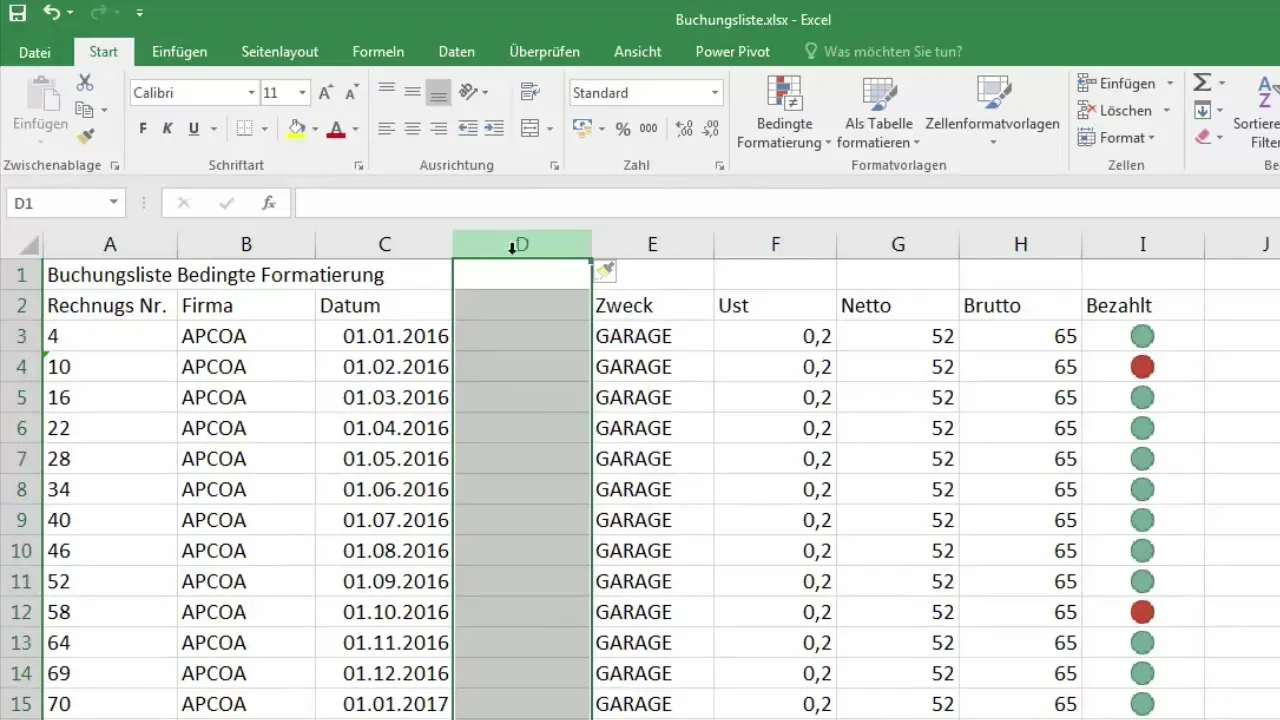
It's important to note that when Excel displays the "Insert Cells" option, it can insert a column and not just cells anymore. This means all information will remain unchanged initially until you edit the new column.
Deleting a Column
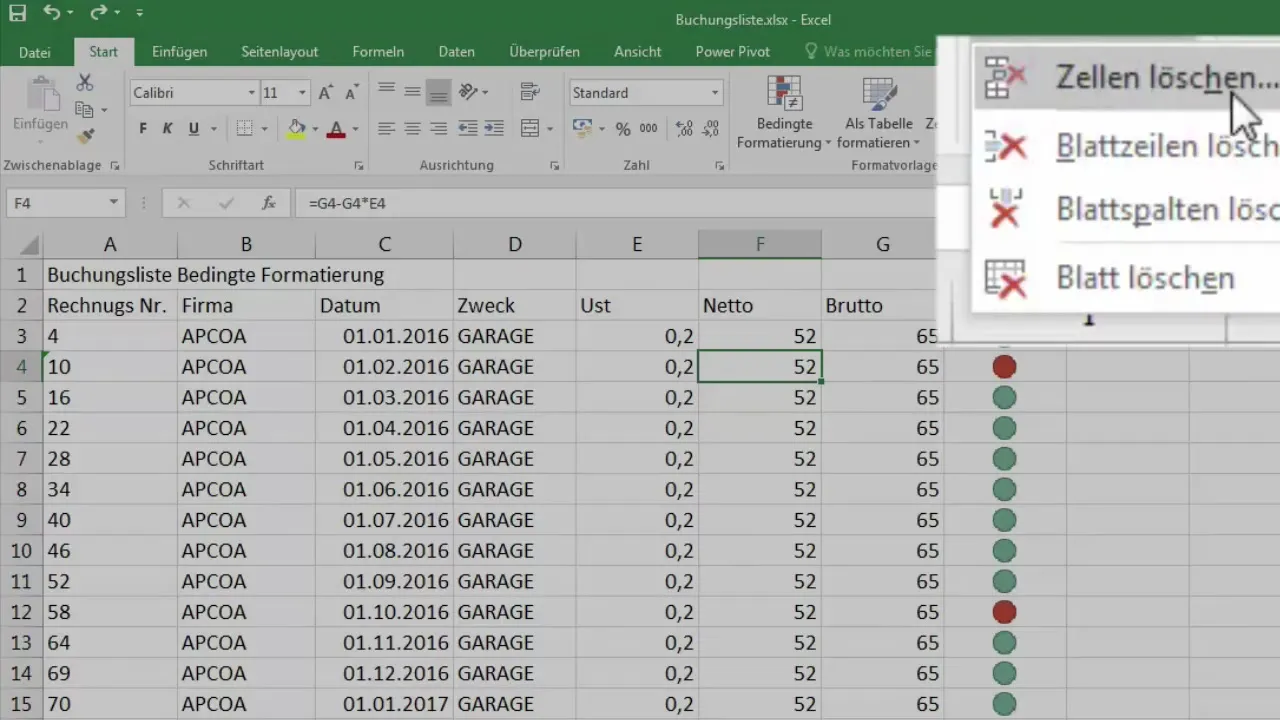
Deleting a column works similar to deleting rows. Click on the column header you want to remove and select "Delete Cells" from the context menu. This will ensure the entire column is removed.
Quick Options in the Ribbon
An efficient method to add or delete rows and columns is to use the ribbon at the top of the Excel window. You can click on the options integrated into the ribbon to open dialogs for inserting or deleting cells.
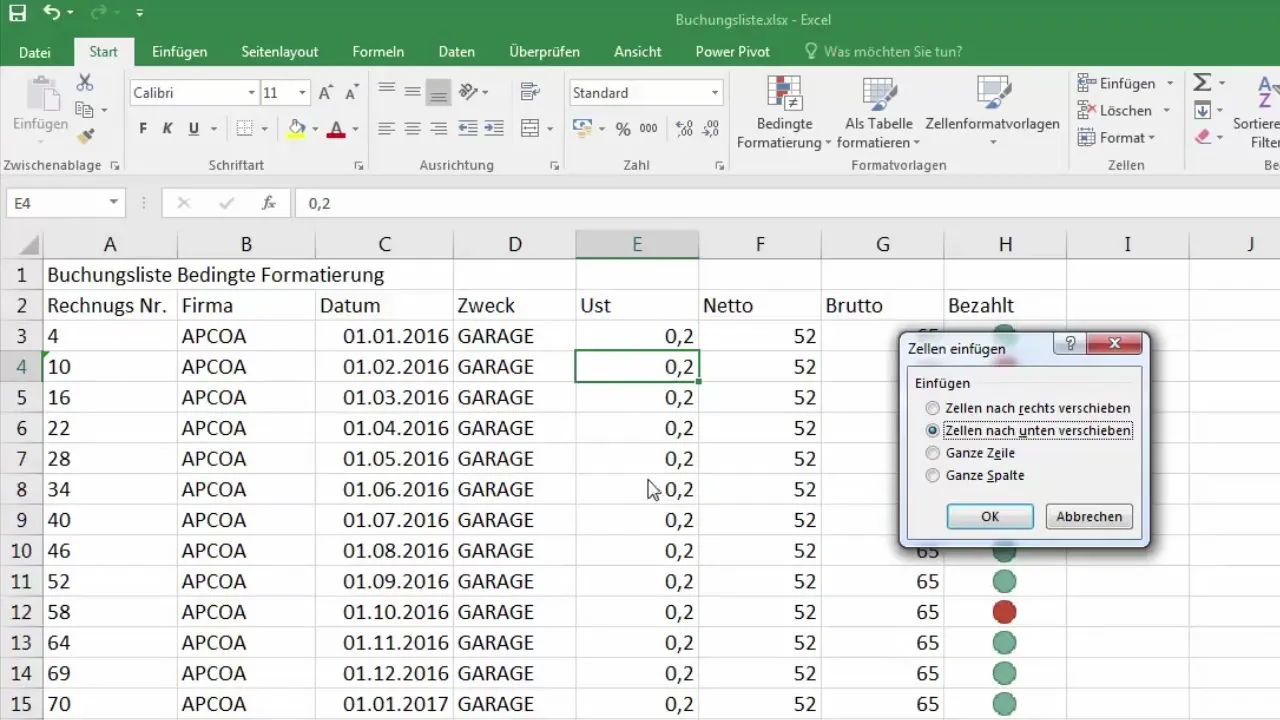
For example, when you select "Insert Cells", Excel offers you various choices: Do you want to insert a new row? Or do you just want to move cells? This flexibility is especially useful when you know exactly how you want to structure your data.
Inserting Sheet Rows and Columns
An alternative method is to insert sheet rows or sheet columns. With this option, you add a new row or column without Excel asking for additional input. This can be particularly time-saving if you frequently need new rows or columns.
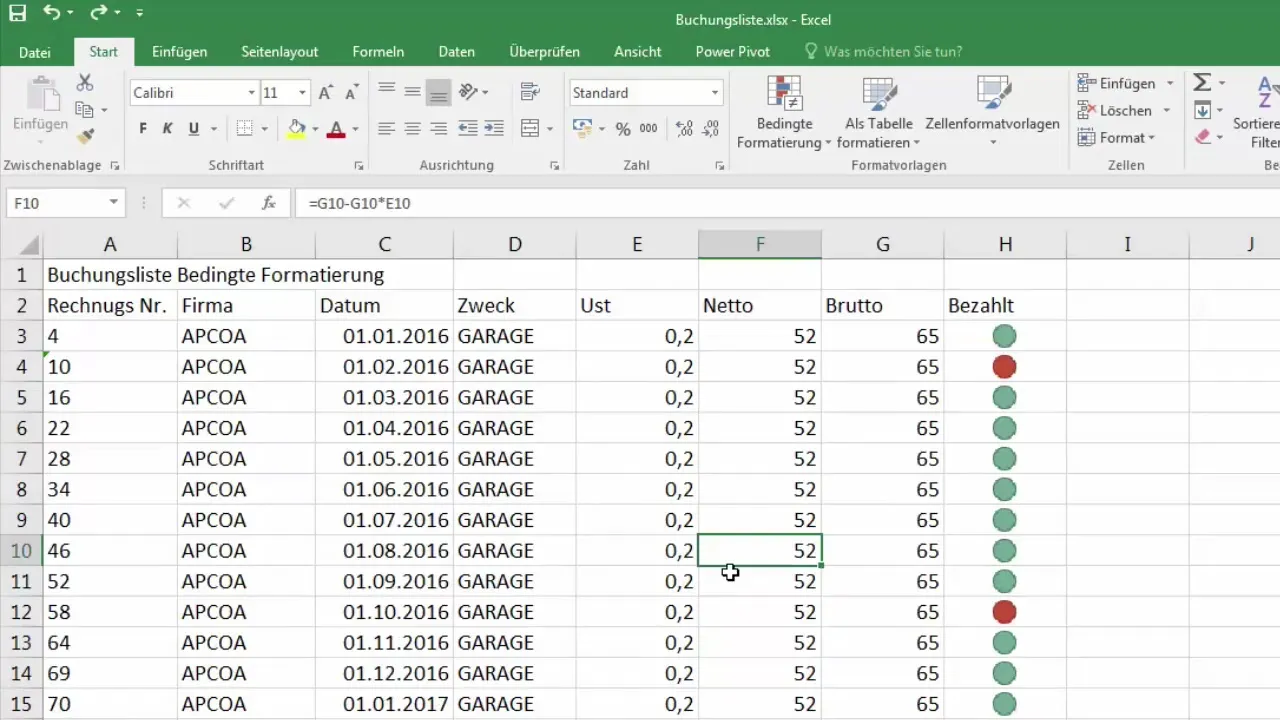
For instance, using the "Insert Sheet Rows" function will immediately create a new row above the currently selected row.
Copy and Paste Content
If you want to copy an entire column, you can simply do so by pressing the combination "Ctrl + C". Then, right-click on the target position and choose "Paste Copied Cells" to transfer the content of the copied column into the new column.
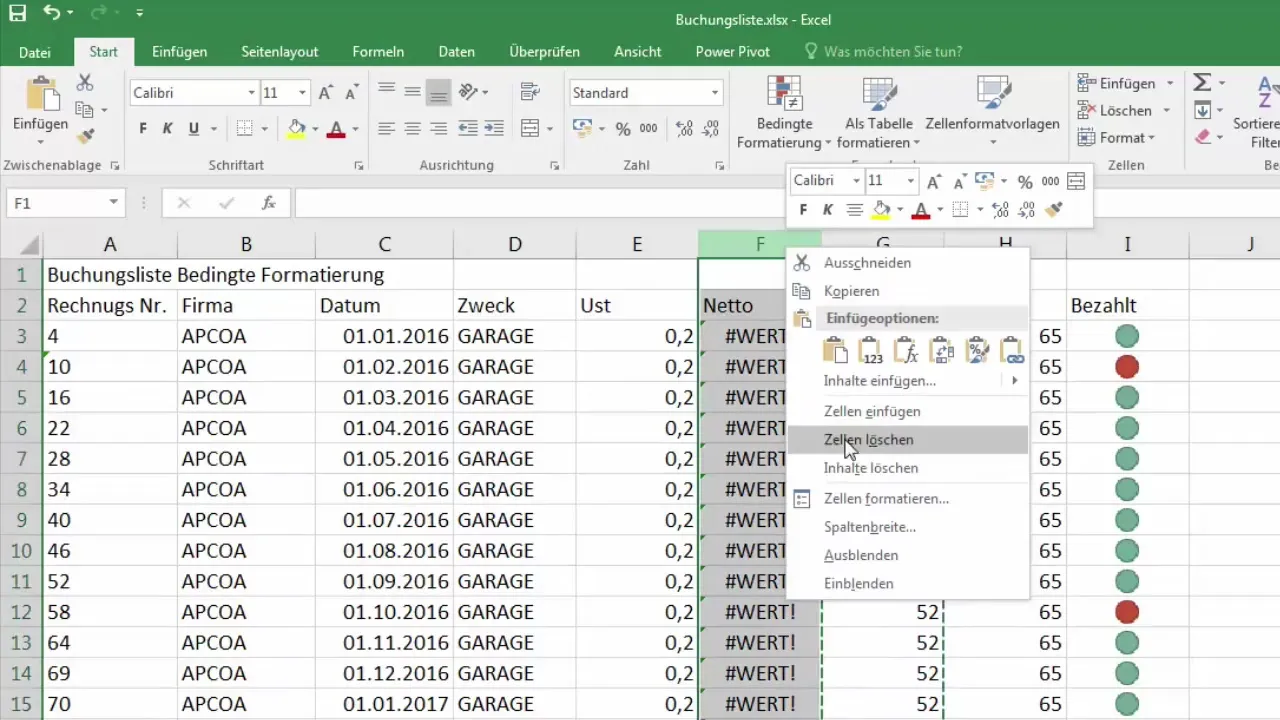
Here, you have the option to copy the content or simply insert an empty column. This is useful if you do not want to edit the data in the new column immediately, but rather at a later time.
Delete Cells
Deleting cells, whether for rows or columns, is again very simple. You can select the cell, right-click, and choose "Delete Cells". A prompt will appear, giving you the choice of deleting an entire row or an entire column.
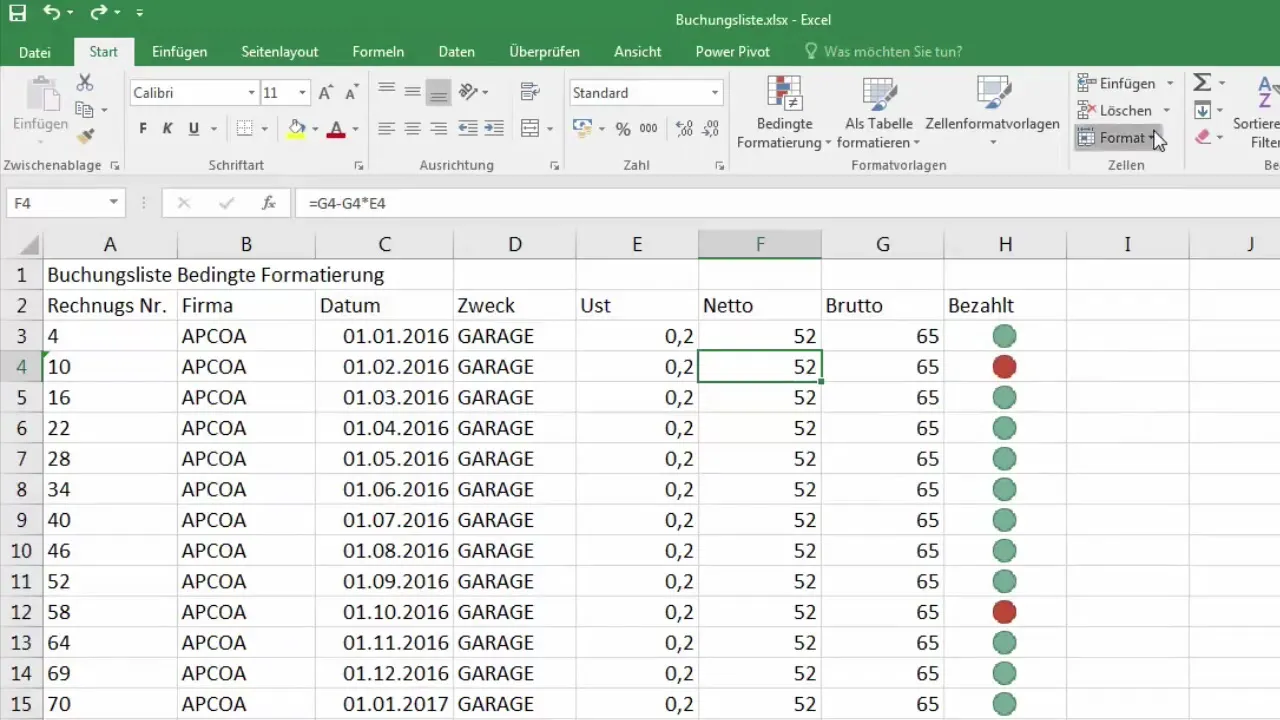
This function is extremely useful for quickly removing data without having to manually go through all cells.
Adjusting Row Heights and Column Widths
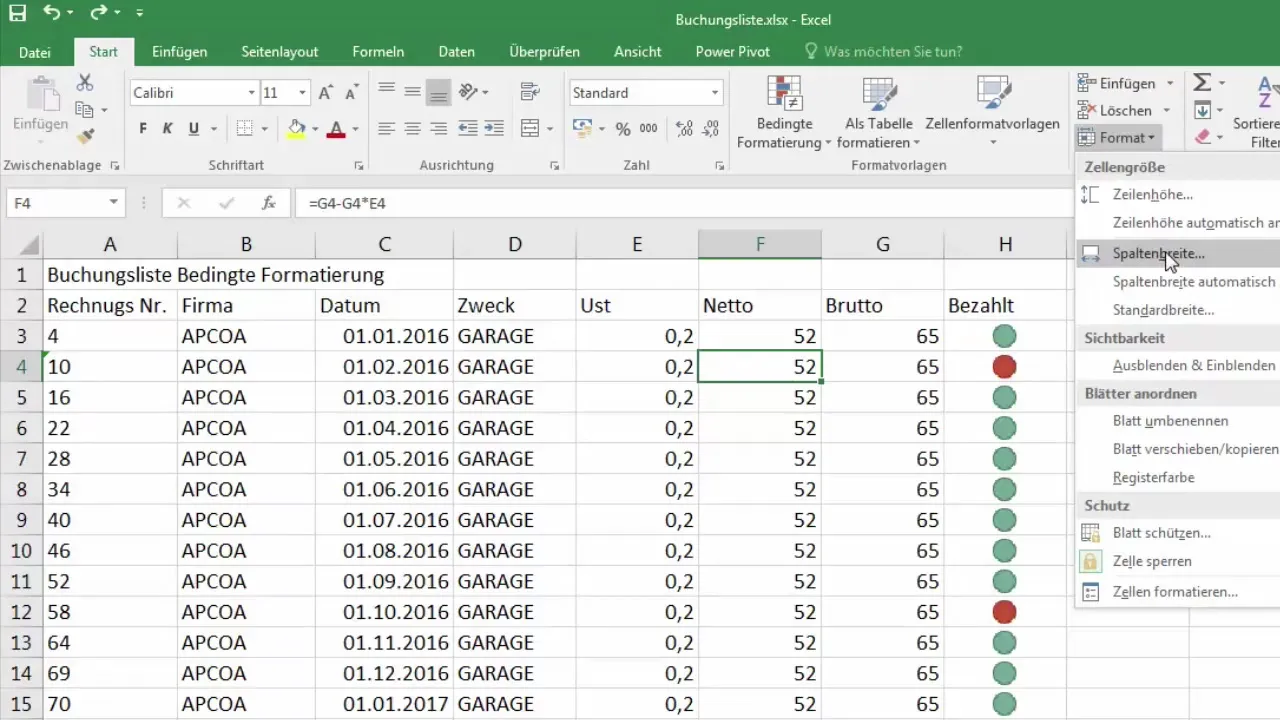
While this lesson mainly focuses on inserting and deleting rows and columns, it is also important to know that you can adjust row height and column width. This will be covered in a future lesson but is recommended to optimize the visibility of your data.
Summary
Inserting and deleting rows and columns in Excel is a simple but crucial process for efficiently managing your data. With the methods presented, you can work quickly and uncomplicatedly to format your tables.
Frequently Asked Questions
How can I insert a row in Excel?Right-click on the row header and choose "Insert Cells".
How do I delete a row in Excel?Select the row, right-click, and choose "Delete Cells".
Can I insert an entire column in Excel?Yes, right-click on the column header and choose "Insert Cells".
How do I delete an entire column in Excel?Select the column, right-click, and choose "Delete Cells".
Is there a faster method to insert rows and columns?Yes, use the functions in the ribbon for a faster and more direct input.


