Whether you are in school, university, or in your profession, the professional design of your Excel documents can make a significant difference. It not only helps to present information clearly and in an organized manner but also gives your data an appealing look. In this tutorial, you will learn how to customize the fonts and font sizes in your Excel cells. Let's get started!
Key Takeaways
- You can easily adjust the formatting of cells in Excel.
- Font sizes and styles influence the readability of your data.
- Quickly adjusting row and column widths allows for better organization.
Customizing Fonts and Font Sizes
To customize the fonts and font sizes of your cells, follow these steps:
Preparing the Cells
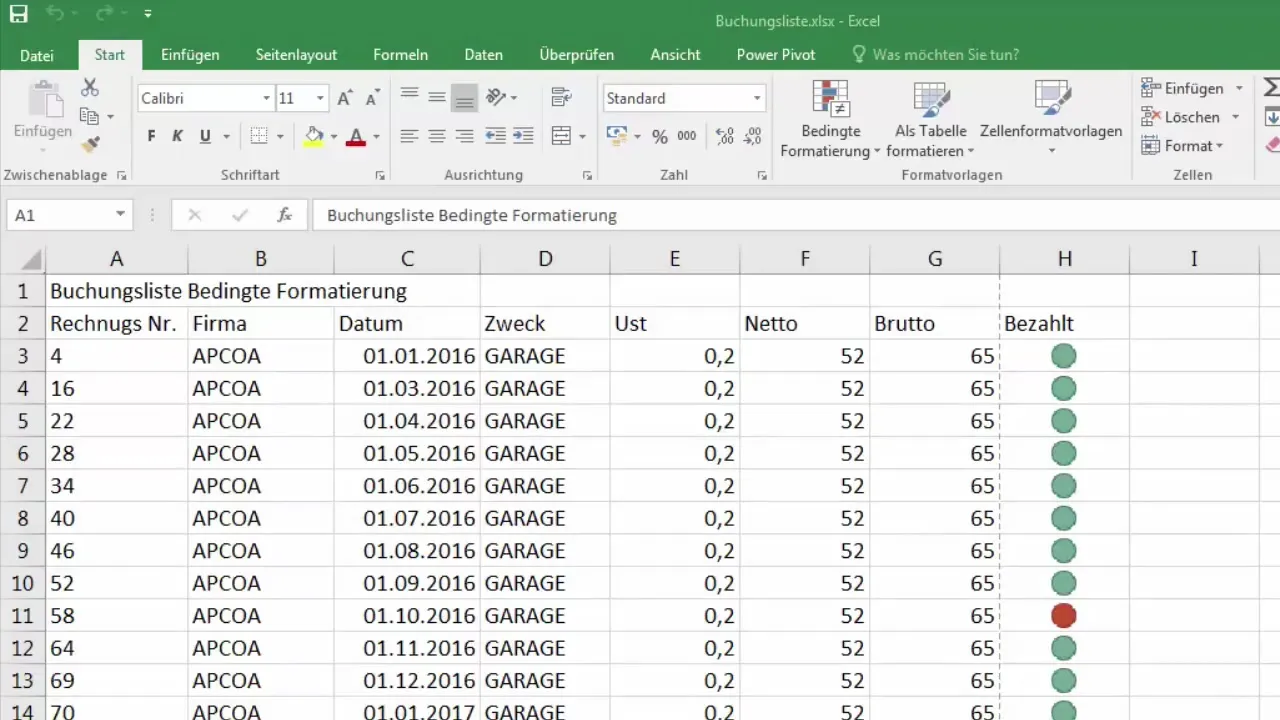
The first way to spruce up your cells is by highlighting the first rows or cells. Click on the desired cell or select multiple cells. To use a bold font, simply click on the "Bold" icon in the top menu bar or press the Ctrl + Shift + F combination.
Changing Font Sizes
To change the font size in a cell, click inside the cell and use the options to adjust the font size. Either click on the font size selection box or use the buttons to increase or decrease the font size. Make sure to choose a size that is easy to read yet complements the overall design.
Automatic Adjustment of Row Height
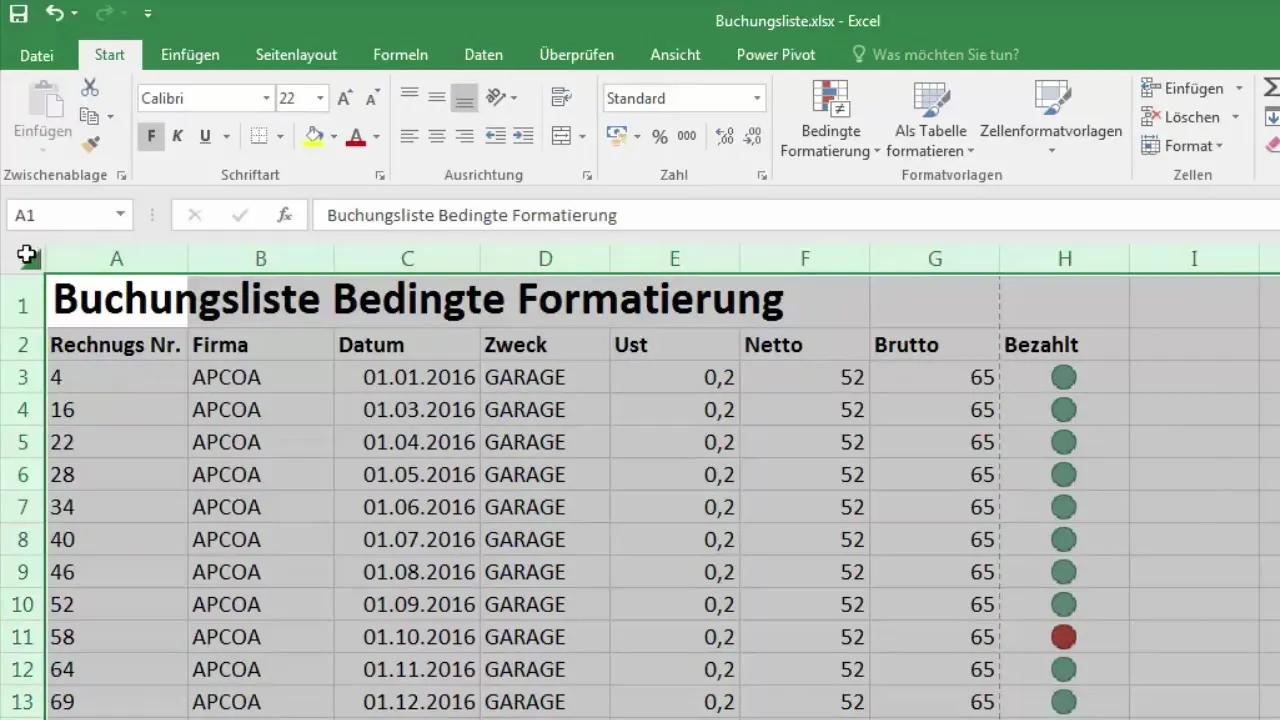
After changing the font size, it may be necessary to adjust the row height. Simply click on the row and double click on the bottom edge of the row. Alternatively, you can choose to automatically adjust the row height. Select the entire document, go to "Format," and choose "Automatically Adjust Row Height."
Merging and Centering Cells
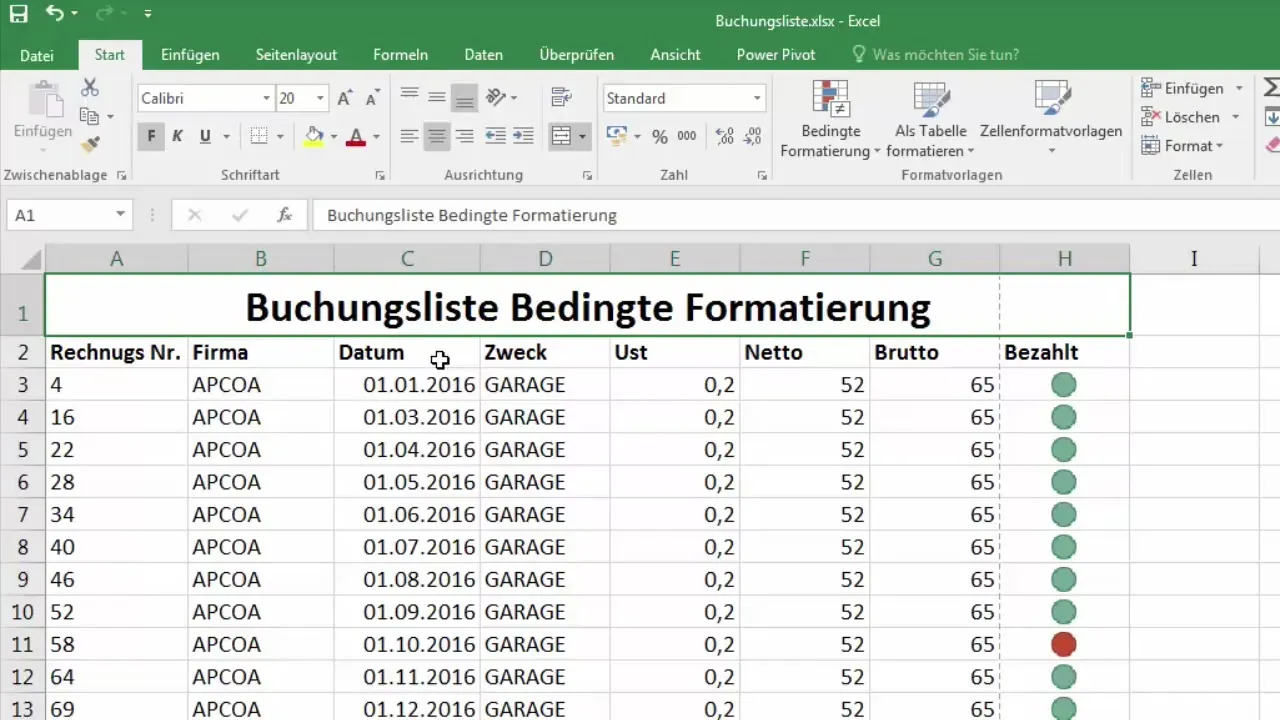
To create a heading that is centered across multiple cells, select the respective cells, go to "Format," and then choose "Merge Cells." You can then change the text alignment to center the text. This is particularly useful for titles or notes within your table.
Customizing Fonts
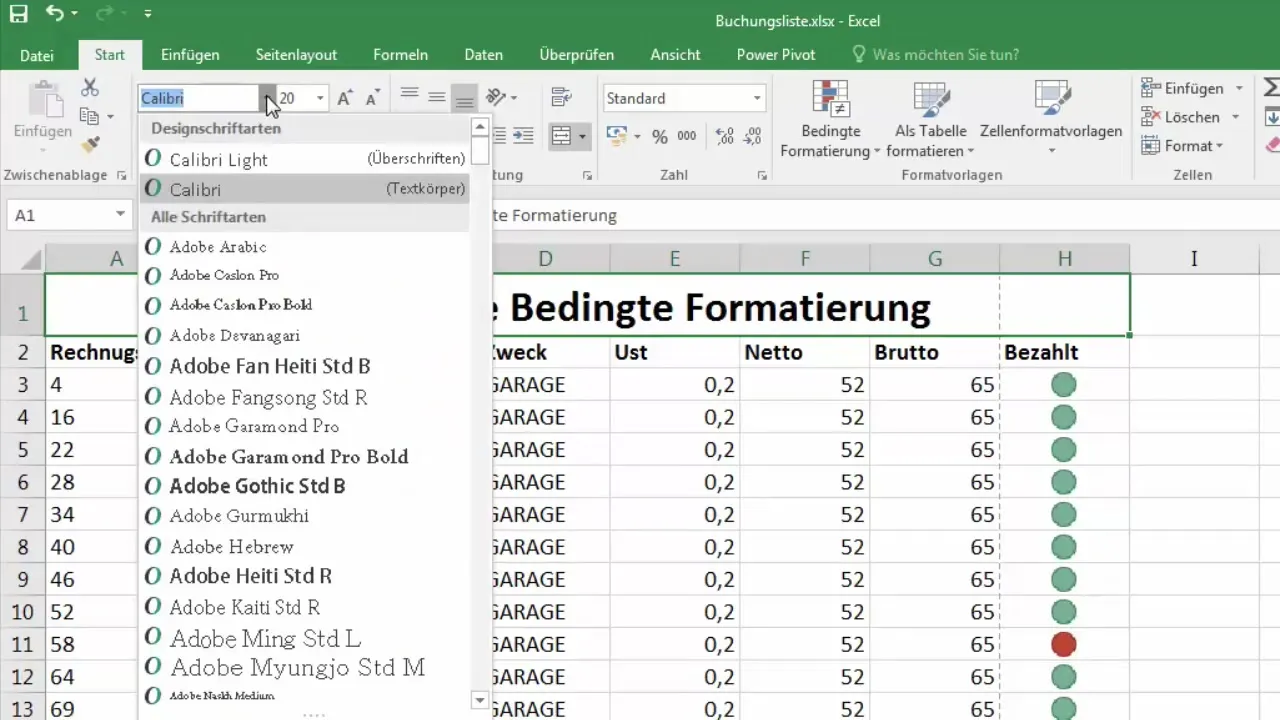
The next step is to customize the font itself. Excel offers a variety of fonts for you to choose from. Select a font such as "Arial" or another font and observe how the display changes based on your selection. You can change the font not only for a single cell but also for an entire row or column by selecting them beforehand.
Adjusting Column Widths
After adjusting the fonts in your cells, it is good to check the column widths. If the columns are too narrow, select the entire sheet and go to "Format," then "Automatically Adjust Column Widths." This ensures that each column is only as wide as necessary to display the content.
Highlighting Cells with Color
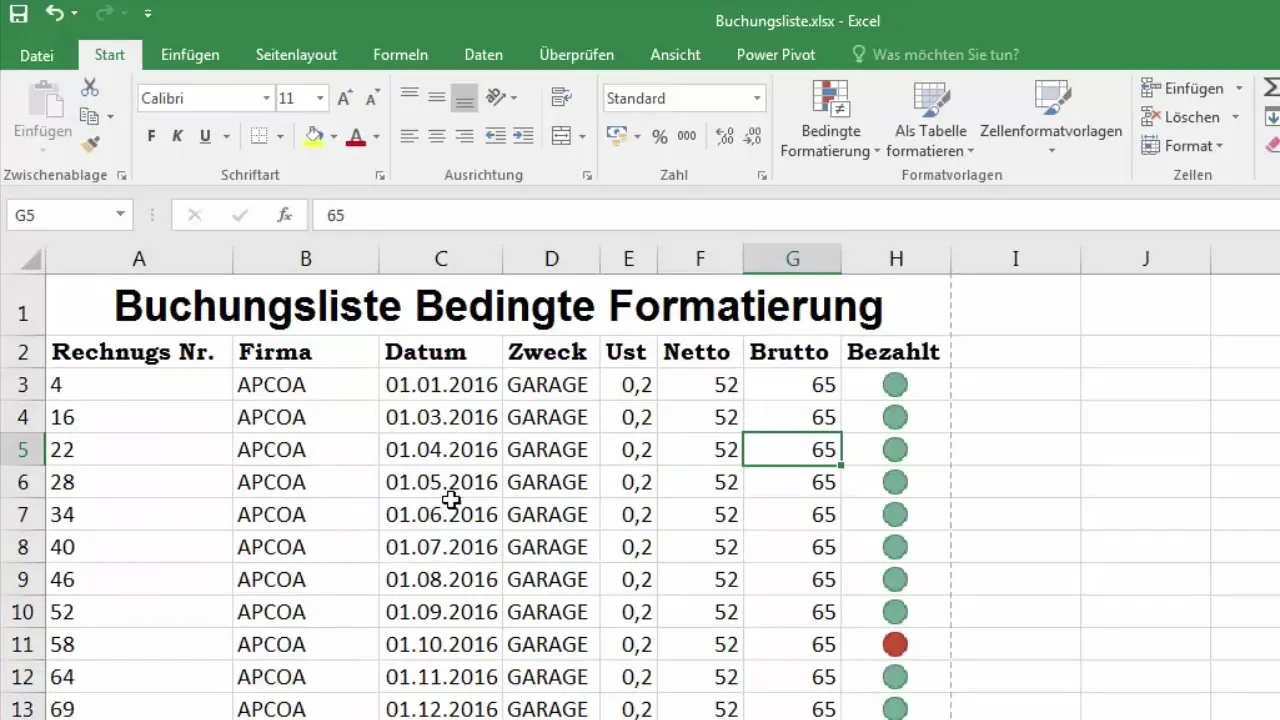
To further enhance the appearance of the cells, you can also add a background color or change the font color. Select the cell, click on the paint bucket symbol for the fill color, and choose a color that you like. Make sure the selected color does not compromise readability.
Summary
Formatting cells in Excel is a simple yet effective way to emphasize your data. By making the right adjustments to fonts, font sizes, and cell formatting, you can not only make your data more organized but also visually appealing. You are now well-equipped to enhance the visual presentation of your Excel documents!
Frequently Asked Questions
How can I change the font in Excel?Click on the cell or select multiple cells, then choose the desired font from the menu.
How do I adjust the row height automatically?Select the entire document, go to "Format," and choose "Automatically adjust row height."
Can I merge multiple cells into one cell?Yes, select the cells you want to merge and choose "Merge Cells" from the menu.
How do I change the font size?Click into the cell and use the options to adjust the font size in the menu.
How do I make the cells more colorful?Select the cell, click on the fill color icon, and choose a color.


