A well-structured Excel document can make the difference in presenting important information. One effective way to increase clarity and visual appeal is by adding cell borders. In this guide, I will show you how to adjust the borders of your cells in a few simple steps to enhance the appearance of your tables.
Key Takeaways
- Cell borders enhance the readability of a document.
- There are various settings for border lines that can be flexibly adjusted.
- Creating custom borders immediately draws attention to specific data areas.
Step-by-Step Guide
Adding Borders to Cells
Start by opening the document you are working on. You can, for example, select a block of data to which you want to add a border. To do this, right-click on the highlighted cells.
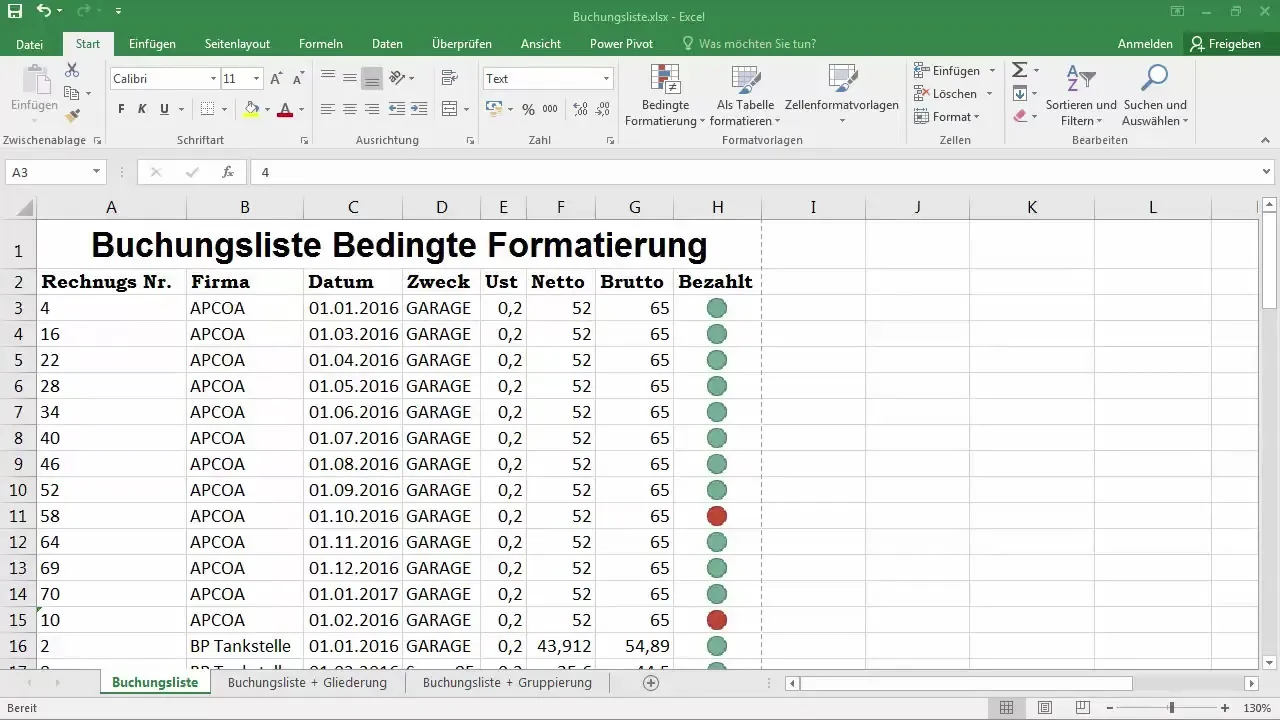
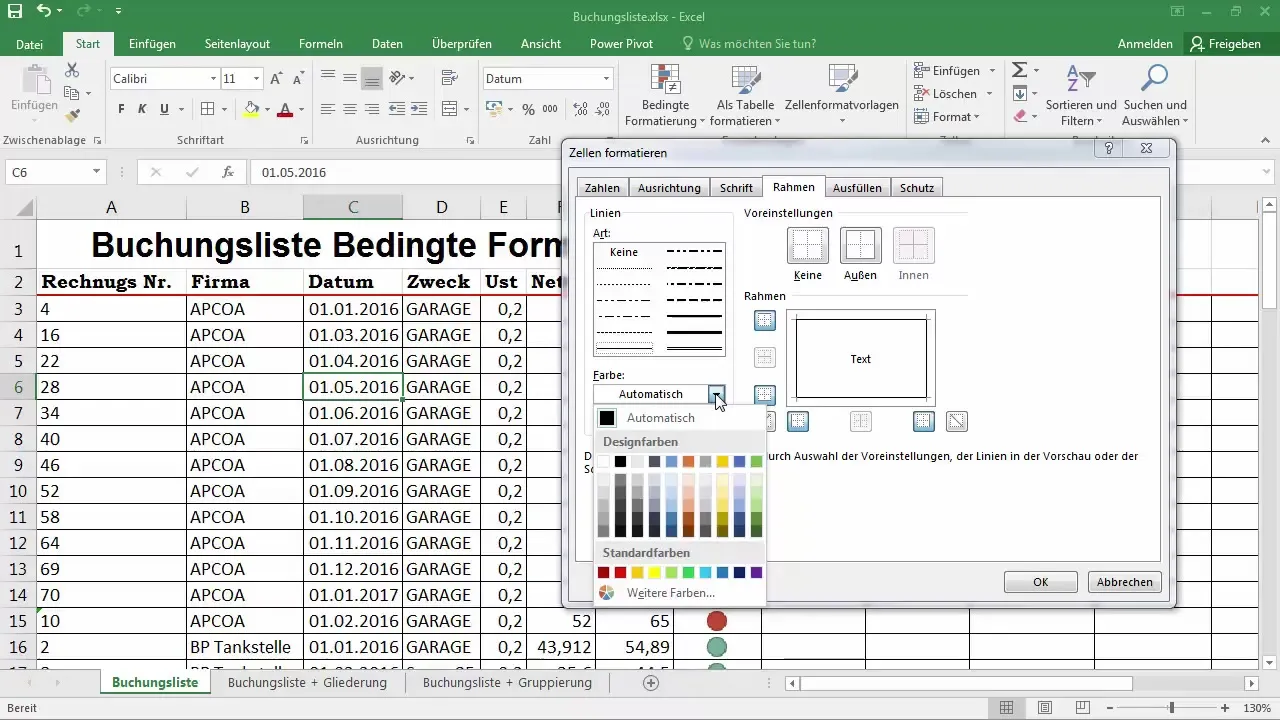
A context menu will appear. Choose the option "Format Cells". This will open a new window where you have many formatting options available. On the top bar, you will find the "Border" option. Click here to start adjusting your cell borders.
Border Selection and Formatting
You now have the option to choose different types of borders. If you want a border for all sides of the selected cells, select the "All Border" option. Alternatively, you can also define only outside borders, where only the outer edges of the cell are visible.
To change the thickness of the lines, look for the options for thick and double lines. It is also possible to adjust the line color—select a color that suits your document well.
Check Print Preview
After making the desired adjustments, it is important to check them in the print layout. Click on "File" and then on "Print" to view a print preview. You should now be able to see the border lines in the preview.
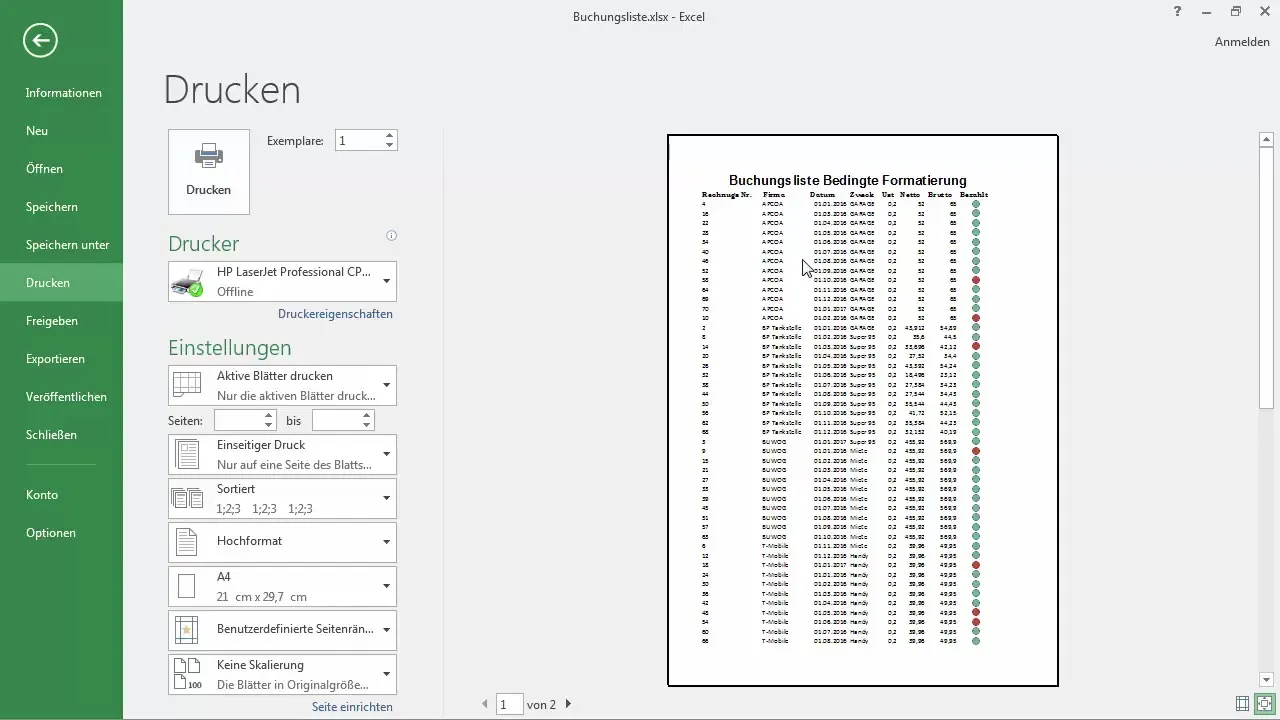
Here you can see that the border lines are now displayed around each block of cells. They help to clearly define the data and improve the visual structure of the document.
Customizing Borders and Specific Selection
If you want to remove some lines or highlight specific lines, you can also remove individual borders. To do this, use the "Border" menu again and select the "Outside Borders" option.
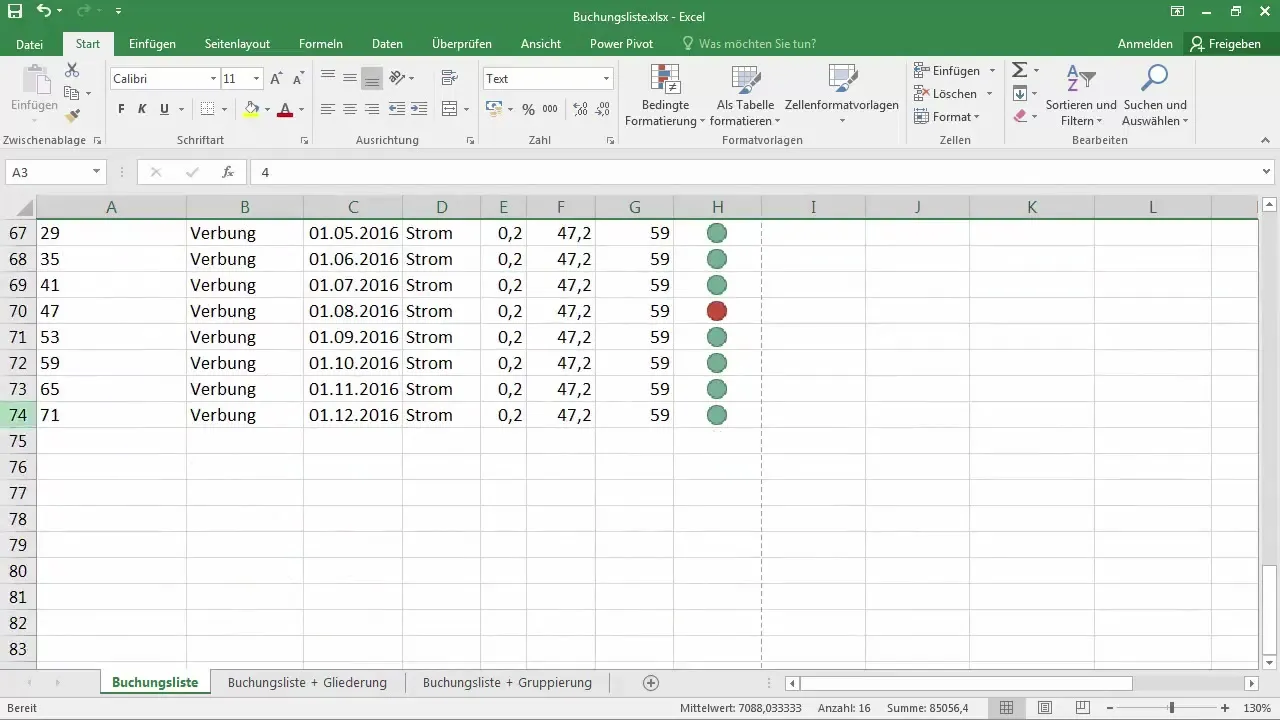
For example, if you want to add a thick, red line between a header section and your data block, highlight the row you want to adjust.
Select the color "red" for the lines. Then, you can use the drawing tool in Excel to draw the line. For a thick border line, go back to the formatting menu and select "thick line". Make sure to highlight the correct row.
Final Adjustments
Once you have made all the adjustments, the document with the new border lines will immediately attract attention. The simple visual separation of data blocks enhances the overall appearance and readability of your Excel document significantly.
When you click on "Print" now, check if the first line you added appears thick and red to ensure that all changes have been correctly applied.
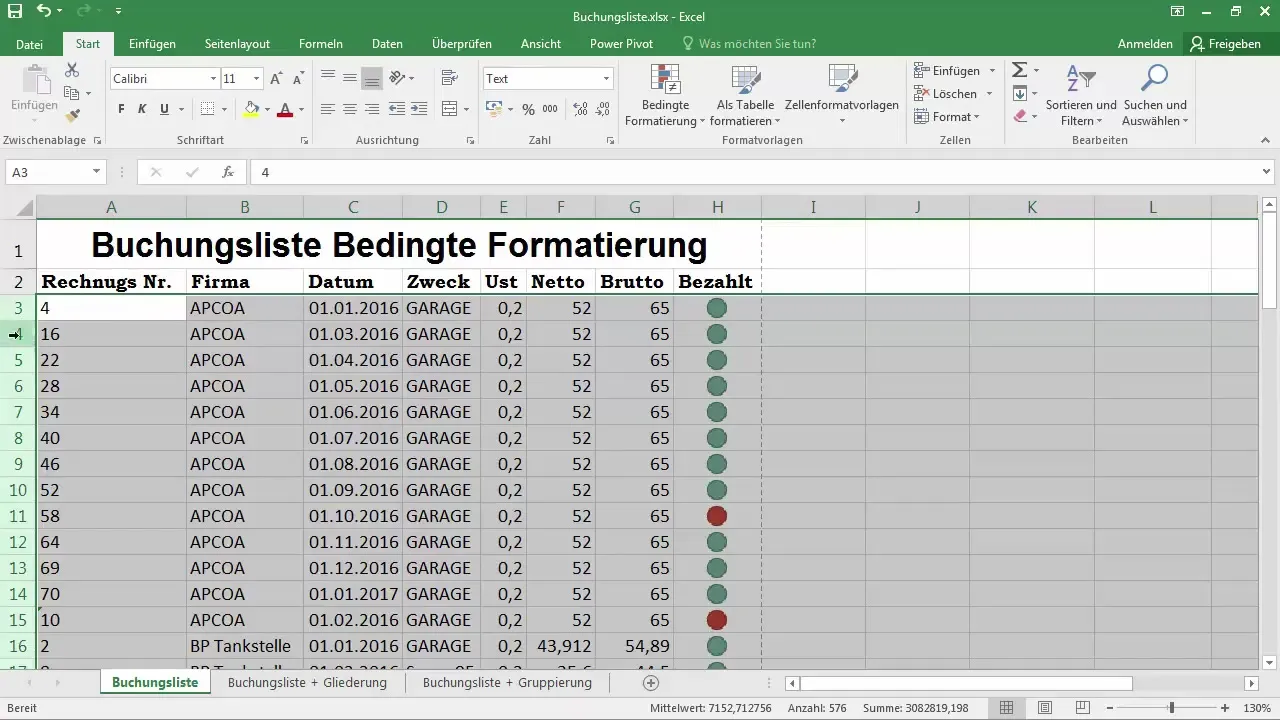
That's basically all there is to border lines. There are plenty of options on how you can customize them. Feel free to experiment with the settings to achieve the desired result.
Summary
By using borders, your Excel document gains a clear structure and improved readability. By trying out various options, you can visually enhance your document.
Frequently Asked Questions
What are the advantages of cell borders in Excel?Cell borders enhance the readability and structure of the document.
How can I add a border to a specific cell?Select the cell, right-click, and choose "Format Cells".
Can I change the color of the border lines?Yes, you can easily adjust the colors of the border lines in the formatting menu.
Can I still change the border lines after printing?Yes, you can edit the borders at any time, even after you have printed the document.


