This tutorial is about creating a business card. We had already created the corresponding stationery for landscaping and gardening in another tutorial. Of course, a matching business card is still missing. And it's not that difficult to create. However, I would like to fill this tutorial with great tips and tricks. So it's best to read through to the end.
Here we go: Steps 1-10
Step 1
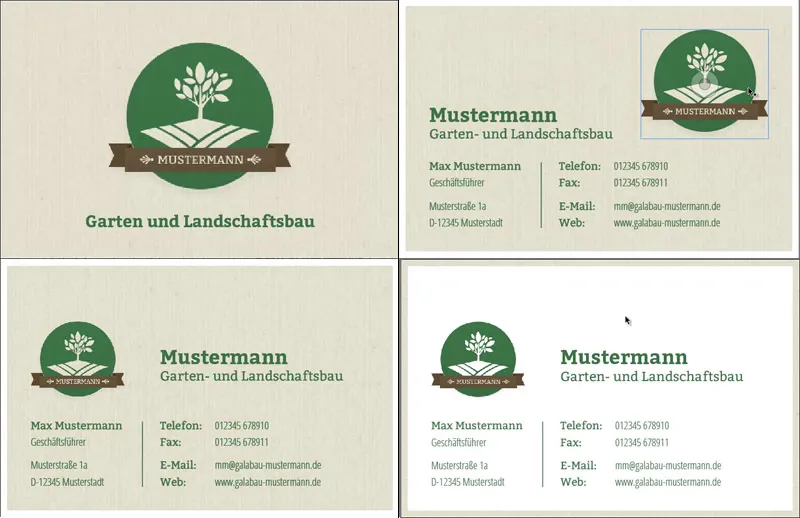
Our colleague Dennis has already created several variants here.
In particular, I said to Dennis: Why don't you bring in a playful little variant where you can see what it's all about without me having to read anything?
In this example, it's the leaves and the ladybug, which immediately make you think of nature and that it might even have something to do with gardening or landscaping. Here you can see the front and the differently designed backs as an example.
You'll just have to choose which one you like best. So many variations, I think there's something for everyone.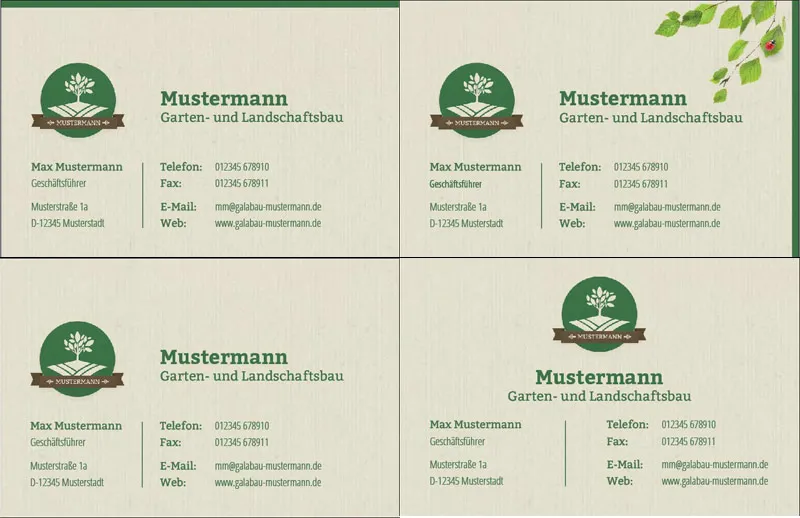
Step 2
I'll just start making the card now. The back that I like best is this one: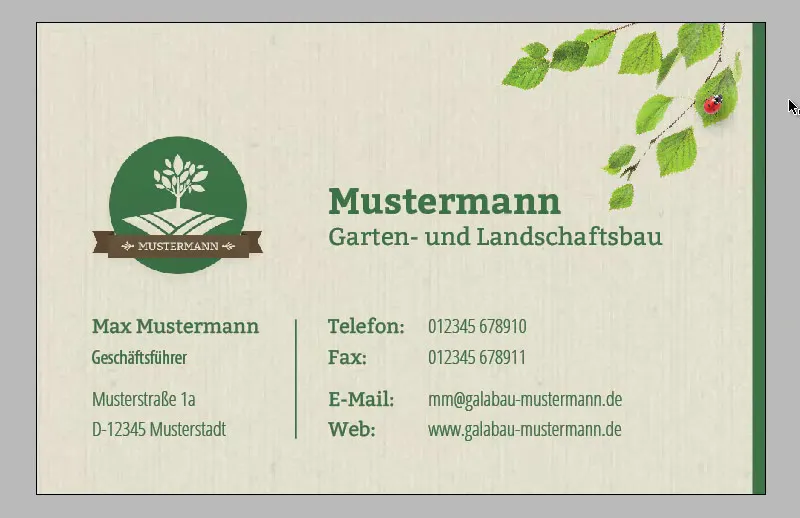
On the back, the logo is relatively large and the name is also included. Of course, it's still Mustermann here, but you can add your company and logo later. I don't want to show you how to create this logo here, that's not the topic here and we have other tutorials for you.
Step 3
Okay, let's go to File>New>Document. We don't need double pages. I want the pages to be displayed one below the other. For Width and Height, I enter the format of my choice, which is 85 mm wide and 55 mm high. This is also a standard format for business cards. I leave the margins in the default settings. The 3 mm bleed is for the print shop, so that they can crop a little and there is no white bleed anywhere.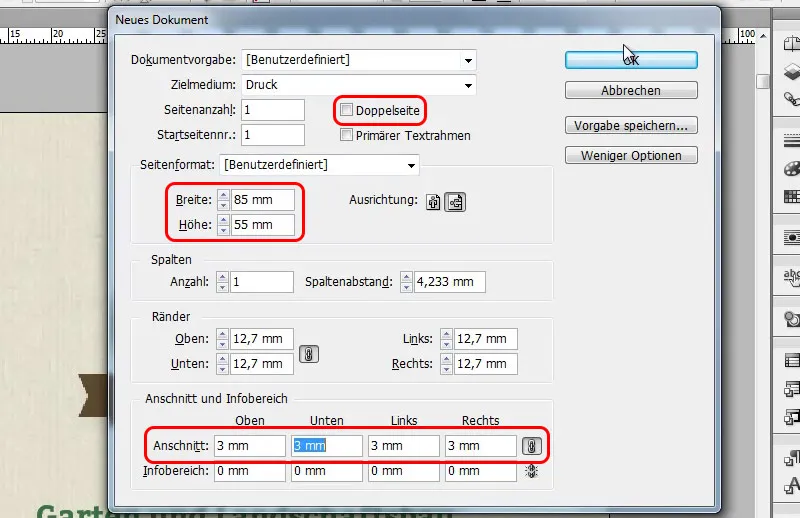
OK, that's the format now, and off we go.
Step 4
The red frame is the bleed display. The background texture, for example, must be drawn up to this point so that it fully covers the area of the map. The black frame is the actual format in which all elements will later be inserted.
I'm going to start designing the front of the card and place the logo here. So I press Ctrl+D to place it and select it in the file browser.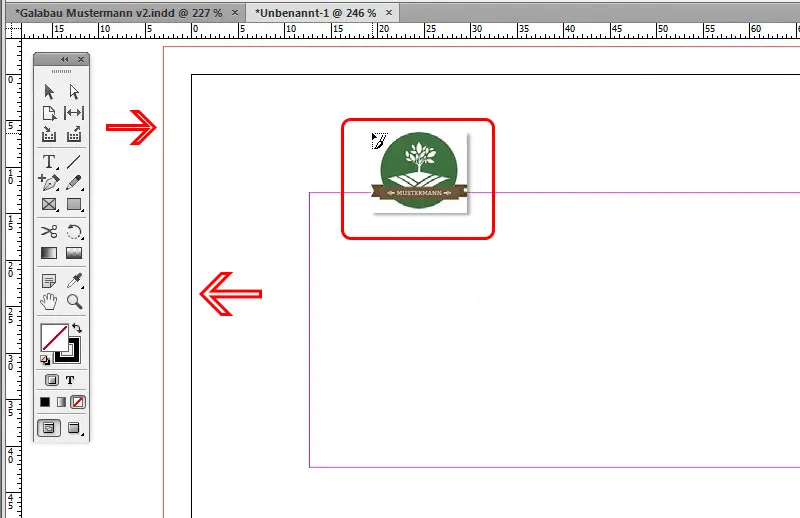
This is now directly attached to my mouse pointer and I can now place it here however I like. The brilliant thing is that I can still move the whole thing by holding down the space bar while resizing it. If I have placed the logo and the size still needs to be adjusted a little, I can enlarge it proportionally by holding down the Ctrl+Shift key.
Step 5
I prefer to have the whole thing nicely centered and that's no problem. Here you can see a line that appears as soon as I am in the middle of the business card.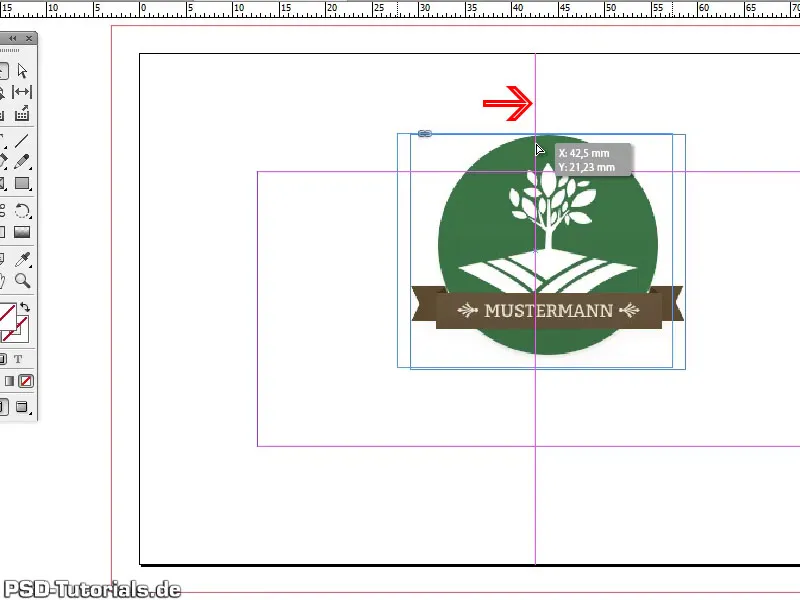
If this is not the case for you, just take a look at View>Gridand Guides>Intelligent Guides. I love these guides, but I don't think they've been around that long. I think only since CS5 or maybe CS4. If you have a previous version, you will unfortunately not be shown this. In this case, you have to draw a guide line from the ruler, for example, and then it will be snapped exactly in the middle.
Step 6
Trick number 2 would be to draw a frame here with the rectangle tool (preferably without an outline). Then I can say that I want exactly half of the width here. I want the reference point here on the left and then I say 50% of that. I can enter this directly in the control palette at the top and I can already see where the line ends and could draw the guide there. So exactly in the middle.
Step 7
As I said, many roads lead to Rome or to a good result.
I select the texture in the file browser with Ctrl+D, place it and can drag it to a size that extends beyond the outer frame of the bleed display. Ctrl+O moves the layer with the texture to the back under the logo.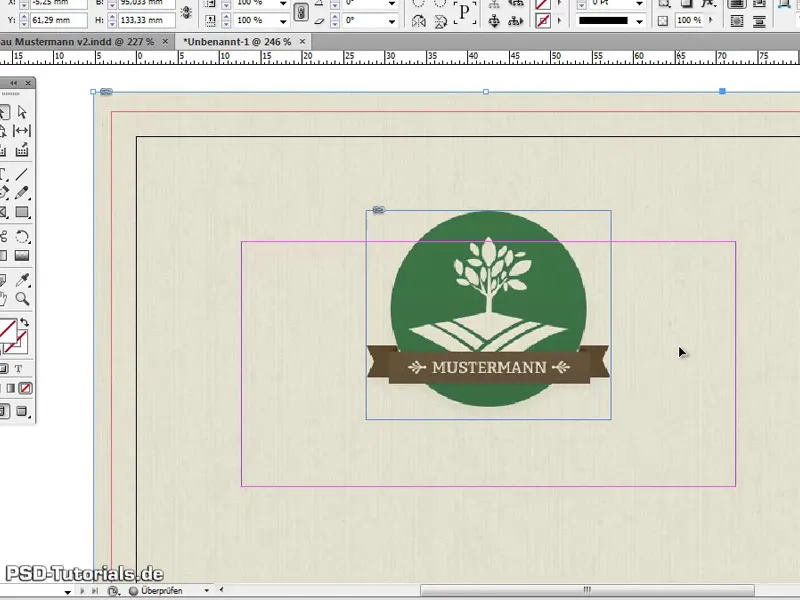
If you are now looking so envious - Oh, I don't have a texture, how can I get to it? - you can of course create it yourself or as a little tip: If you happen to have the DVD The big texture package from us, you can also have a look here to see if there is a suitable texture. For example, if I look at the "Wood" section on this DVD and say - Ah, I'd like to have a nice wood texture like that, then of course it's possible.
Step 8
Now simply paste the selected texture into Photoshop. To do this, I copy the image, open Photoshop and can then prepare it accordingly. To do this, I press Ctrl+N for File>New and can now enter the size. I do this here in millimeters, as I had said:
85 in width and 55 in height. However, I now have to add 3 millimeters of bleed on each side, then we have the same format as we created in InDesign, including the bleed. So that's 91 in width and 61 in height and the whole thing in 300 dpi resolution so that everything is razor sharp.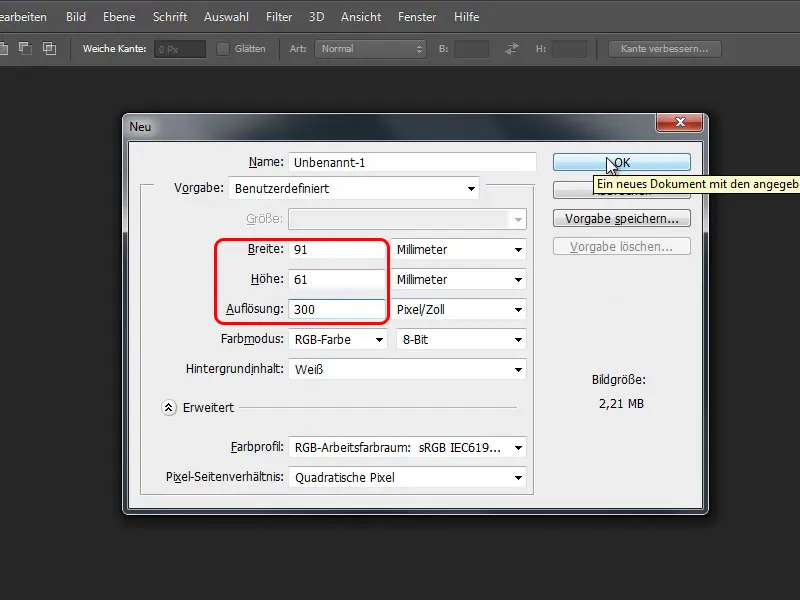
Step 9
Then I can insert the texture and I can already see that it is at least as big as the work surface I have created. I could basically save it as it is now. If it seems too big in terms of the structure, I can also make it smaller. To do this, I activate the transformation control and then drag it smaller. The good thing is that the textures from our CD are seamlessly tileable. If the texture is then smaller than the working area, I can move a copy of the texture right next to it by holding down the Alt key and you won't see any transition here.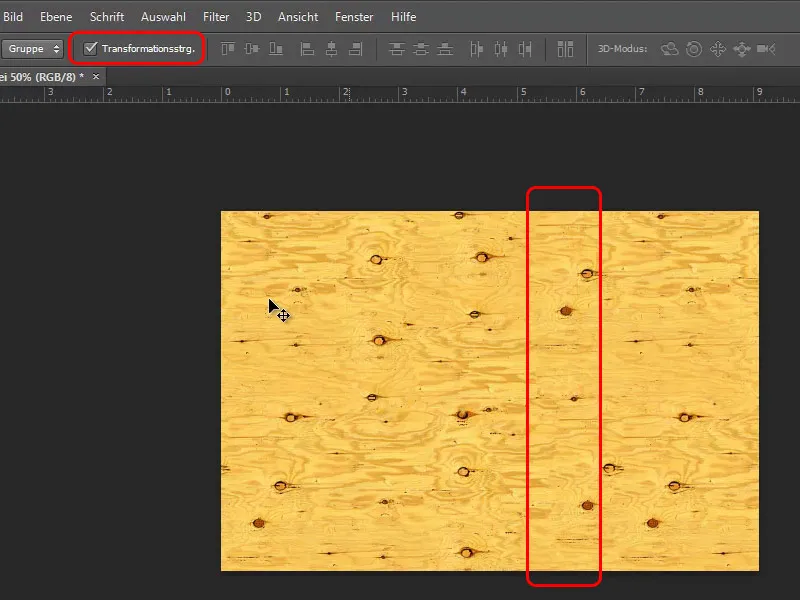
Step 10
And then I simply say File>Save As..., name the file "texture_new.psd" and can now insert it immediately into InDesign with the command Ctrl+D. A file browser opens, from which I select the texture file. Then I have a preview image stuck directly to my mouse pointer, can click directly in the top left corner and now have the right size immediately, because I had previously created it accordingly in Photoshop.
For better screen quality, we can now press Ctrl+Alt+H, because InDesign shows a mediocre display by default so that everything can be displayed quickly. If you have a fast computer with a lot of RAM, you can display it with better quality. Ctrl+O will then move the layer with the new texture backwards step by step. You can then compare which texture you like better.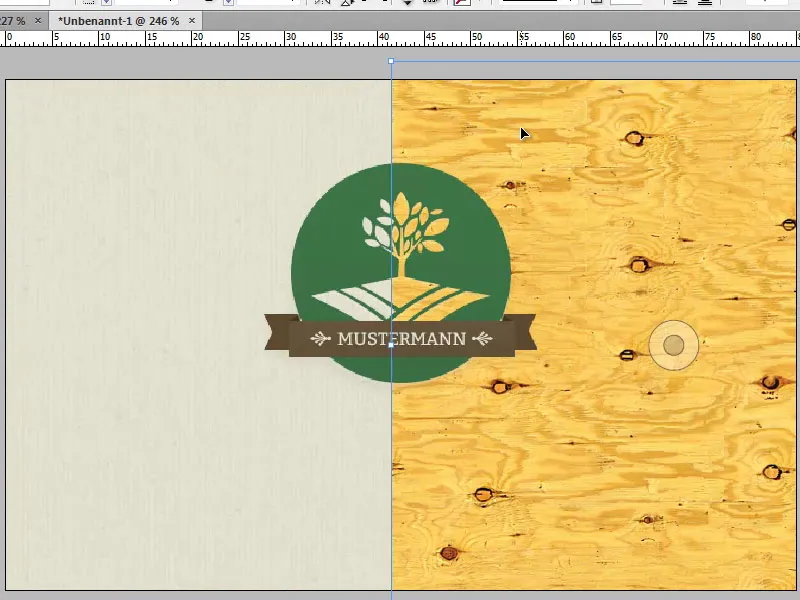
Steps 11-20
Step 11
A little trick: In the layer palette on the right, for example, I can simply hide this texture here - just like in Photoshop; just press on the eye.
In this case, I think the texture is too visible. But - and this is the good thing - I can define the opacity here without having to go into Photoshop. Maybe I only want 25%, then the whole thing would look like shown below. I can always say that I might prefer the other texture after all. Click once on the eye of the respective layer in the layer palette, hide and show it, and you can see which variation you like best.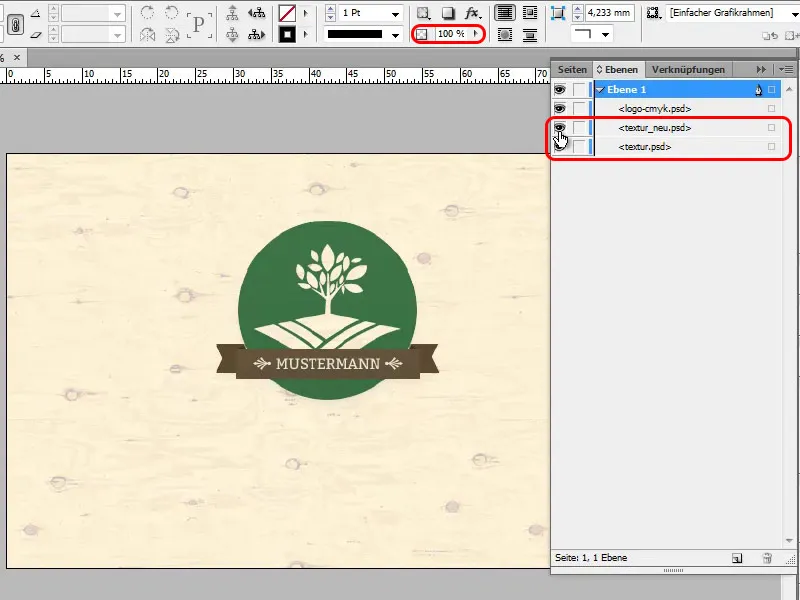
Step 12
Maybe combine the two, because with the layer with the wood texture reduced to 25% opacity, the other layer underneath is still visible. So you can do this however you like best. However, we will leave the original texture and Blender out the layer with the wood texture. Now we still have the name Garden and Landscaping in the template in the font Bitter Bold. I copy the text from the template with Ctrl+C and paste it unformatted with Ctrl+Shift+H. Then I select Myriad Pro as the new font, and there are quite a few font styles. I select Bold and center the text on the page.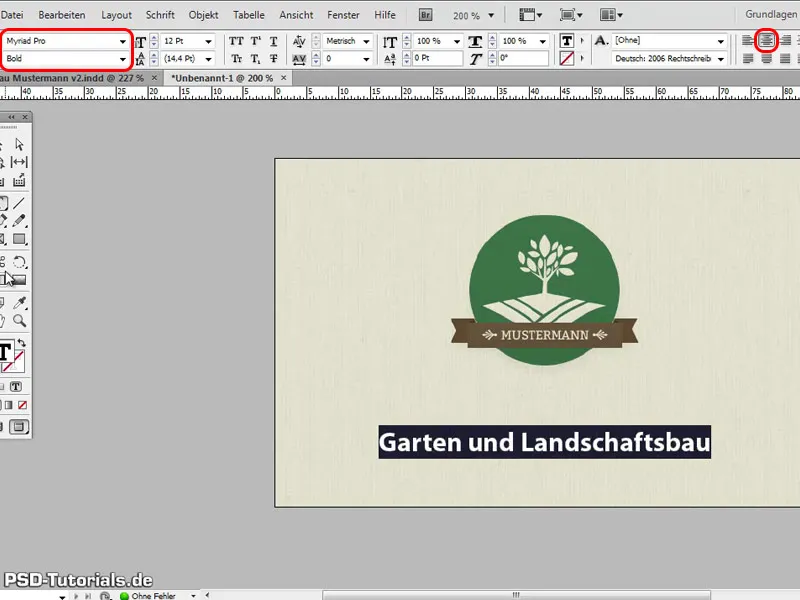
Step 13
In the template we have the font in green and that's what I want here too. I can now select the text, grab the eyedropper tool, for example, and say I want to use this exact shade of green from the logo with the eyedropper tool. As I need the color more often, I create the color in this file directly as a color field.
So I call up the color field palette on the right, select New color field in the palette menu, and then this shade of green is automatically entered. I also name it green (I have to uncheck the Name with color value beforehand) and then I have this in here. However, the entire text frame is now filled with the color. I therefore select none in the color fields for the foreground color to remove it again. If you like, you can now add effects such as drop shadows or something like that, but that's a matter of taste.
Step 14
I see that the logo in my template is still a little larger than we have created so far - no problem, there are several tricks. The first is actually quite simple: I press Ctrl+Shift with the left mouse button at the same time , which allows me to make the graphic frame proportionally larger. The bad thing is, of course, that the logo is then no longer in the center of the map. The trick is (and now it gets complicated): Press the Alt key to do this, then it goes out evenly from the center to all sides and it stays where we want it to be.
Now that I'm ready, I save the whole thing with Ctrl+S and call it "business card."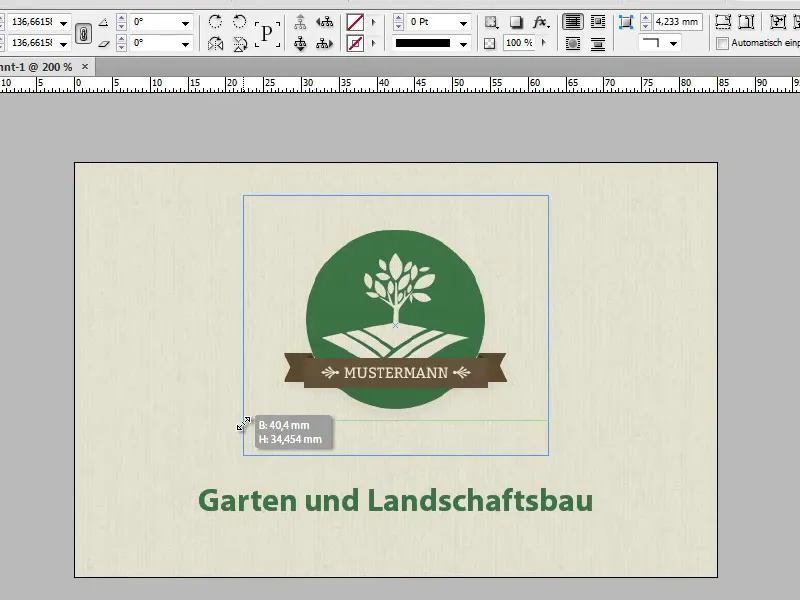
Step 15
The front is now finished and we can move on to designing the back. I now go to the Pages palette and click on the Create new page button. The second page I chose was the one that was so slightly playful and I need the same texture again. I can copy it directly from the top of the front page, so press Ctrl+C there and then Ctrl+V on the second page.
If I want to have it in exactly the same place on the page - a little tip - then I press Ctrl+Shift+Alt+V. Of course, the logo also has to be inserted here, which I also copy from the front page. Basically, I could have simply copied the entire previous page and simply repositioned everything on the base. I also want to show this quickly. So if I want the page copied, I drag it onto the New iconin the Pages palette and then I have a copy of it. Then everything I need is right there.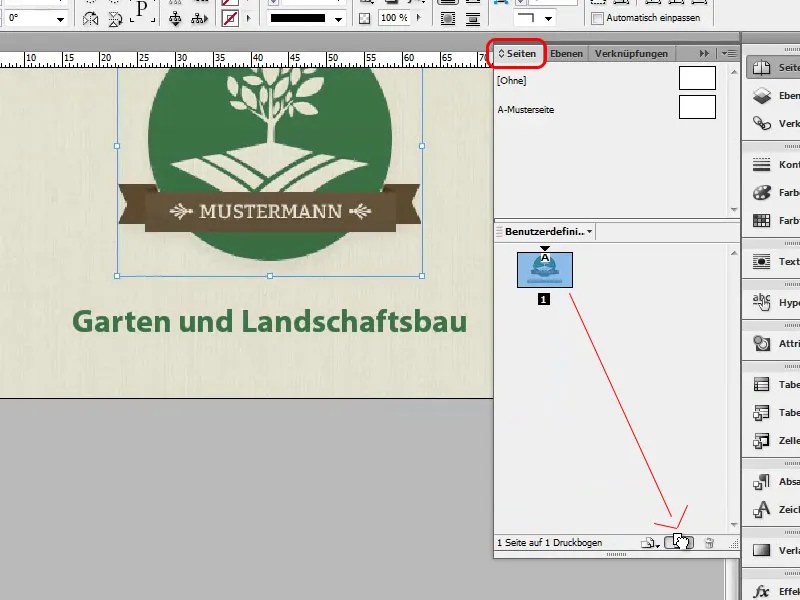
Step 16
I move the logo proportionally a little smaller and then to the left by holding down the left mouse button and Ctrl+Shift. I can see from the template that it has a width of 20mm, which I can also enter directly in the control palette at the top under B:. If the proportions are to be retained, please activate the linking symbol to the right of it. Then, of course, I just have to say on the right in the control palette that the content should adapt to the frame and then it will fit.
The text "Mustermann Garten und Landschaftsbau" is placed to the right of the logo. To do this, I drag the existing text field a little smaller. The logo is placed a little higher in the template, approximately at a Y value of 21, and I can also enter the value directly in the control palette. The text is now placed next to the logo at the same height (Y value = 21) and should also be vertically centered. No problem, I can select the text with the selection tool and then simply click on centered.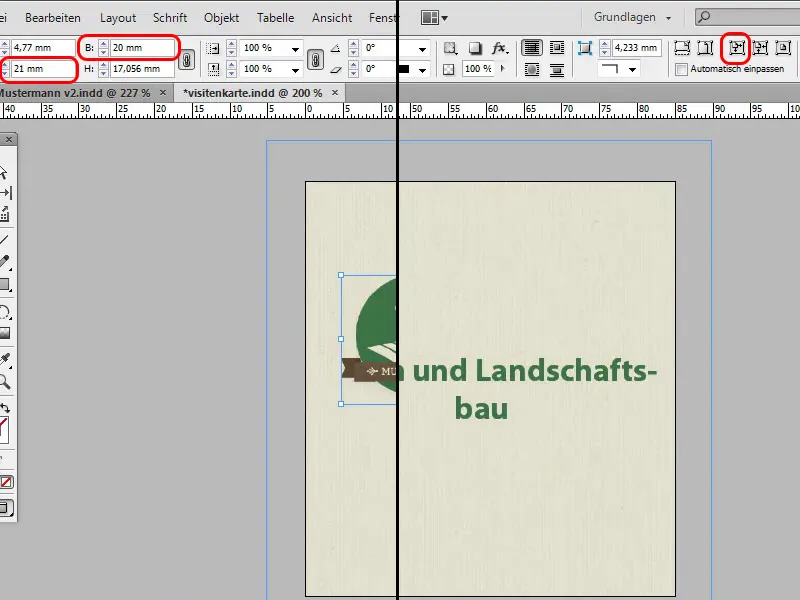
Step 17
Now I copy the unformatted text from the template over here. I can make it a little smaller and perhaps make the font style a little thinner. I then select the Myriad Pro Regular. Everything is left-aligned in the template, so please also left-align everything here. Of course, the font needs to be made smaller, so I'll use 8 pt. here.
Ok, looks good. What follows now, as you can already see here, is a small text block with the address, and I copy it from the template and paste it exactly under the logo. The intelligent guidelines also show me directly how far I can go so that it is at the same height as the logo. The text size should be smaller - approx. 6.5 pt - and I now choose the Myriad Pro font again and I can also use a different font here. I choose Condensed here, so it all fits perfectly, and then color the text in green using the color field I created earlier. To break up the text a little, I increase the line spacing using the control palette. If I only want to change the spacing for one line, I only select this line.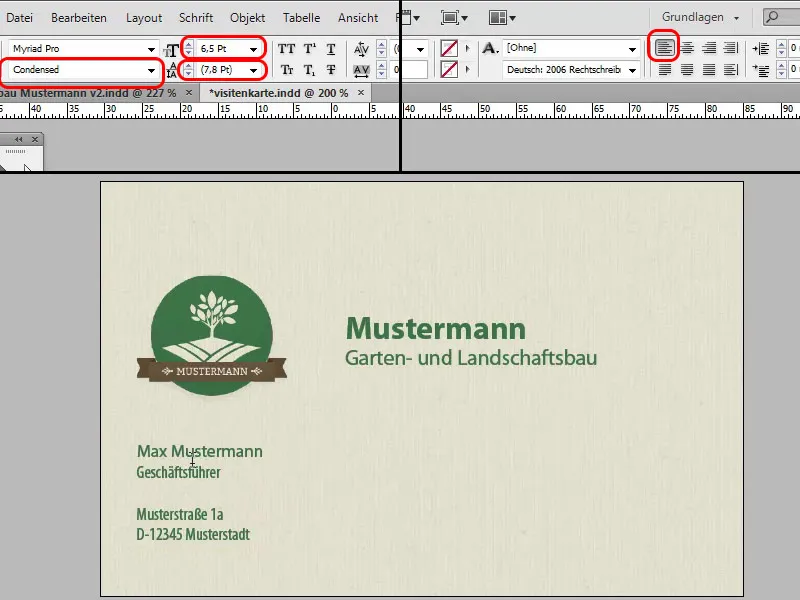
Step 18
The whole thing becomes really homogeneous if I have the same spacing to the left and bottom of the address field. To do this, I can create an auxiliary object in the form of a small rectangle that is as large as the distance between the left edge and the graphic frame of the logo. I first measure this on the left, then rotate it and place it at the bottom of the border to see if the distance is the same.
Then I add a green line, as shown in the template. I simply use the line tool to do this. When you are at the height of the adjacent text frame, you can see that the mouse changes. Then I am exactly on this horizontal line and can drag the line vertically downwards by holding down the Shift key. We then change the frame color to green here too. The line is still a bit thick, so let's change it to 0.5 pt.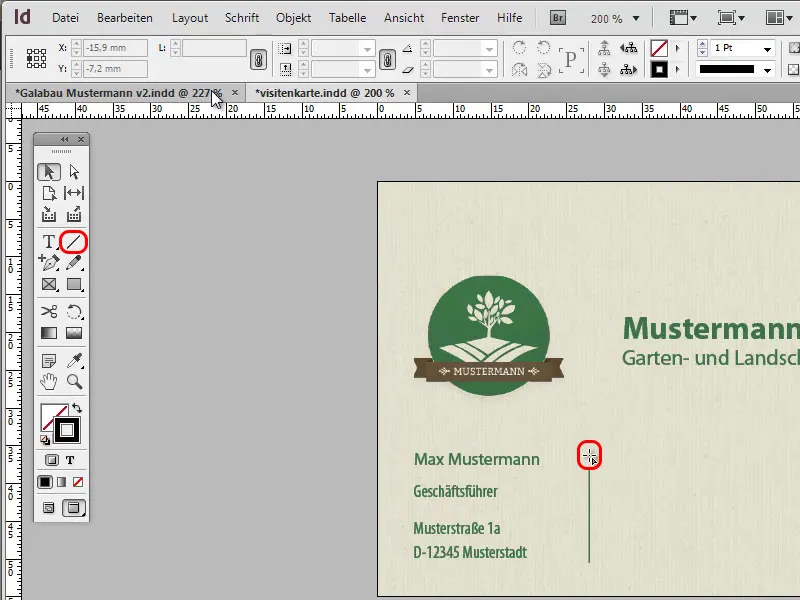
Step 19
And now telephone, fax and web. I can simply drag the existing text box with the address to the right while holding down the Alt key and copy it. I draw a guide line from the left ruler to see whether the text block is really in line with the upper one. I copy the text from the template again and paste it unformatted. Change the font again in Myriad Pro - but use Regular again.
Now I simply drag this text block to the right again by holding down the Alt key, copy the text from the template again and paste it unformatted. Here I'll use a slightly thinner font style again, this time Light, so that everything fits nicely. We then drag the text block a little to the left so that the distance to the middle text block is not too large.
Let's see how it looks. If you like, you can now adjust the size of the name and company.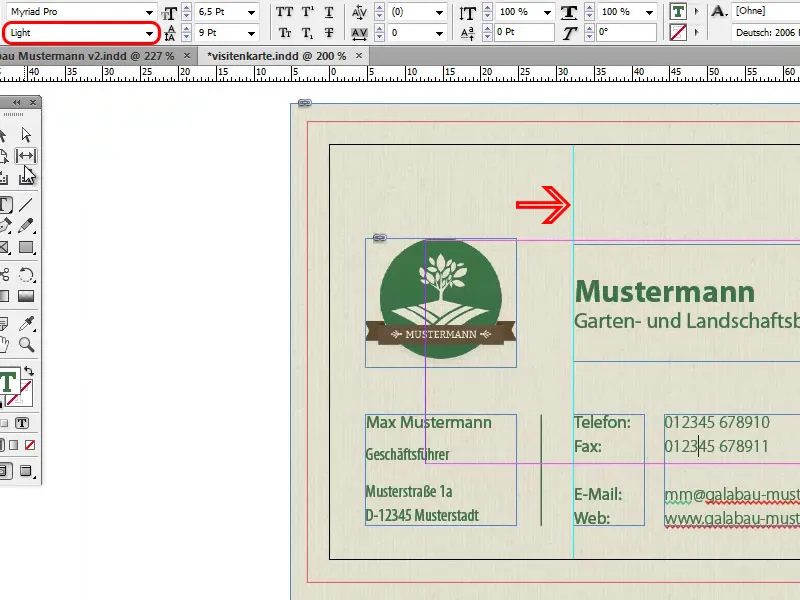
Step 20
Now let's add the playful elements. I use Ctrl+D to select the corresponding file via the file browser and place the sheet first. You can adjust the size individually. I zoom out with Ctrl+Minus, rotate the leaf and enlarge it proportionally by holding down the mouse button+Ctrl+Shift. The ladybug is now added to the leaves and, as before, I select Ctrl+D to place the ladybug image and then place it very small on top.
If you like, you can give it a drop shadow using the control palette. Just click on Drop Shadow at the top and you'll see that it's positioned completely wrong. That's why I click on Drop Shadow in the Effects menu (fx) and can then change the offset accordingly and also adjust the softness of the shadow.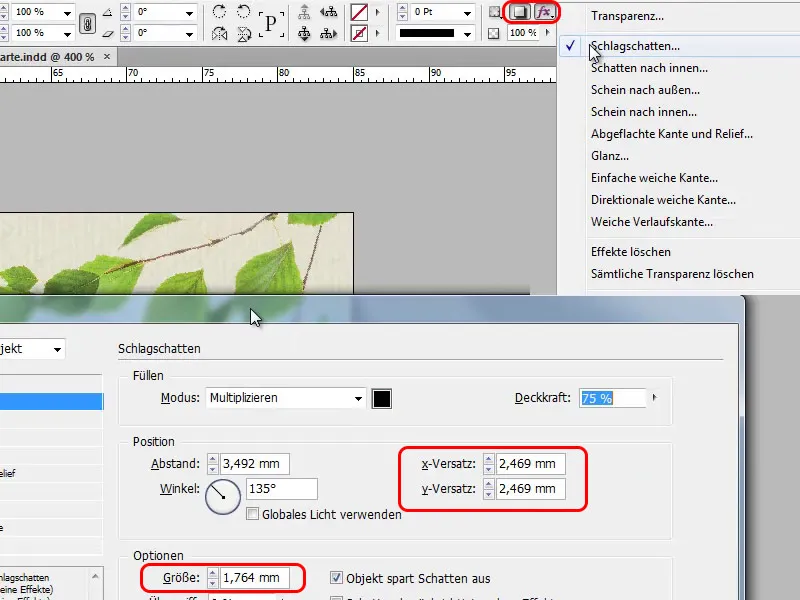
The last steps
Step 21
Now the business card is finished, it looks very good and you can take it to the printer. But what if you have a lot of employees, for example? You would have to constantly change the name of the person at the top, the name and telephone number at the bottom, etc. No problem with just one person. No problem with just one person, but if you have a lot of employees, I don't want to be the intern who has to hammer it all in. Or you can use an Excel spreadsheet. And any other spreadsheet program, such as LibreOffice or OpenOffice, is also suitable. It would even work with the Google Cloud spreadsheet.
Let me show you an example. Here I have the columns with first name, last name, position, telephone, fax, e-mail and picture. If you want to display images in the business card, they must be in the same directory or the corresponding path must be entered in the table.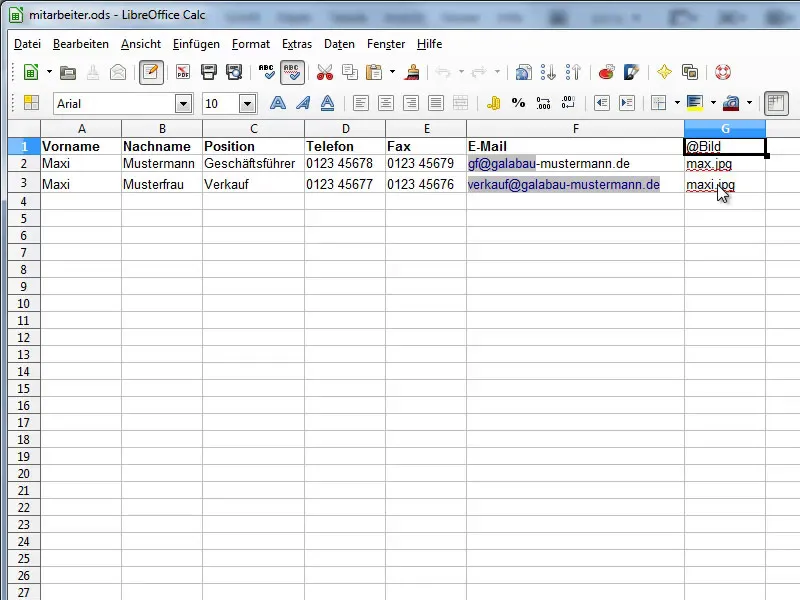
Step 22
A little more explanation about inserting the pictures. In the table with the employee data there is a column with the column heading @Picture. You have to put an @ sign in front of this column heading so that InDesign understands that these are images. If I now go to Utilities>Data Merge under Windows in InDesign, a corresponding icon is displayed in the left-hand column. In contrast to the texts, which are always preceded by a "T". Maybe I want to have photos of the employees on the business card.
For example, I move the logo further up and the photo should then be on the left. I first create a rectangle without outline and fill in the size in which the photo is to be displayed later, and then drag the @image from the File Merge window into it. I can then change the size as I want it, and when I click on the next data record in the File Merge window, the picture of the trainee is immediately in there.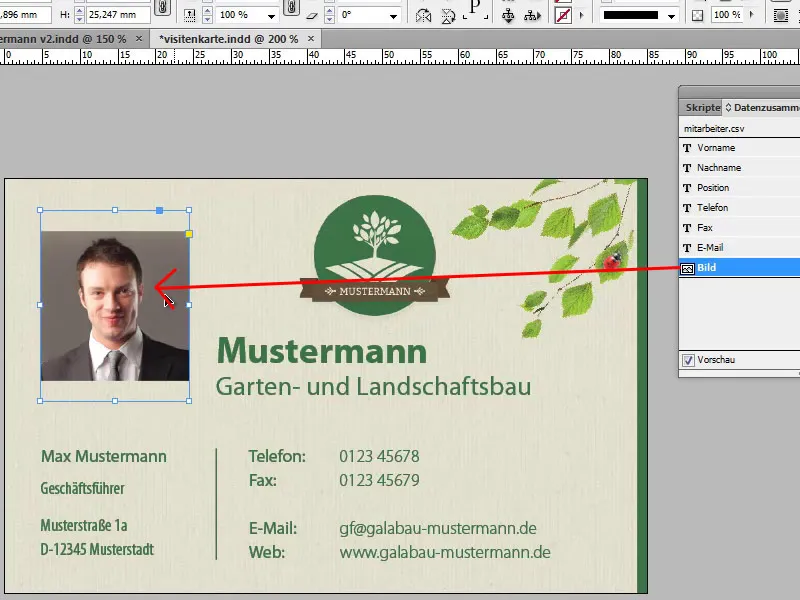
Of course, it doesn't fit in the size it should be, but you have to specify the exact size of the photos beforehand. In Photoshop, the images are cropped to the desired size. So of course it's great that it doesn't just work with names, but even with pictures.
Step 23
This table is then saved as a csv file. I have selected the following options: "Field separator ,(comma)," "Text separator "(quotation marks)". You can change everything in the default settings, that's no problem. InDesign is so smart and recognizes where which content is located. I'll press OK here , leave it at the default settings and go back to InDesign.
I'm now going to make the fields a bit smarter there, and I'd like to make sure that Mustermann also contains Musterfrau, as in the Excel table. To do this, I go to Window>Utilities>Data Merge. Then an inconspicuous control panel appears. It describes exactly what you have to do.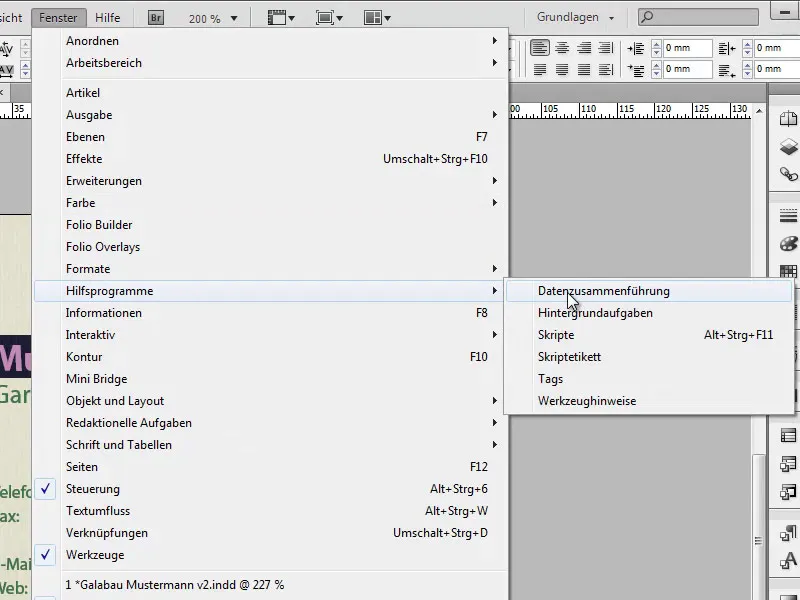
Step 24
So I select Select data source... in the control panel menu and then select the csv file I have just created. You can also import text files that have been created according to the pattern specified in step 21 with the corresponding field separators. However, I always do this myself as a csv file. So I now say Open and then all my column names are displayed in the window.
I then say I would like to have the surname in there instead of Mustermann, then I can drag this directly into the selected text field and you can now see: Surname is displayed instead of Sample man. I then repeat this for the other text fields; I would like to have the first name for the first name, the last name for the last name, the position underneath, the telephone number there, the fax number here and the e-mail address there. All other texts such as the street name, the texts "Telephone", "Fax" etc. remain as they are.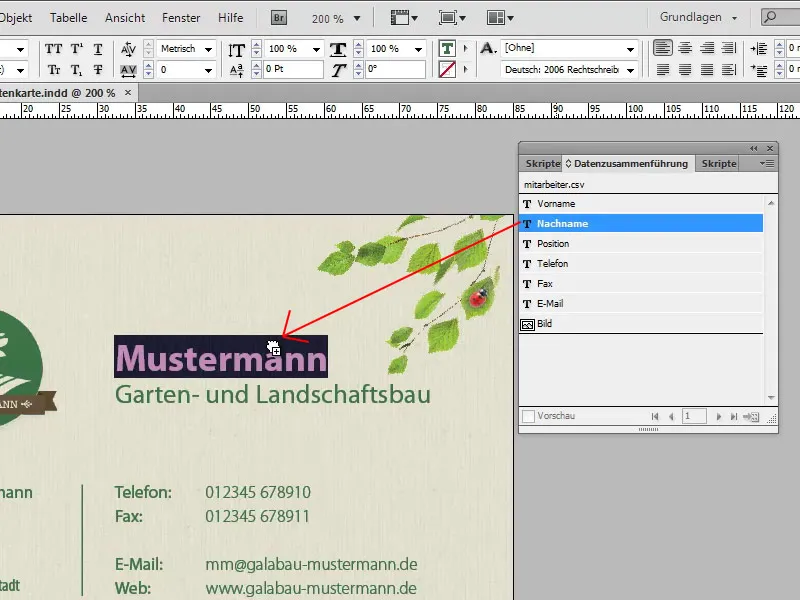
Step 25
Now I take a look at the whole thing to see if it works. I click on Preview and see that the first data record has been inserted. If I now click on the arrow to the right, then on the second data record, we can see that all the data has been replaced. If we now want to output the whole thing as a new file, for example, we simply have to click on the options menu at the top right of the window and then say that we want to export the file as a PDF, for example.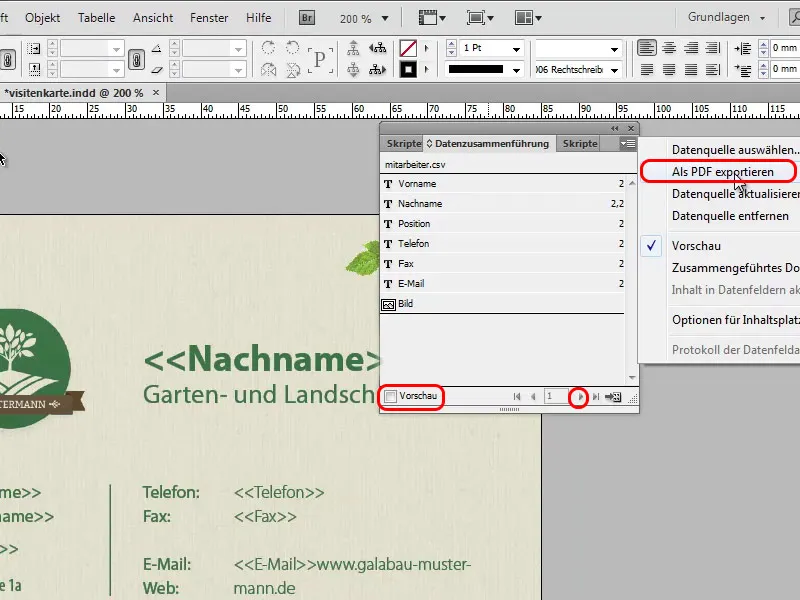
Step 26
Then you will see a nice menu where you can set all kinds of things. I won't go into this any further in this tutorial. We leave this unchanged, click on OK, and then another PDF options menu appears. The best thing to do here is to set the Adobe PDF default to Print output quality, so that the best quality is already set, and don't forget to check Use document bleed settings for Marks and Bleed. For Output, depending on which profile your print shop wants, set the appropriate settings and then export. I save this under the name "Business cards" and can then view the finished PDF in Acrobat Reader.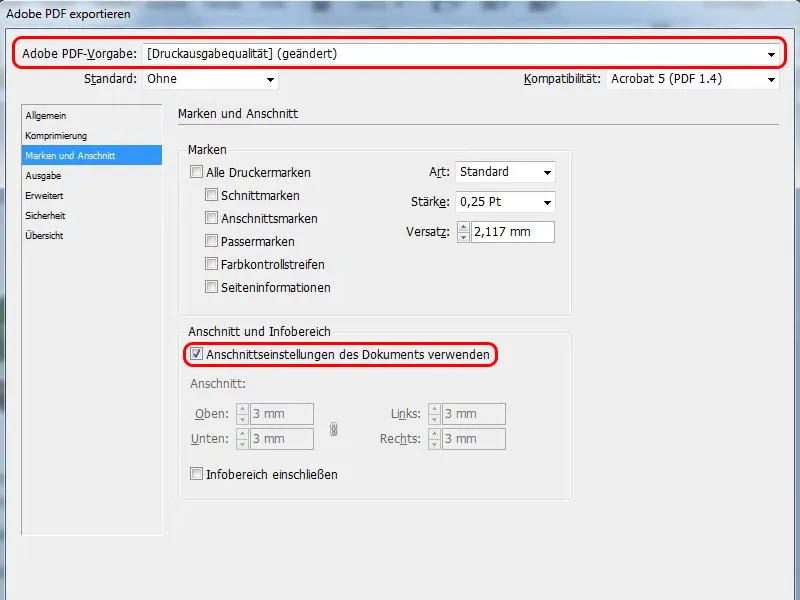
Step 27
Finally, there is one more option that has been added in CS6, namely that I can very quickly set that I would also like to have the business card in portrait format. To do this, I go to the page palette and there I can use the Custom tab to say that I would like an alternative layout. And it's clever enough to set this for me straight away: 'Well, he probably wants portrait format, so exactly tilted'. That's exactly how it should be.
And I simply call it "portrait format" here in the window. If I have created text formats, character formats, paragraph formats, for example, I can now select that they are copied to a new format group. But that's not so important here because we haven't created any character formats yet. So, I'll just say OK and you can see the business card in portrait format in the page palette on the right.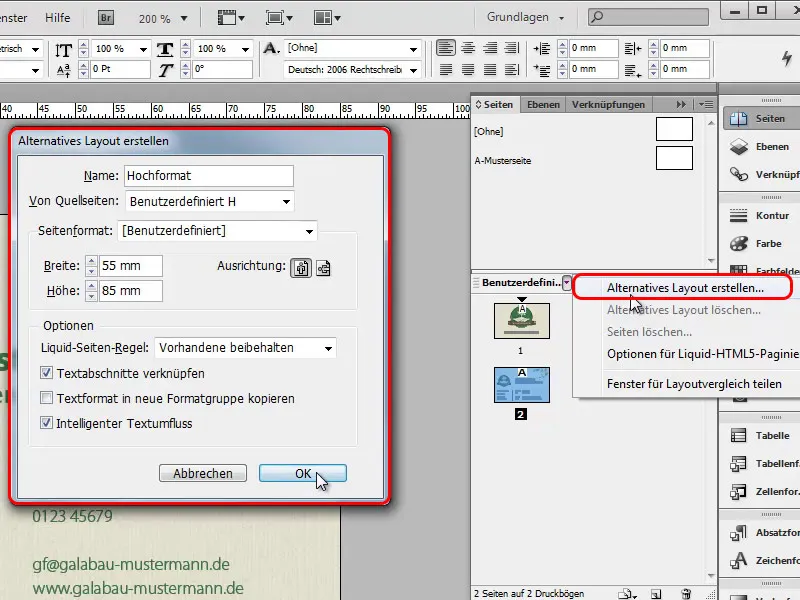
Step 28
Of course, the layout doesn't quite fit, InDesign isn't that intelligent, but it's no problem to reposition the texture a little, maybe make the text a little smaller or wrap and place it differently. Then this is my portrait format alternative. I have to do a bit more on the back. But it's not a problem, I'll pull the texture up a little and the whole thing will have to be reformatted a little accordingly. In portrait format, the logo might look good at the top center and the text is positioned below it. Then the whole thing would look like this: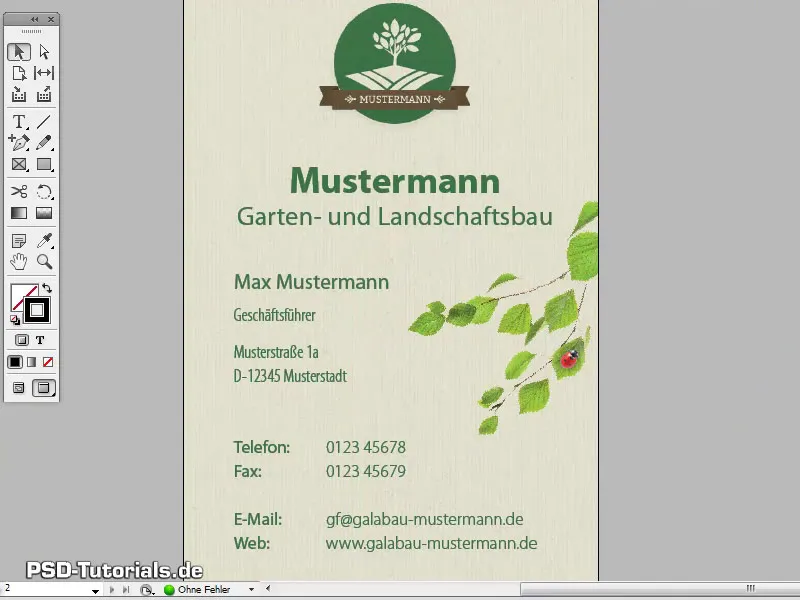
Step 29
With this selection, I can ask the customer which format they like better. Perhaps the landscape format here or rather the portrait format? I can create the whole thing with one click, so I don't have to work with several documents. I can also output it as a PDF file using the export commandand one of the options: All pages, Portrait only or Landscape only. I can quickly rename the name of the page with two clicks in the page palette if I haven't already done so. I now export all pages and then we get the PDF file with the pages in both portrait and landscape format.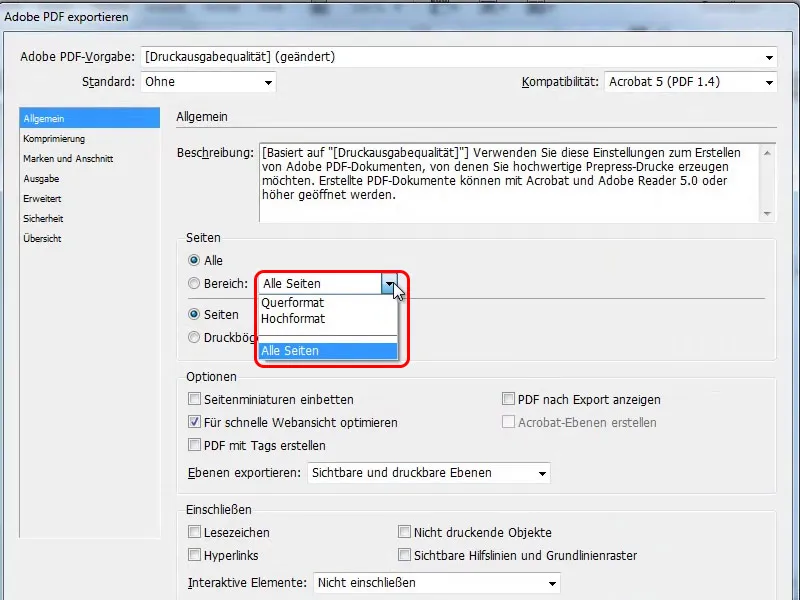
Step 30
You can now check the whole thing again in the PDF file and make any necessary changes in InDesign. If you want, you can add a white frame, for example. Here I can show a nice little effect. I create a new layer in the layer palette. I can then use the rectangle tool to draw a rectangle over the entire business card. Without filling, but with an outline of 7 pt and the color white. And now you have a white frame around the business card. If you don't like this, you can simply hide the layer again or delete it completely.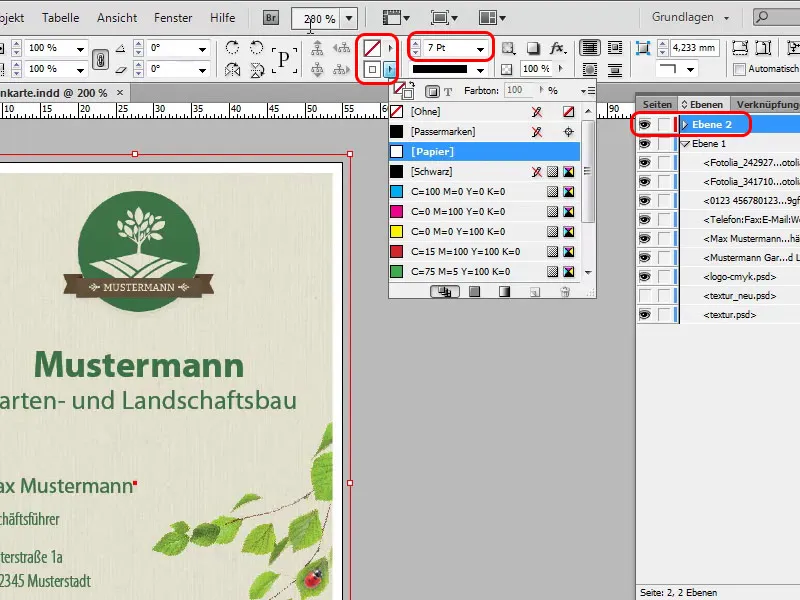
Step 31
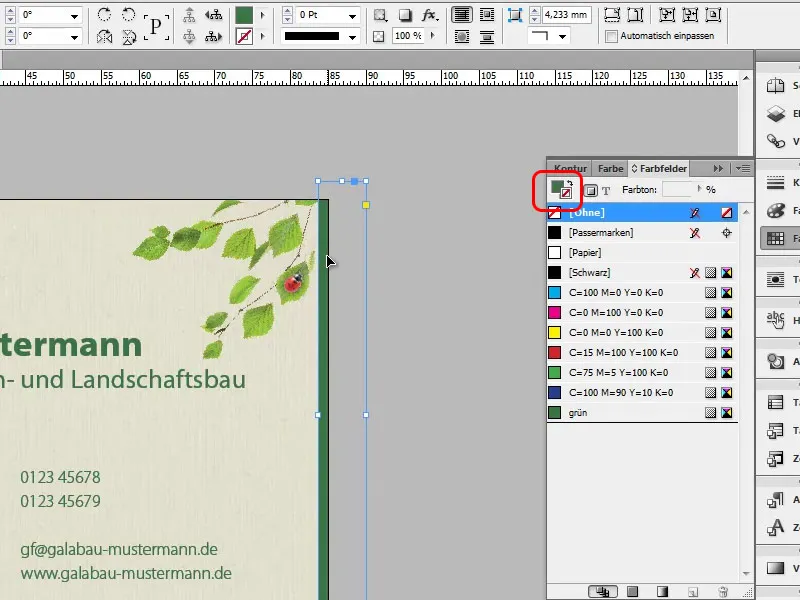
You can apply a similar effect to the landscape-format business card. We can pick up the green color of the logo again. To do this, I draw a narrow frame on the right-hand edge, but this time without an outline and with a green fill instead, which I think makes the business card a little more interesting.