Clouds on text and shapes bring lightness and a touch of fantasy to your designs. Whether for posters, greeting cards, or creative projects, this effect gives your work a dreamy look. In this tutorial, I'll show you how to create a realistic cloud effect step by step with Photoshop. We combine brushes and special filters to make text and shapes look as if they were conjured from the clouds. Get ready for an airy creative fun!
Step 1:
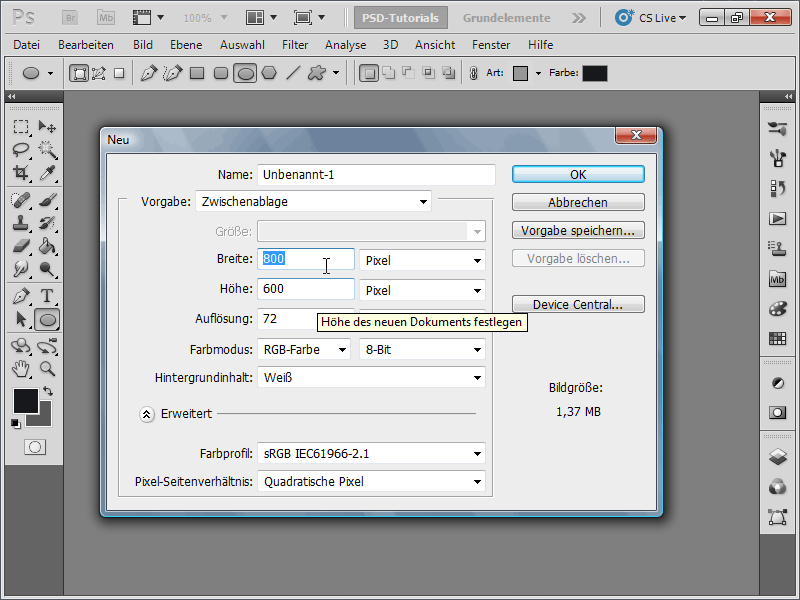
I create a document with the size of 800x600 pixels, but the size is actually unimportant.
Step 2:
Then I select the Brush tool and either press F5 or click on the Brush panel icon at the top of the control panel. Now, under Brush shape, I set the following values: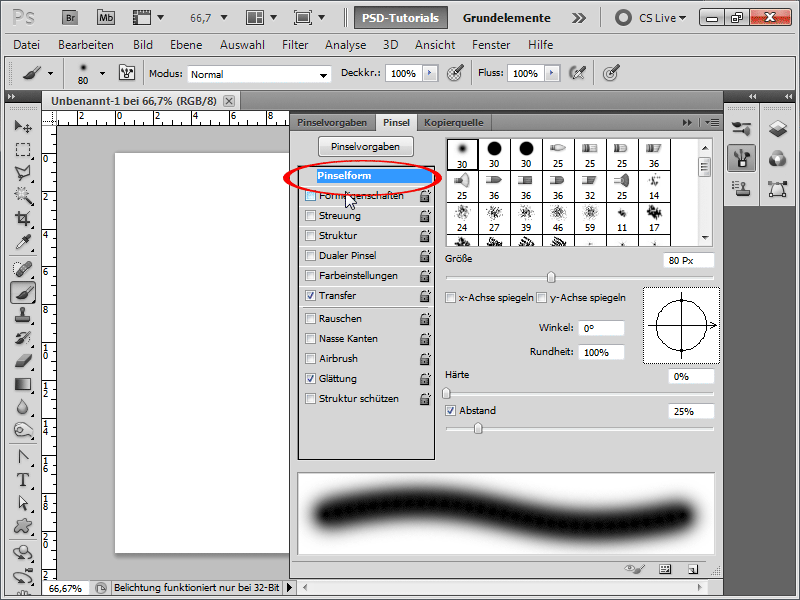
Step 3:
There's also something to change in the Shape properties: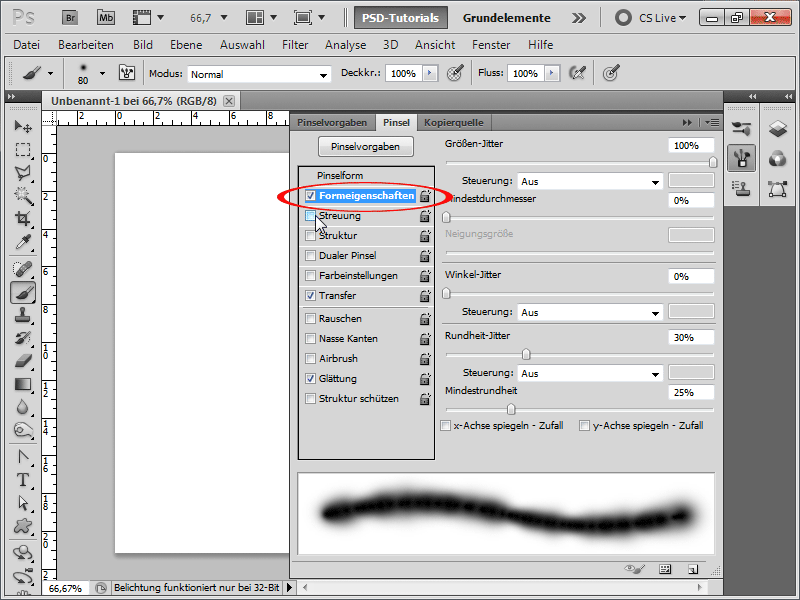
Step 4:
For Texture, I must definitely choose the cloud texture, which I can find, if not displayed, under the pattern library Textures.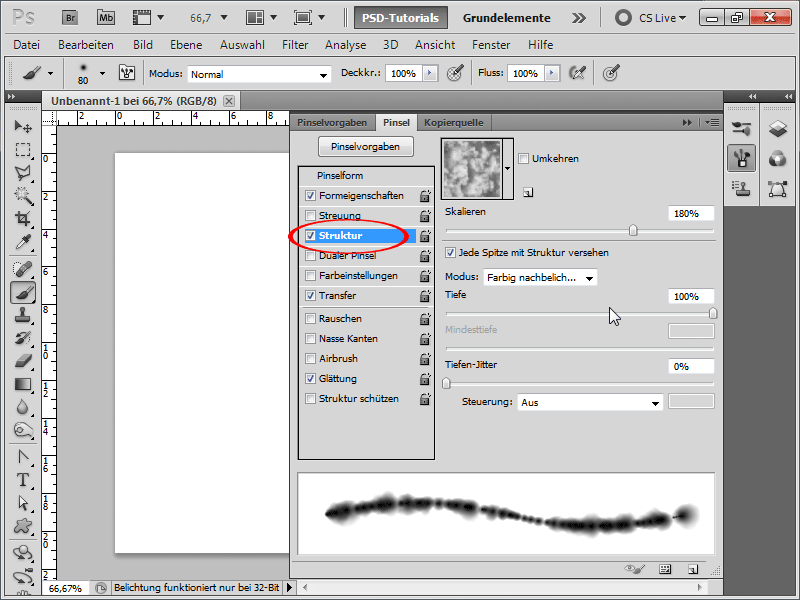
Step 5:
For Transfer, I set the Opacity Jitter to 25% and the Flow Jitter to 50%, so that certain parts of the brush will be hidden.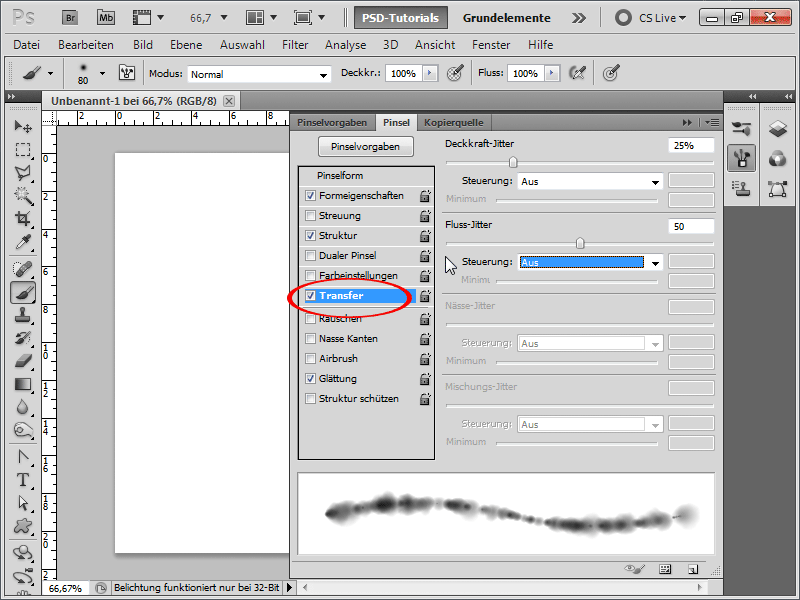
Step 6:
Now, for example, I can paint letters with the brush on a new separate layer. However, this doesn't necessarily look very good.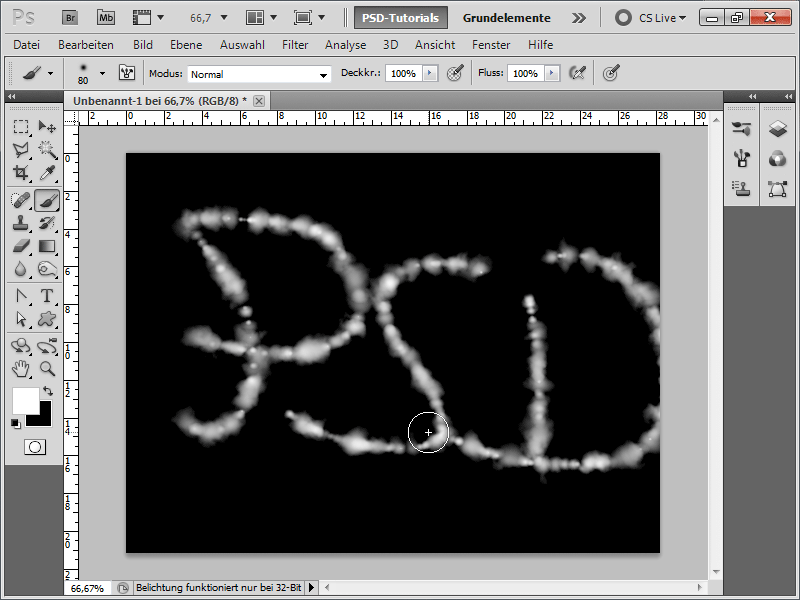
Step 7:
That's why I write a text with very thin letters, create a selection on the text layer in the Layers panel using the Ctrl key, then go to the Paths panel and click on the icon to create a work path from the selection.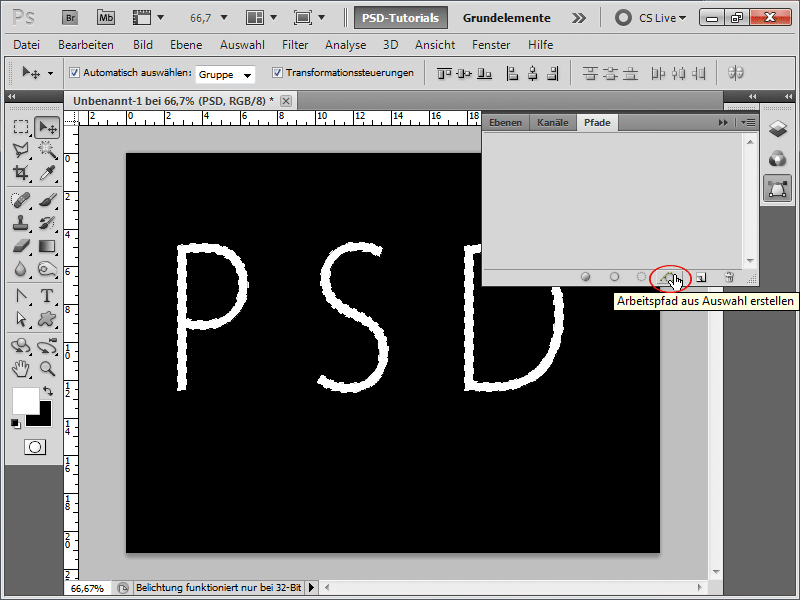
Step 8:
Next, click on the icon in the Paths panel to fill the path outline. I check the box for Simulate pressure to achieve an even better effect.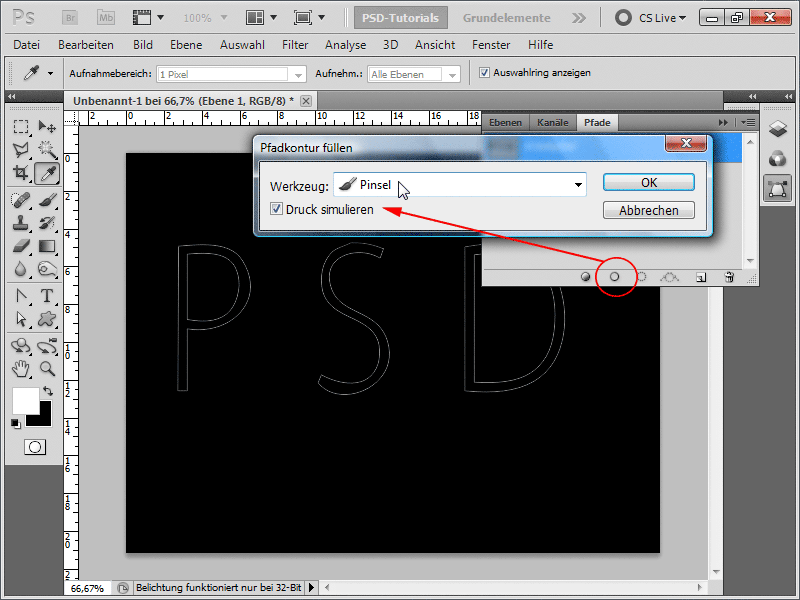
Step 9:
The result is already looking good.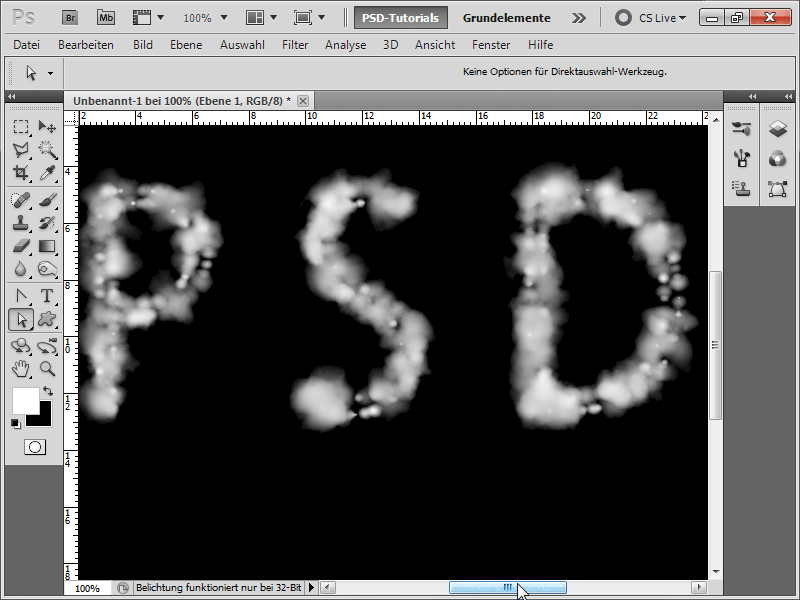
Step 10:
However, since each letter of the path has two lines, I need to remove one so that the brush doesn't follow along both paths. I select the Direct Selection Tool, click on the inner line, and then press the Delete key. Then I click on an empty area again, then on an inner part, and the Delete key again.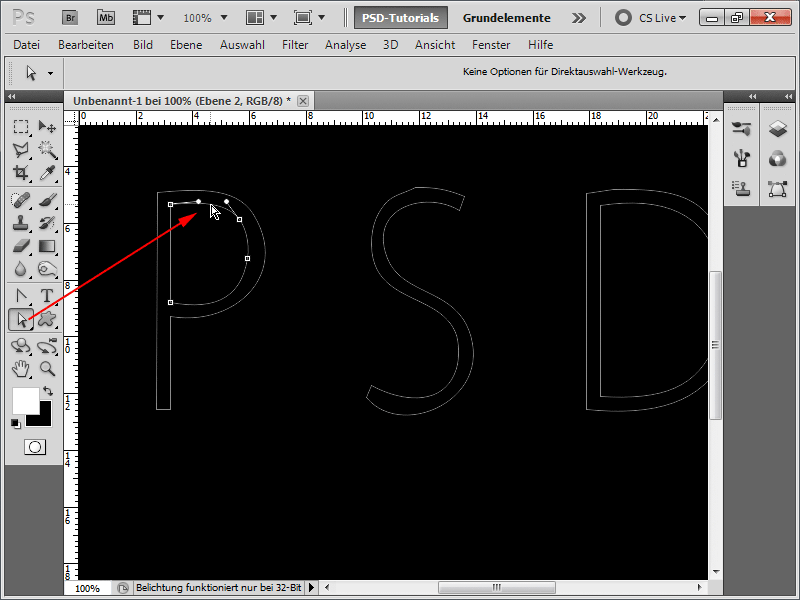
Step 11:
For the letters P and D, this is pretty straightforward.
Step 12:
For S, I have to click on the inner part quite a few times, press the Delete key, and then click next to the path again.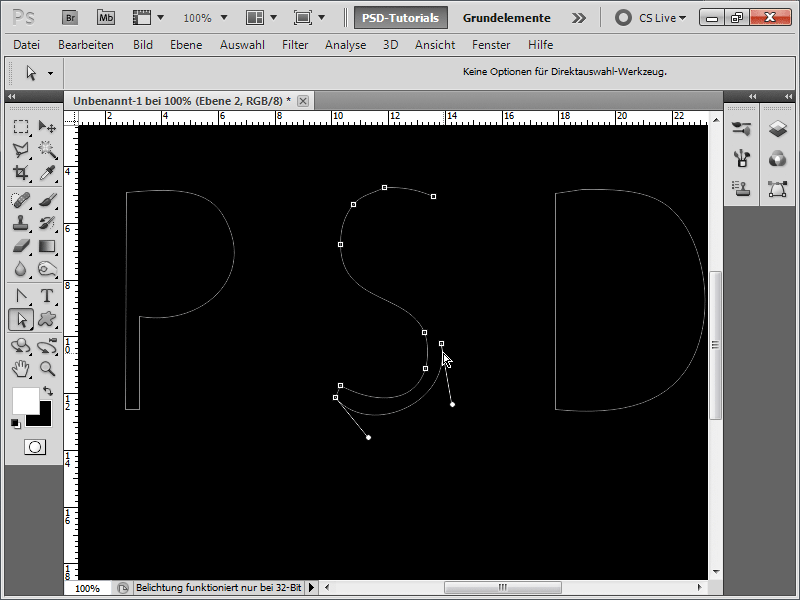
Step 13:
Since the letter S is now not the same size as the other letters, I scale it with Ctrl+T.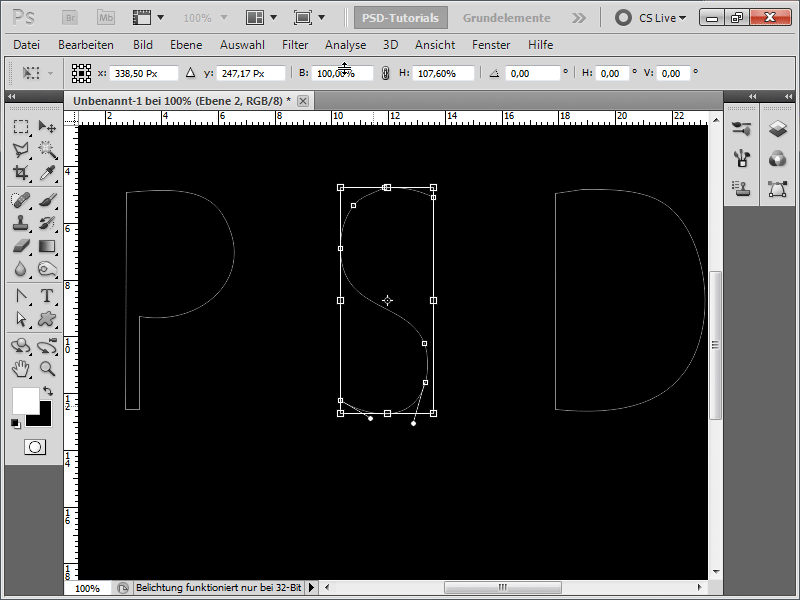
Step 14:
The result then looks like this: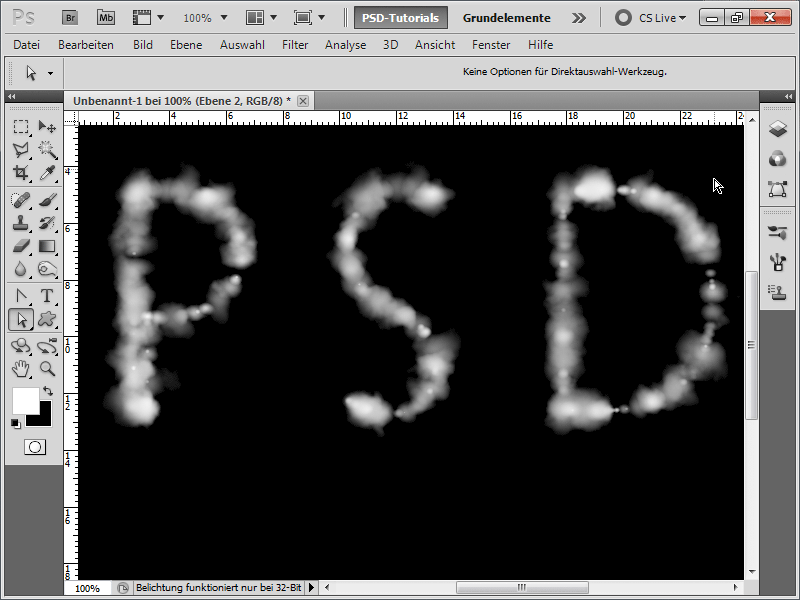
Step 15:
I can also, for example, draw a heart under Custom shapes. I just need to ensure it's drawn as a path.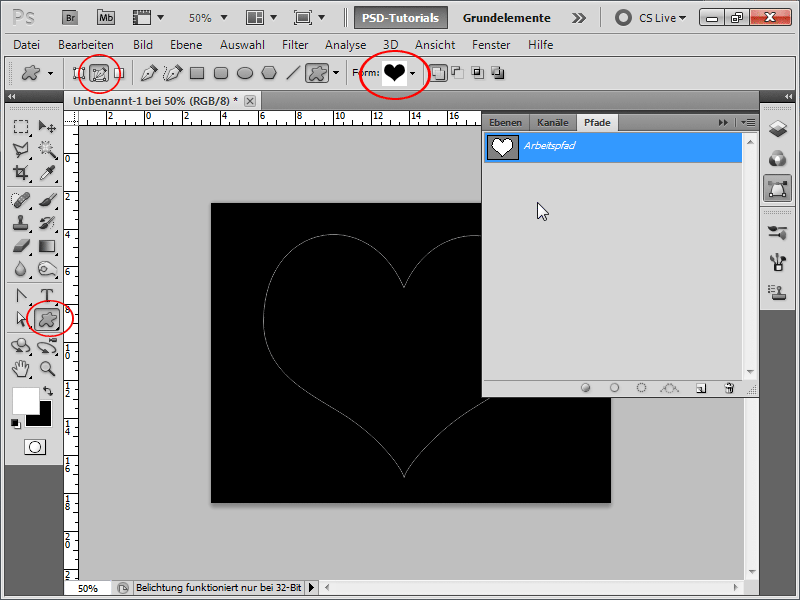
Step 16:
And when I fill the outline again with my cloud brush, the result looks like this (I have enlarged the brush tip so that the clouds are bigger).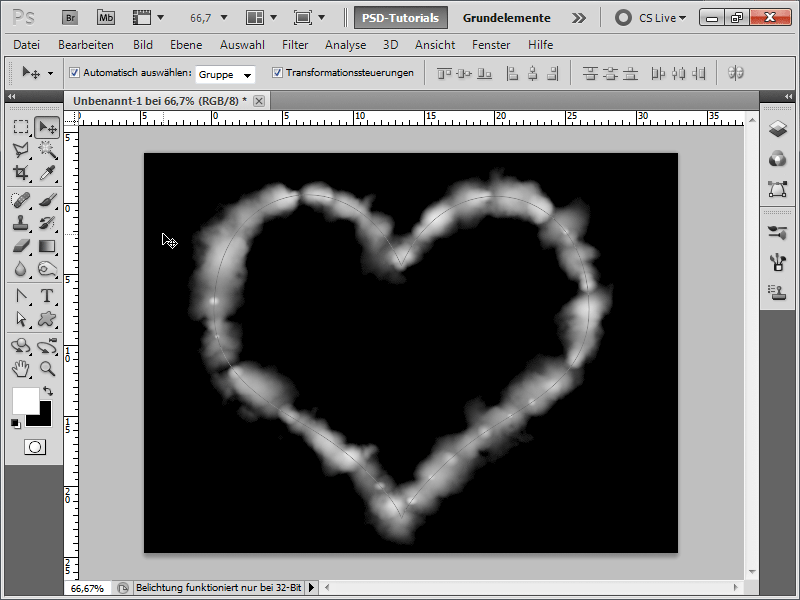
Step 17:
For a star, it would look like this.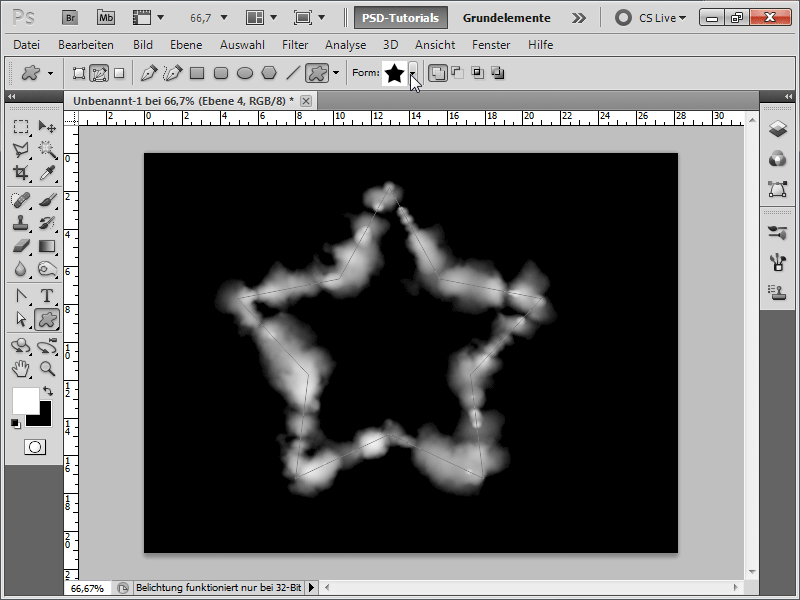
Step 18:
Or I create with the pen tool myself e.g. a house and fill its outline with my cloud brush.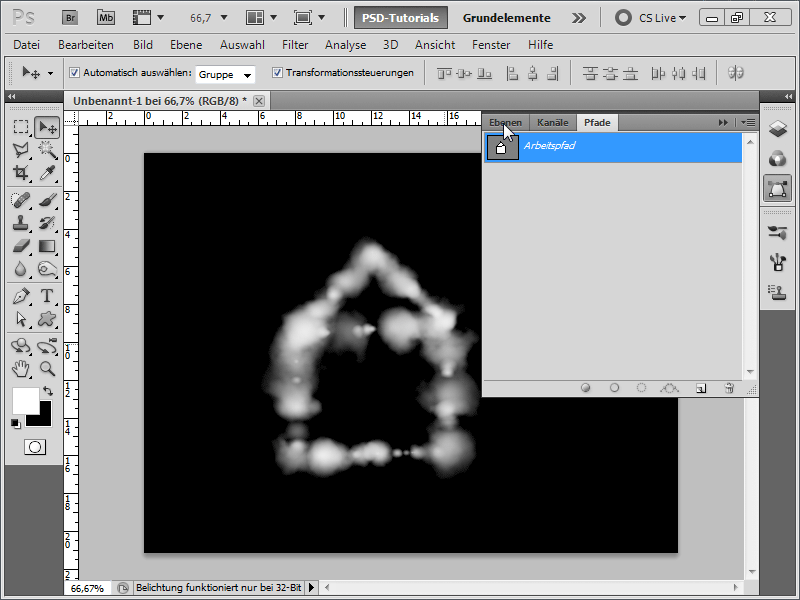
Step 19:
With a proper sky-blue gradient, the story looks even better.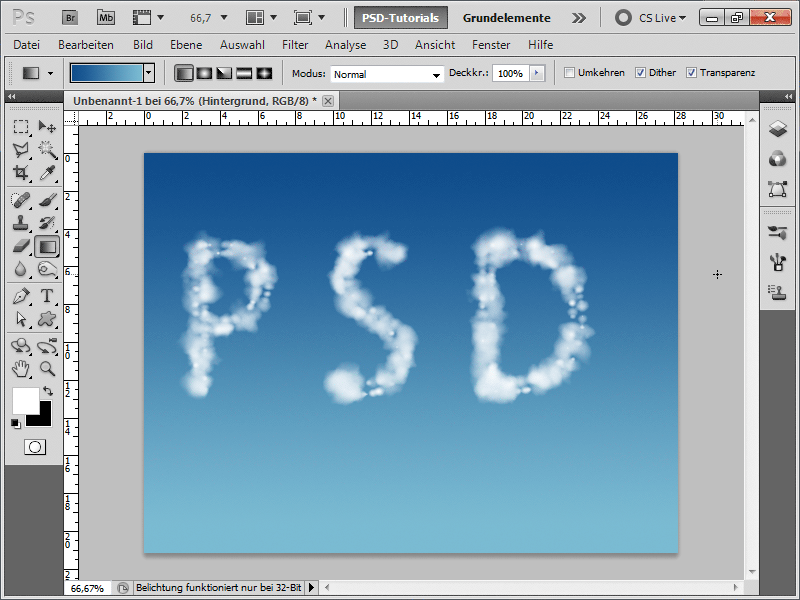
Step 20:
Using the fill option Inner Shadow or Drop Shadow I can give more realism to the clouds.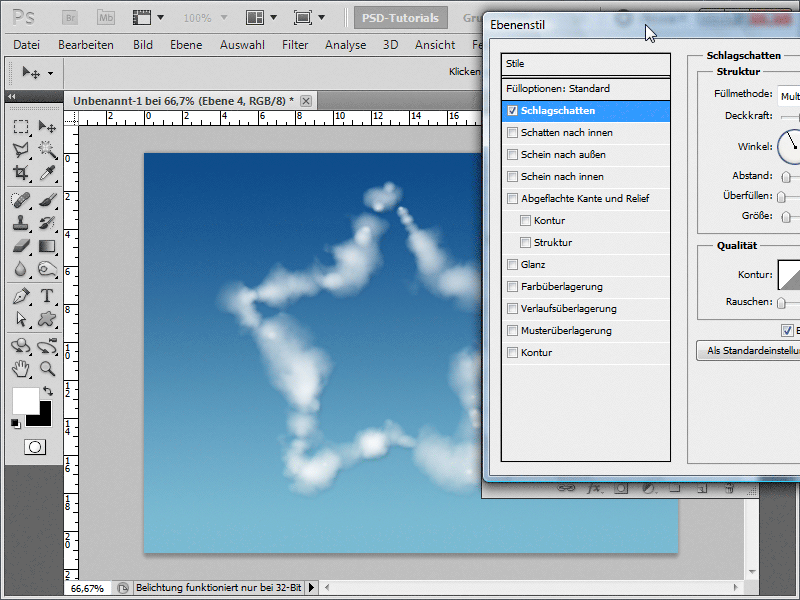
Step 21:
Here I want to quickly show how to create a suitable starry sky. For this, I draw a gradient from dark blue to black.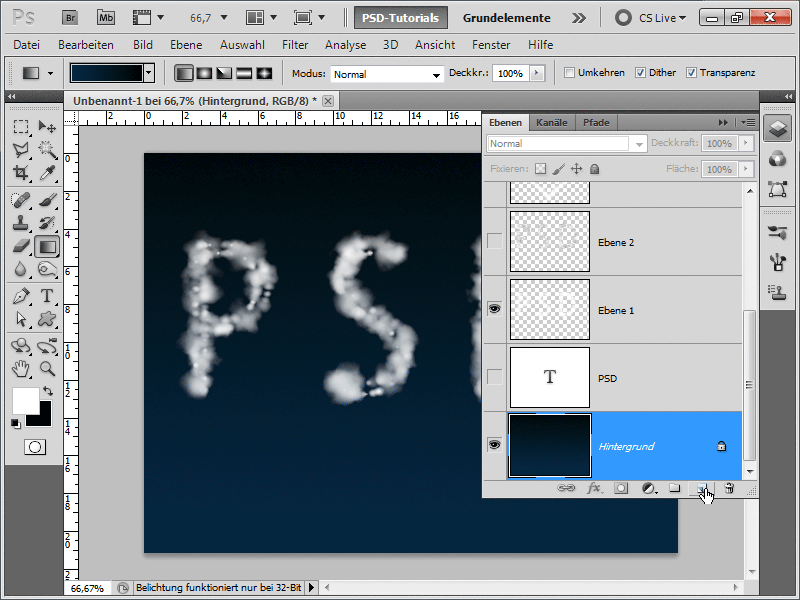
Step 22:
In a new black layer, I add Noise.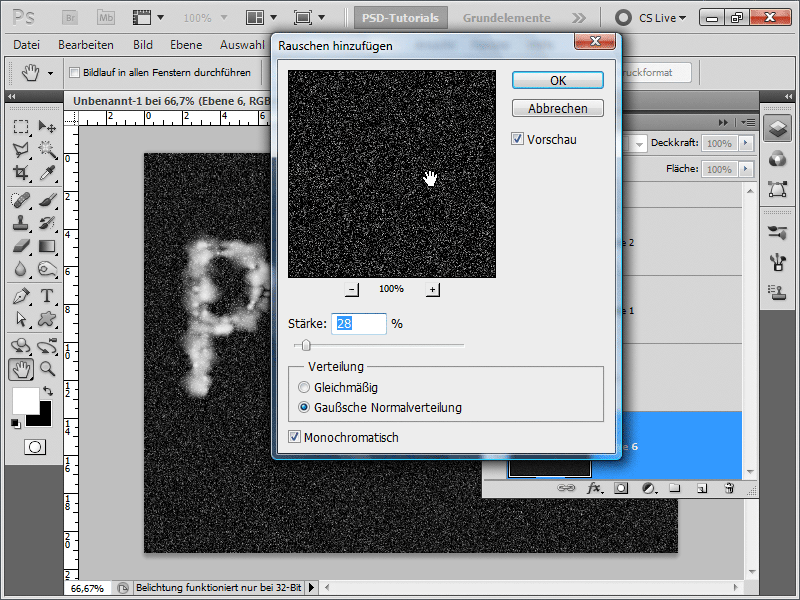
Step 23:
Now I duplicate the layer with Ctrl+J and change the fill method to Multiply.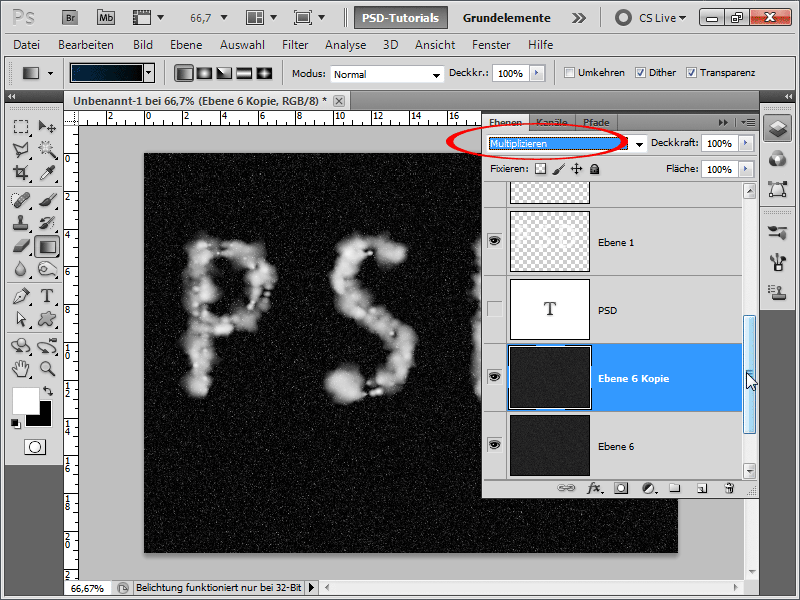
Step 24:
Then I move the gradient layer over the star layers and set the fill method to Screen so that the stars shine through.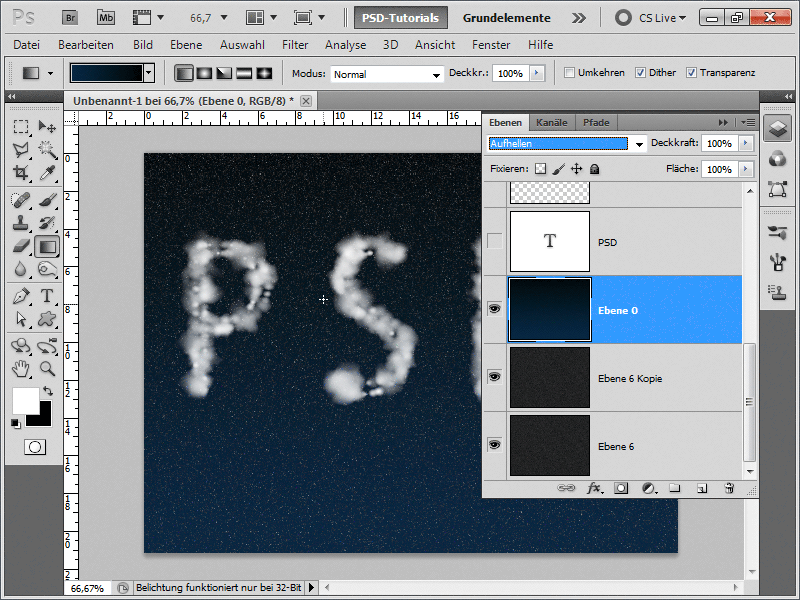
Step 25:
Now, for my example, I display the heart, create a new cloud layer, and paint clouds in the foreground with a larger brush. Next, I add an adjustment layer Levels below the gradient layer and move the left and right sliders towards the center a bit so that some stars become brighter and others darker.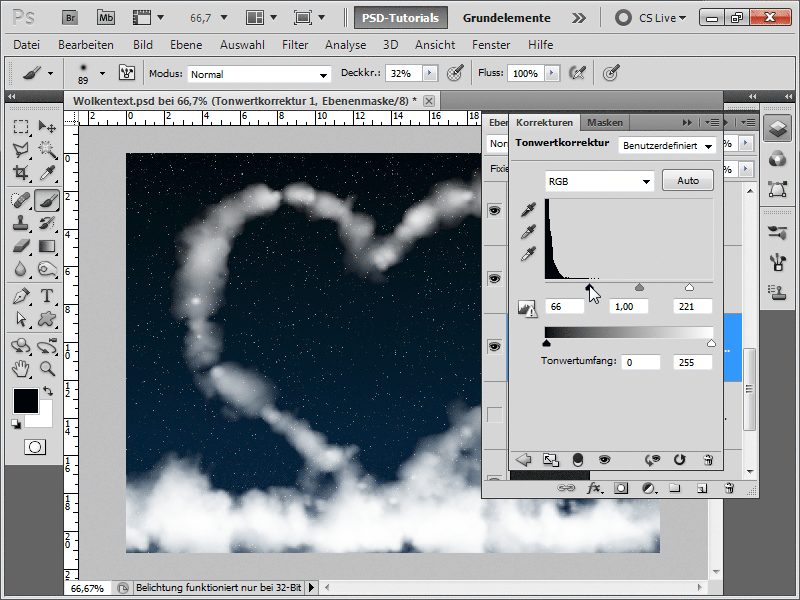
Step 26:
In my opinion, the result speaks for itself: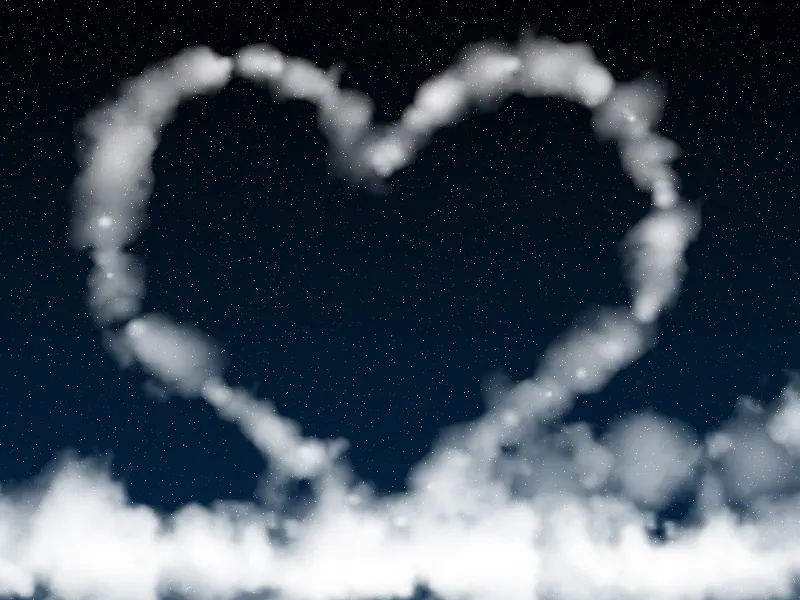
For the working file, I have attached the cloud brush.


