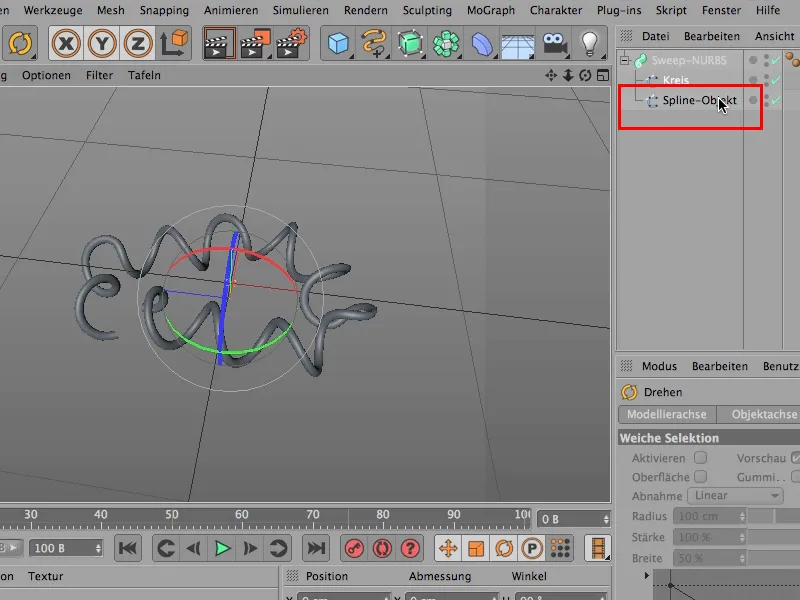
This tip here has something to do with how to edit the corners of splines. If you look at the splines here, you have the 6 orange-colored splines at the top, i.e. the ones that you definitely have to work out yourself: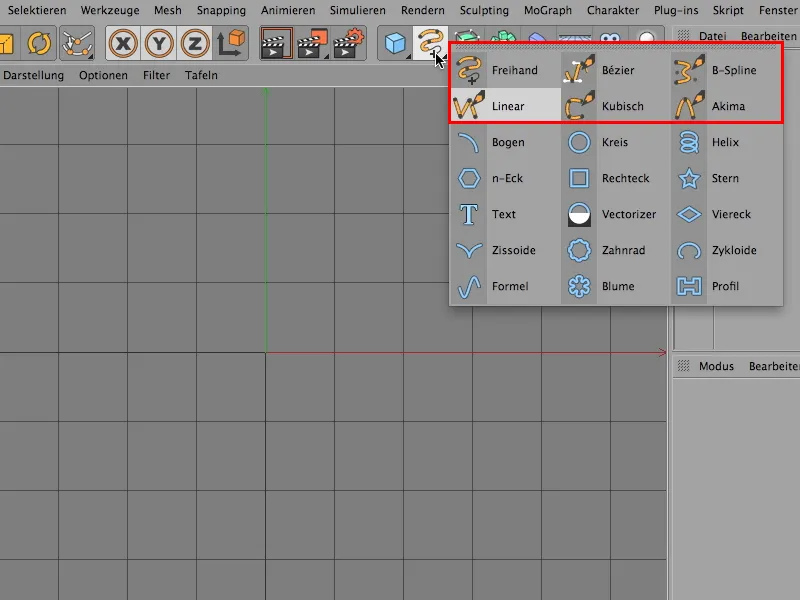
And there are the ones below here - such as arc, circle, rectangle etc. These are ready-made. These are basic parametric objects whose parametric sizes you can easily change here - i.e. make the thing higher, wider.
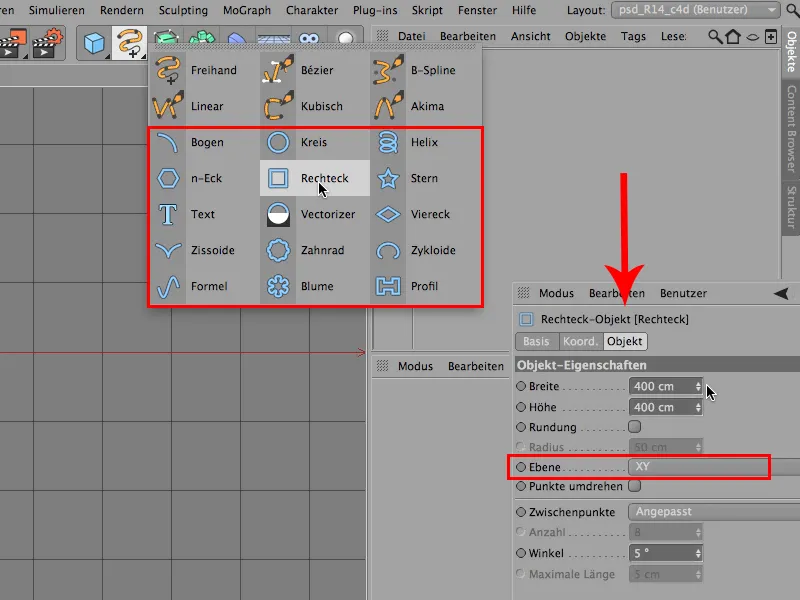
Everything can be set here, including the plane in which this object is to lie.
Quite nice so far. But now you want to have a few curved lines relatively often, and in order to be able to edit them, you first have to convert this spline from the basic parametric object into a polygon object.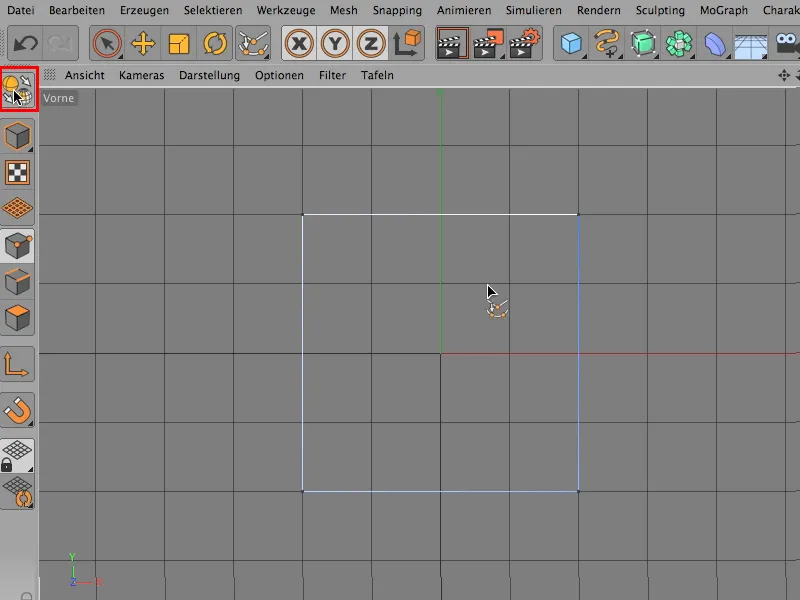
Now we can also see these corners here. We know very well that there is a hard and a soft interpolation, just like with any other path tool in any other program where paths play a role.
And all we really need to do is the following: We just click on this thing here, just this one corner (arrow), that's enough for now.
And now I can say Mesh>Spline>Soft interpolation.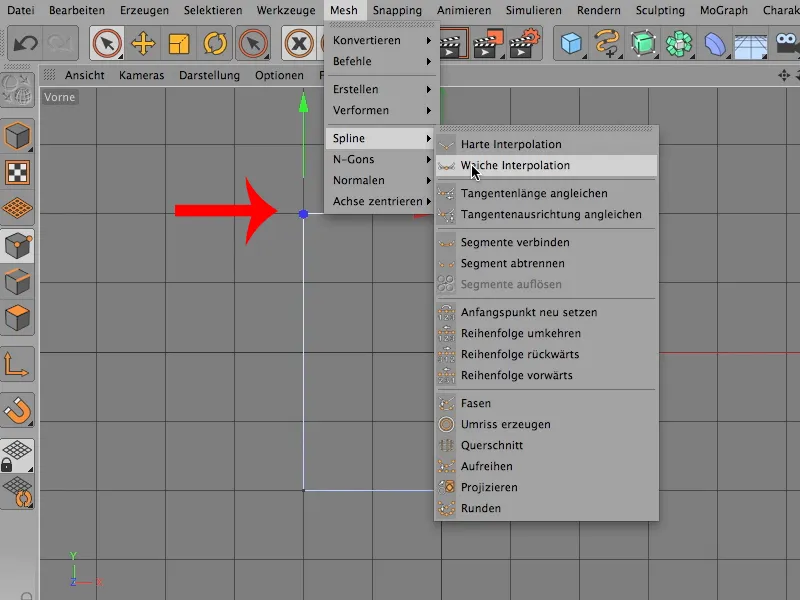
This is what it looks like and it's actually nicely curved.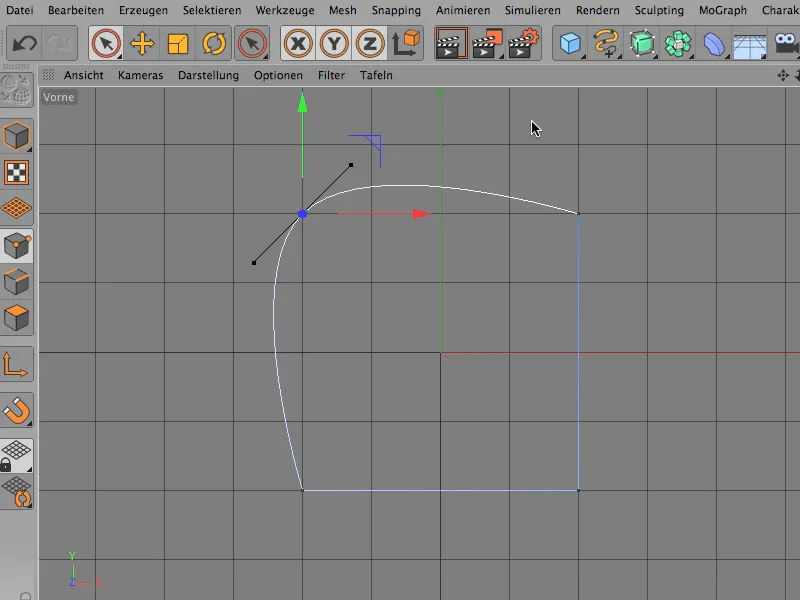
But then you realize: I don't want it like this. I don't want it to reach all the way down. So you undo that and set a few points first.
We can also find them here under Mesh>Create>Create point. I'll click on that ...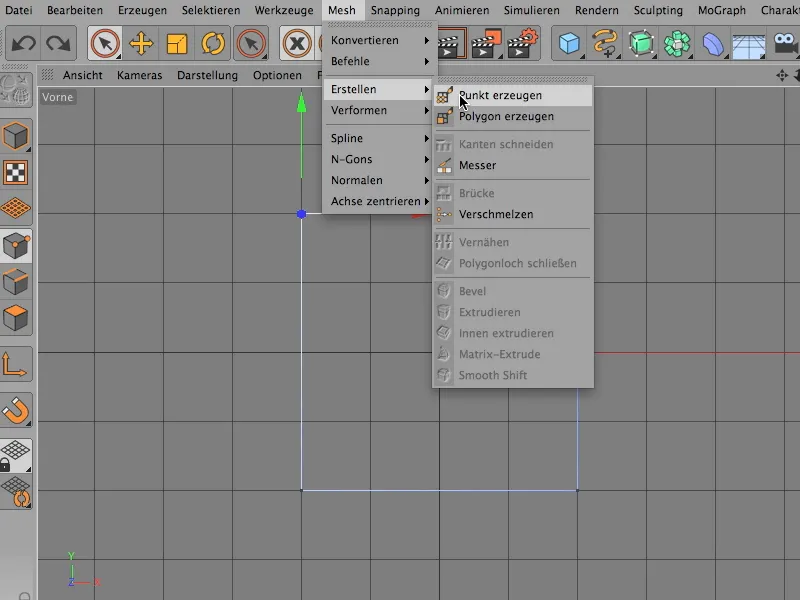
... and now I can use this tool to set these two points here, for example.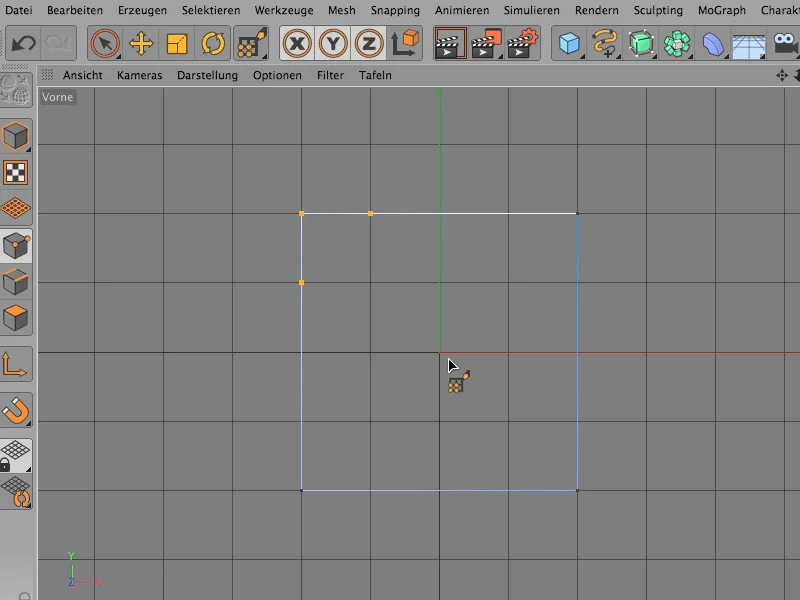
I select the one point again, because the other two should now relativize this a little here, and say Mesh>Spline>Soft interpolation.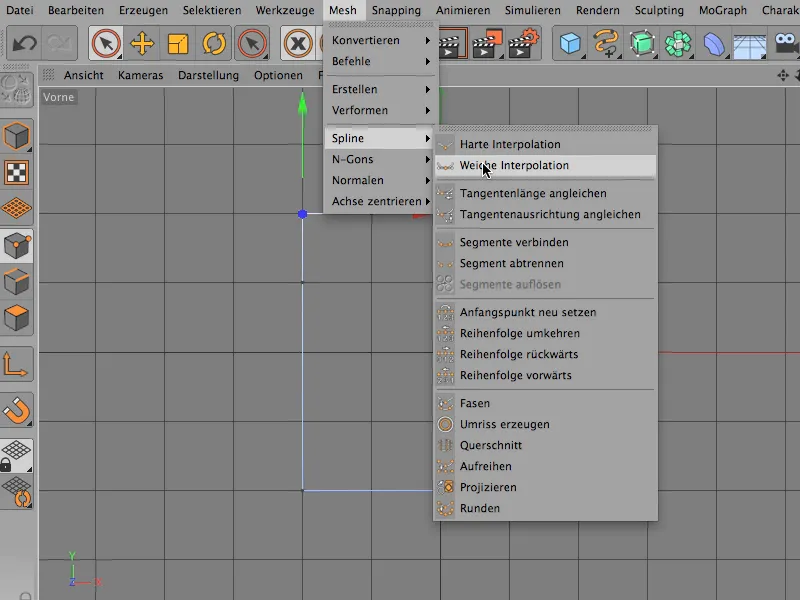
And now you can see that the whole thing is now only limited to the section between the points that I have newly set.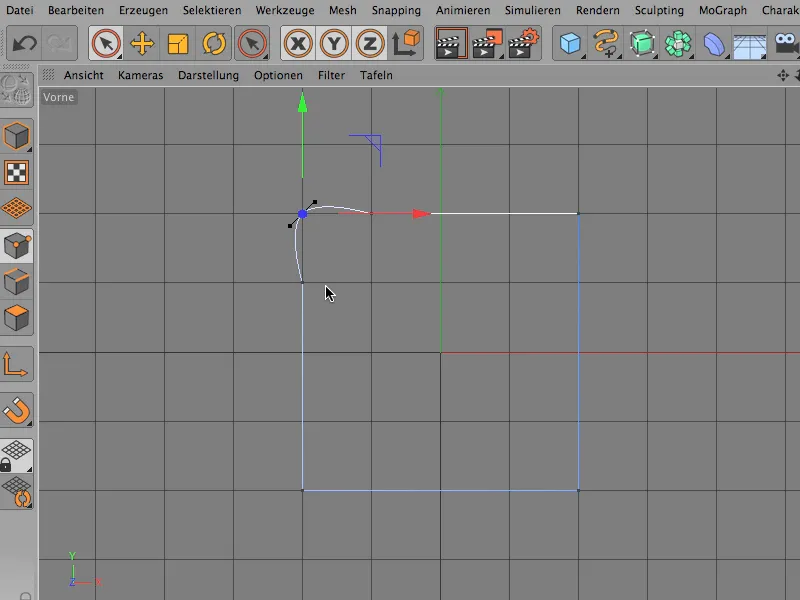
If we then move it in a little, it actually looks quite nice and you can leave this rounding as it is. And you can still shape it very individually if you want to, but only if you use the move tool..webp?tutkfid=69558)
So, I'll leave it as it is.
So far it's clear, now it's just that in many cases you don't necessarily want to have this individual deformation, but you want to have a clearly defined curve. And this clearly defined curve can of course also be achieved, but there is another command for this, which is called chamfering. This seems to me to be something that many people don't use or don't know, so I would like to show you this.
Just like before, I also select a point, ...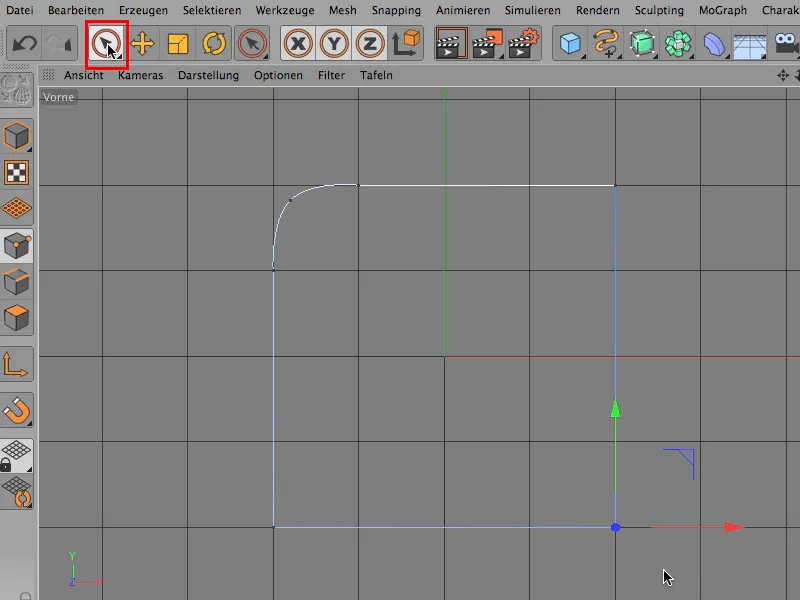
... and via Mesh>Spline I find the Chamfer command at the bottom.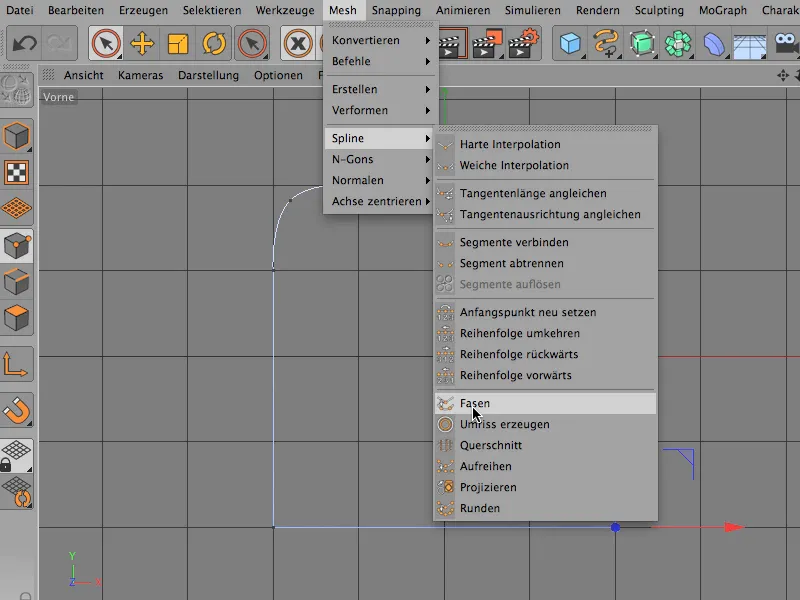
This is usually set to 5 cm, unless you have used it before. I have used it before, last time it was 110 cm. Let's click away linear, I'll explain that in a moment, and we'll go to a value of 25 cm.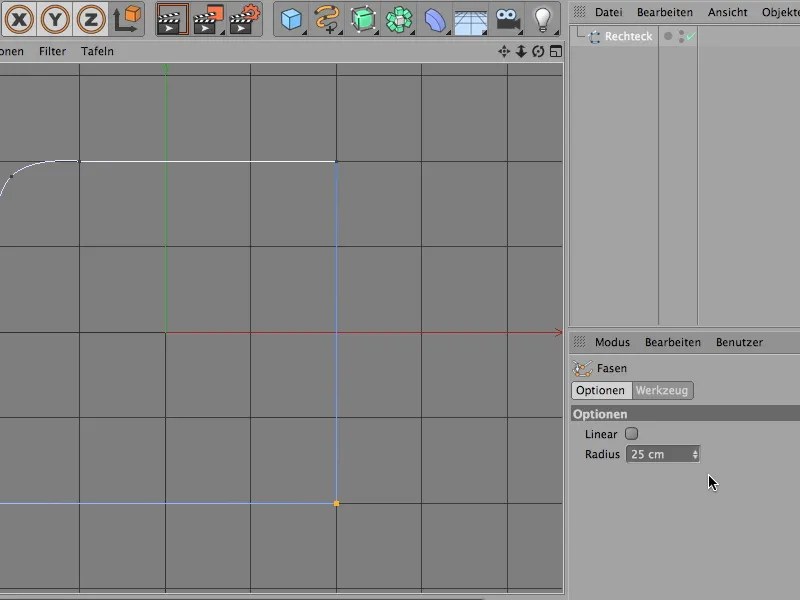
As is so often the case, you can see that nothing happens because the tool has not yet been clicked. A tip: Do this with a shift-click. Then you will already have the assign button here in the attribute manager. You assign and it is clear what these 25 cm are.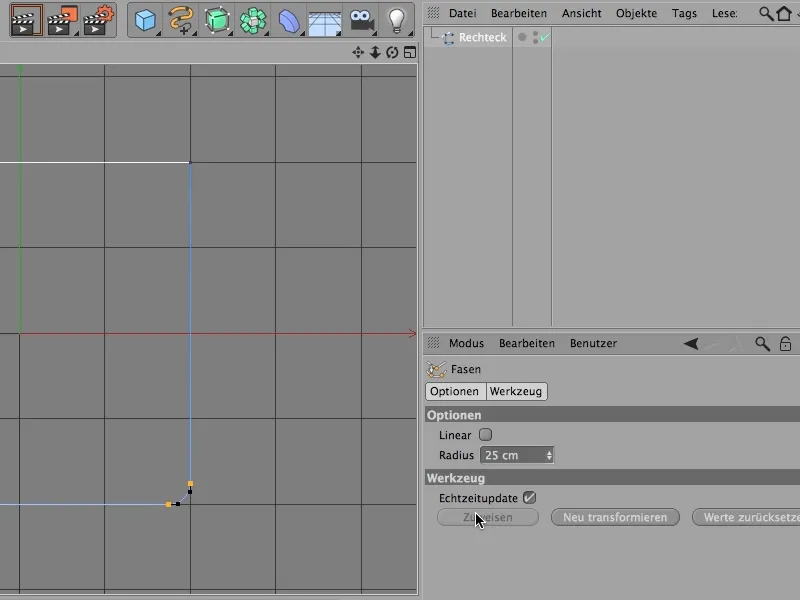
It may not be enough yet, but that doesn't matter, this command is still live and you can still change it. So you can make it bigger at any time, you can of course also have access to these handles, but if you just want to have a perfect rounding, perhaps a radius of exactly 200 cm, then it certainly makes more sense not to touch it, but to leave it as it was, because now it is perfect - a circle segment.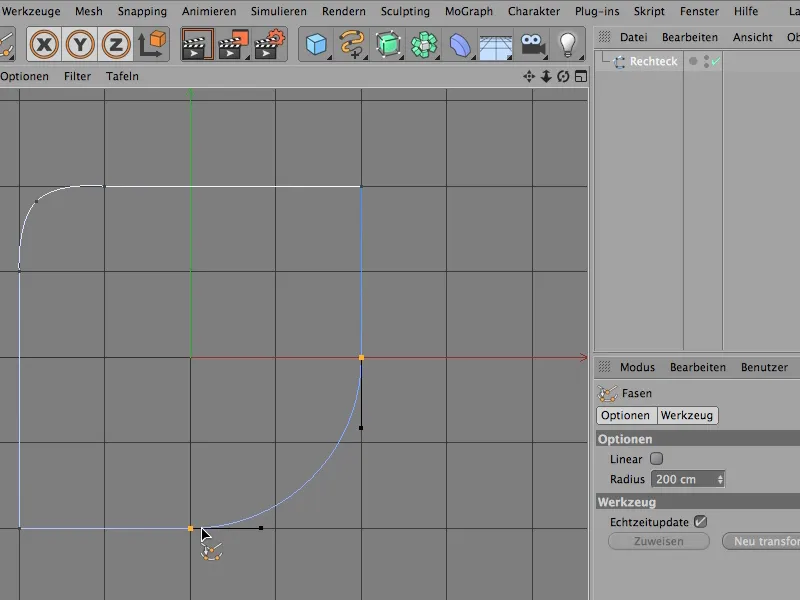
Linear only means that it is not round, that it is chamfered linearly. It looks like this.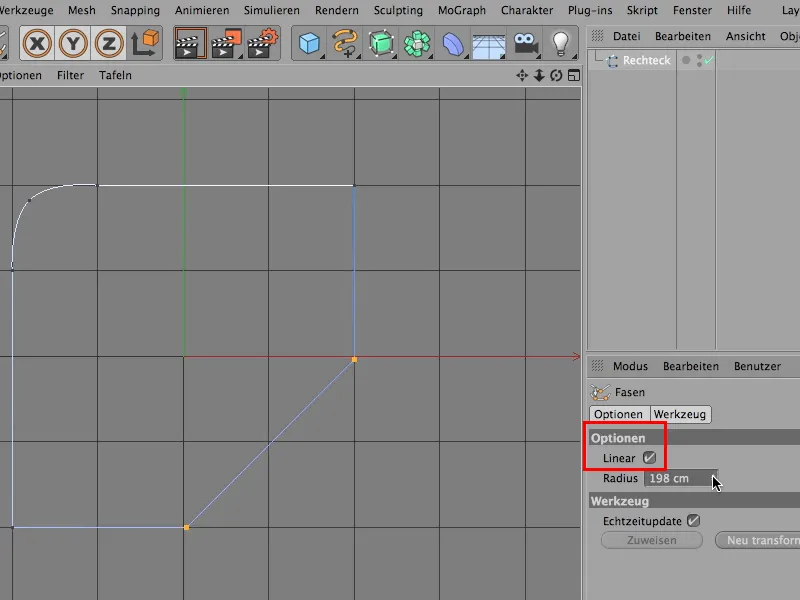
Perhaps also quite funny. For objects that are far away and don't necessarily need a very sharp edge, this is definitely perfectly fine.
You can really work with a linear chamfer, you don't necessarily have to do it with a curved one, but of course it's nicer to work with this nicely curved circular chamfer tool, depending on what you want to do.
So next time you need a corner that is not quite square and sharp, but round, think about whether you want to shape it exactly yourself or whether you simply use the beveling tool to get it perfectly round.
Spiral cable
Most scenes in CINEMA 4D thrive on looking lifelike and true to life, so there's a lot of chaos in there too. One of the things I often use to create chaos - lots of little details - are tangled cables, spiral cables and things like that, and I used to struggle a lot with the deformers.
It can be done, you can put a spiral deformer over it, but it takes ages to get all the deformers in the right place. I would like to show you here how it can be done differently, and first go back to our standard view...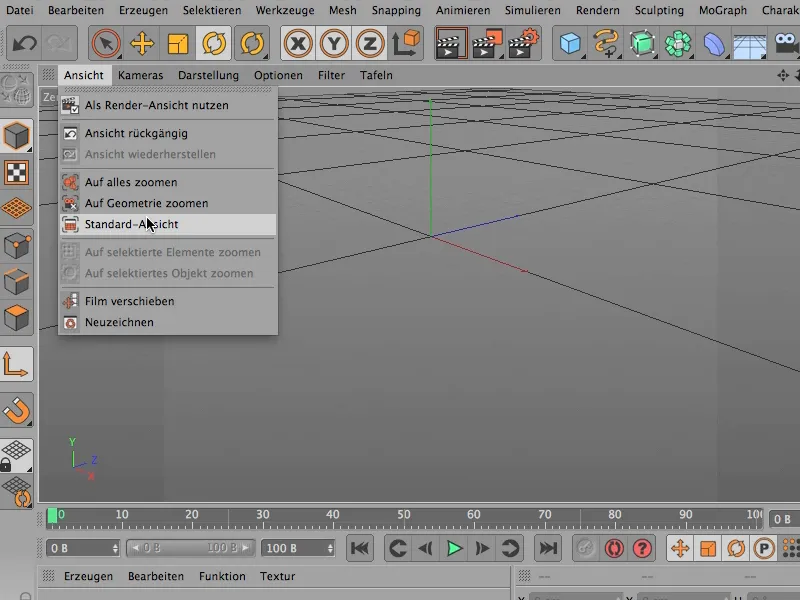
... because this is what it looks like when you open it ...
... and first of all I'll get a view from above, namely this one.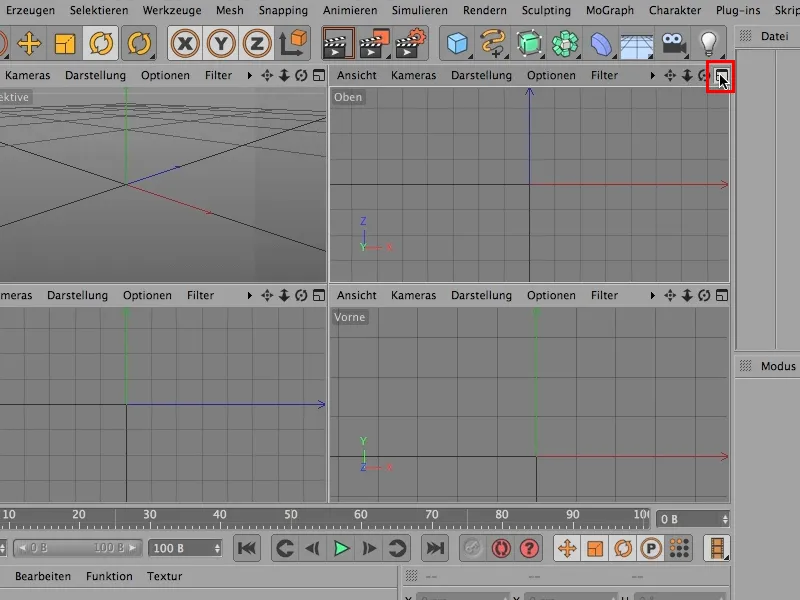
So, I'll start with a very simple spline, a circle spline, which now has a radius of 200 cm. Twenty is enough for me, so I want to make the thing much smaller first.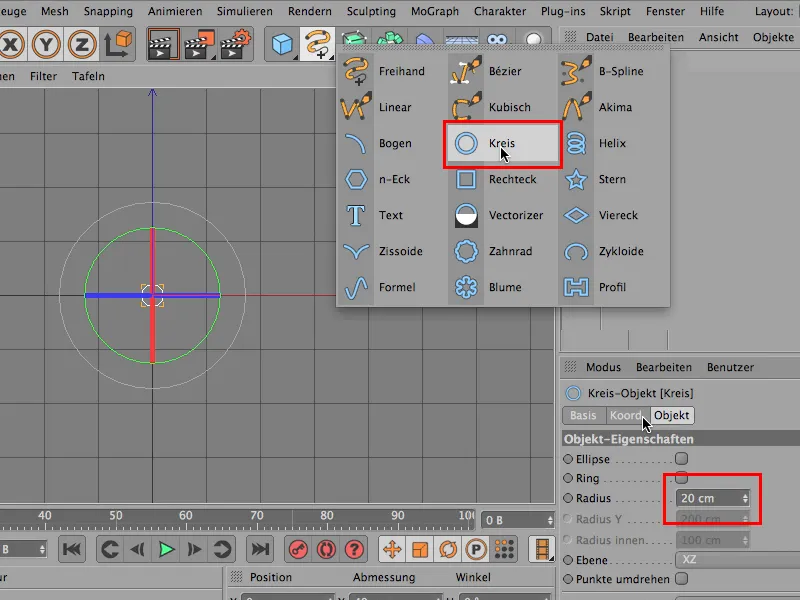
The second thing I need is a Bézier spline, which I place in the same plane ...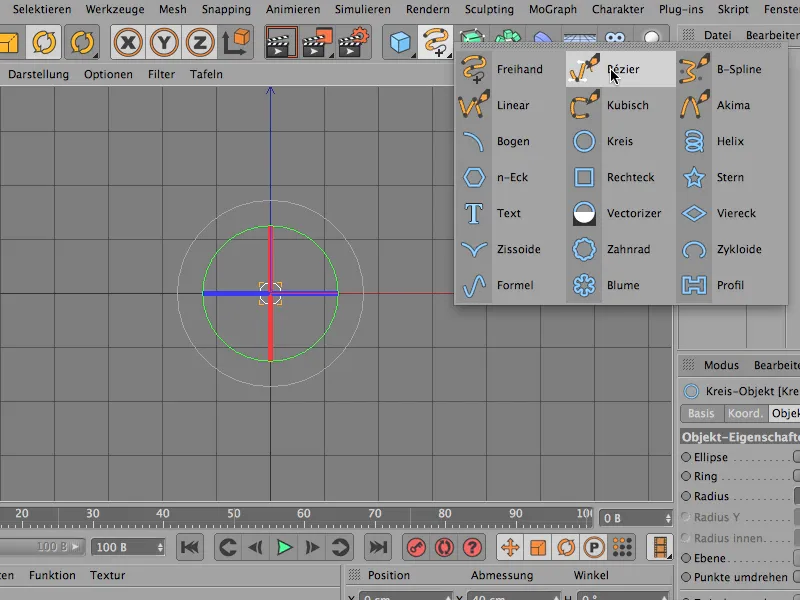
... roughly, and let it come around the corner a bit here. Nice and chaotic - wonderful.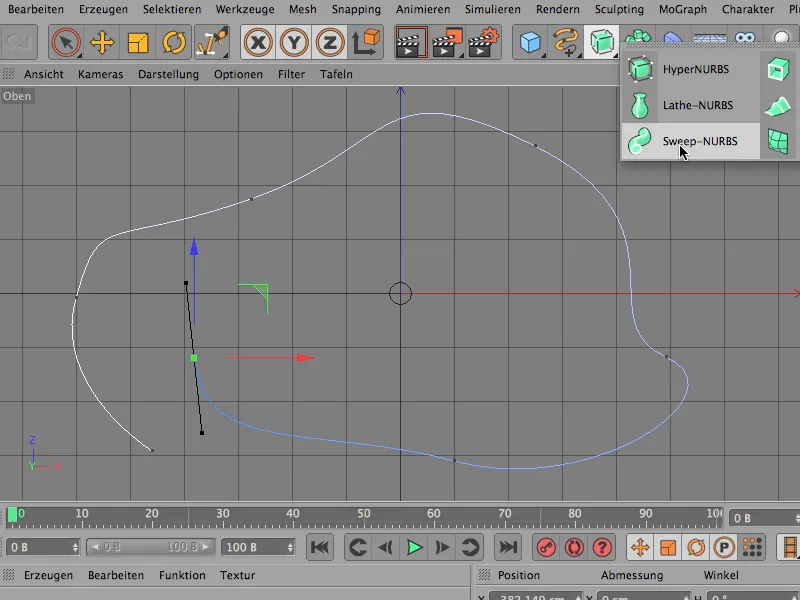
Then the usual thing is to combine these two things so that they have something to do with each other in a sweep NURBS, i.e. simply throw these two things in there. That's what I do first - into the sweep NURBS.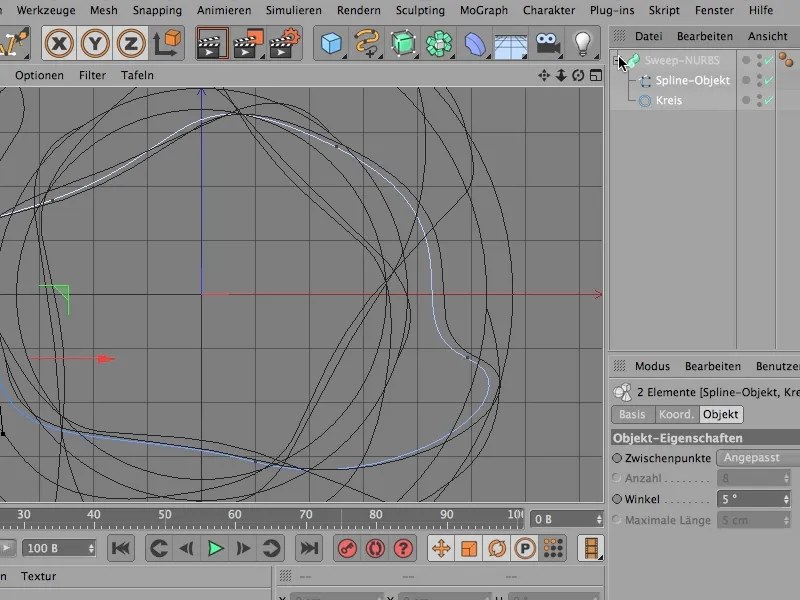
It looks like this from above. And when you see it here, you already know that something must have gone wrong, it has nothing to do with our shape.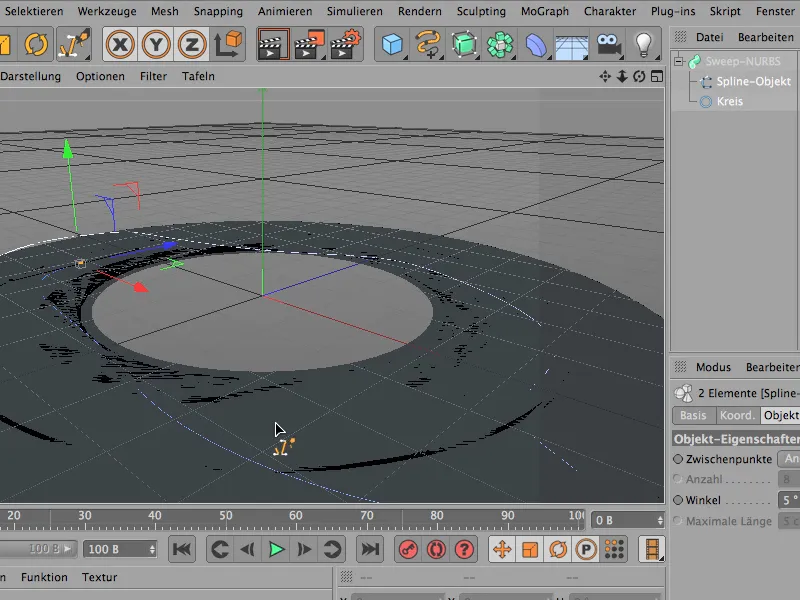
So I have to swap once in here (arrow). Then we get this view: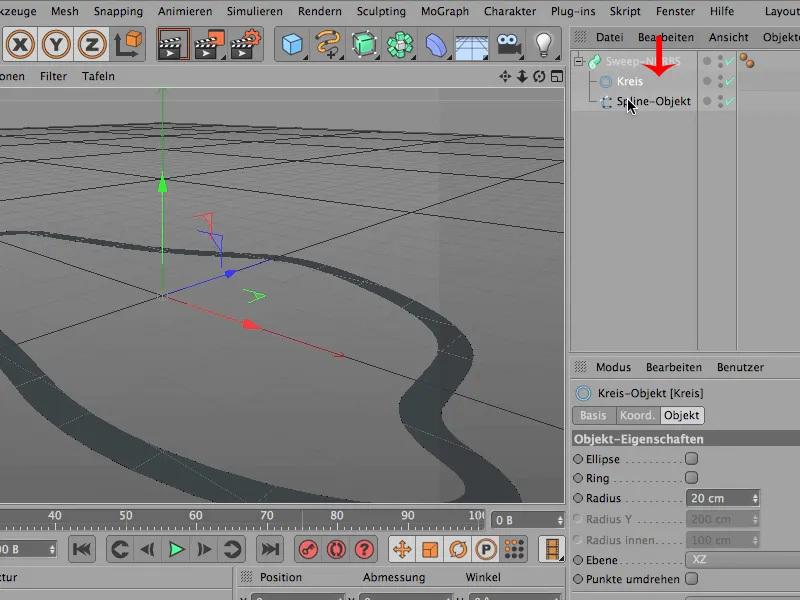
You can already see, it looks more like this, but our shape is lying flat on the floor, that can't be, so this circle here most likely still has the wrong orientation, is in the wrong plane.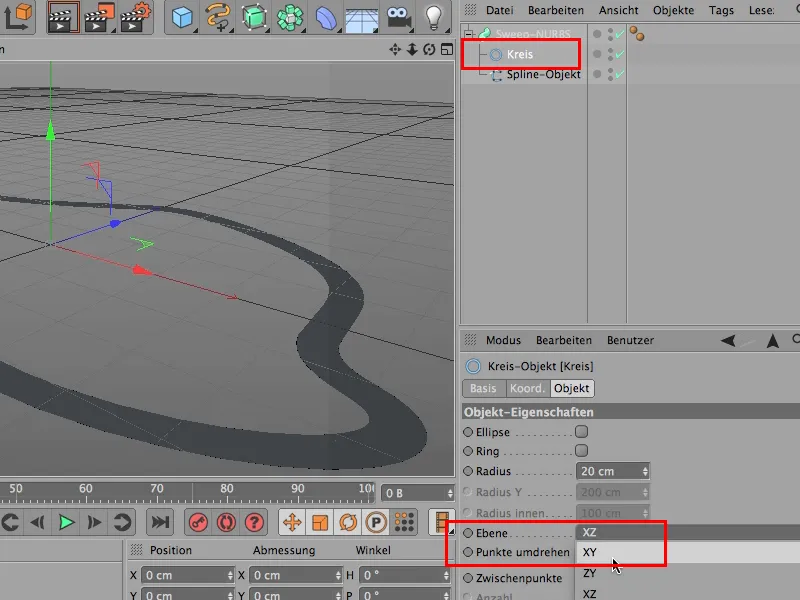
I'll try XY and ... of course I'm happy.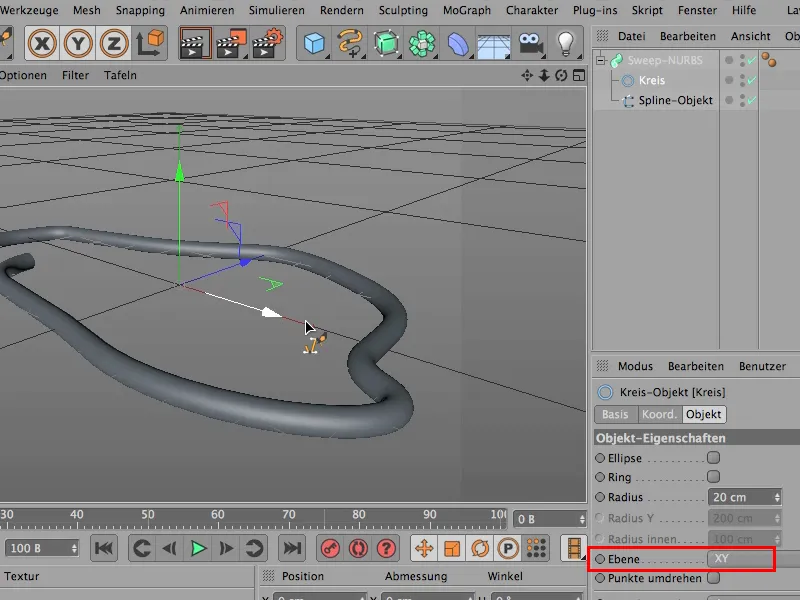
So, here's the first tip: When I do something like this, I take a look at it right away by clicking on the sweep NURBS or, ...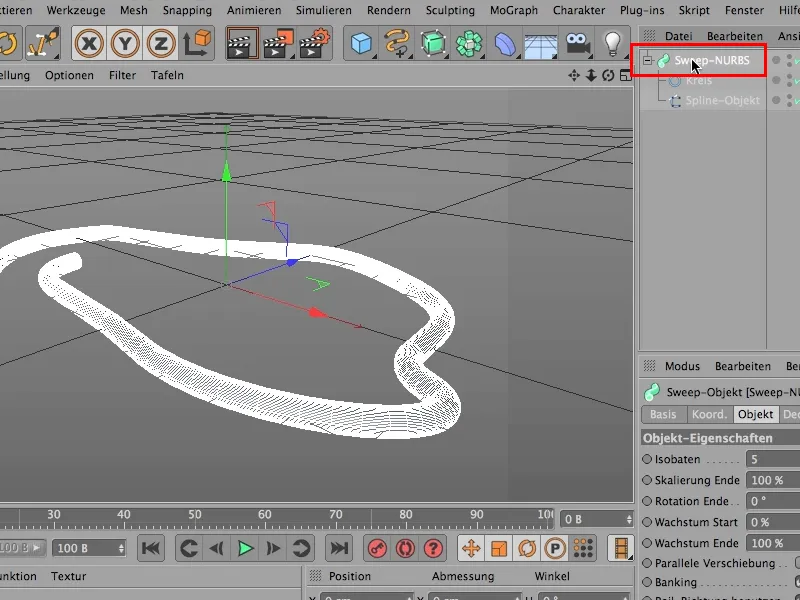
... by changing my display options to Gouraud shading with lines, ...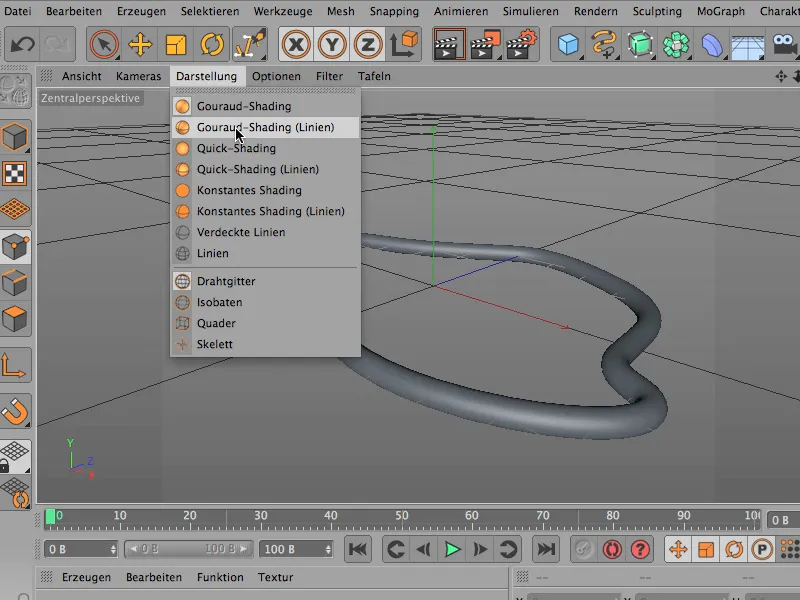
... and now take a look at this - the thing is almost black with lines.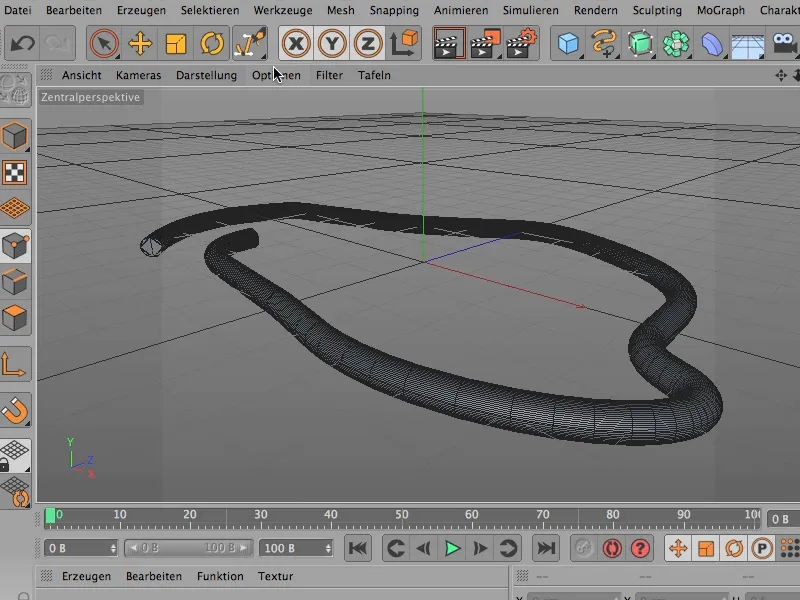
I go back to the normal Gouraud shading in the display.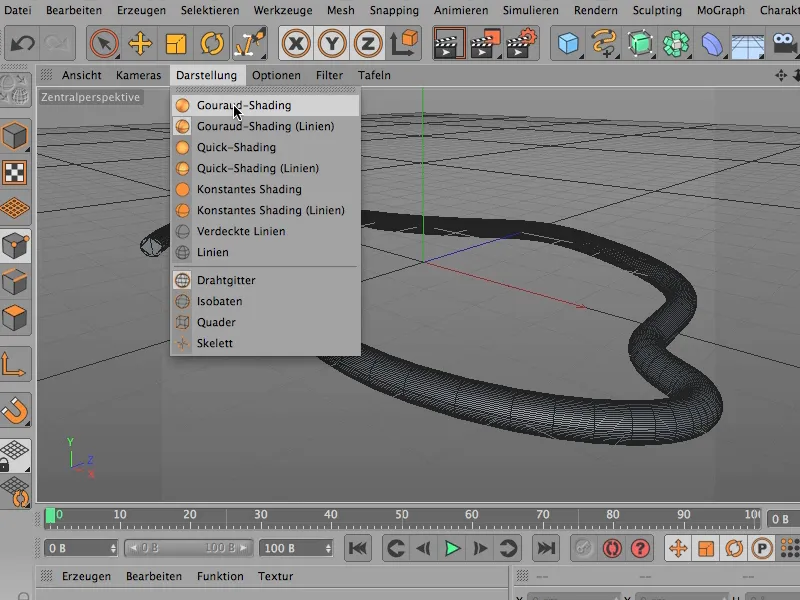
And now I look at it again and say: Well, we need to do something about that. The circle has far too fine a resolution.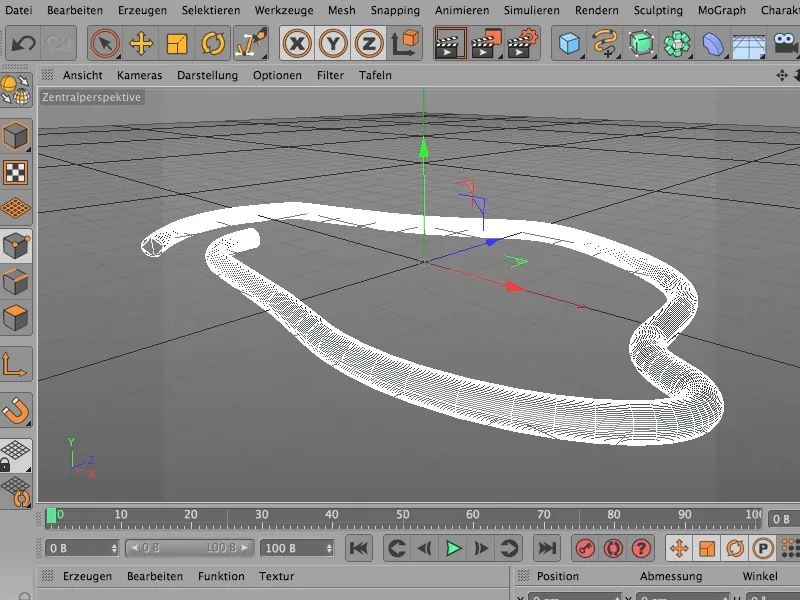
We won't get very far with an angle of 5 degrees. I would simply make it 20.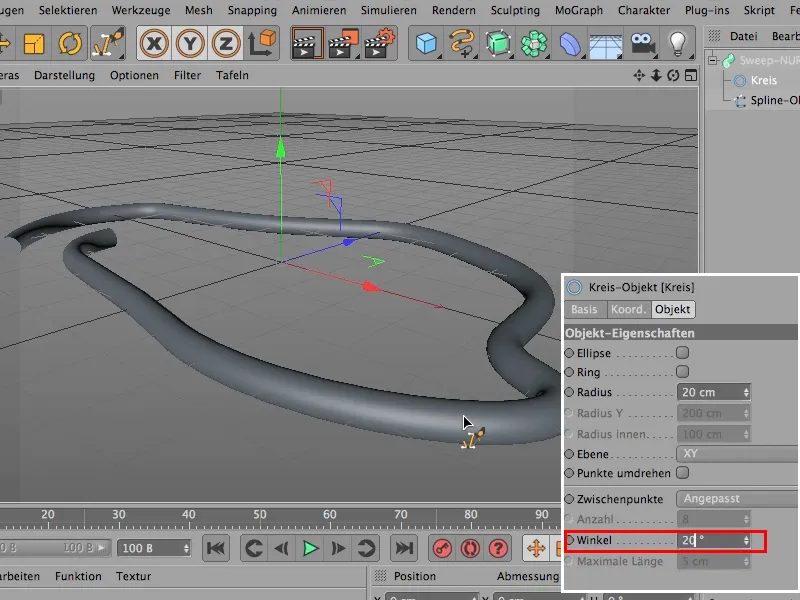
This means that this circle spline now has a much coarser resolution, and of course that's still enough.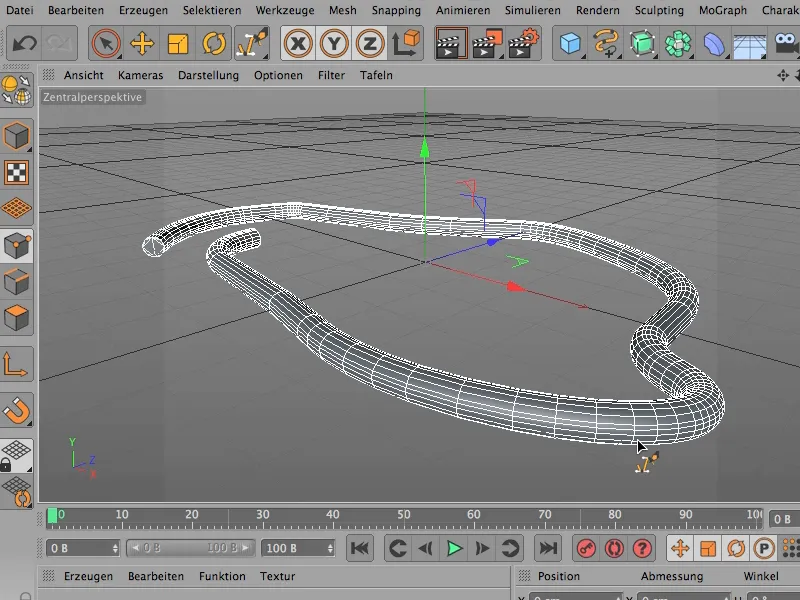
The next thing I have to do, if I already know that I want to deform this object here, then my spline should of course not be adjusted, but uniform.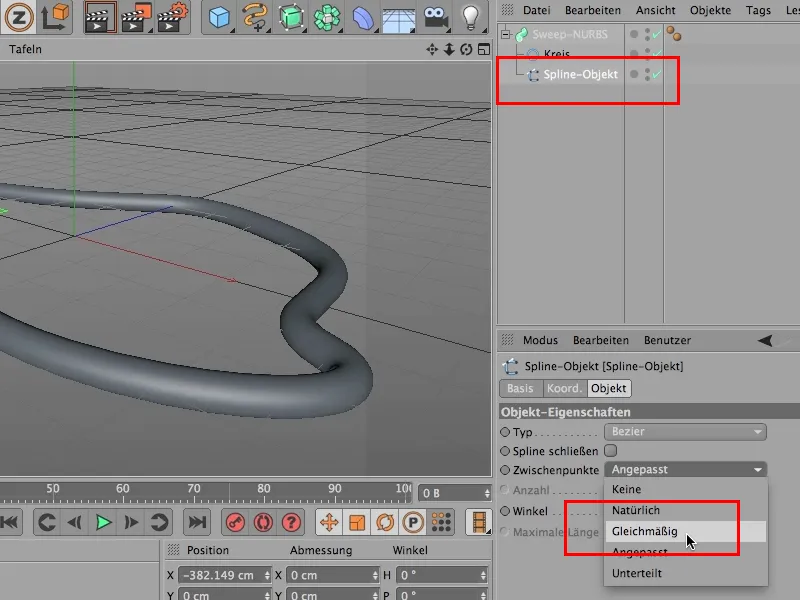
Now you can also see that the sections are all nice and even, so that the rotations that I build in later are exactly the same on the curves as they are here on the straighter pieces. With the slight ugliness that we have a nasty kink here.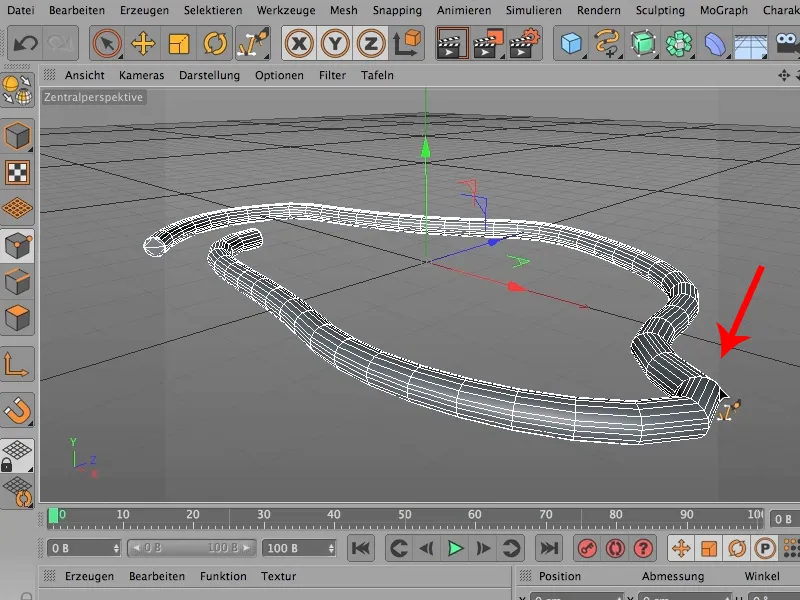
But we can easily get rid of it by increasing the number of these even subdivisions. I'll go for a value of 40.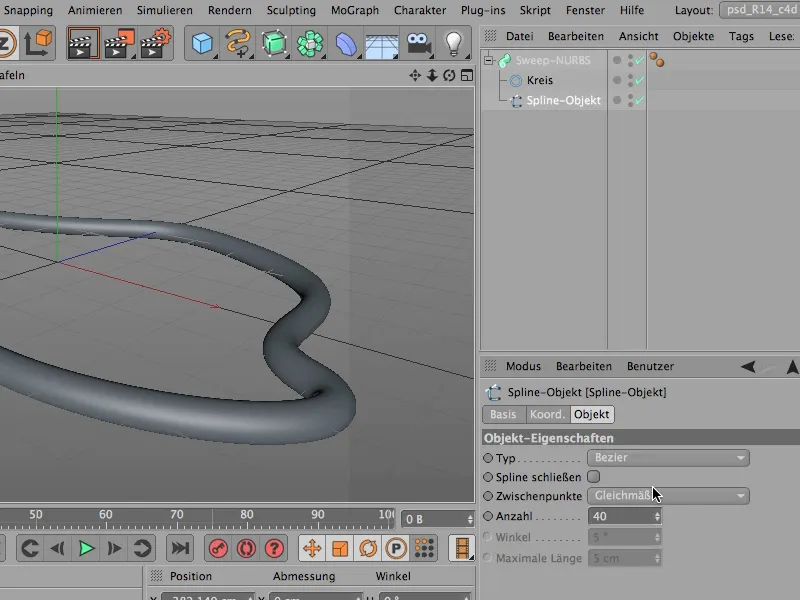
Now it still looks the same, but now I can start to rotate it, and I'll just rotate this object 10 times. Rotation end is at 0 degrees, if I set that to 360, then it would be one rotation, and 3600 degrees is 10 rotations.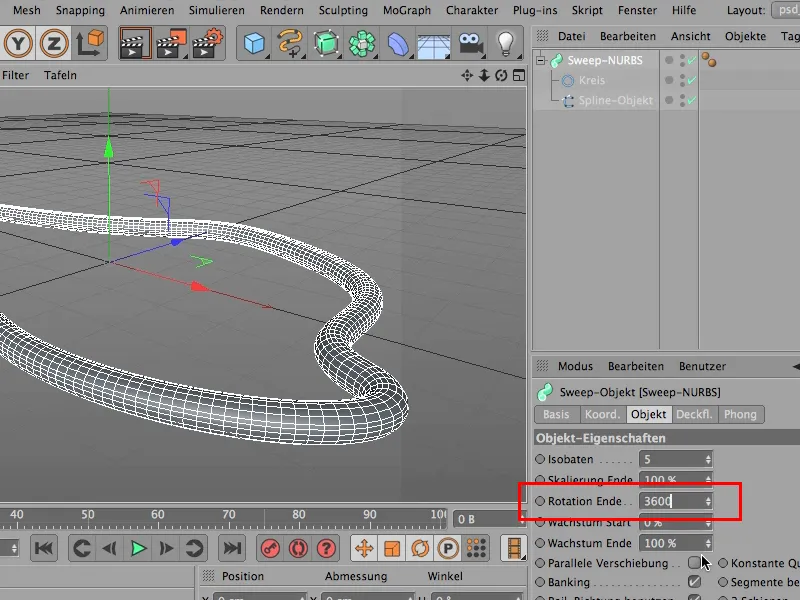
If I look at it again - nothing has changed yet, and this change is now coming - and that's the great thing ... you can now build an incredibly complex object out of it with a little something. To do this, I have to move this circle to a slightly different position, but I have to convert it first, otherwise it won't work ...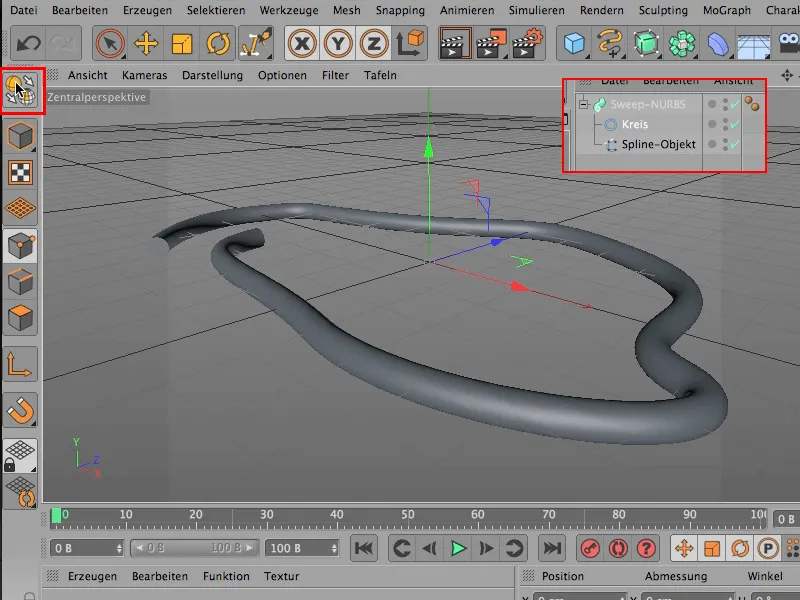
... I have to use the move tool (1) and now the change object tool (2), and I only want to use the object axis (3). That's the trick, that's what it's all about.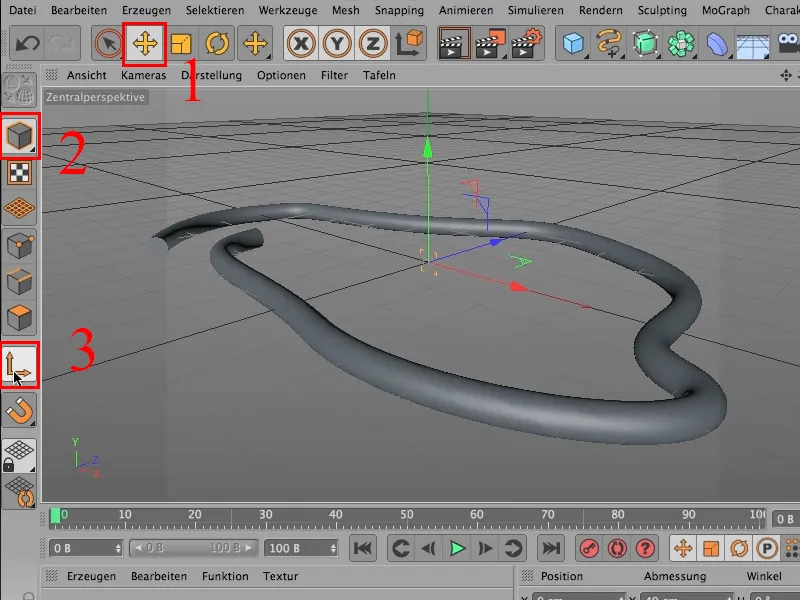
Because if I now move the object axis, you can see that now we get this spiral, this chaos that I wanted to have.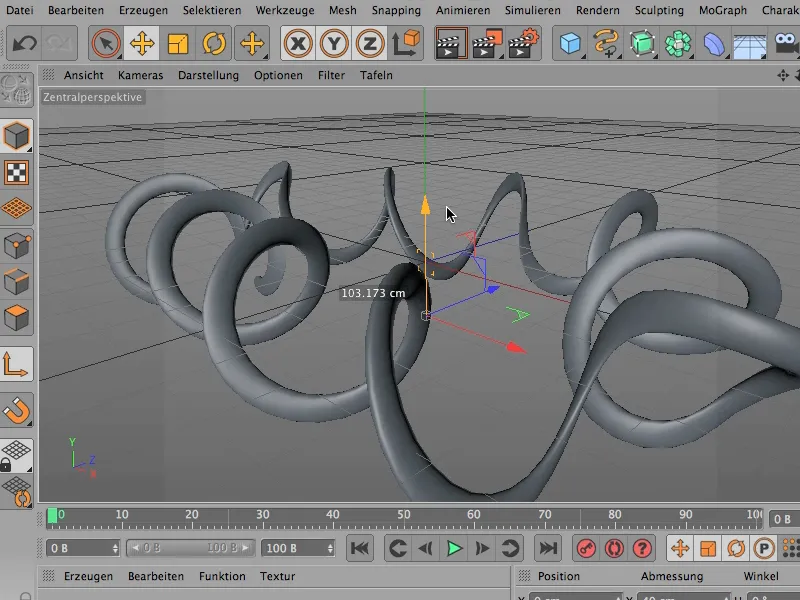
If you now have the impression that it's become a bit flat - that's true, of course. I then have to adjust the circle a little with the object rotation tool so that we definitely have a real curve here again. You might have to test it a bit ... and I'll set it to 90 degrees, so that the thing is nice and thick again.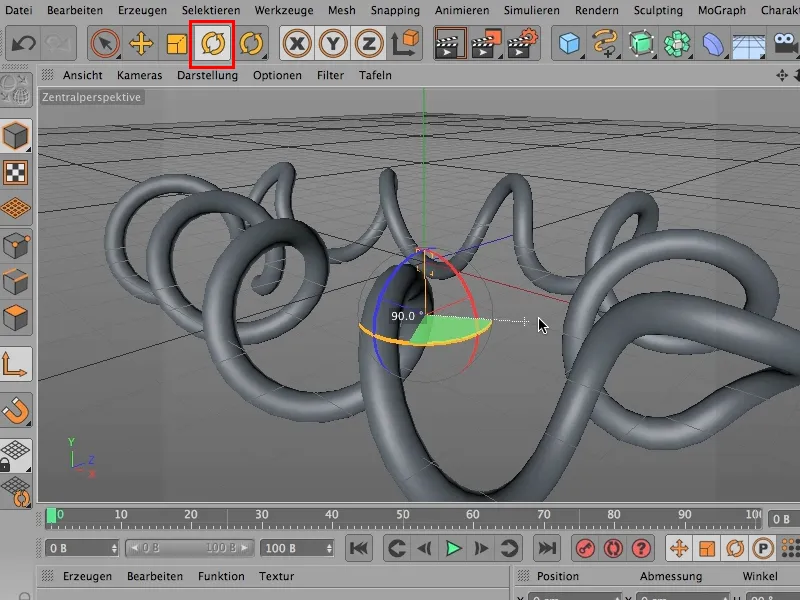
Let's take a look at it from a different perspective. You can create a whole lot of chaos relatively quickly, and of course you can change the spline, this spline here, which defines the direction of the object, at any time to make the thing start and end up exactly where you want it to.