Working with Excel can be challenging for both beginners and advanced users. However, with the right knowledge of special functions, every task becomes easier. One such function is the Scroll Lock, which many users often do not fully utilize. In this guide, you will learn how to effectively use Scroll Lock to efficiently navigate through large amounts of data.
Key Takeaways:
- Scroll Lock enables easy navigation in large tables.
- Using the Scroll Lock key can prevent scrolling between cells and instead move the entire worksheet.
- Disabling Scroll Lock is important to return to normal behavior.
Step-by-Step Guide
1. Find and Activate the Scroll Lock Key
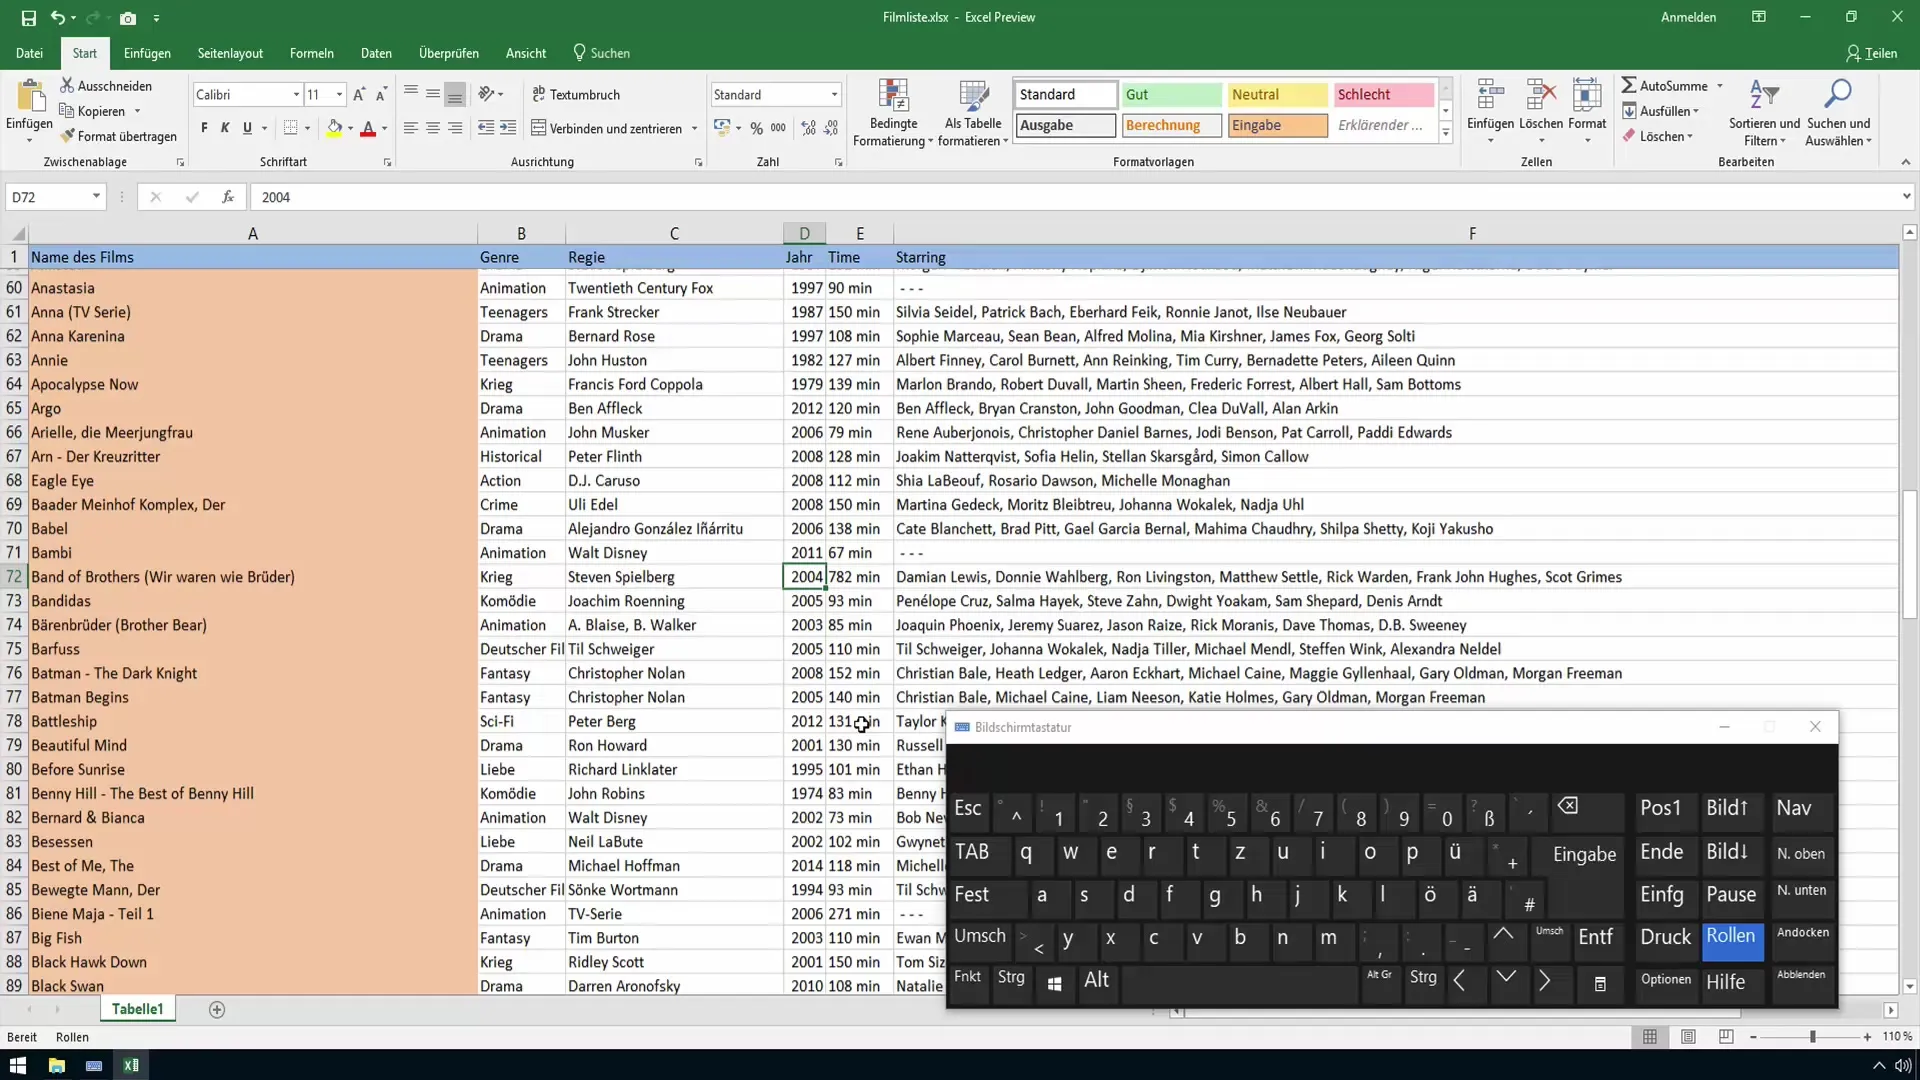
First, ensure you have located the Scroll Lock key on your keyboard. This key is often found near the "End" and "Page Down" keys. To activate Scroll Lock, simply press the Scroll Lock key. You should now see an indication in the lower Excel status bar confirming that Scroll Lock is active.
2. Navigate Through a Large Table
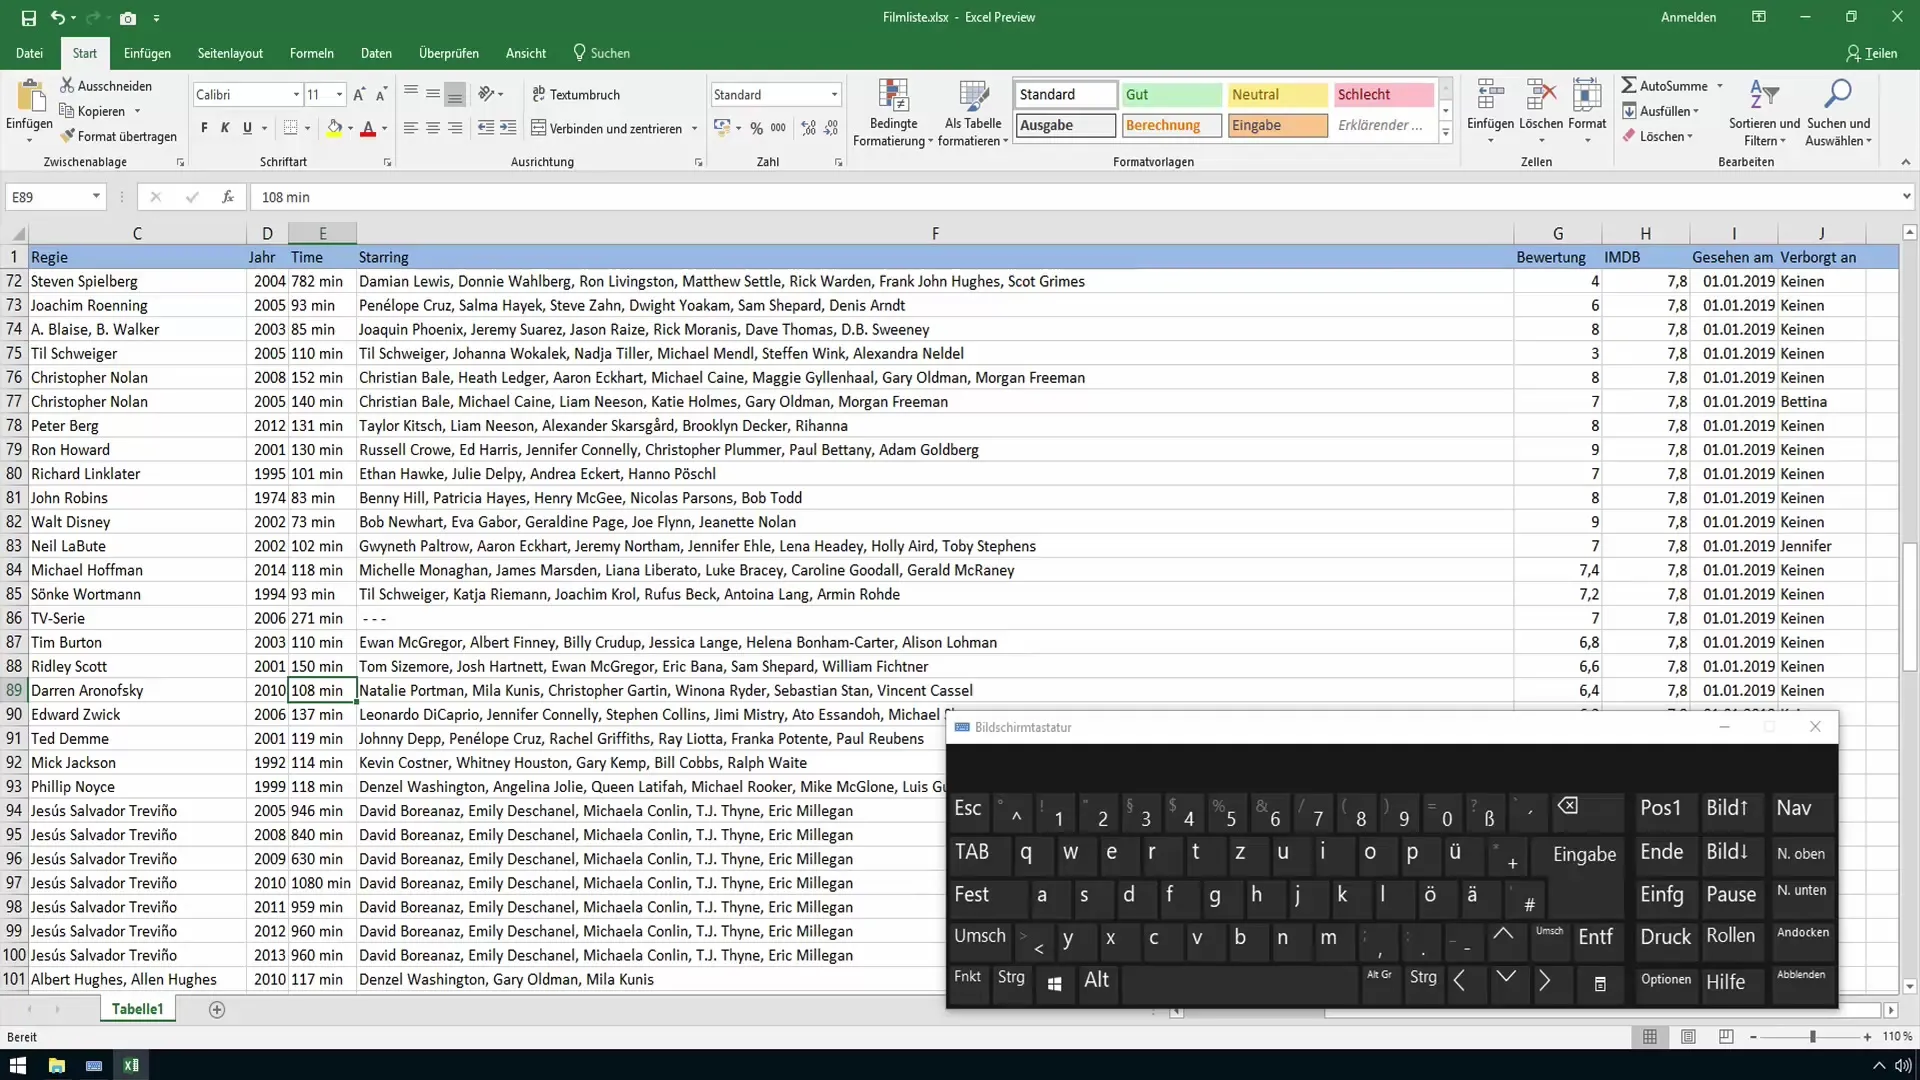
Now open your sample file, such as a list of movies with many entries. You can use the arrow keys to navigate between cells. When Scroll Lock is active, you will notice that the entire worksheet scrolls up or down instead of jumping from cell to cell. This is particularly useful when you need a quick overview of a lot of data.
3. Combine Cells and Scrolling
For example, if you are interested in the cell "2014" and want to keep an eye on the entire table, you can hold down the arrow keys to control scrolling. The clicked cell always remains active, allowing you to continue seeing what is around it without changing cells.

4. Using "Page Up" and "Page Down"
By using the Scroll Lock key and combinations like "Page Up" or "Page Down," you can comfortably navigate through the data. You will notice that the view that remains visible does not change cells, allowing you to focus on a specific section while navigating through the table.
5. Jumping to the First or Last Position
Another helpful feature of Scroll Lock is jumping to the first or last position in the table. Pressing the "Home" key will move the visible area to the first row of the table. The same applies to the "End" key, which takes you to the last visible column of the table. This is particularly useful for quickly accessing specific data.
6. Page Preview with CTRL
For even more detailed navigation, it is recommended to use the CTRL key along with the arrow keys. This allows you to scroll page by page through the table. This way, you can maintain a clear overview while presenting or selecting specific data and navigate directly to the desired information.
7. Deactivating Scroll Lock
Don't forget to deactivate Scroll Lock after use. To do this, press the Scroll Lock key again. The status bar will now indicate that Scroll Lock is no longer active. This ensures you navigate between cells as usual.

Summary
You have now learned how to effectively use Scroll Lock in Excel. From activation and usage to deactivation, you should be able to navigate large amounts of data more easily and maintain an overview.
Frequently Asked Questions
How do I find the Scroll Lock key on my keyboard?The Scroll Lock key is usually located near the "End" and "Page Down" keys.
Can I use the Control key while using Scroll Lock?Yes, by pressing the CTRL key along with the arrow keys, you can navigate page by page through the table.
Do I need to deactivate Scroll Lock when I'm done?Yes, it is advisable to deactivate Scroll Lock to return to normal cell navigation behavior.


