Images in Excel files can significantly increase the file size. If you work frequently with large Excel files, you have probably noticed how quickly the size of a file can grow due to inserted images. In this tutorial, you will learn how to effectively compress images in Excel to reduce the file size significantly without compromising the visual quality.
Key Takeaways
- Inserting images can cause the file size of Excel documents to increase enormously.
- Images can be not only manually reduced in size, but also compressed using Excel's built-in functions.
- Selecting the right compression option is crucial depending on how you intend to use the file (e.g., for screen display, email, or print).
Step-by-Step Guide
To compress images in Excel, follow these steps:
1. Create Excel File and Insert Image
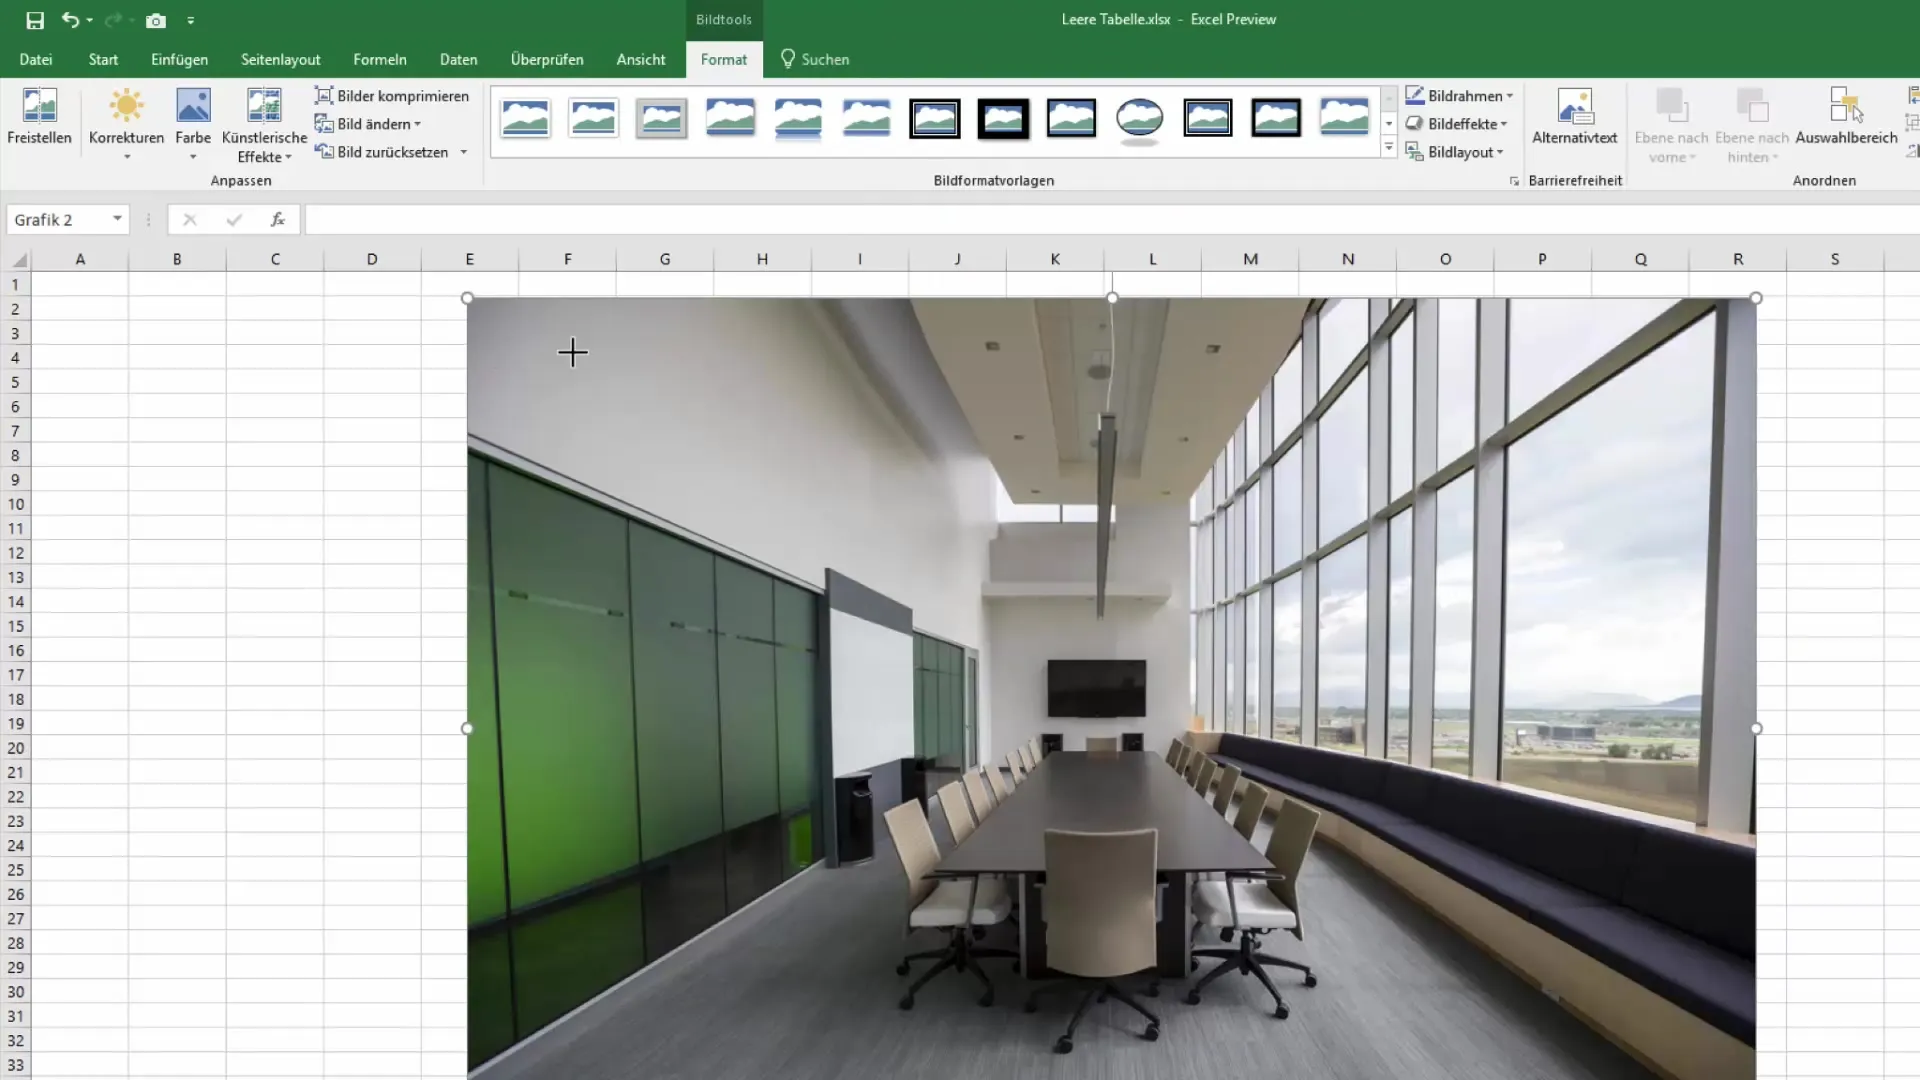
Open your Excel application and create a new workbook. Initially, you have an empty table, which is about 10 kilobytes in size. This is only a minimal amount of data as nothing more than the formatting is saved. To demonstrate how the file size changes, now insert an image. Click on "Insert" in the menu bar and select "Pictures". Choose an image of your choice to insert it into the table.
2. Check File Size
After inserting the image, save the Excel file and check the file size. You will notice that the file has now increased to about 938 KB, which is almost 94 times the original value. This already shows how images can enlarge the file.
3. Manually Resize Image
One way to affect the file size is to manually resize the image. Click on the image, drag one of the corners, and thus change the dimensions of the image. Excel updates the file according to this change. Save the file again and pay attention to the size.
4. Compress Images Using Image Tools
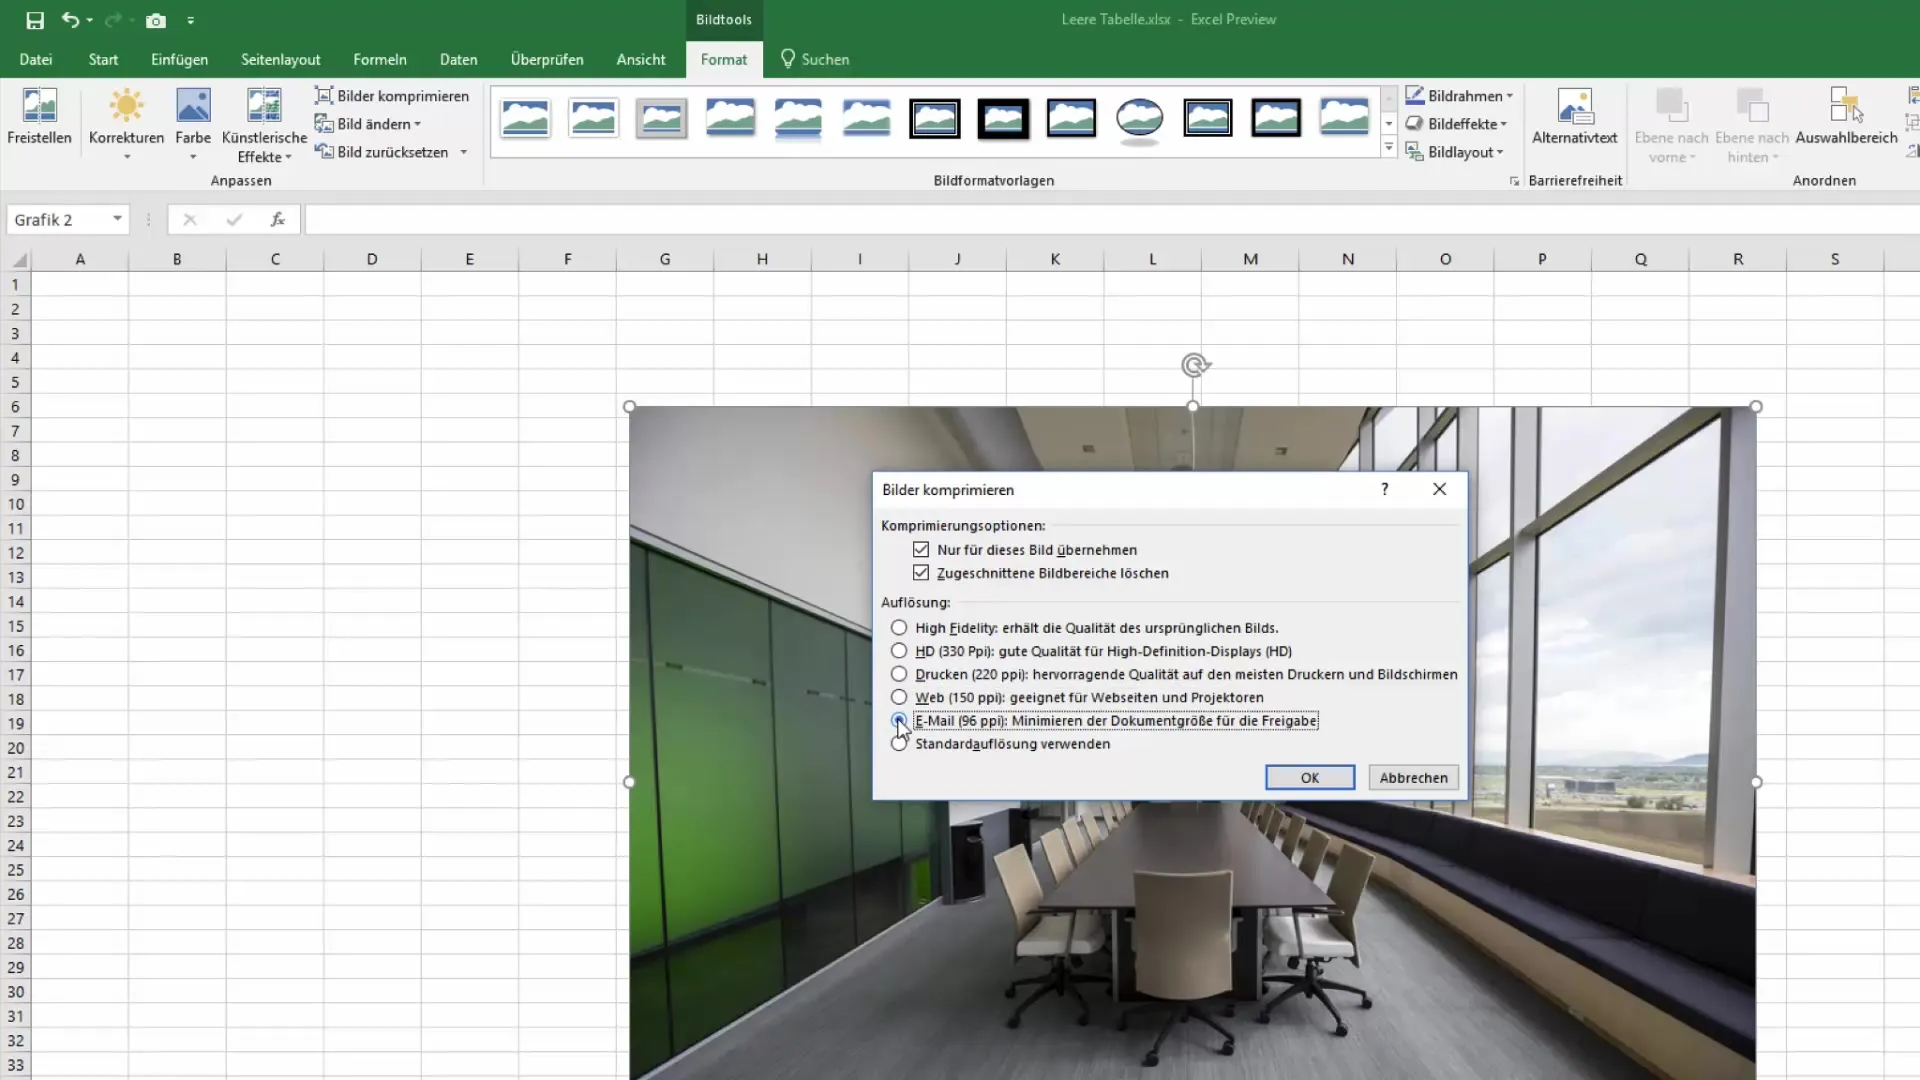
To better handle image compression in Excel, select the image again and go to the "Picture Tools" tab. There you will find the "Format" option, which offers you several features. Click on "Compress Pictures" to explore various compression options. Here you can decide whether you want to compress only the selected image or all images in the file.
5. Select Resolution
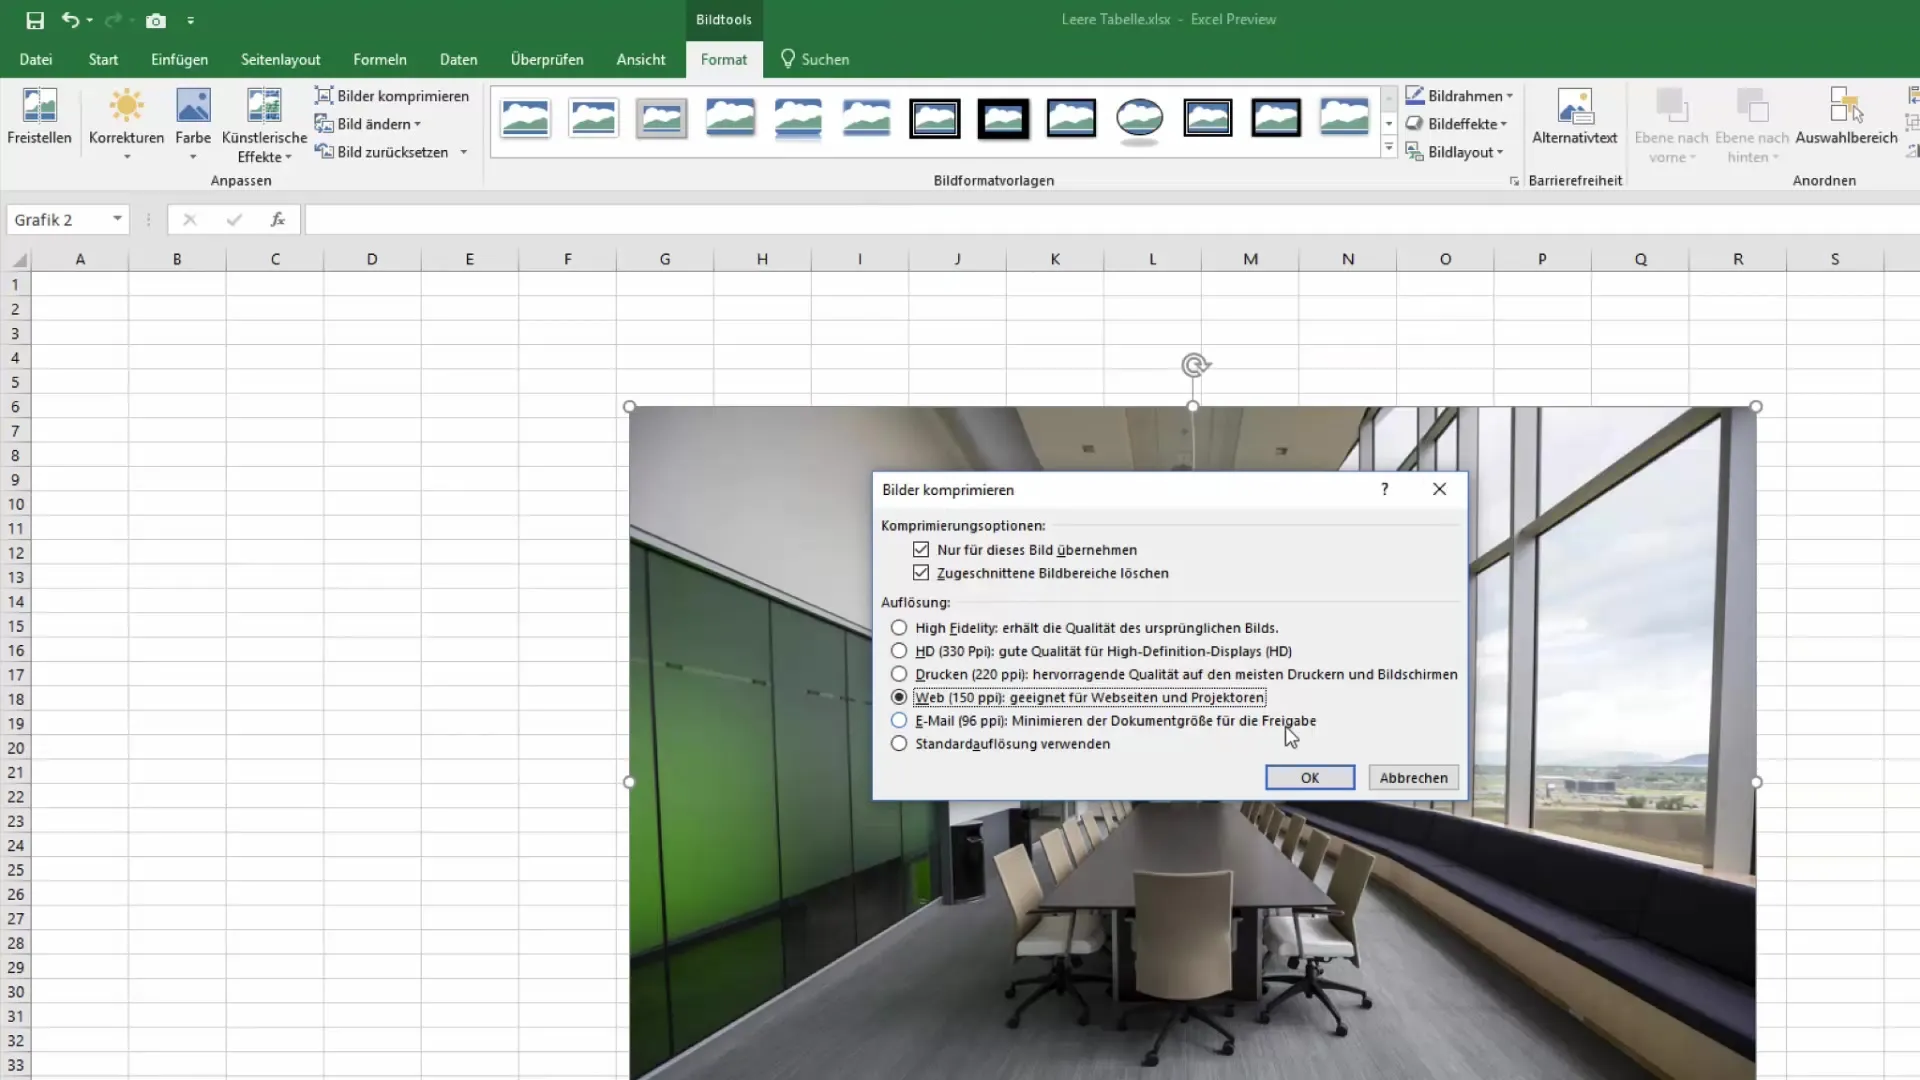
Within the image compression options, you can also set the resolution. Screen formats are usually sufficient for most applications in Excel. However, if you only intend to use the file for email, choose "Email" or "Web" to further minimize the file size. In most cases, the email or web resolution is adequate.
6. Perform Compression
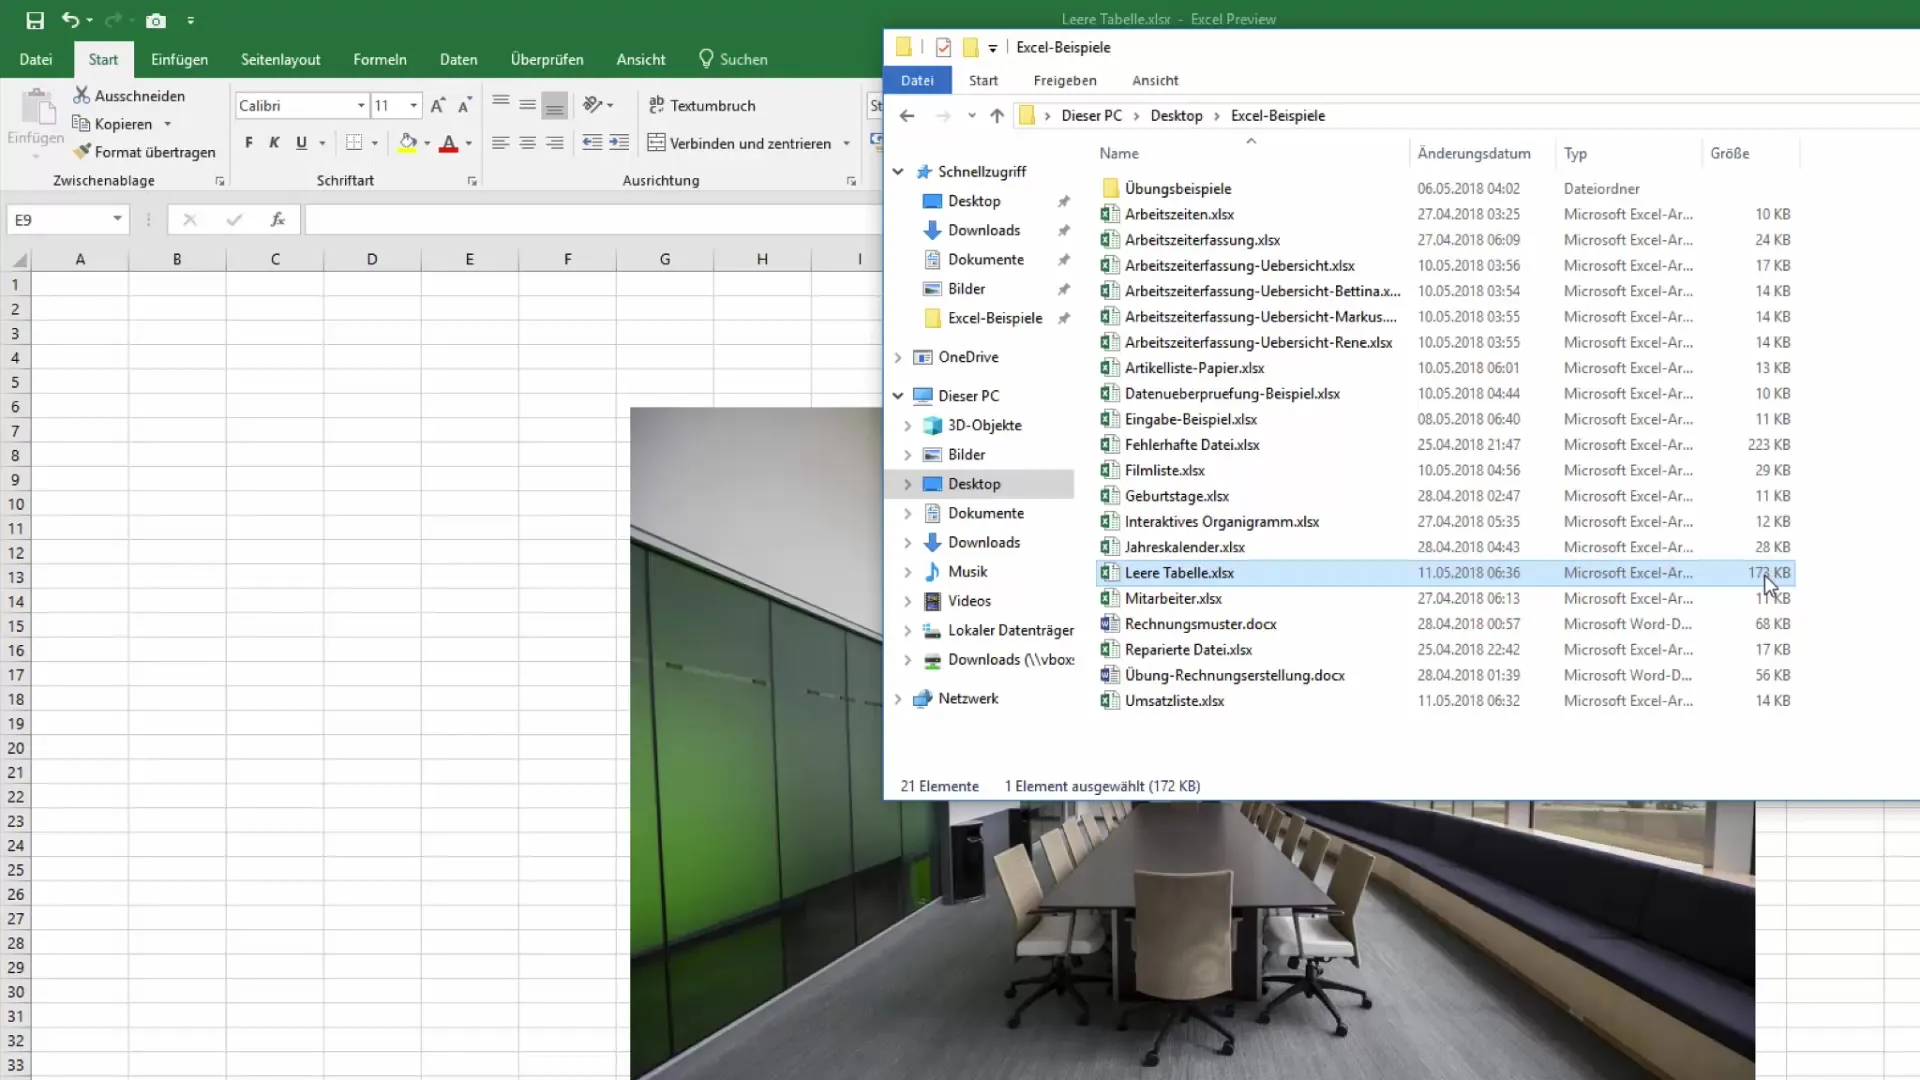
Choose the desired resolution and allow Excel to compress the images. You will be surprised at how minimal the visual difference is while the file size is significantly reduced. In our example, after selecting the web size, there is a reduction from 747 KB to only 173 KB. That is a reduction of nearly 45%!
7. Save and Verify File
Now save your file again and check the current file size. You will notice that the size has been significantly reduced, allowing you to work better and more efficiently. This step is especially useful if you intend to send the file via email or store it in the cloud.
Summary
In this guide, you have learned how to efficiently compress images in Excel files. The process goes beyond simple manual resizing and utilizes Excel's built-in functions to significantly reduce the file size. Exercise caution when selecting compression options based on the intended use.
Frequently Asked Questions
What happens to image quality when I compress images?The image quality may slightly decrease depending on the chosen resolution, but in most cases, it is sufficient for screen views and emails.
Can I undo the compression?Yes, you can undo the image compression by re-inserting the original images.
How many images can I use in an Excel file before issues arise?It depends on the size of the images. Multiple large images can significantly increase the file size and slow down the program.
Do I always have to compress images?It is recommended to compress images before sending data via email or storing in the cloud to save space.
