You want a cool trick? Then so be it!
When I create a new document - what annoys me? Exactly, every time I have to change the font because I'd rather have Futura Light.
Another thing that always bothers me is that I often need a path gradient or a gradient field. And I have to redo this every time:
I then go to Create new grad ient field, type in "gray gradient" under Color field name and usually set the Type to Radial..webp?tutkfid=69947)
And only then can I apply it.
How do I save time? These settings should be available automatically when I create a new document.
Step 1
I close all documents. Then I have the option of changing the default settings. No document must be open. Only then does it work.
I now create a new gradient field and call it "Gray gradient" again. I set the type to Radial. I go from black to light gray by dragging the black slider slightly to the right out of the white.
I confirm with OK...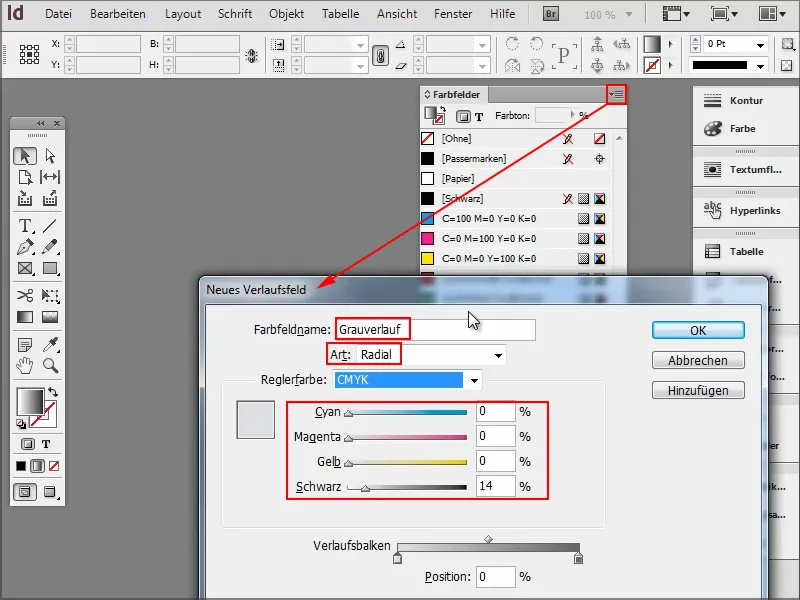
Step 2
... and now I have the "gray gradient".
Sometimes I also need a different color, so I create a new color field and set it to a nice blue.
That already looks very good.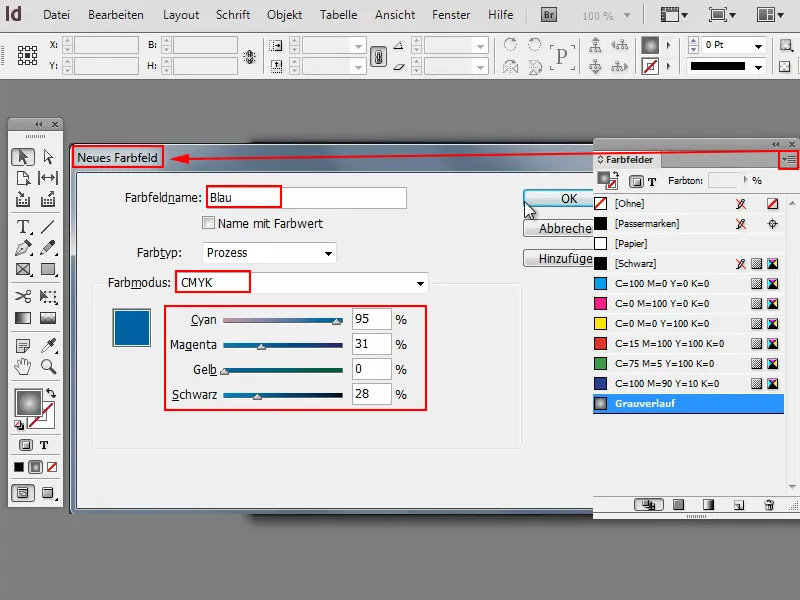
Step 3
And what about the font?
I click on the text tool and then I can change my default font to Futura LT Light.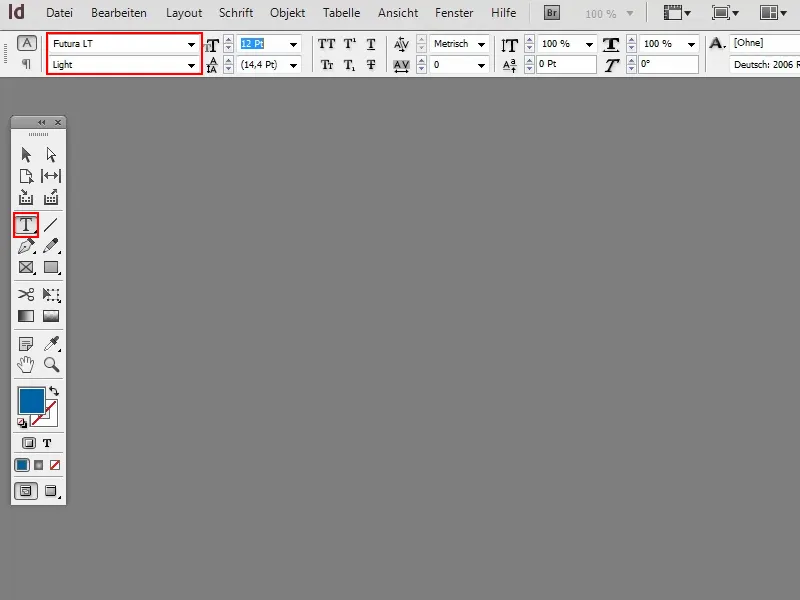
Step 4
Of course, I can also create paragraph formats.
I create a new one, call it "Futura 14 Pt" and set the size, style etc. accordingly.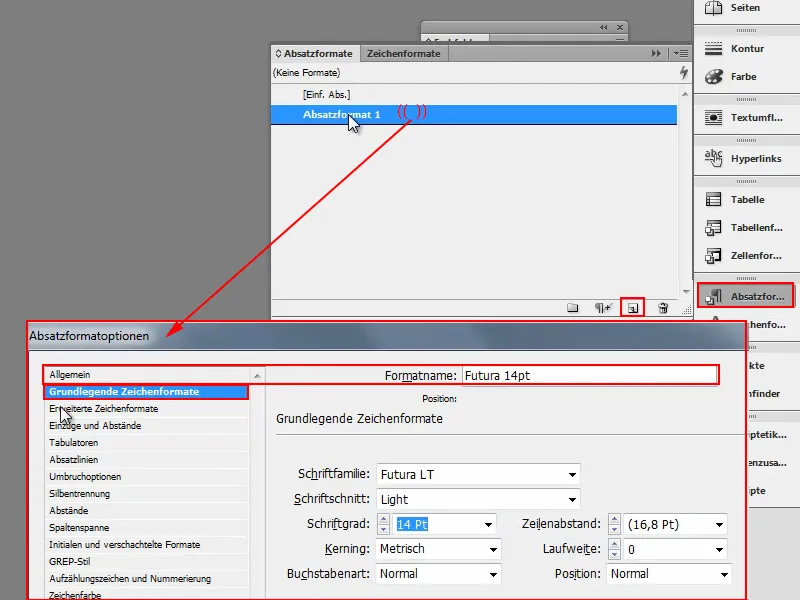
Step 5
Then you can also specify that the font should be blue.
To do this, I go to the Character color option and select my blue. Now I confirm with OK.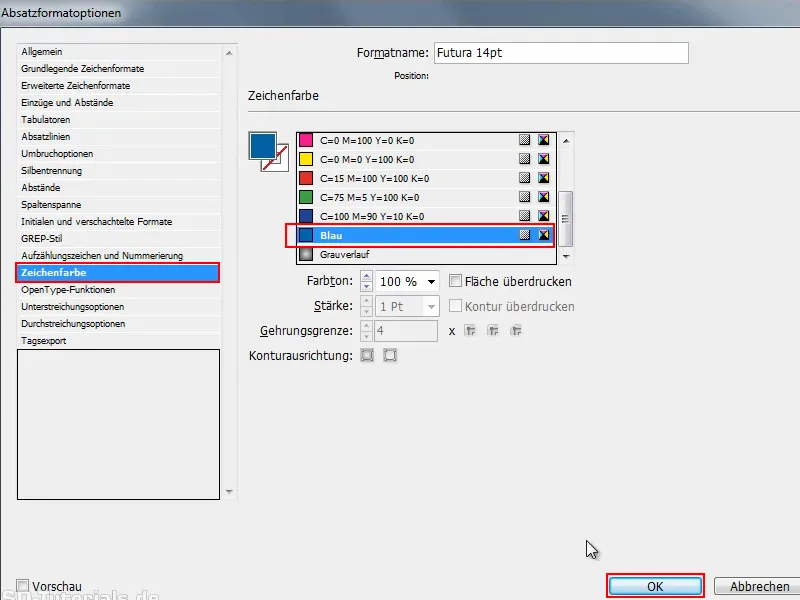
Step 6
I rename this paragraph format and add the "blue".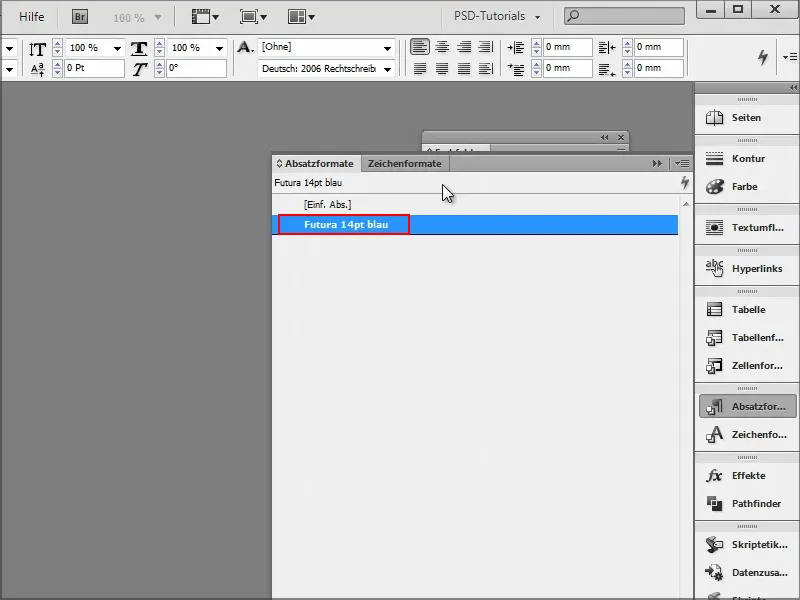
You can now also set character formats and, and, and. You can now do everything the way you need it.
Step 7
And if I now create a new document, you can see that the values have all remained the same..webp?tutkfid=69954)
This also remains when I close InDesign and restart it. Then I open a new document and use Window>Color>Color Swatches to see what the color swatches are like.
As you can see, all the values are still there. The paragraph format is also there..webp?tutkfid=69955)
I can now activate everything without having to set anything. This of course saves a lot of time.
The only important thing is that you have closed all documents and only then change or add the default values.
That's pretty cool, isn't it?


