Excel is a powerful tool, and using names for formulas can significantly ease the work. Instead of typing long and complicated formulas, you have the option to make them more understandable and easier to handle. In this guide, you will learn how to define names for formulas and work with them. You will receive step-by-step instructions that will help you make the most of Excel's basic functions.
Key Takeaways
- Defining names for formulas simplifies calculations in Excel.
- You can name both specific names, such as "VAT" and "Price," as well as groups of cells.
- Using names makes formulas clearer and easier to understand.
Step-by-Step Guide
1. Basics of Naming Formulas
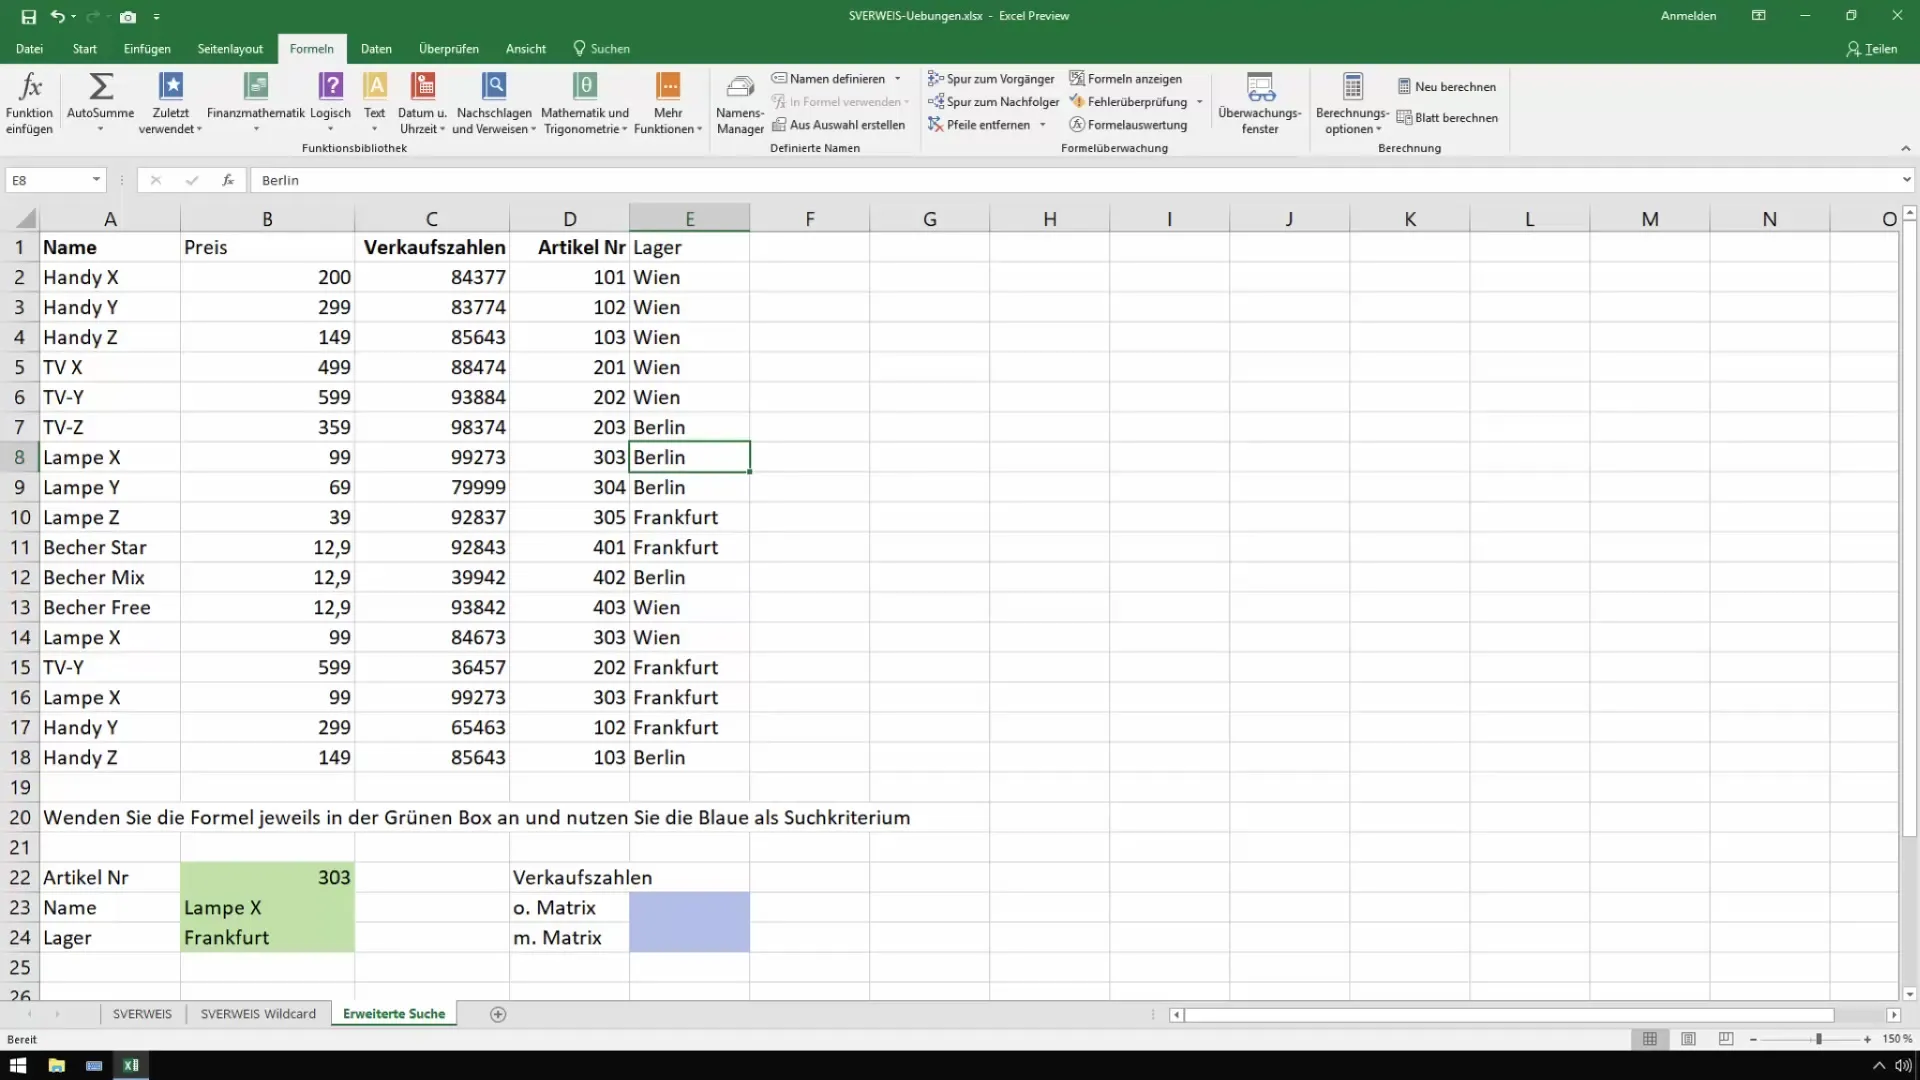
Before you can define names for formulas, it is important to understand which values you want to name. In this example, you will work with sales figures and value-added tax.
2. Define Value-Added Tax
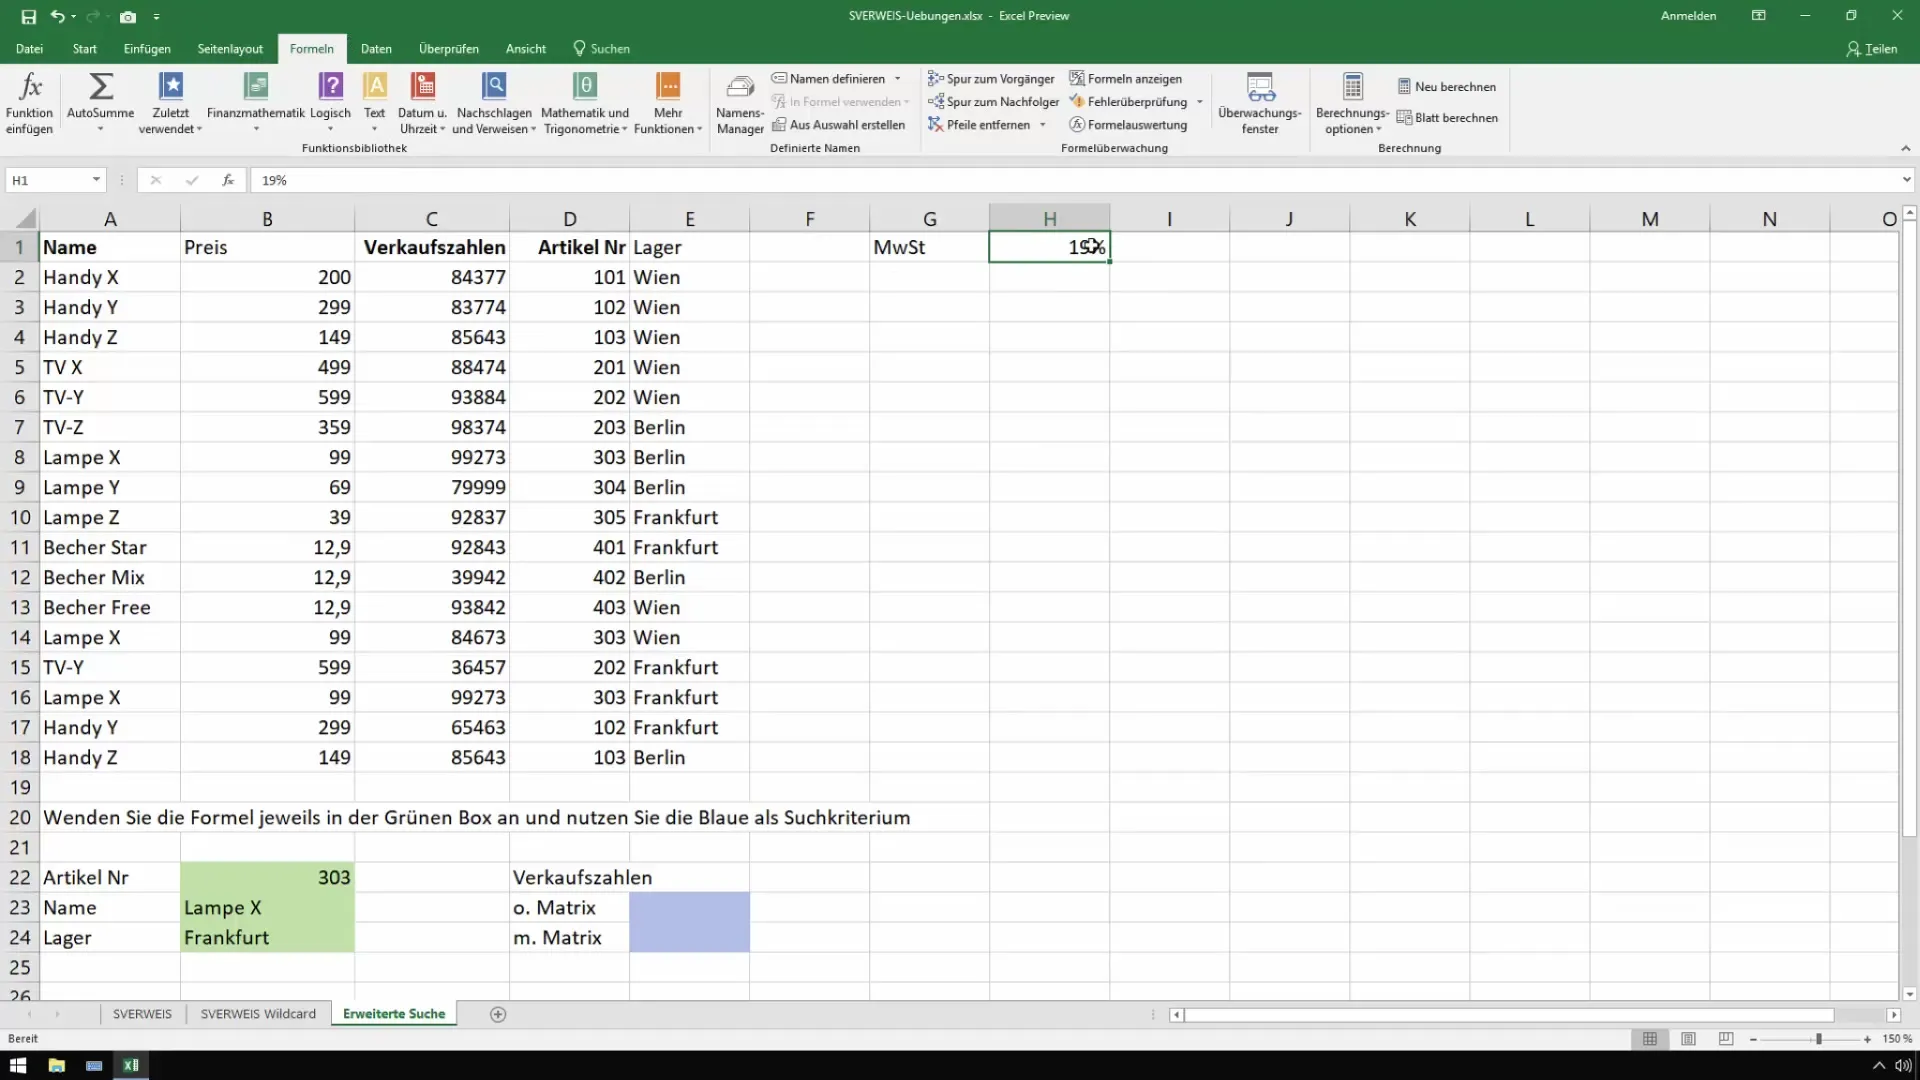
First, you define the value-added tax in your Excel worksheet. Enter the percentage – for example, 19% – into a suitable cell. This cell will later be named "VAT."
After selecting the cell with the value-added tax, go to the "Formulas" tab and click on "Define Name."
3. Assign a Name to Value-Added Tax
Select the cell with the value-added tax and give it the name "VAT" in the name field. Excel will automatically suggest a suitable name based on the content of the cell.
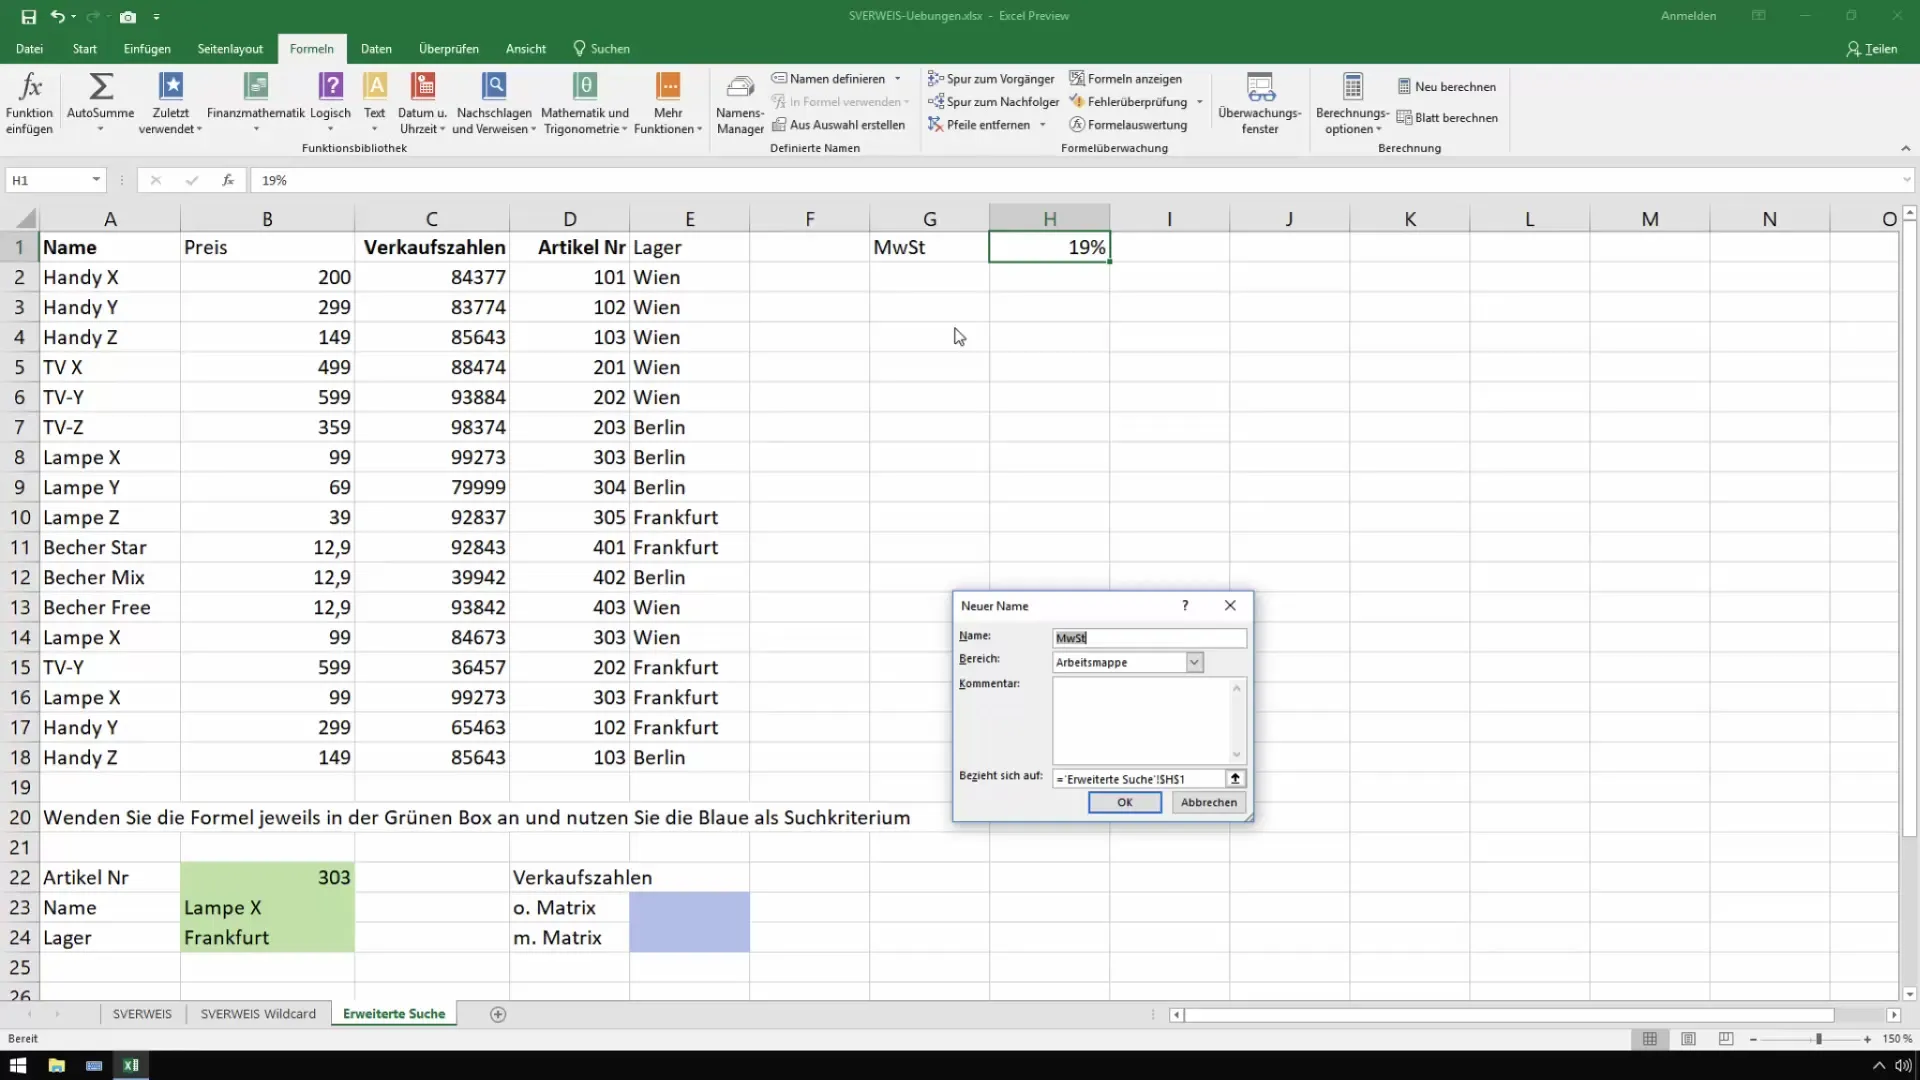
You have now successfully named the value-added tax. This will make it easier for you to use it in your calculations.
4. Define Price
The next step is to define the price as well. Select the cell containing the price and assign the name "Price" to it.
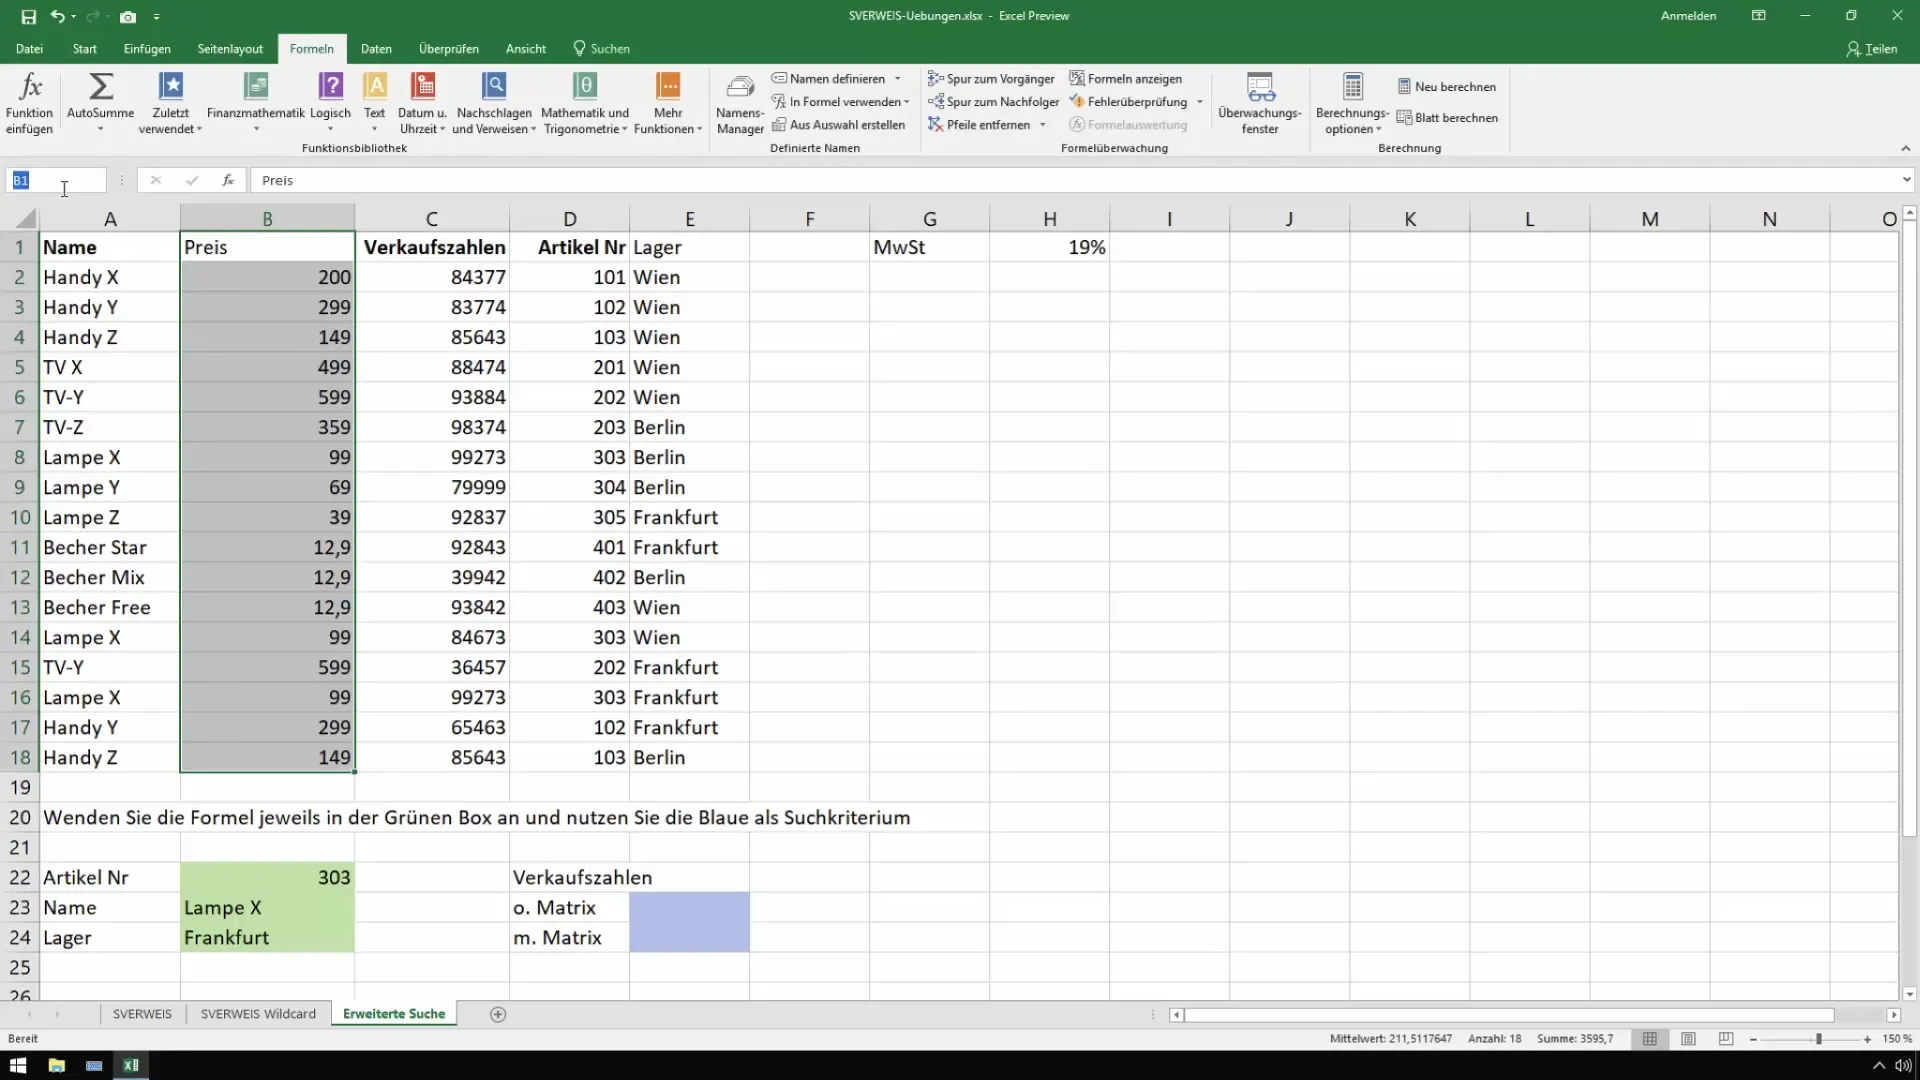
Now you have given both the value-added tax and the price understandable names, which will simplify future calculations.
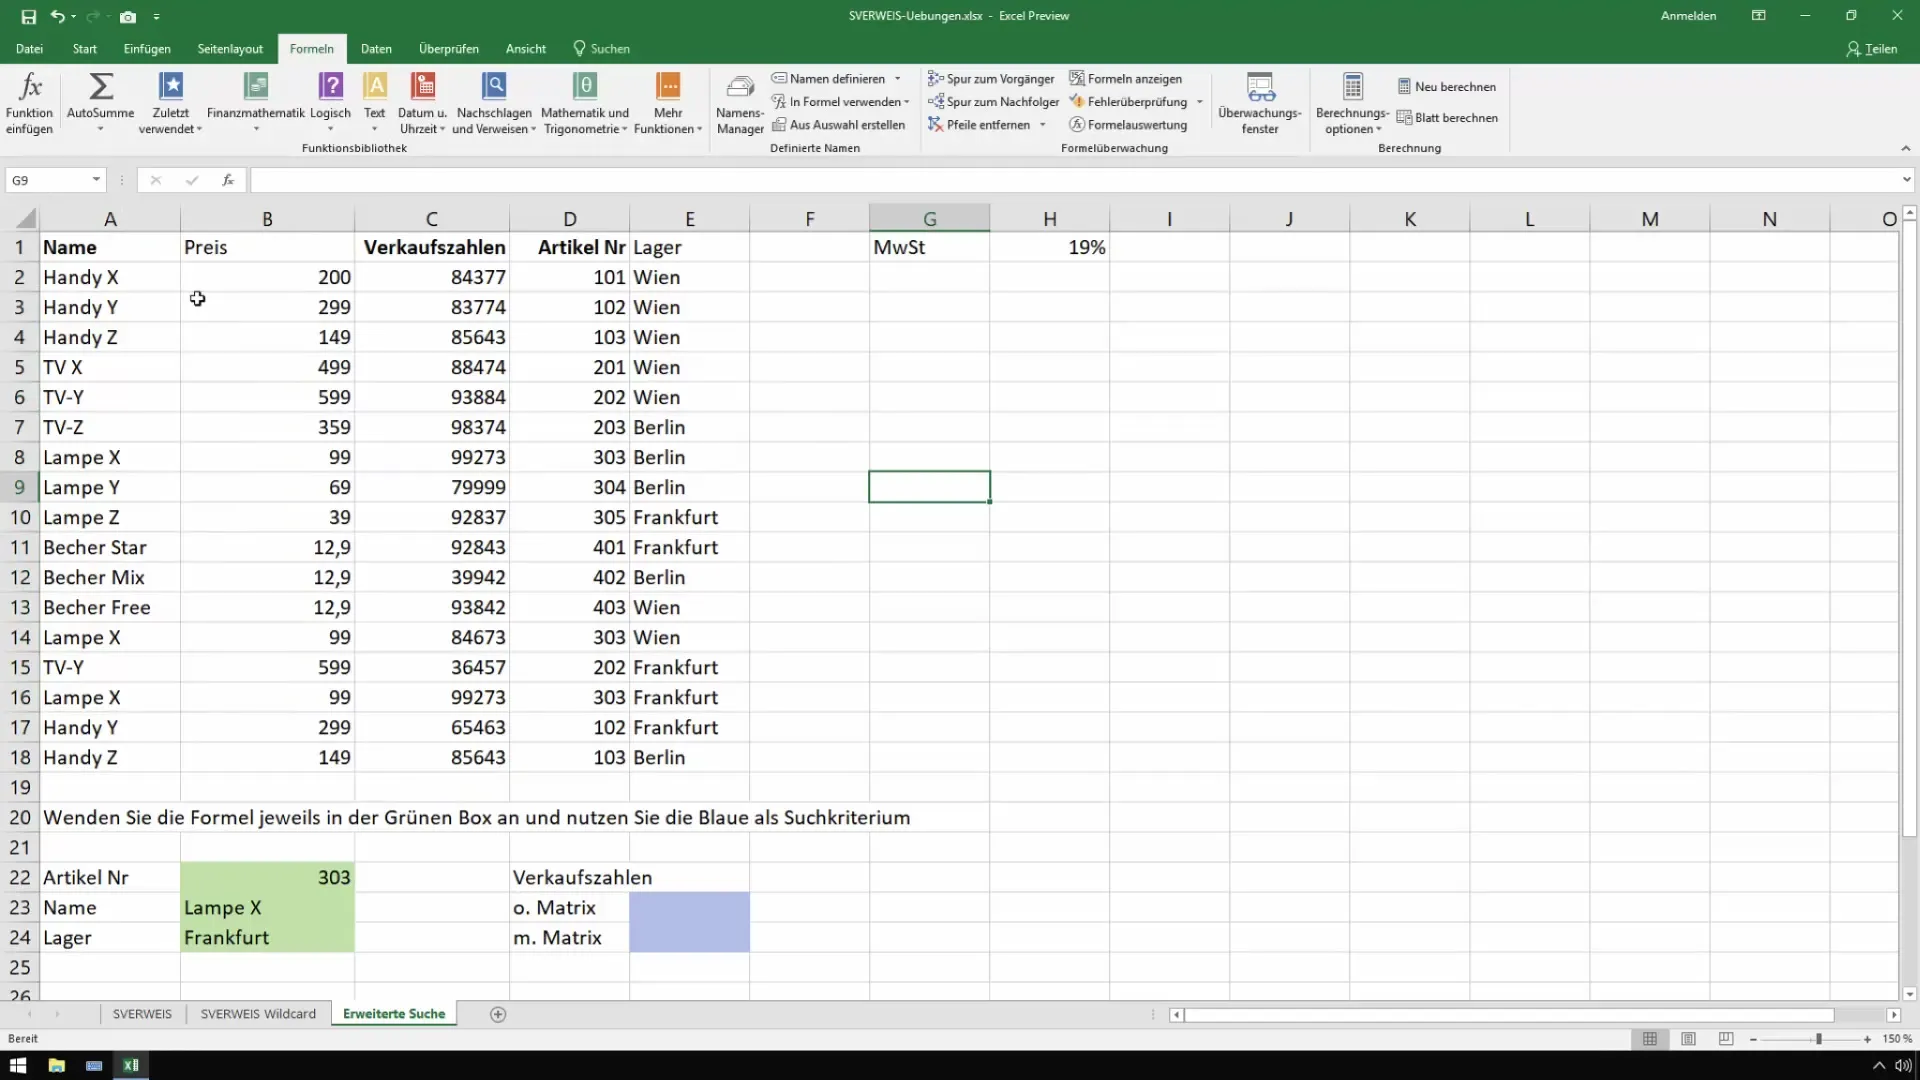
5. Calculating Gross Amounts
You can now perform calculations with these names. For example, to calculate the value-added tax, use the formula "=Price * VAT". This will give you the amount of value-added tax applied to the price.
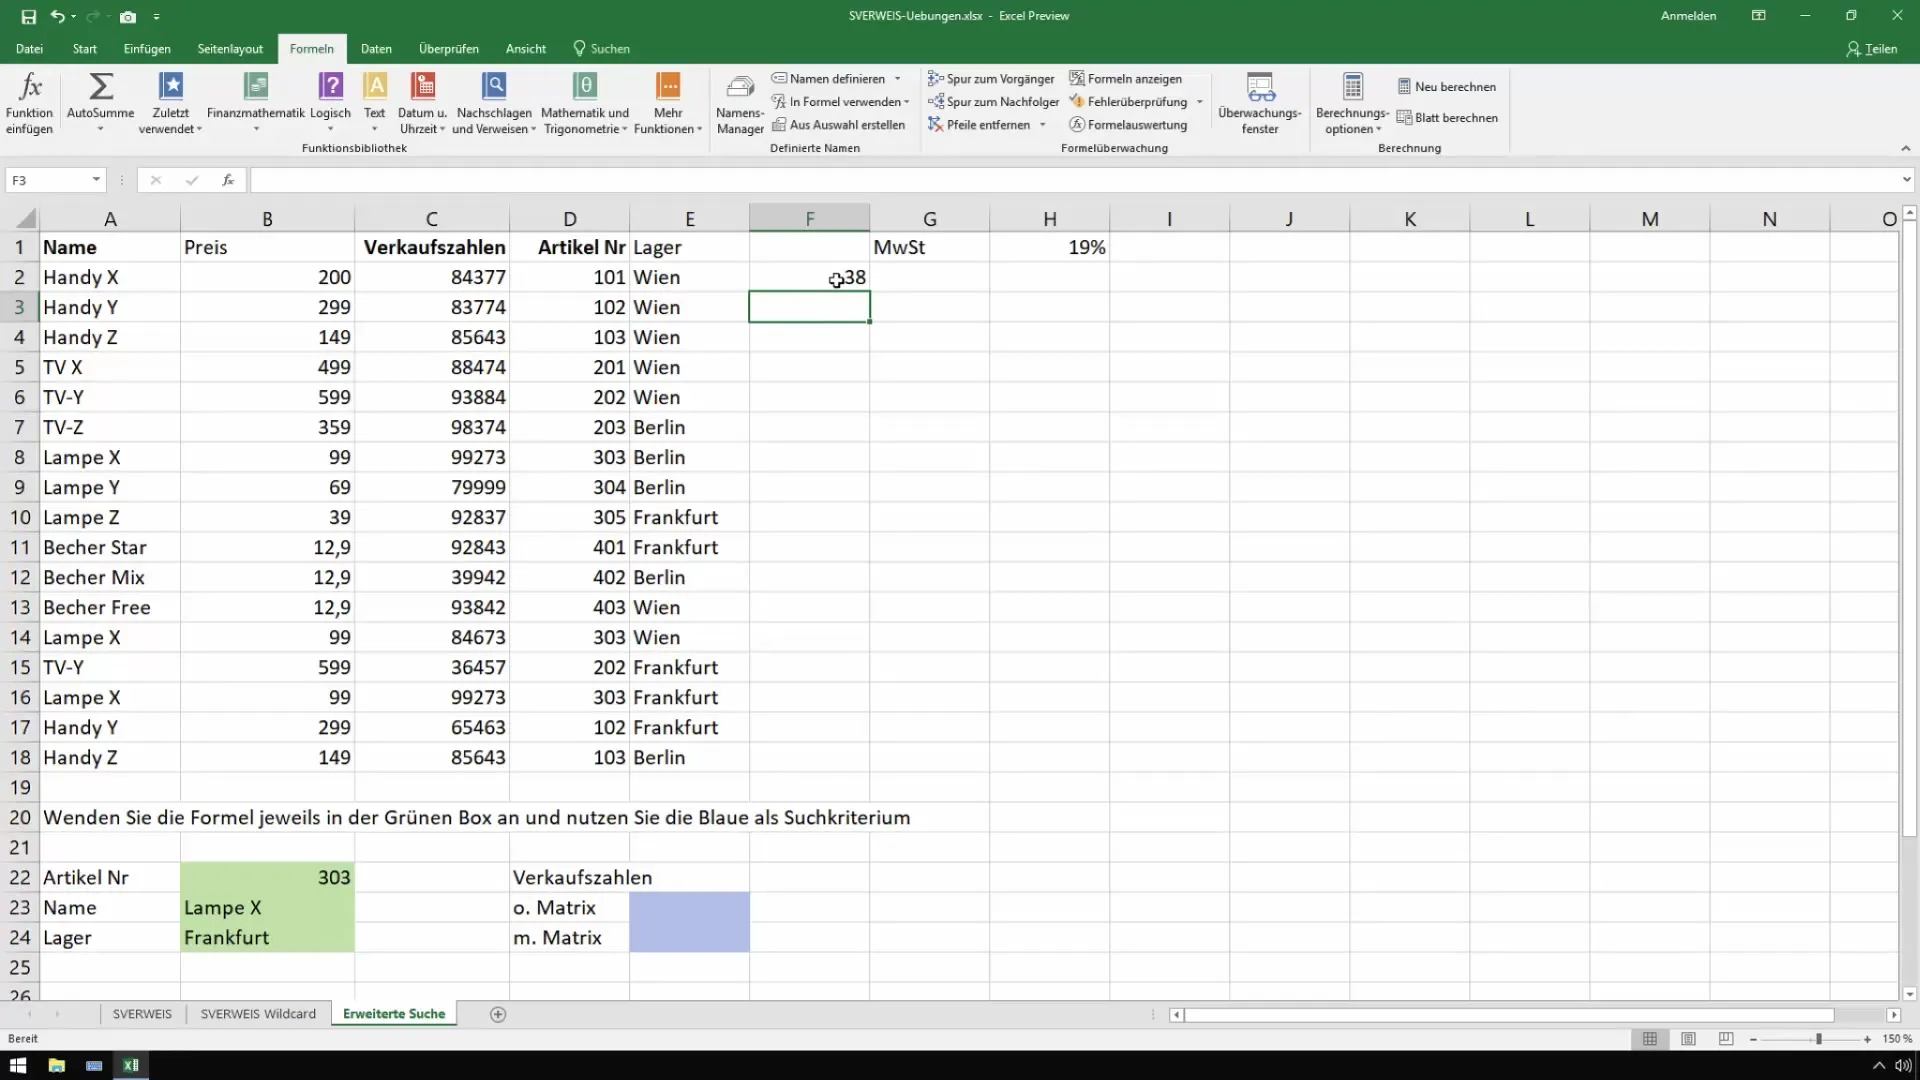
6. Define Gross Formula
To determine the gross amounts, add the value-added tax to the price. Express this calculation as "=Price + VAT" and you will quickly get the gross selling price.
The effective use of names helps you keep track and efficiently perform calculations.
7. General Name Usage
You can also use the Name Manager to make more complex calculations or to define multiple names. To do this, go to the Name Manager and click "New." Here you can specify the formula for the gross amount in detail.
8. Automatic Name Creation
Another option is automatic name creation. You can tell Excel to generate the names from the top rows of your data matrix – this saves work and time.
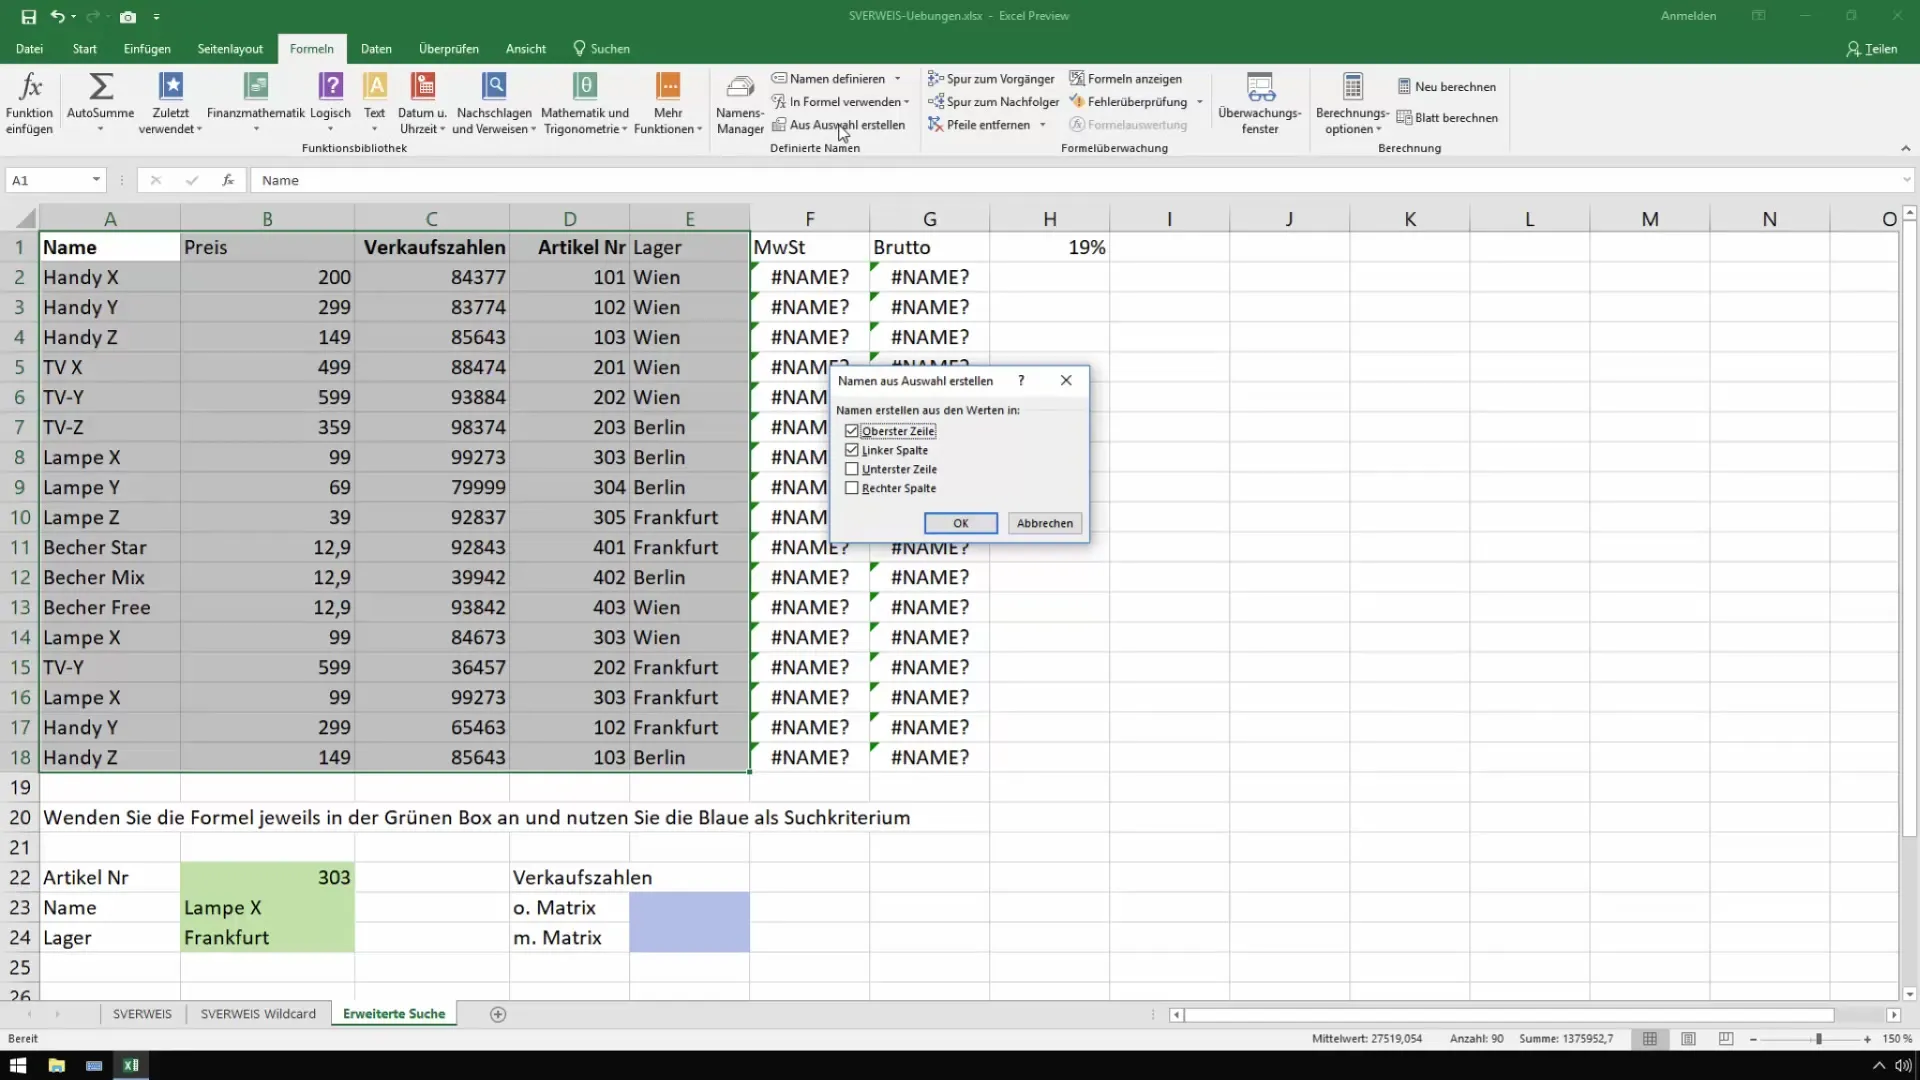
Once all names are assigned, you can use them directly in calculations. This not only simplifies your formulas but also makes them much more understandable.
9. Calculating Sales Figures
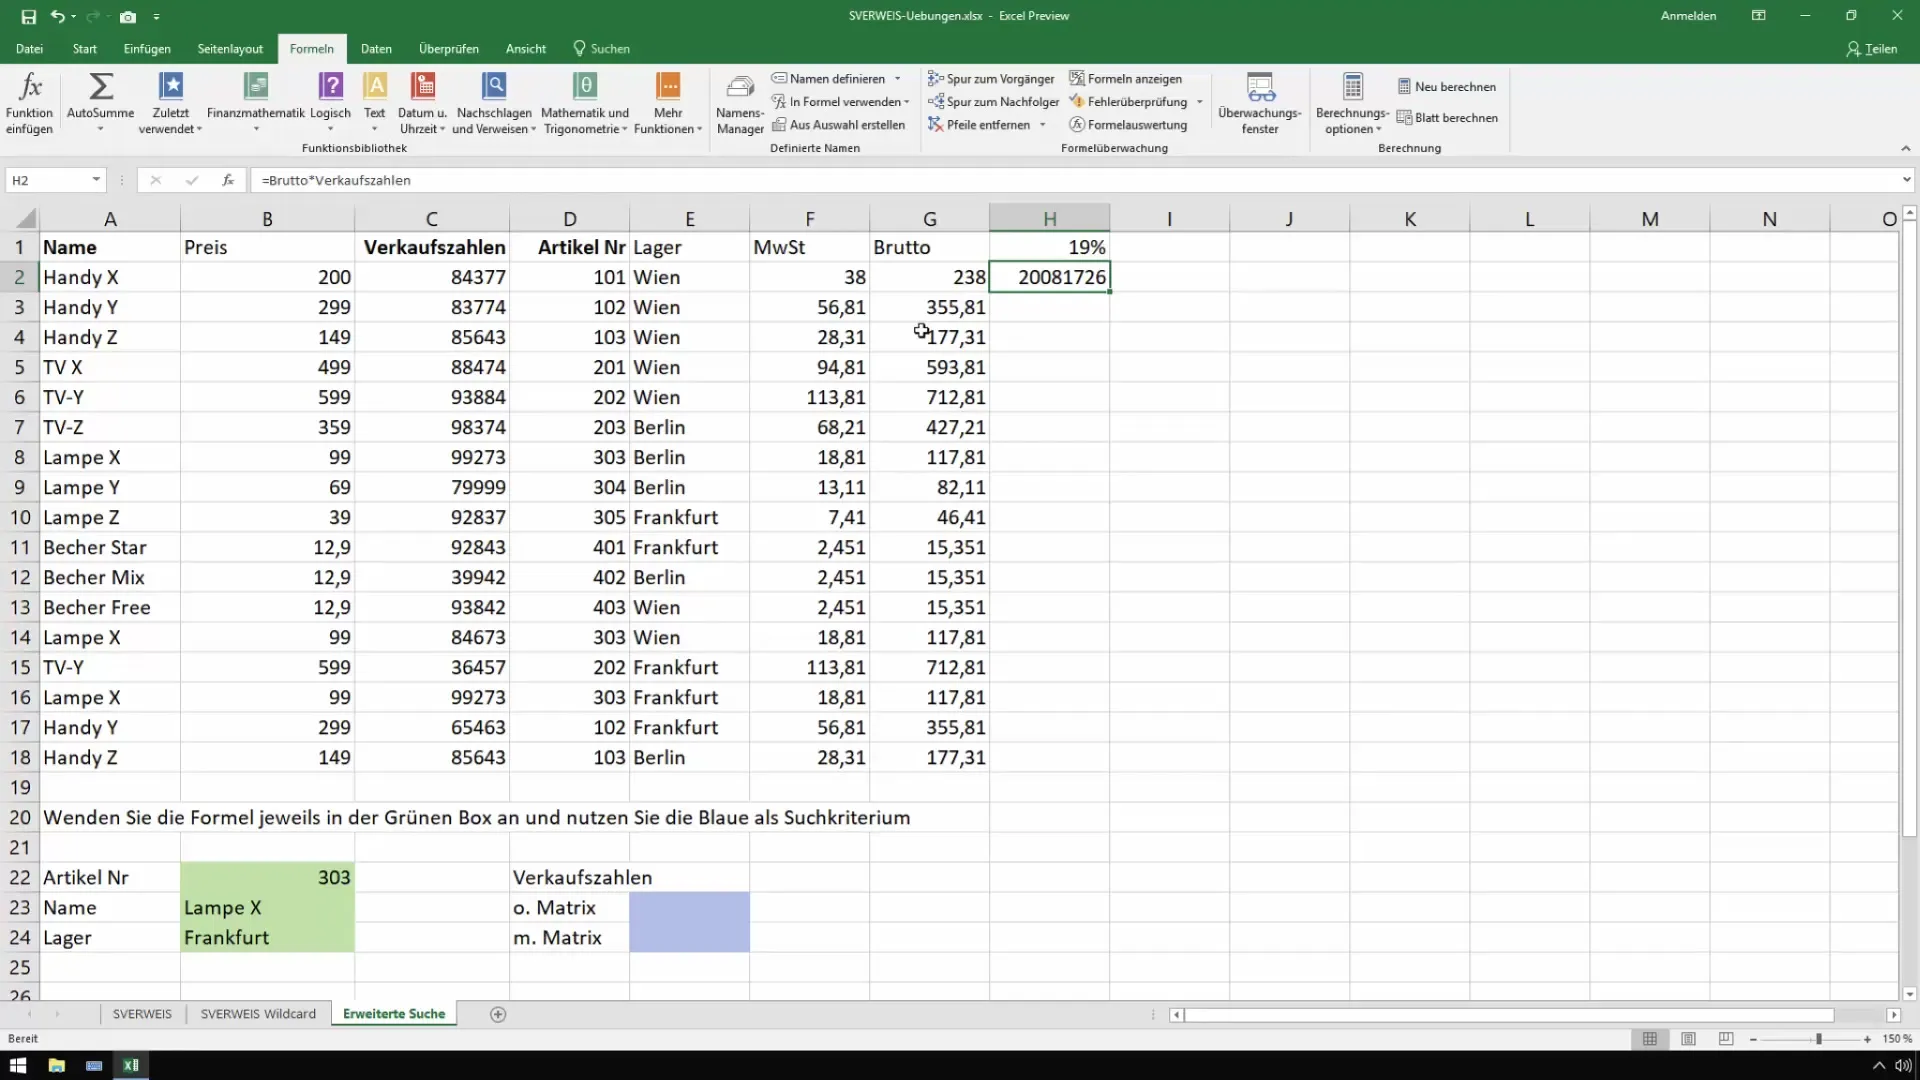
If you now have the ability to multiply the gross values by sales figures, for example, you can create a formula that reads "=Gross value * Sales figures". This leads to immediate results and shows you the sales figures along with the gross values.
Summary
In this guide, you have learned how to define and apply names for formulas in Excel. This function helps to make calculations clearer and simpler. By creating named cells such as "Price" and "VAT", your work becomes not only more efficient but also more error-free, as you do not have to constantly type in long formulas.
Frequently Asked Questions
How do I define a name for a cell?Go to the "Formulas" tab, select "Define Names", and enter the desired name.
Can I name multiple cells at once?Yes, you can name all cells in a selection by using the "Create from Selection" function in the Name Manager.
How can I delete a defined name?Open the Name Manager, select the name, and click on "Delete".
