Incorrect Excel files can pose an unexpected challenge in your workday. Whether it's a sudden computer crash, a power outage, or an incomplete save - all these circumstances can lead to your Excel data being lost or the workbook no longer being able to be opened. In this guide, you will learn how to repair damaged Excel files to minimize the loss of important information.
Key Takeaways
- Defective Excel files can be caused by various factors.
- Excel provides built-in functions for file repair.
- File size can be an indicator of damage.
- External tools can offer additional assistance if the built-in functions are insufficient.
Step-by-Step Guide to Repairing Corrupt Excel Files
Step 1: Open Excel and Locate the File
If an Excel file is not working, start by opening the program. You can then go to "File" and select "Open." This allows you to choose the damaged file.
Step 2: Use "Open and Repair"
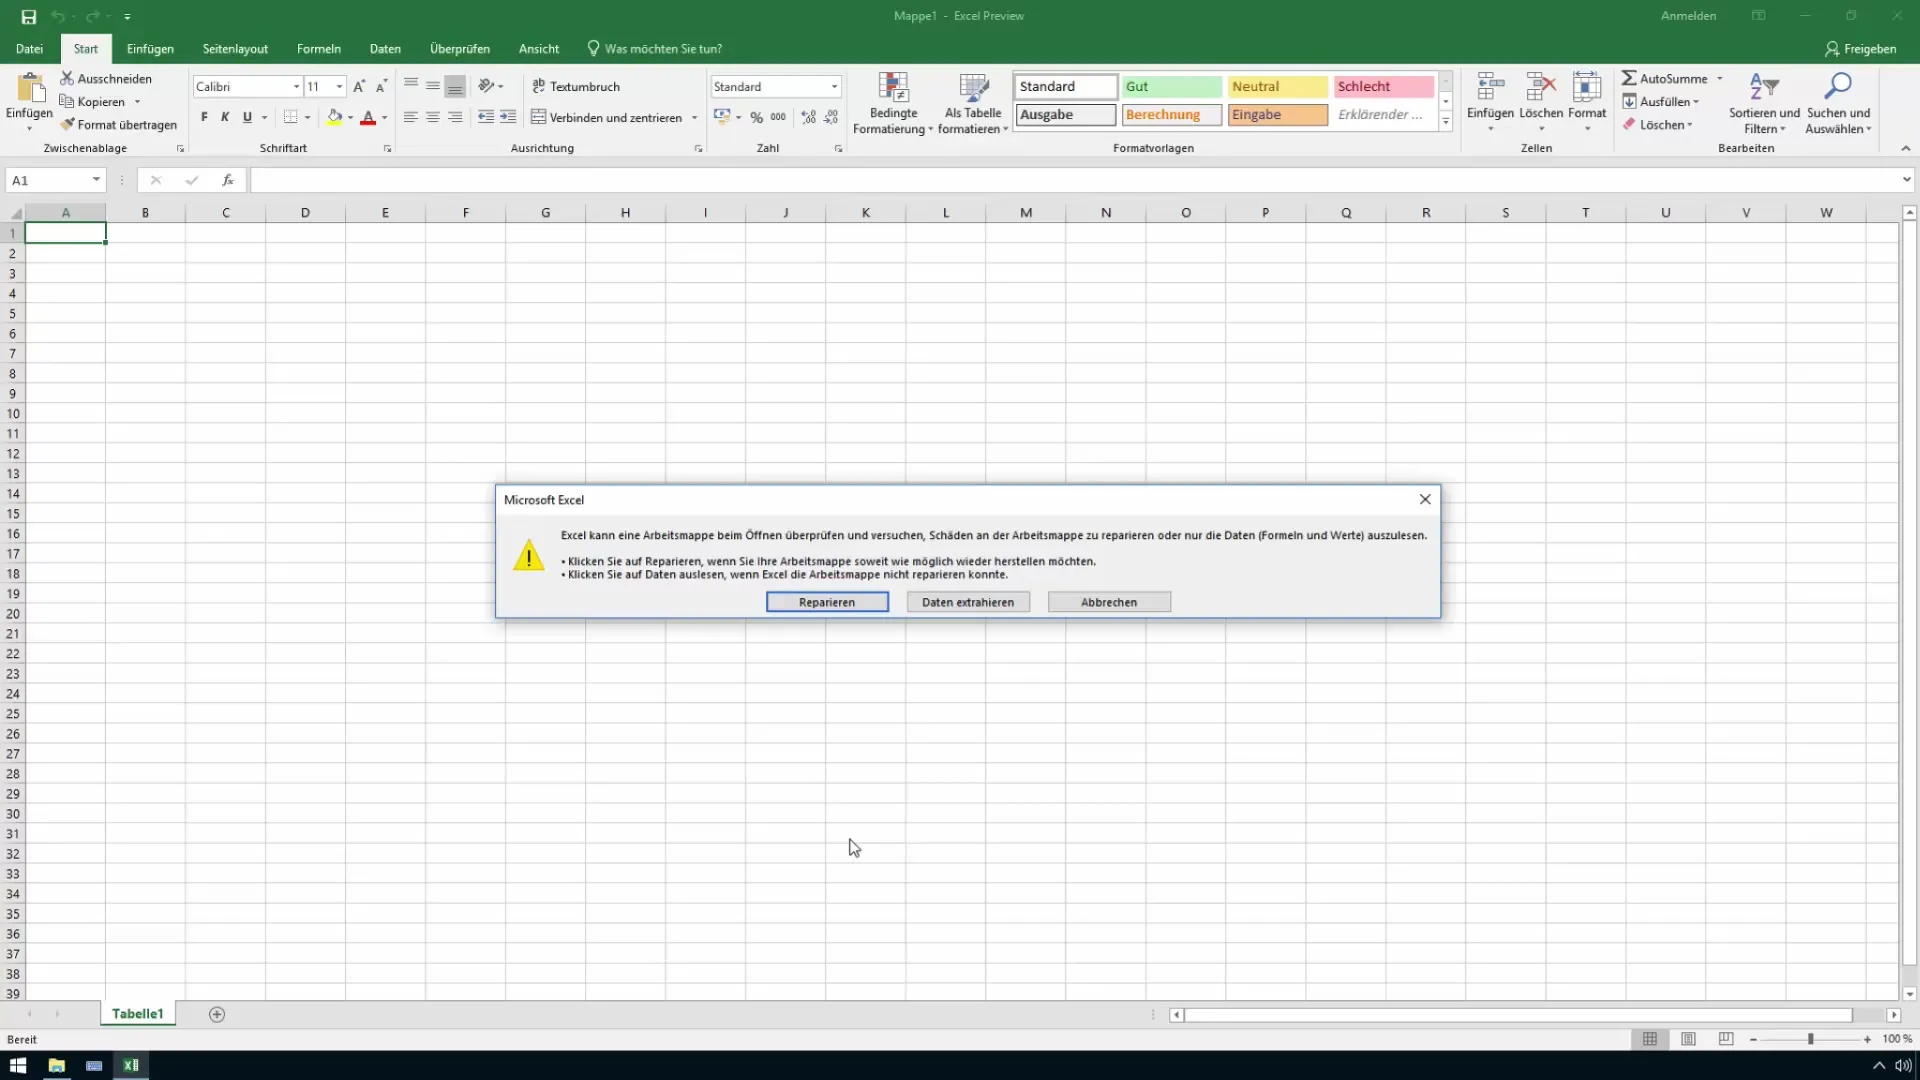
Select the "Open and Repair" option from the dropdown menu. This function allows Excel to repair the file or at least improve its condition.
Step 3: Initiate File Repair
Once you have chosen the option, a dialog box will appear. Choose "Repair" here. Excel will now attempt to restore the damaged parts of the workbook.
Step 4: Check the Results
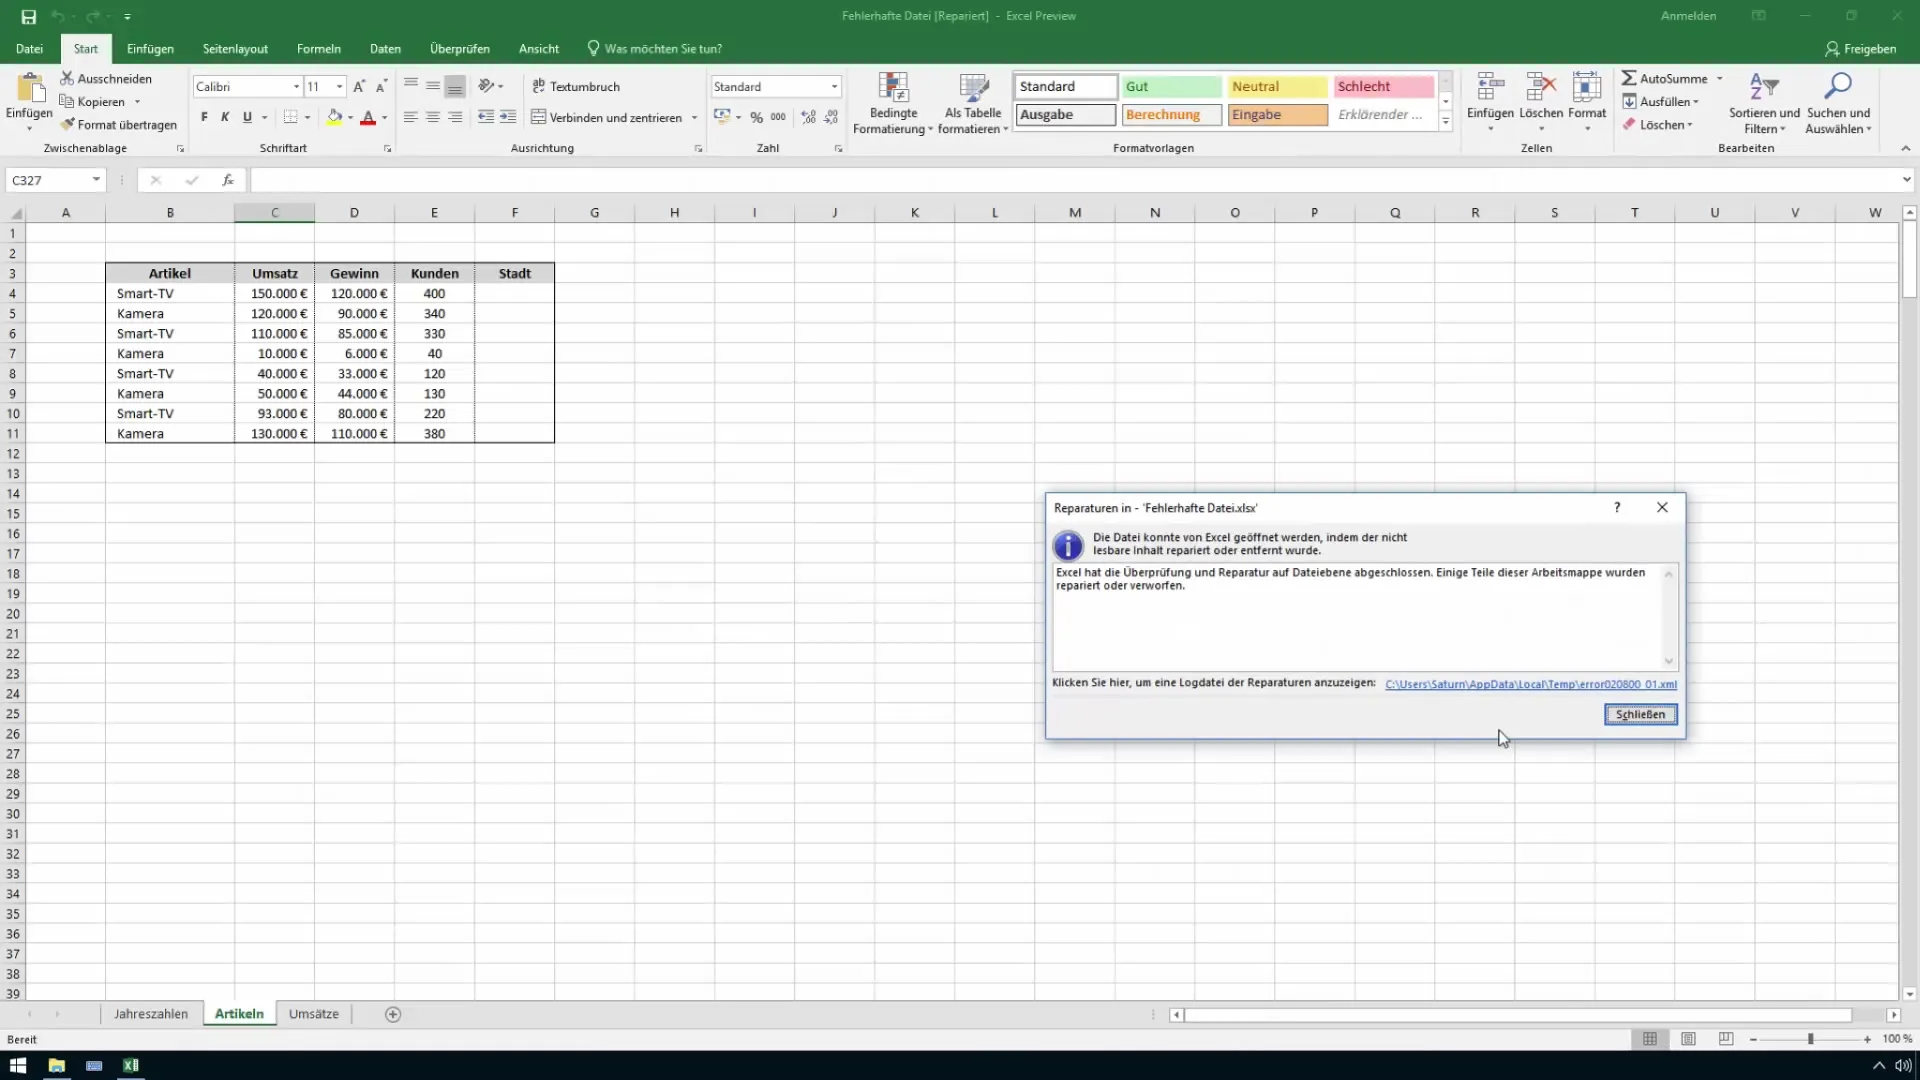
Once the repair is complete, review the file. Check if the contents are displayed correctly. Often, parts of the file will be repaired or discarded.

Step 5: Save the Repaired File
If the file has been restored, save it under a new name to keep the undamaged and repaired versions separate.

Step 6: Extract Data if Necessary
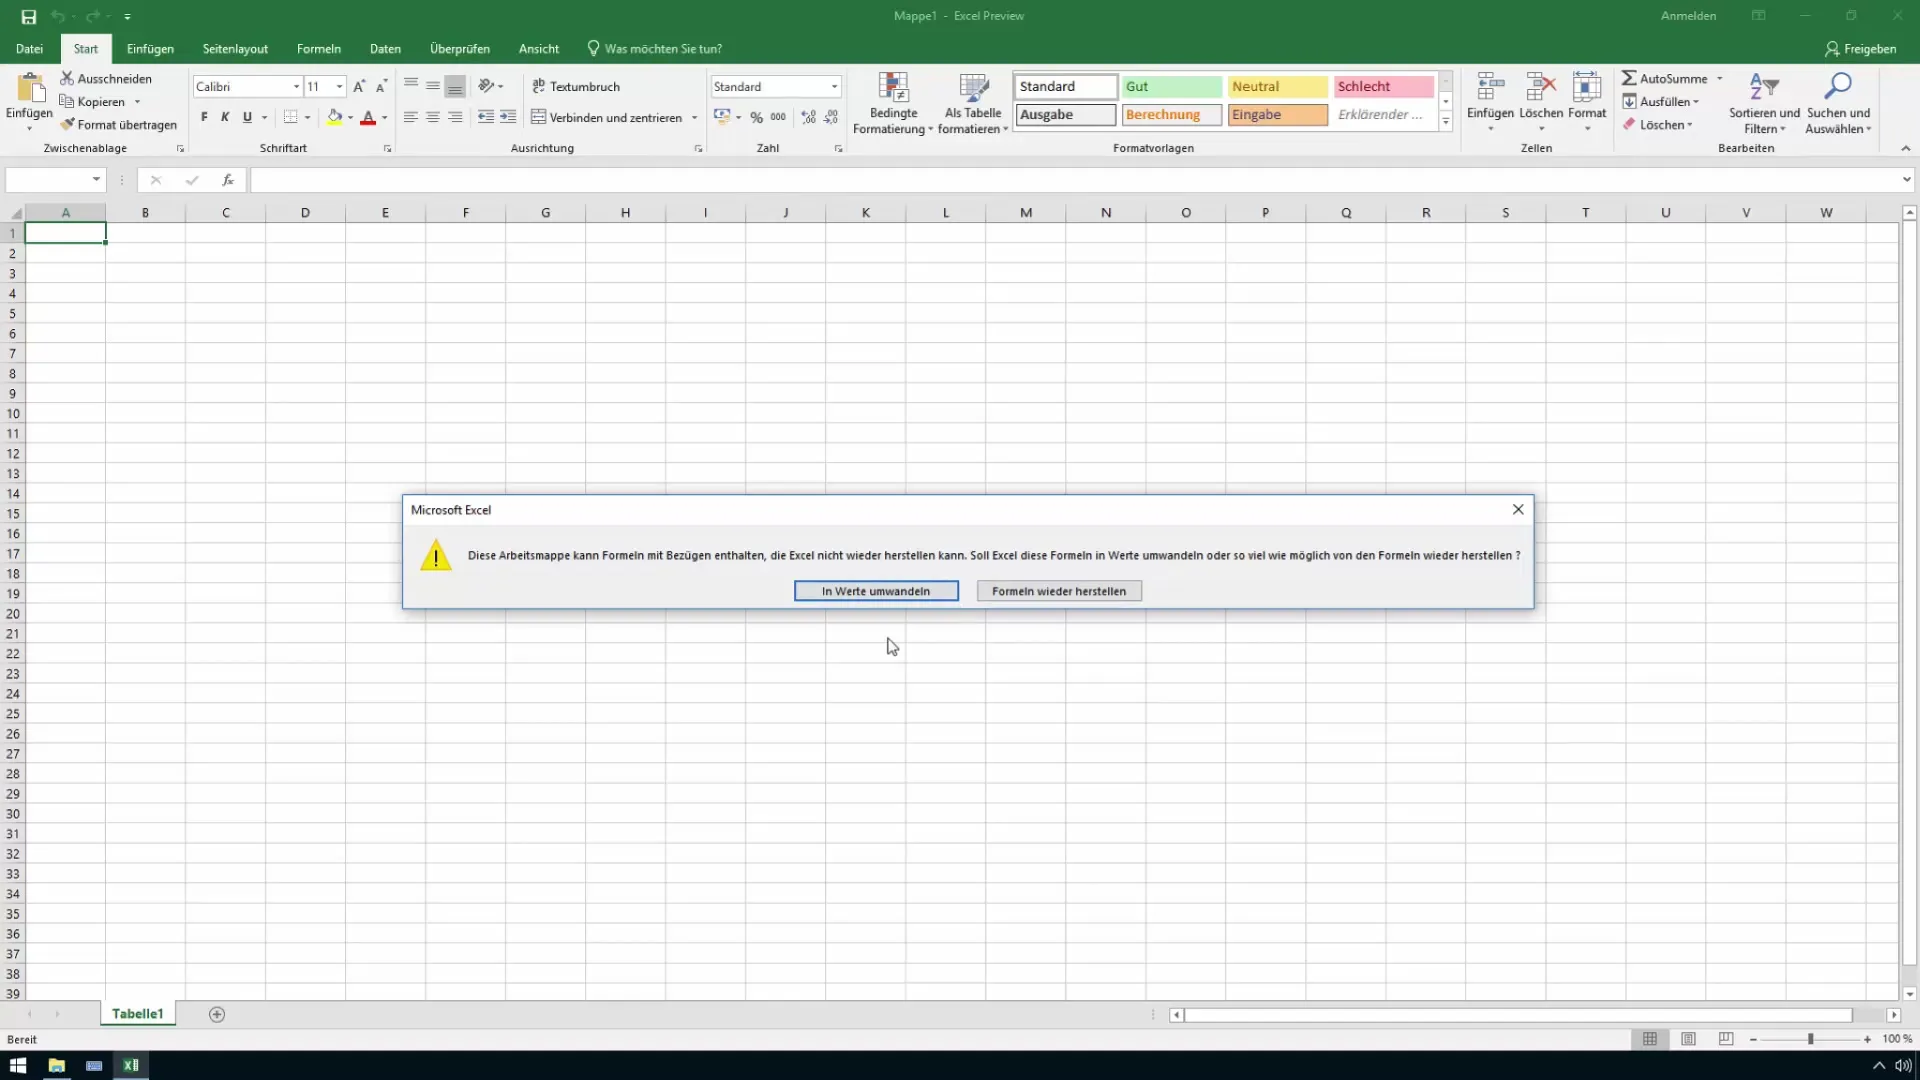
If the basic repair was unsuccessful, you can try to extract the values. Go back to "Open and Repair" and choose the data extraction option.
Step 7: Adjust Calculation Settings
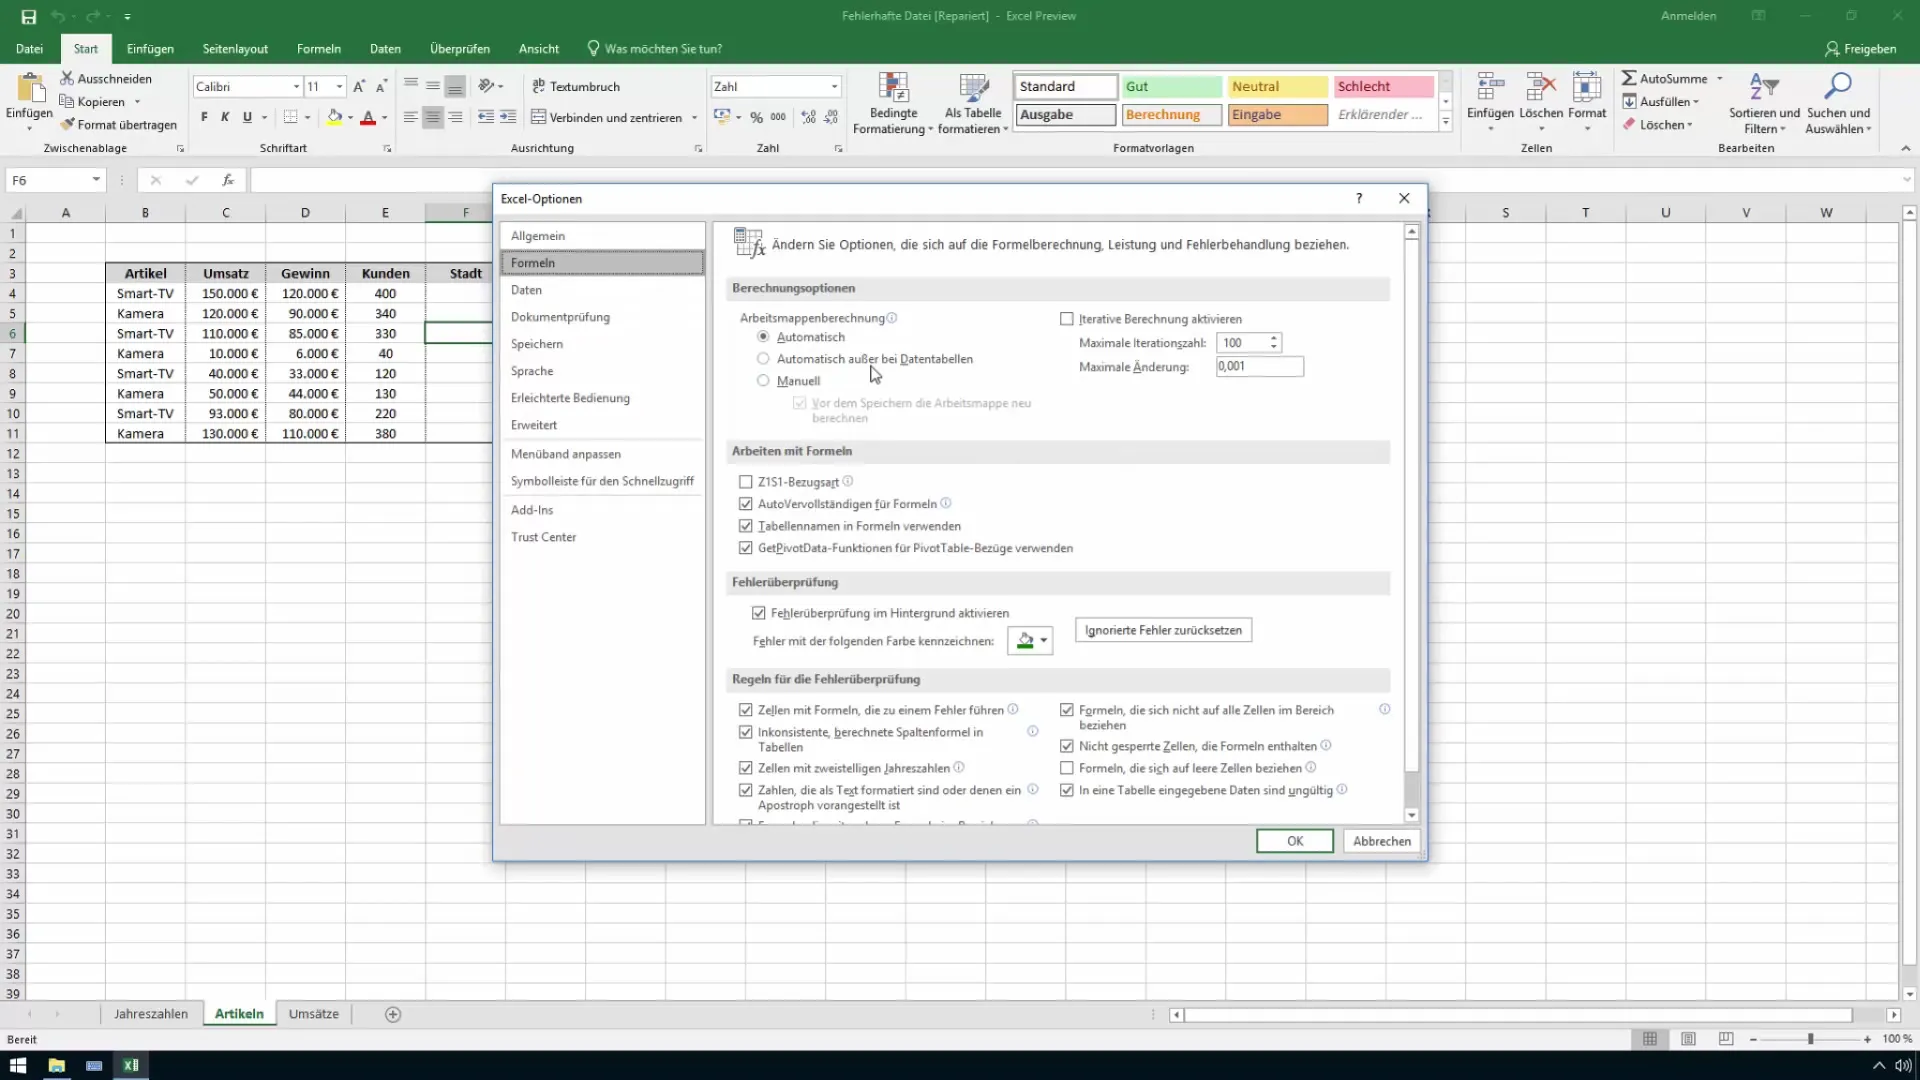
Another useful tool for error diagnosis is adjusting the calculation settings. Set the workbook calculation to "manual" to identify any potential problem factors.
Step 8: Handling Unsaved Changes
If Excel closes due to a sudden crash, the program usually offers the option to restore the last working version. Make sure to regularly look for such options.

Step 9: Activate Automatic Recovery Options
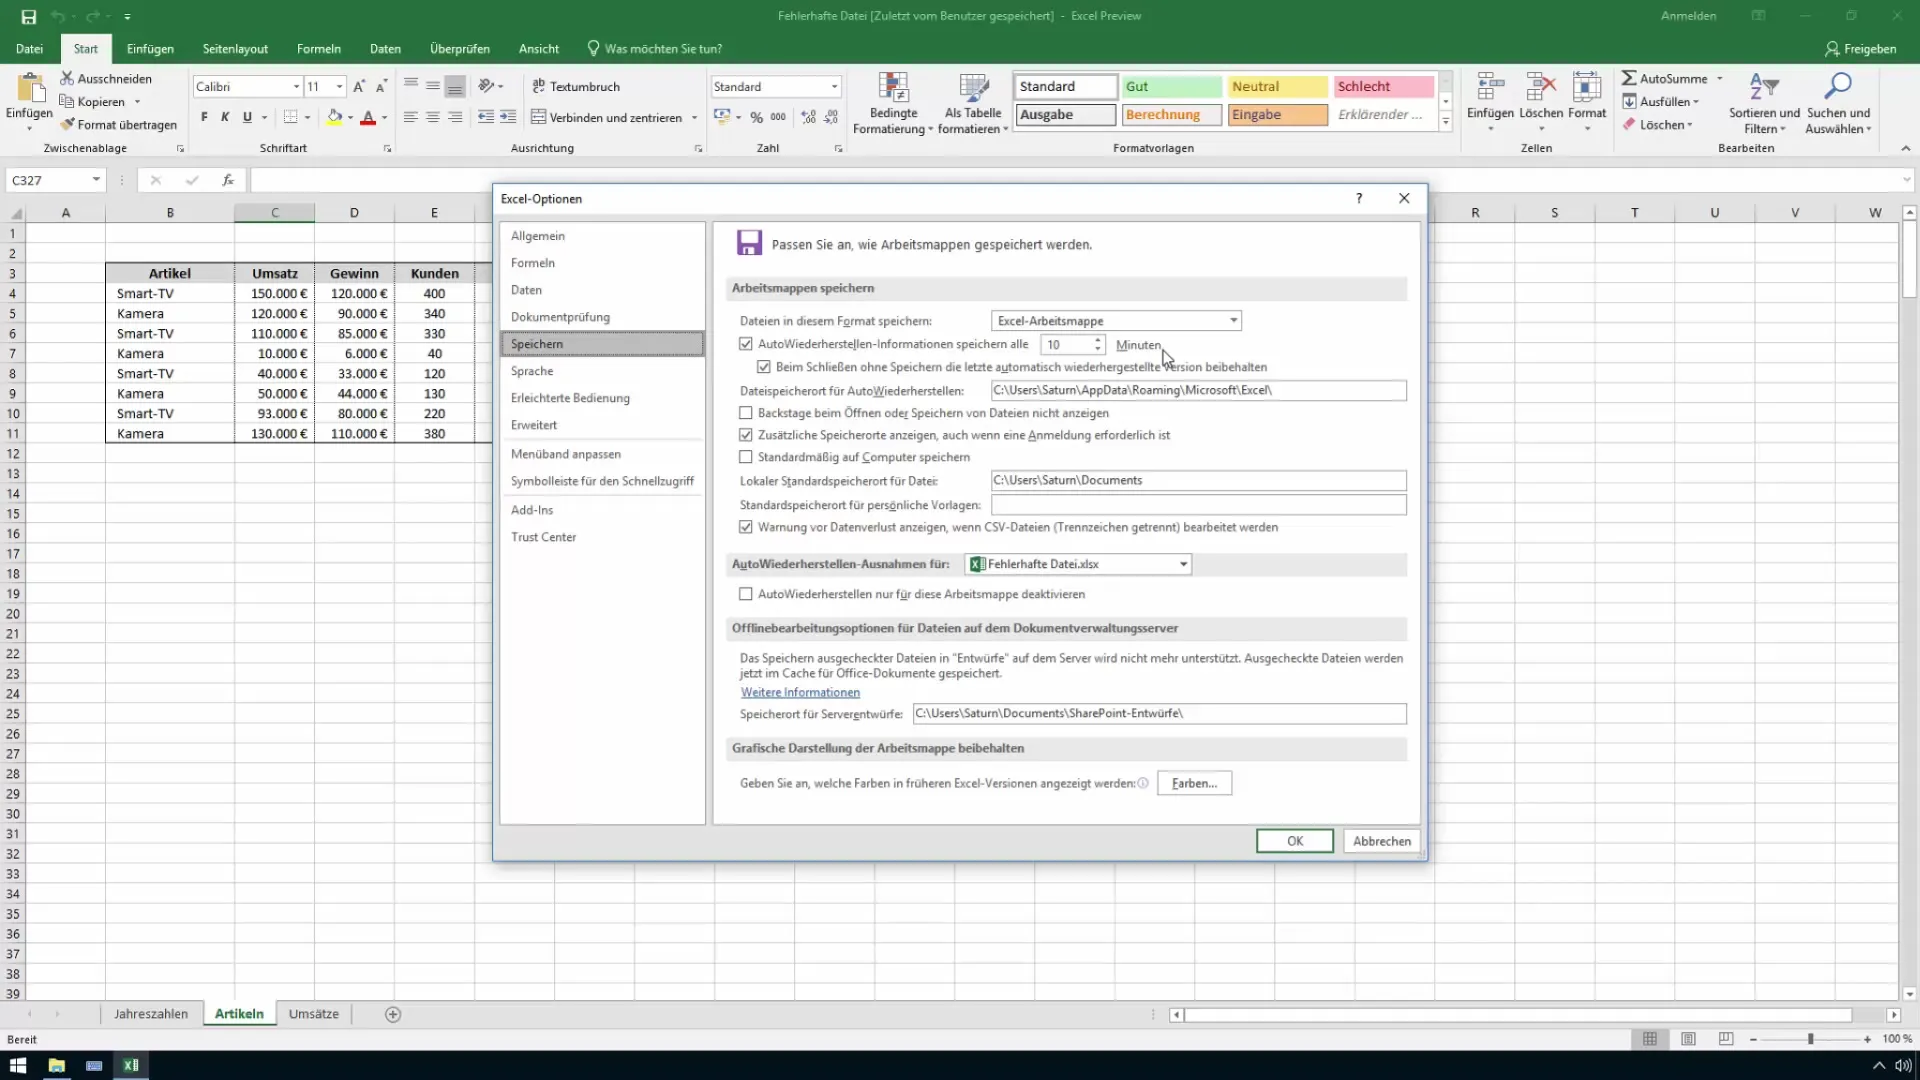
If you haven't already, activate the automatic recovery options in the Excel settings. These options save your work regularly, reducing the risk of major data loss.
Step 10: Examine File Structure
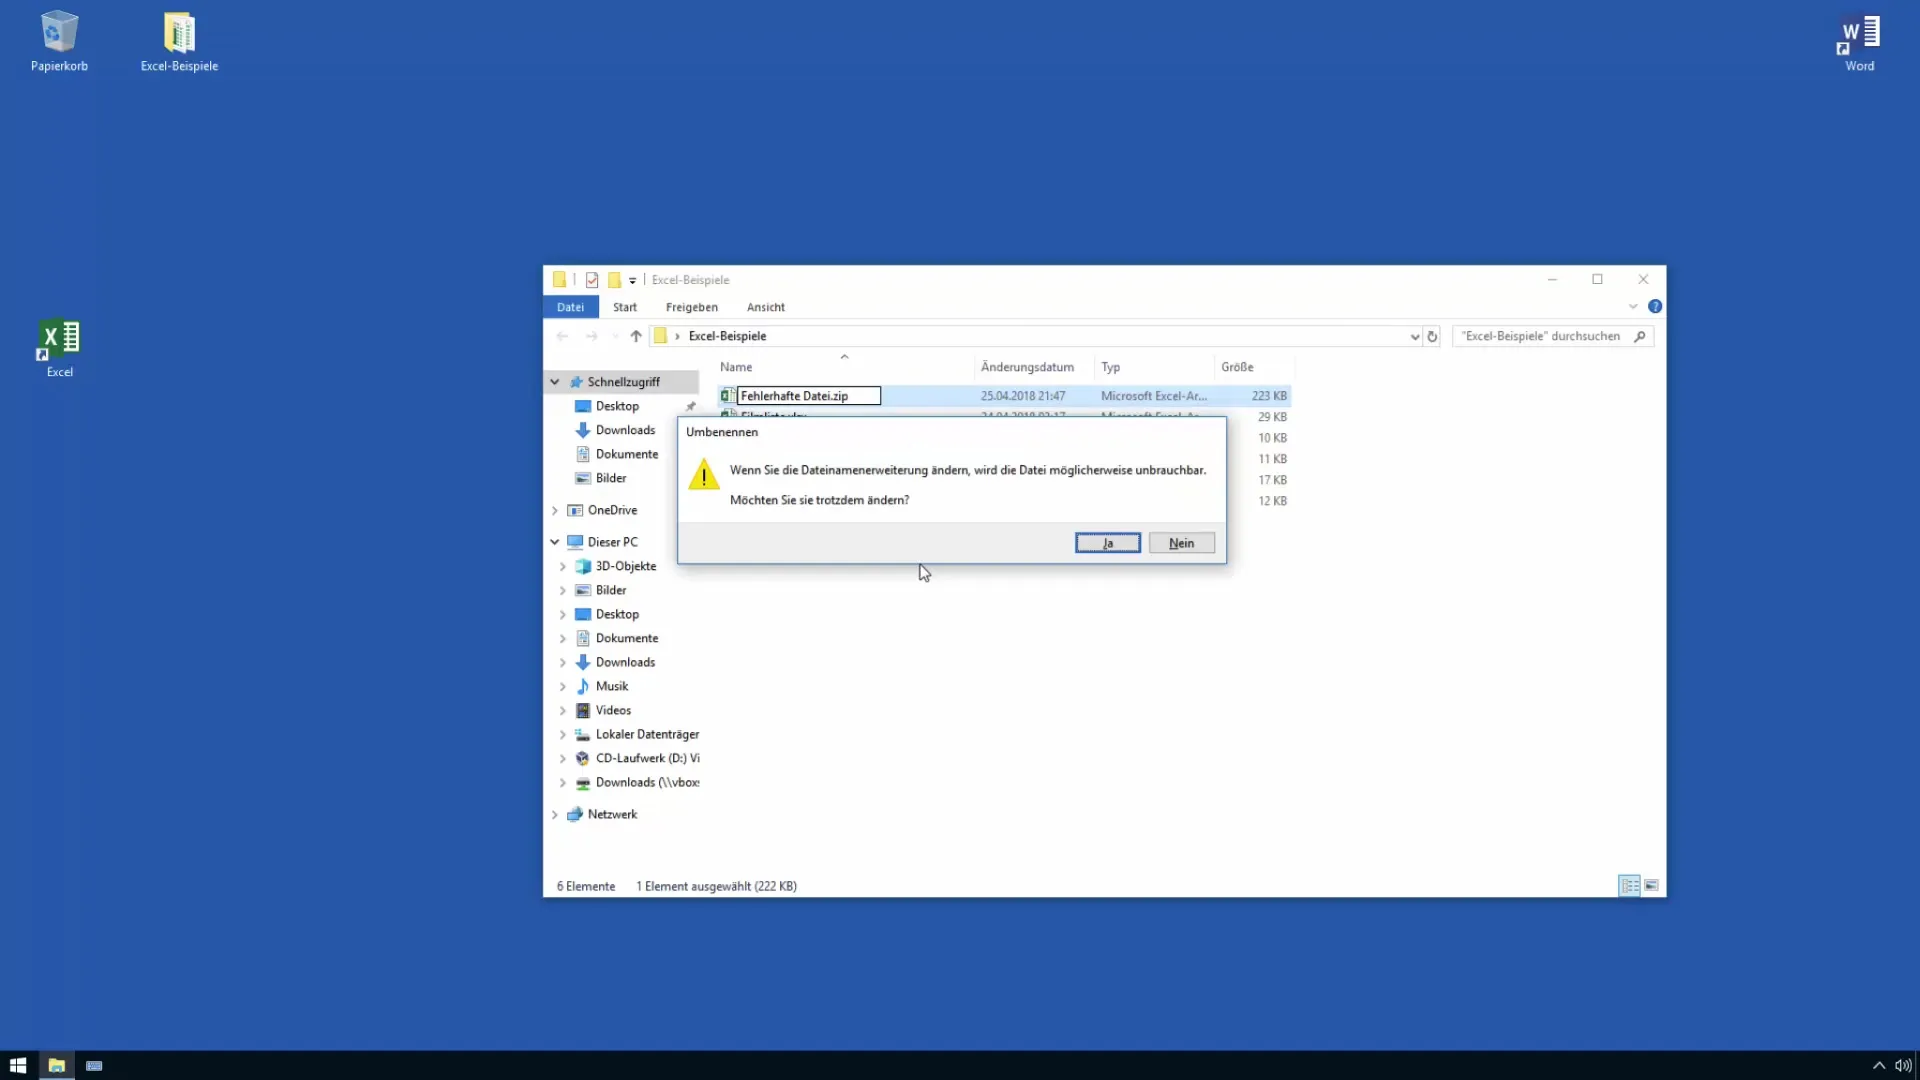
To identify deeper issues, you can rename the Excel file and open it as a ZIP file. This gives you access to the XML files, which may reveal interesting information about the structure of the workbook.
Step 11: Using third-party apps as a last resort
If all of these measures are unsuccessful, there are a variety of third-party apps specialized in repairing Excel files. These can often provide helpful solutions.
Summary
You now know how to repair corrupt Excel files by utilizing Excel's built-in tools, adjusting settings, and even considering external software tools. Keep your Excel settings up to date and be mindful of regular save intervals to avoid future data loss.
Frequently Asked Questions
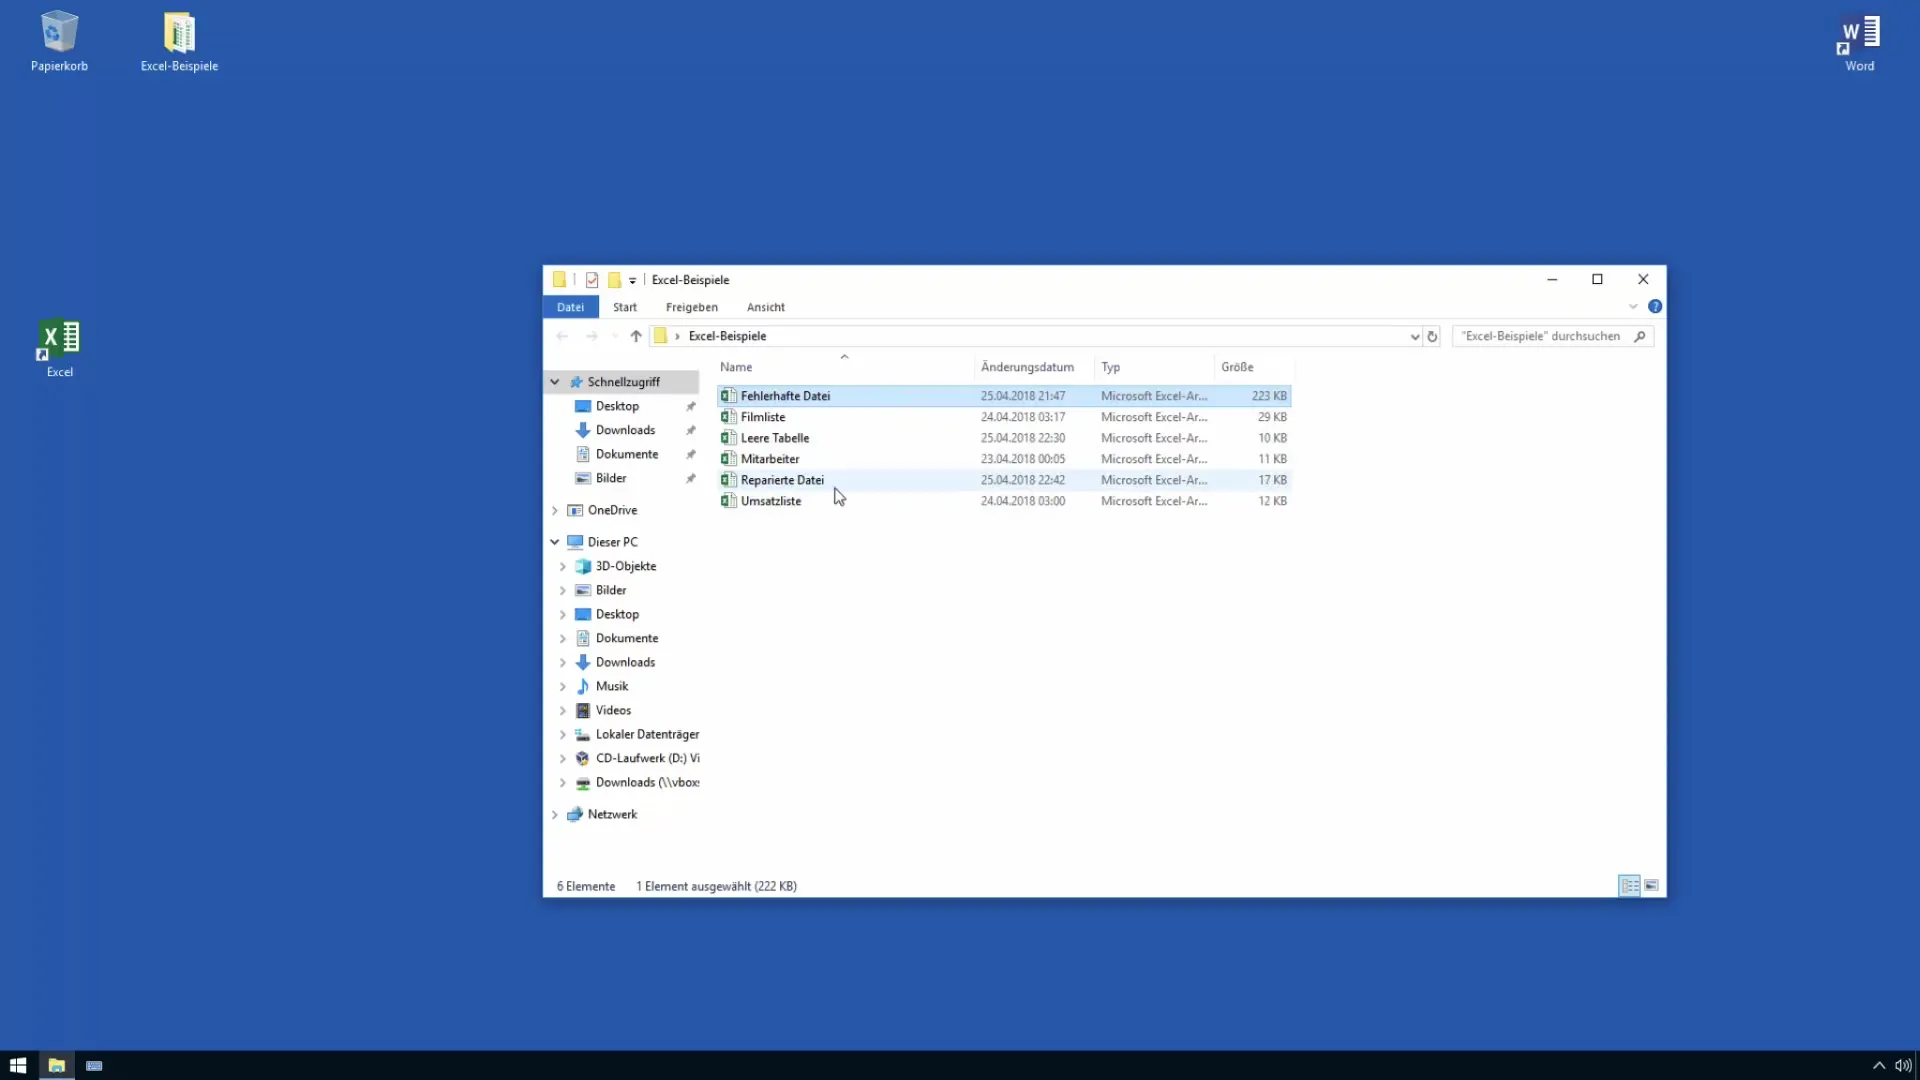
How can I determine if an Excel file is corrupt?A file size that is significantly larger or smaller compared to similar files can be an indicator of corruption.
What happens if "Open and Repair" does not work?In this case, you can extract the data or consider using a third-party tool for repair.
How often should I save automatically?It is recommended to set automatic saving to every 10 minutes to minimize data losses.
What are the benefits of using Zip files for Excel repairs?Renaming Excel files to Zip files allows access to the file's structure and can help identify corrupt parts.


