Keeping track of appointments effectively is a challenge many of us face in our work routine. A simple and visually appealing way to remind yourself of upcoming or past appointments is by color-coding them using Excel. In this guide, I'll show you how to structure and organize your appointments in a clear and structured way using a few formulas and conditional formatting.
Key Takeaways
- With Excel, you can easily calculate the remaining days until an appointment.
- Conditional formatting allows you to highlight appointments that are approaching or have passed with different colors.
- By using simple formulas, you can increasingly manage and visualize your appointments more effectively.
Step-by-Step Guide
Step 1: Creating the Worksheet
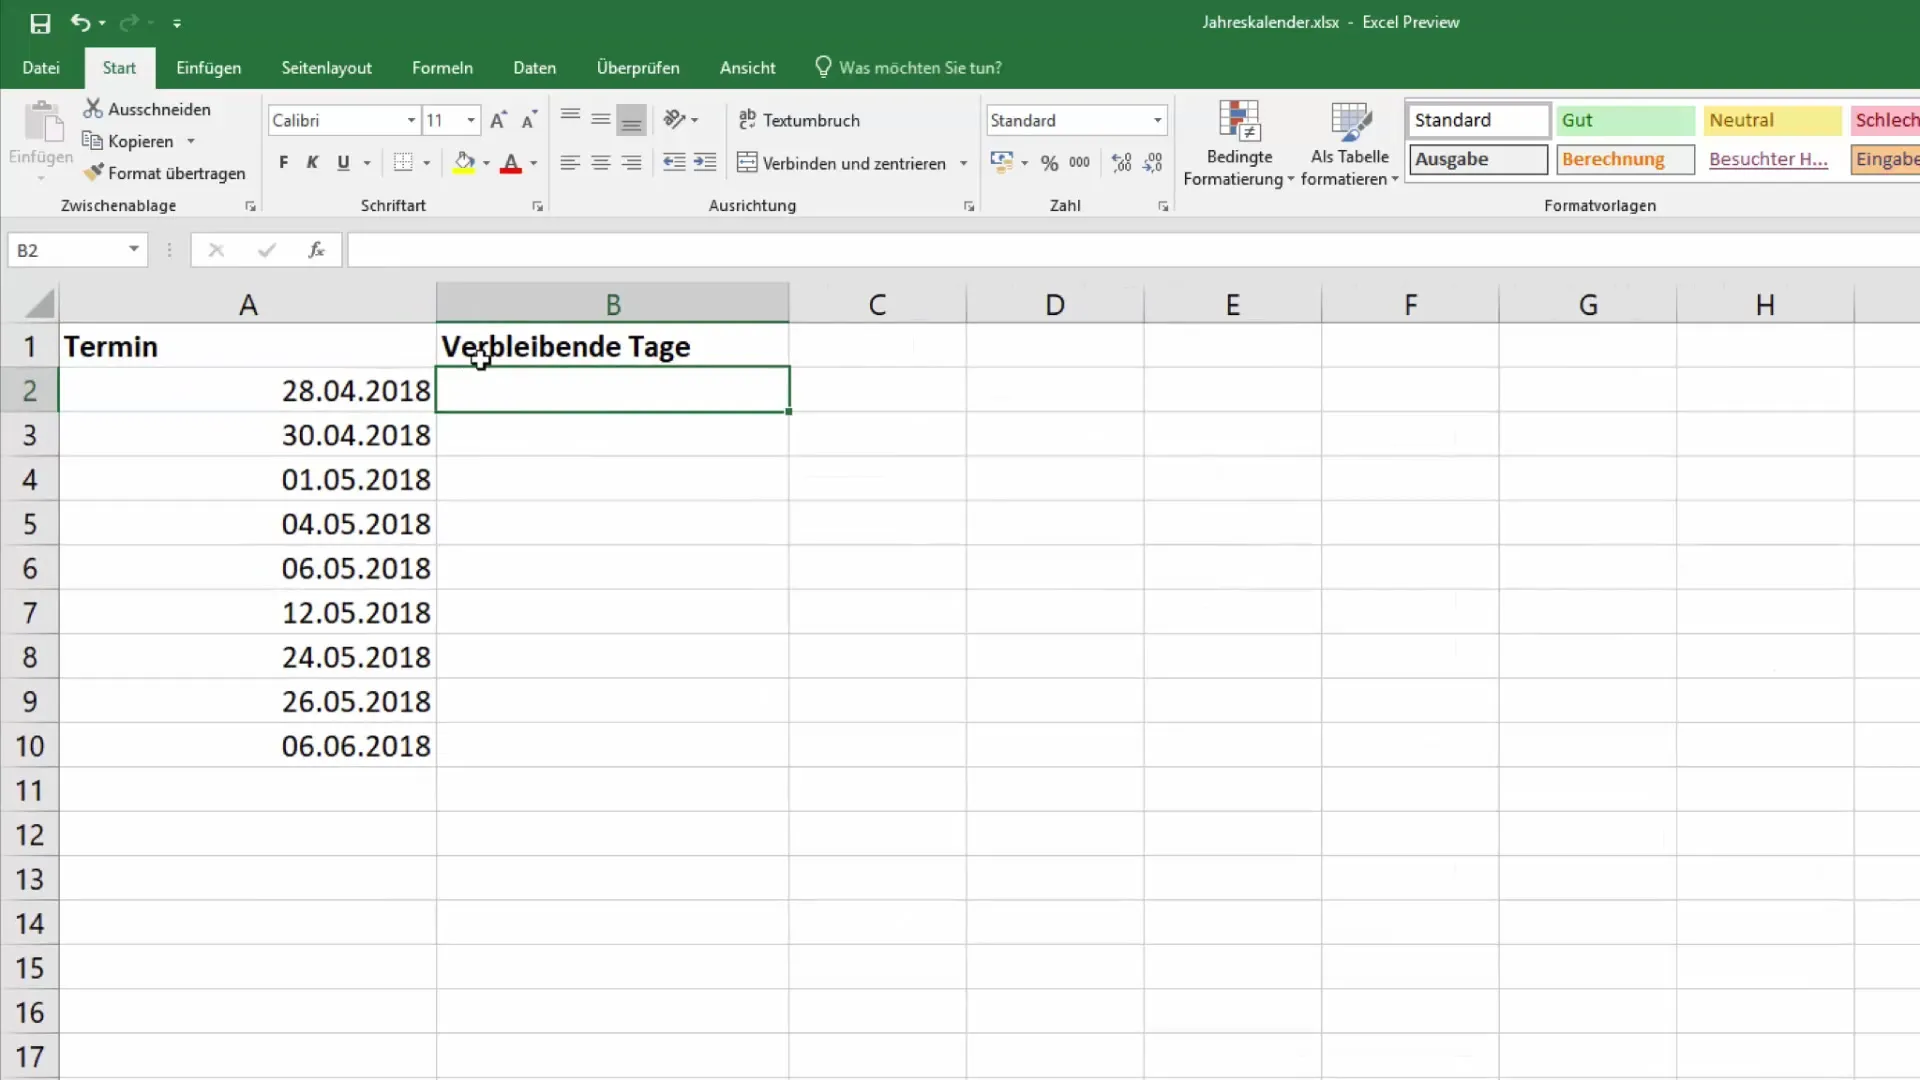
First, create a new worksheet in Excel and enter the appointments you want to manage. This could include, for example:
- 28.04.
- 01.05.
Step 2: Calculating the Remaining Days
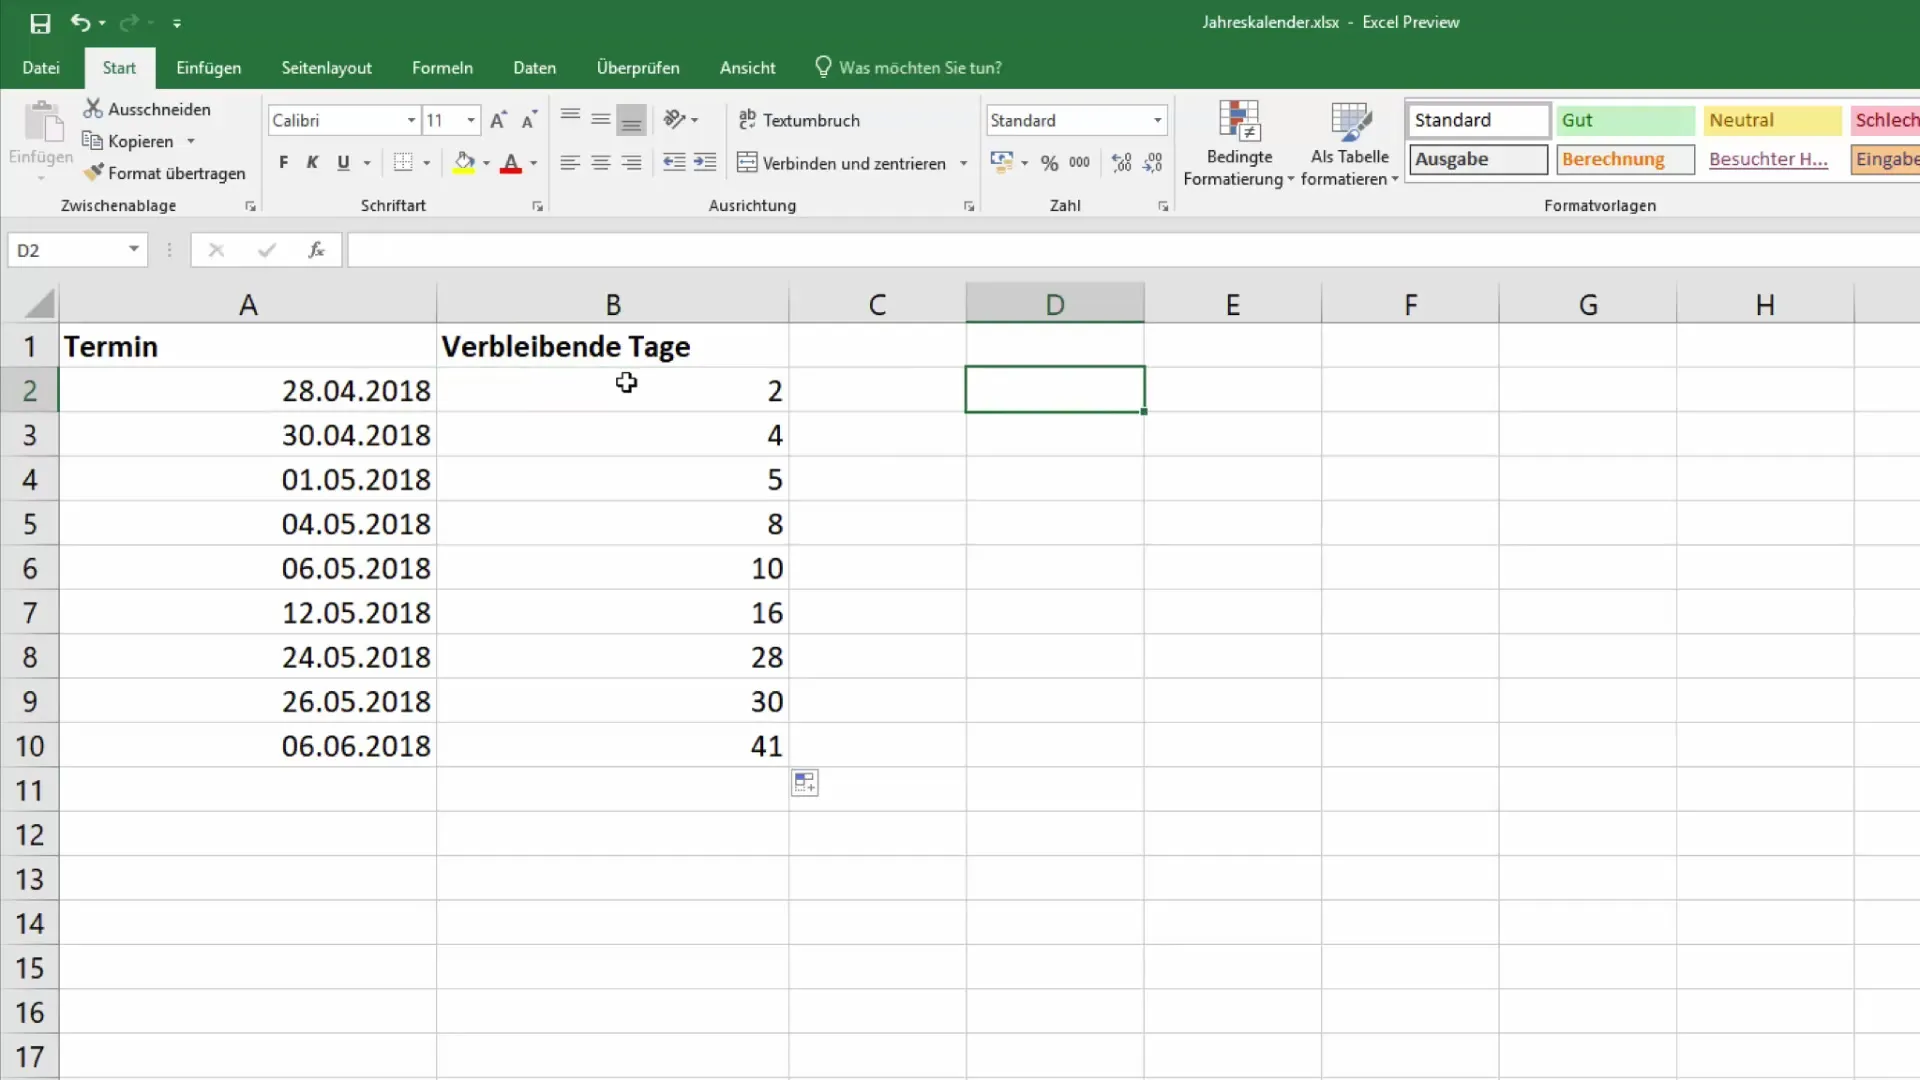
To calculate the remaining days until an appointment, you can use a simple formula. Select a cell and start entering the formula: =A2 - TODAY(), where A2 is the first appointment. Then drag the field down to continue the one-dimensional list. This will give you a list of remaining days until each appointment.
Step 3: Crossing Off Completed Appointments
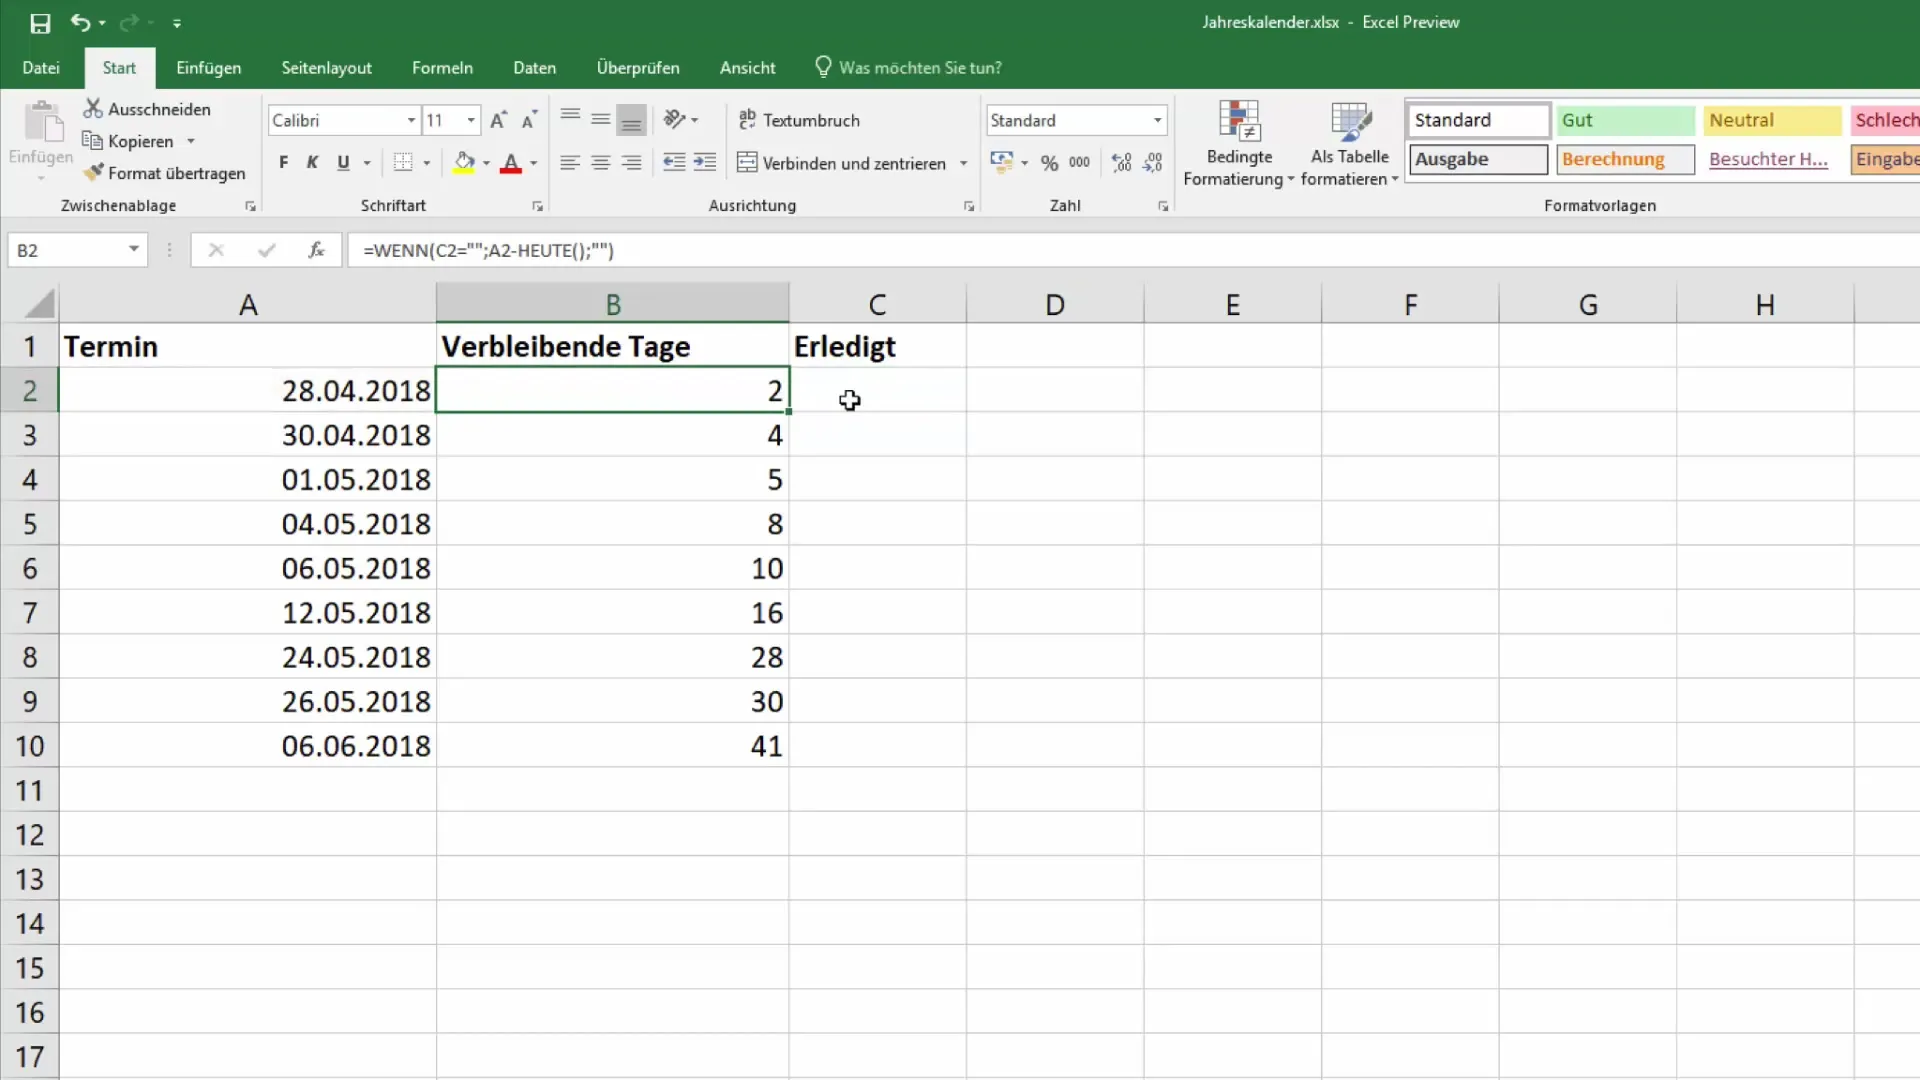
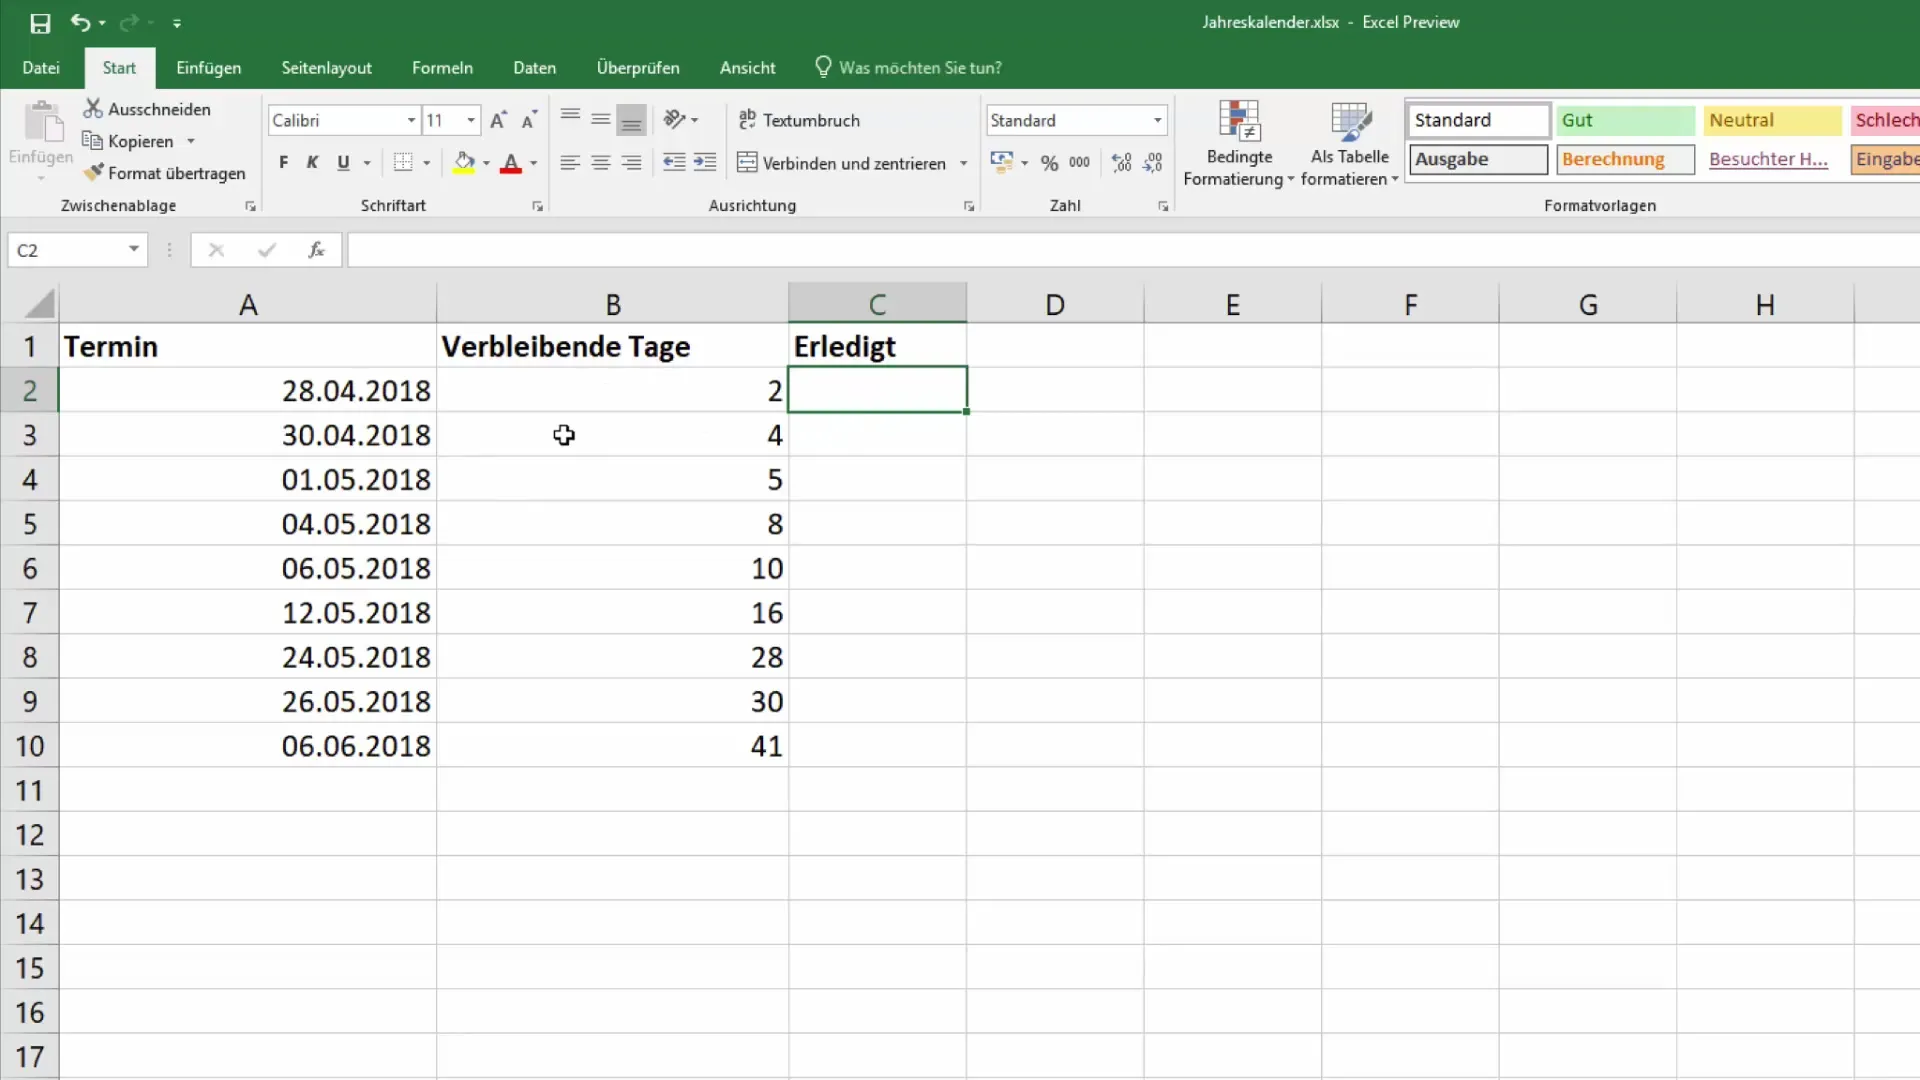
When an appointment is completed, you can document it by filling in the corresponding cell. It is recommended to add a comment to the cell (e.g., "Completed" or "Canceled"). By using an "IF" statement, you can automatically hide the display of remaining days.
Step 4: Applying the "IF" Formula
Enter the following formula into the cell that displays the remaining days: =IF(C2<>"";"";A2-TODAY()). This checks if there is a comment in column C. If the cell is not empty, the formula displays nothing. Otherwise, it calculates the remaining days.
Step 5: Color Coding with Conditional Formatting
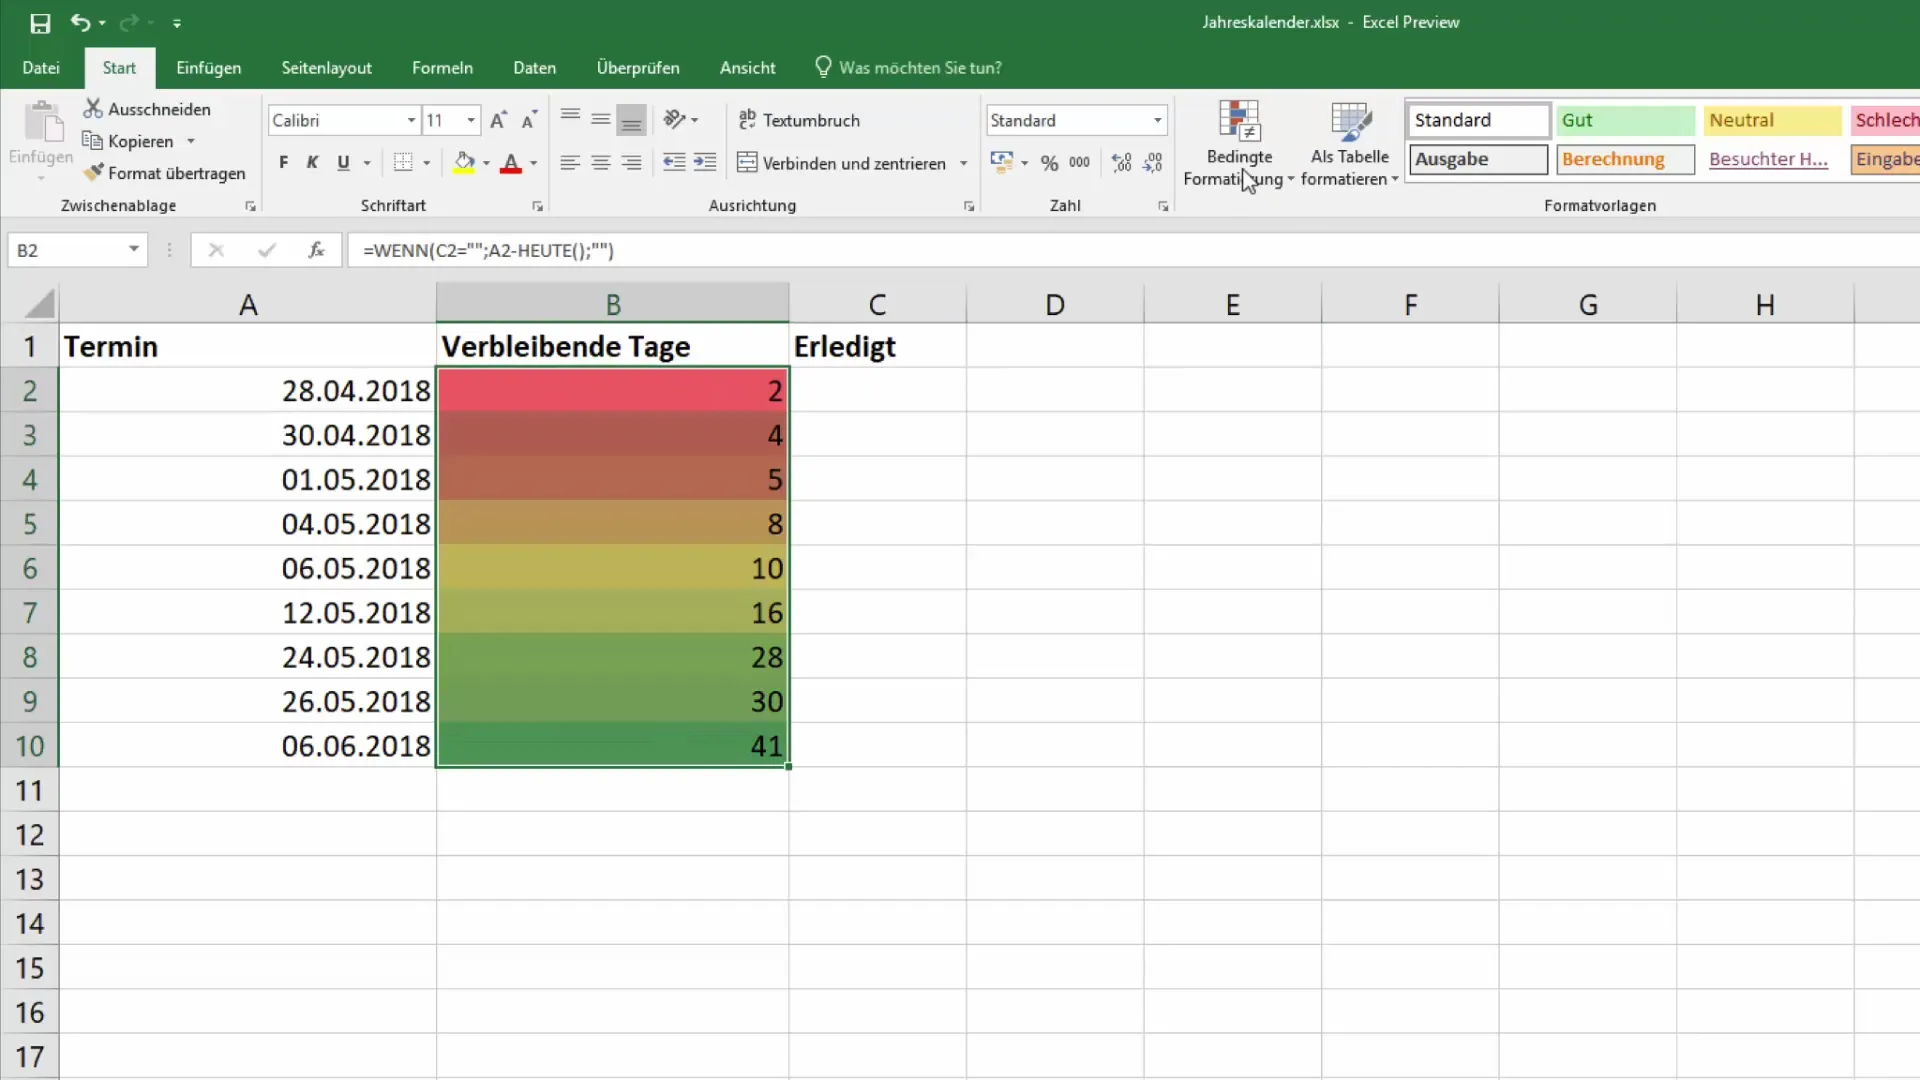
To highlight the appointments with colors, select the column with the remaining days and go to "Conditional Formatting." Choose the option for color scales. You can opt for a three-color scale to represent a smooth transition between different colors.
Step 6: Customizing Color Scales
You can customize the color scales to set specific thresholds for display. For example, you can specify that anything within the next two days will be shown in red, and anything further in the future will be in green.
Step 7: Considering Workdays
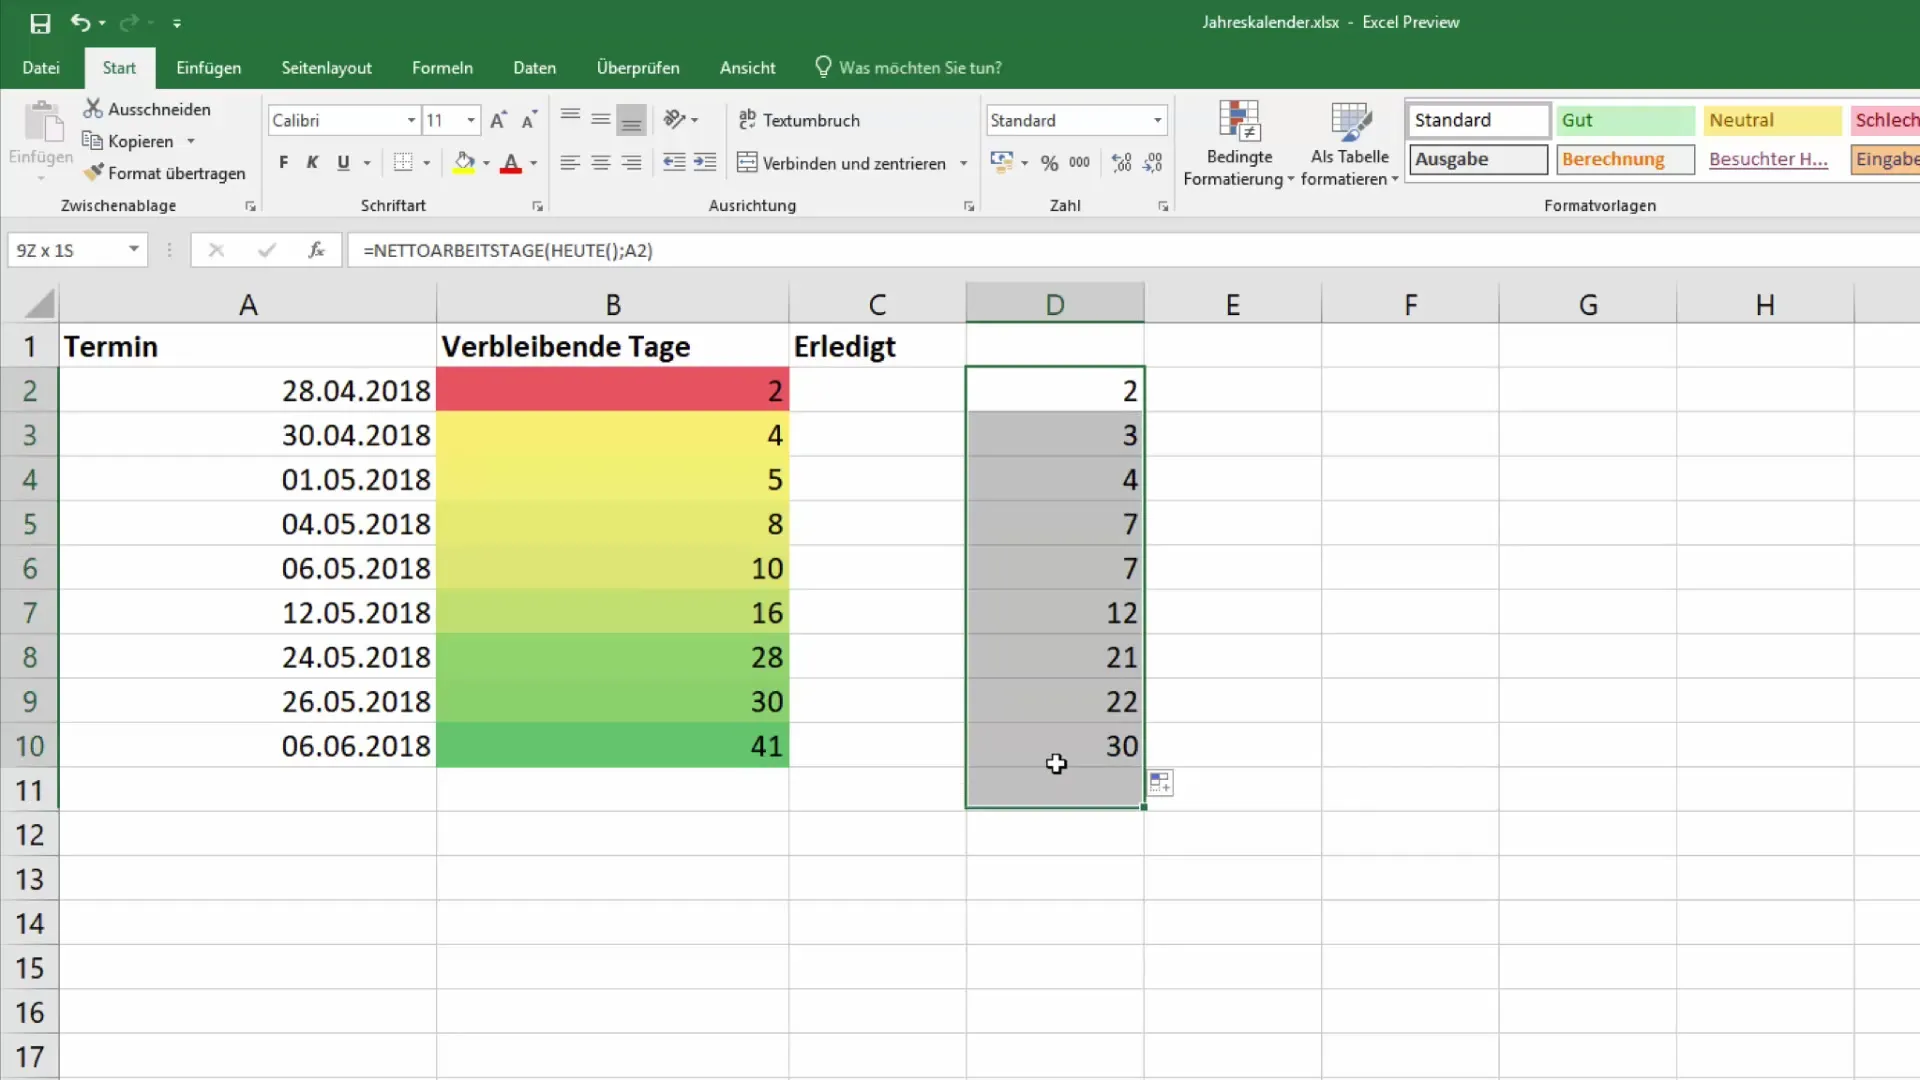
If you also want to consider the number of remaining workdays until a certain date, you can use the WORKDAY function. Enter the function in a new cell: =WORKDAY(TODAY();A2) and close the bracket. The result will show you how many workdays remain from today until the appointment date.
Step 8: Conclusion and Further Steps
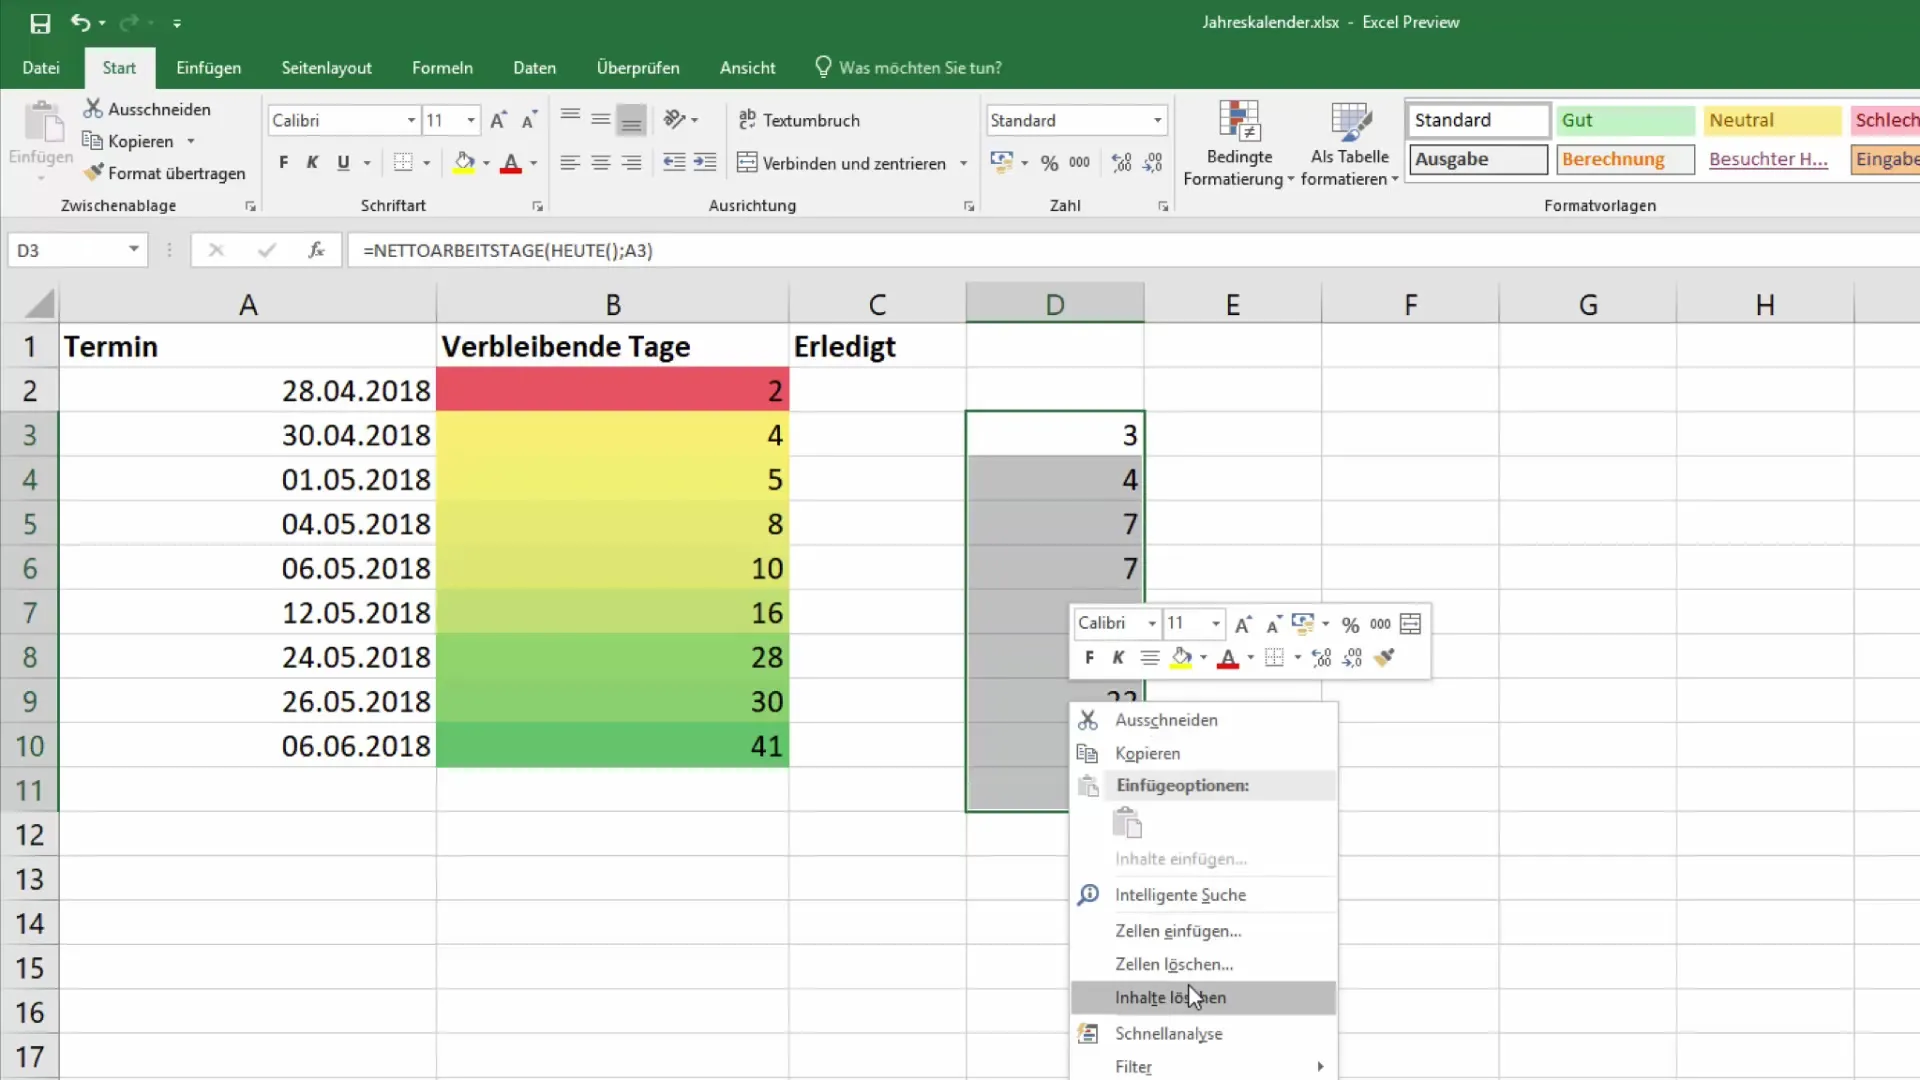
After completing all the steps mentioned above, you should now be able to efficiently manage your appointments and quickly identify those that are due soon. Save your document, and you will be well prepared for planning your appointments.
Summary
In this tutorial, you have learned how to color code your appointments efficiently in Excel through simple calculations and the use of conditional formatting. This way, you can easily keep track of upcoming events and quickly react to changes.
Frequently Asked Questions
How can I activate conditional formatting in Excel?You can activate conditional formatting by selecting the cells you want to format and choosing the "Conditional Formatting" option from the "Home" menu.
Can I use custom color codes?Yes, you can define your own color codes in the conditional formatting settings to highlight specific dates.
How does the formula for calculating the remaining days work?The formula =A2 - TODAY() subtracts today's date from the date in cell A2, calculating the remaining days.
How can I save my Excel file?You can save the file by clicking on "File" and then selecting "Save" or "Save As".
What happens when I delete an appointment?If you delete an appointment, the remaining days for the affected cell will be automatically updated.


