Whether you work in an office, are in a home office, or simply want to expand your Excel skills, the ability to integrate images into your Excel tables can greatly enhance the visual appeal and presentation of your data. In this guide, you will learn how to efficiently insert, edit, and adjust images in Excel to create attractive and professional tables.
Main Takeaways
Inserting images into Excel is easy and offers numerous customization options. You can insert images directly into cells or freely arrange them throughout the table. The ability to crop, color correct, and adjust the image size allows you to give your tables an individual and professional appearance.
Step-by-Step Guide
1. Open the Time Tracking
First, open your Excel file where you want to insert images. To do this in Excel, go to "File" and select "Open." Find the file, e.g., the "Time Tracking," and open it. Make sure you have selected the correct file for editing.
2. Prepare the Workspace
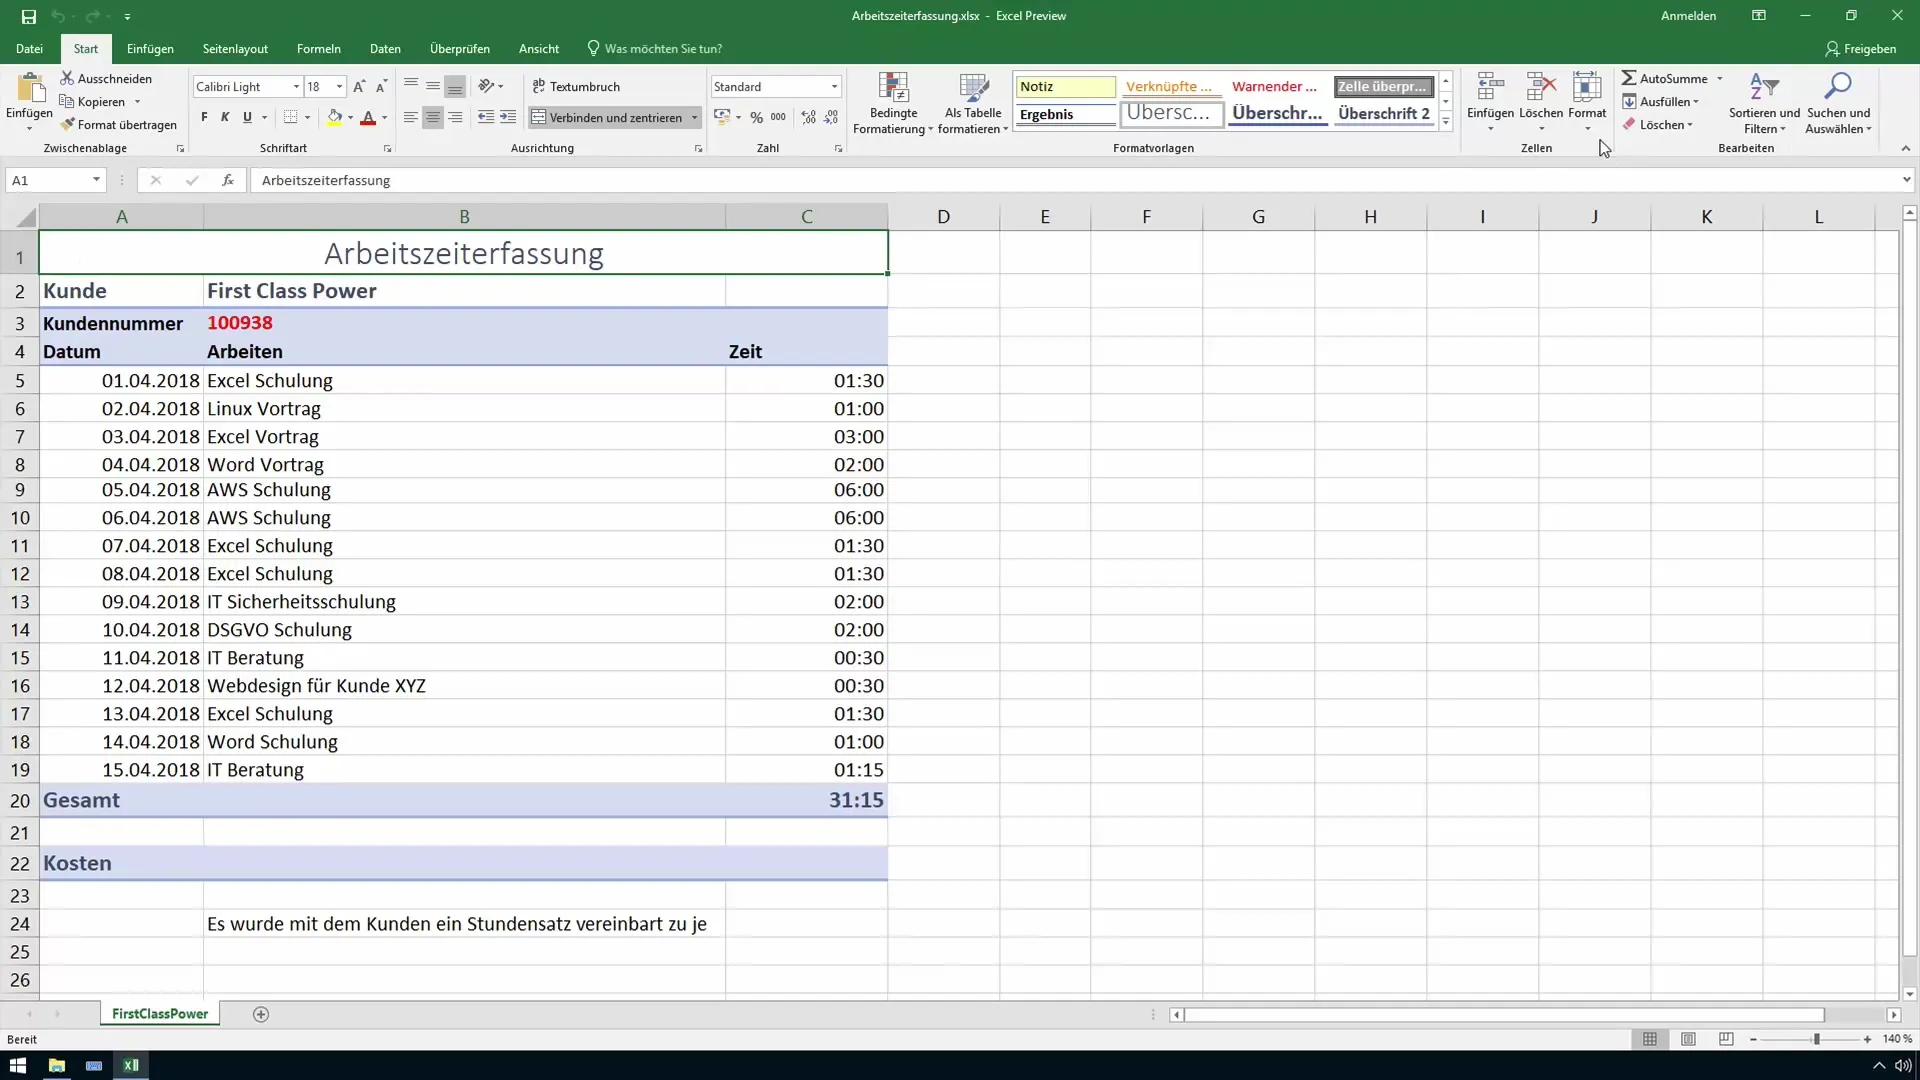
You want to create suitable placements for the images. Consider where in your table the image should be positioned. A good practice is to reserve a separate row or a specific area for the image. Click on a row you want to highlight and insert a new row if necessary.
3. Insert an Image
Now you can insert the image. Click on the "Insert" tab in the menu bar and select "Pictures." You now have the choice to select an image from your computer or insert images stored in the network.
4. Adjust Image Size and Position
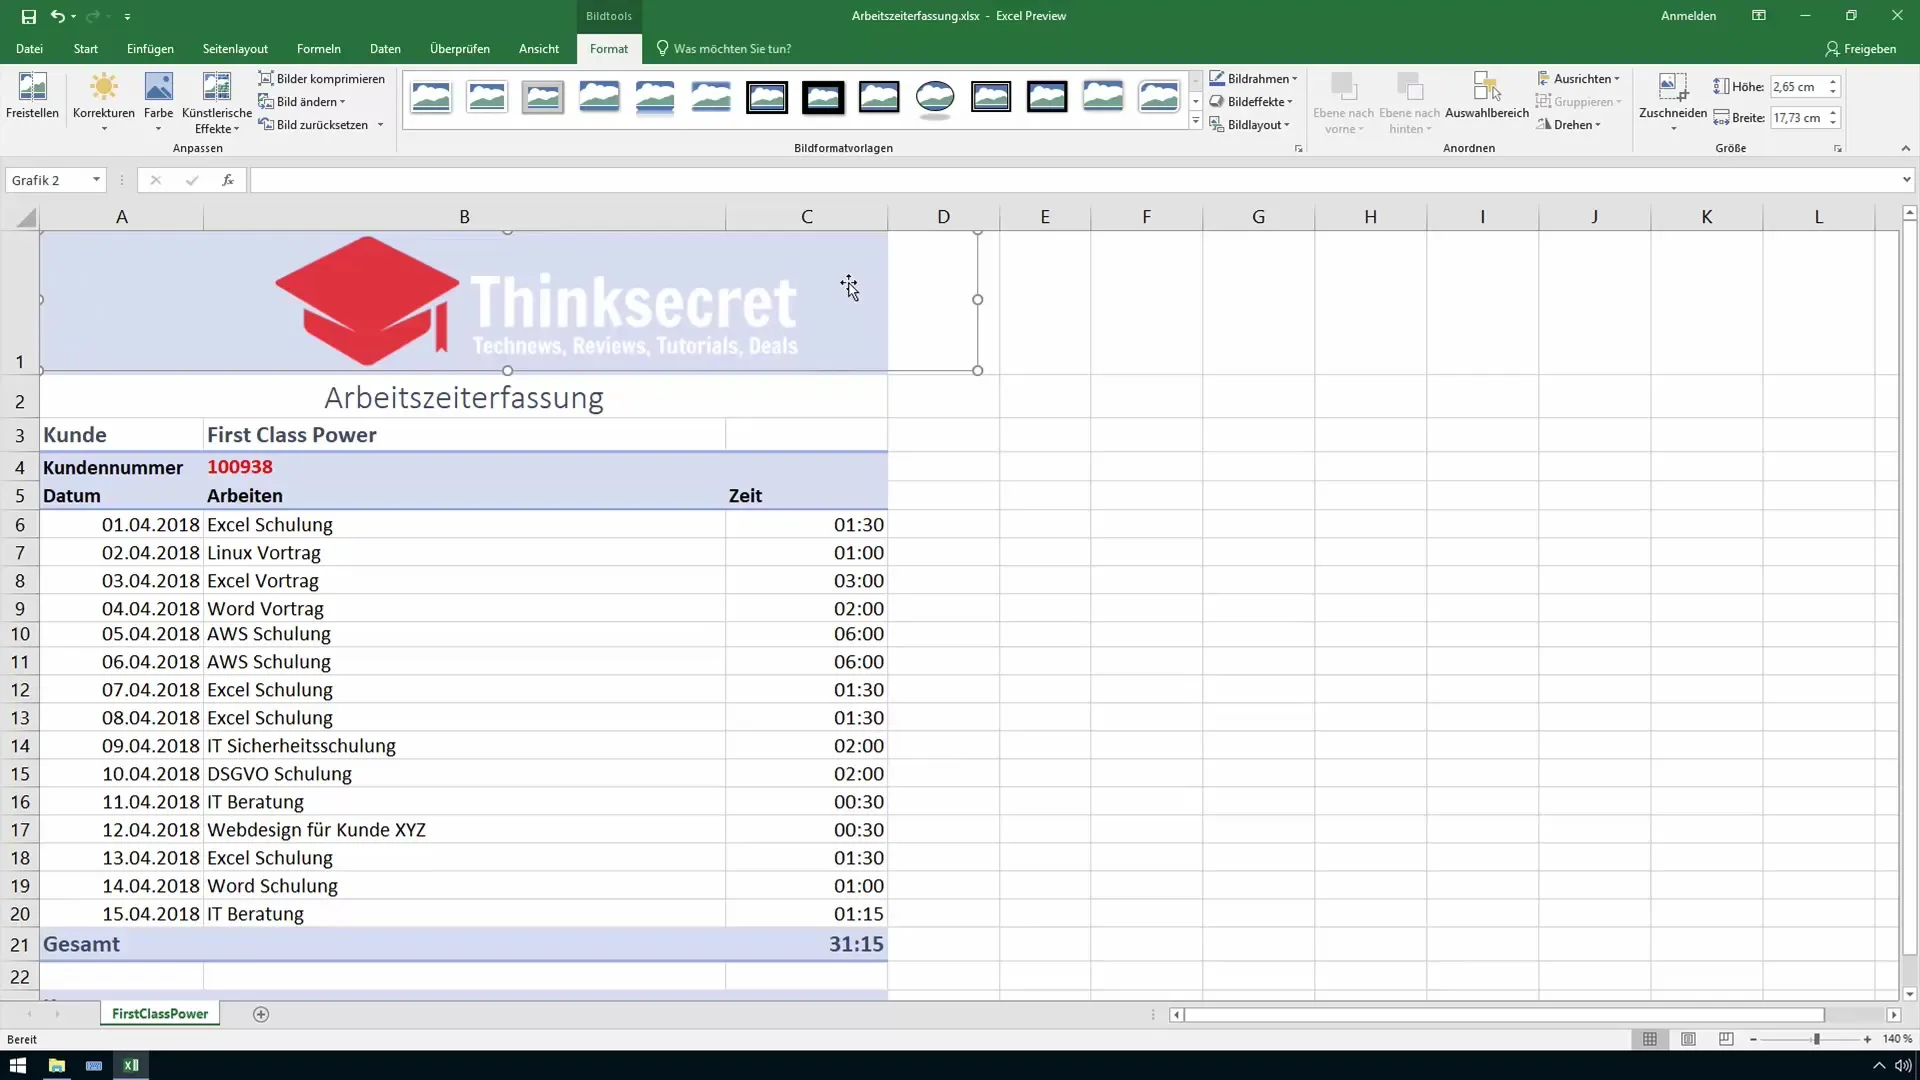
After inserting the image, it may not be ideal in size. Use Excel’s editing functions to crop the image or change its size. Click on the image and use the corner points to adjust the size proportions.
5. Color Corrections and Effects
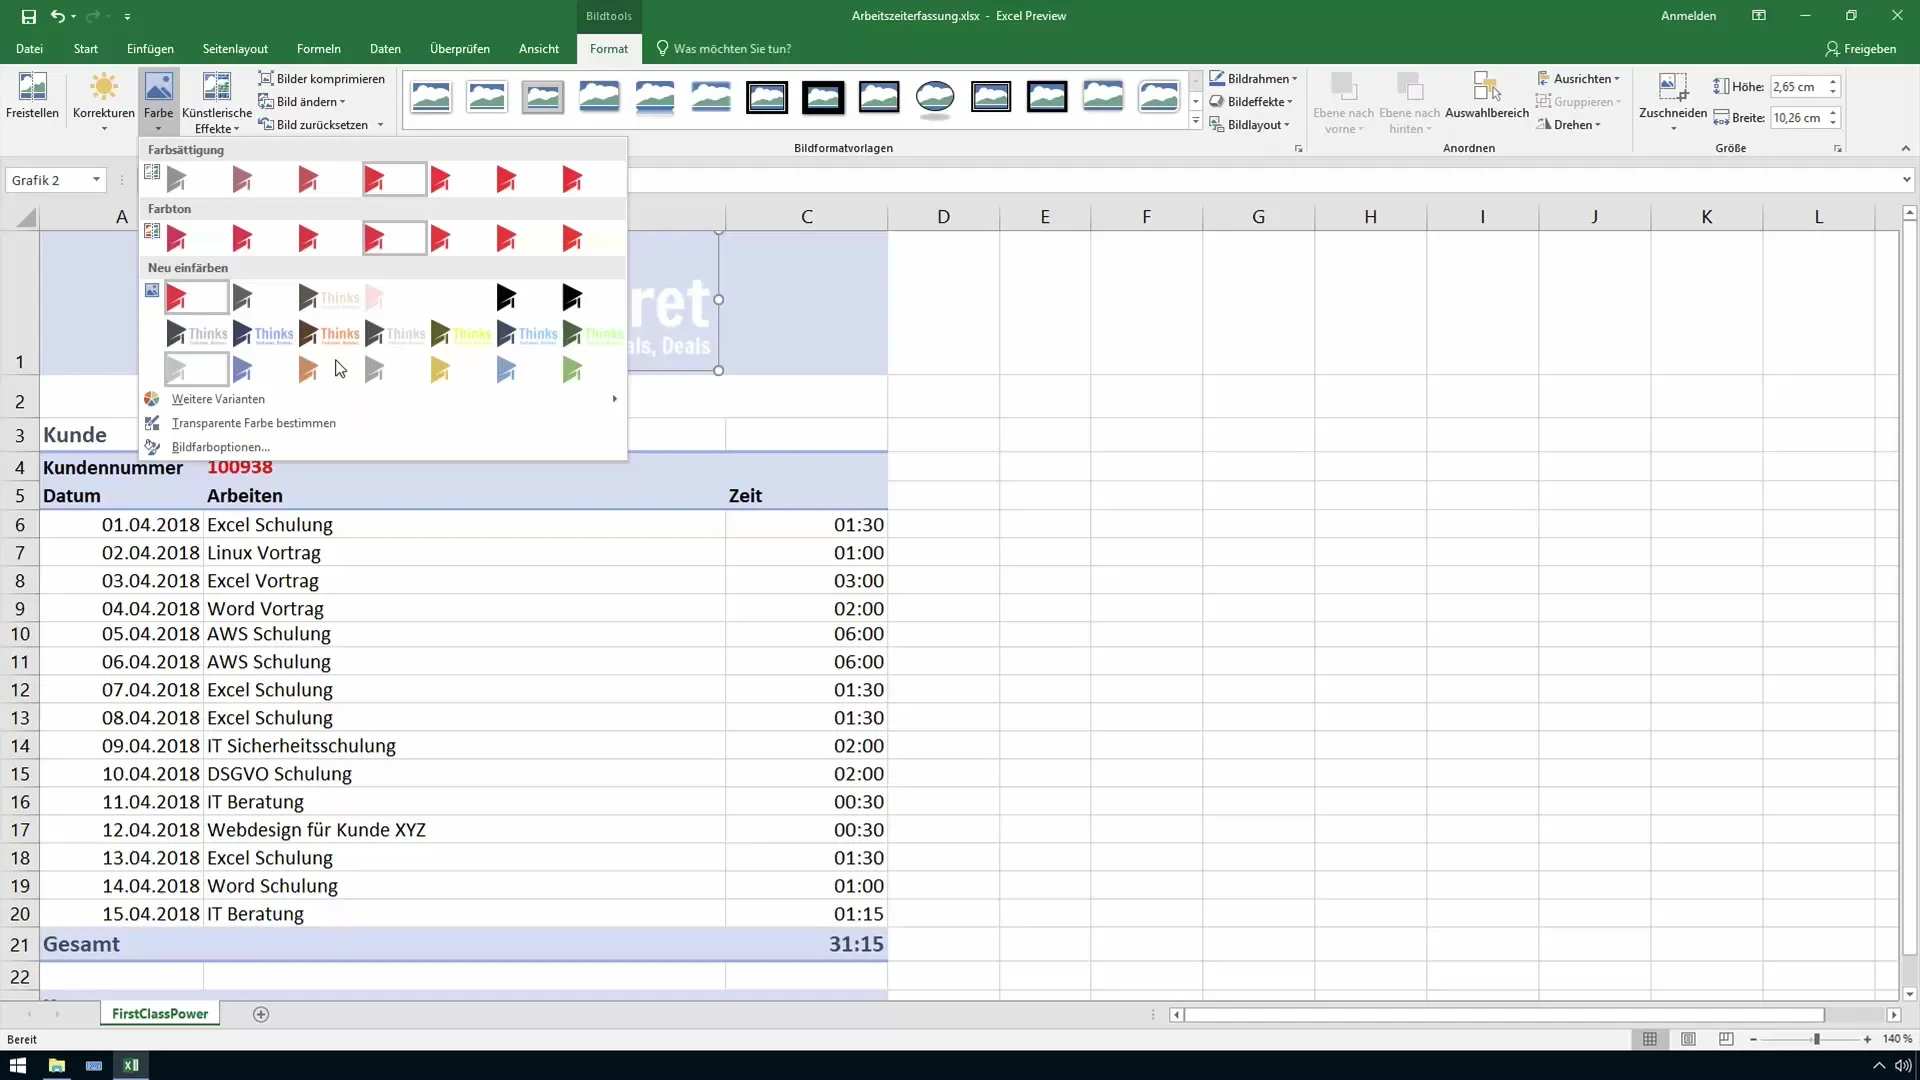
Excel offers various options for image editing. You can make color corrections and apply different effects. Click on the image and go to the Picture Tools to make the desired adjustments, such as applying an artistic effect or adjusting the brightness.
6. Image Linking or Embedding
You have the choice to embed the image in your Excel file or just save a link. If you insert the image, it will be directly in the Excel file. However, if you create a link, the image will be stored externally. Make sure you know where the image files are located to avoid future issues.
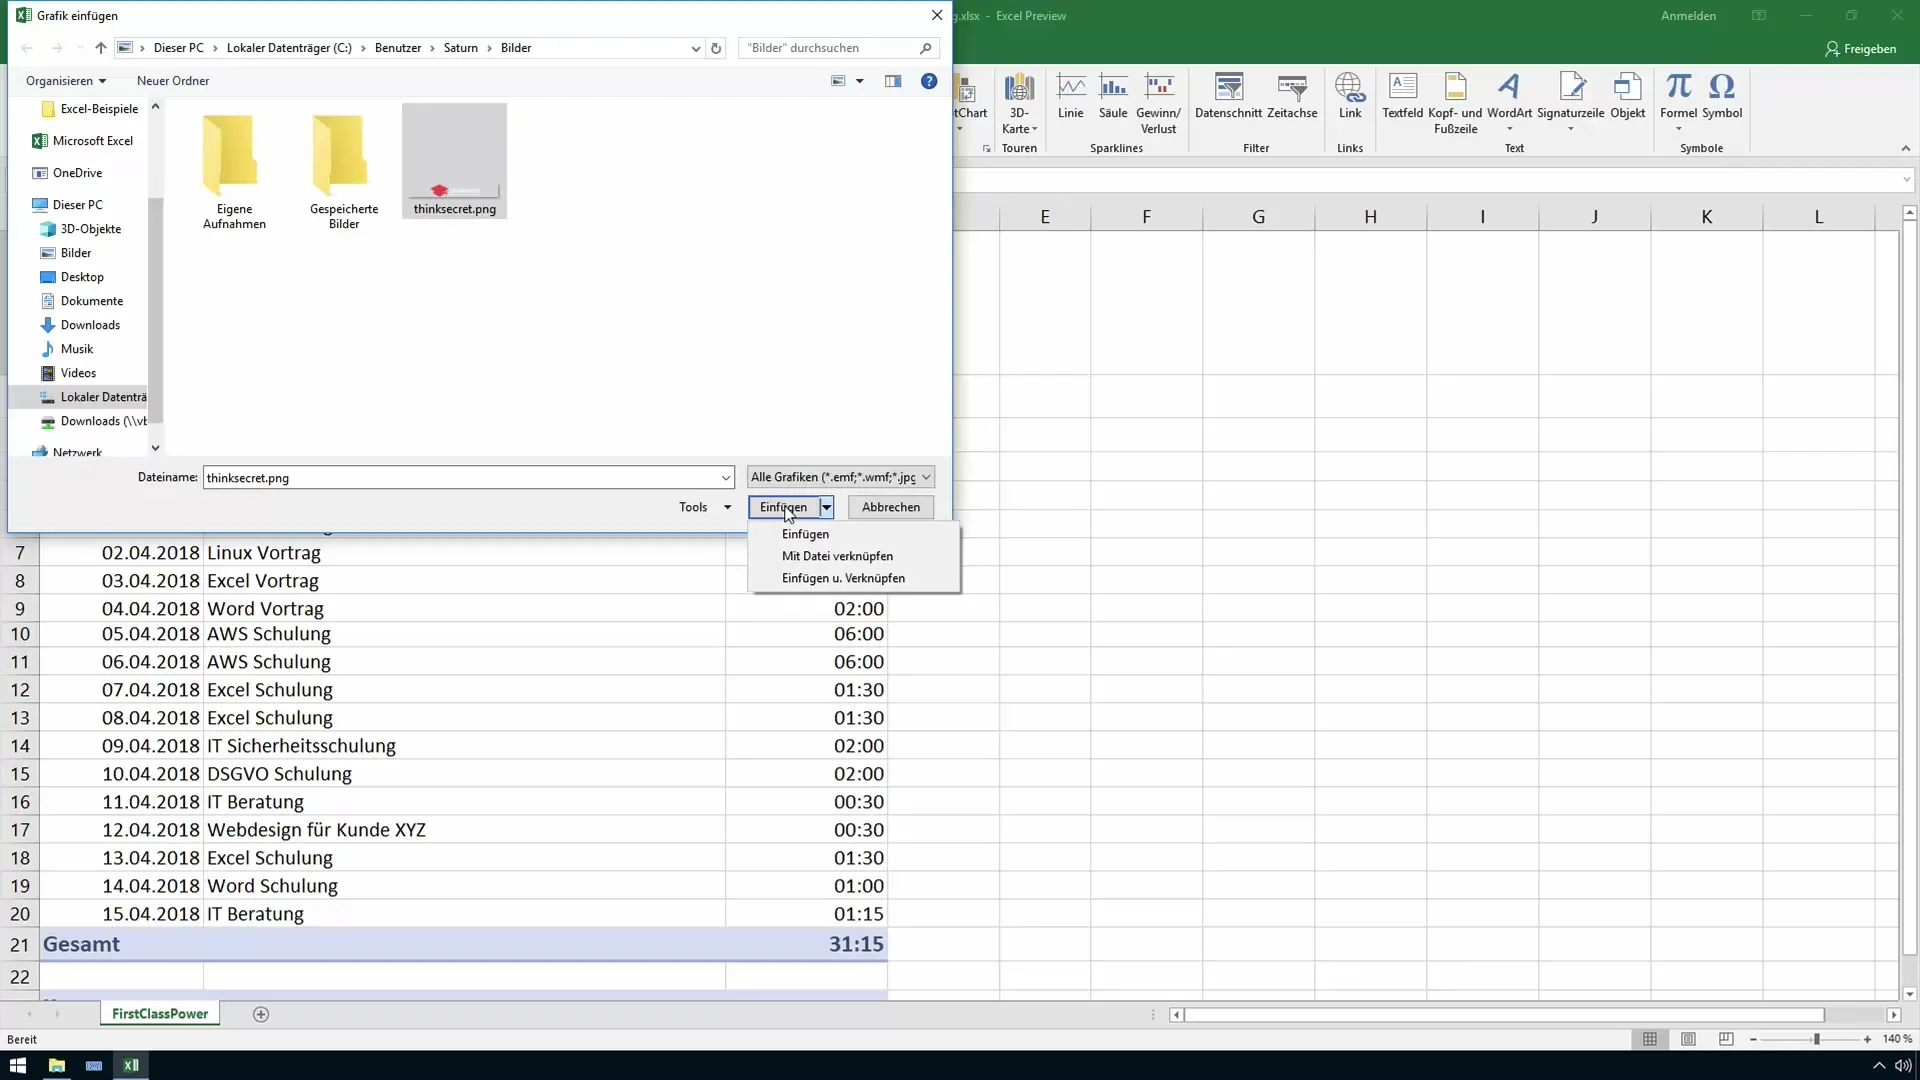
7. Bind Image to Cells
A useful feature is binding the image to a cell. Right-click on the image and select "Size and Properties" to change the setting. Make sure the image depends on the cell position and size.
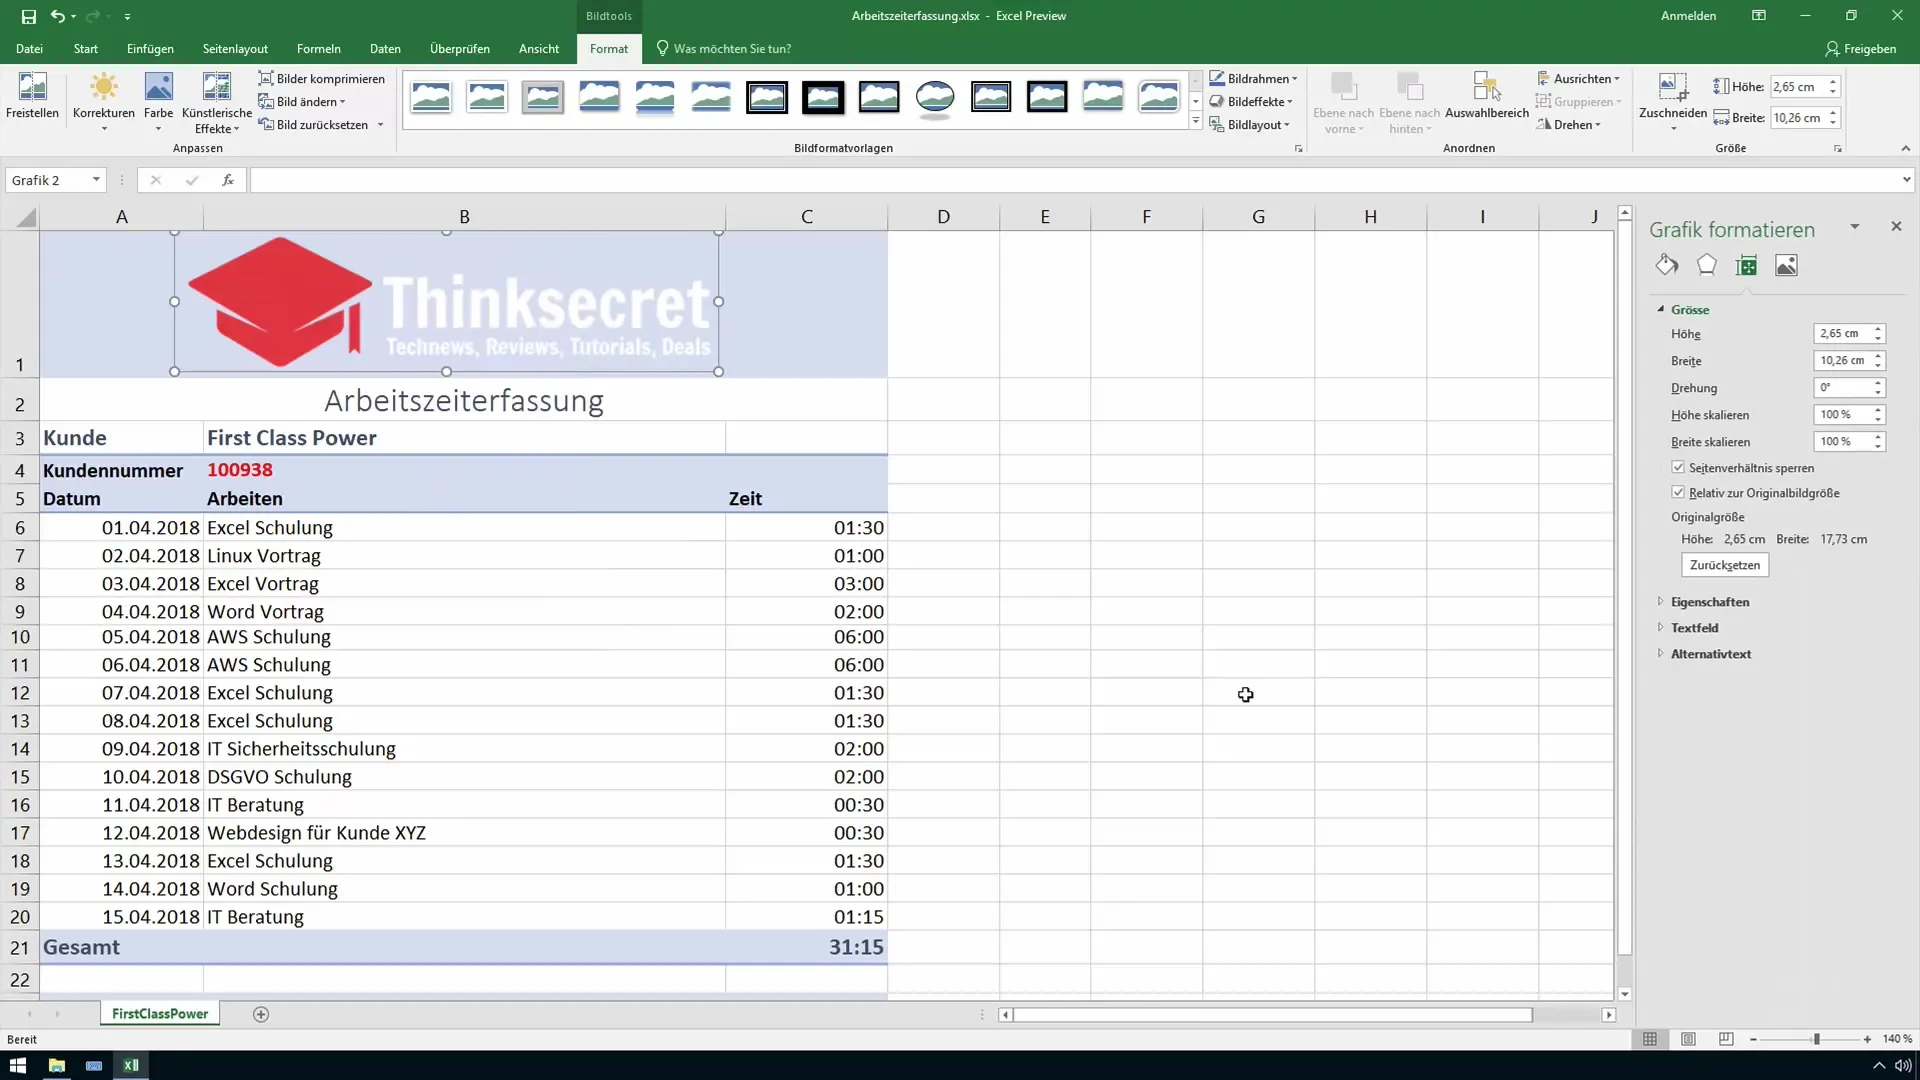
8. Adjust Aspect Ratio
Be careful not to unintentionally change the image's aspect ratio when resizing it. Excel allows you to adjust the settings so that the graphic scales with the cell range, or you can maintain the ratio.
9. Add Metadata
You can also add metadata or notes to your image, serving as useful information for you without making it directly visible. These are helpful when you revisit the Excel sheet later or share it with others.
10. Save and Print
Don't forget to save your file regularly. Then check the print preview to make sure the image and the entire table look neat before printing them. This way you ensure that everything appears as you wish.
Summary
In this tutorial, you learned how to insert and edit images in Excel. From basic tasks like inserting images to adjusting image size and color corrections, you have learned all the necessary steps to beautify your tables and present their information visually appealing.
Frequently Asked Questions
How do I insert pictures in Excel?You can insert pictures by clicking on "Insert" and then on "Pictures".
Can I easily adjust the size of an image in Excel?Yes, you can adjust the image by dragging on the corners or sides.
What happens if I insert the image from an external location?If you only link the image, it remains stored externally. Make sure the storage location is not changed.
Can I format pictures in Excel?Yes, Excel offers many design options for pictures, including color corrections and effects.
How do I save the Excel file after adding pictures?Click on "File" and choose "Save" or "Save As".
