In this tutorial, I would like to show you how to create a business card and what you need to pay attention to. As an example, we will create a business card for an internal medicine doctor.
Here we go: Steps 01-10
Step 01
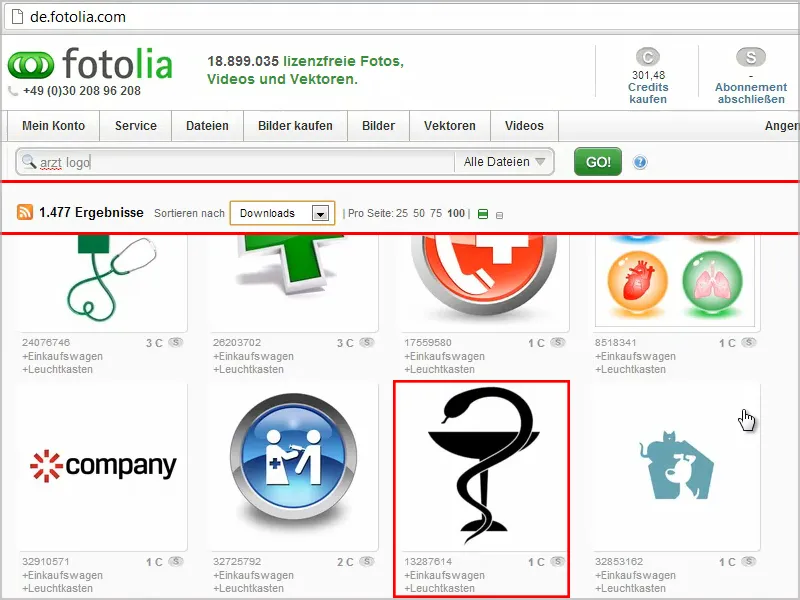
On fotolia.de you can find images and logos for which the licenses have been cleared relatively cheaply.
I search for "doctor" and sort by downloads, because this way the better ones are displayed at the beginning or the ones that have been bought the most.
When I have decided on one, I click on it ...
Step 02
... and see that it is also available as a vector license. So I can scale it infinitely.
I add it to the shopping cart and accept the license agreement. On the left under the thumbnail, it says everything I can and can't do with the logo. For example, I can use it on print media such as business cards or on websites, and that's exactly what I want to do.
So I download the image.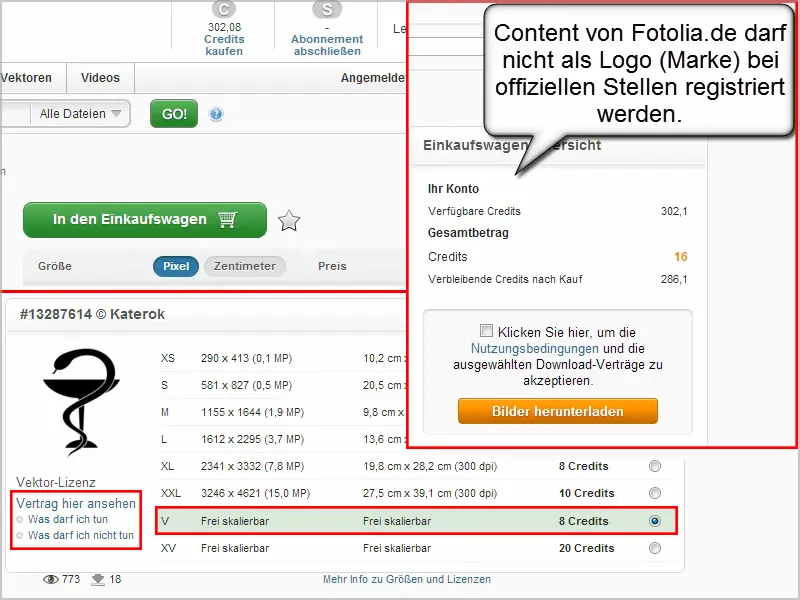
Step 03
The file is an .svg file, a vector file, which I can only open with vector programs. I can't open it with Adobe InDesign, all I get is a mess, as you can see at the bottom left.
That's why I start Adobe Illustrator and open the file with it.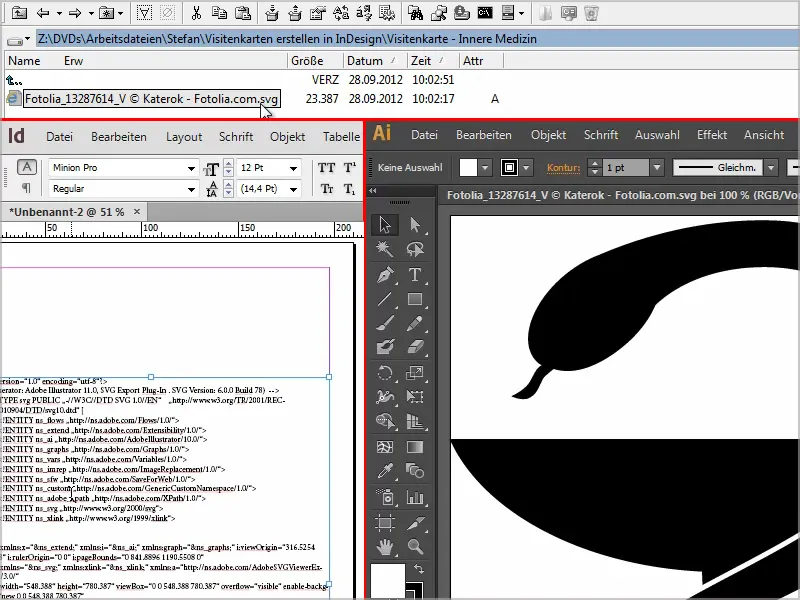
Step 04
If you don't have Illustrator, you can also use open source software such as Inkscape. You can search for the program on Google and then download and install it.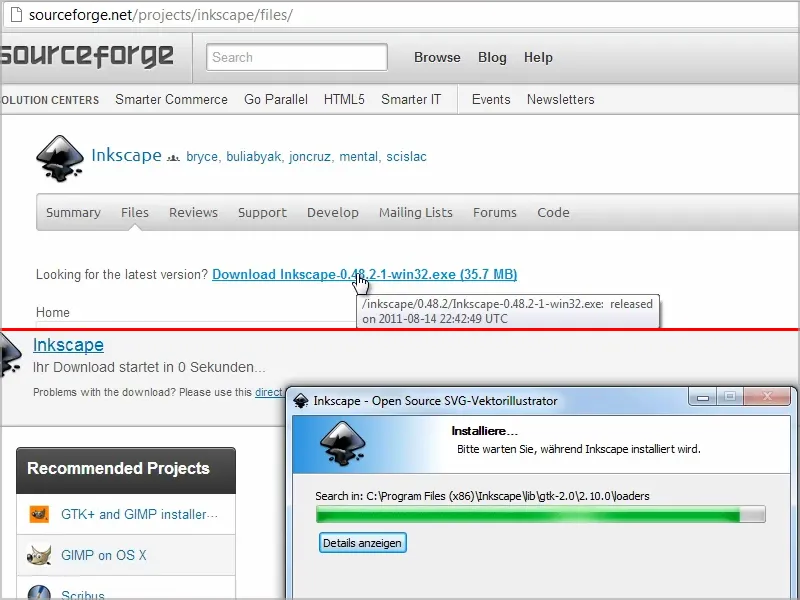
Step 05
Now I open the file.
Unfortunately, I can't simply copy the logo from here and then paste it into InDesign in its original position using the clipboard. Unfortunately that doesn't work.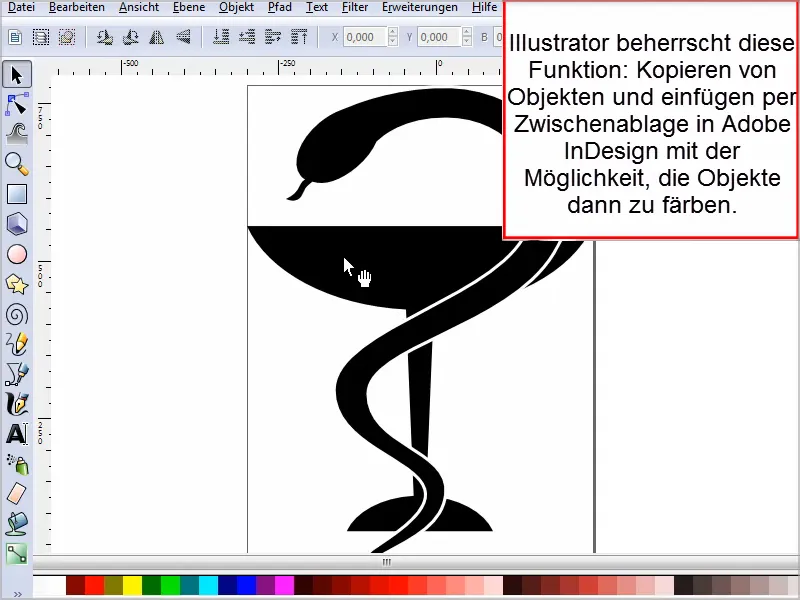
Step 06
I have to convert the logo to another format using Illustrator or Inkscape.
I go to File>Save As, where I have various file types to choose from. The .eps, .ai or PDF formats are quite good.
I save it as a PDF and leave all the options as they are.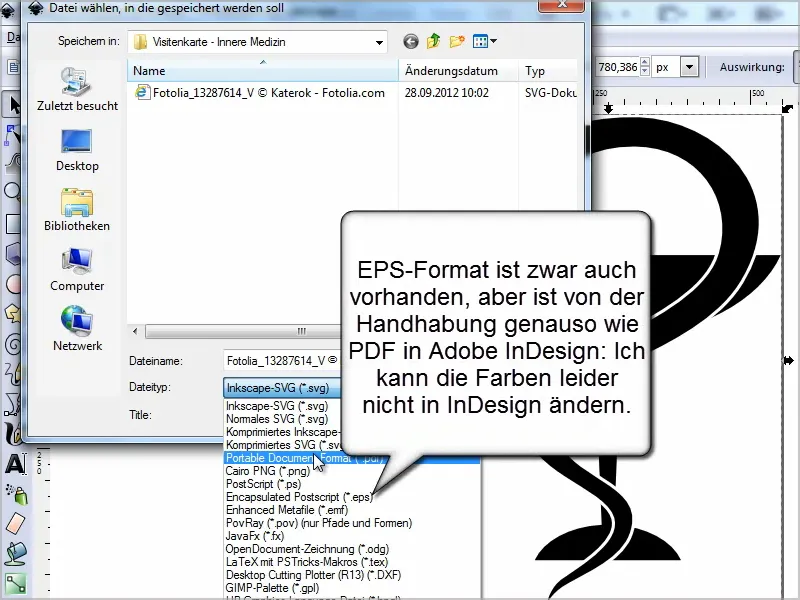
Step 07
I create a new document with a width of 85mm and a height of 55mm.
It is important that I work with a bleed so that the printer can cut the cards properly. After all, I don't want there to be any white blotches on the edge if they overlap by a millimeter.
If I click on the More options button, I can set the bleed and info area to 2 mm at the bottom. In most cases this is sufficient, otherwise you can also enter 3 mm.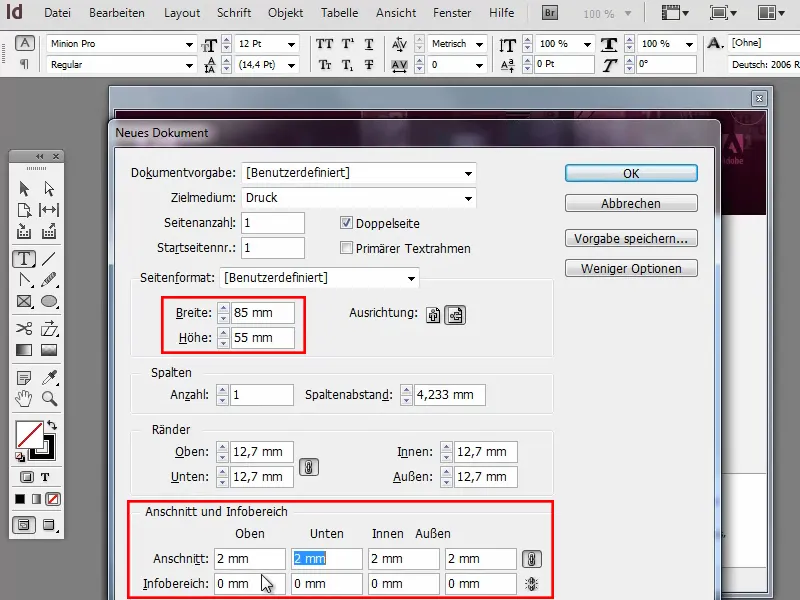
Step 08
I can now insert the graphic into InDesign via File>Place.
If we see staircase patterns at the edge, then this is just a display problem that can be easily fixed. As soon as I go to View>Display Performance>High Quality Display, the edges are smooth again.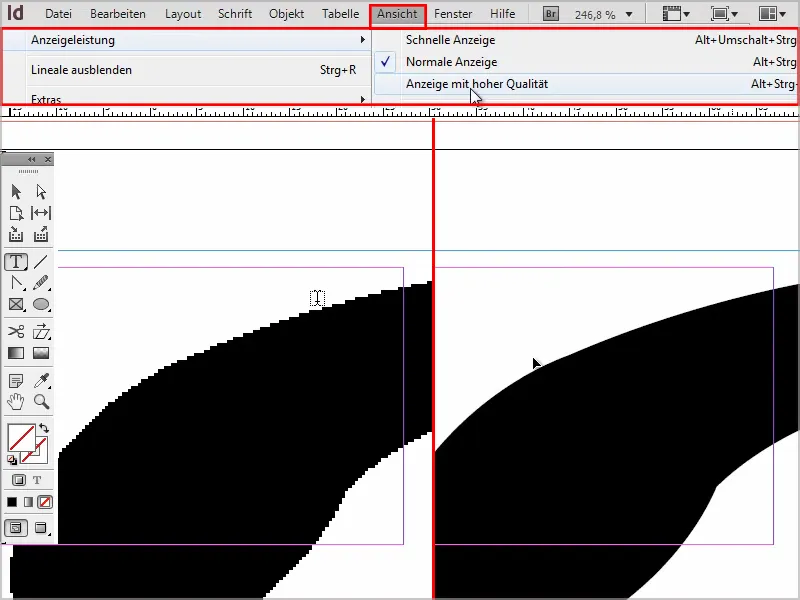
Step 09
Holding down the Shift and Ctrl keys, I reduce the logo proportionally and adjust it to the size of the business card.
Step 10
The problem here is that I can't necessarily get the logo colored quickly and easily, because this is only possible with real vector files, which I copy from Illustrator, for example, and paste into InDesign via the clipboard.
However, I can of course still try to color it via Window>Effects by giving the object a glow to the inside and in Mode: Normal, Technique: Precise the color: Blue, with an opacity of 100%..webp?tutkfid=70397)
Steps 11-20
Step 11
However, this works much better with Illustrator or I can also specify which color I want in Inkscape beforehand.
I can click on each individual object and assign the colors accordingly. And then I go back to Save As and save it in the appropriate file format..webp?tutkfid=70398)
Step 12
In InDesign, I open the logo via File>Place and drag it to the correct size.
I change the views using the icon in the toolbar.
I go to File>Save as and name the document "Internal medicine business card".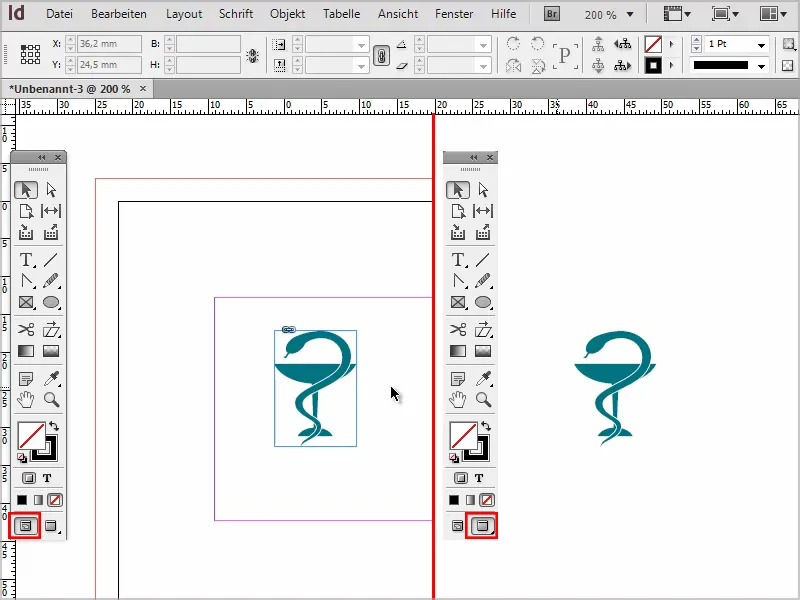
Step 13
Now I set the logo to about medium height, create a text field and write "Dr. Max Mustermann, Doctor of Internal Medicine".
What distracts me a little is the inner pink line, which is supposed to be the border. But I don't need it at all, so I go to Layout>Margins and Columns. I set all the values to 0 mm and the annoying rectangle in the middle of the document has disappeared.
The pink line is now also the margin of the document and the red line is the bleed. If I have a graphic in the document that is to be cut without a border, then I have to draw it up to the red line.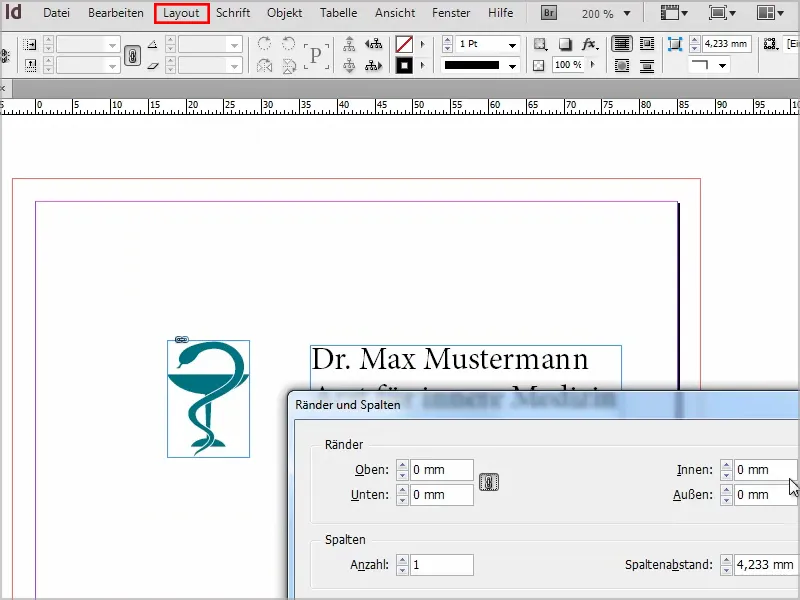
Step 14
I would like to have a different font than the one that is already preset. For example, I could download a font from the Internet.
I always like to look at www.dafont.com, where you can download different fonts.
For example, I display the top 100 and can also enter my text, which then appears as a sample text in the respective font. You have a huge selection of fonts and can download the one you want immediately for Win or Mac..webp?tutkfid=70401)
But I want a special font that I can't find at www.dafont.com. I simply Google it ("Bree Serif") and come to a page where I can download it.
Then I just have to unzip the .zip file by right-clicking and the font is already in the system. It couldn't be easier..webp?tutkfid=70402)
Step 15
Now I have the "Bree Serif" directly in the fonts in InDesign and can use it immediately as normal.
The Droid Sans is for the "doctor of internal medicine" - you can easily find it on Google. By holding down the Shift key, I can select the logo and text field together and move them a little to the left.
I can exit the text input by pressing Esc without always having to switch tools.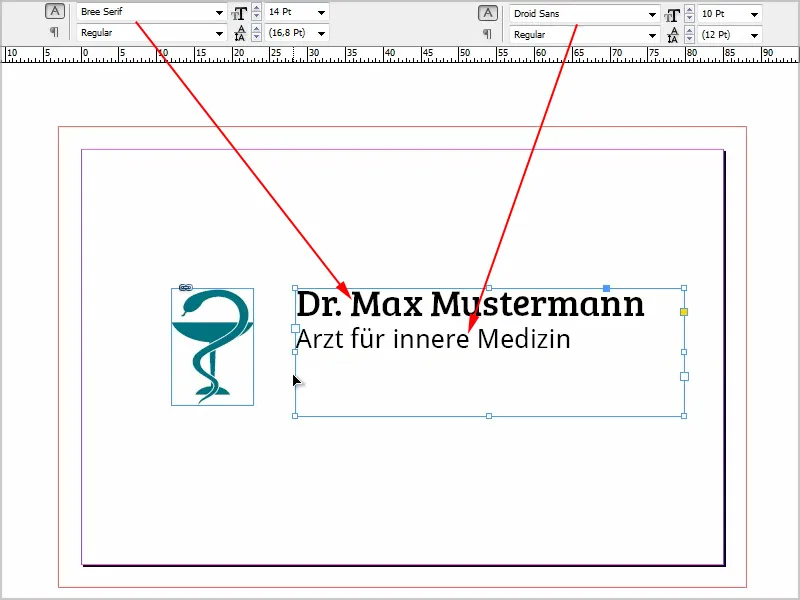
Step 16
Of course, I would also like to use the color of the logo for the font. To do this, I first create the color as a new color field: I simply click on the New icon, select CMYK modebecause it is to be printed, and name it "Green".
The text field itself should not have a color, it is set to None.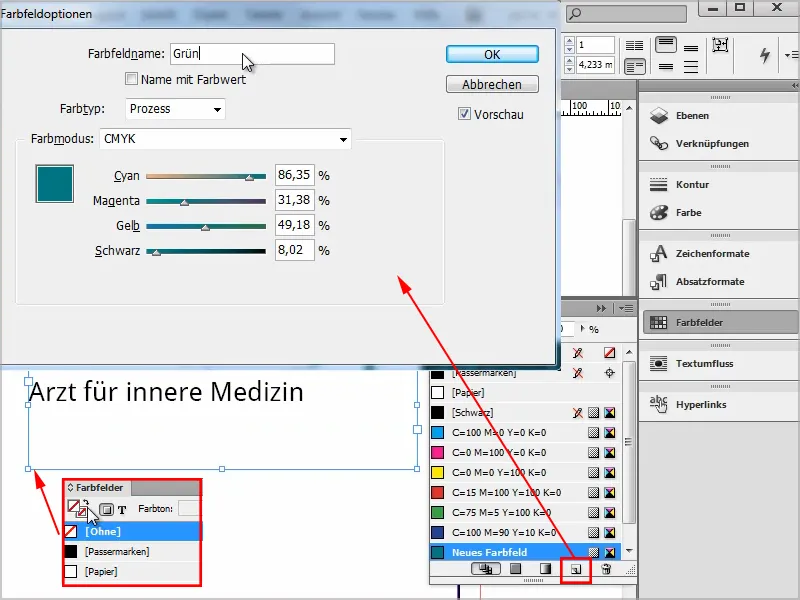
Step 17
I use the text tool and select the text "Dr. Max Mustermann". Just click on "Green" and the text has the desired color.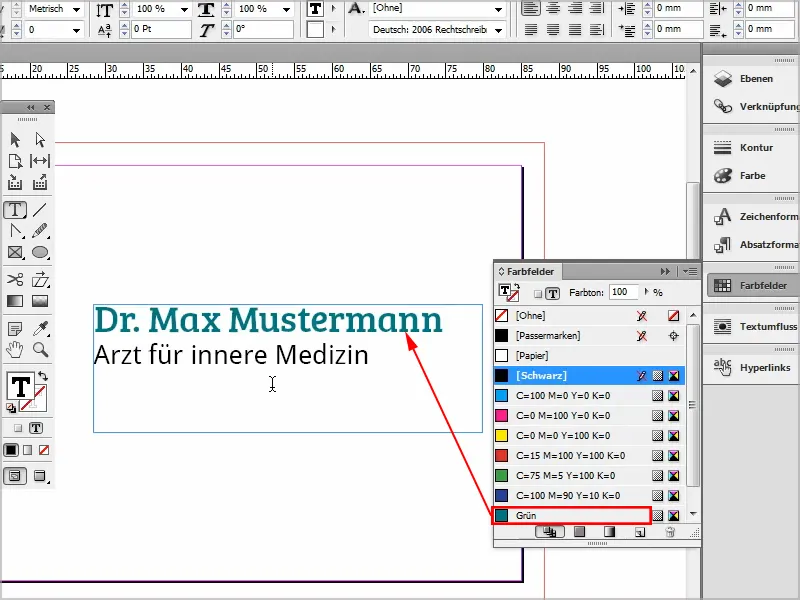
Step 18
Then I want to add another element, so I use the rectangle tool and draw a rectangle across the entire length of the card. I fill this with green color, without an outline.
I could add some dynamics by clicking on the rectangle, moving the mouse to the right edge and rotating the rectangle slightly.
I copy the rectangle by dragging it down a little with the selection tool and the Alt keypressed. I then drag the copy down by holding down the Shift key.
Now I fill it with black, create a new color field into which I double-click and in which I drag the black slider slightly to the left. I call it "gray" and confirm with OK.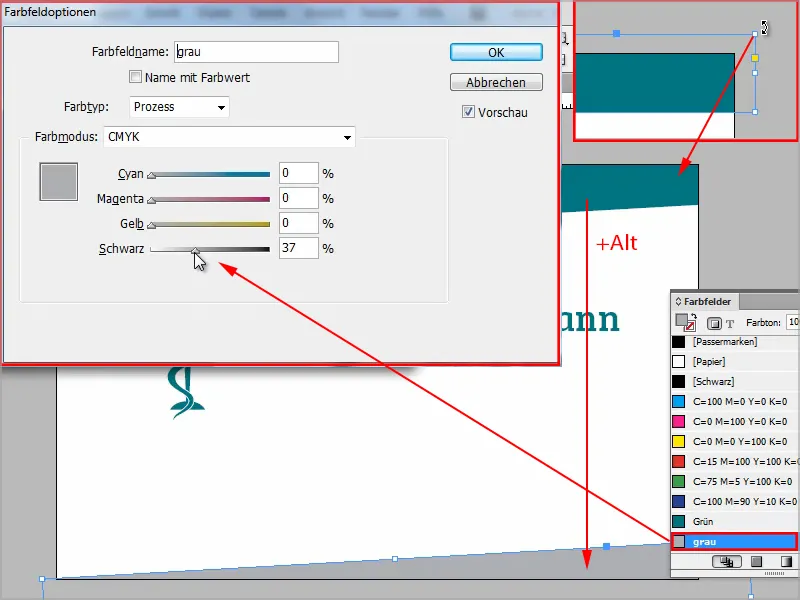
Step 19
Make sure that the colored rectangles are really drawn up to the bleed edge. If necessary, look at it in the normal viewand adjust the size so that everything is nicely filled up to the bleed.
It looks quite good, but the rectangles and the text should all be at the same angle.
Above, I can see the angle of the rectangle when I click on it. I select the logo and text field by holding down the Shift keyand set the 4° at the top.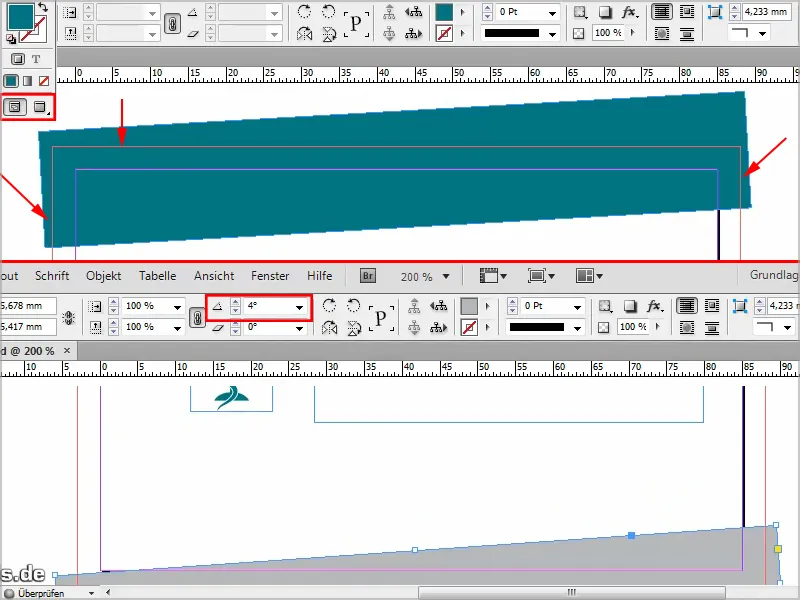
Step 20
I drag the text and logo down a little and position the rectangles a little more so that they come out exactly from the corner.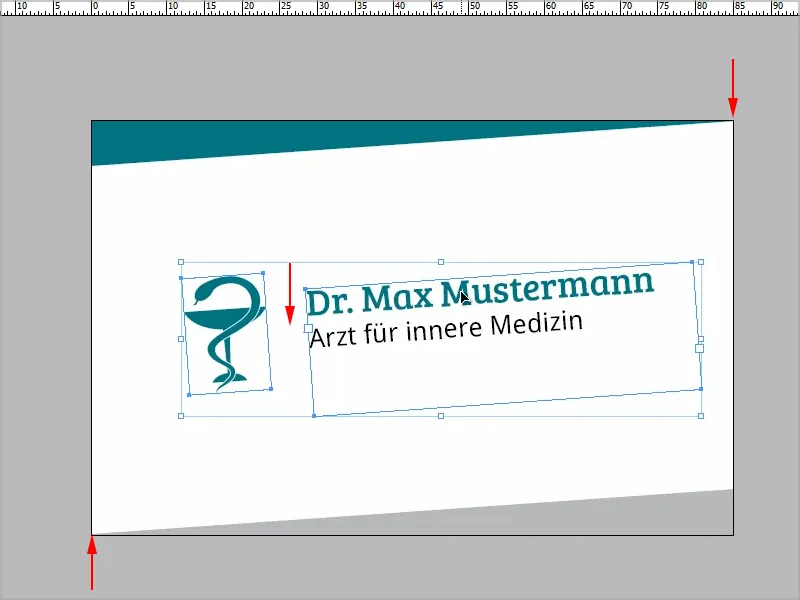
It doesn't actually look too bad like this. I'm already quite happy with the first page.
Let's continue: Steps 21-30
Step 21
You could also add a drop shadow to the logo via the effects panel, under Drop Shadow.
If you want to do this, please use a low opacity, and I like to use an offset of 1 mm, size also 1 mm. Then it looks like this: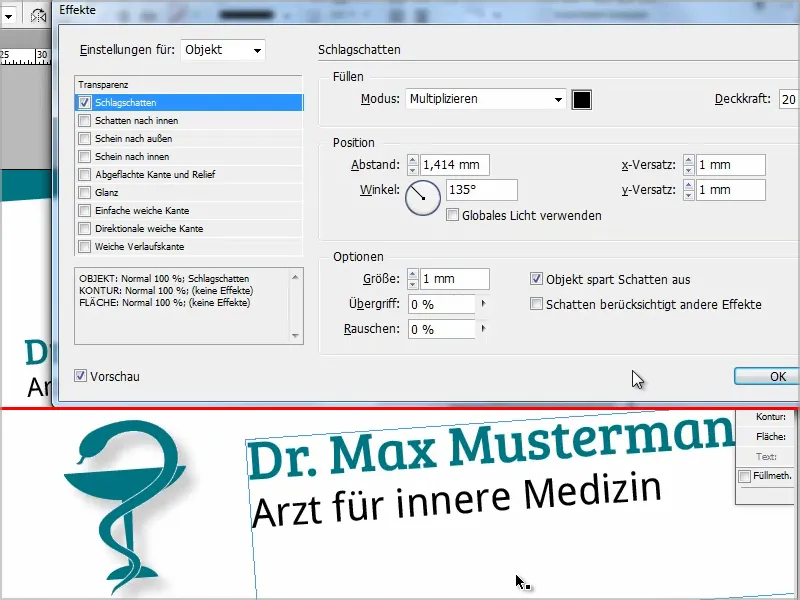
I prefer it without a drop shadow and therefore undo this with Ctrl+Z. Then I save with Ctrl+S.
Step 22
The facts such as telephone number etc. should be on the back of the business card. It is always good to work with paragraph and character formats.
I select the blue lettering and go into the paragraph formats. I click on Create new format and save it as a "heading" using the paragraph format options.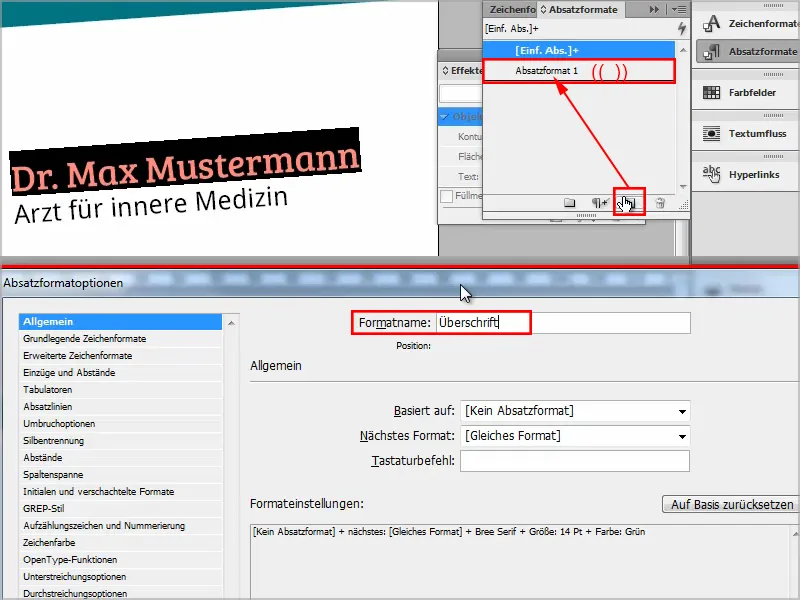
I do exactly the same with the text line "Doctor for internal medicine", as this is a different font. I call this format "Text".
Step 23
Then I create a new page: I simply copy the existing page here in the Pages panelunder Window>Pages by grabbing it and dragging it directly onto the New icon.
When I created the document, I accidentally checked the box for double pages. But I can remove this later via File>Document Setup, because I don't need double pages.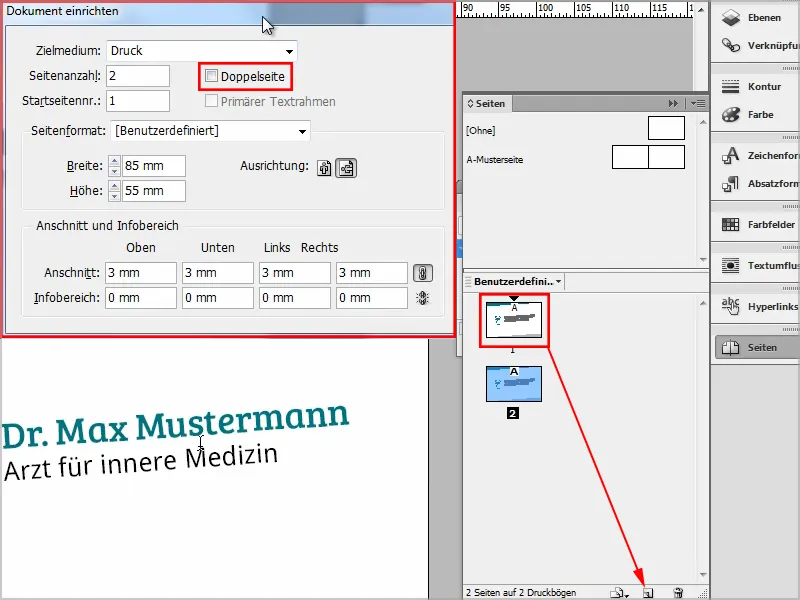
Step 24
On the reverse side, I set the angles of the rectangles, logo and text field back to 0°. The logo can be repeated, I drag it to the top left and make it slightly smaller.
I place the text field underneath, but also make the lines in a smaller font. I set the font size of the name to 9 pt and that of the text line below to 8 pt. I center the text in the text field and adjust the size of the text field to the text by double-clicking.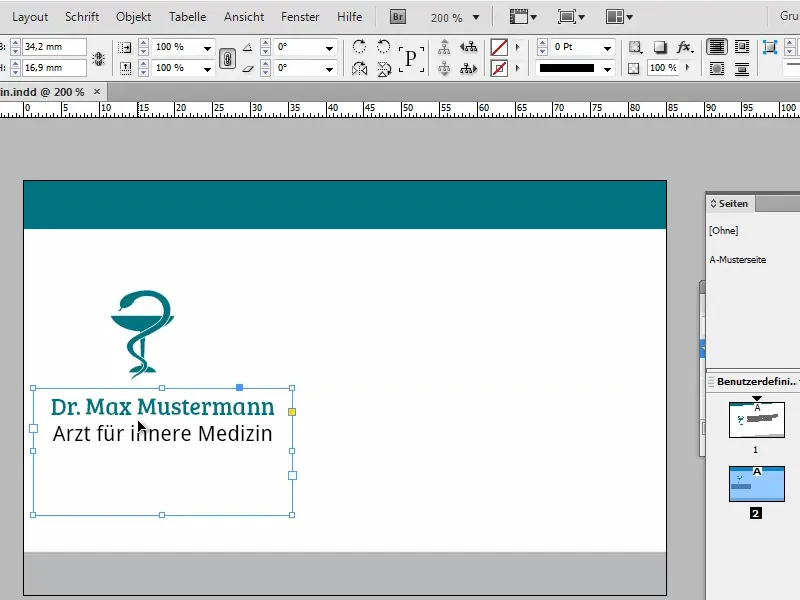
Step 25
I enter the data in a new text box in the right-hand area.
I create a character format that displays the text - regardless of any other formatting - in the character color "green". Now I can select any formatted text in my document and change its color to "green" by clicking on the character format. The set font and font size remain untouched. The practical thing about this is that if I decide at some point that I would prefer pink instead of green, I simply change the color in the character format - and all text parts colored with this color are automatically recolored to pink - I don't have to recolor each line individually.
This way I can change things quickly.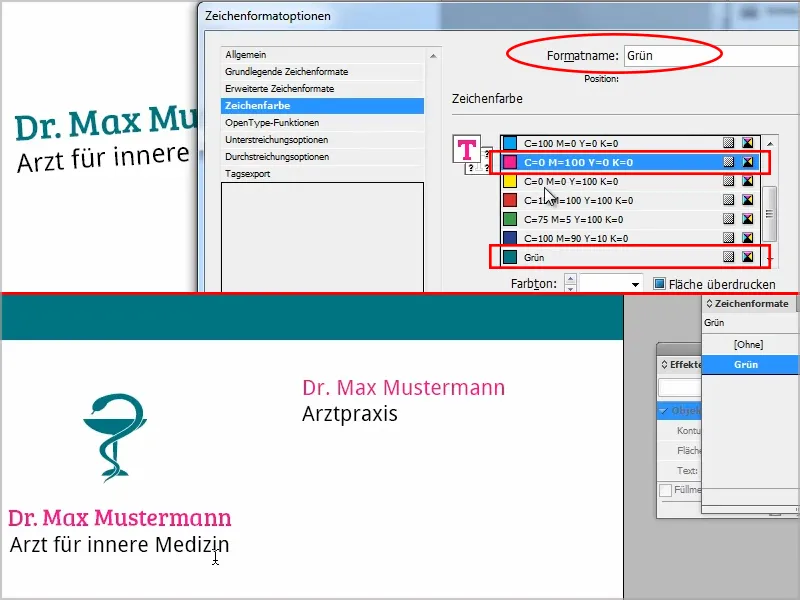
Step 26
The same of course applies to the paragraph formats, where I change the font, for example, and then it automatically changes throughout the document in the places that are defined with the paragraph format. That's brilliant, of course.
Or if you would like to have a little more space after the heading, you can set this in Indents and Spacing 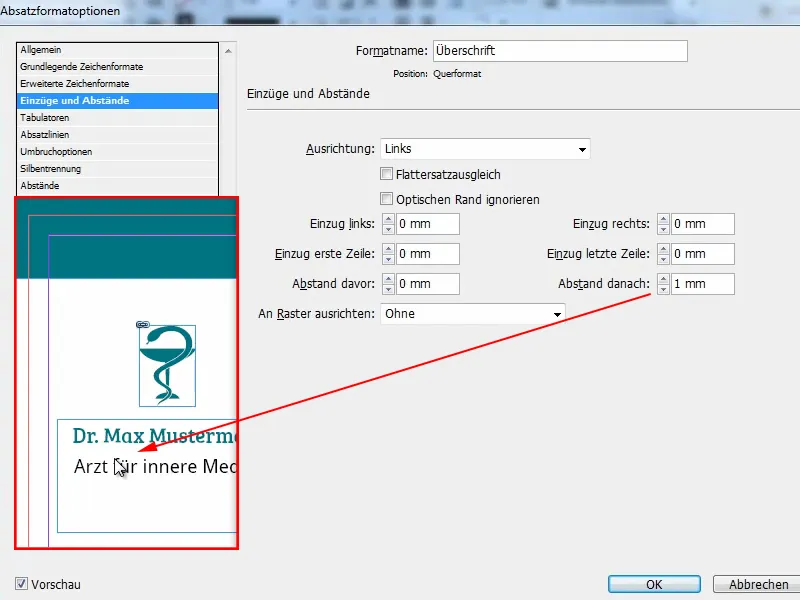
My recommendation: Really work with paragraph and character formats. It's worth it - perhaps not necessarily for business cards, but at the latest for more extensive documents such as a brochure.
Character styles are used for the color or if you want to emphasize something in the text, for example by putting it in italics.
Paragraph styles are used for font size, spacing of text lines and possibly list items etc.
Step 27
Then I write the address and contact details on the right-hand side in a new text field. Font size 8 pt, but I would also like to have this written in green again, so I apply the "Green" character format to it.
If I want to reduce the spacing, I can go to Font>Tabulators, select the text and place the tab where I want it. Then it's a bit tighter.
It turned out quite nicely.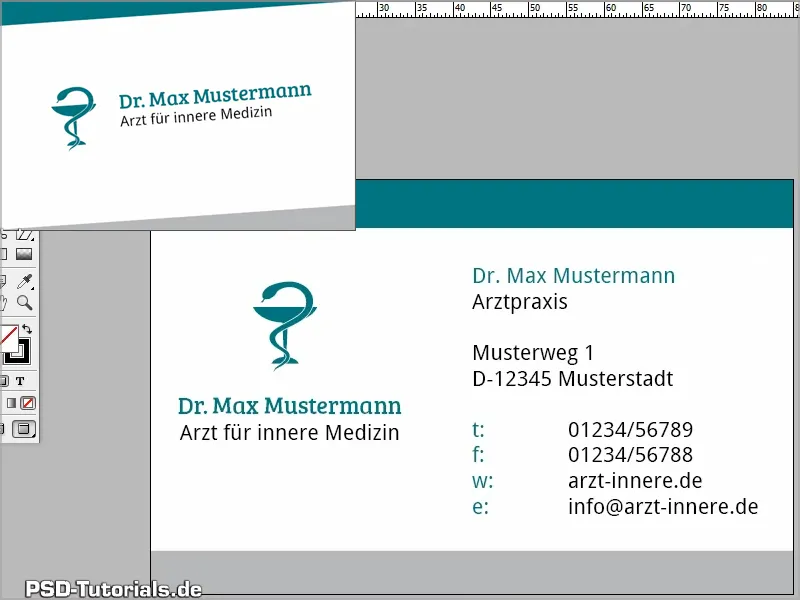
But some people prefer portrait format. I have a tip for you ...
Step 28
Since CS6, you can create a different format in the page control panel. To do this, I click on the small arrow next to Custom and select Create alternative layout. I rename this to "Portrait".
From Source pages should be Custom H.
Then I set the width to 55 mm and the height to 85 mm. Everything else should be retained accordingly.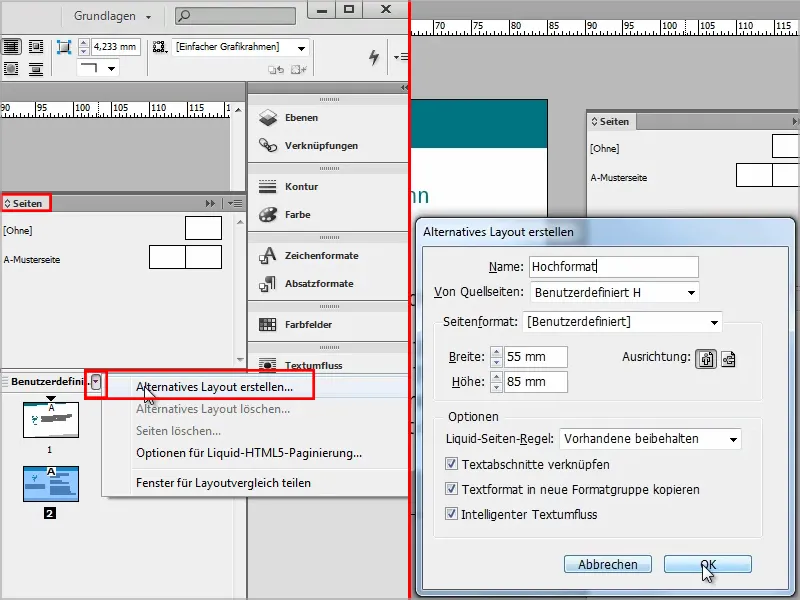
Step 29
The business card is then created in portrait format. Of course, it doesn't look perfect yet, but I quickly align it correctly by moving the rectangles to the right place and adjusting the logo and text accordingly.
It's very practical that I can quickly click back and forth between portrait and landscape format this way. This allows the customer or myself to see very clearly which of the two versions is more appealing.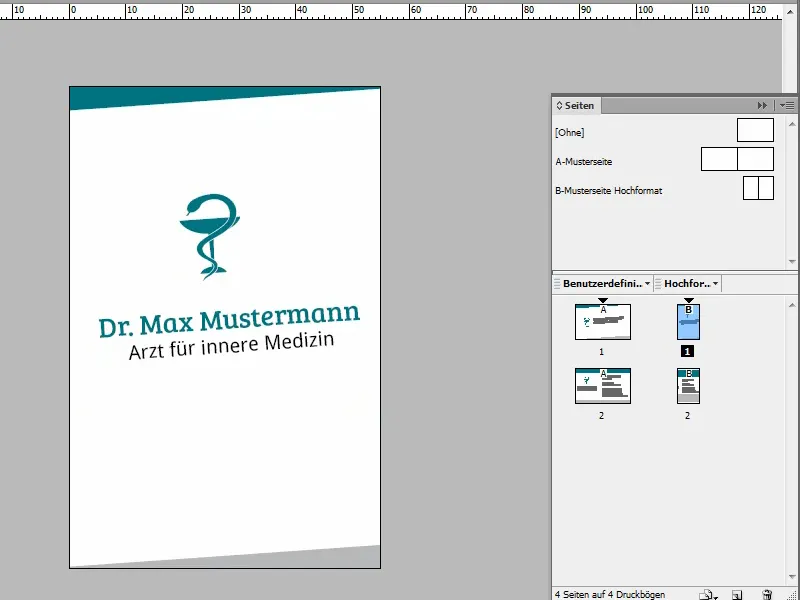
Step 30
I also quickly adjust the back and, of course, activate the normal view again so that I can check whether everything is inside the bleed edge.
This is what the back looks like in portrait format: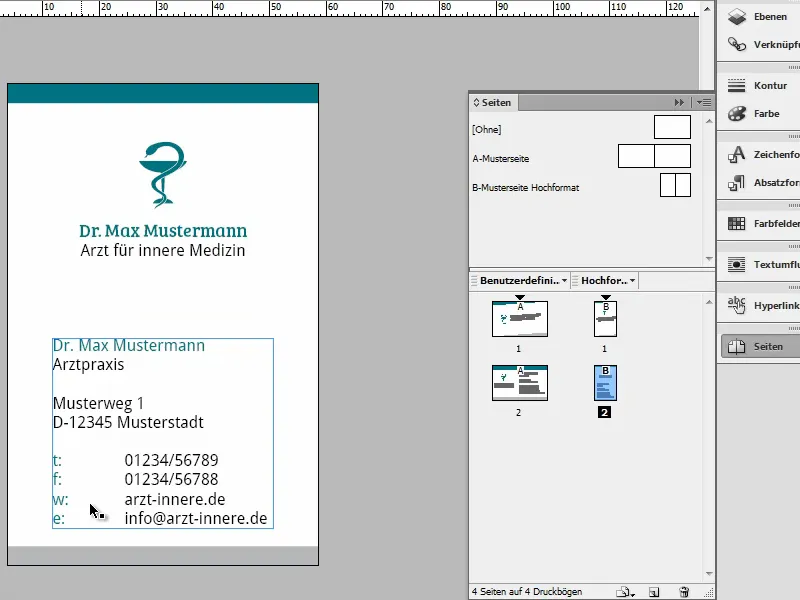
The final steps
Steps 31
If I go to my character formats, I can see that the character formats are now available for both format versions.
Since I simply left the label "Custom H" for the page earlier, both the paragraph and character formats of the original landscape format are listed as "Custom H".
Because this is a bit confusing, I rename each of them to "Landscape format", and then we know at a glance which paragraph or character format belongs to which business card.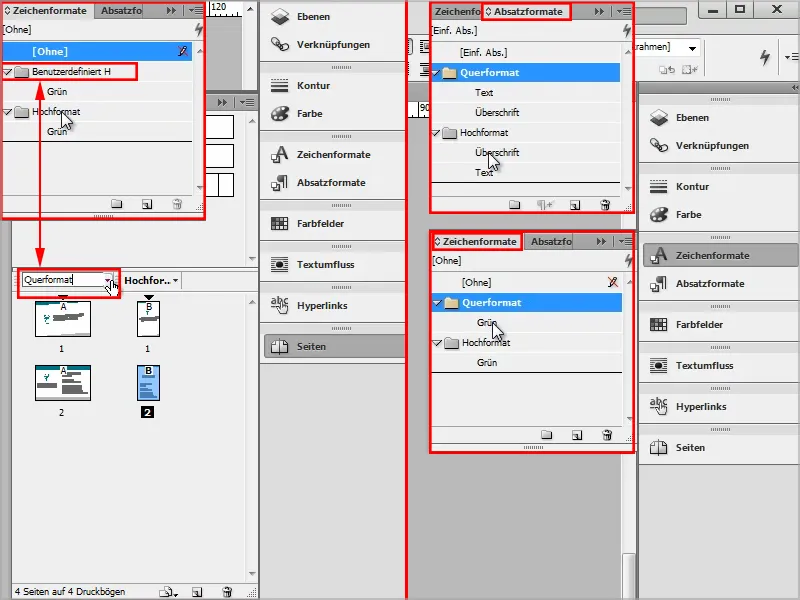
This is very practical because it allows me to change the paragraph and character formats of the two format versions independently of each other. For example, if I change the font color in landscape format, the changes will only appear in landscape format.
Step 32
If I do not want character and paragraph formats to be controlled separately in the format versions, I go to the page control paneland delete the alternative layout again.
Instead, I create a new alternative layout and uncheck Copy text format to new format group.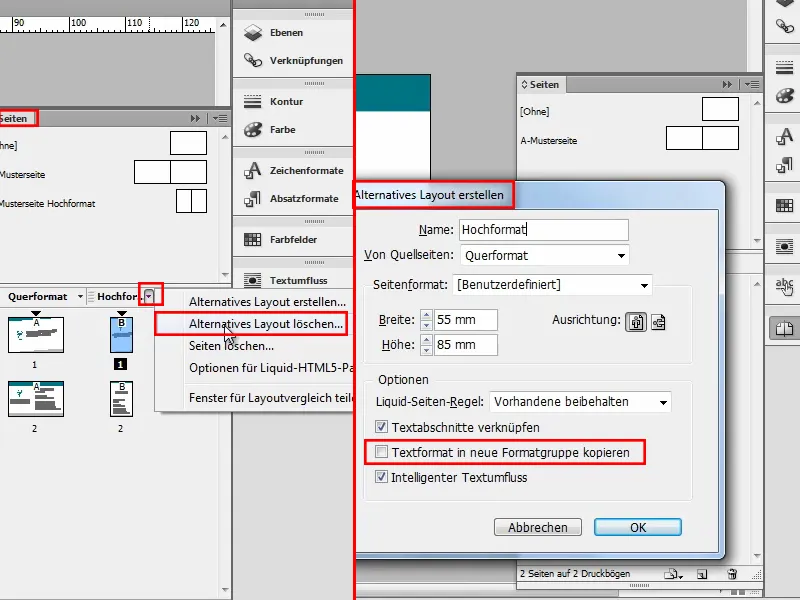
Now I only have one character format that applies to all variants. Depending on whether I want a global character format or not, I have to check or uncheck the box.
Step 33
Both variants can also be exported as PDF files. I go to File>Export and can specify whether I want to export all pages or just the portrait pagesor just the landscape pages. (They're called that here because that's what I've named them).
I say all pages so that the customer can then decide what he likes better.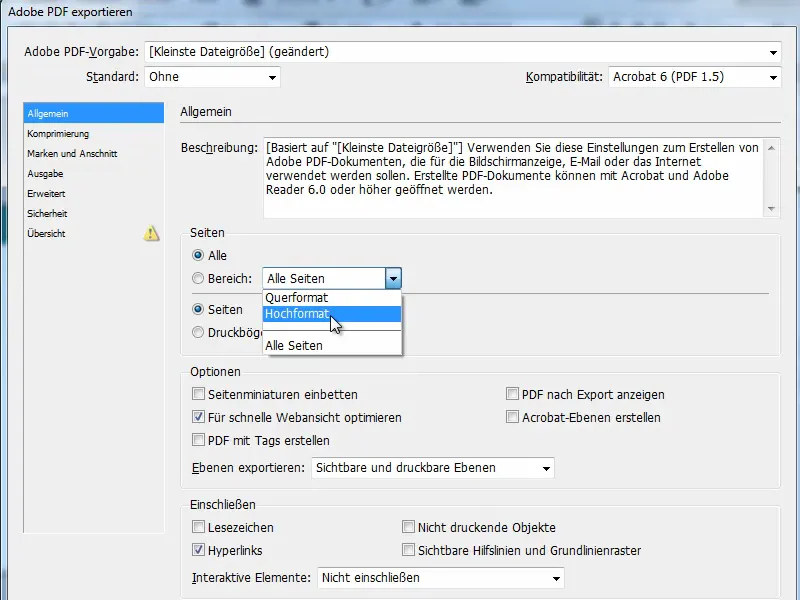
Step 34
It is important that the Use document bleed settings checkbox is ticked, otherwise there will be white blotches at the edges.
I also need to select CMYK in the Output tab. This is best done directly at the top under PDF settings.
I select Print output quality and then click on Export.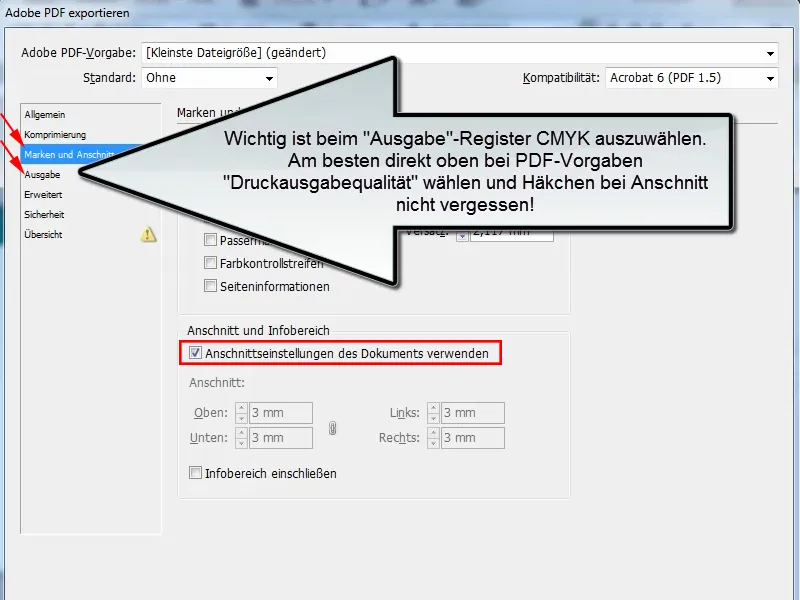
Step 35
Now a PDF is created and - oh, I can still see a bleed. I should have looked better. But that's no problem, I go back into the InDesign document and correct it. Then, of course, I have to re-export.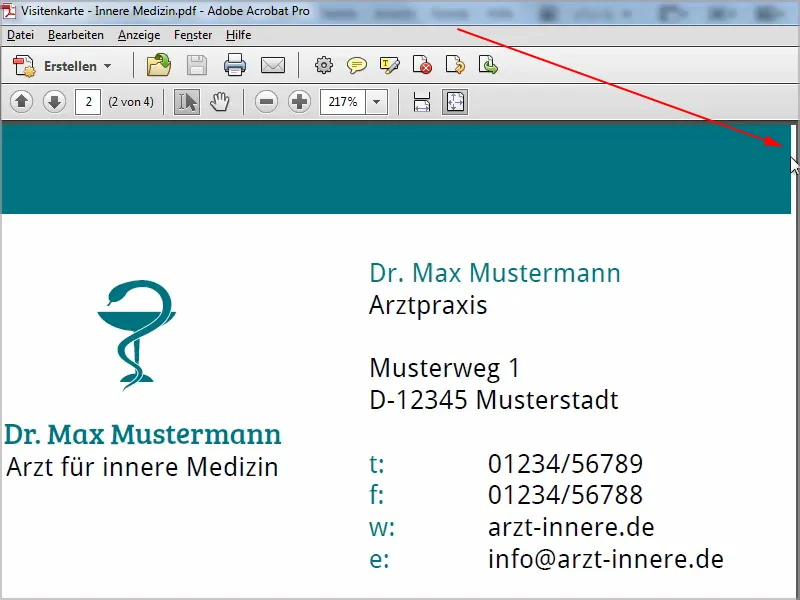
Otherwise, everything has been exported perfectly and the customer can now decide which format they prefer.
Step 36
Final tip: If the print shop or website where you want to have the business cards created does not accept PDF, you can also export the whole thing as a .jpg or .png file. Go to File>Export and simply select .jpg at the bottom. Click on Save.
This time I only export the landscape format and set the quality to maximum, the resolution to 300ppi and of course select CMYK as the color space again.
It is important that I check the Use document bleed setting again, otherwise the bleed will not be included.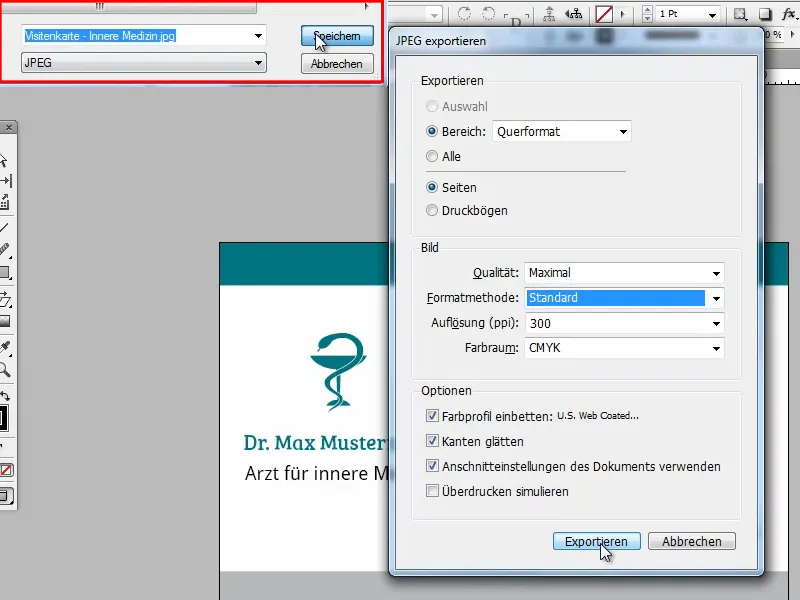
Step 37
Then we get the corresponding .jpg file.
In my preview program, the color now looks a little different, but otherwise it's all very, very good and I can upload the files for printing.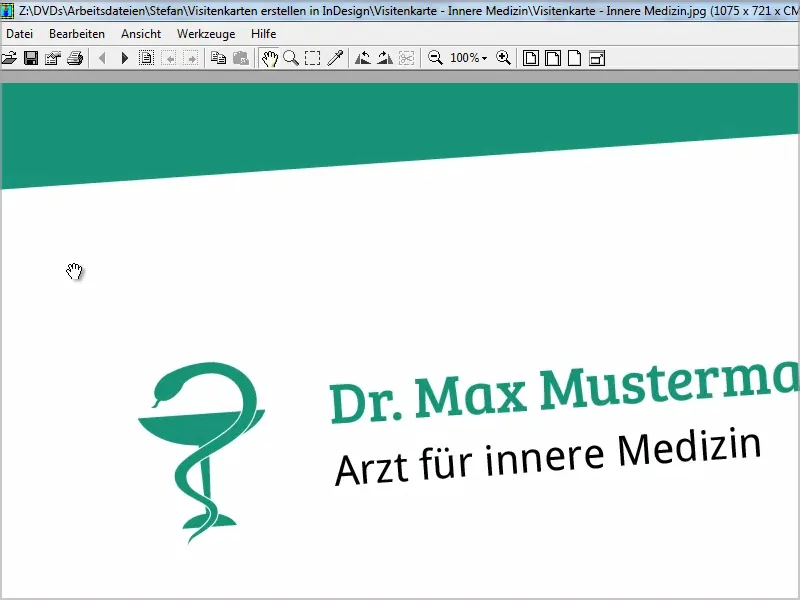
I hope you were able to learn something new and can now create your own business cards - especially with the practical format variants.
I wish you lots of success with it and maybe you'll have a look at the other business card tutorials, where you'll also find other styles.
