The interplay of paths and brushes in Photoshop opens up nearly unlimited possibilities for creative text effects. From curved lettering to intricate embellishments, you can customize texts and give your projects a personal touch. In this tutorial, I will show you step by step how to use the Paths panel to create unique text shapes, and how to add exciting effects like hatching, glitter, or decorations with different brushes. Let your creativity run wild and style your text elegantly!
Step 1:
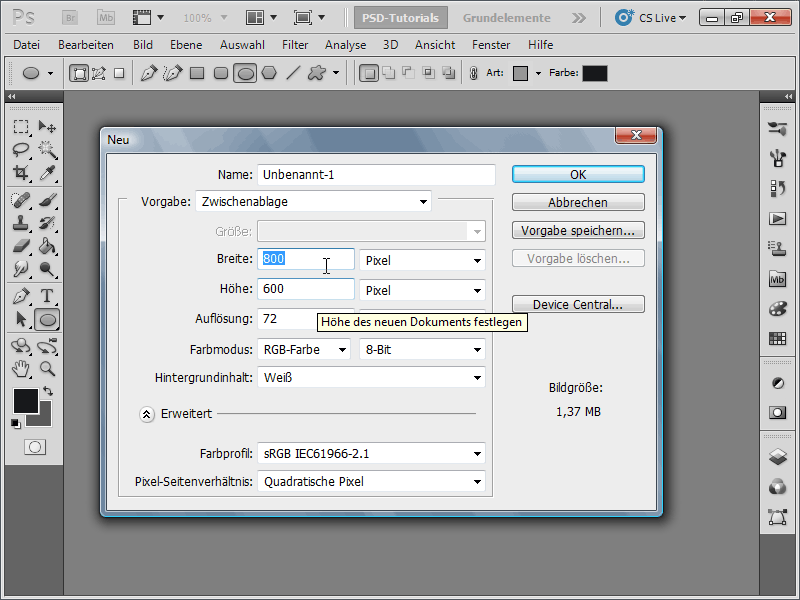
I create a document sized 800x600 pixels, although the size is actually unimportant.
Step 2:
Next, I create a text layer and right-click on the text layer name in the Layers panel, then click on Create Work Path.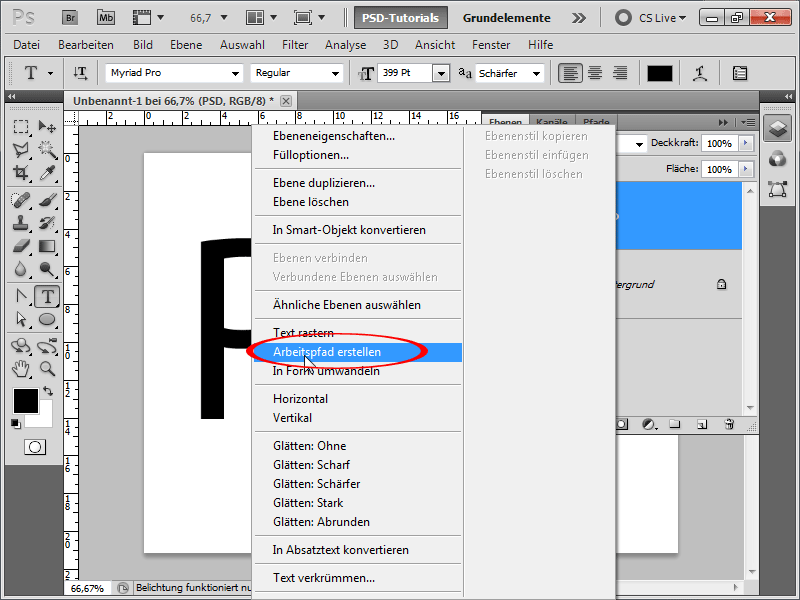
Step 3:
Now I hide the text layer and create a new layer. I could still modify the path using the Direct Selection tool. I now go to my Paths panel.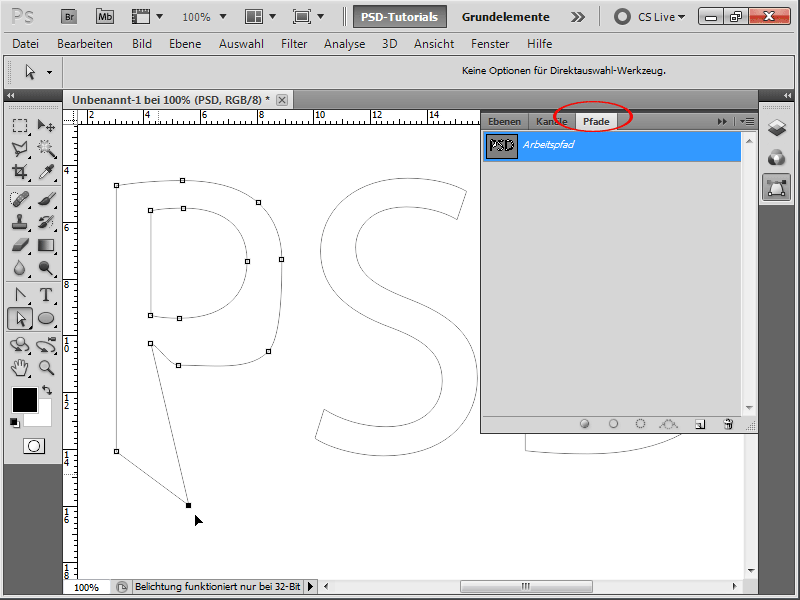
Step 4:
So, now it's time for me to get a suitable brush. To do this, I press F5 to open the Brush panel and set the default brush to a Spacing of about 100%, so that the strokes look like balls. I set the brush Size to 25 pixels and the Hardness to 100%.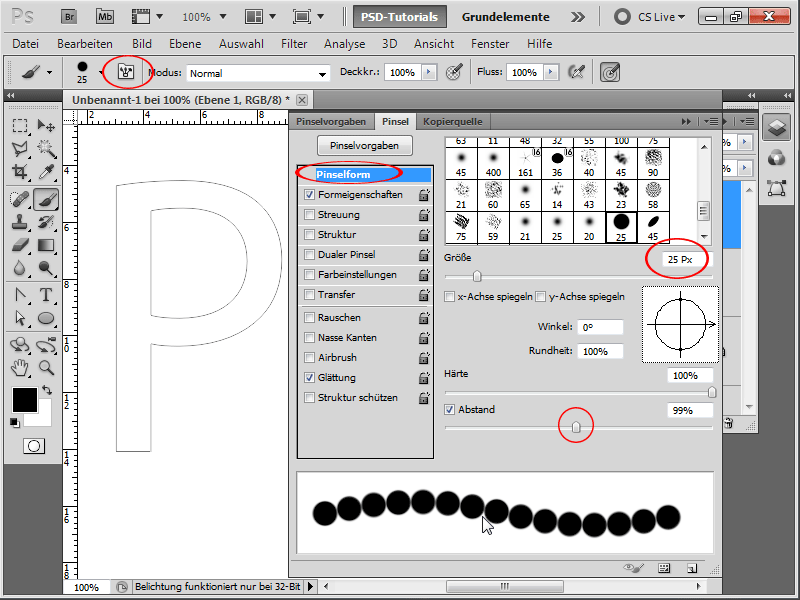
Step 5:
If I now try to trace over the letters with the mouse, it doesn't look very good.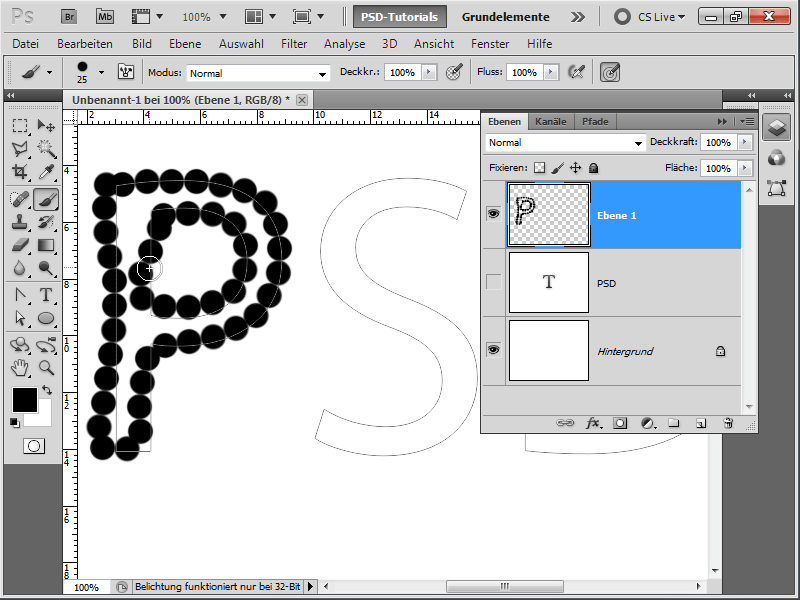
Step 6:
Therefore, I right-click on my Work Path in the Paths panel and then click on Stroke Path with Brush. Now a dialog box appears where I have the option to choose the tool to fill the path. I choose the Brush.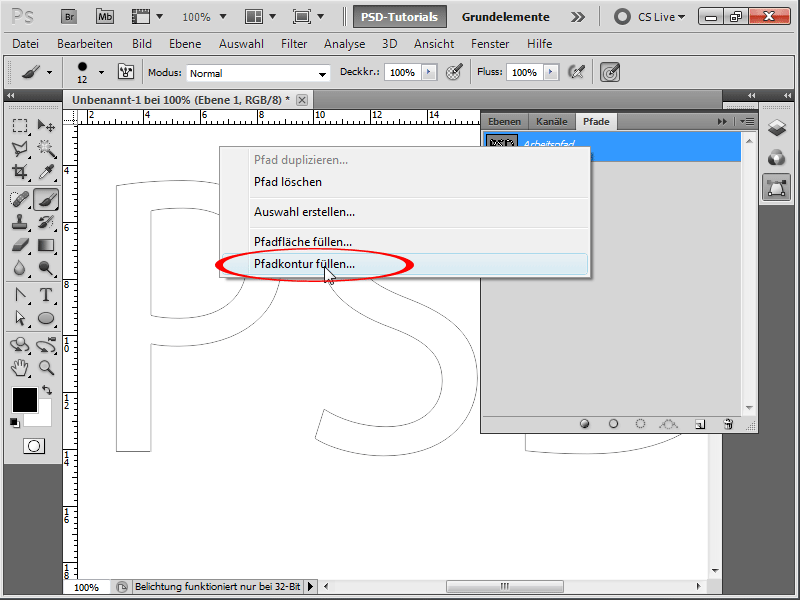
Step 7:
If I check the box for Simulate Pressure or click on the fill path icon in the Paths panel, I get the following result: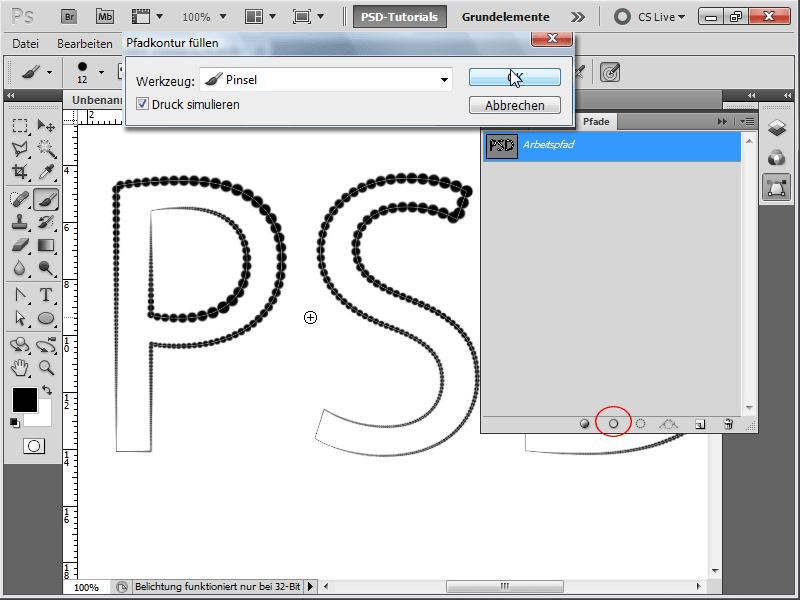
Step 8:
If the box for Simulate Pressure is not checked, it looks like this (but I can only achieve this by right-clicking on the Stroke Path command with the right mouse button):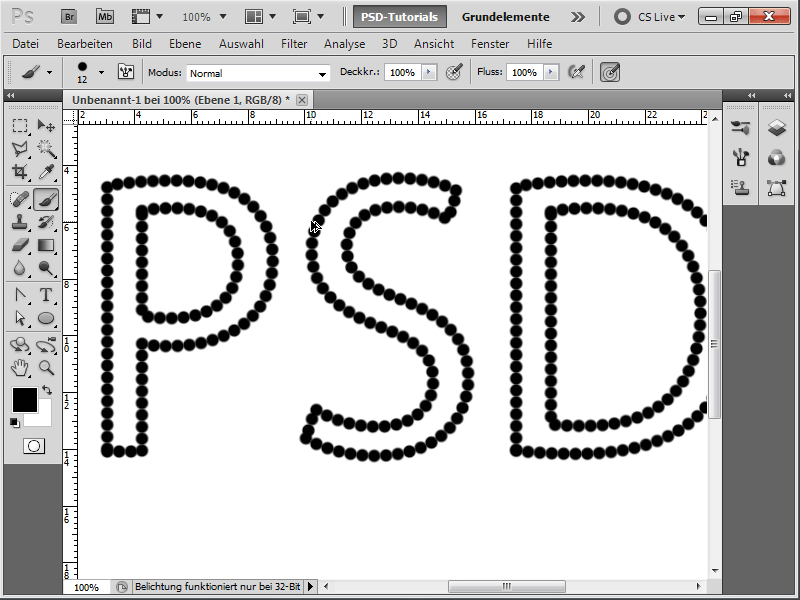
Step 9:
Next, I apply a nice gradient background and add the following Layer Styles to my text effect: Color Overlay in White and Outer Glow with the settings below: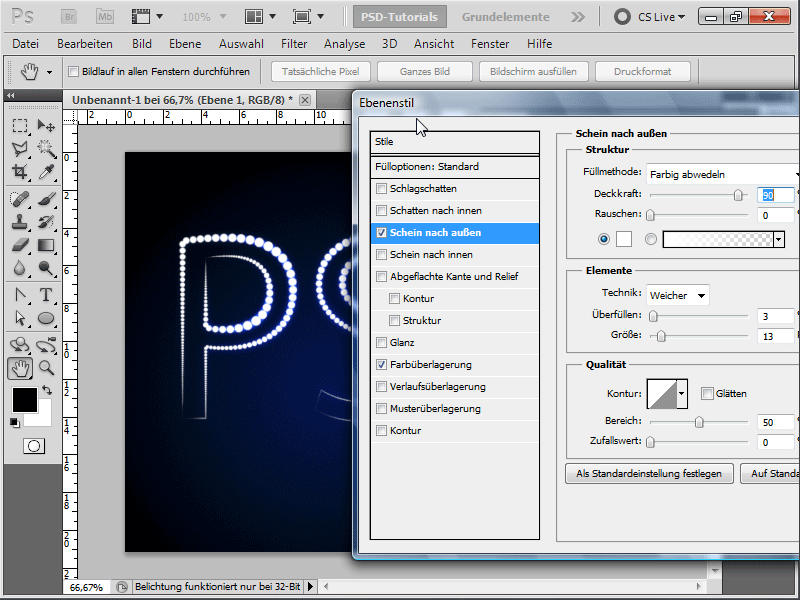
Step 10:
If I now add a red Drop Shadow with the Normal blending mode, the result looks like this: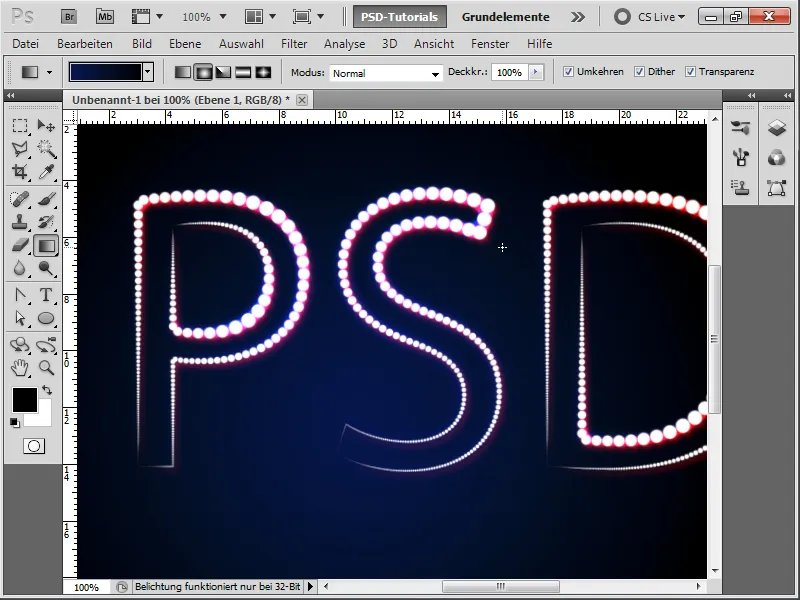
Step 11:
Now I show my text layer again and can also add a Layer Style such as Bevel and Emboss.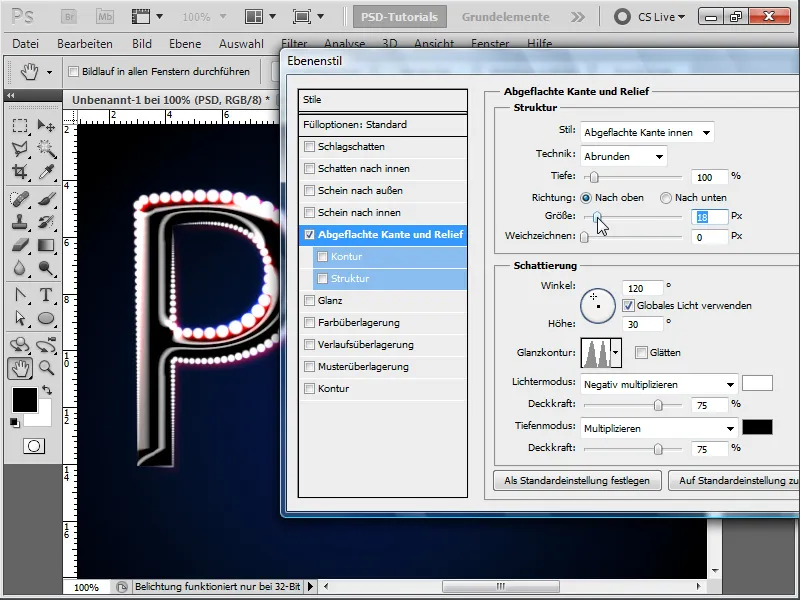
Step 12:
The result looks pretty cool, doesn't it?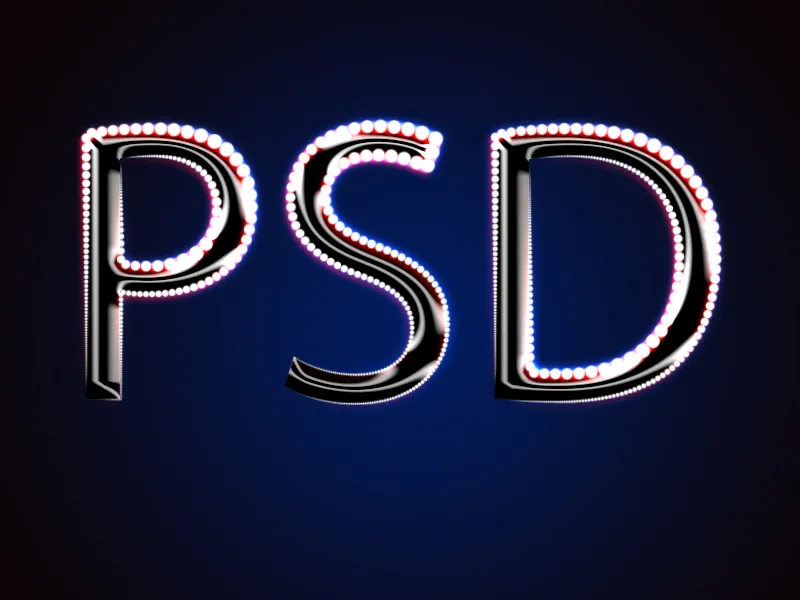
Step 13:
Now I'll try a different brush. This time, I'll use the Star Brush that comes as part of the default brushes.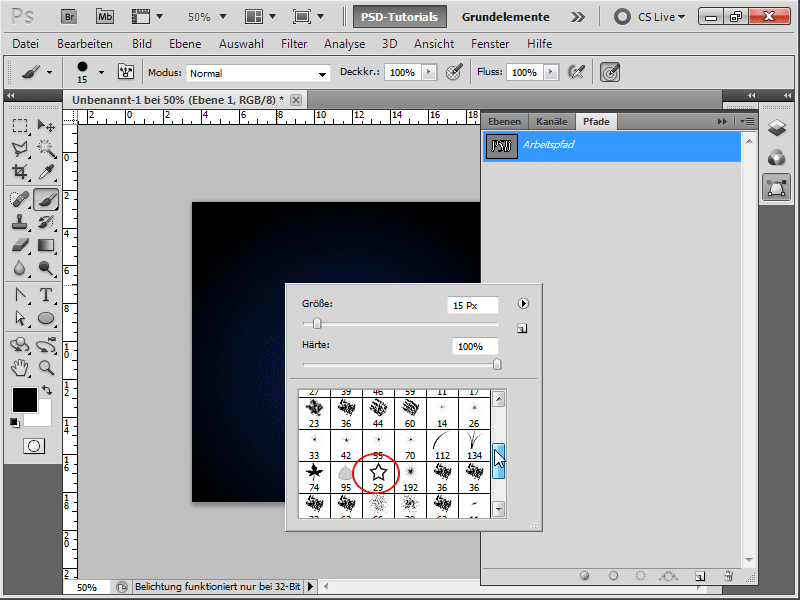
Step 14:
The result looks like this (Attention: I need to deactivate the Scatter in the Brush Panel, which is activated by default for this brush).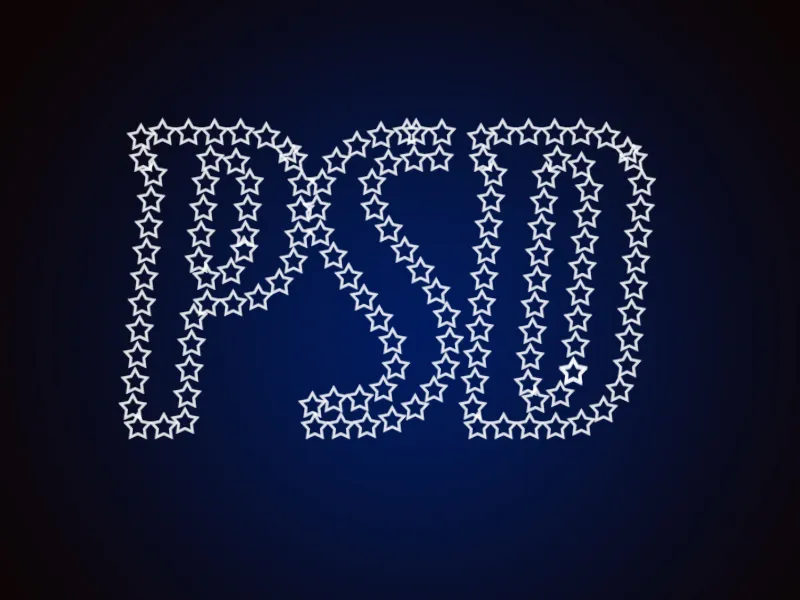
Step 15:
Of course, I don't have to use the brushes that are already pre-installed. For example, I can create my own beautiful star brush by creating a new document and then dragging a Polygon as a Shape with the following properties: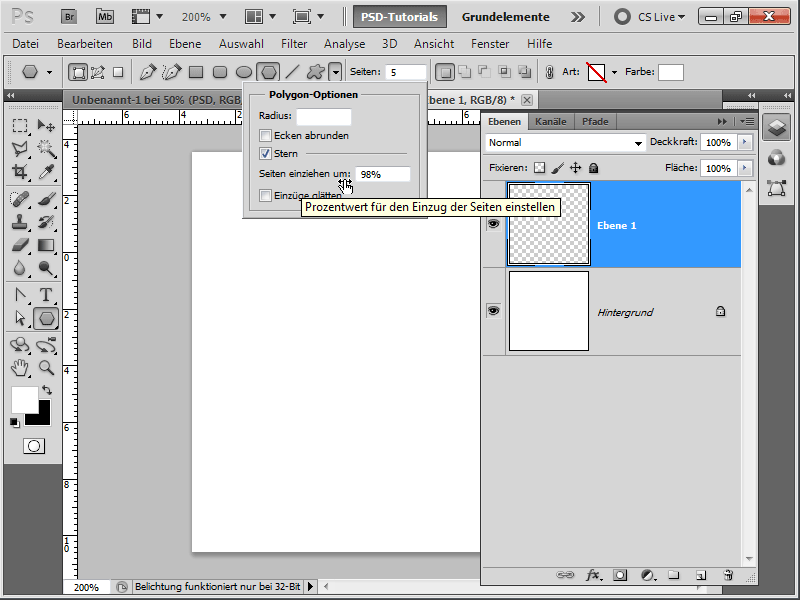
Step 16:
Now draw the star two times differently, and then select everything and save it as a brush. It is important that the background is transparent. Layer 1 has no content; It is just there so that I can save the result as a brush because otherwise Photoshop simply refuses to save (must be a bug).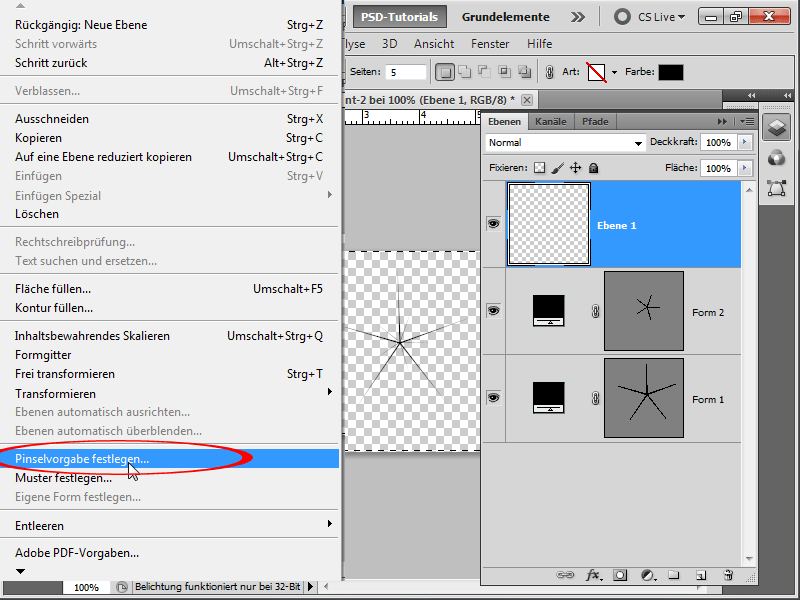
Step 17:
After setting a little Scatter, the text looks like this (I simply copied the Fill Options of the first effect with the Alt key pressed).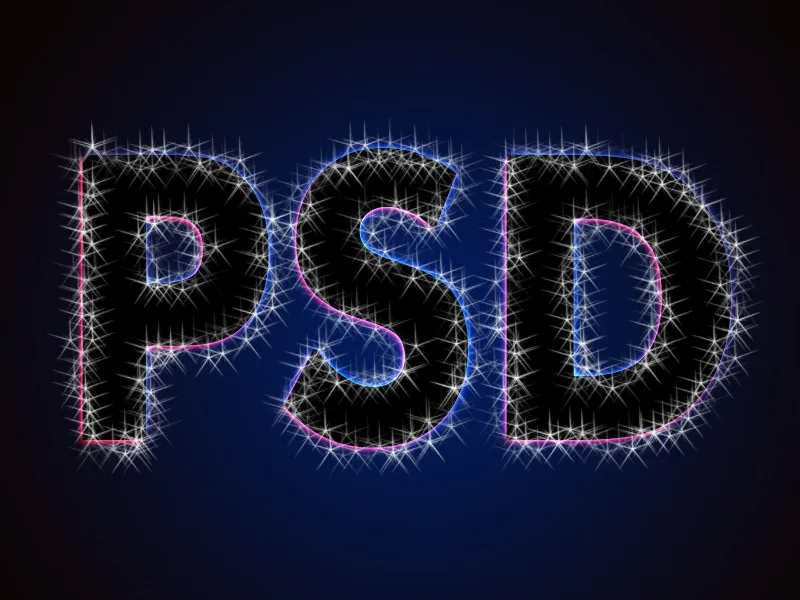
Step 18:
If I take my star brush with a smaller brush tip and without Scatter, the result with Shadow and Feathered Edge looks like this: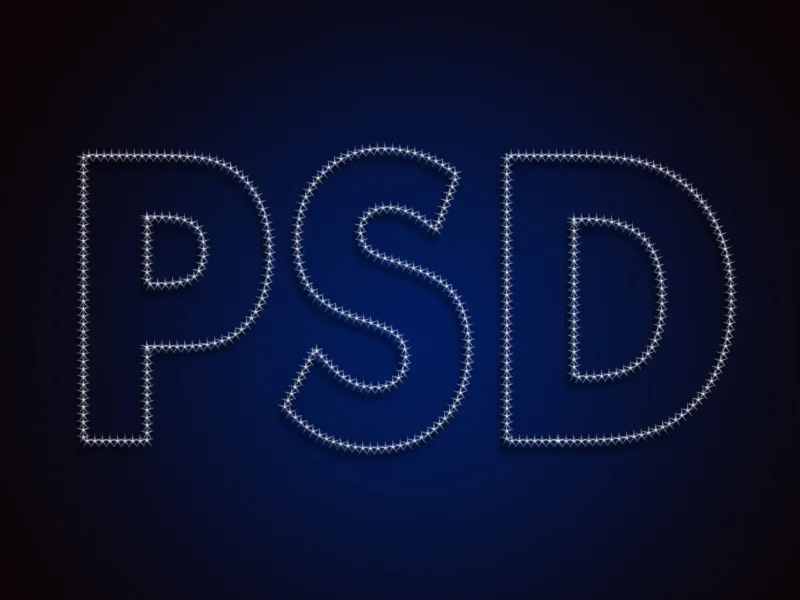
Step 19:
Photoshop also offers a grass brush. If I use it with green color, the result looks like this (I have also displayed the text layer and inserted a stone pattern as a Fill Option on it). In the middle of the first two letters, I also painted some grass with the brush.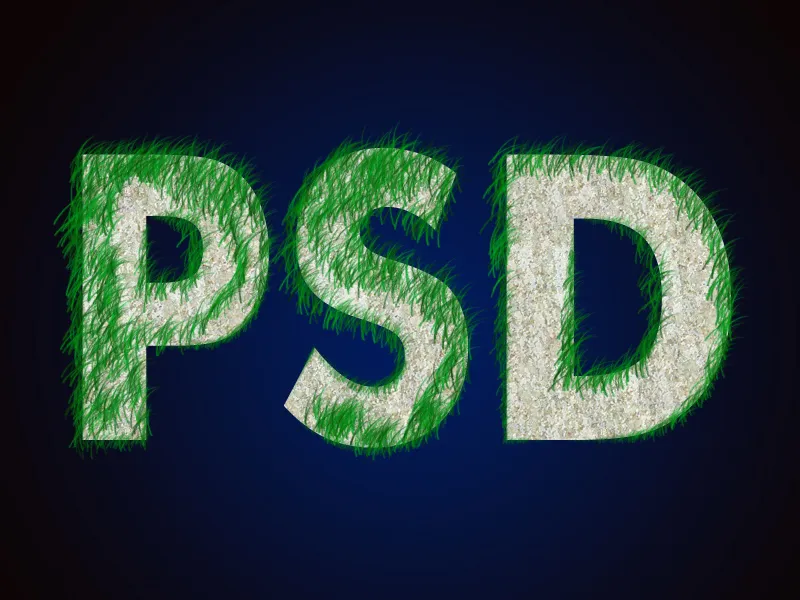
Step 20:
Using the Maple Leaf Brush creates the following effect: (Important: Always make sure in the Brush Panel whether the Scatter should remain activated).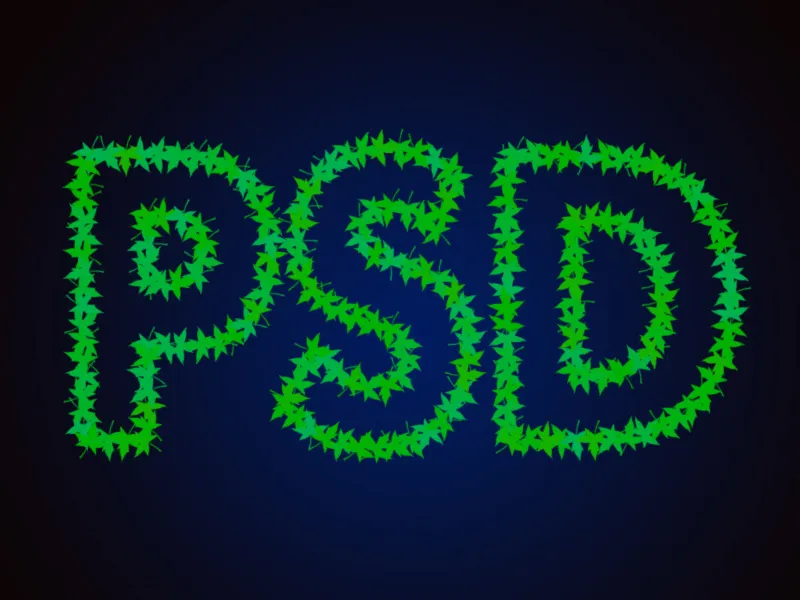
Step 21:
These effects can of course not only be used on text paths. I can also insert them on a few lines that I have drawn with the Pencil Tool. Here I have inserted a snowflake brush with a little Scatter and Transfer:
Step 22:
Now I draw a heart in a new document, which I find in the Custom Shapes. I then save this as a brush, drag the heart shape very large as a path, and then insert my heart brush with Scatter and Transfer on it. Then quickly drag the large heart as a Custom Shape and insert a very large Feathered Edge.
I hope you will no longer be afraid when it comes to getting certain text effects with paths. As you can see, it's not that difficult.


