Step 1
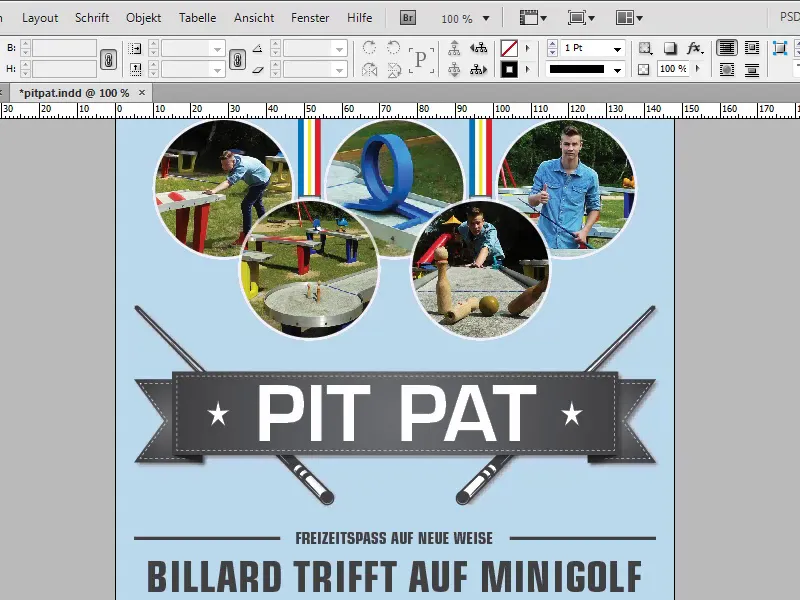
Here we have a nice flyer; the background is monochrome and doesn't particularly blow me away.
Step 2
We could now use a nice gradient . In InDesign, we always have to create new gradients first, there is nothing ready-made. If we want to access good gradients quickly, I recommend Illustrator.
In Illustrator there is the swatch library under Swatches (Window>Swatches). The gradients are located in the swatch library. There is a large selection and I opt for the seasons.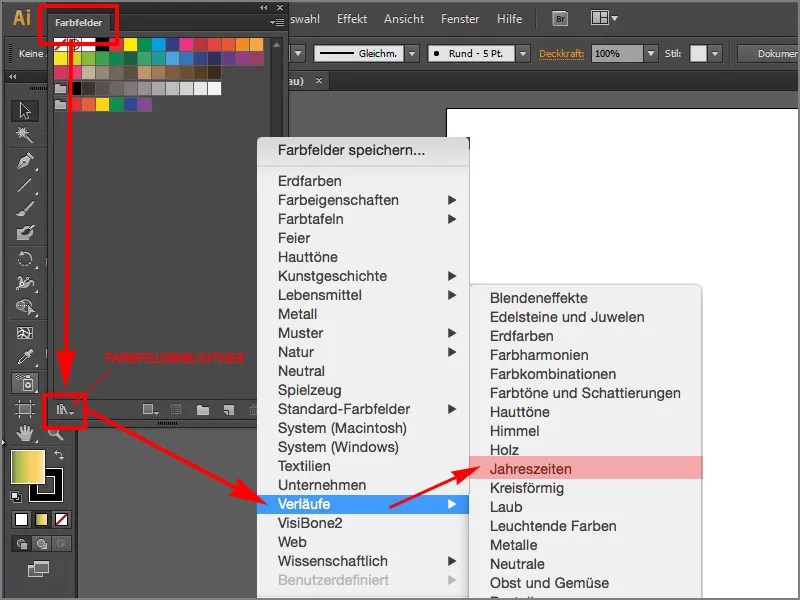
Step 3
I'll simply draw a rectangle and click on the Spring blue radial gradient.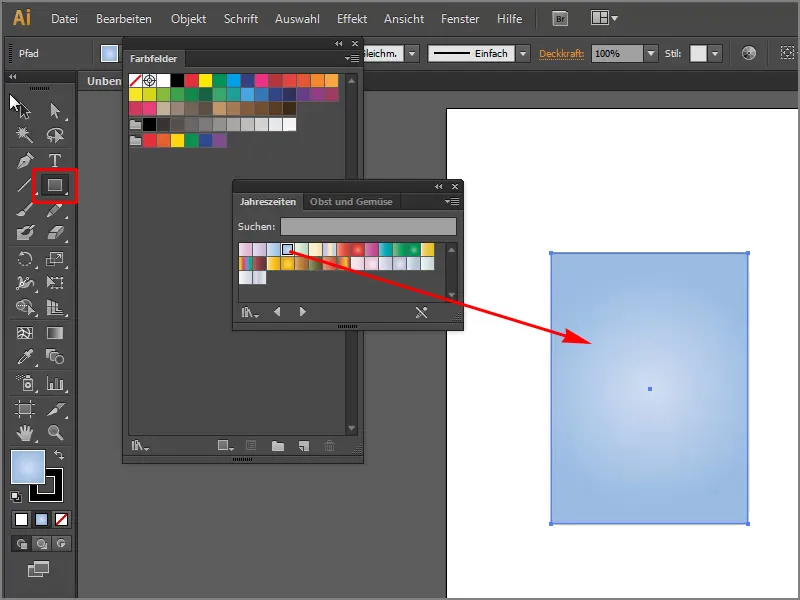
Step 4
I would like to transfer this gradient to InDesign. To do this, I have to copy it with Ctrl+C or via Edit>Copy.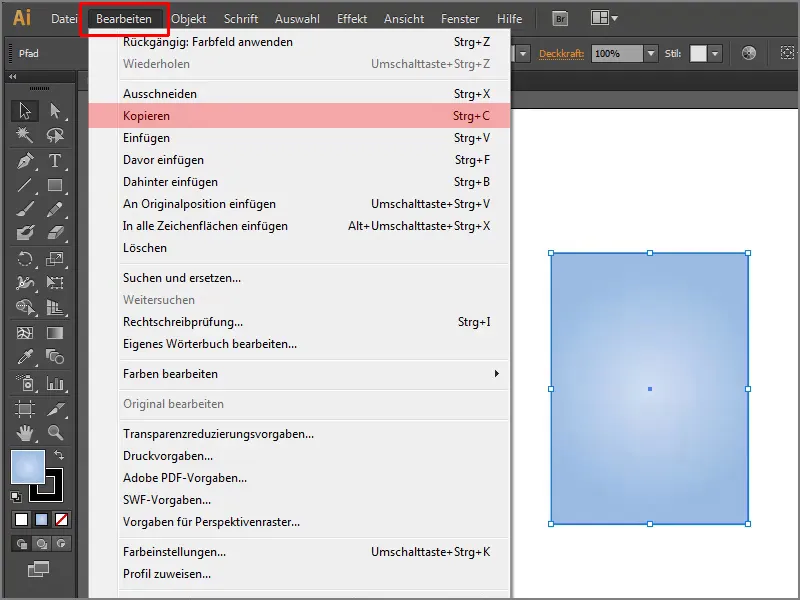
Step 5
Then I go back to my InDesign and paste the copy somewhere with Ctrl+V or Edit>Paste.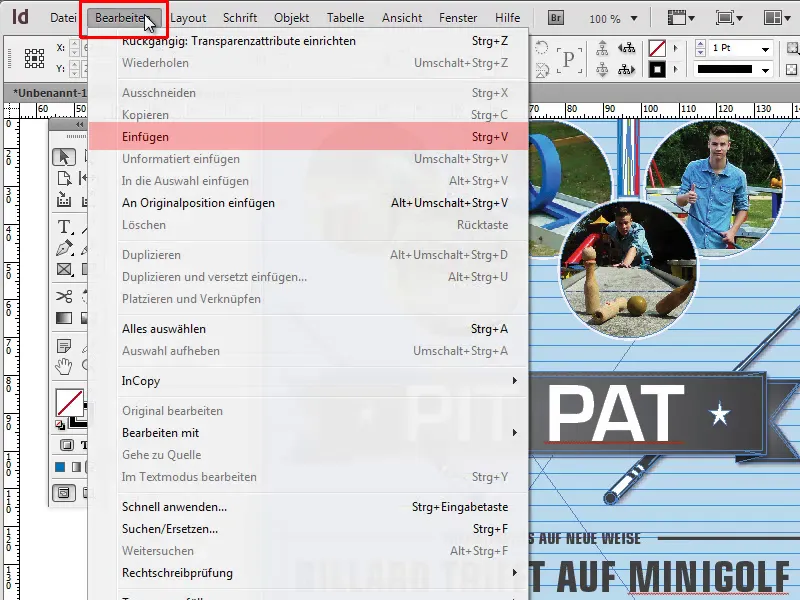
Step 6
When I press F5, the Color Swatches panel opens. At the bottom I see a new gradient field, which is exactly this new gradient.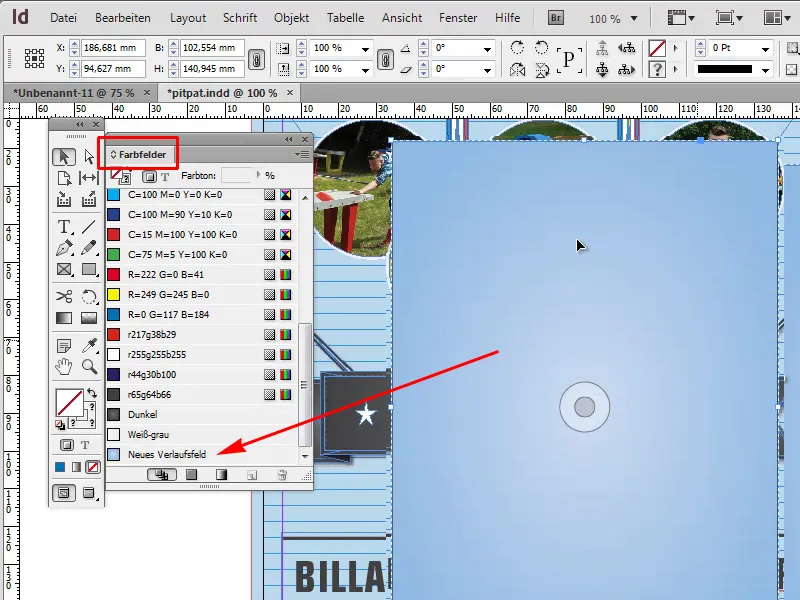
Step 7
I remove the object again and under the gradient options we can see (double-click on the new gradient field) that the gradient is set up perfectly. The gradient bars show us which colors the gradient contains.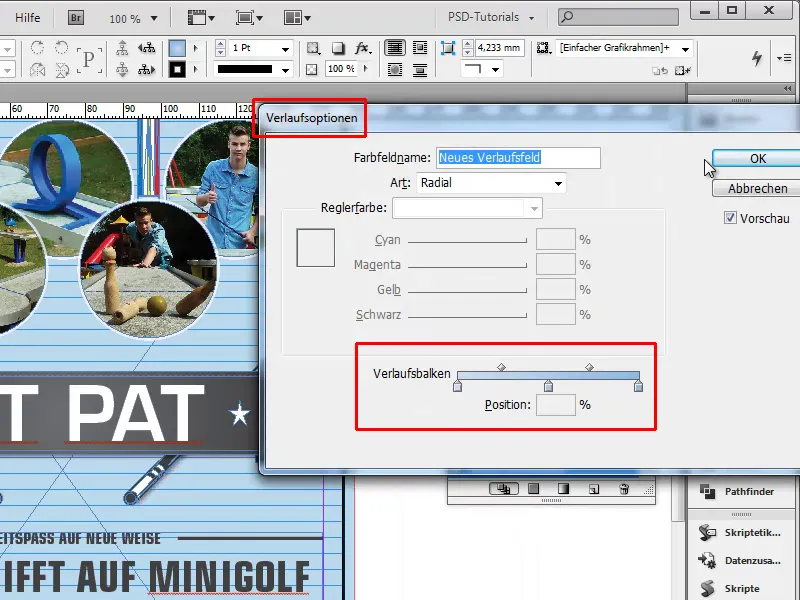
Step 8
I click on my background and then on the desired gradient , set the opacity to 100% - and the whole thing looks a bit better.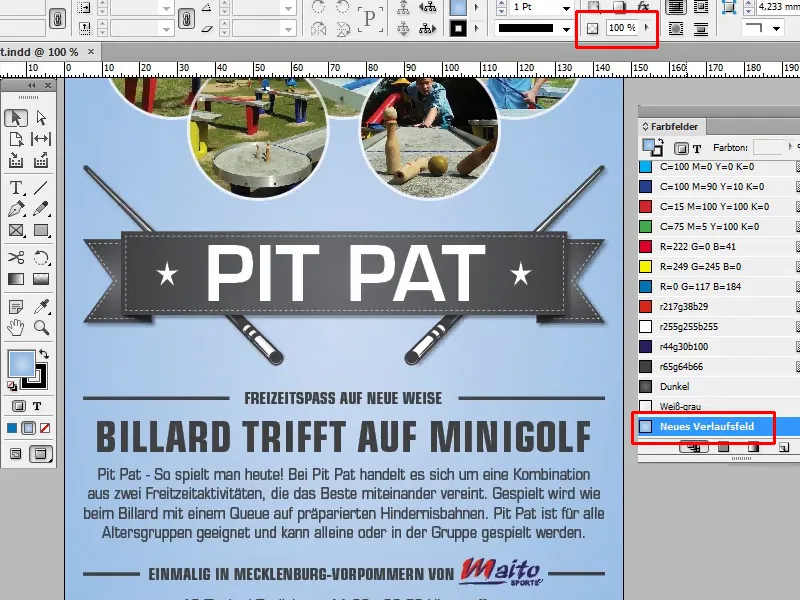
Step 9
So, if you don't want to create gradients yourself, you can simply use all the libraries in Illustrator. There are various gradients there that you can add, such as earth colors, celebration, etc. Simply copy the desired gradient and paste it into InDesign.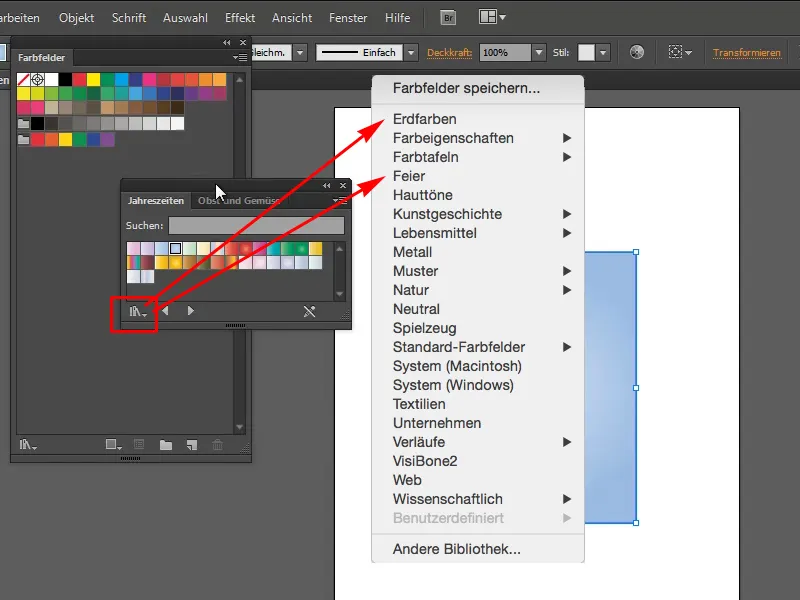
Step 10
I can also take the summer red radial gradient and copy it with Ctrl+C.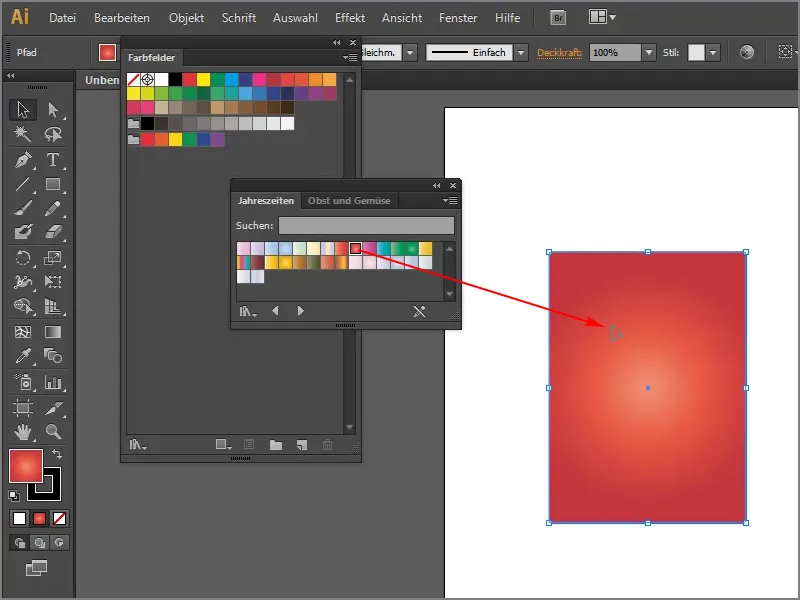
Step 11
Paste this gradient into InDesign with Ctrl+V and I can already see my new gradient in the color fields. I can simply drag and drop it onto my background and it will be visible immediately. Of course you can do that too.


