

The video is only loaded from YouTube when you play it – data (including your IP address) is then transmitted to YouTube/Google. More in the privacy policy
A puzzle storm is a fascinating technique where a photo breaks down into puzzle pieces that appear to be carried away by the wind. With Photoshop, you can realistically create this dynamic effect by cleverly combining layers, masks, and transformations. In this tutorial, I will show you step by step how to create an impressive puzzle storm from your photo - perfect for creative projects, posters, or digital artworks. Let's get started and bring your image to life!
Step 1:
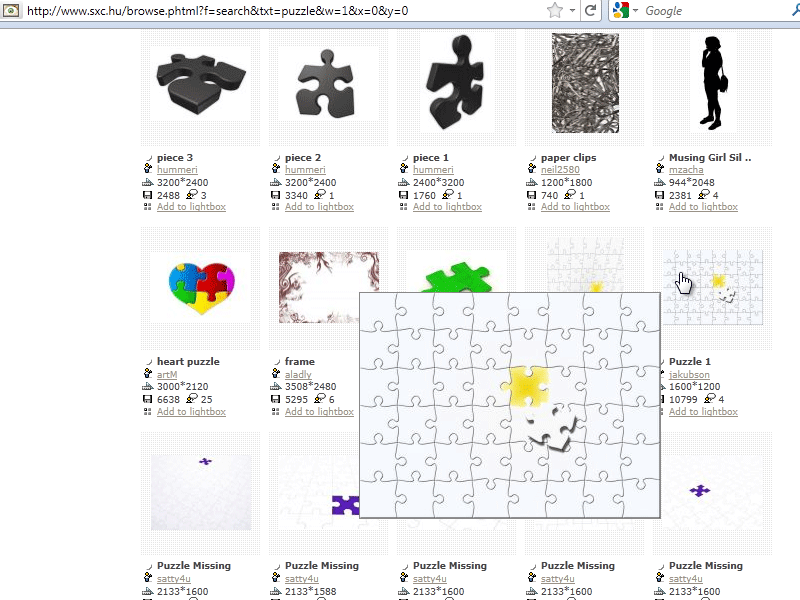
I will find a puzzle image from www.sxc.hu and insert it into Photoshop.
Step 2:
Now, I select a puzzle piece with the magic wand, color it black, and save the selection as a brush.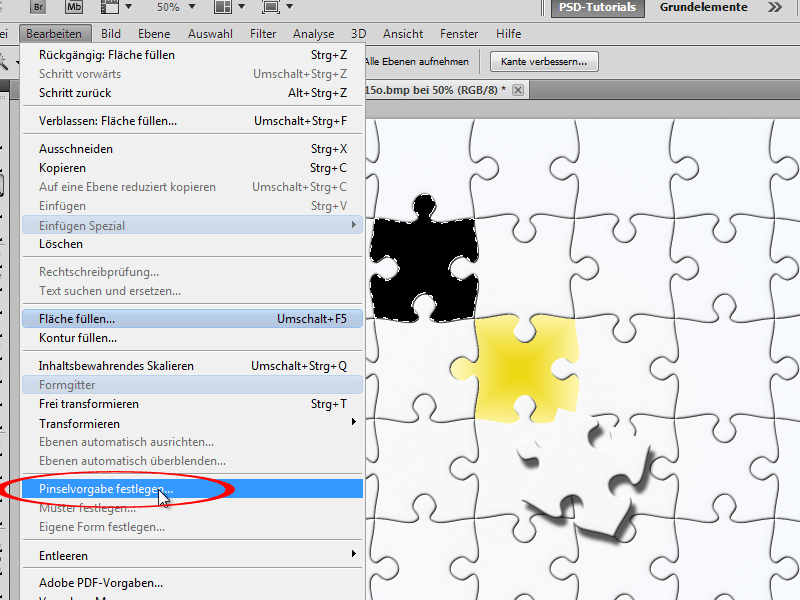
Step 3:
Next, I duplicate my original photo as a new layer (Ctrl+J) and make a rough selection of the woman with the lasso. Then, I go to Menu>Edit>Fill and choose Content-Aware to remove the woman from the image and continue the landscape.
Step 4:
The result is truly fascinating.
Step 5:
Then, I duplicate the background layer again and use the quick selection tool to select the woman. Now, I add a layer mask.
Step 6:
Next, I use a round brush to erase some of the fabric.
Step 7:
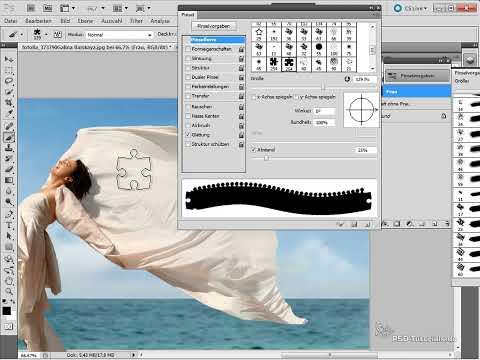
I click F5 to open my brush panel and adjust my puzzle brush settings. First, I reduce the size and increase the spacing.
Step 8:
In the shape dynamics, I activate size jitter (so that some puzzle pieces are larger and others smaller) as well as angle jitter (so that not all puzzle pieces have the same rotation).
Step 9:
In scatter, I set a value of approximately 350% so that the puzzle pieces fly around wildly when I click or drag the mouse cursor.
Step 10:
Now I can use my puzzle brush in the woman's mask.
Step 11:
In a new layer, I now create new puzzle pieces with the clone stamp. To do this, I duplicate my image (File>Image>Duplicate) so that I don't have problems with already removed puzzle pieces.
Step 12:
Then, I convert the puzzle layer into a smart object and add motion blur.
Step 13:
Using a large round brush, I can exclude some puzzle pieces from the motion blur in the smart object mask. Then, on the puzzle layer, I add the bevel and emboss fill option with a size of 1 px.
Step 14:
To make it look even more realistic, I have hidden all layers except the puzzle layer, selected a few puzzle pieces, copied them to a new layer, slightly rotated them, and placed them over the fabric dress.
Step 15:
Adding a drop shadow to the puzzle pieces also enhances the image. Therefore, I simply create a few new puzzle pieces on a new layer, draw them slightly soft, and reduce their height (via Edit>Transform or Ctrl+T).
Step 16:
So that the puzzle pieces removed from the dress also have a slight flattened edge, I add them to the "Drop Shadow Puzzle" layer as well, click and then in the Layers panel right-click and detach the effect with Create layer as an additional layer, so that I can convert this into a Smart Object and mask it, otherwise the woman will have the flattened edge everywhere and not just in the fabric interior part where the puzzle pieces are.
Step 17:
The whole thing will look like this:
Step 18:
And this is how the result looks without the displayed Layers panel:

