With the widespread use of Google Sheets, it is crucial to control access to certain data and protect sensitive information. The sheet protection allows you to secure specifically selected cell ranges so that unwanted changes cannot be made. In this guide, you will learn step by step how to set up and customize sheet protection in Google Sheets.
Key Insights
- Sheet protection allows locking cells so that only specific areas can be edited.
- You can set different permissions for different users.
- It is important to only release the necessary cells for editing to ensure data integrity.
Step 1: Open and Prepare Google Sheets
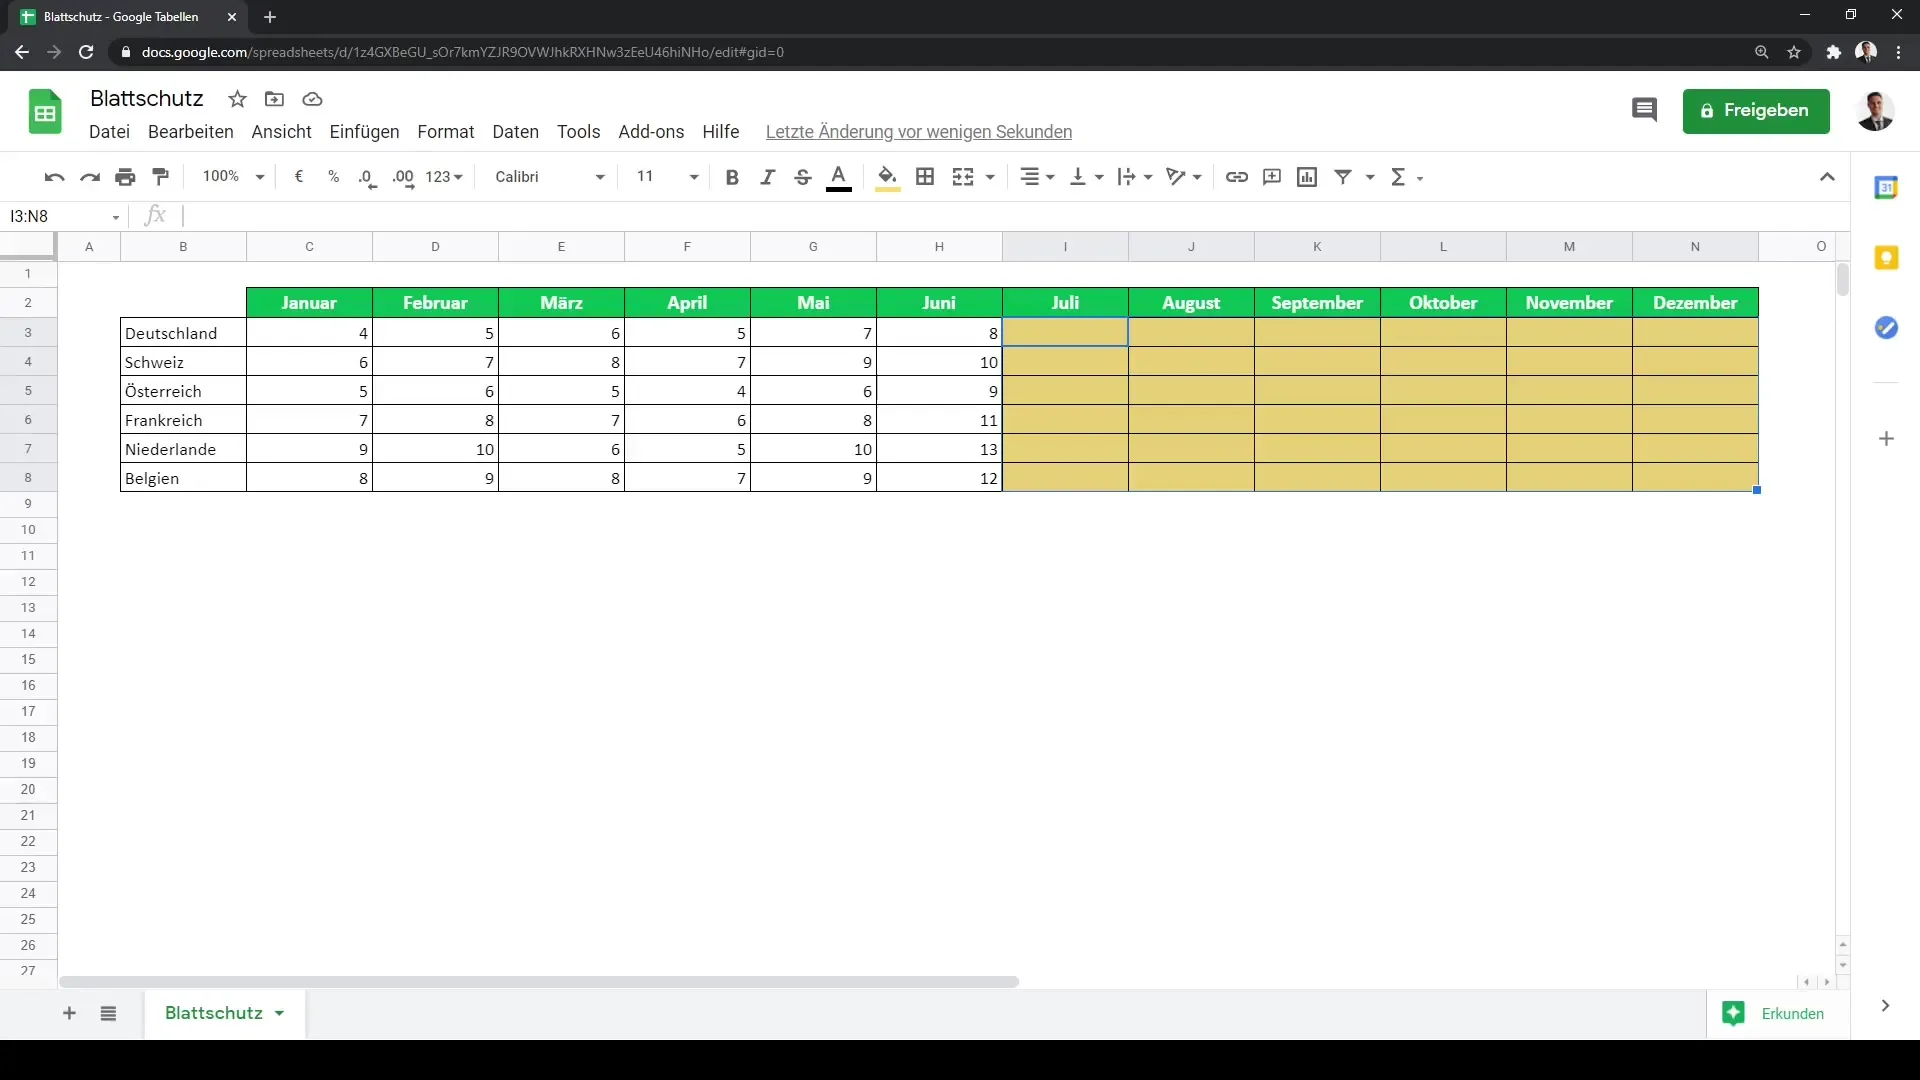
First, open your Google Sheets document where you want to set up sheet protection. You should already have a worksheet with clear areas designated for input. This is especially important to identify the desired cells that should remain editable and which should not.
Step 2: Activate Sheet Protection
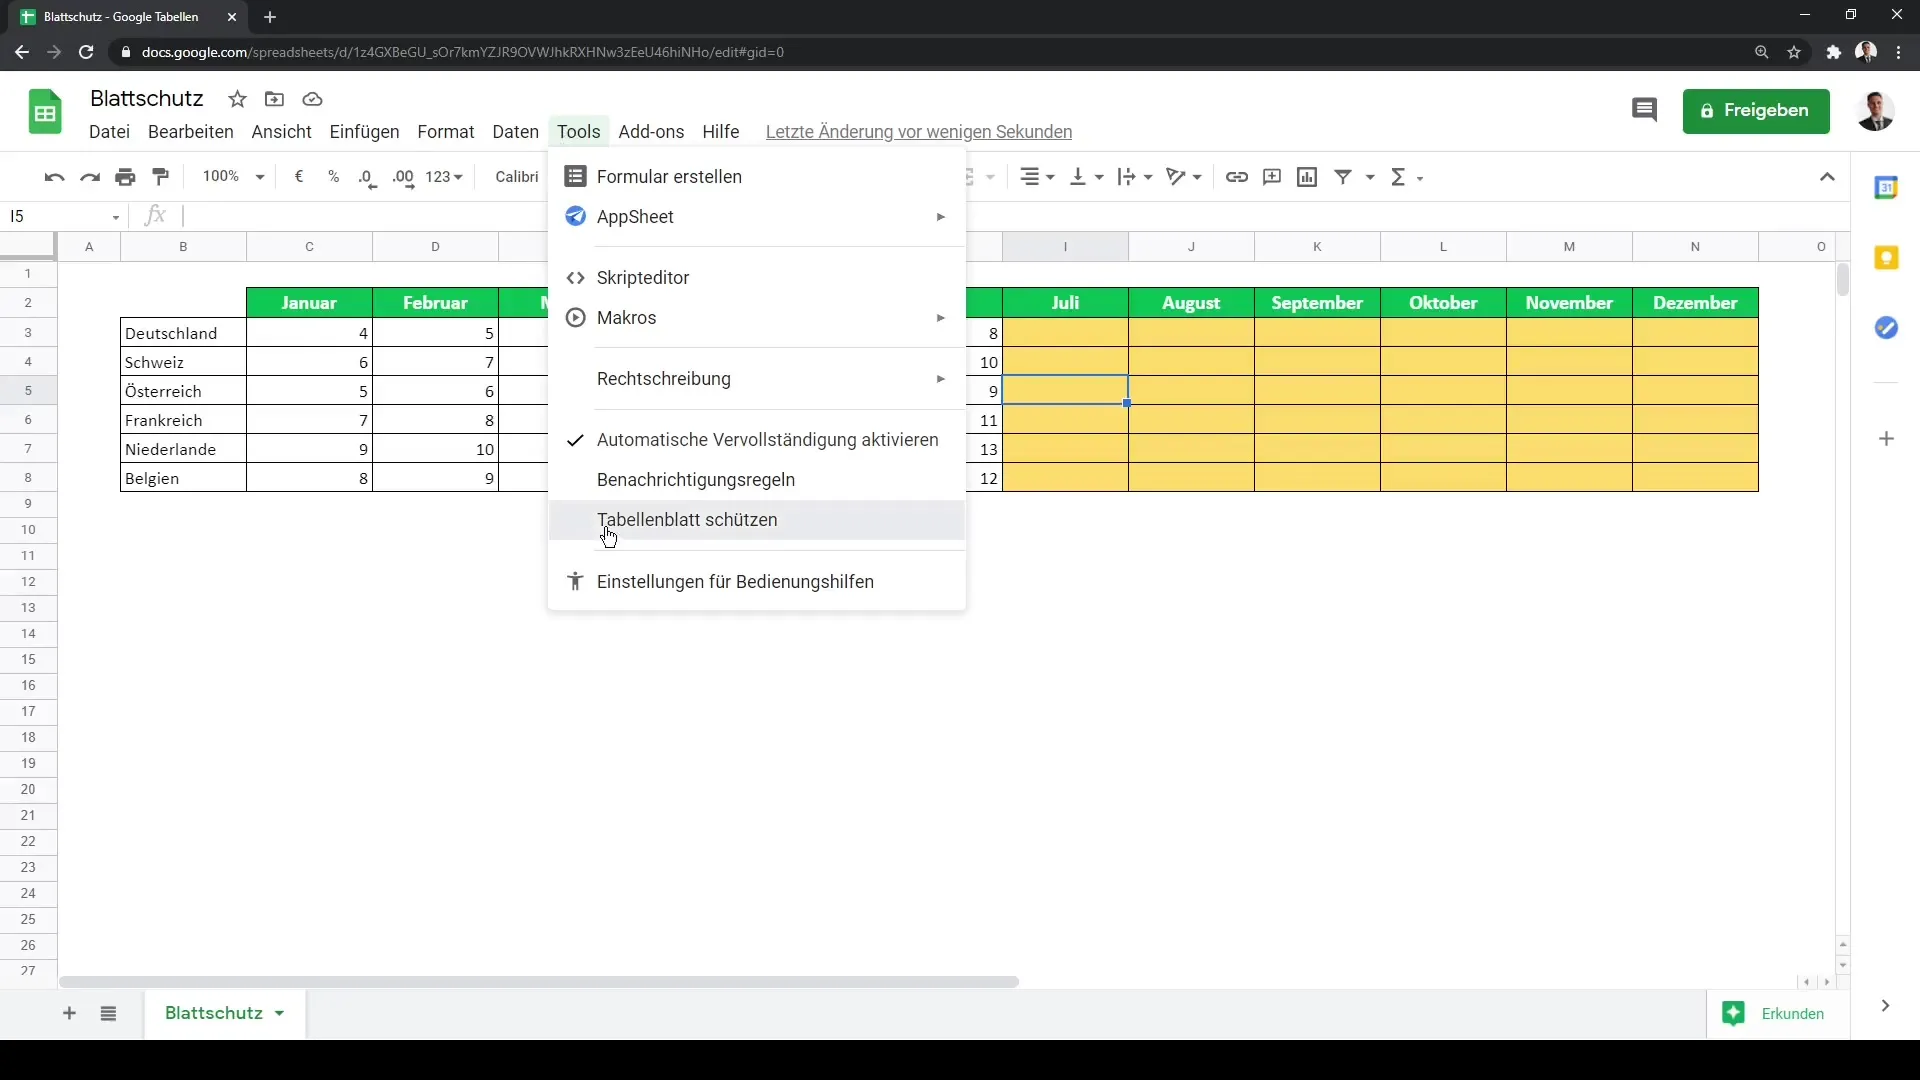
Click on "Tools" in the menu and then select "Protect sheet" from the dropdown list. This will open a new dialog box where you can make the necessary settings.
Step 3: Specify Protection Description
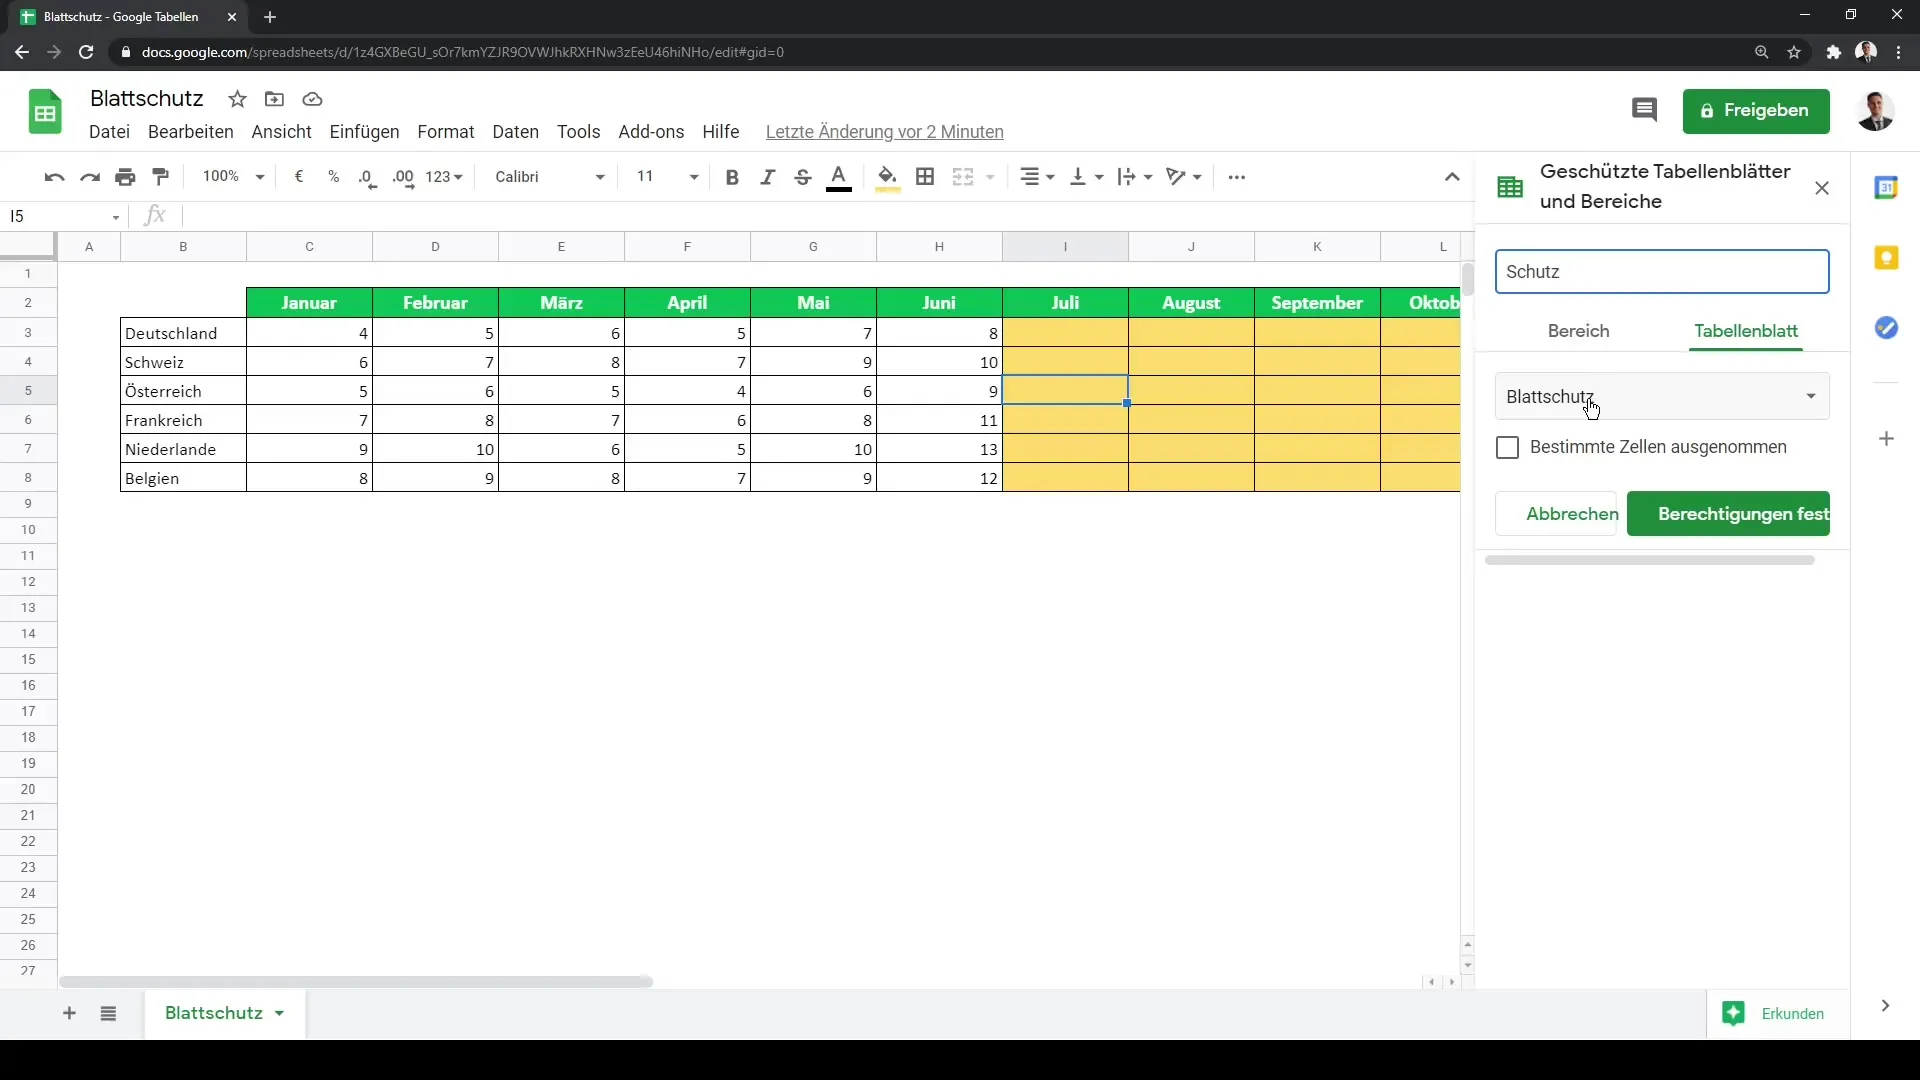
In the dialog box, you can add a description for the sheet protection. This can be helpful to know later what type of protection you have applied. For example, name it "Protection for input fields" for easy identification of the protection purpose.
Step 4: Set Permission Settings
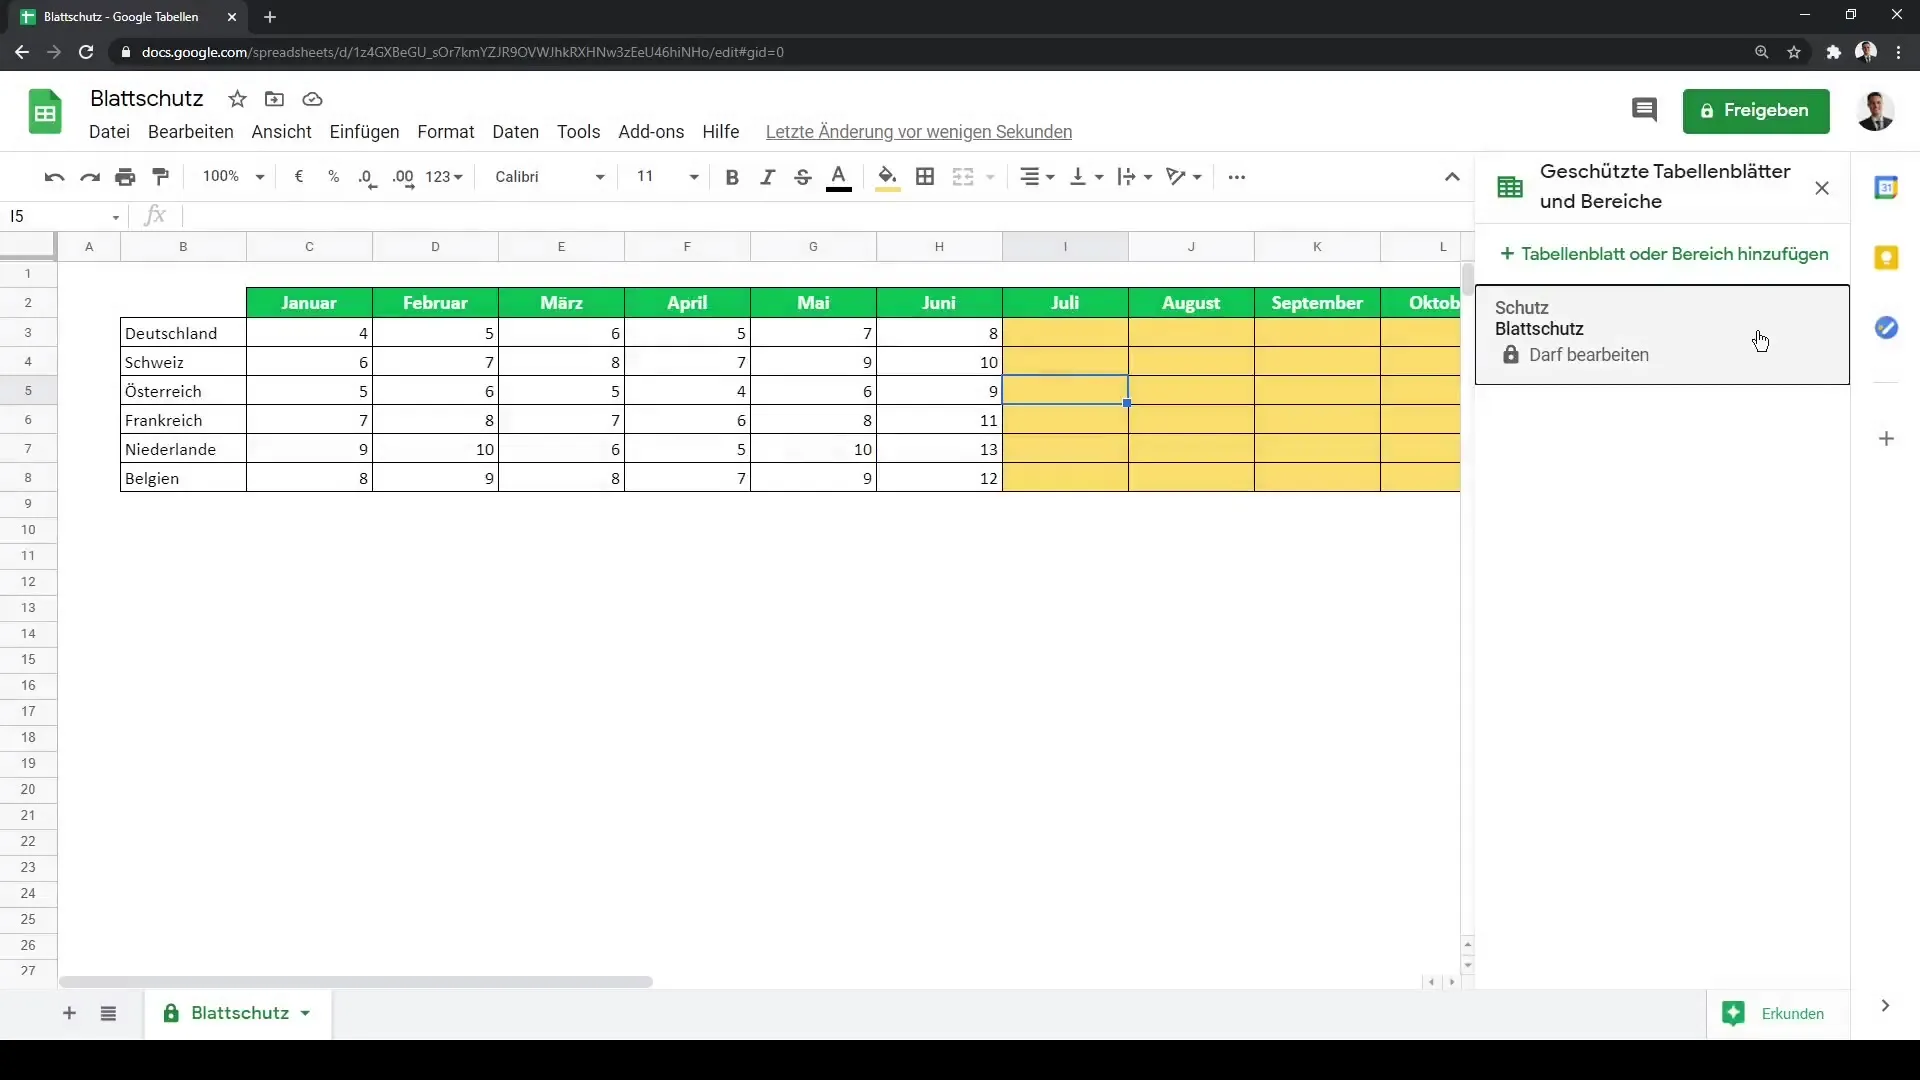
Now it's time to set the permissions. You can precisely determine who can make changes in this worksheet. In many cases, you will want to specify that only you or certain colleagues can edit the protected cells. Select the desired user and save the settings.
Step 5: Share Link and Request Access
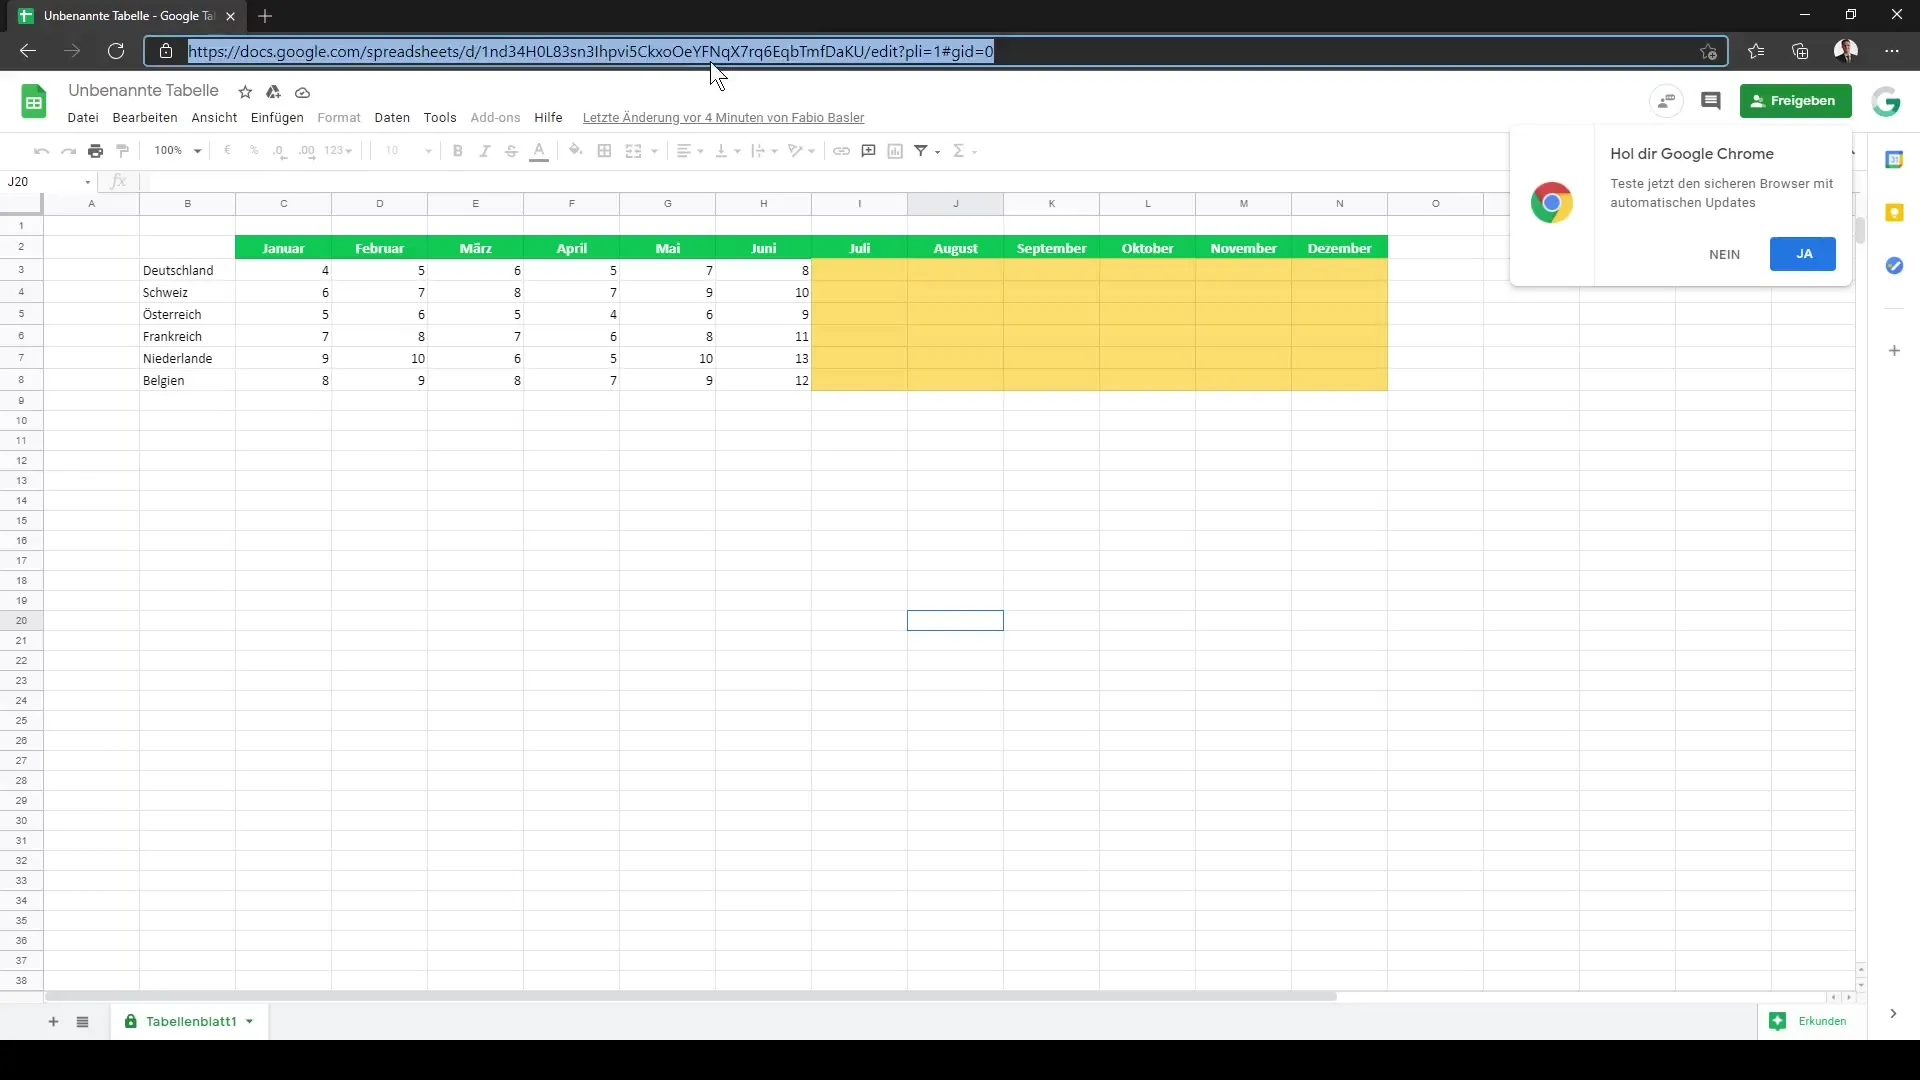
After setting up the sheet protection, it is important to share access. Click on "Copy link" to grant access to your worksheet. If you already have a Google account for your colleagues, you can send an access request via email so that they receive the necessary permissions.
Step 6: Test Permissions
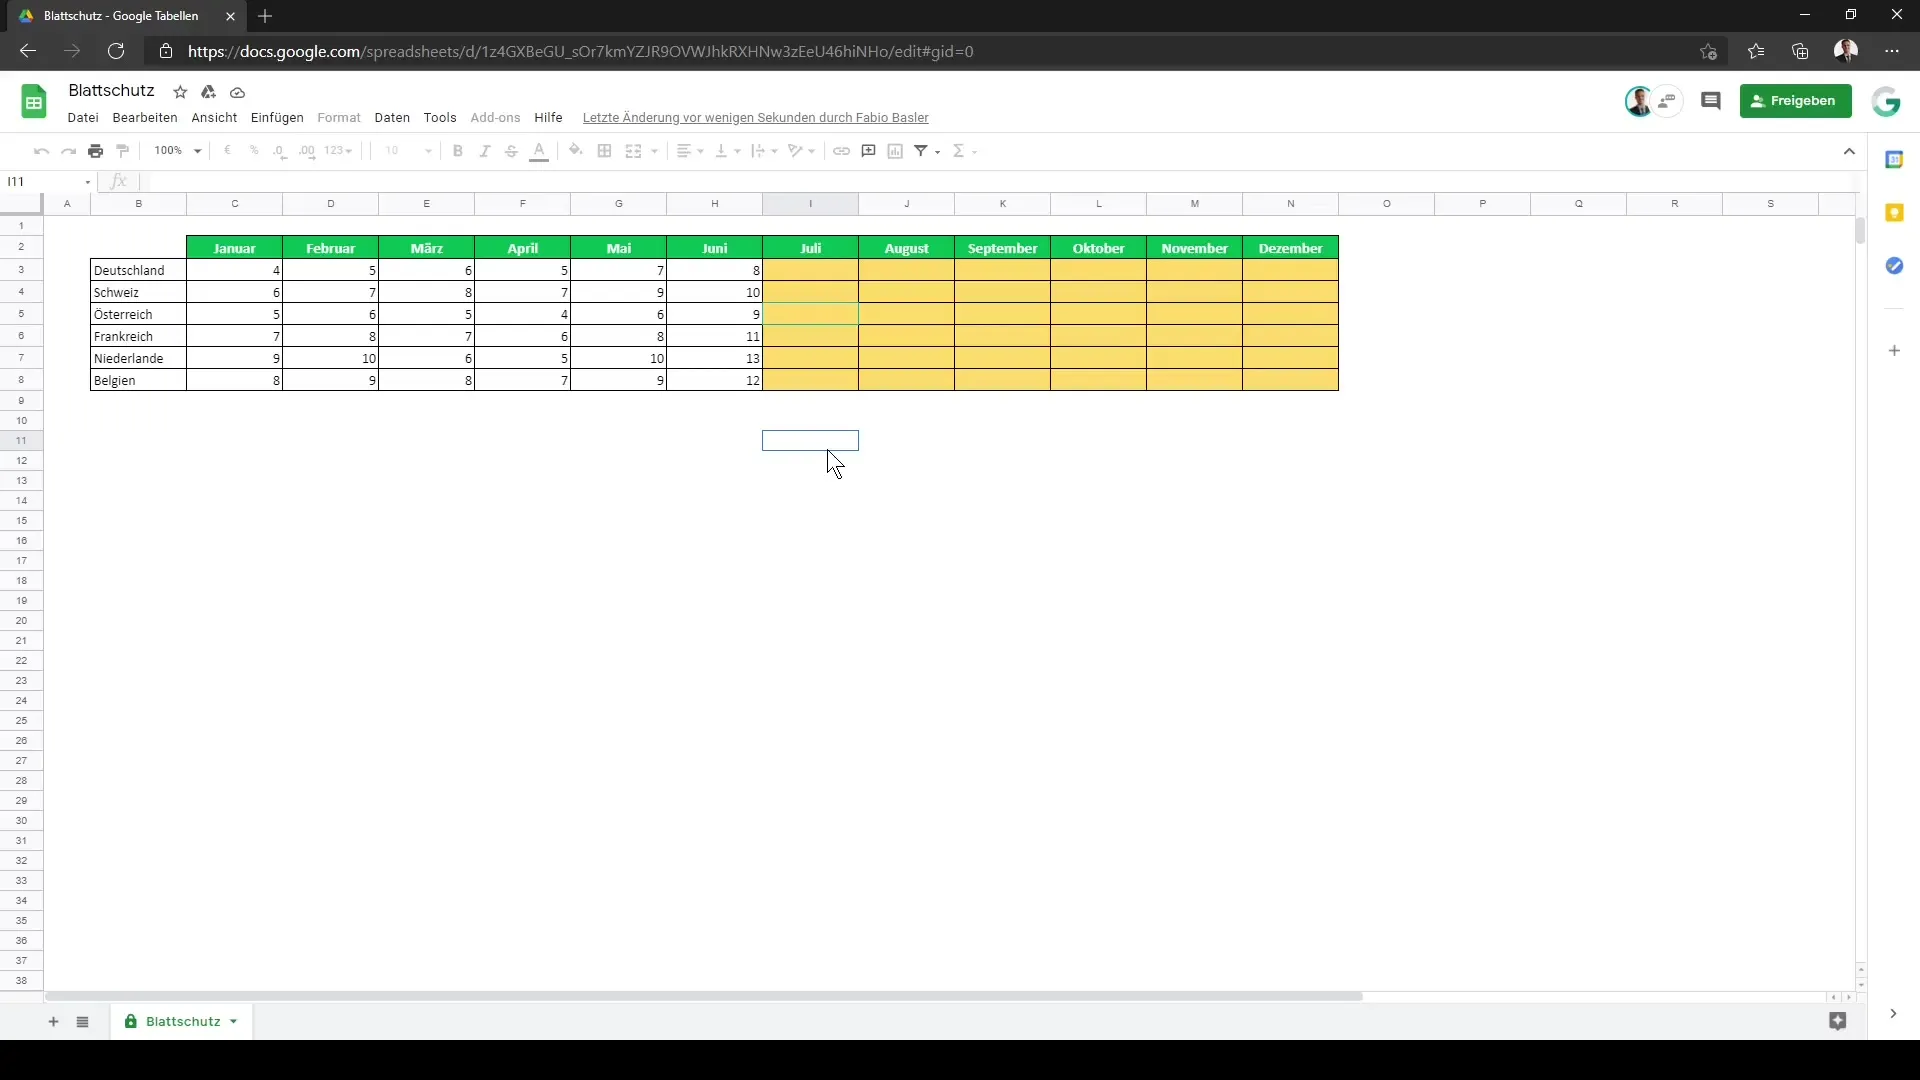
You should now test if the permissions are set up correctly. Log in with your colleague's account and try to make a change in a protected area. You will find that these changes are not possible and the cells are appropriately protected.
Step 7: Customize Exceptions
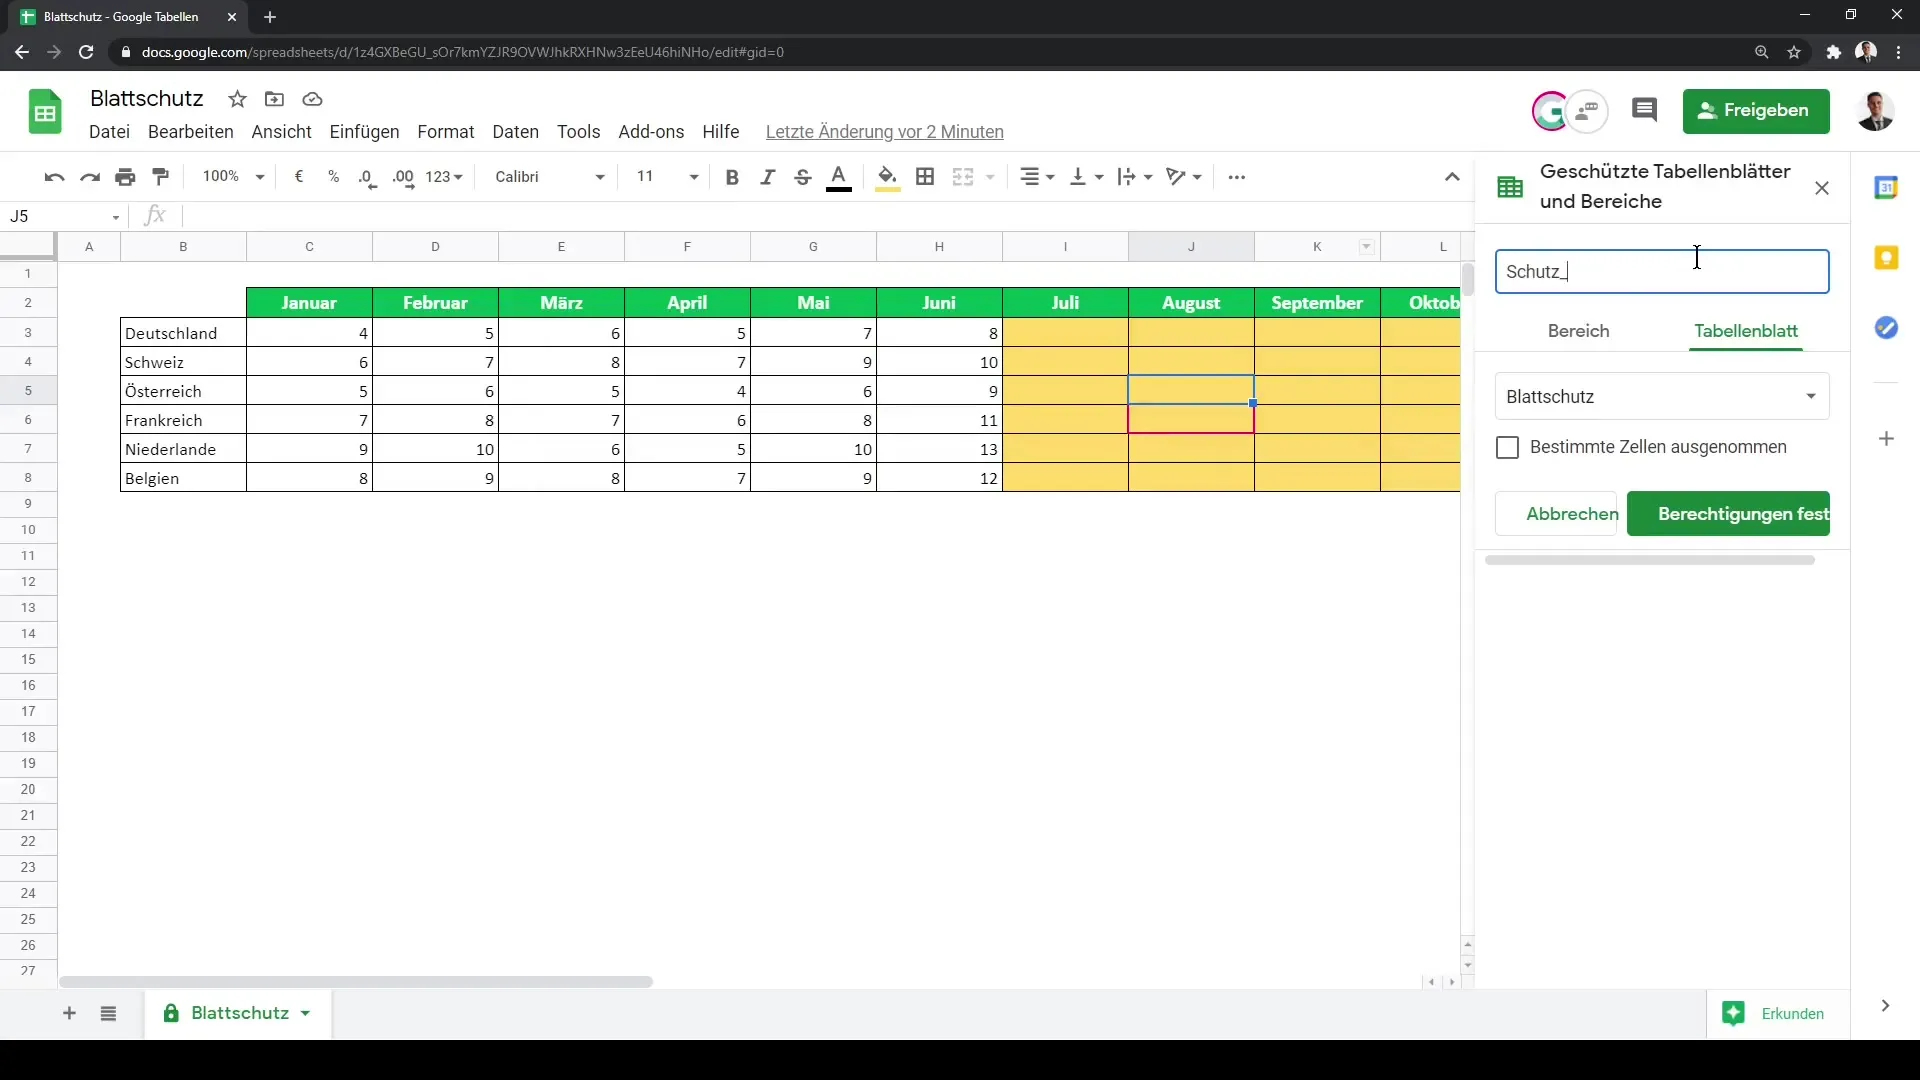
If you want certain cells to be editable while others remain protected, you can add another layer of protection. Go back to "Tools" and select "Protect sheet" again. Enter a new description (e.g., "Edit cells for colleagues") and select the cells that should be allowed for editing.
Step 8: Review Settings
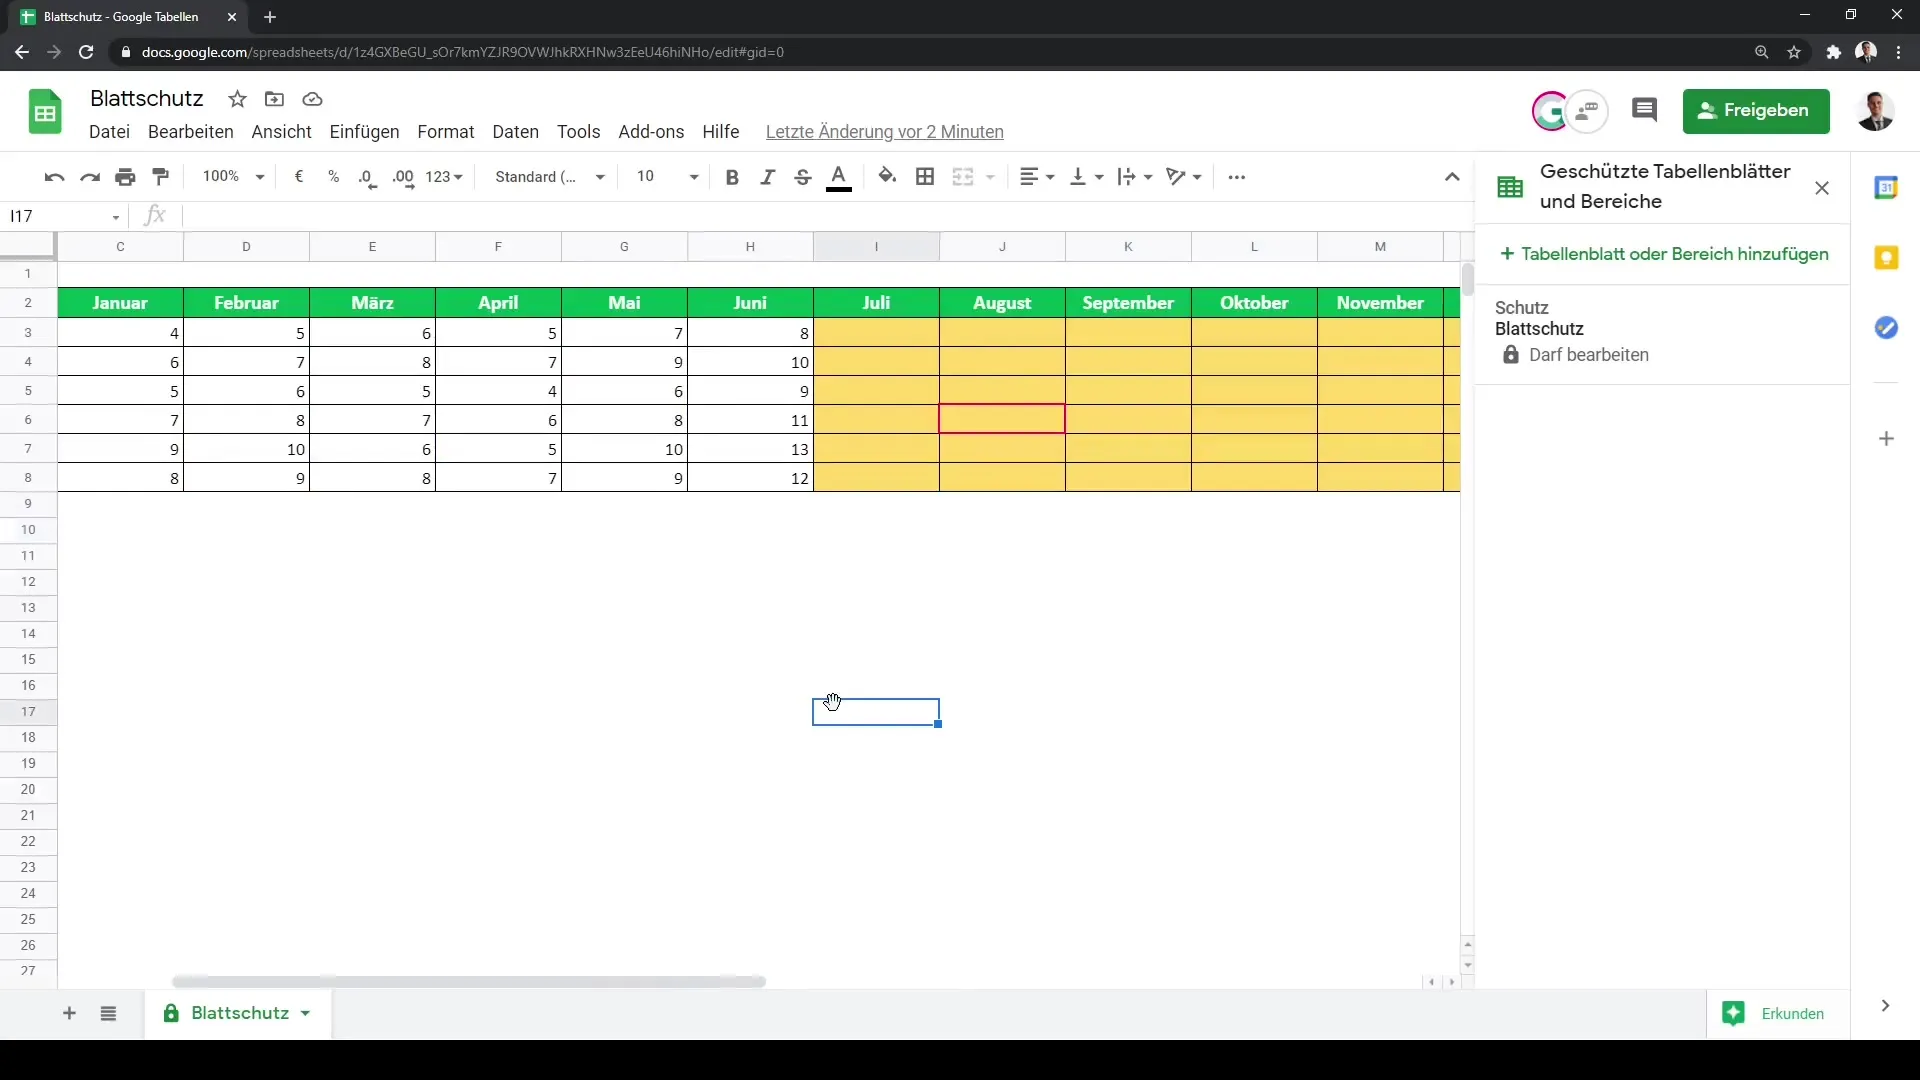
After setting up the exceptions, verify that the protection measures are working correctly. Your colleagues should now be able to edit only the yellow cells, while the other cells remain protected.
Summary
In this guide, you have learned the steps to set up protection for your spreadsheet in Google Sheets. You now know how to ensure that only selected cell ranges can be edited, and how to precisely define permissions. This knowledge is crucial for maintaining the integrity of your data.
Frequently Asked Questions
What is sheet protection in Google Sheets?Sheet protection is a feature in Google Sheets that allows you to protect specific cells or ranges from unauthorized changes.
How can I activate sheet protection?Click on "Tools" and then on "Protect sheet" to set up sheet protection and define permissions.
Can I allow only certain cells to be edited?Yes, you can set up sheet protection so that only specific cells are available for editing.
Can I remove sheet protection at any time?Yes, you can remove sheet protection at any time by going back to "Protect sheet" and changing the corresponding settings.
Do I need to provide a reason for sheet protection?It is not necessary to provide a reason, but a description can be helpful if there are multiple sheet protection settings.
