Part 01 - Introduction: Animal motif - beastly good!
Part 02 - The right equipment
Part 03 - The main problems: light & sharpness
Part 04 - It's all about the detail!
Part 05 - Shooting preparations and planning
Part 06 - Dog photography
Part 07 - Cat photography
Part 08 - Horse photography
Part 09 - Small animal photography
Part 10 - Indoor shoots - studio photography
Part 11 - Outdoor shootings
Part 12 - Image editing
Part 13 - Various general tips
Part 14 - Reptile photography
Here is a brief overview of the points in the tutorial on reptile photography:
- Introduction
- What you should know about reptiles in advance
- Photographing reptiles in terrariums without flash
- Photographing reptiles in the studio
- Photographing people with reptiles
1. introduction
First of all, I would like to say the following: My specialty is animal photography in the field of dogs, cats and horses. I photographed reptiles in order to write this tutorial because it was important to me to give you readers of PSD.Tutorials.de a few useful tips if you too would like to take this step.
Reptiles are incredibly fascinating, especially for photographers. Reptiles are beautiful, graceful and sometimes dangerous. Reptiles are primal. For us, reptiles are usually wild and strange creatures. What do you know about reptiles, for example?
If you don't keep these animals yourself and have therefore made sufficient enquiries about how to keep them appropriately and have enough information about them, you probably know just as little as I did before writing this tutorial. Nothing at all.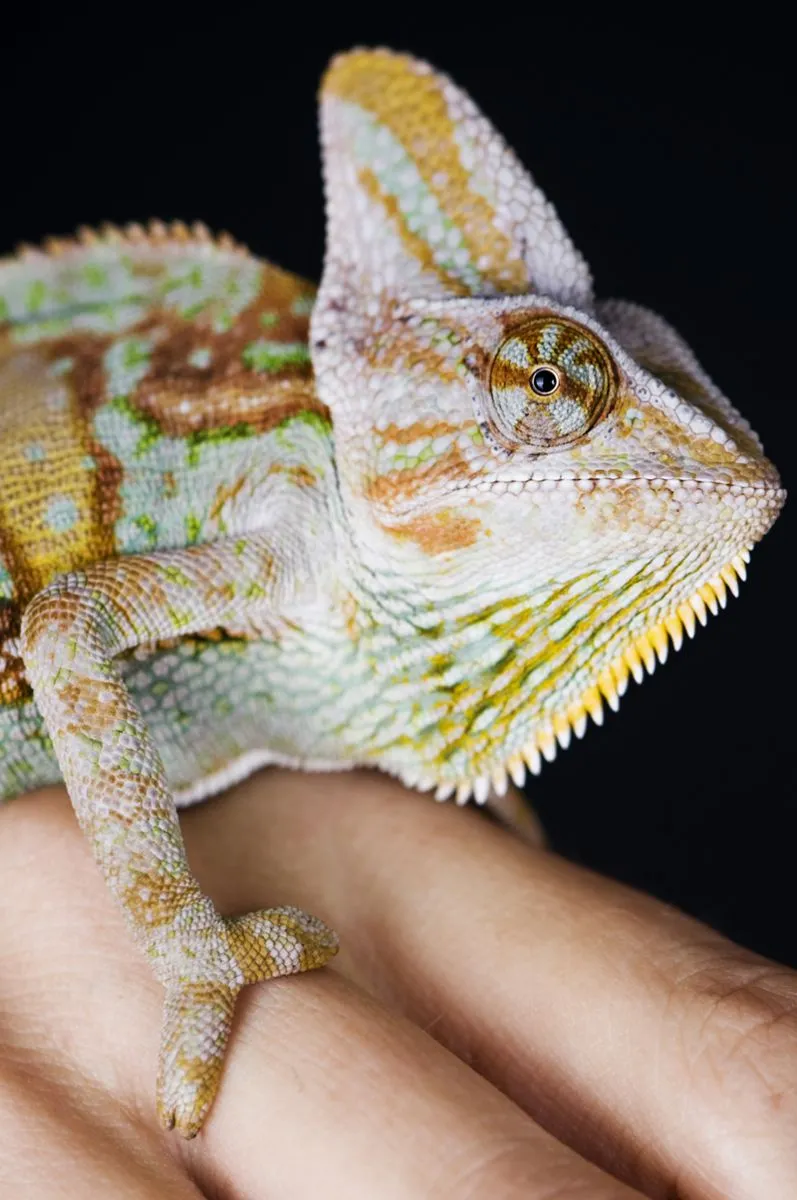
If we ask Wikipedia about reptiles, it says that they are vertebrates. They have tails, horny-scaled skin and four legs (except for snakes and some lizards, where these are regressed). They lay eggs or give birth to live young and develop directly. This means that they do not have a larval stage. Reptiles are ectothermic and alternately warm animals that regulate their body temperature as much as possible through behavior (sunbathing, etc.) This is probably what we already know anyway.
But which snake is poisonous and how? How does a bearded dragon show stress? Can I photograph a monitor lizard with a flash or does that stress it? How close can I get to a scorpion? This is where it ends pretty quickly. When I first thought about writing a tutorial on reptiles, I naturally had to get to grips with these strange creatures. I was 70% curious, but 30% very scared.
I am now well practiced and experienced in the other animal areas. I know how to act in certain situations, but if you venture into unknown territory, you quickly become helpless and anxious.
So how was I supposed to find reptiles and gain experience and information at the same time? Unfortunately, I received a very negative response when I asked for help in reptile forums. Although I wrote that I didn't know anything about this and needed help and didn't even know whether reptiles could be photographed without harm, many people immediately started to put me down. "Responsible reptile owners would never give me the animals to photograph and, above all, as a photographer I would put the aesthetics of these animals before anything else, etc.". ..."
So it wasn't exactly easy. I myself am very fond of animals and I would never photograph an animal if it caused it stress. I realize that a reptile requires completely different conditions than a cat. I didn't get much further in pet stores either, but in the end I was very lucky. Thanks to the offer on my website to photograph reptiles from private individuals free of charge, I finally received one or two inquiries!
Then I had the great good fortune to meet Mr. Andreas Appenheimer from A-Z Terraristik in Essen, who immediately invited me to visit him and his reptiles. He gave me the opportunity to take most of the photos shown here in his store and put his heart and soul into helping me, as well as teaching me about reptiles.
The most important thing for both of us was that the welfare of the animals always came first. I learned how to photograph the animals without a flash, what to look out for when approaching a reptile and how to recognize stress. I was so fascinated by all this that I decided to continue photographing reptiles whenever possible.
Now I hope that you will be inspired by me and that the photos will inspire you.
Please don't expect too great results. As always, you should do better than me anyway! As I said, the photos were not taken in the studio, but mostly in the actual terrariums, in the reptiles' habitat and without flash. I also don't have the best equipment for reptile photography.
But now to the actual part of the tutorial! Have fun reading.
2. what you should know about reptiles in advance
If you're photographing a dog or cat, you'll have time to change your setup. You can comfortably change the set, talk to the owner, maybe even answer the phone. Depending on which reptile is currently in your studio or looking at you from an open terrarium, it can look completely different.
I don't want to spread panic here. Quite the opposite. It's just important to know what can happen during such a shoot. Especially because I now also photograph people with reptiles in my studio, it is essential to know what risks you may be taking. And I'll be honest: if my client has a scorpion on her arm, I'm also very tense.
There are a few things you should definitely bear in mind when photographing reptiles. It doesn't matter whether you photograph them in a terrarium at home or in a specially prepared studio. If you don't have a lot of experience with reptiles, you should instruct the owner to stay with the animal, watch out for signs of stress and, above all, intervene in good time. Especially if you are photographing the animal in the studio with people. But I will go into this in more detail in the last point of the tutorial.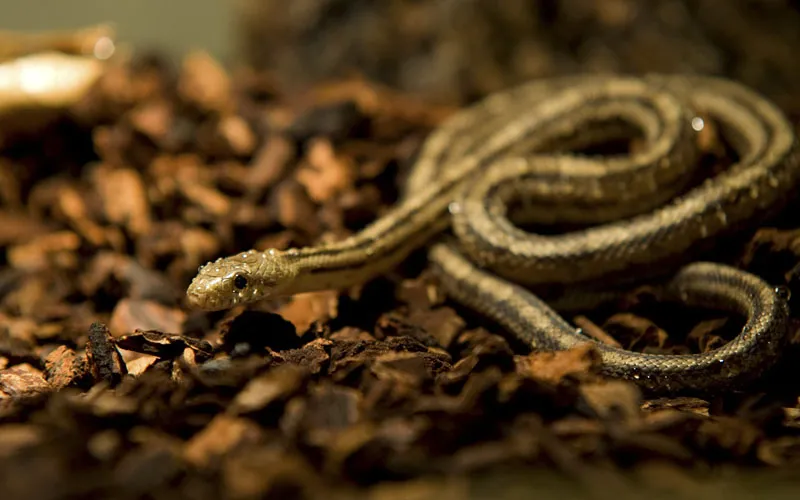
Answering these questions is definitely on your preparation list:
- Which reptile am I photographing and what do I need to consider?
- Does the reptile have enough peace and quiet in its environment?
- How can I avoid stress in the environment?
- How do I recognize stress?
- Is it poisonous? What can happen in the event of allergies?
- Am I sufficiently protected or what do I need to do to protect myself?
The owner can certainly give you many answers in advance. They will also know exactly what they can expect of their pet and when the shoot should be stopped. If not, this job is up to you. Observe the animal! Just like you would with a dog. The only difference is that your snake won't scratch or yawn when it's stressed.
You can tell when snakes are stressed by the fact that they breathe more heavily. They start to "pump" more vigorously. The first thing she will do is try to retreat! It will curl up and make itself small. You should not ignore this! Because in the second step - and it may soon be too late - the snake may react aggressively.
It usually straightens up and its neck becomes S-shaped. If you are then too close to it, things can get tight. Of course, this is not the case with all snake species, but you should pay attention to the snake's breathing.
It is important that the snake had a sufficient meal a few days ago. Not too long before the shoot, so that it is not too hungry for our photographer, but also not so fresh that it might give up its meal under stress.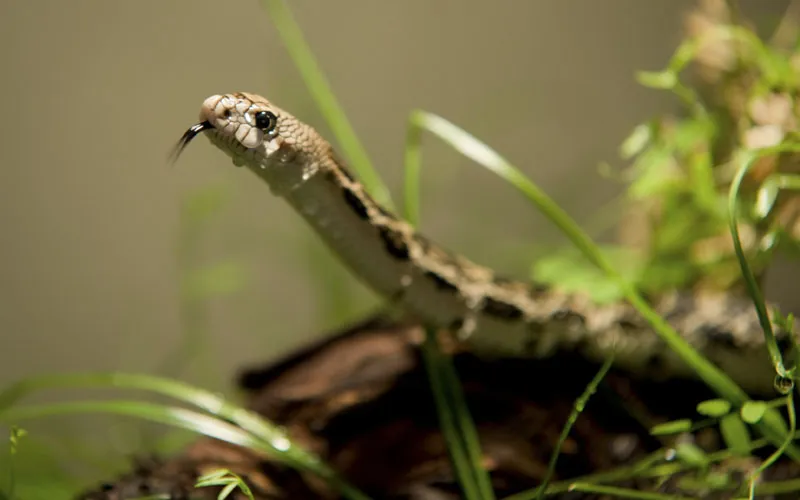
Mr. Appenheimer provided me with his wonderful snakes to photograph. We photographed the animals in their habitat, where they belong! There are certainly some specimens that can be taken out of the terrarium for a short time and placed on a wooden trunk or similar in order to photograph them in front of a photo background, for example, and then also with a flash.
The beautiful red-tailed boas, for example, were very patient. However, these specimens still need to grow up; later the boa constrictor will reach a size of 2-3 meters. These snakes are very calm and were easy to photograph. They were just a little curious, but otherwise they are suitable photo candidates.
Many reptiles hiss or hiss when threatened. Take the chameleon, for example. It can get pretty beastly and even bite. Believe me. That hurts. So I had little Lara, a pretty Yemen chameleon lady, with me in the studio. To be honest, I didn't have much confidence in her, being very inexperienced. She just seemed strange to me, even though I was fascinated.
When she kept trying to crawl off the table and her owner put her back in the green, she remained very calm, but also unperturbed in her path from her boring branches. At some point, I wanted to move her as if automatically and naturally approached her.
Well, I hadn't reckoned with Lara. She knew exactly that it wasn't her owner who wanted to pick her up. She turned to me in a flash and hissed so strongly that I jumped back half a meter. Pretty clever, these little beasts. You shouldn't underestimate them. If I had picked them up, it would definitely have been painful.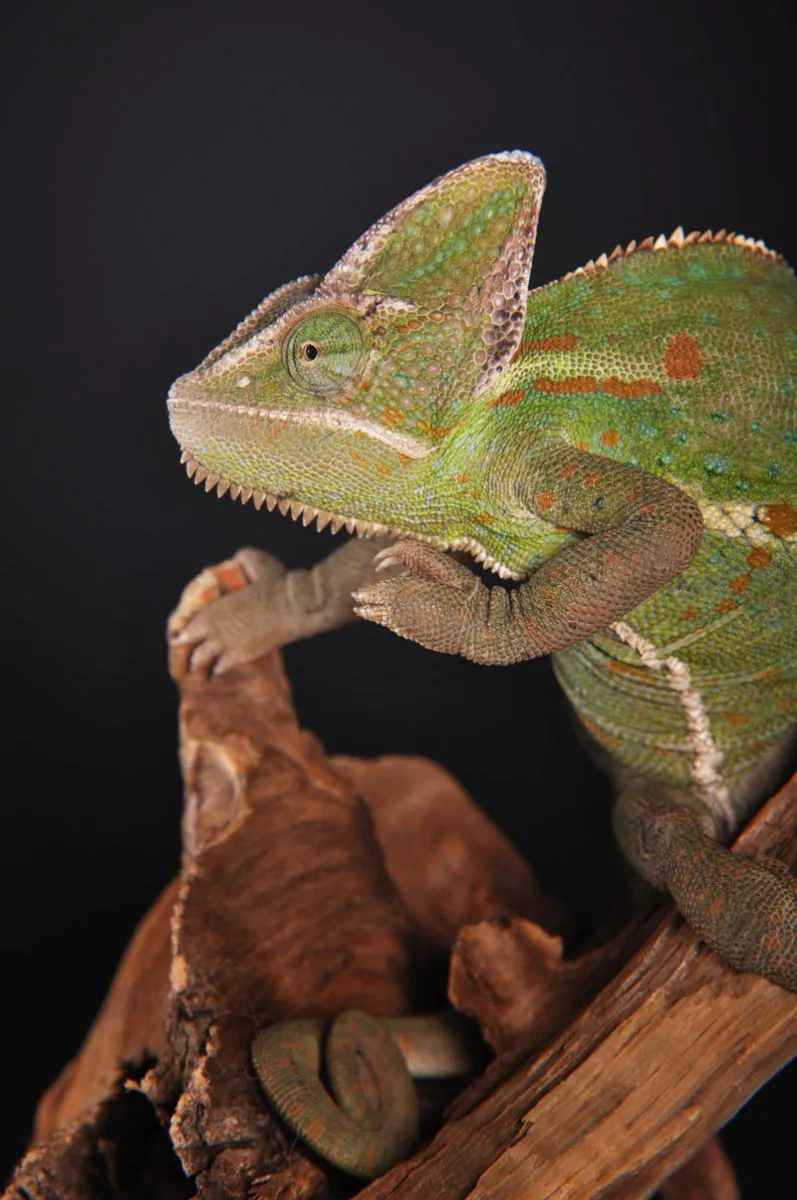
Some reptiles are very dangerous and should only be photographed under certain conditions with experienced people. Iguanas, for example, can inflict terrible injuries with a blow to the tail.
Scorpions, for example, can not only grab painfully with their pincers, but also deliver venom with a defensive sting that is very similar to that of a bee. If the person to whom the venom is administered has a bee sting allergy, it can quickly become dangerous. You should also be very careful with scorpions if you have a heart condition!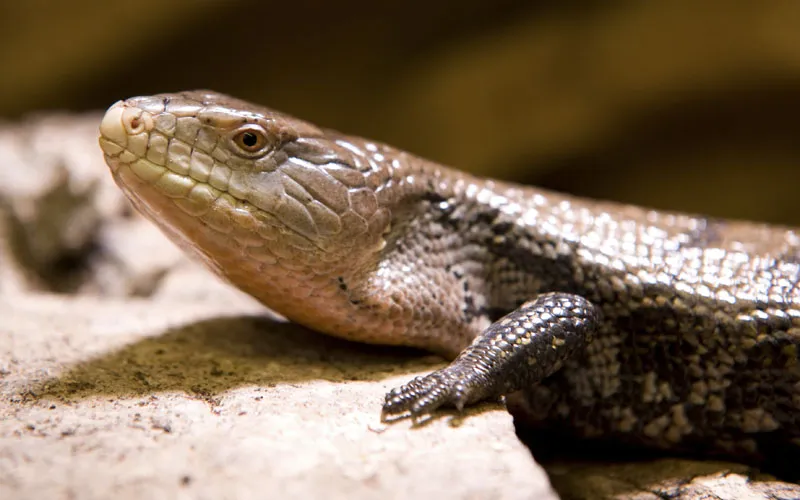
Tarantulas have long irritating hairs and may launch a defensive bite. This is very dangerous in the case of heart disease, bee allergies or respiratory diseases such as asthma. The bite is also extremely painful.
Please inform yourself sufficiently. This is the be-all and end-all of reptile photography.
3. photographing reptiles without flash in terrariums (impressions)
As already written, I don't want to spend too much time here, but rather show you a few pictures of how you can photograph reptiles in terrariums without flash. I don't have the right equipment myself. A macro lens is certainly perfect, as long as you can safely get close to the animals.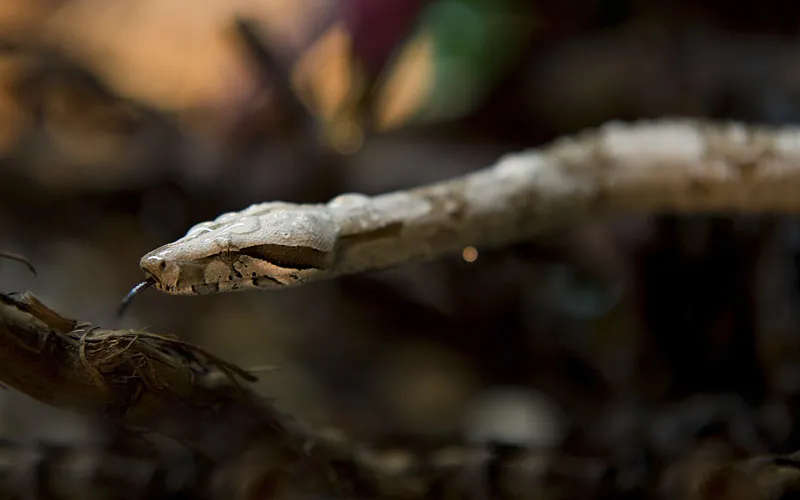
Otherwise, something around 200mm-300mm with a lot of light intensity, possibly even a fixed focal length, would be perfect - on a tripod, of course. I climbed a ladder for most of the shots and was quite wobbly on my feet.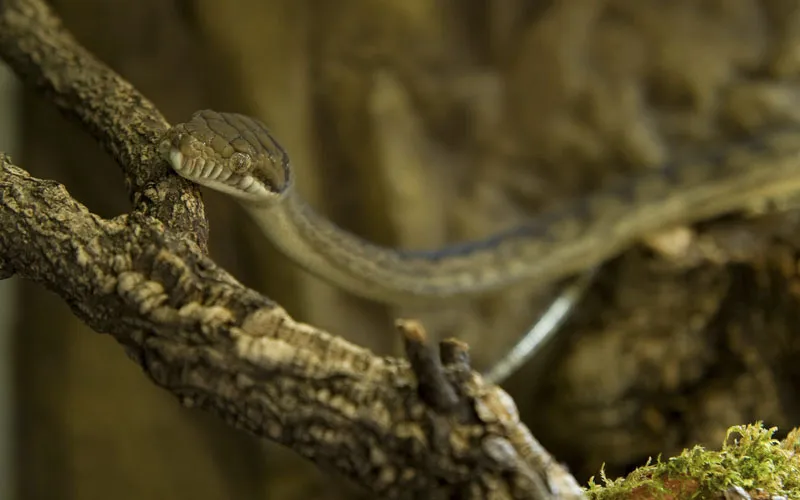
I worked with an open Blender on most of the pictures. Use the maximum ISO you can demand from your camera without losing too much quality and set an exposure time of around 1/250 to 1/125.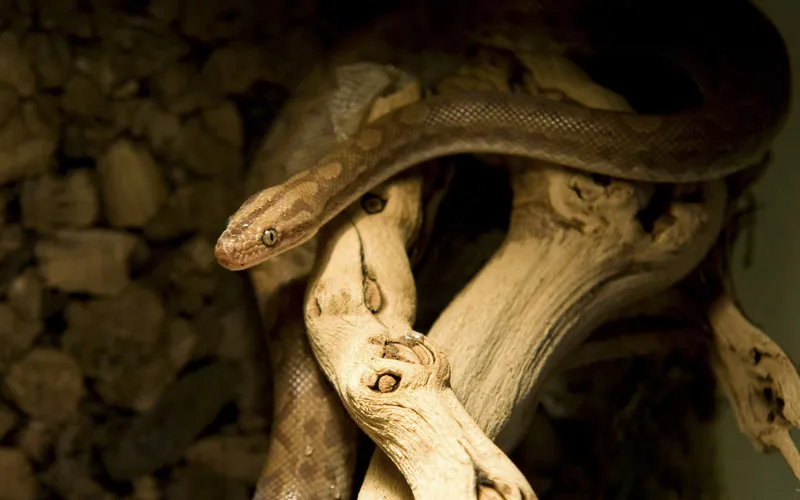
You can actually still take good photos handheld.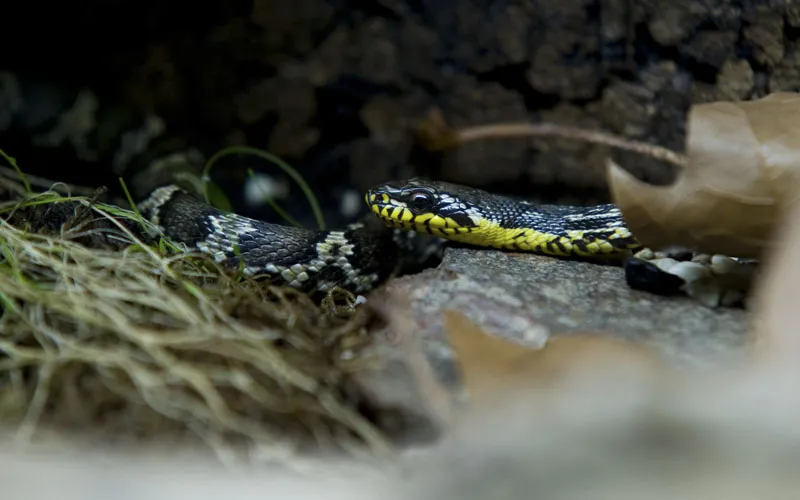
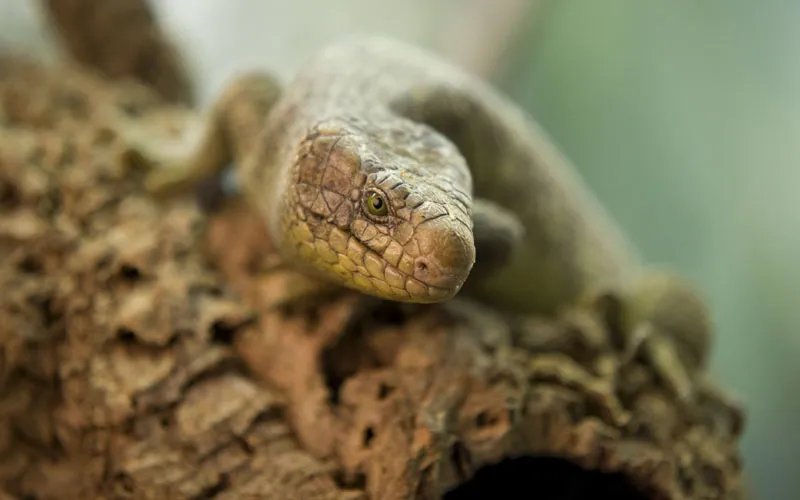
Then feel your way up a little with the Blender so that you have more sharpness than I did in the following pictures. It could have been a little more in some cases, even if it sometimes comes across well.
Rare and an absolute dream, but unfortunately a monitor lizard is just as dangerous as it is beautiful ... This monitor lizard also lives at AZ Terraristik in Essen.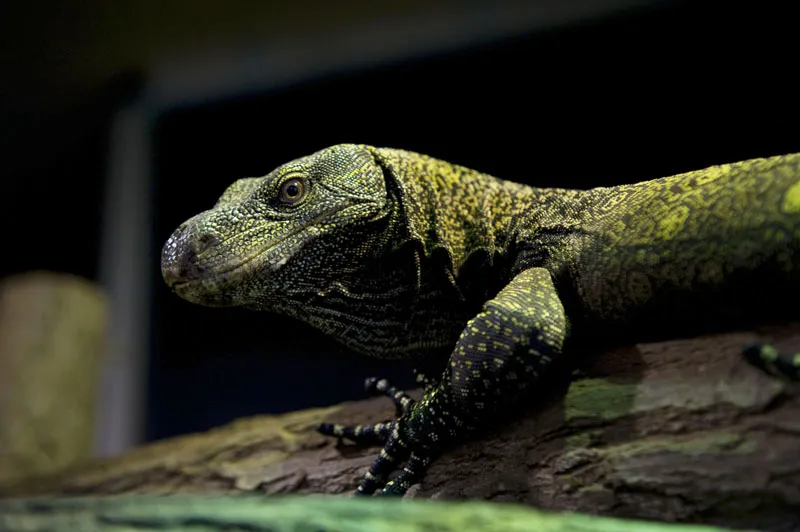
Sprayed with a little water, which the animals like, they look even more beautiful!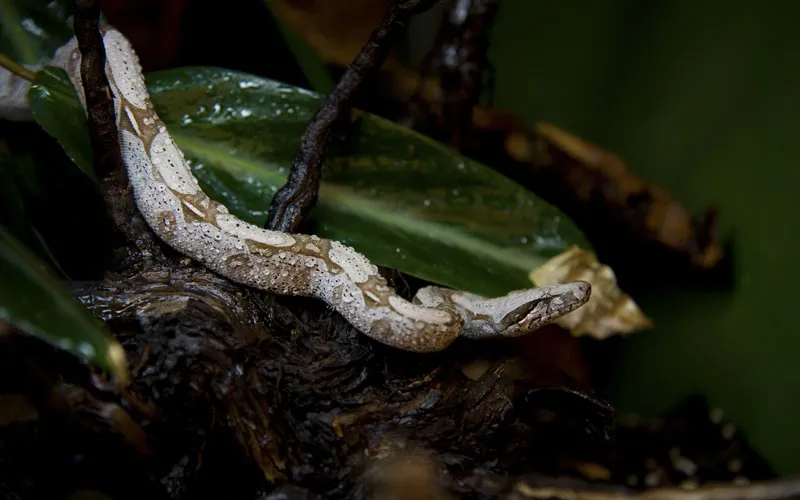
4. photographing reptiles in the studio
Unfortunately, I've only been able to photograph a few reptiles in the studio so far. Snakes and chameleons as well as a scorpion. Unfortunately, I didn't have any more on my list.
It's best to photograph the animals on the floor so that there is no danger of them falling. For some species, a large table should also do the trick so that someone can intervene in good time if the animals move away from the actual set. Use a tripod or lie on the floor when the animals are there so that you are at eye level.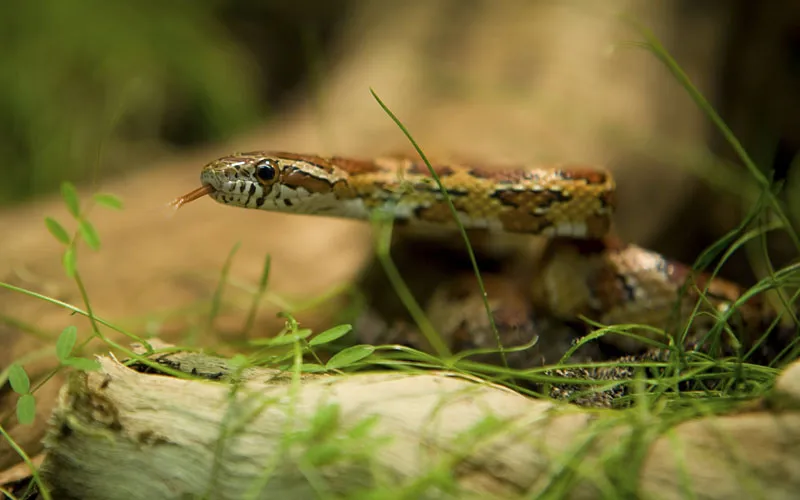
It is best to set up the set naturally. In other words, it is best to work with things from the animal's habitat. Ask the owner if they can bring a root, wood and possibly a few green plants.
This always works fantastically as a background. Otherwise, it doesn't matter whether you use a colorful or neutral background. The animal should of course be shown to its best advantage! Black is therefore not completely wrong.
Then remember what I said about stress. Observe the animal and hurry to take the photo without getting stressed. Stay absolutely calm. Again, you can only do this if you have informed yourself about all the risks beforehand. Don't leave the animal in the studio any longer than is really necessary.
Only take a few shots; make a concept beforehand of what you would like to photograph and be satisfied with what the animal offers you. Even if that means that you only have the tip of the tail in the picture. As soon as the animal is stressed, it has to take a break or the shoot even has to be aborted.
This pair of bearded dragons was photographed right next to the terrarium. They were only taken out briefly. As a pair, they felt very safe on their rock!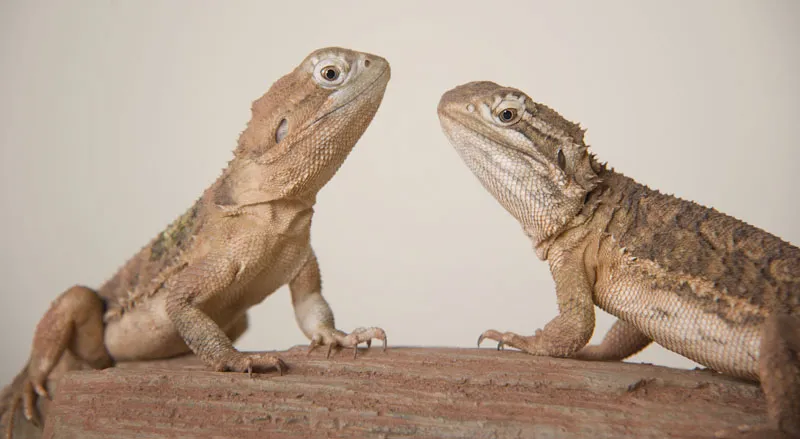
If you want to be inspired and then probably can't shut your mouth from sheer amazement, take a look at Sascha Krampe's profile in the photo community http://www.fotocommunity.de/pc/pc/mypics/491532 or on his homepage at http://derreptilienfotograf.cms4people.de/index.html - his pictures are simply unbelievably beautiful!
Your camera settings in the studio will be ISO 100 / exposure 1/160 and smaller aperture values so that you get a great blur effect. A shallow depth of field works damn well. I think Sascha Krampe has demonstrated this well.
Later, you can bring out the colors and contrasts as well as the sharpness in the image processing. Then the pictures are perfect. I have to admit, if I had the opportunity to photograph reptiles more often, I wouldn't say no ... It's great fun. Unfortunately, I don't have the practice or a lot of experience.
Beautiful red-tailed boa: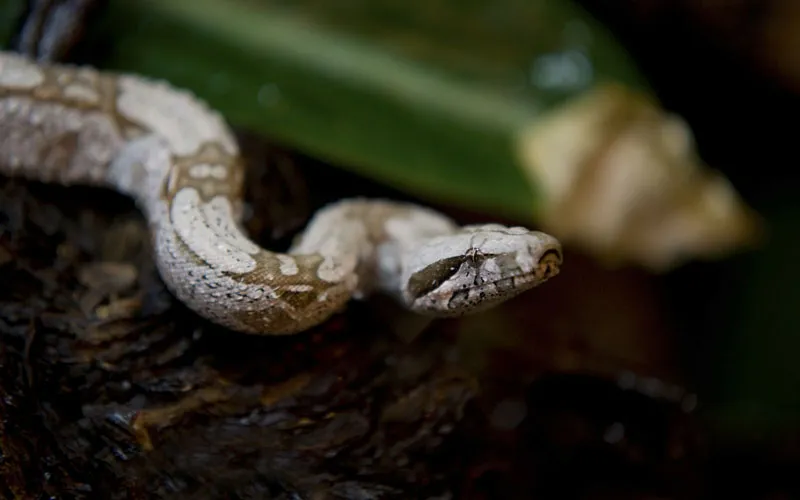
5. photographing people with reptiles
The last hurdle I took this year was photographing people and reptiles. Unfortunately, some things didn't work out during our test shoot. Otherwise we would have been able to present an even greater variety of species. For me, the shoot was very instructive and interesting and I had to realize again how little I know about these fascinating animals.
With luck, I will soon be able to photograph even larger snakes and other species. I will be happy to expand this tutorial accordingly.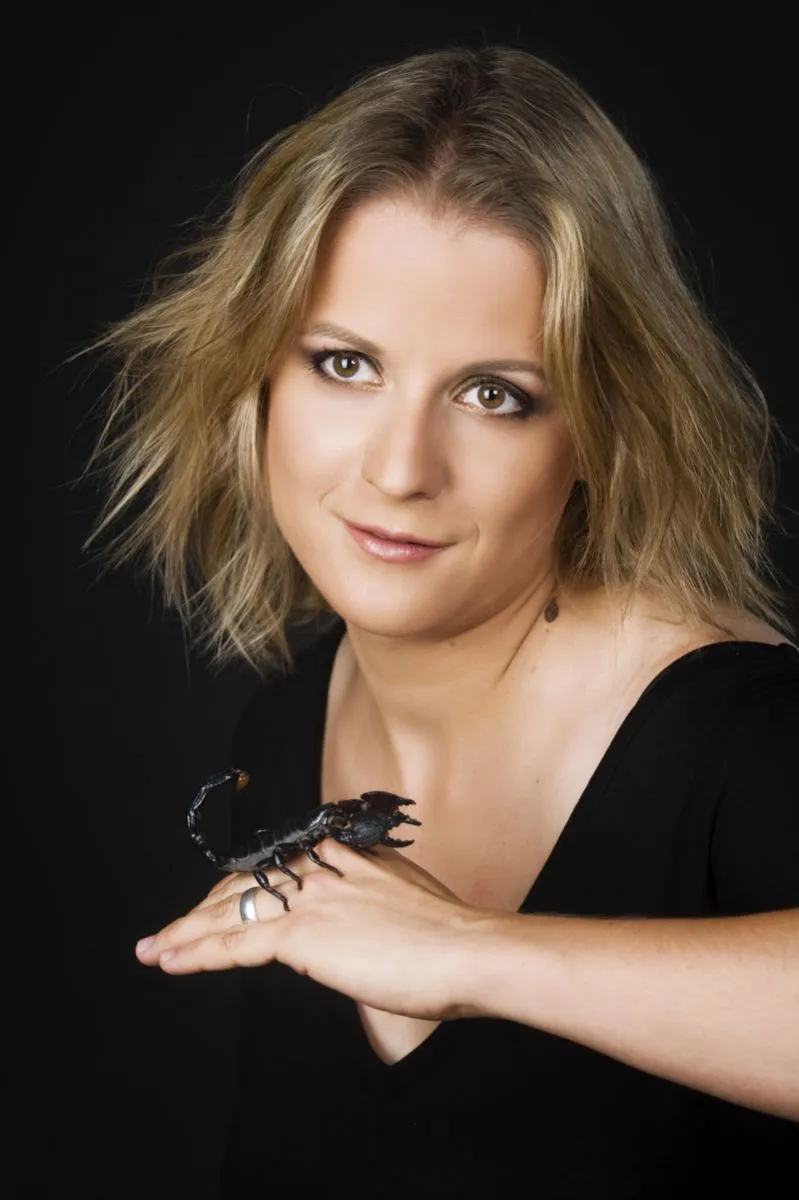
But now to the preparation and execution of your shoot. It is important that not only you are informed, but also the model, who may be just as inexperienced as you are. After all, it's not always the owner themselves.
The model may have risked a big mouth in advance and - as I have also found out - will suddenly try to sneak away from you face to face ...
Then the shoot makes no sense! It has to be fun and the person who has to handle the animal and act in front of the camera must not be afraid! Afterwards, an accident happens and the animal falls or, even worse, bites. We have to avoid that at all costs. In other words, the first thing on this day is a detailed briefing by the photographer and animal owner! In addition, a risk briefing must take place and, ideally, a declaration of liability must be signed.
Once all parties have agreed that the shoot should take place, it can begin, but not with photography, but with an initial approach. The model must familiarize herself with the animal. Touch it, then pick it up and get used to the feel and movements.
Only when the model and reptile have become sufficiently familiar with each other can the shoot begin. Don't expect too much at first ... But don't take too much time either. The owner must be close to the animal throughout the shoot. So that they can read it and intervene directly if things get dangerous.
These two are getting used to each other!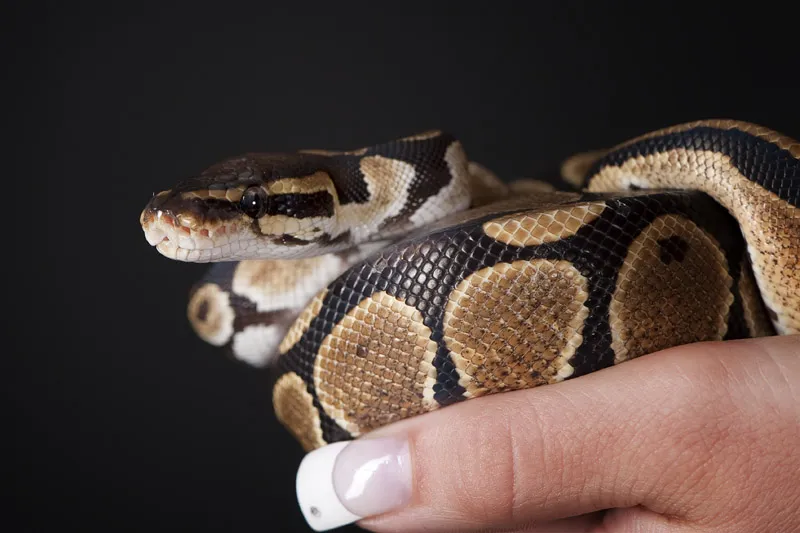
As you can see, it was successful!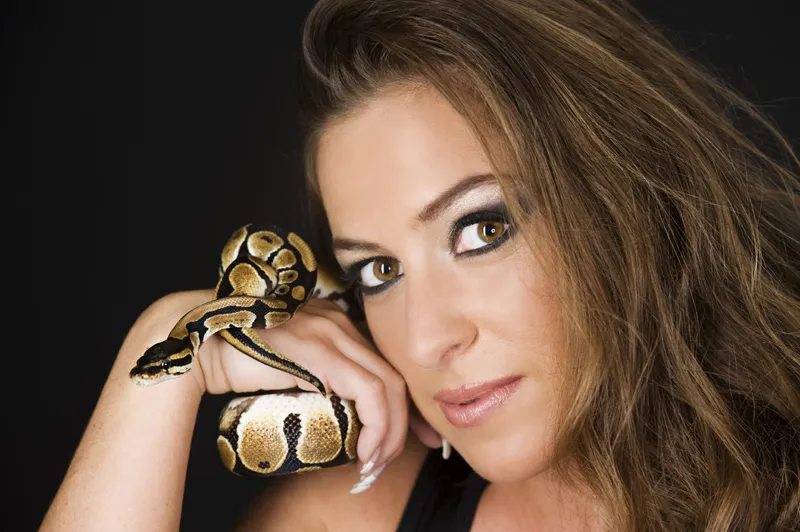
In my experience, I can say that only a few reptiles are suitable for shooting with people. For example, some snake species and the Yemen chameleon. Scorpions are a different story and iguanas can also be dangerous if they no longer want to be photographed.
In my opinion, tarantulas are a very big risk and certainly not the best candidates for a photo shoot with two-legged friends.
No, of course not a reptile! Just reptile food. But my models are not afraid of anything!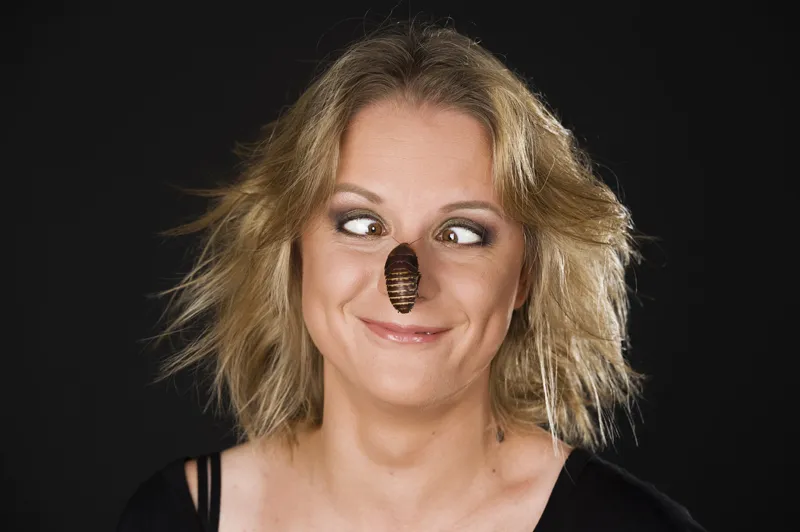
Up close and personal with the chameleon!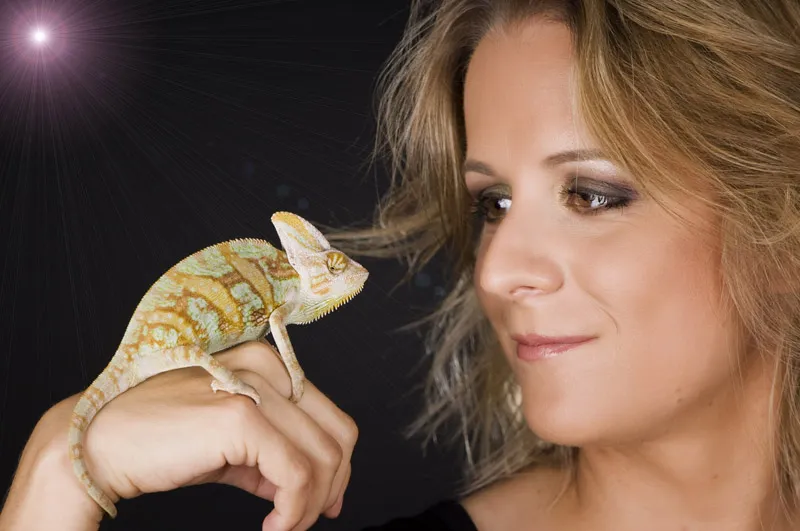
As a photographer, just be aware that these animals are dangerous, and if you inform yourself sufficiently, then nothing will stand in the way of this fascinating shoot. Surely you have friends who have a terrarium with great reptiles! Then go ahead and ask them if you can drop by for a visit. Maybe you'll soon become a successful reptile photographer.
I hope this tutorial on reptile photography has inspired you a little and perhaps whetted your appetite for more! Then I have achieved what I wanted. As soon as I have expanded my knowledge in this area, I will complete this tutorial as promised.
My heartfelt thanks at this point go to Andreas from AZ Terraristik and Maurice, who entrusted me with his reptiles for photo shoots with bipeds. Both have taught me a great deal about these fascinating animals.
Nicole Schick
www.tierfotografie-mit-herz.de
