To be successful on Twitch, a personal channel trailer is crucial. This sets you apart from others and shows who you are and what viewers can expect from your channel. A successful introductory video should grab the attention of potential viewers and encourage them to follow you and visit your streams.
Key Takeaways
- The trailer should be no more than 60 seconds long.
- Use high-quality equipment for the best impression.
- Inject emotions into your speech without pretending.
- Present your gaming sessions and events clearly and concisely.
- Share your streaming times to inform and schedule viewers.
Step-by-Step Guide to Creating Your Channel Trailer
Step 1: Accessing Your Channel's Settings
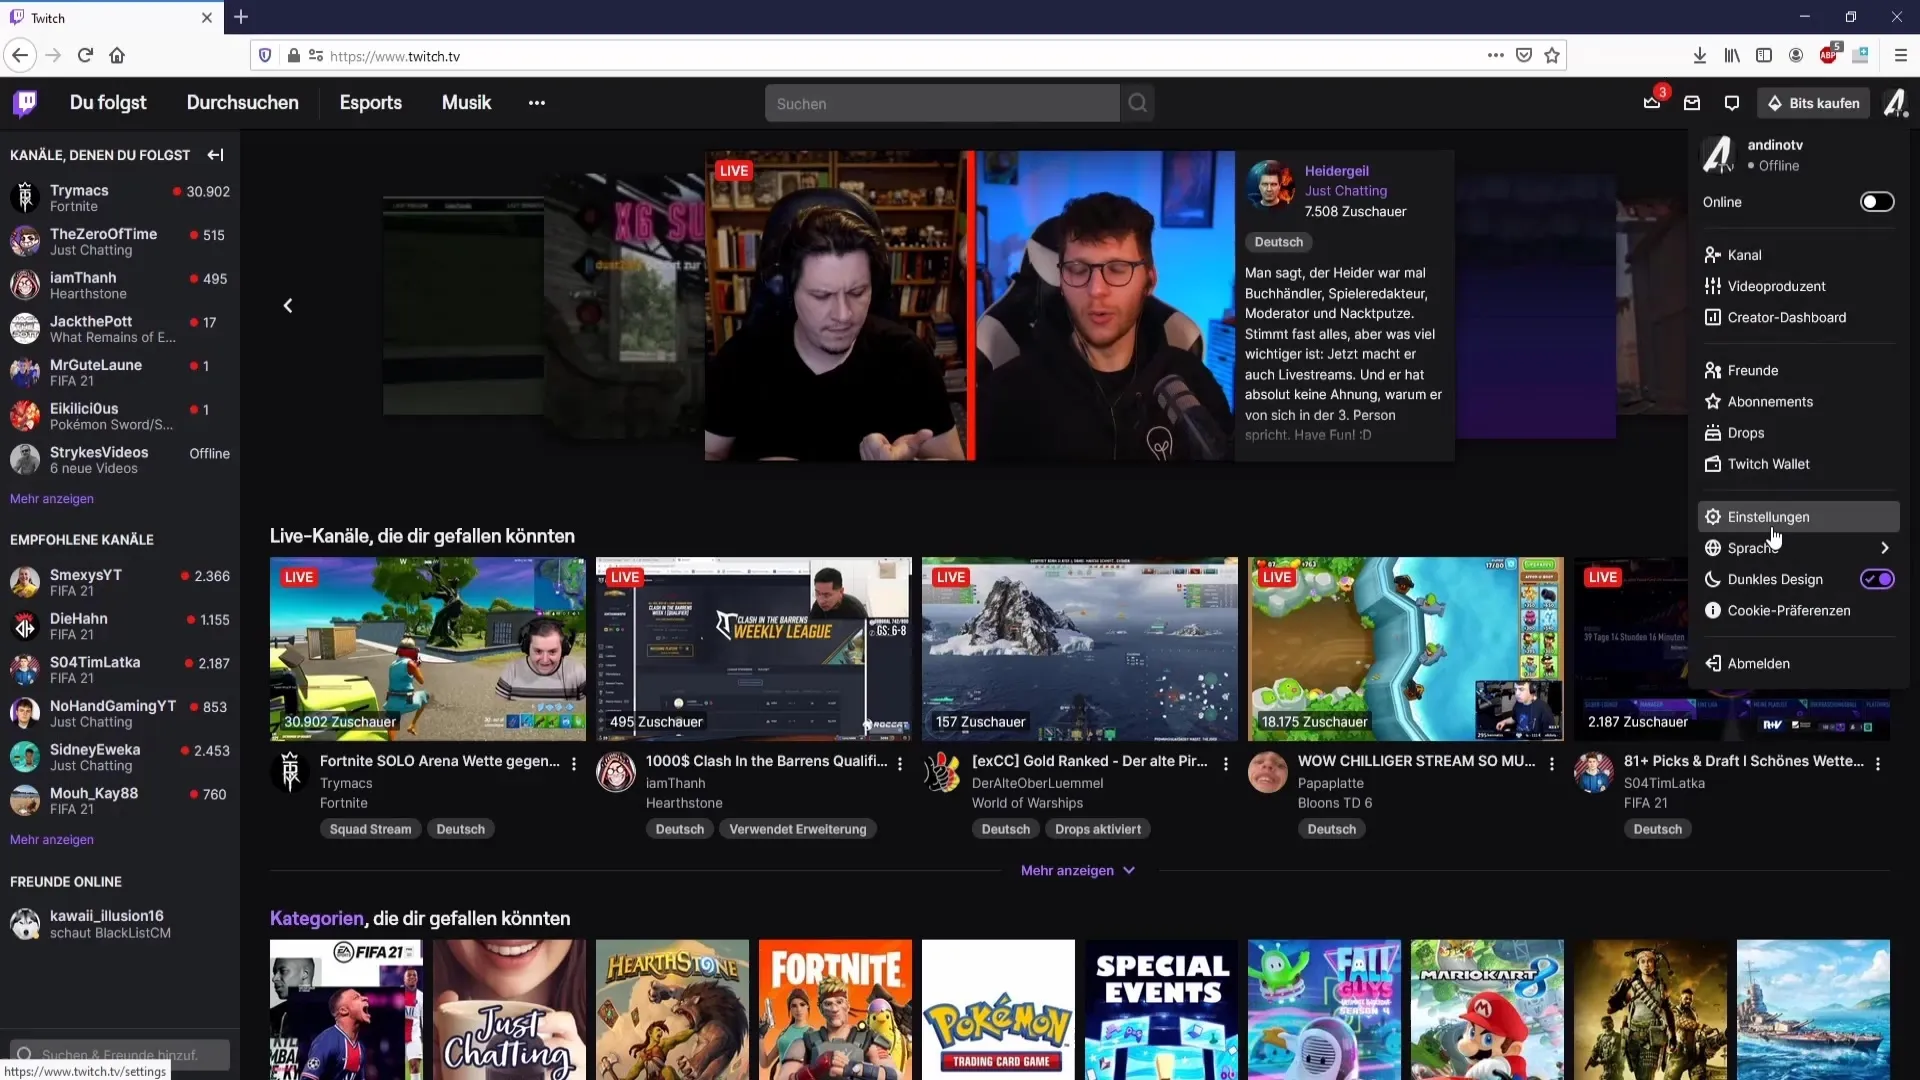
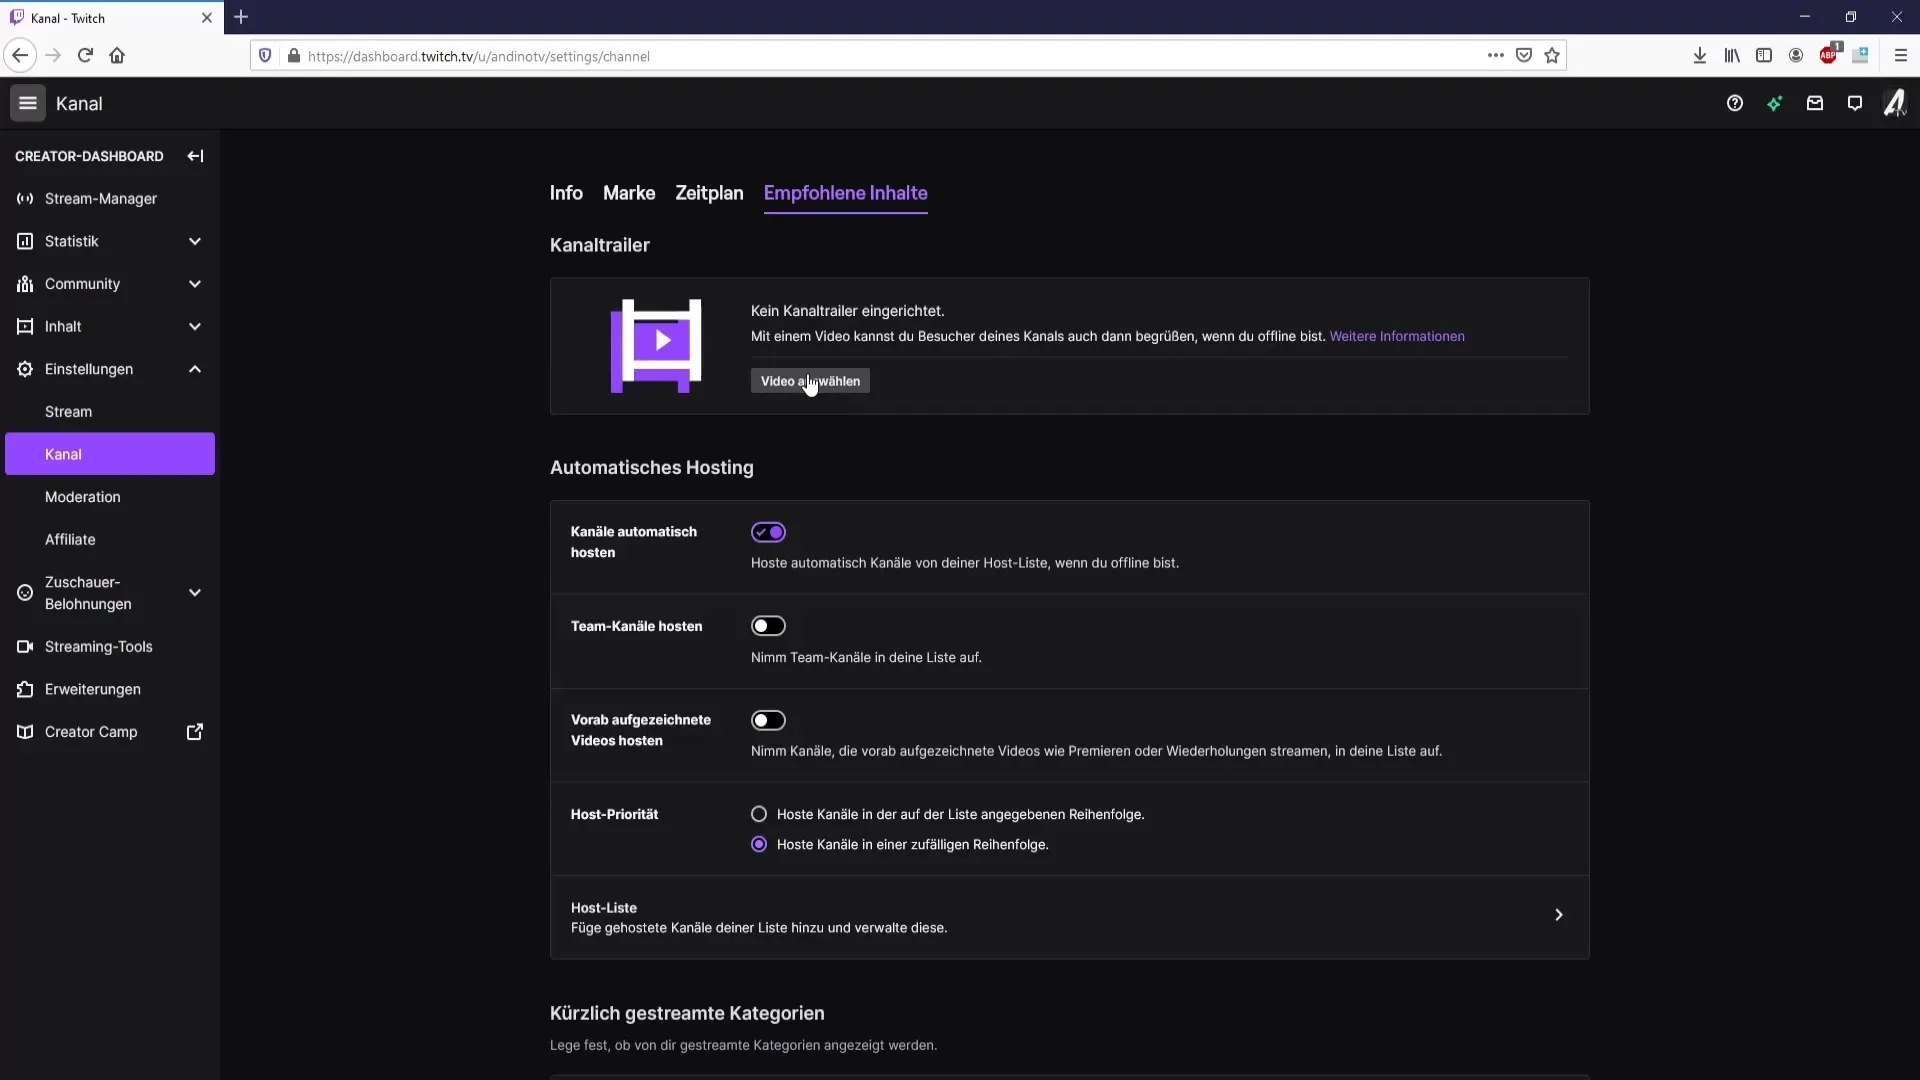
Before you start uploading your channel trailer, you need to find the section on your channel where you can upload the video. Go to your channel and click on "Settings." Navigate to "Channel" and then to "Videos." Here, you will find the option to select and upload your channel trailer.
Step 2: Uploading Your Trailer
Once you are in the right section, you can choose your channel trailer. Click on the option to select the video. Ensure that your trailer is in the correct format, which should be MP4, MOV, AVI, or FLV. An important point to note is that your trailer must not exceed 60 seconds in length. Make sure your video stays within this timeframe to avoid upload issues.
Step 3: Conveying Good Quality
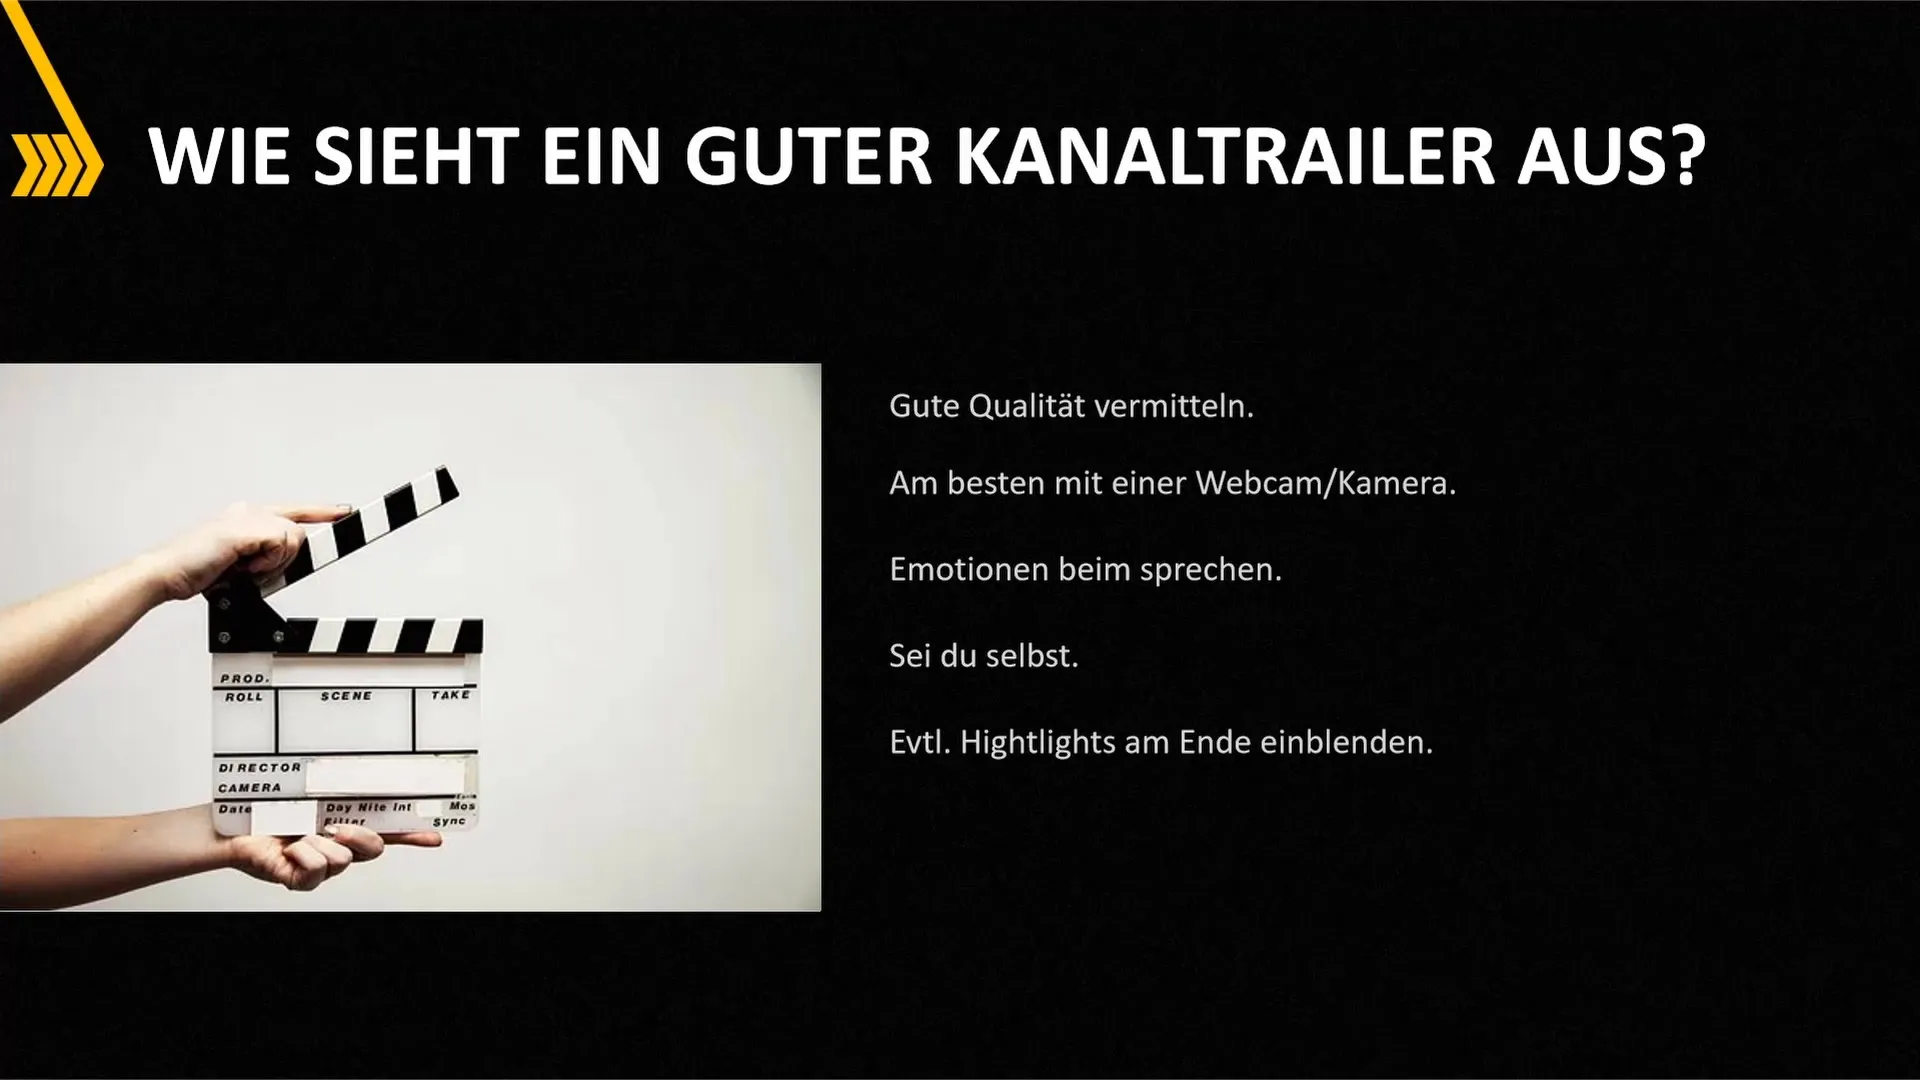
Ensure that your trailer is of high quality. Pay attention to your audio and video output. Having a good microphone and a decent webcam is advantageous, even if you do not possess high-end equipment. It is important that viewers see that you value quality in your presentation.
Step 4: Emotions in the Video
Your speech should be lively and engaging. Speak with emotion to captivate the audience. You don't have to exaggerate, but you should not sound dull either. Find a suitable middle ground and be authentic. Show who you are and let your personality shine through.
Step 5: Rapid Information Delivery
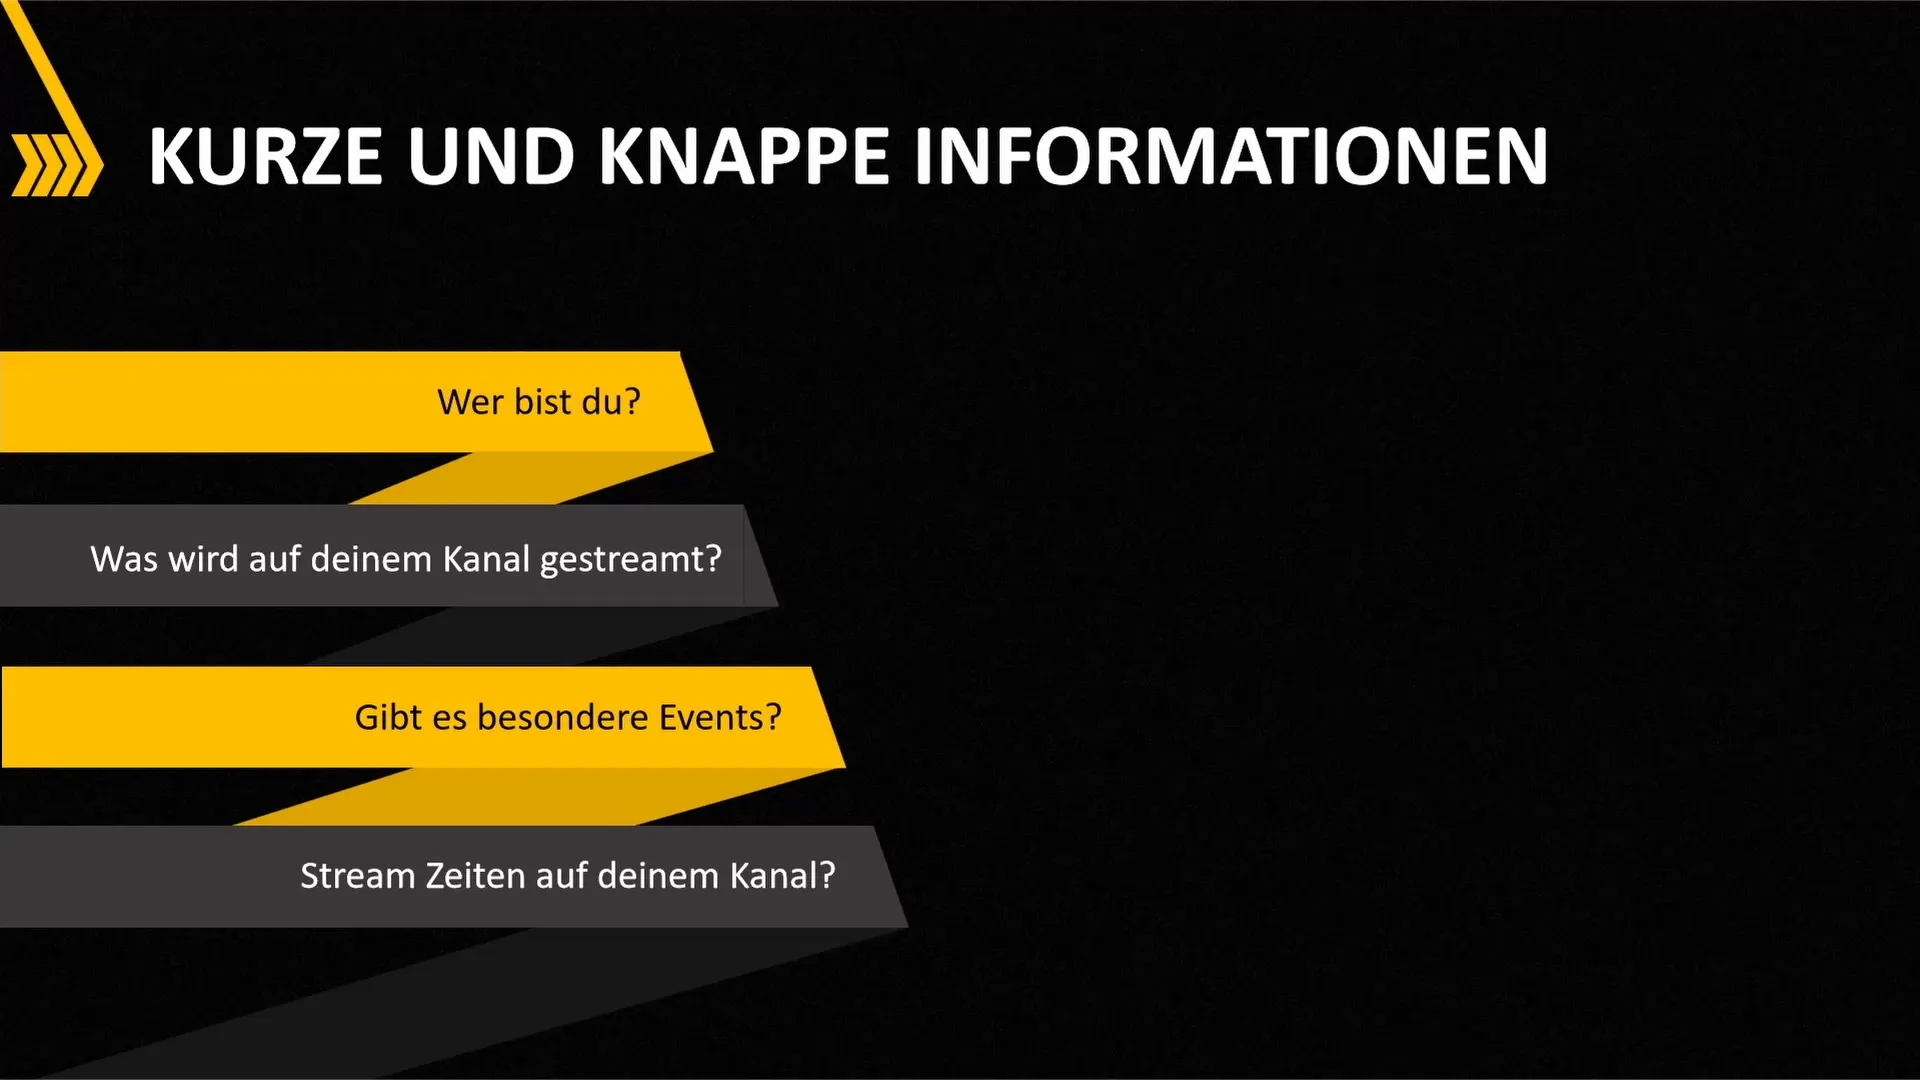
Keep the presentation of your trailer brief and informative. Provide viewers with a few sentences about who you are, what you do, and what type of content they can expect on your channel. Mention your main games without listing them all individually, and ensure they can gain a clear impression of your channel.
Step 6: Incorporating Highlights
You can add that extra touch to your trailer by showcasing some highlights from your best streams. Choose meaningful clips and integrate them into your trailer. Ensure a smooth transition between the clips and present the content in an engaging manner.
Step 7: Engaging with the Audience
Remember to mention special events or actions you are planning. For example, you could promote fixed play days or special community events. This increases interest in your channel and gives viewers a reason to follow you and not miss your streams.
Step 8: Providing Streaming Times
Finally, it is important to clearly communicate your streaming times. Viewers who know when you are live can organize themselves better and ensure they catch your stream. Whether you have fixed times or plan last-minute streams, share this information in the trailer.
Summary
A well-thought-out channel trailer is a crucial element of your Twitch presence. Keep it concise, high-quality, and informative to convince viewers and give them a reason to follow you.
Frequently Asked Questions
How long can my channel trailer be at most?The channel trailer should be a maximum of 60 seconds long.
What format should my channel trailer have?The formats MP4, MOV, AVI, or FLV are suitable.
How can I convey emotions in my trailer?Speak lively and be authentic to engage with viewers.
Should I mention special events in my trailer?Yes, that can attract additional viewers and pique interest.
How important are the streaming times in my channel trailer?They're crucial for viewers to plan when they want to watch your stream.
