Next, I would like to show you a concept that has proven to be very useful: Working with different layers over the course of an animation. Animation layers exist in many 3D programs in an advanced way.
The idea is that I start making one animation and then overlay it with another. For example, you could imagine a running character that blinks at the same time. Then you could add a clap in a third layer.
So you start to break down animations and make your work easier. In the following, I would like the ball, which is finished in the form of the classic downward jump, to be picked up again for the transition to the next slide or the next slider. This whole stage should tip over once together with the ball and the ball should then bounce back and forth a little at the bottom and land next to the next text. As a small bridge between the gaps, so to speak.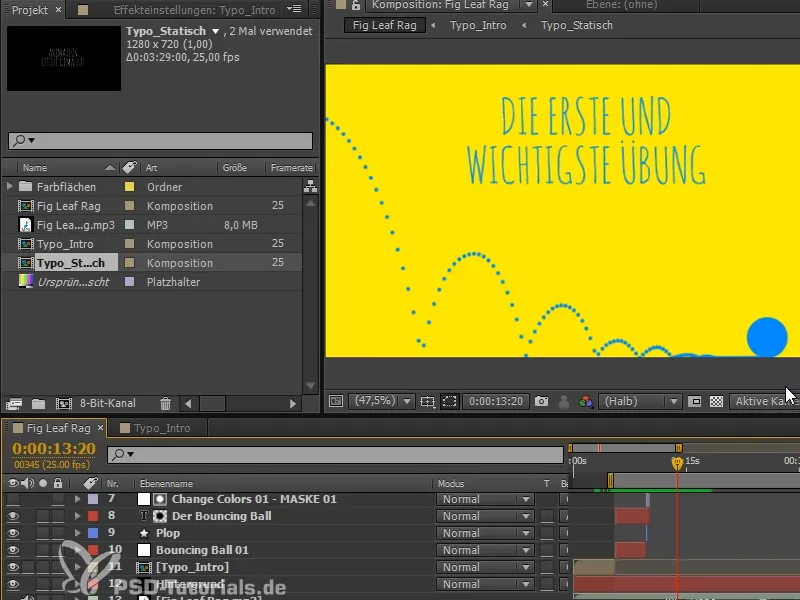
But first we need to tidy up: We've already named the layers quite well, but it's not really clear.
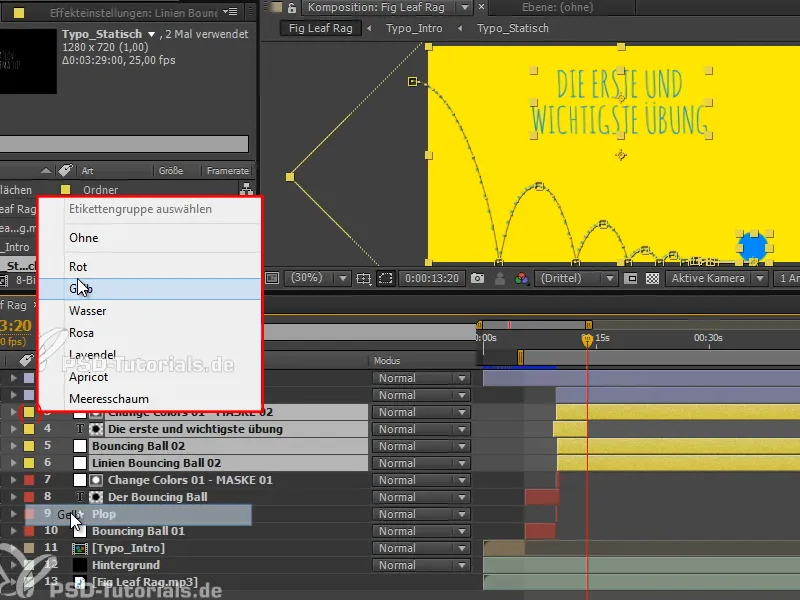
I recommend layer colors. "The Bouncing Ball 1" has the color red. So it's all red.
"Fig Leaf Rag", for example, can have the same color as the background, because it's always there.
The first part is brown and so that I don't always have to think about which color to use, I simply use the colors in sequence.
This makes it easier to differentiate between the first and second part.
Step 1
I would now like to show you the way in After Effects how we can overlay animations. Let's start with a small example:
We create a composition with a white color area of 100x100 pixels.
I move it down and from there up and back down. Very simple.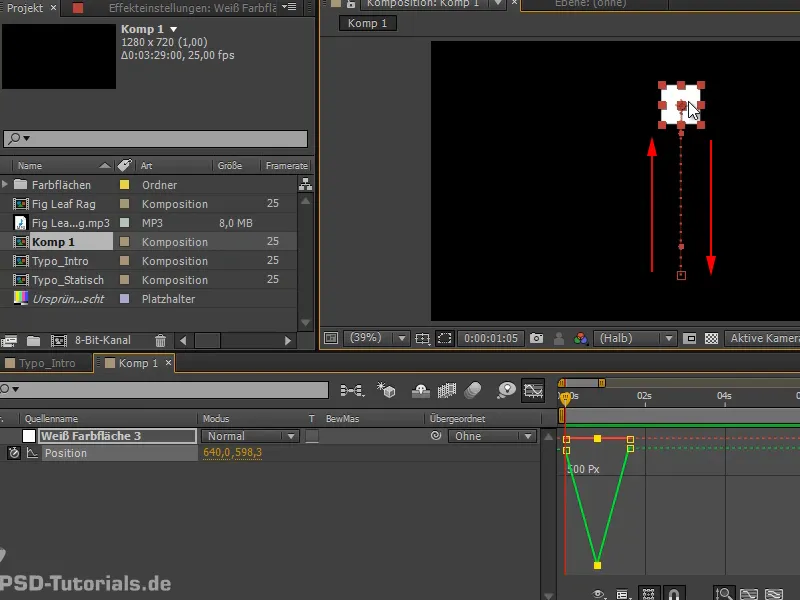
Step 2
Let's take the curves and turn them into an Easy Ease.
Then we might even go to separate dimensions and make it really nice.
And now we have a bounce that we can copy a few more times.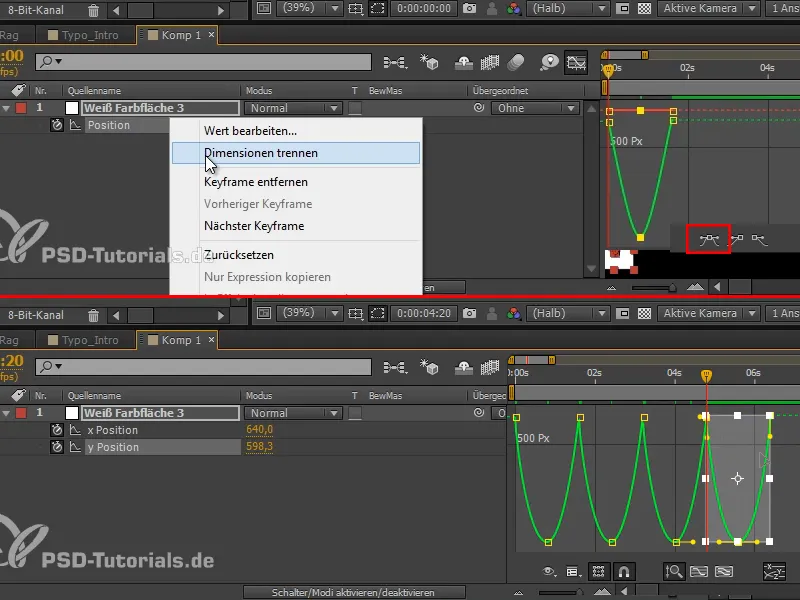
Step 3
This can be a bit faster. So we take everything and squeeze it together a bit.
And then we tell it to jump from an x position on the left to an x position further to the right. We set the frames so that it jumps back and forth between these two poses.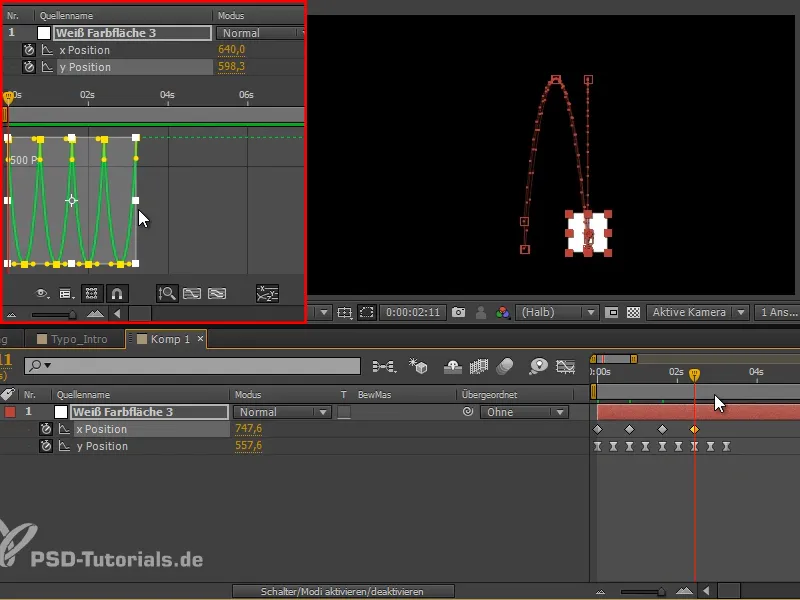
Step 4
We mark this curve and make it linear so that the bump is more noticeable.
I rename the layer "Jumping box".
Now I would like to move the whole thing from left to right. I could start working with the x position and move everything over bit by bit, but then I would mess up my nicely organized curve. But I don't want to do that, because at the moment I can influence it very well and have a great overview.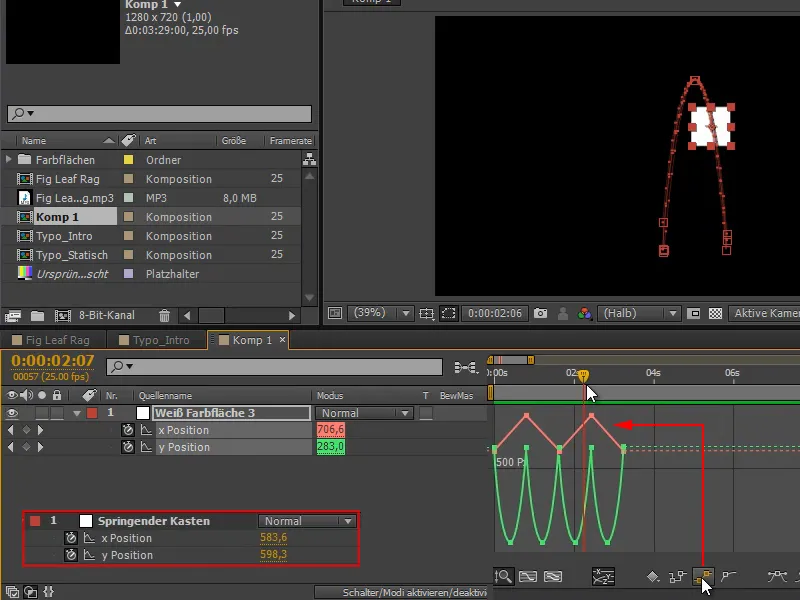
Nevertheless, I want to move the whole thing from left to right ...
Step 5
We do this via the Parent part and start working with null objects. Null objects are objects that are not rendered. Auxiliary objects, so to speak, which make it possible to work with objects that are not visible. They are often used as data carriers for tracking, but also to subordinate things to a null object.
Let's go to Layer>New>Null Object or Ctrl+Alt+Shift+Y and move it directly to our jumping box. If you are in a newer version of AE, CS6, you can subordinate it to the layer with the Shift key.
Now it moves directly to the center and follows the jumping box completely.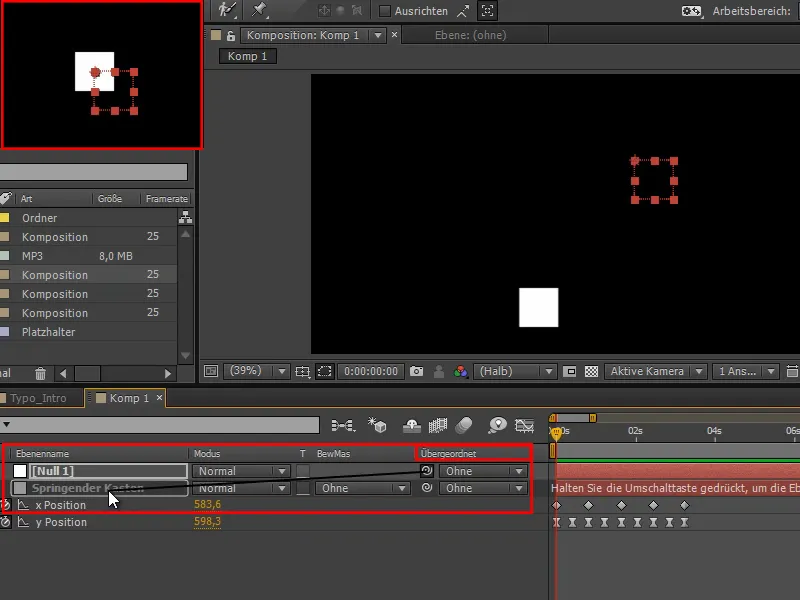
Step 6
Now that it's nicely in the center, if I move the anchor point to 50, 50, then we have a nice border for the box.
The jumping box is subordinate to the "2nd animation layer" and the white area keeps jumping in and out of the box.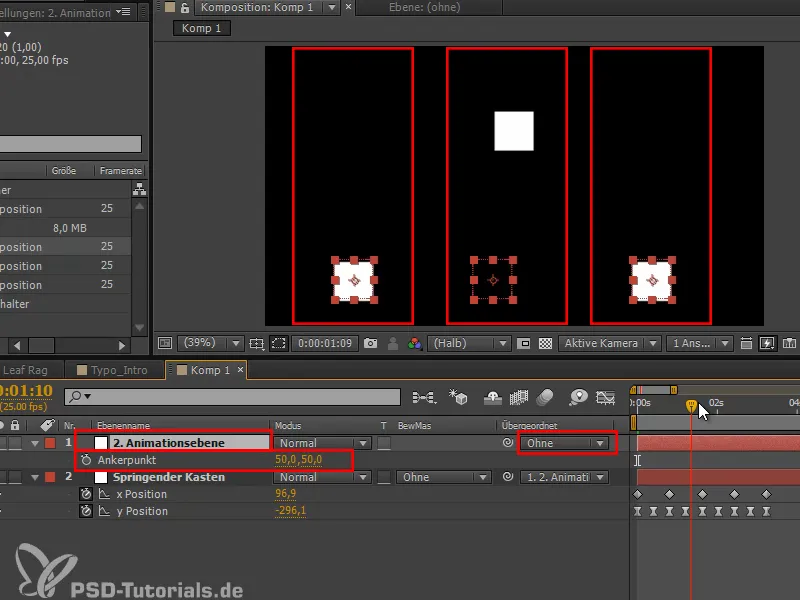
Step 7
But what I can do now: I press P and move the whole thing to the left, outside the screen, and over time across the screen.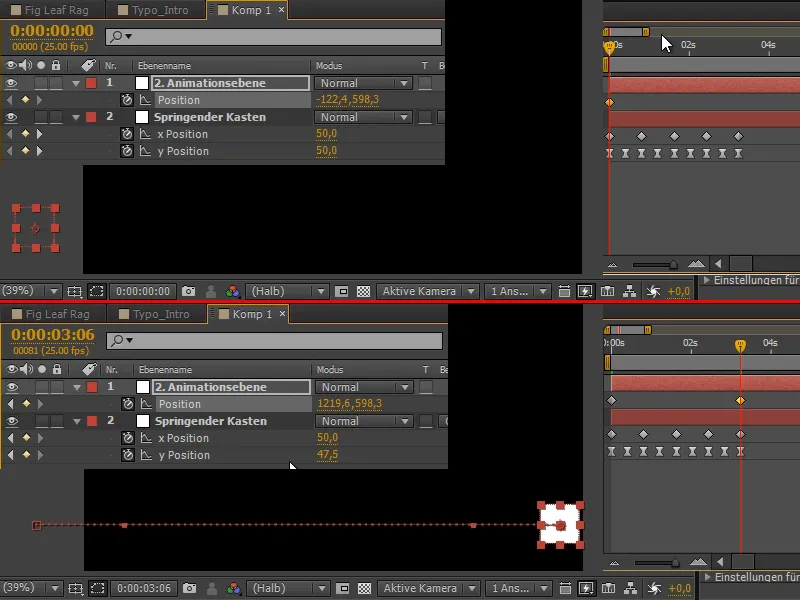
Step 8
Now we're moving while we're doing the animation. We still have the same curves, but we have new, overlapping curves.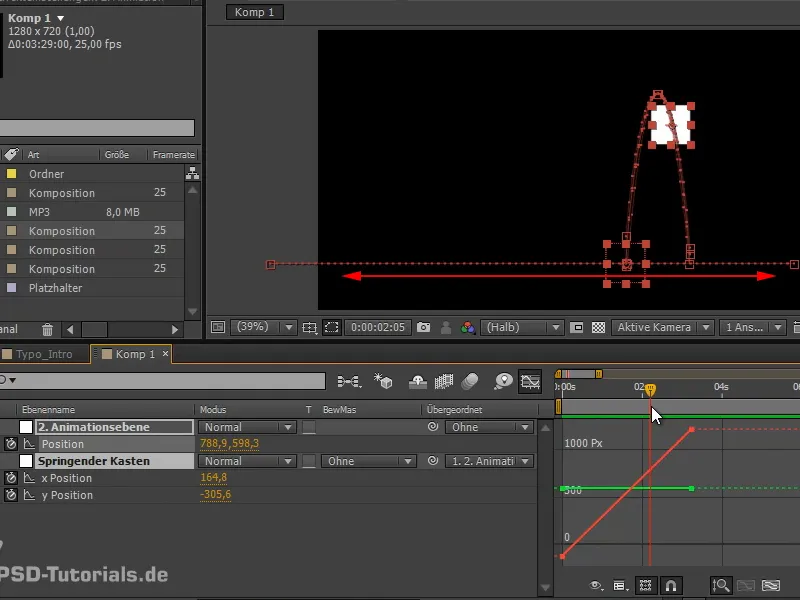
We have overlaid one animation with the other.
Step 9
Of course, you can go even crazier and also include the rotation. All these rotations are then added to the animation.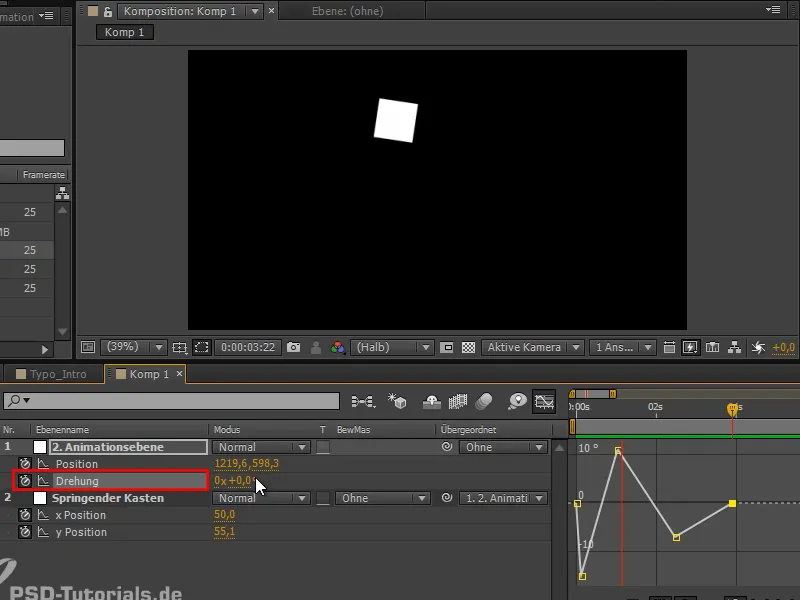
It doesn't look so wonderful now because it moves from left to right and always slows down a bit. There are two animations working against each other.
And that's the tricky part of the whole thing: We have conveniently separated the whole thing into several animation tracks, which we can all move nicely. But what comes out of this sometimes has weaknesses. Sometimes you have to move points up and down or adjust it nicely.
Step 10
So it's not the best solution in some cases, but for transitions and when I want to move several objects at the same time, I like to work with null objects, because you can subordinate several of them.
For example, if we duplicate the "Jumping box" layer and go to a keyframe, select all of them and move a piece to the x position, then the two layers are equally subordinate.
This allows me to move several objects at the same time.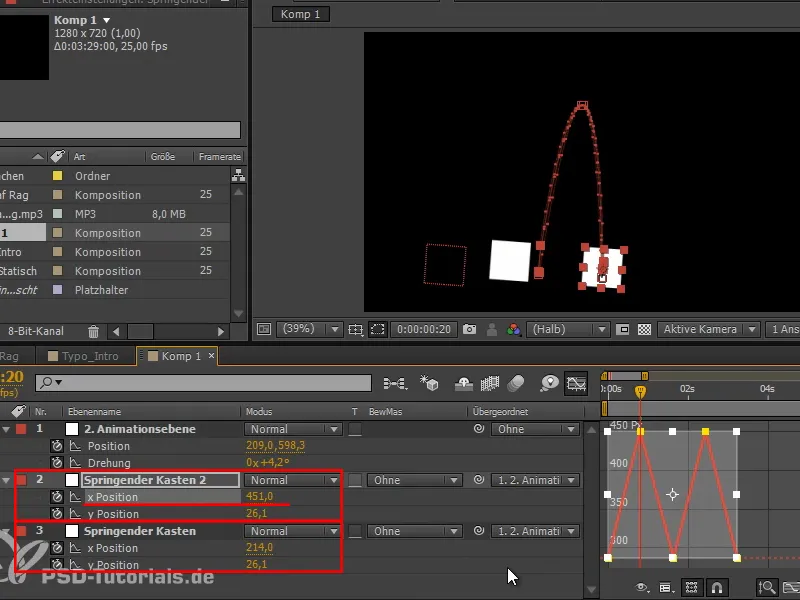
Step 11
Let's go back to the option from the last tutorial and create a color plane to which we will apply the animate paint effect.
We take our toComp expression, in this case "e = thisComp.layer", and this time select "("Jumping box");" - I now confirm the error message again with OK - and enter the following:
"e.toComp(e.anchorPoint)". It's worth remembering this formula and adding it to your repertoire.
This will give me the curves of the ball again, I may have to set the painting style: to transparent..webp?tutkfid=71738)
Step 12
Now we can clearly see that something went wrong with the second jump. We still have to change something.
I delete a rotation keyframe, but it still doesn't really work. It works if I play with the rotation again and move it a little here and there until the curves look good.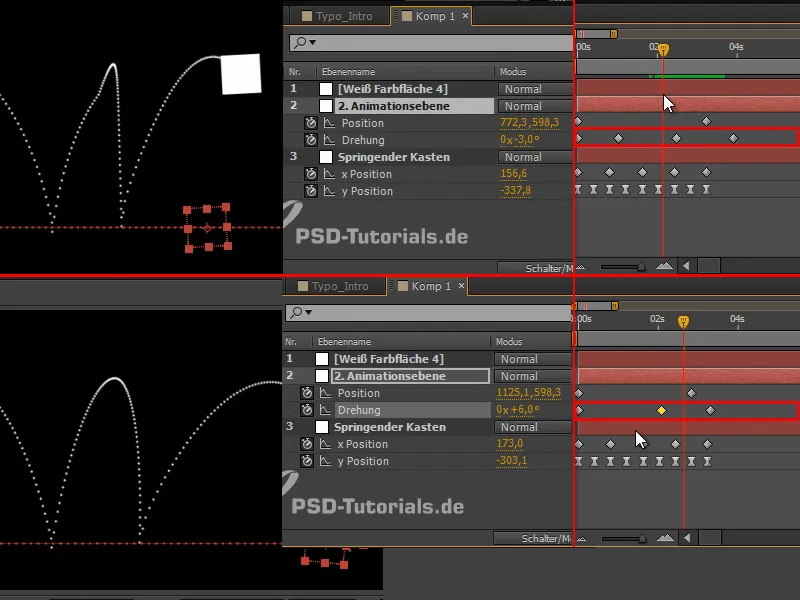
To check the compound curves, I recommend you just make a path with the animate paint effect. That's the beauty of the toComp expression: it doesn't care if it's subordinate.
We only ever see the curve of the selected object in its hierarchy, only the two curves in relation to each other, but we cannot display the two together.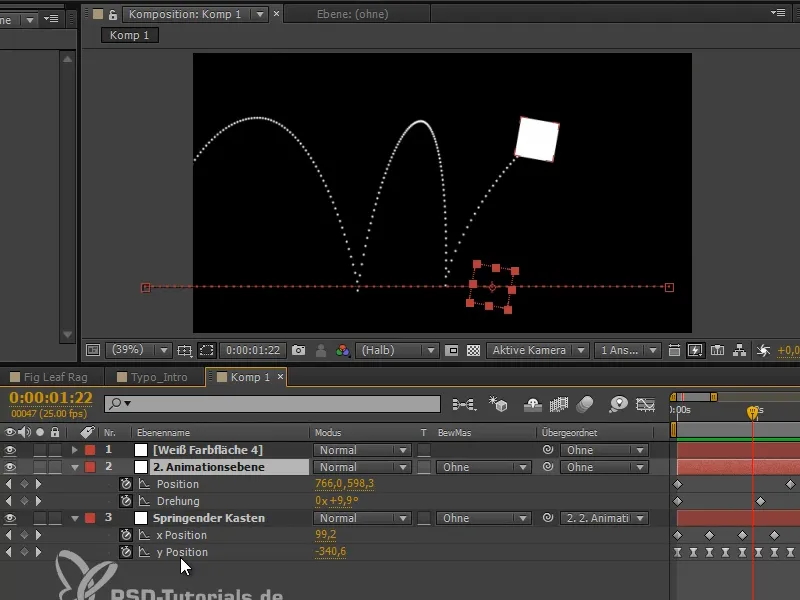
Therefore: Animate painting and we can then view the joint curves. This is my tip on the subject of animation and we will use this technique in a moment to make the ball tilt down.
We will continue in the next part of the tutorial series "Tilting ball - the animation".
